Yup.
I was *not* good at this, by the way. The meat was pretty gamey, but actually had good flavor.
Yup.
I was *not* good at this, by the way. The meat was pretty gamey, but actually had good flavor.
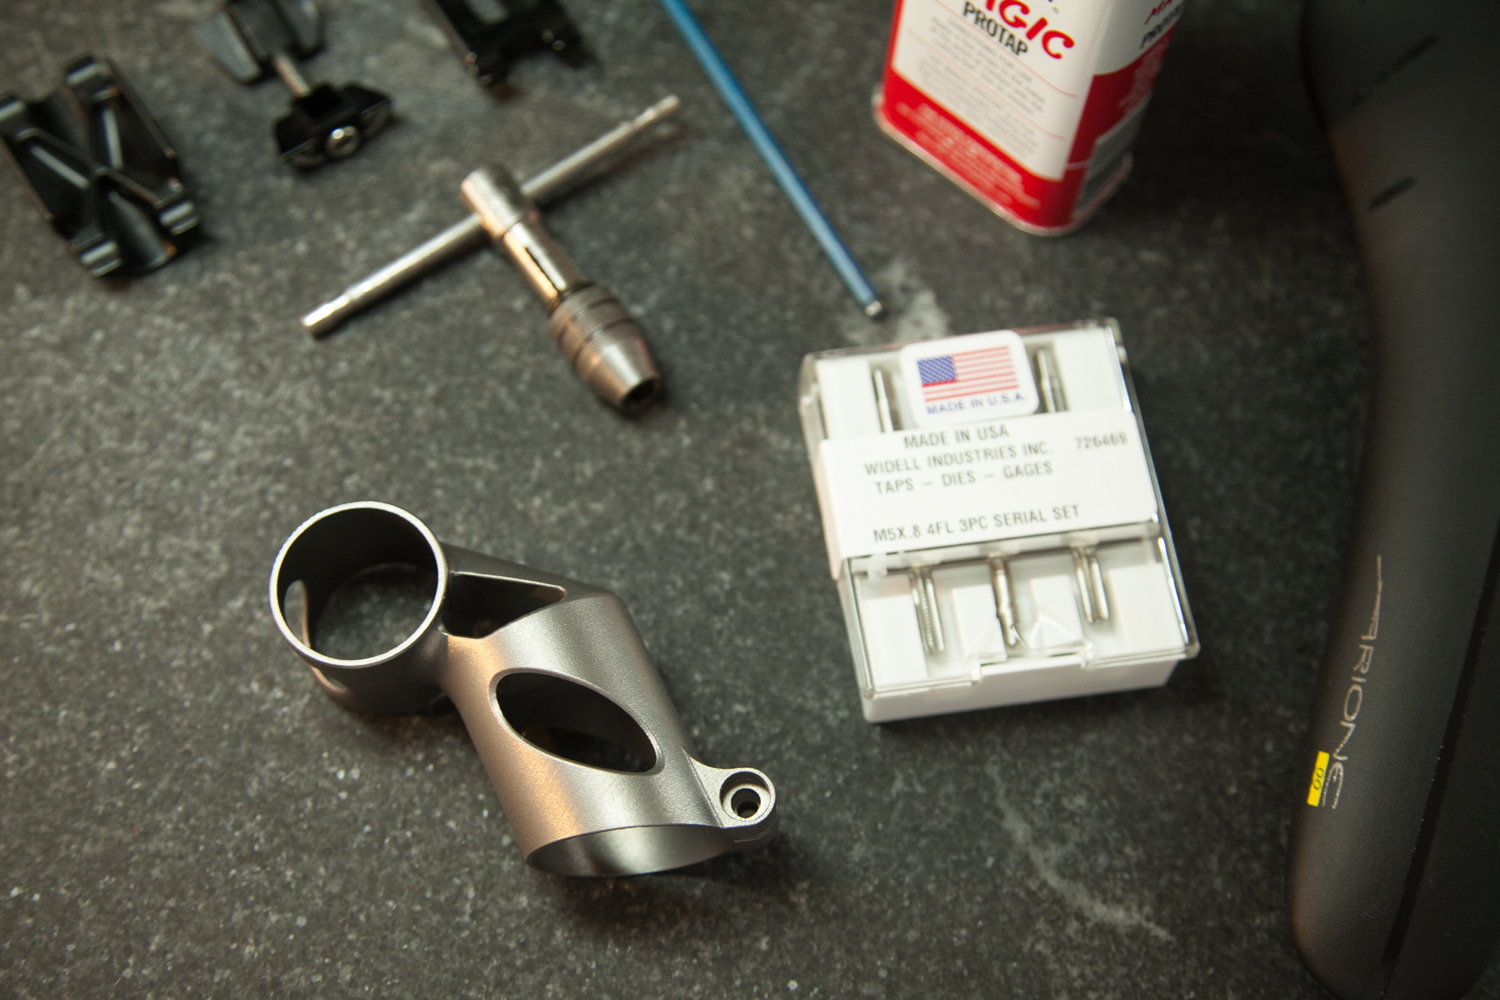
The other day I got an email update from Rob Oliver, a machinist in Brooklyn who's helping me post process the EBM printed titanium parts that I got from Addaero recently. There's still a bunch of work to be done, but I wanted to write a bit about how we're thinking of the manufacturing plan - and the constraints that we're facing in the process.
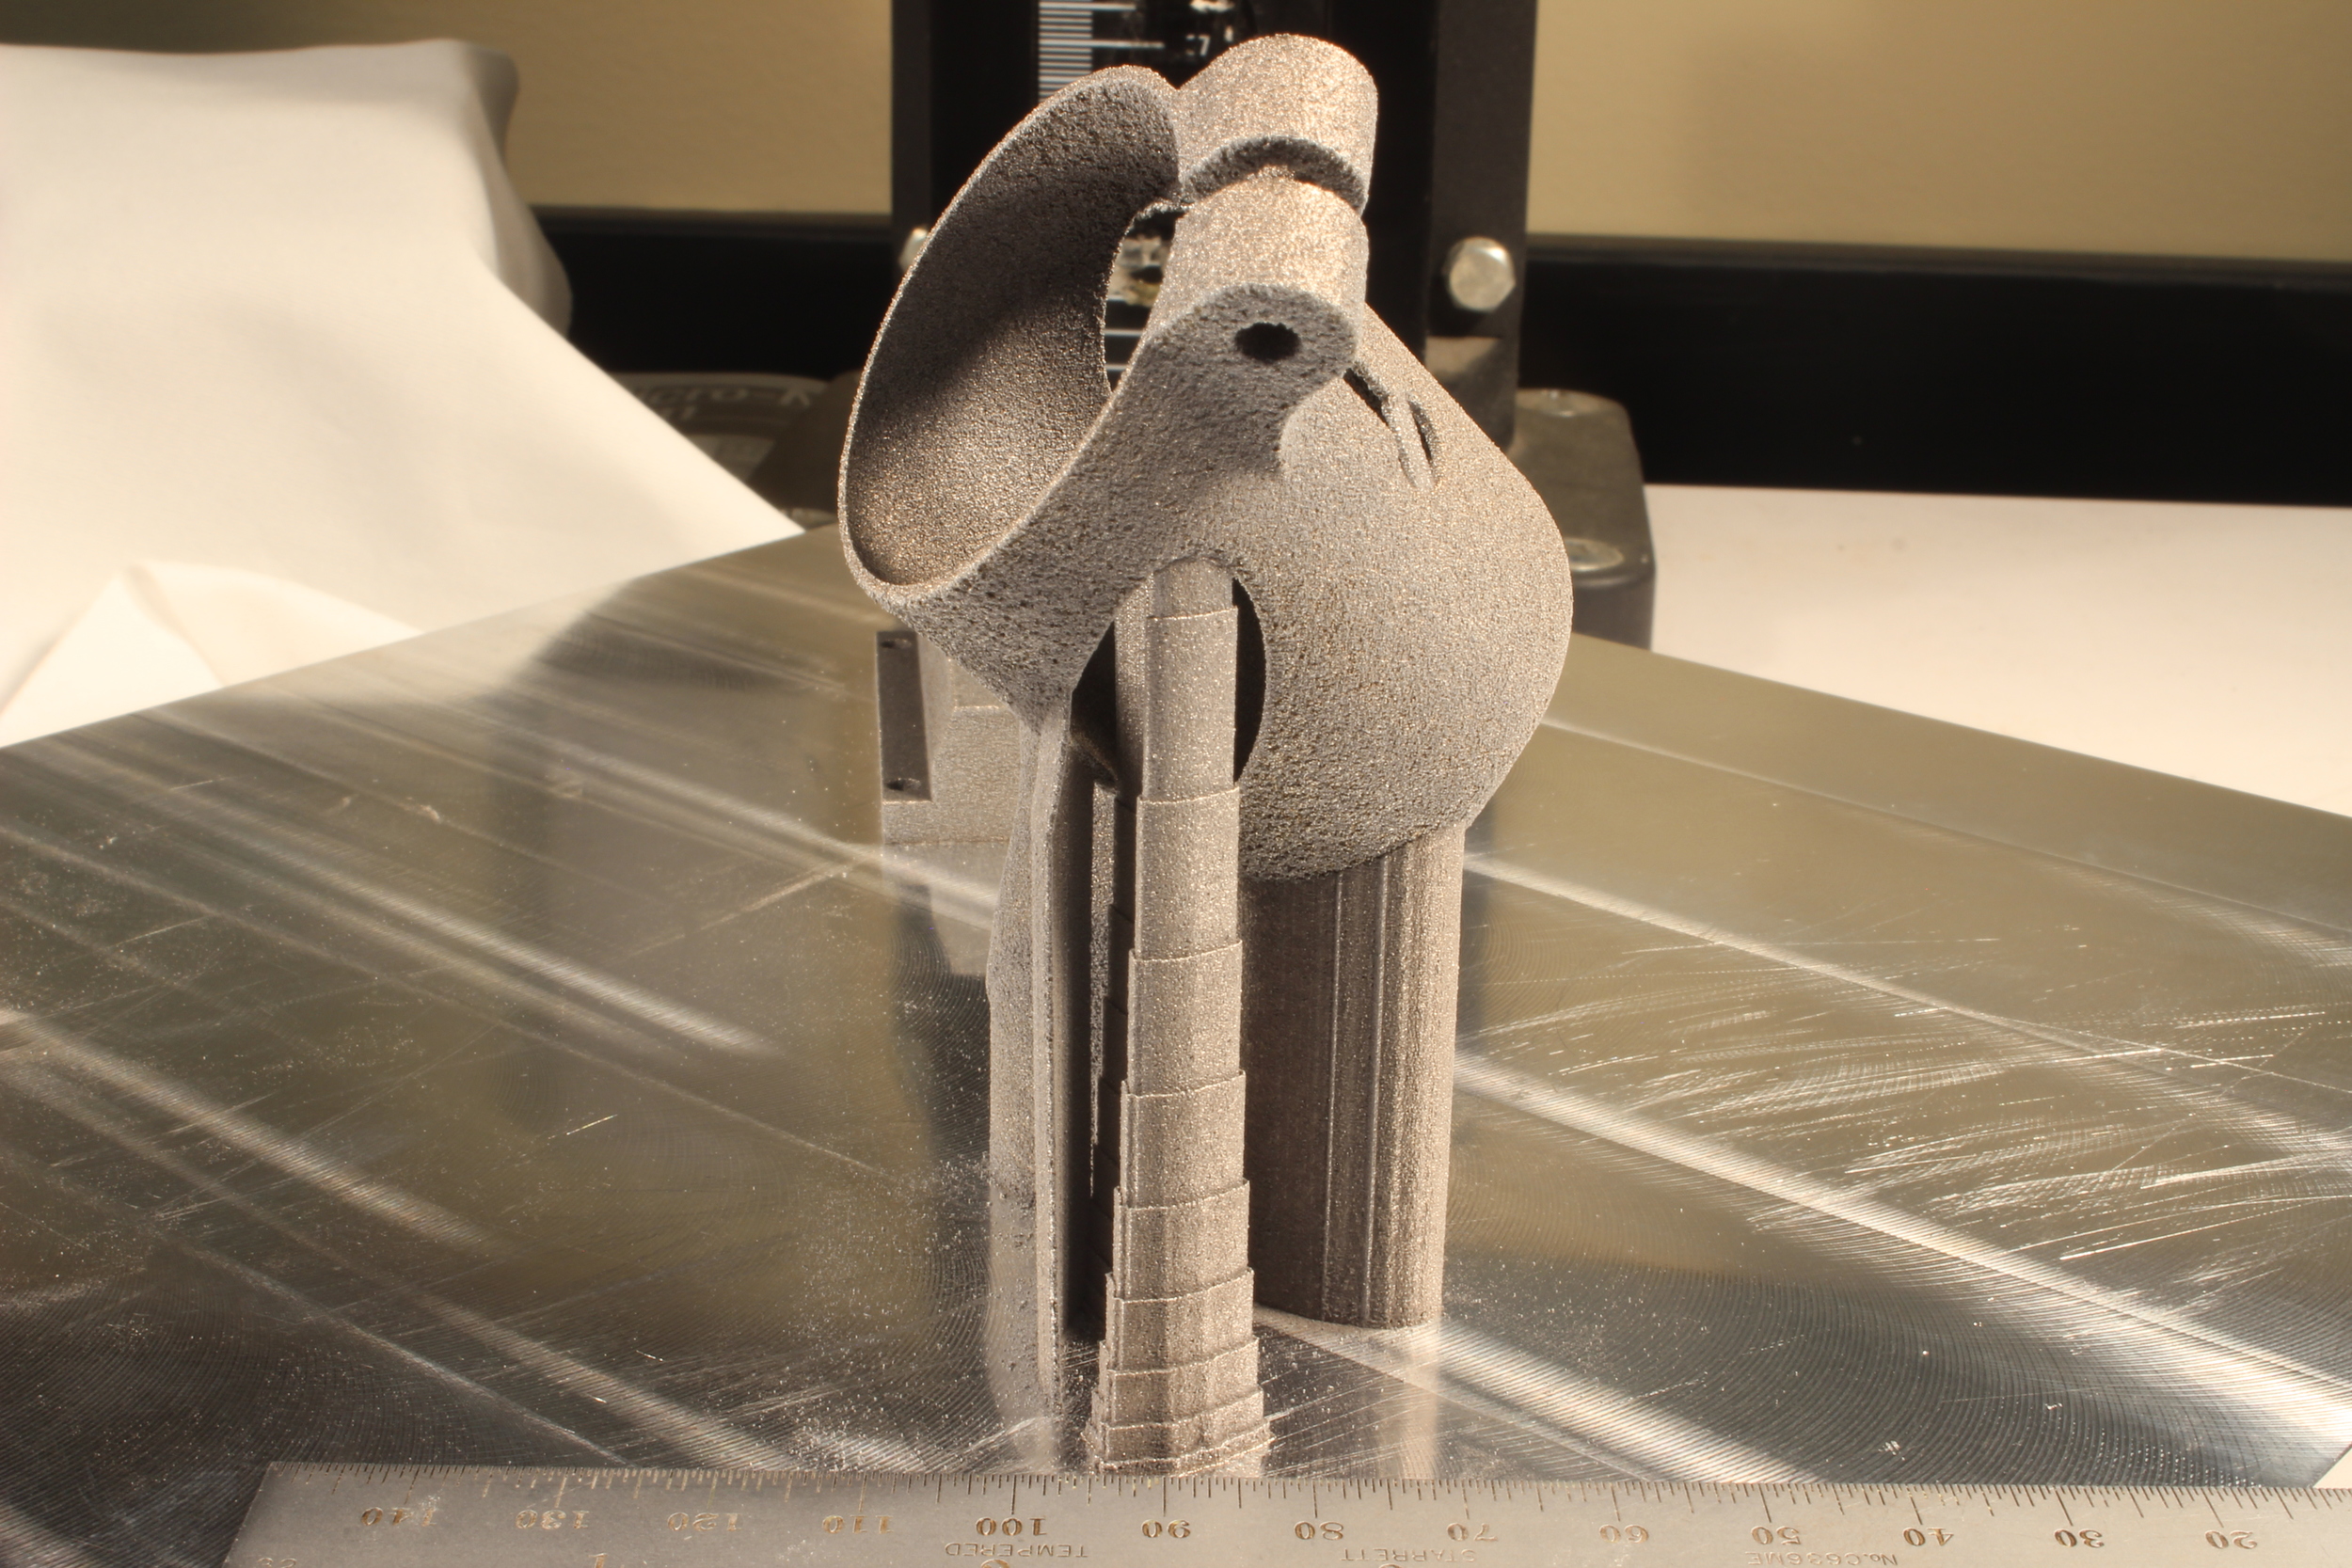
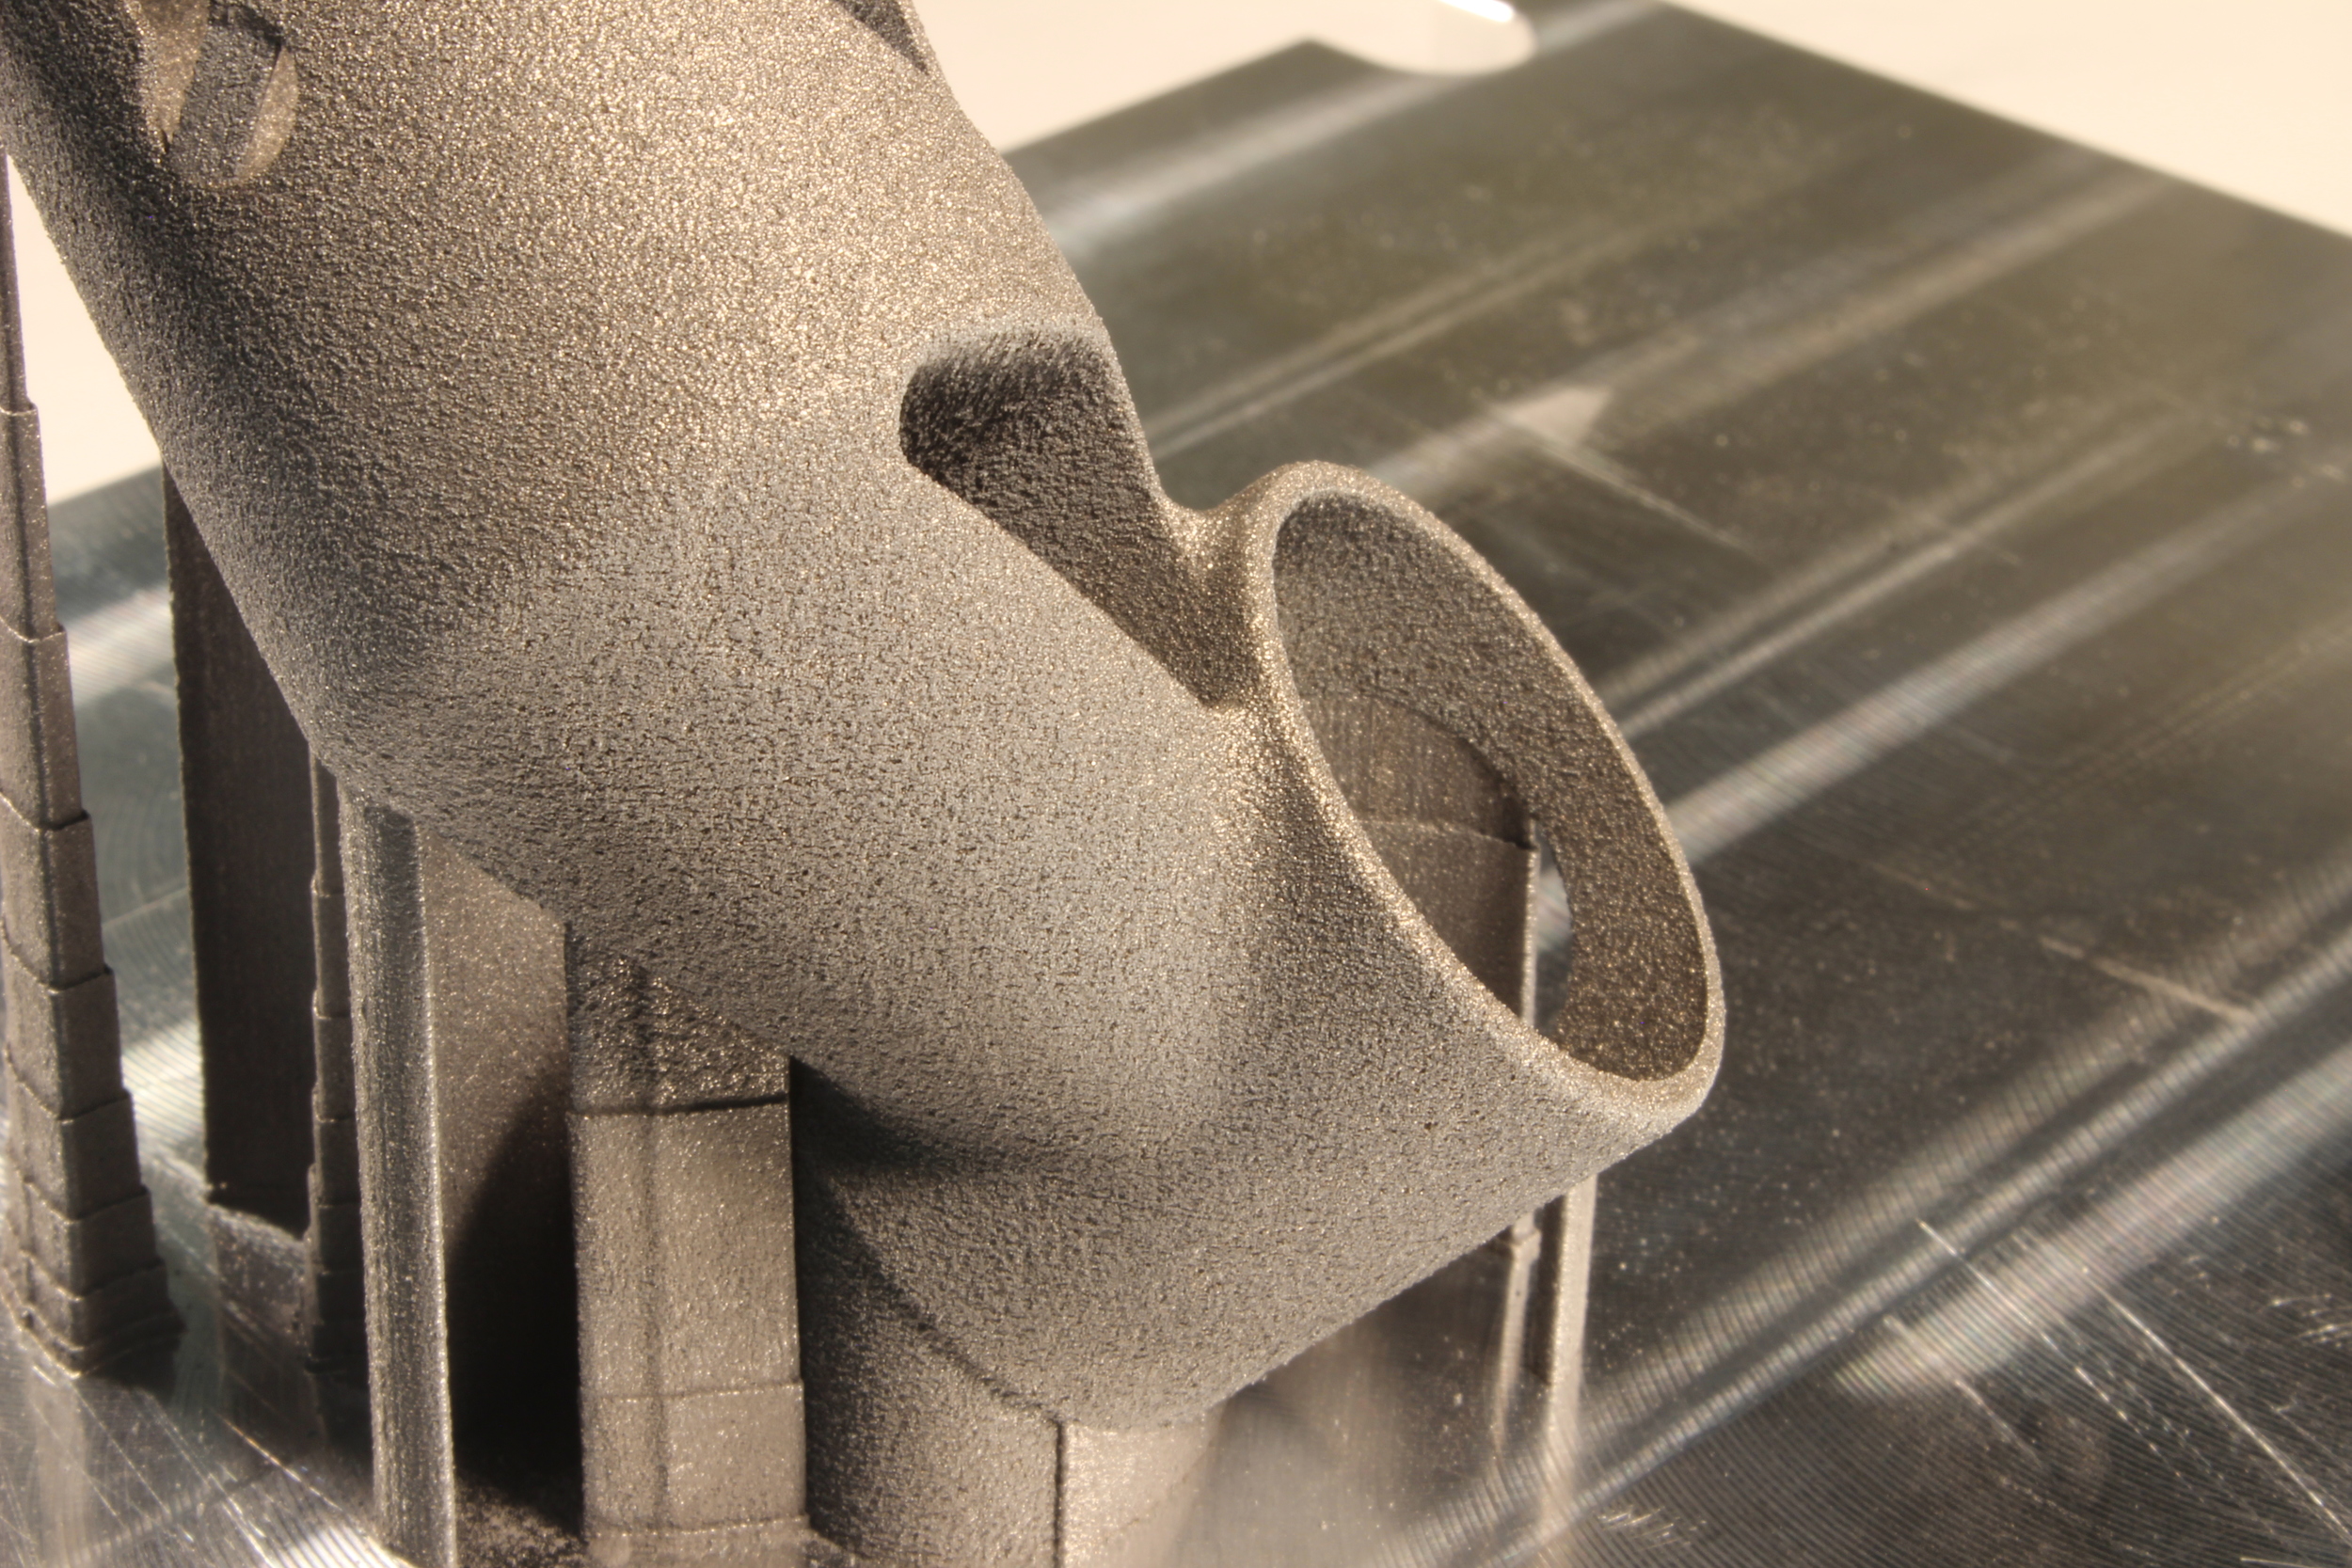
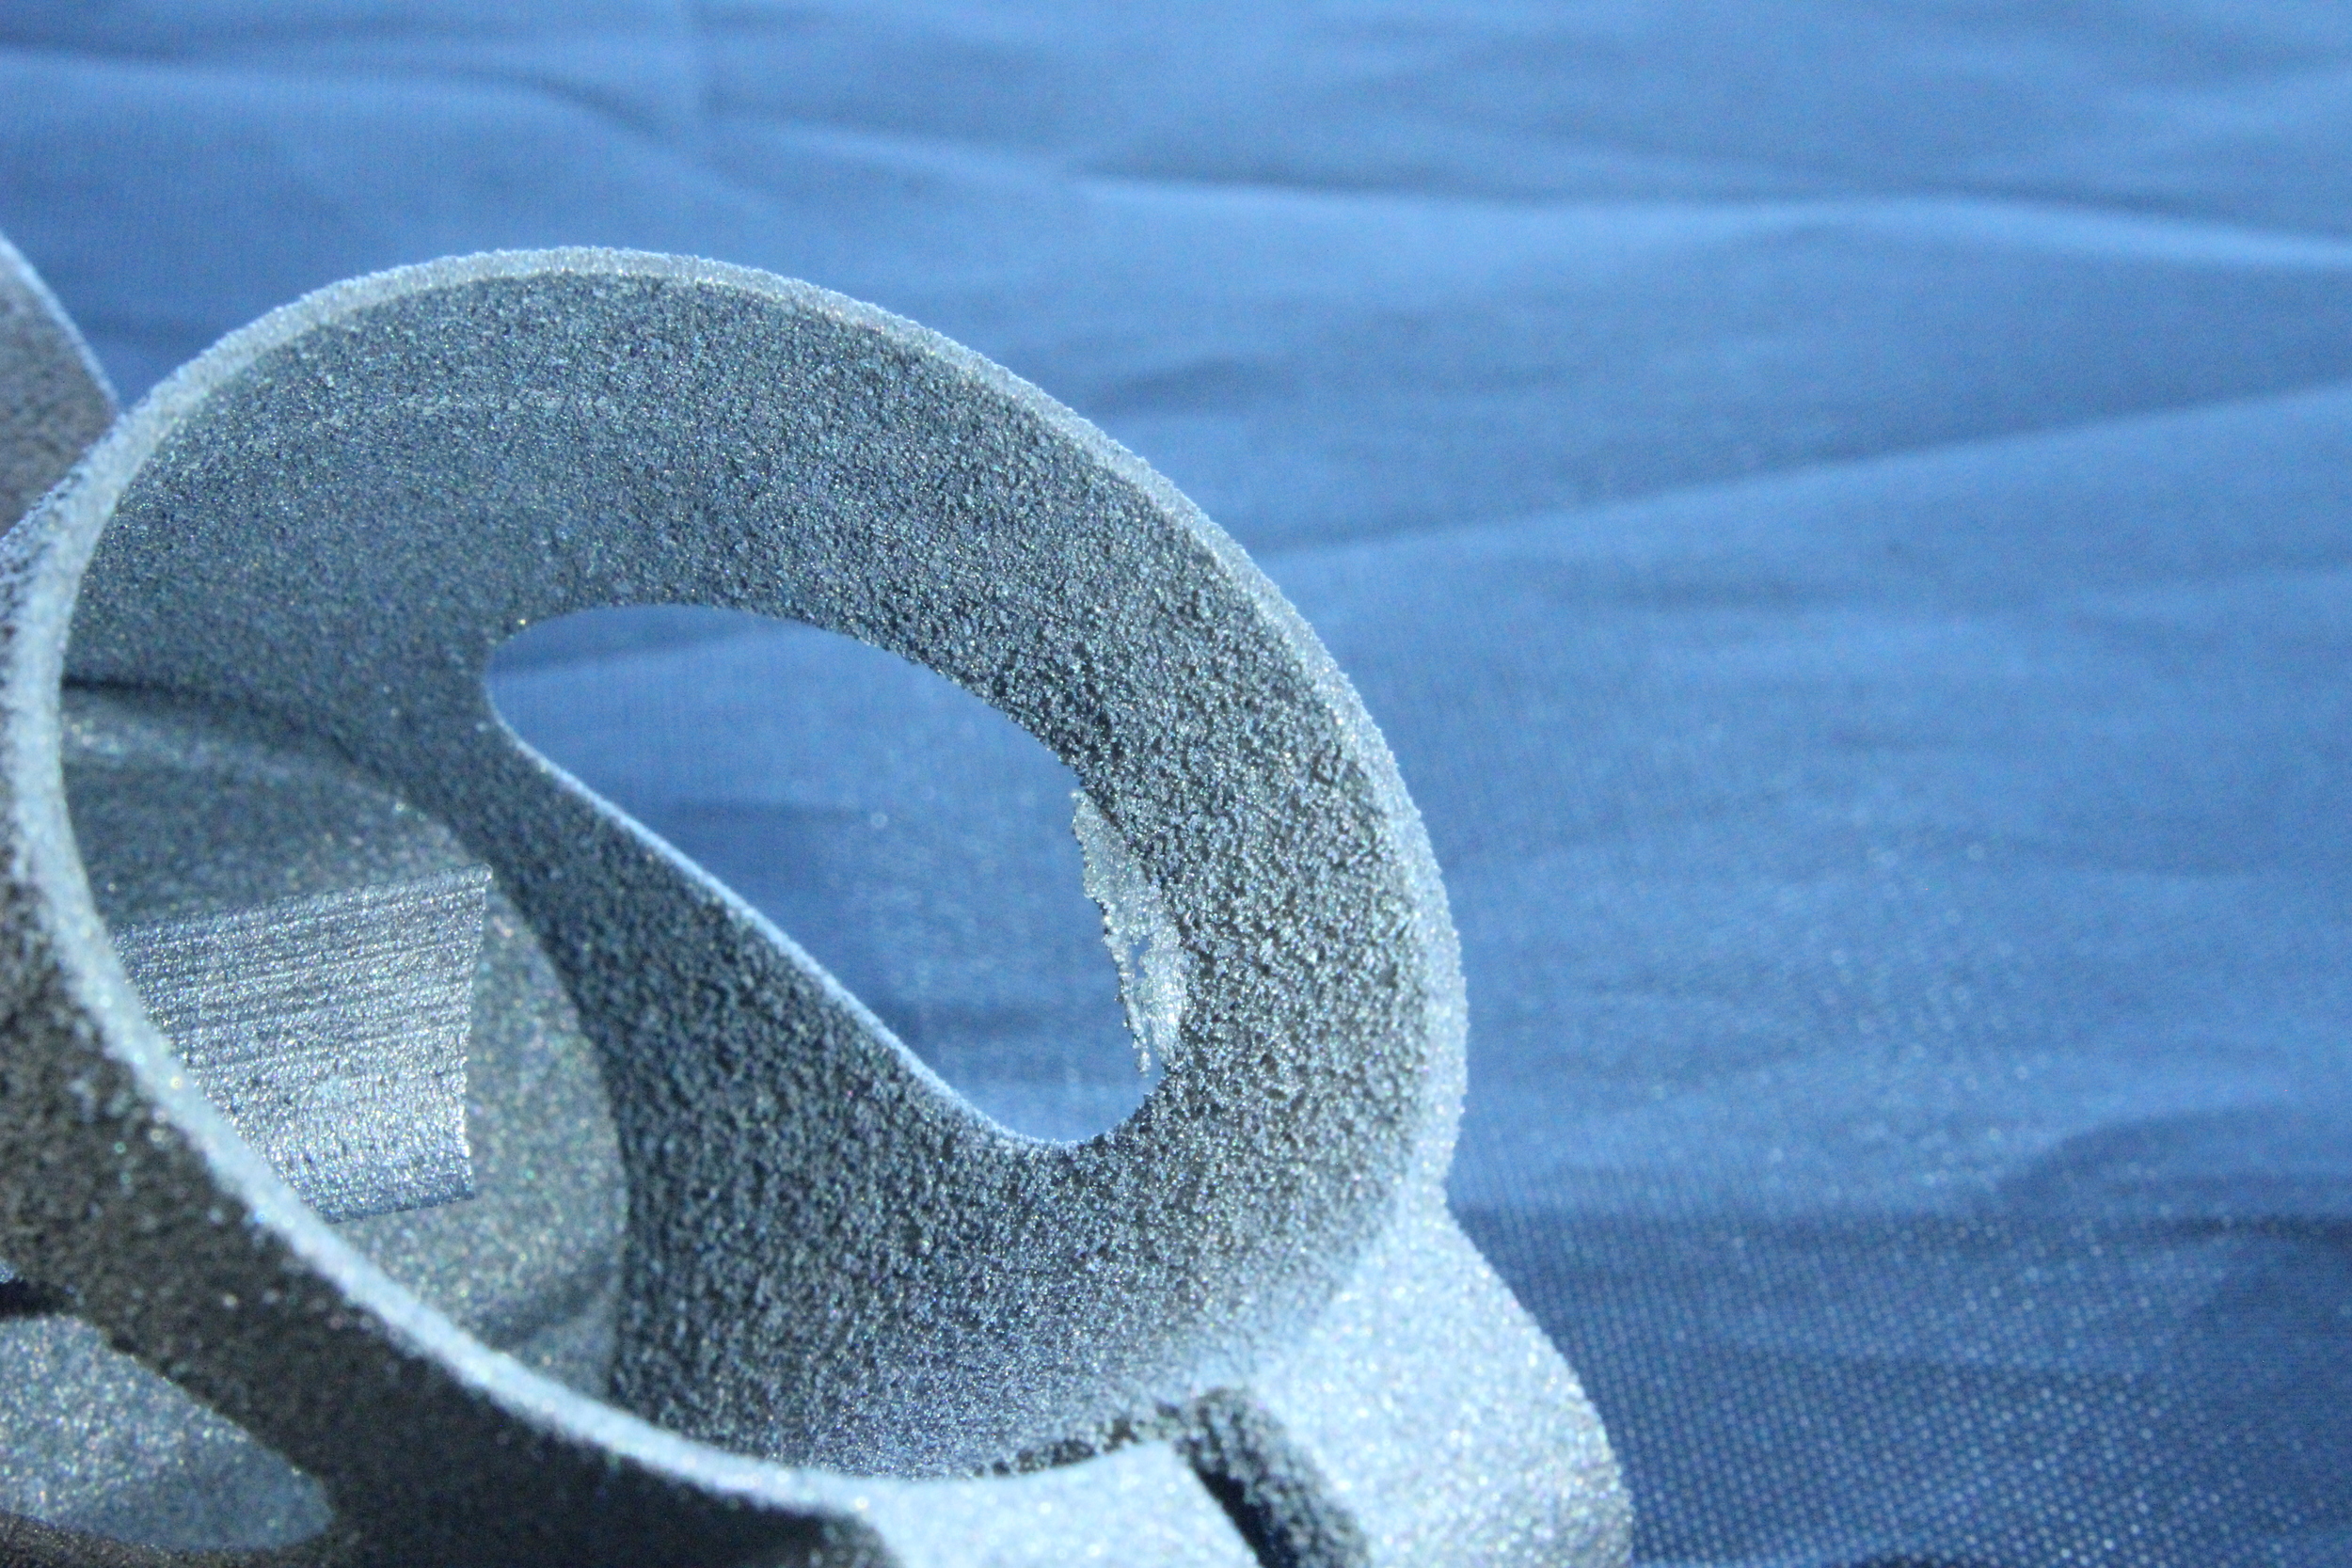
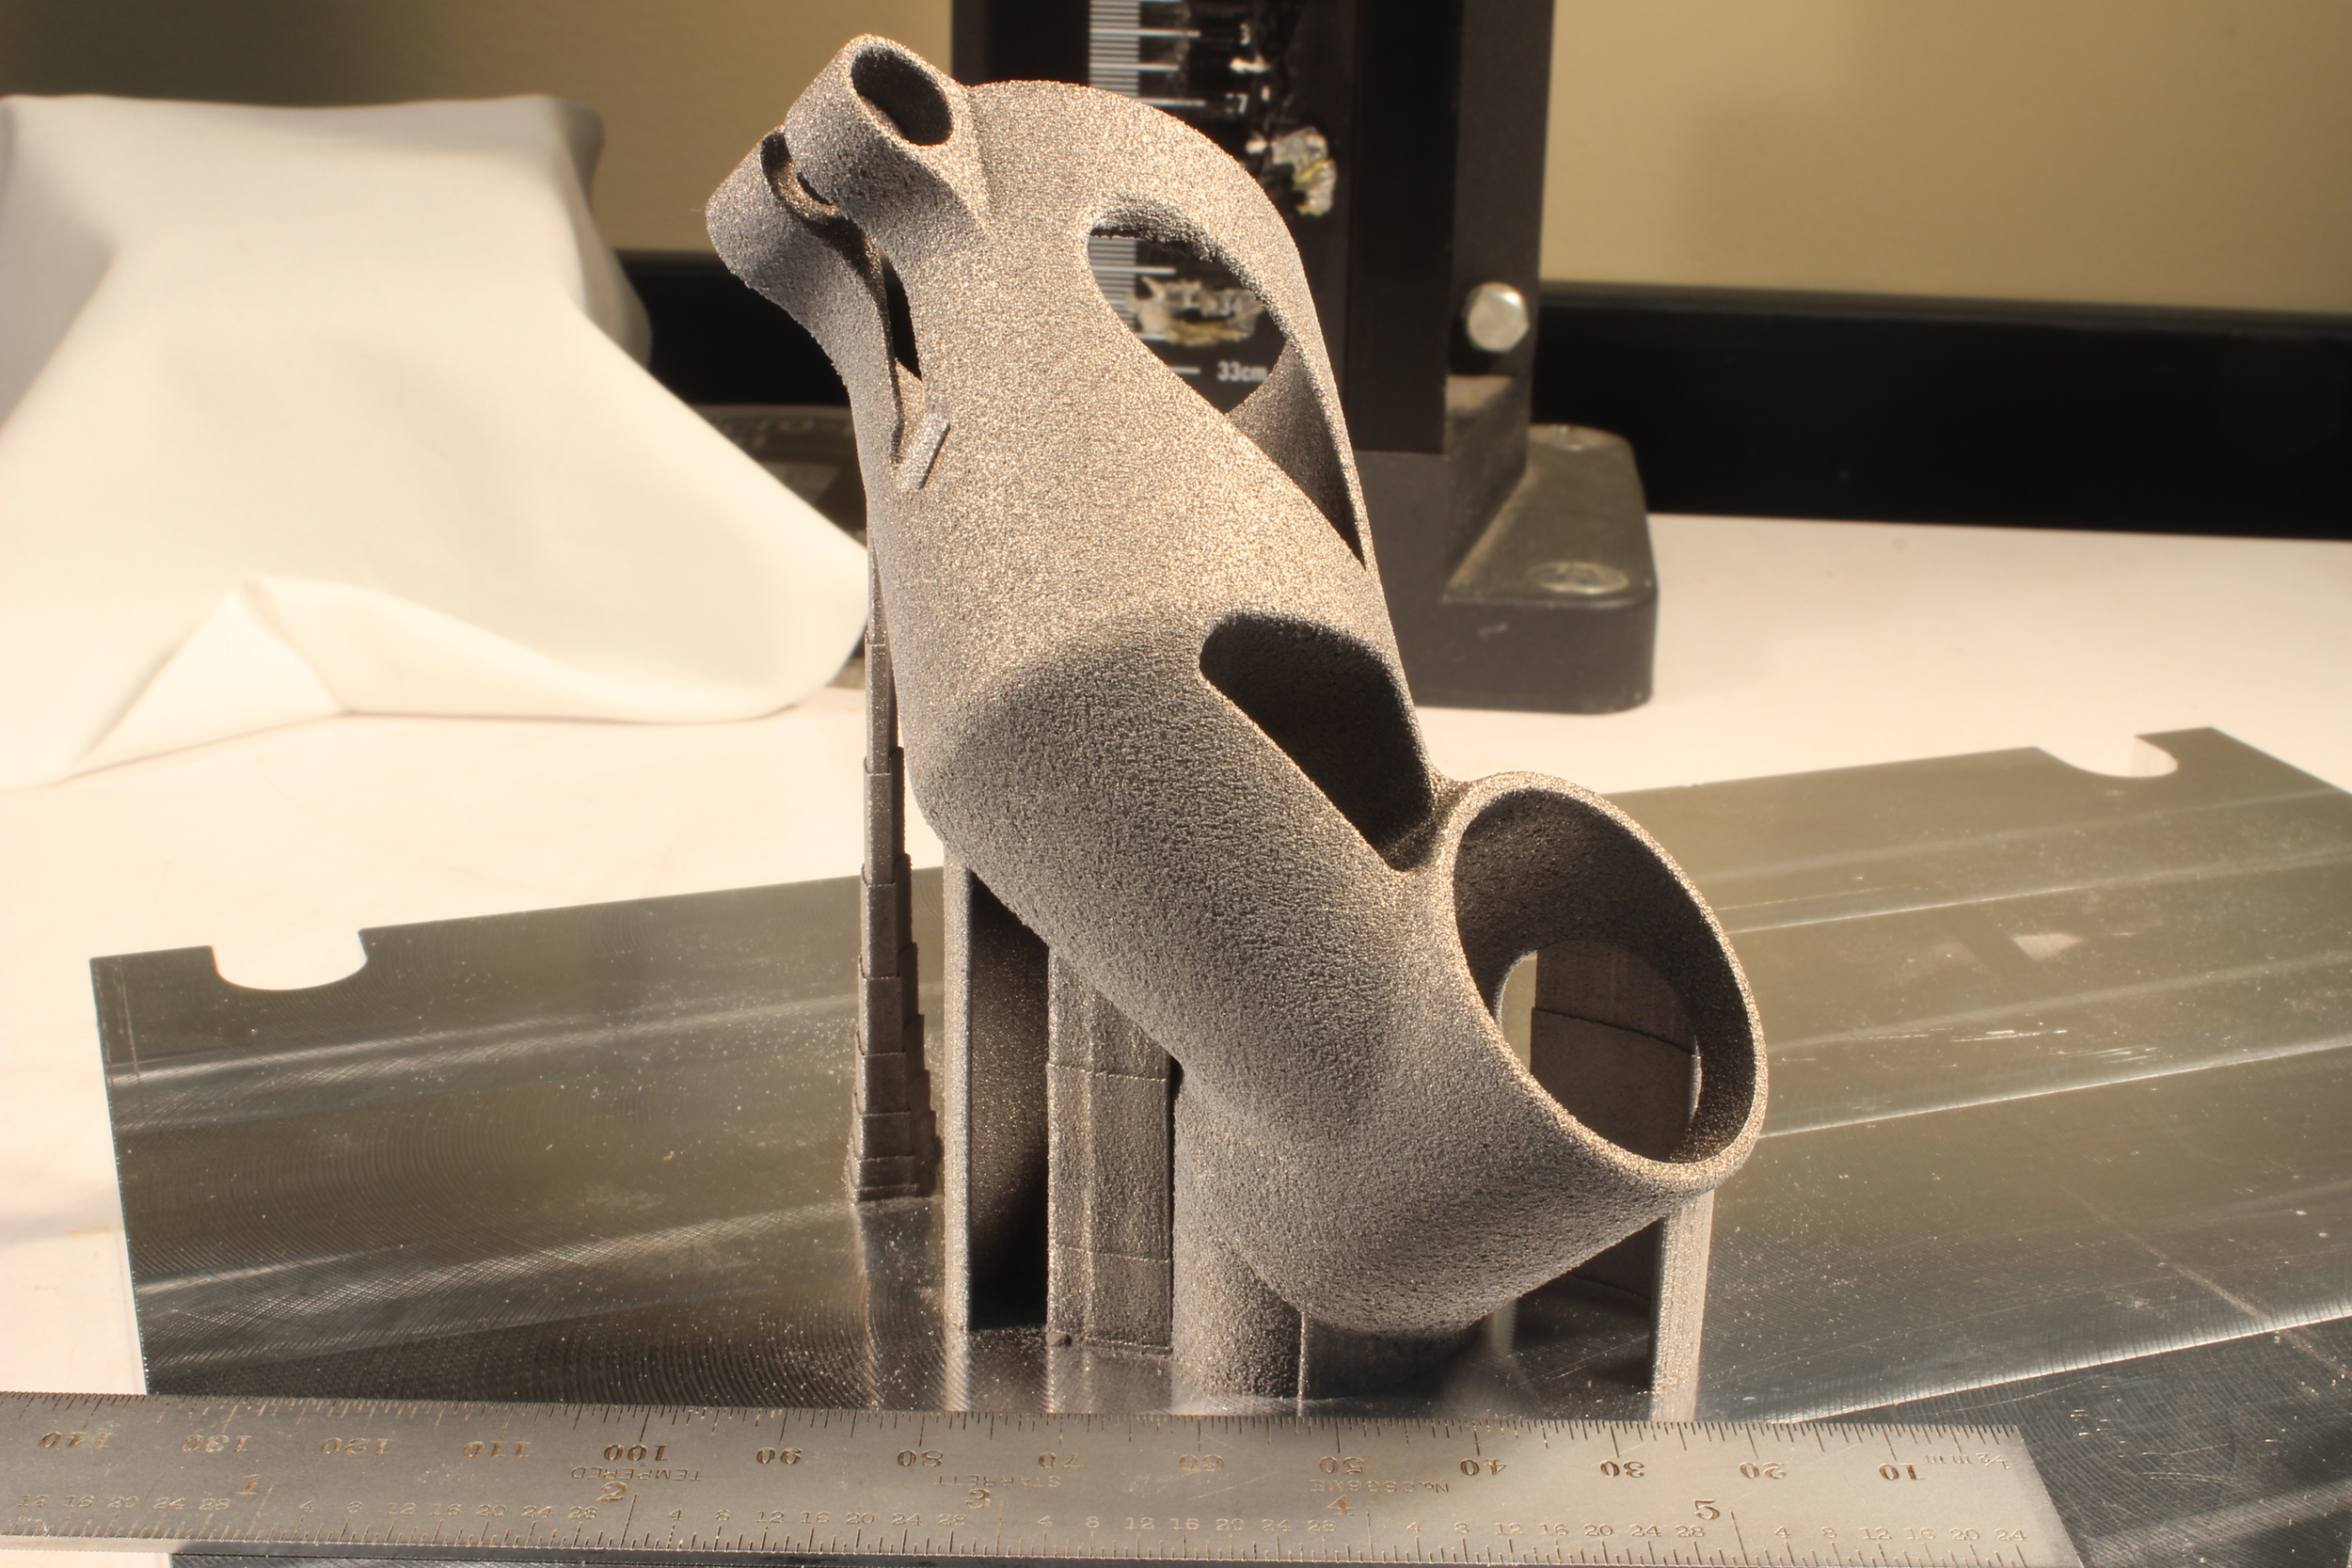
While electron beam melting tends to produce much lower internal stress than laser powder bed fusion does, it's still a decidedly near net shape process. In further iterations I hope to get the as-printed part much closer to the final dimensions, but at this stage the parts I have deviate significantly from the intended tolerances. Specifically, most outer dimensions seem to have grown, most inner dimensions seem to have shrunk, and there are a number of locations where support structures have left unacceptable surface finishes.
My main focus right now is getting both inner diameters to within .006" of their designed size. It's difficult to get a reliable measurement of where they are now (due mostly to surface finish, and the presence of leftover support material), but they both appear to be about .040" undersized. In addition, I suspect that the shorter cylinder is slighly ovalized - though not to the extent that it'll be an issue in the end.
Although there are other conceivable options, the most obvious way to get the IDs within tolerance is milling. By using either a CNC toolpath on an end mill, or a boring bar on a conventional mill, it should be very easy to get well within .006" of nominal dimensions on both areas of the part. However, the issue of fixturing is nontrivial. I designed this part with T-splines, and its outer surfaces aren't orthogonal at all. As a result, we'll need custom tooling to hold the parts in a milling vise.
As an aside: Anyone who says that additive manufacturing eliminates the need for custom tooling has no idea what they're talking about.
In order to securely fixture this part, Rob is machining its negative into a set of aluminum blocks, which can then be clamped securely into a milling machine vise. This technique (which I'll refer to here as "soft jaws," although technically what we're making is more of a coped fixturing block) is used extensively in subtractive manufacturing to hold irregularly shaped parts.
The process of making soft jaws is relatively straightforward, but designing them for this part is somewhat complicated by the dimensional variation that EBM produces. Put simply, feature sizes in EBM parts tend to deviate from the design in the X and Y axes, but stay relatively true to size in the Z. That's because the Z axis is at least partly controlled by the Z stage drive system; the powder bed is lowered a predictable amount with each new layer, keeping features in the Z close to their designed dimensions. But in the X and Y, deviations in feature size are partly driven by the electron beam diameter, and partly driven by the distance that the feature is from the center of the build platform.
As a result, my part has grown anisotropically, and Rob will need (to some extent or another; soft jaws tend to be somewhat forgiving) to compensate for the as-printed dimensions differently in the XY plane than he does in the Z.
In the end, though, the most practical way of determining the final dimensions of the soft jaws is to make a set, test them on the as-printed part, and iterate as necessary. It's conceivable that the first try will work, and it's also possible that if we make the negative a bit too big in all directions, we could use a piece of soft material (for instance, blue tape) to take up the gap.
It's also worth noting that there's an alternative path that I decided *not* to take. A common way to make parts - both with additive manufacturing and conventional - is to design fixturing features into an intermediate stage of the part. These can then be used to hold the part while secondary operations are performed; they can then be removed in a subsequent step. I considered this option, but find it undesirable for the simple reason that it would likely result in more post processing steps. Worse yet, it would probably require the surface of the part to be blended where the fixturing element had been removed, which would be either labor intensive, or unattractive, or both.
Regardless, we should have the first iteration of our soft jaws machined shortly. Expect updates!
Background: My day job is directing Undercurrent's strategy work with General Electric, but on the side I spend my time researching the state of the art in manufacturing - specifically, industrial 3D printing. I've written before about my approach to some of this work, but want to lay out here the way I see it fitting into my career.
As you'll know from my blog (cf. one, two), a primary focus of mine is developing a line of high end metal 3D printed bicycle parts. However, it might not be clear that that's just one step in finding specific applications where 3D printed production parts make commercial sense. In the end, the purpose of my work is to help expedite the transition toward a more fluid, transparent, and efficient mode of product design, manufacturing, and distribution - one which properly accounts for its own externalities, and allows for rapid integration of feedback across and throughout a part's life cycle.
I should be made clear that my long term focus isn't specific to additive. Every manufacturing method has a purpose, and any claim that 3D printing is going to unseat other methods should be examined critically. I want product designers have perfect transparency into how a given process will affect cost and function, and to be able to tune their design such that it's well matched for the resources at their disposal - and the end user's needs.
I do believe, however, that additive manufacturing offers a unique and historical opportunity. Partly because of the fact that 3D printed parts always begin as 3D models - and partly, to be frank, because of its sex appeal - additive has encouraged a new wave of people to people to work in an industry (manufacturing) that was due for a radical change. And while the effect of their naïveté is often to simply create churn, in the end I believe that manufacturing will benefit greatly from the influx of new ideas and working styles.
In order to harness this opportunity, I'm focused on developing the most compelling possible use case for the technologies at play today. For metal 3D printing to reach industrial maturity, designers need to understand its limitations - and how to best exploit its strengths. So I have begun my research with metal powder bed fusion, which is currently the 3D printing process best suited for industrial use. I'm developing parts which make good use of 3D printing's strengths (lightweight, low production volume, smaller than a breadbox), and an industry which prizes the traits that additive manufacturing is best suited for (has short sales cycles, rewards innovative design, benefits from customization).
Today, developing metal 3D printed parts is an expensive process, and it's difficult to estimate how difficult a project will be. So to begin, an easy place for me to provide value has been to explain (in sometimes painstaking detail) the experience I've had over the past year and a half. Because there's so little public information about the realities of metal powder bed fusion, writing on that subject has allowed me to boost my profile quickly.
But more importantly, it has encouraged other people who are working on similar problems to offer collaborations. This has helped me twofold: First, it has in many cases resulted in decreased costs on my end, as the people and companies that I'm collaborating with have given me prototype parts in exchange for me writing long, in-depth descriptions of what they do. But even more significantly, these collaborations have given me unique opportunities to see past the marketing and sales messages and talk directly to the engineers who know the state of metal powder bed fusion best. This has allowed me to advance my own level of knowledge much more quickly than I otherwise could have, and has given me access to people who I can now turn to when I'm stuck.
To be sure, I have a *ton* to learn - and ultimately I'll never know as much as the seasoned professionals who I'm working with now. But between the hands on experience that I'm getting by building bike parts, and the access I now have to the most advanced research organizations in the world, I find myself in an ideal position to identify what aspects of today's manufacturing ecosystem most desperately need fixing - and who the most well positioned players are today. And that, plus the (I hope) sincerity, honesty, and intelligence that I've employed in writing about my own development process, puts me in a position to be a key part of whatever team ends up fixing them.
So, in short, the master plan is:
Don't tell anyone.
ps - Hat tip to Elon Musk, whose strategy (and how he communicates it) rocks.
pps - I also explicitly want to bring more advanced manufacturing development to New York City, which I believe is the best place in the world to do serious work.
From a piece in The New Inquiry on the Women's World Cup, and how absent desire is from most women's public lives:
I never thought to put them together: that having role models who spoke to my extraordinary self-consciousness could have helped me reap the benefits of sports.
First: This piece is not about me, and I don't mean to make it about me. But I liked it, and there's something in it that really resonated.
As a kid I felt similarly self conscious, and had a really hard time expressing myself physically. It wasn't until well into my adult life that I felt comfortable trying at sports, but during high school an alternate physical activity presented itself: construction.
I began working on jobsites as a teenager. My dad was (and still is) a contractor, and he gave me a generous (I mean this sincerely) opportunity: I could start out like anyone else, as a laborer. My first summer in construction was spent largely in a basement crawl space, chipping cinder blocks out with a sledgehammer and then dragging the rubble upstairs, outside, and into a dumpster.
I loved it. It was the first time in my life where I had been assigned what amounted to a feat of strength, and there was no shame in me showing the signs of physical strain.
I think somehow that these experiences are directly related to the discomfort I feel about phrases like "hardware is hard." In my experience, basically everything is hard - if you're doing it right. It's something I've tried to keep in mind, especially as more and more of my identity has been tied to taking on big, challenging, physical projects.
Today I had the pleasure of visiting Tesla's Fremont factory, where every single Model S is built. While they don't allow photos on the tour, I did take this pano to prove that I'm not fabricating the whole thing (but seriously though, a Google Image search does a decent job at showing you what it looks like inside):
Anyway, a couple of thoughts came to me on the tour, and I wanted to share them:
Tesla is not, first and foremost, a manufacturing company; to wax on about the factory tour would miss the point. Their focus is simple: Musk has a singular vision for how the global energy lifecycle should work, and Tesla is doing whatever's necessary to bring it to fruition. Tesla is an energy company, and they're a "we're doing this because we believe in it and goddammit nobody else will" company. Which is really admirable, and it pleased me to see them use their factory - which, in spite of its relatively low throughput, is certainly a spectacle to behold - as a way to convert people to their mindset.
A few weeks ago I visited Addaero Manufacturing, one of the very few EBM (electron beam melting) service providers in the US. After my recent trials (and successes) with laser powder bed fusion, I wanted to try building parts with EBM. EBM is used extensively by aerospace and medical OEMs, but its penetration into the job shop world is way behind laser. Addaero, whose founders (Rich Merlino and Dave Hill) both worked at Pratt & Whitney before striking out on their own, is located just a few hours from New York City, and they were gracious enough to build two parts for me to evaluate the process.
I'll be writing up a longer post on the unique design considerations that EBM poses, but for now I wanted to share the pictures I took while there:

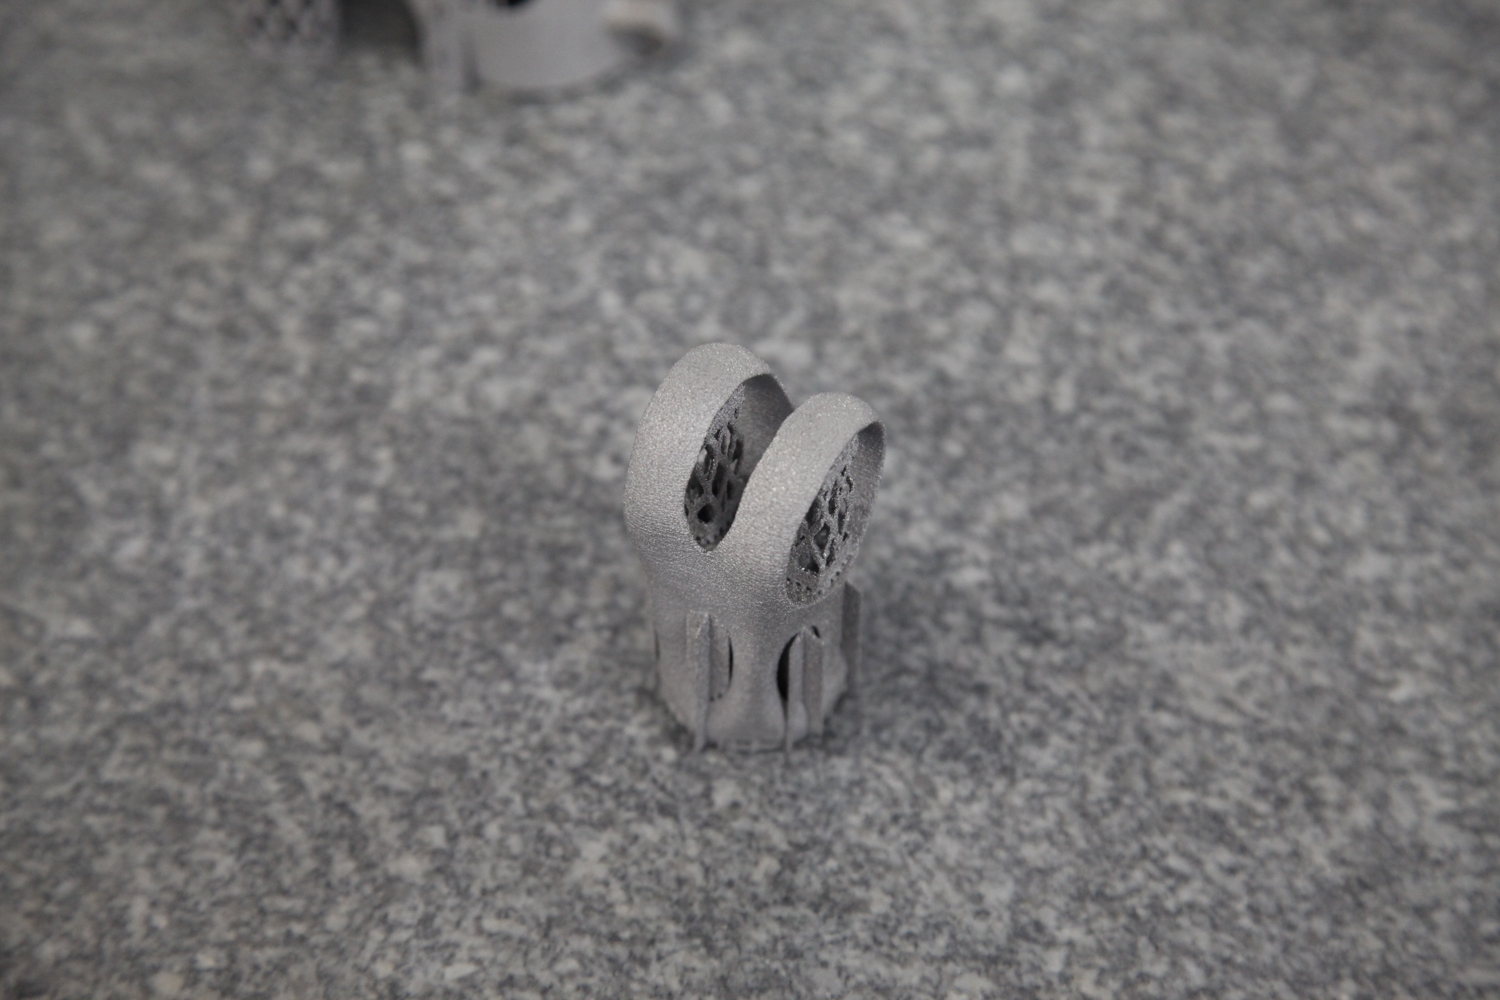
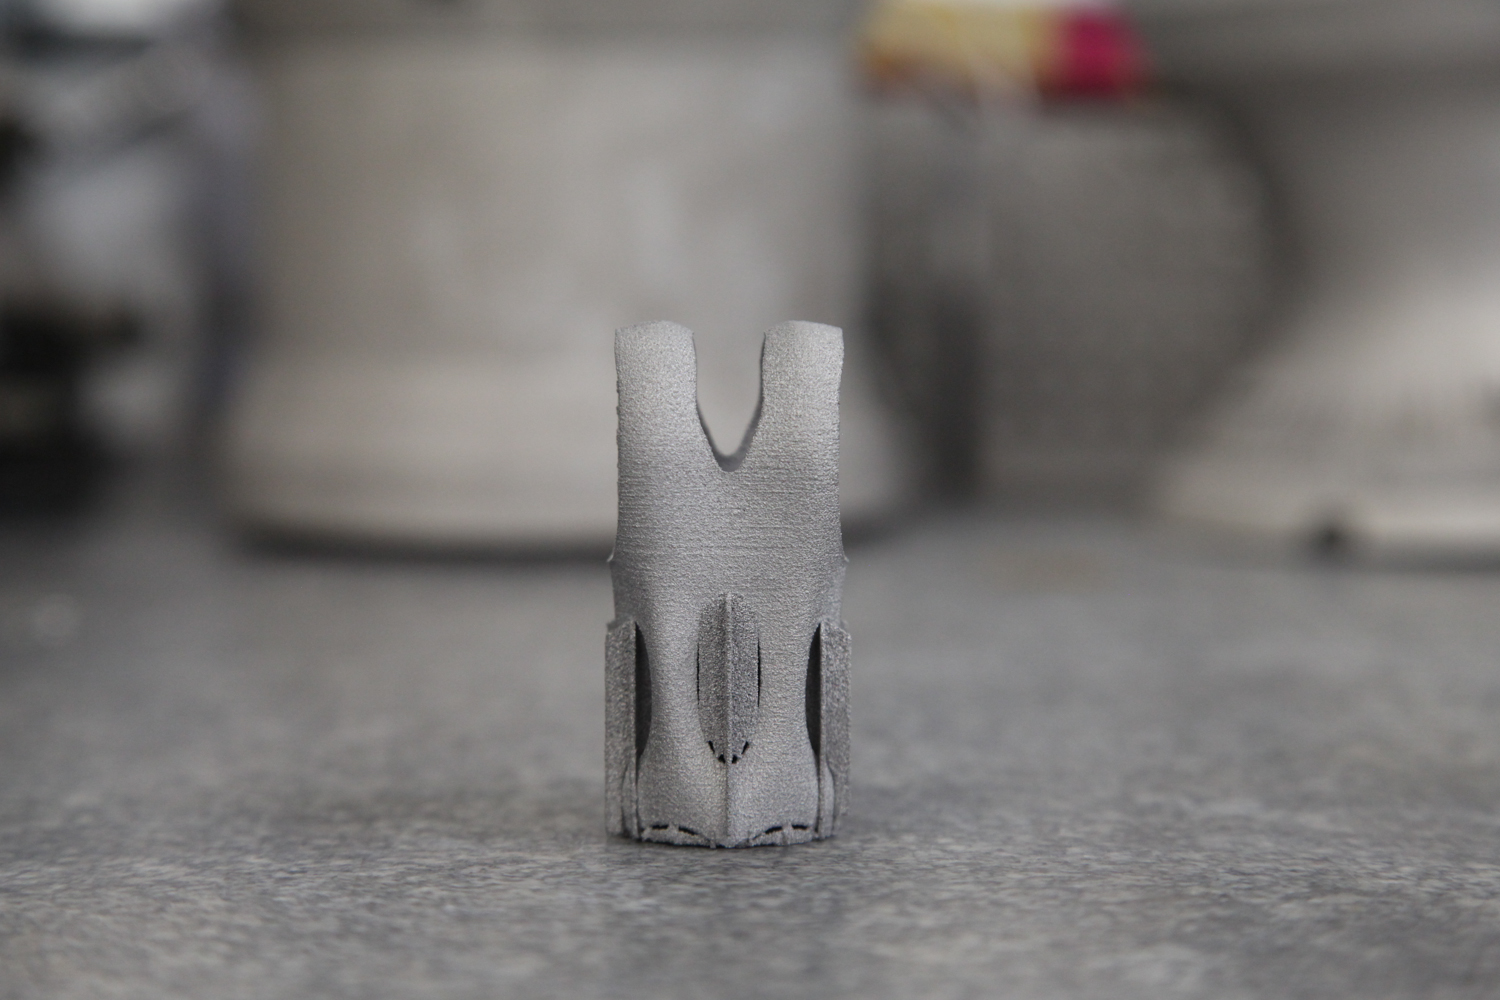
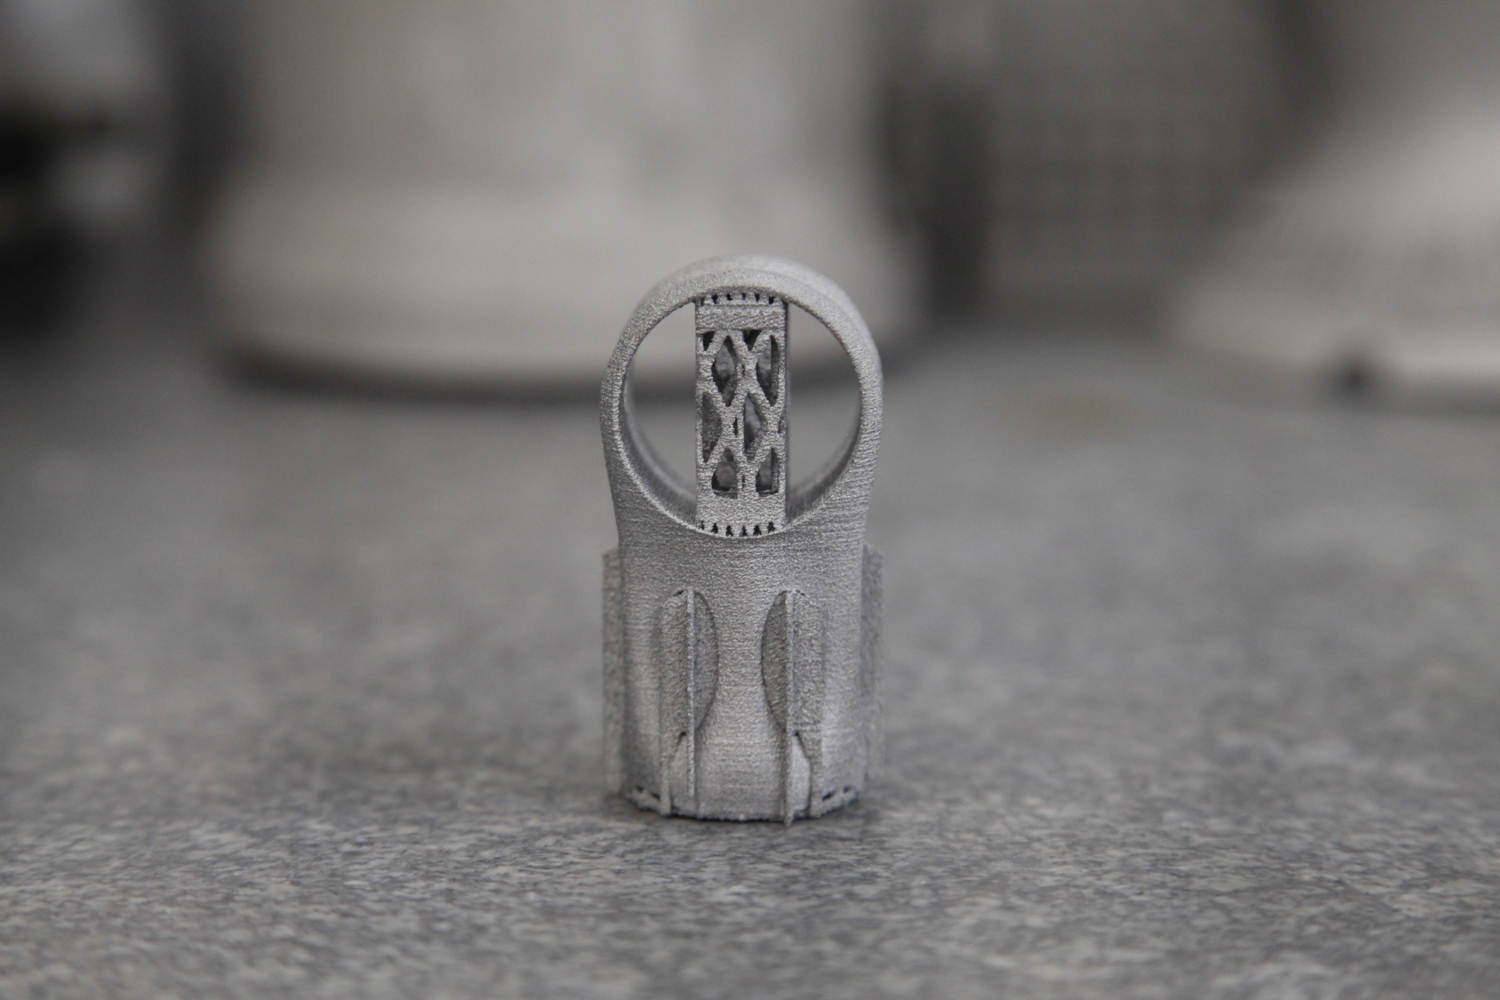
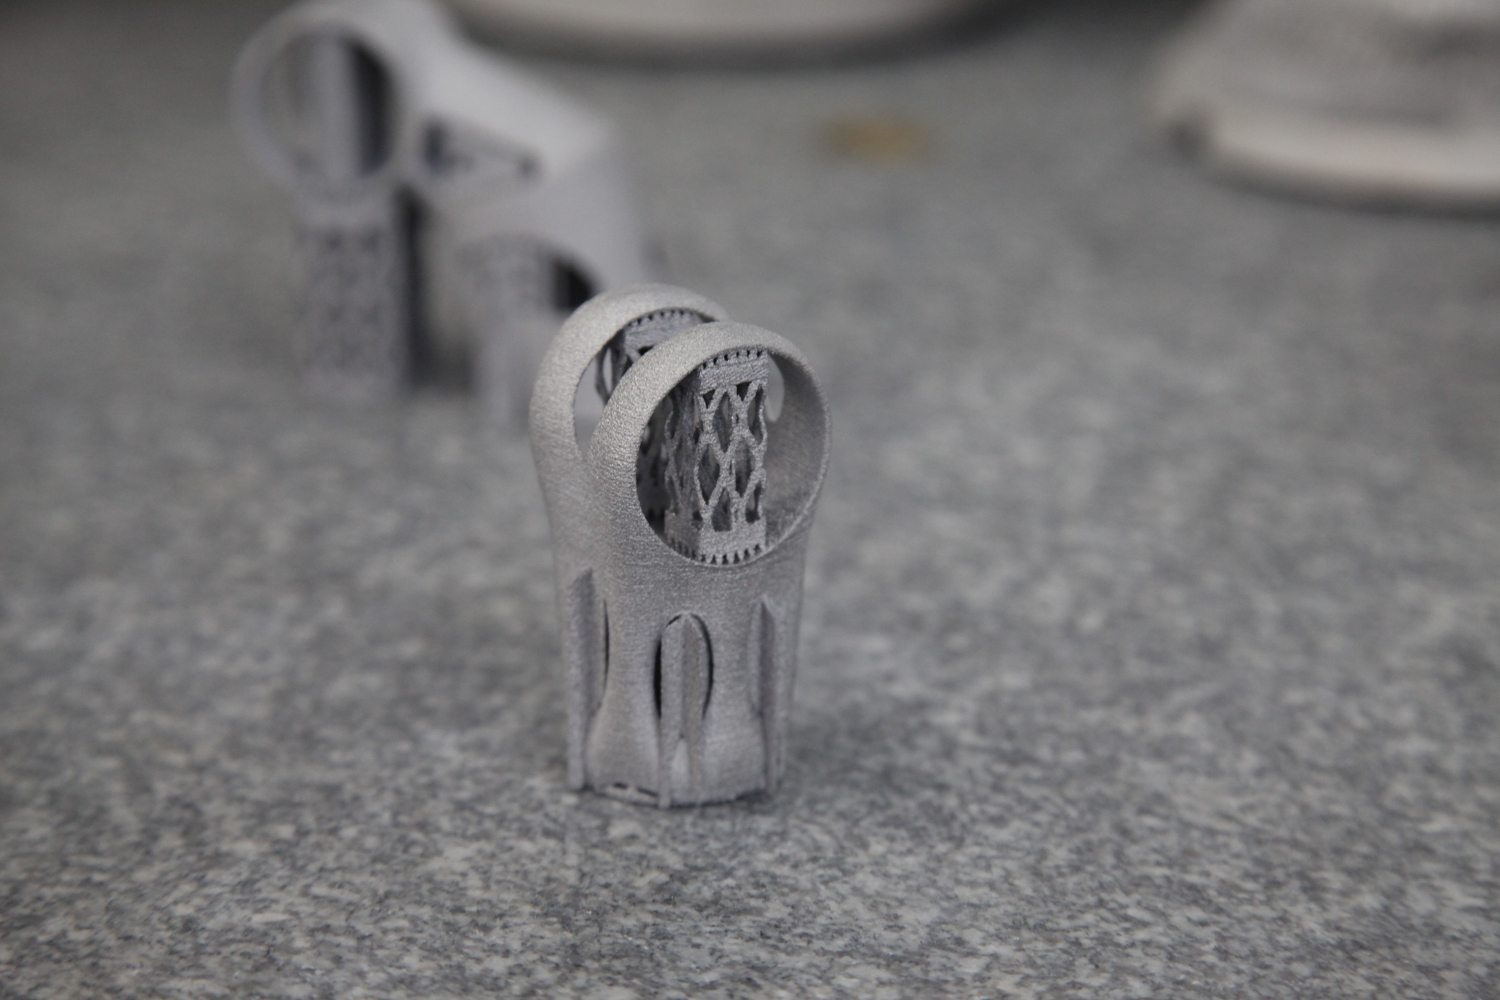
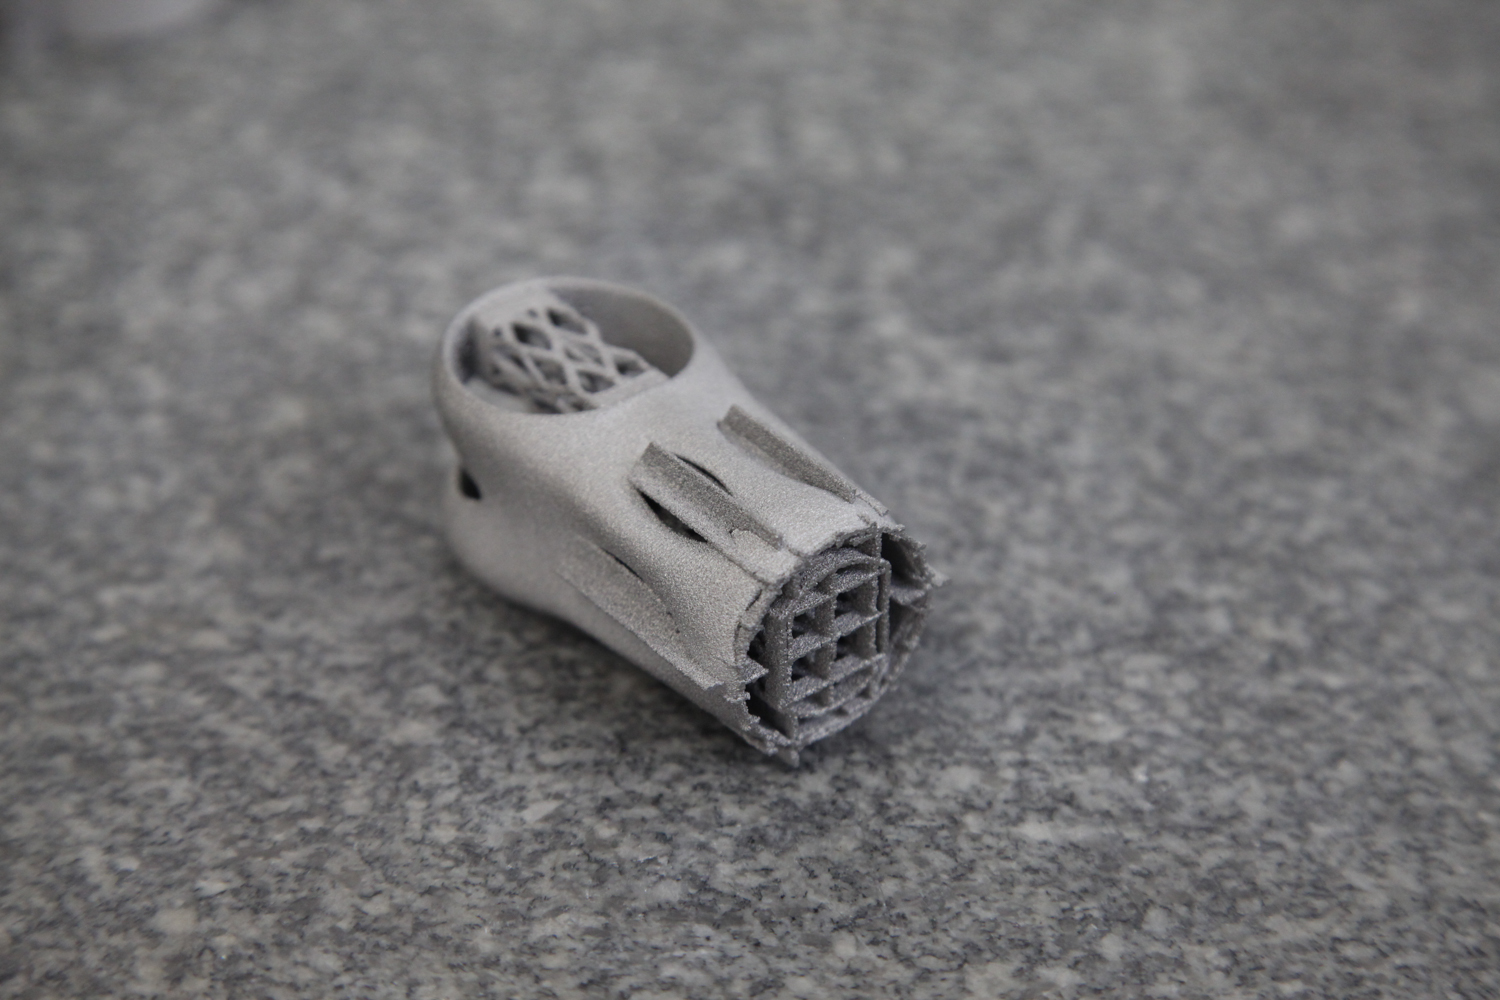
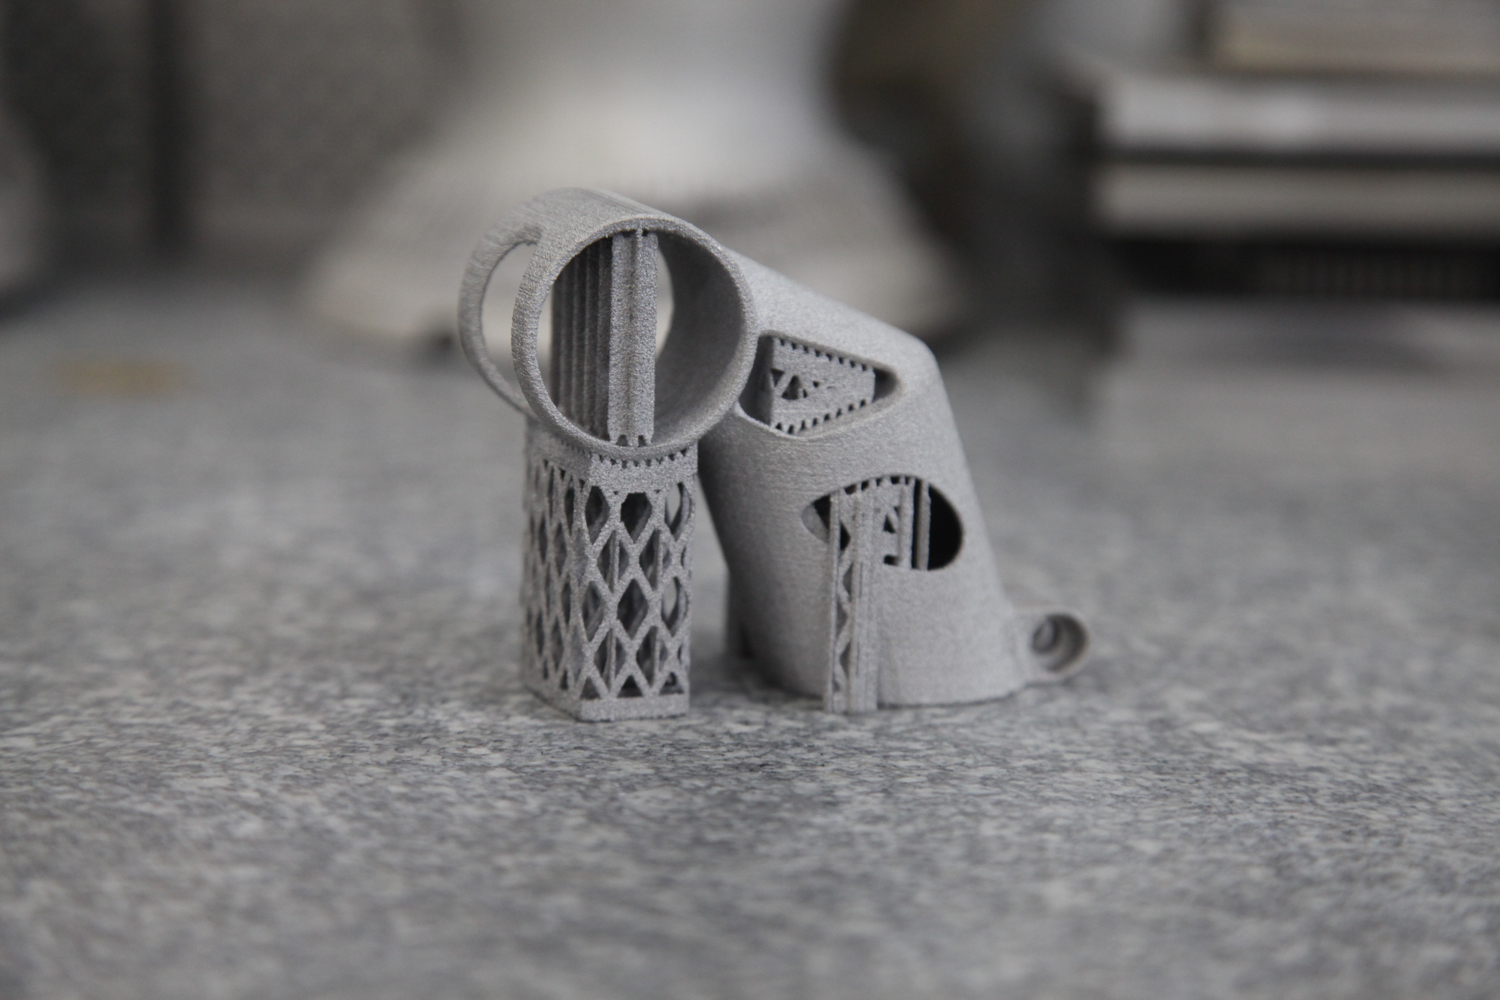
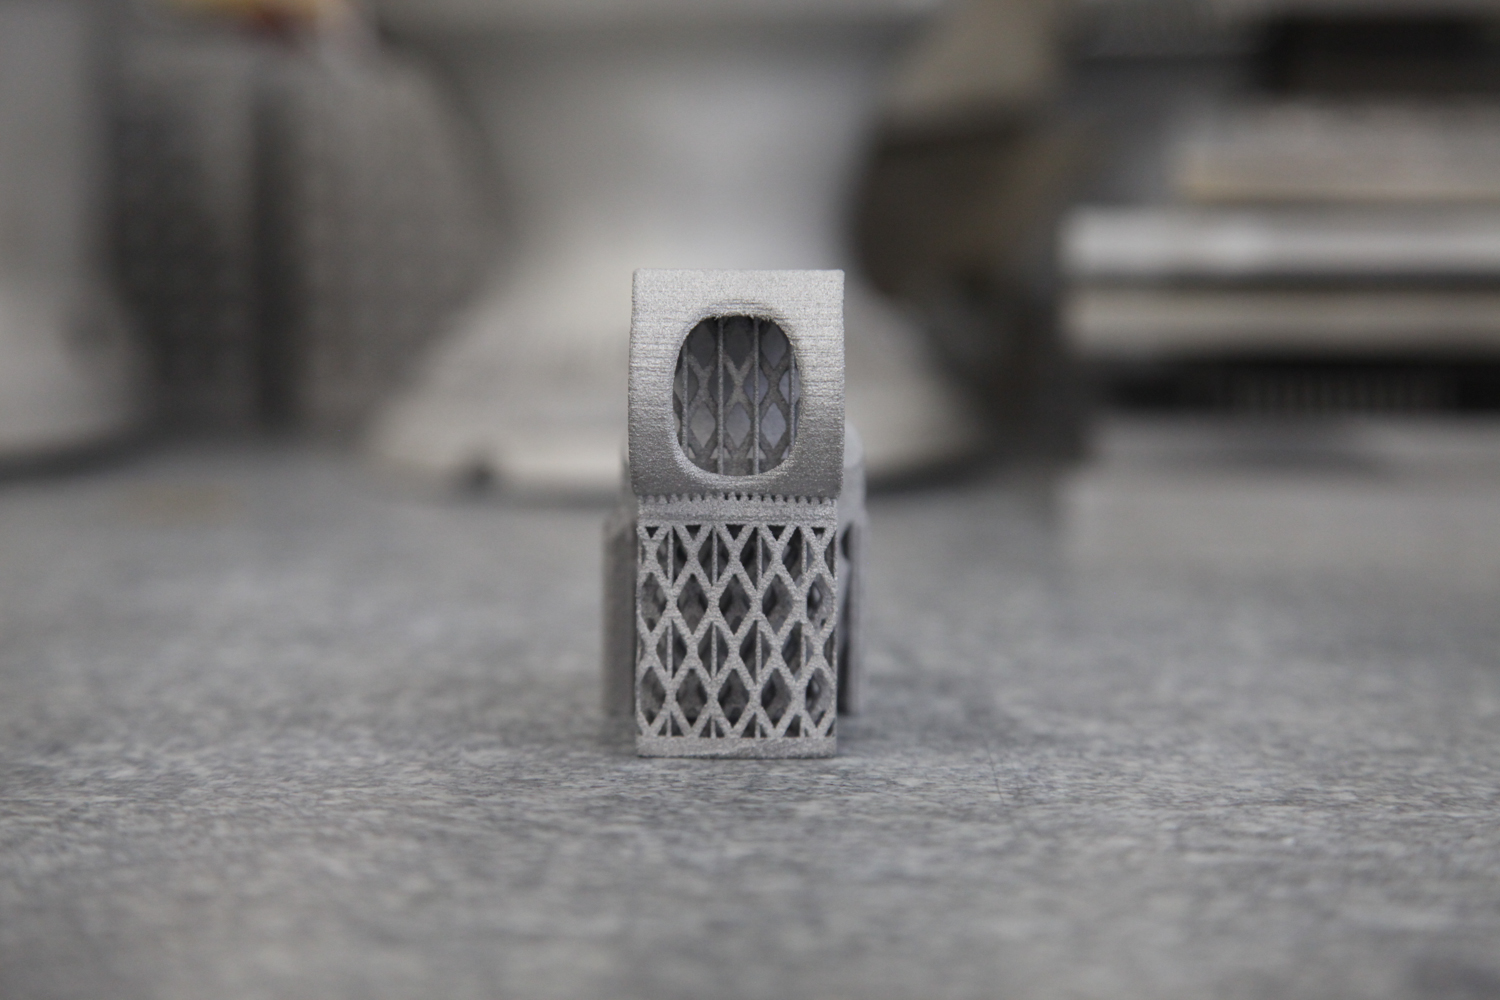
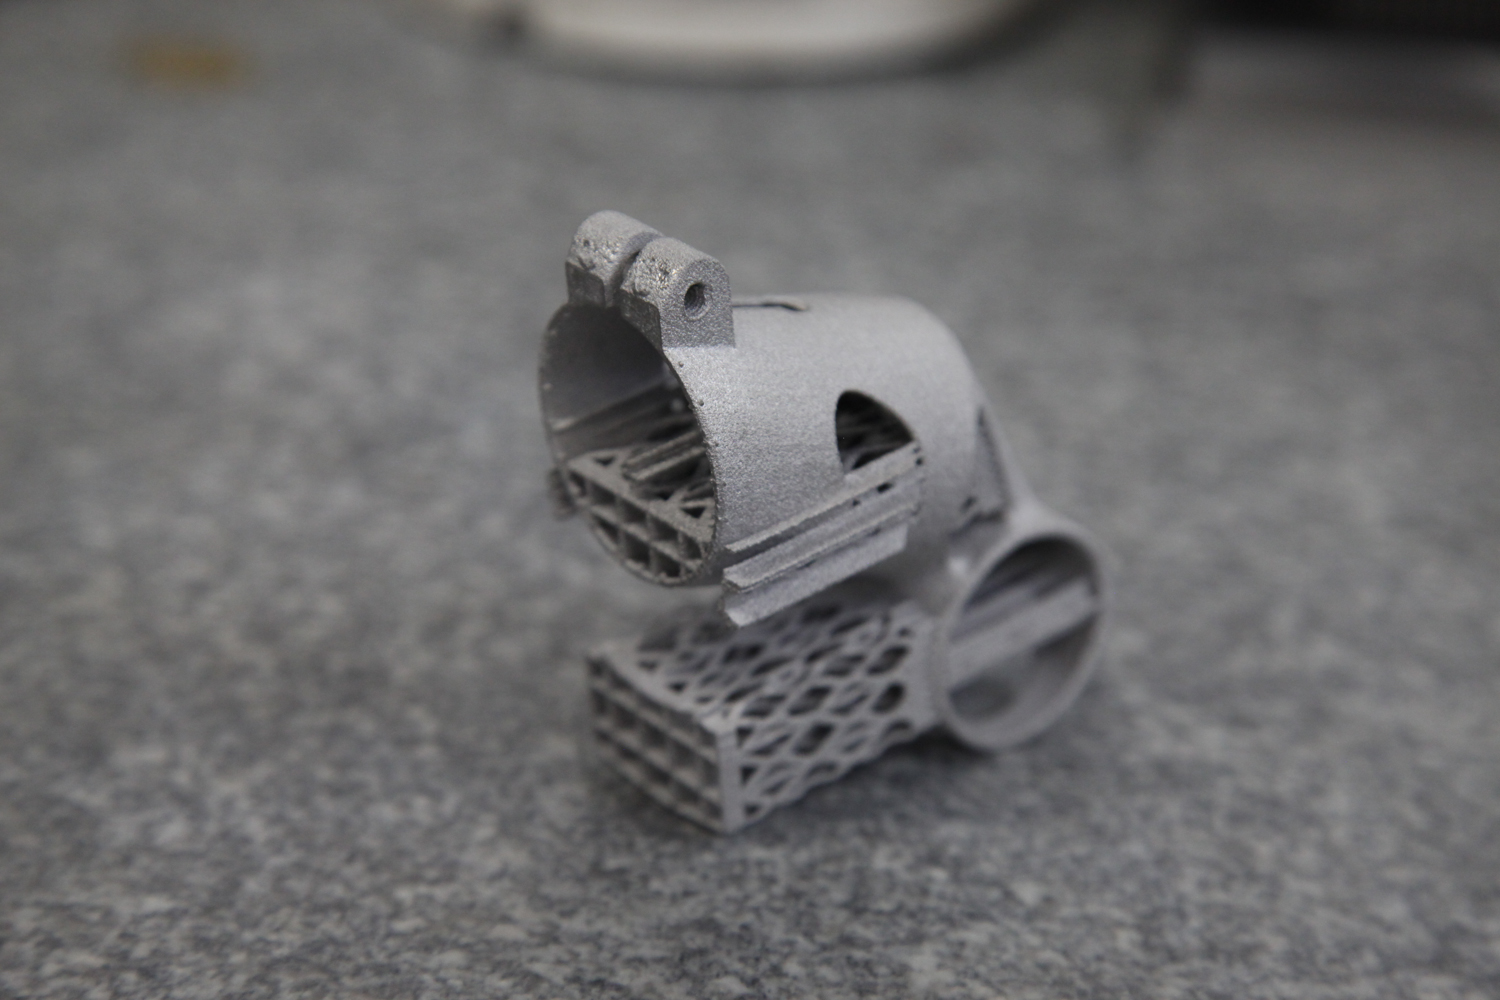
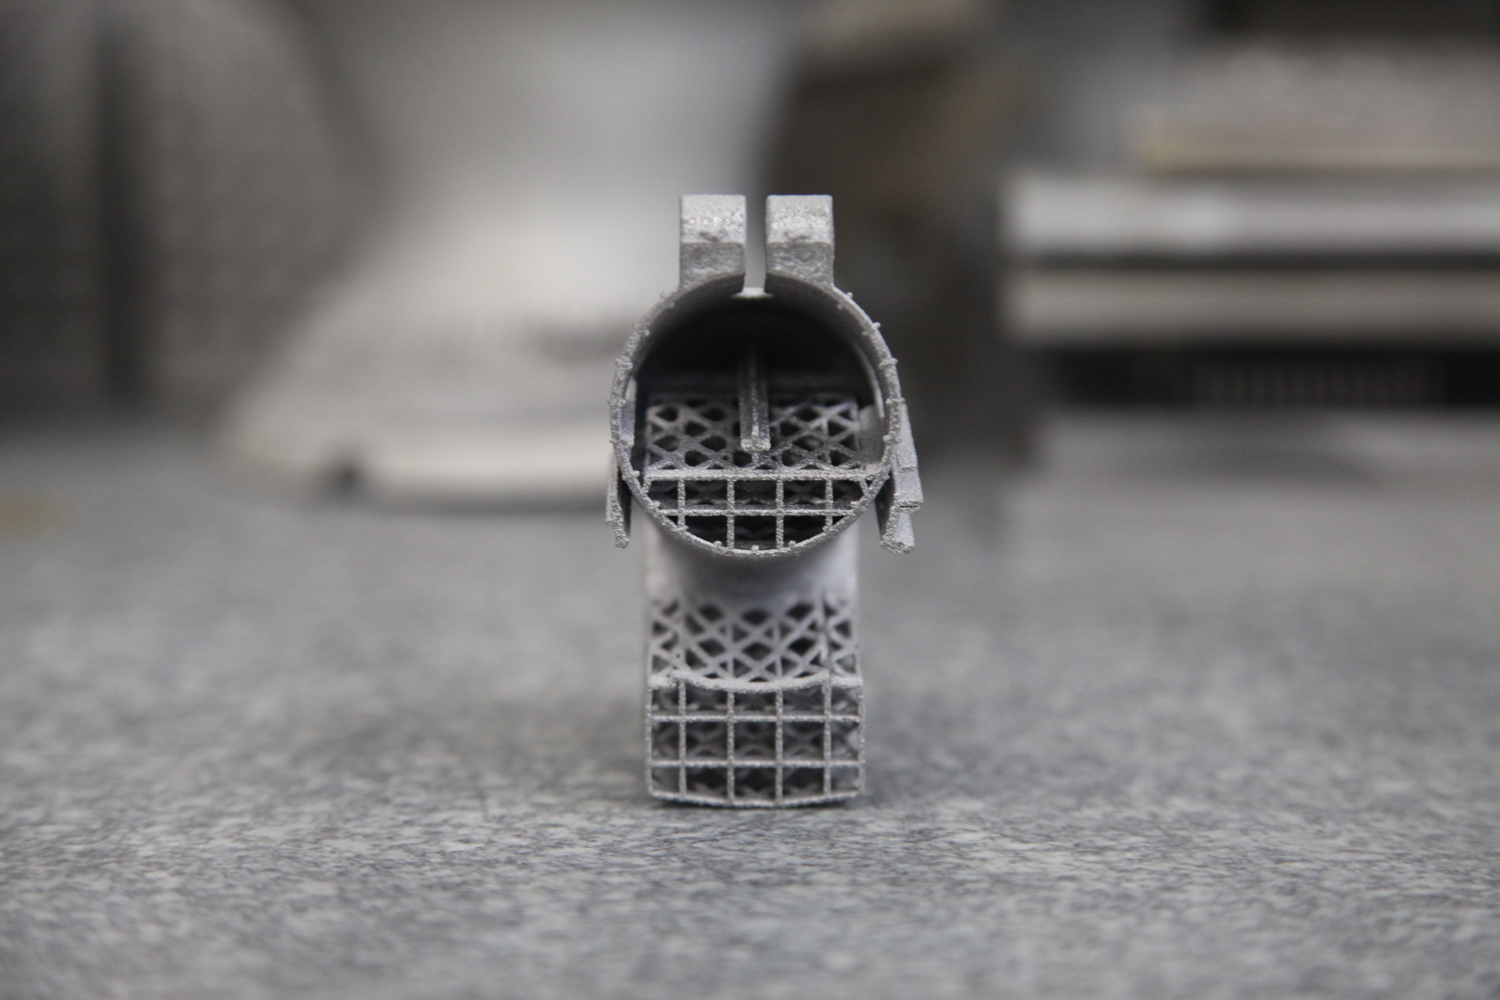
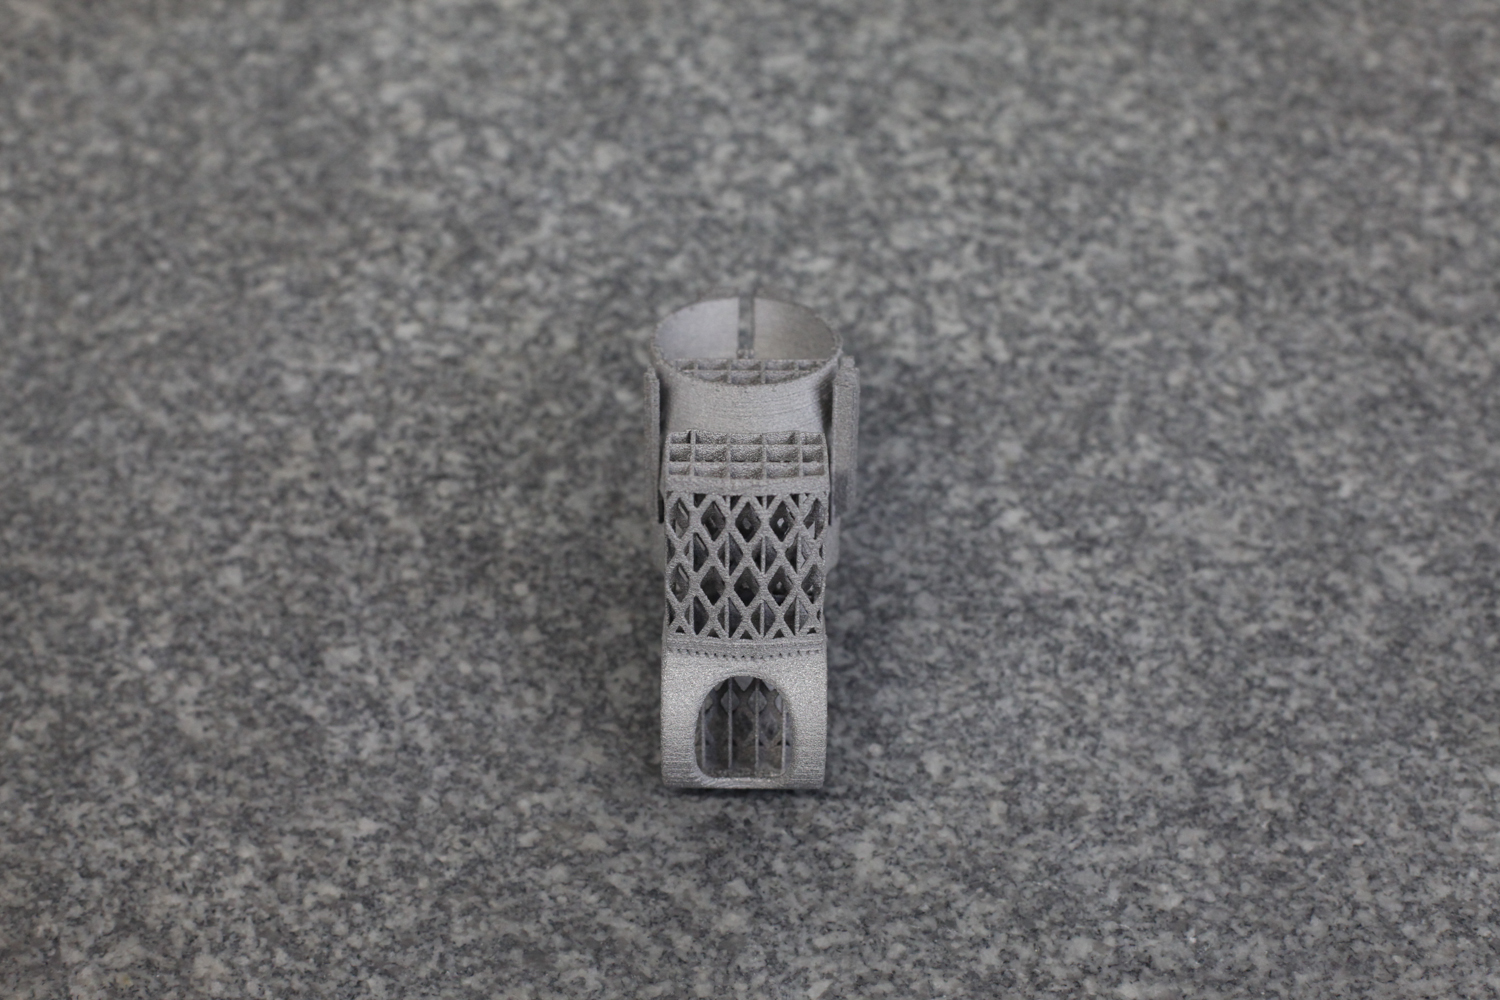
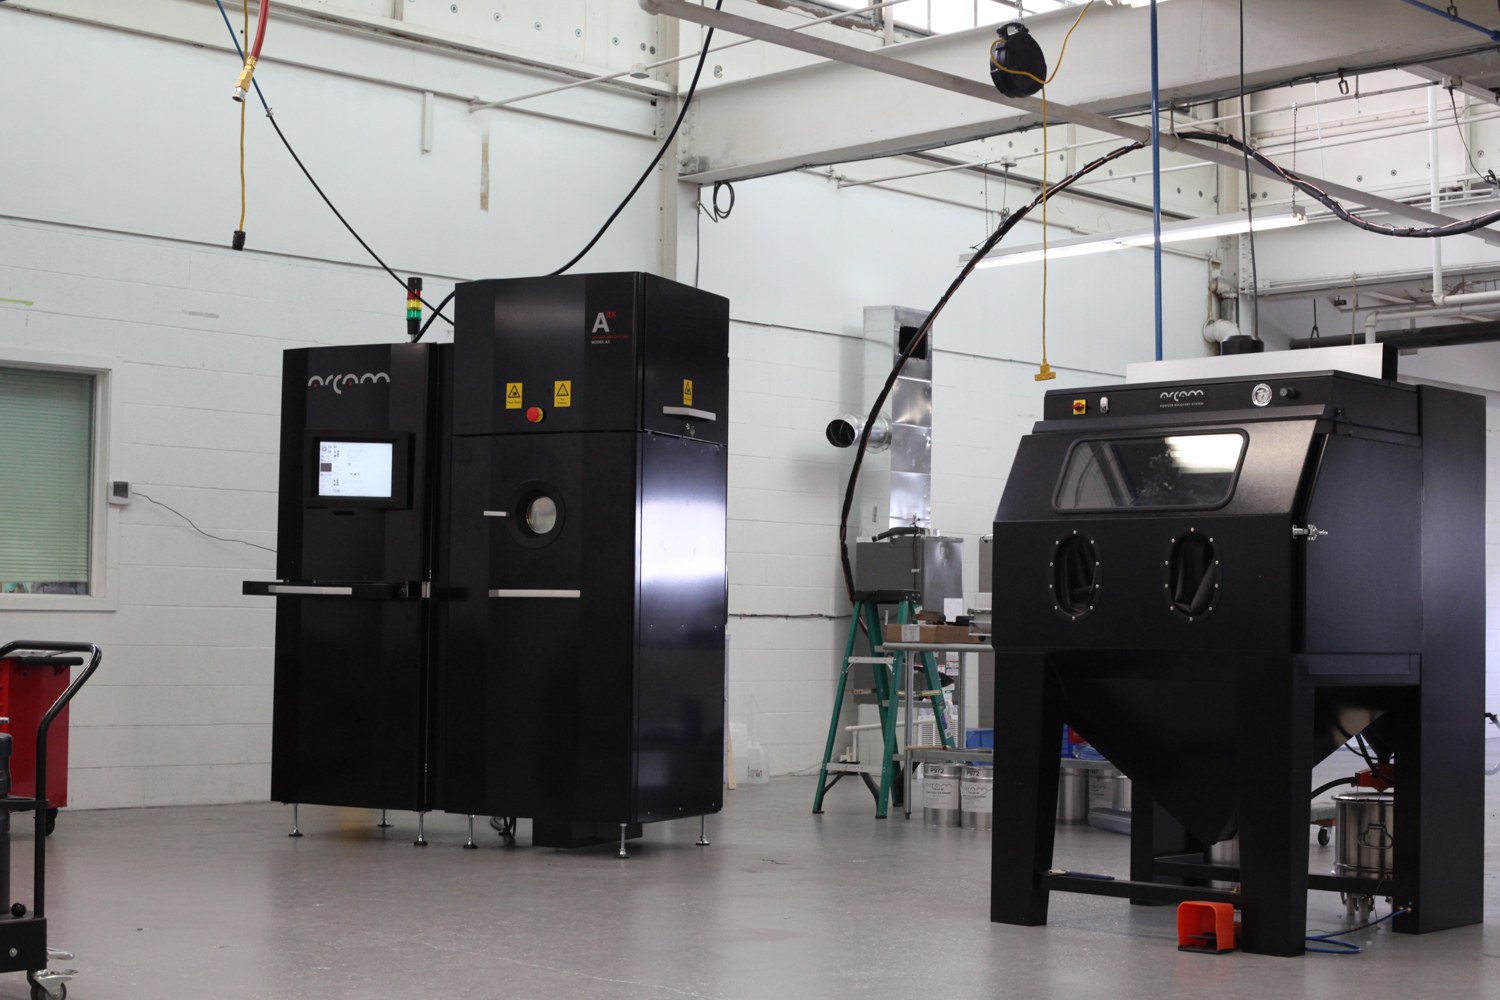
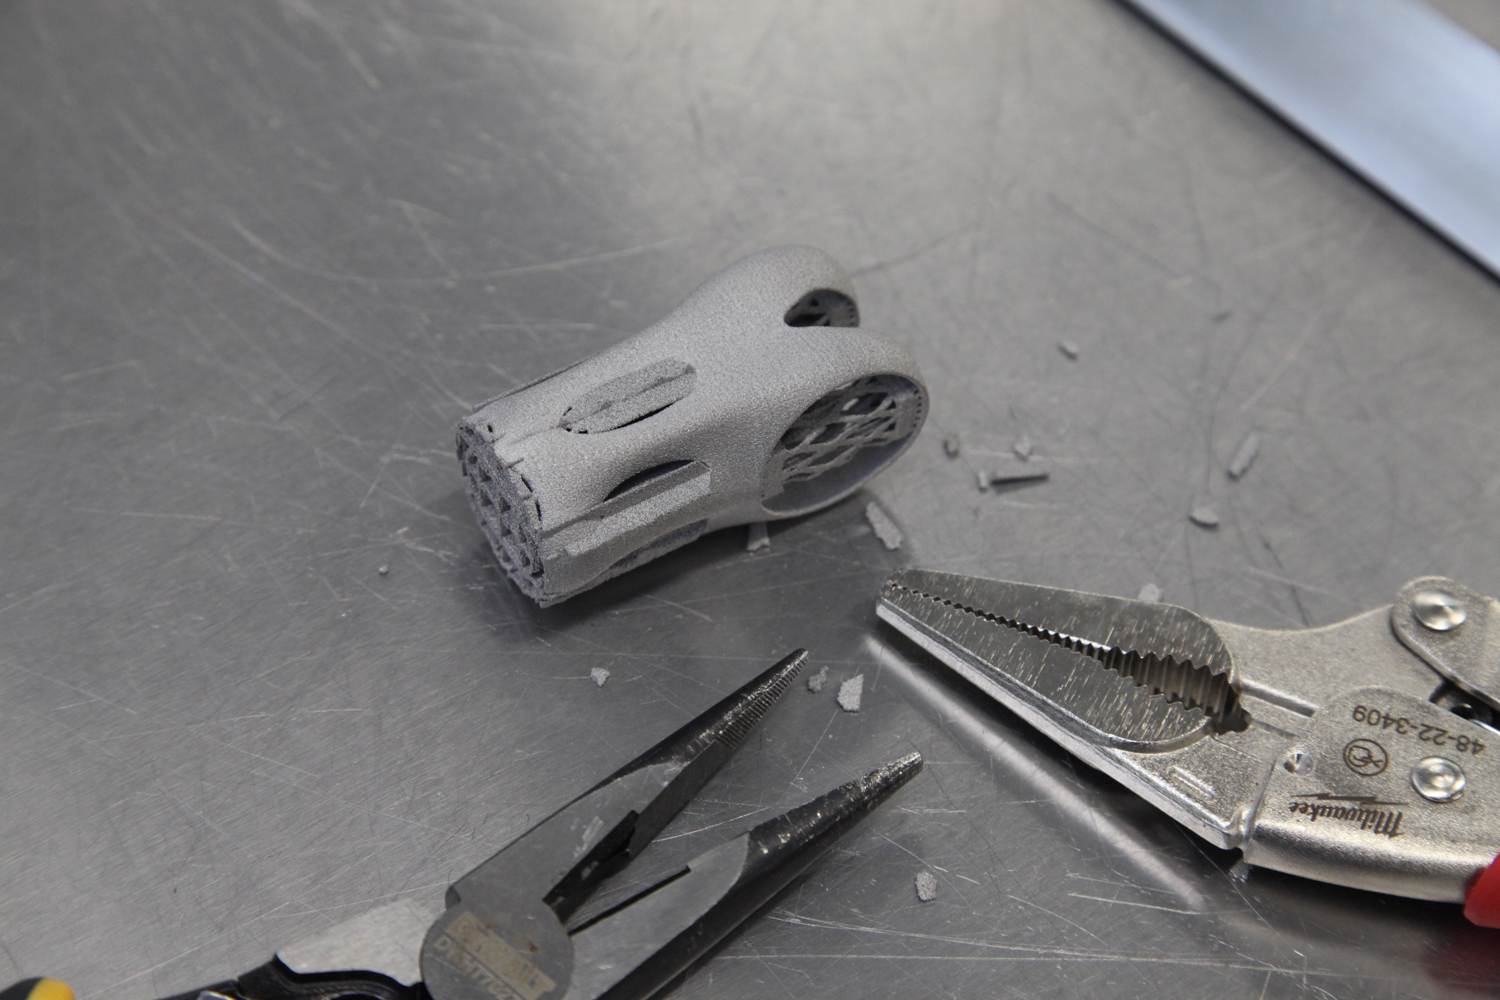
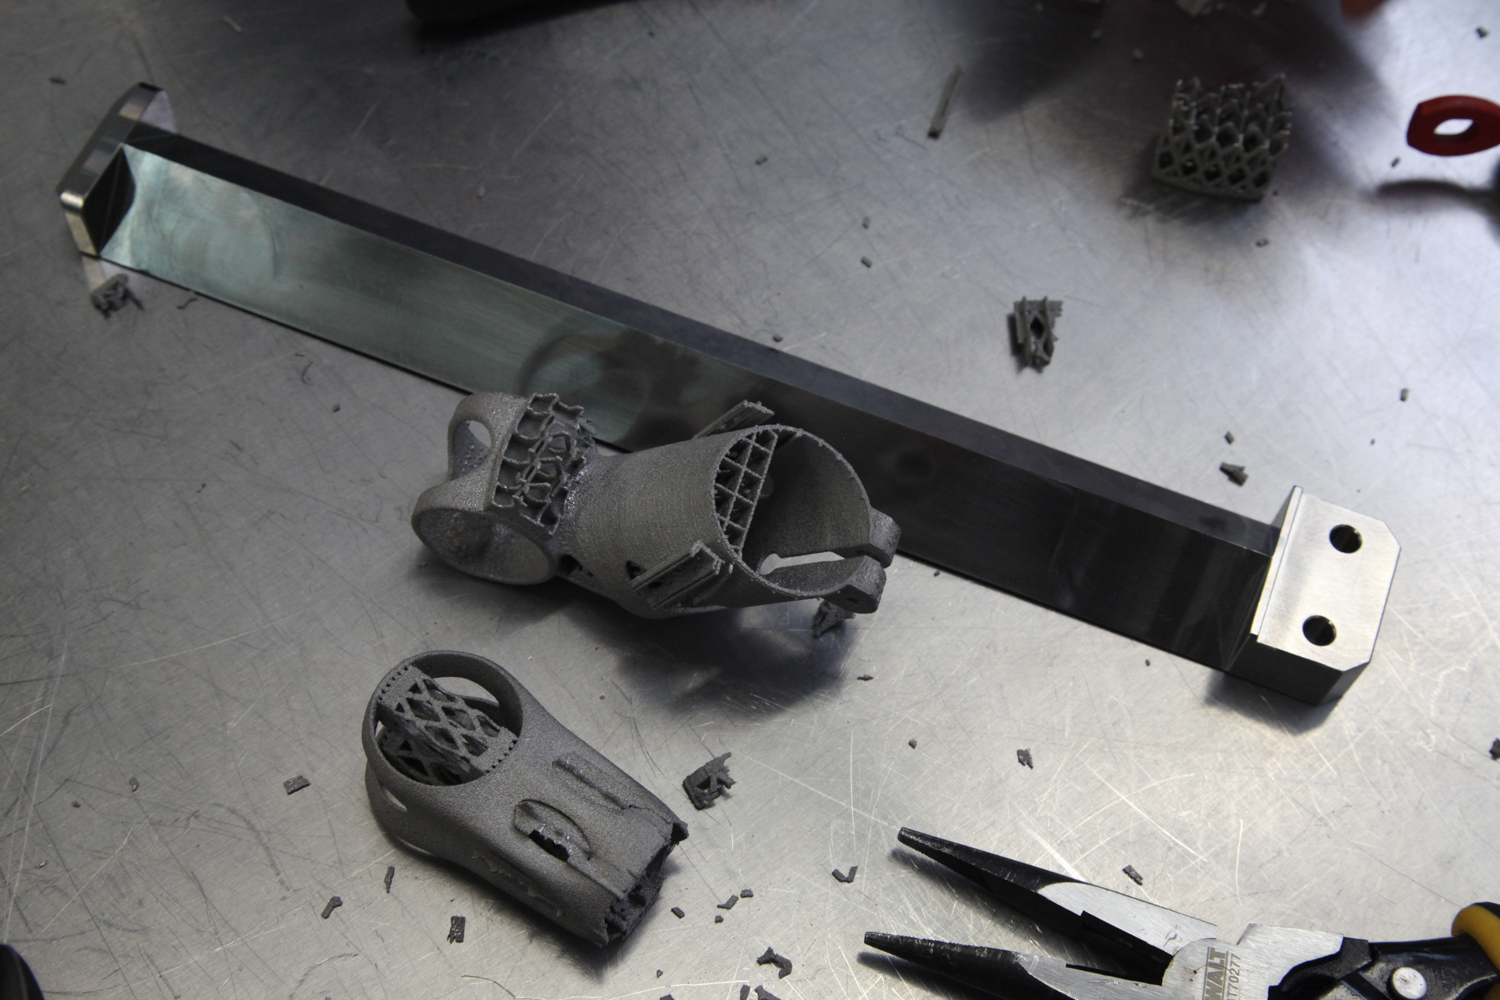
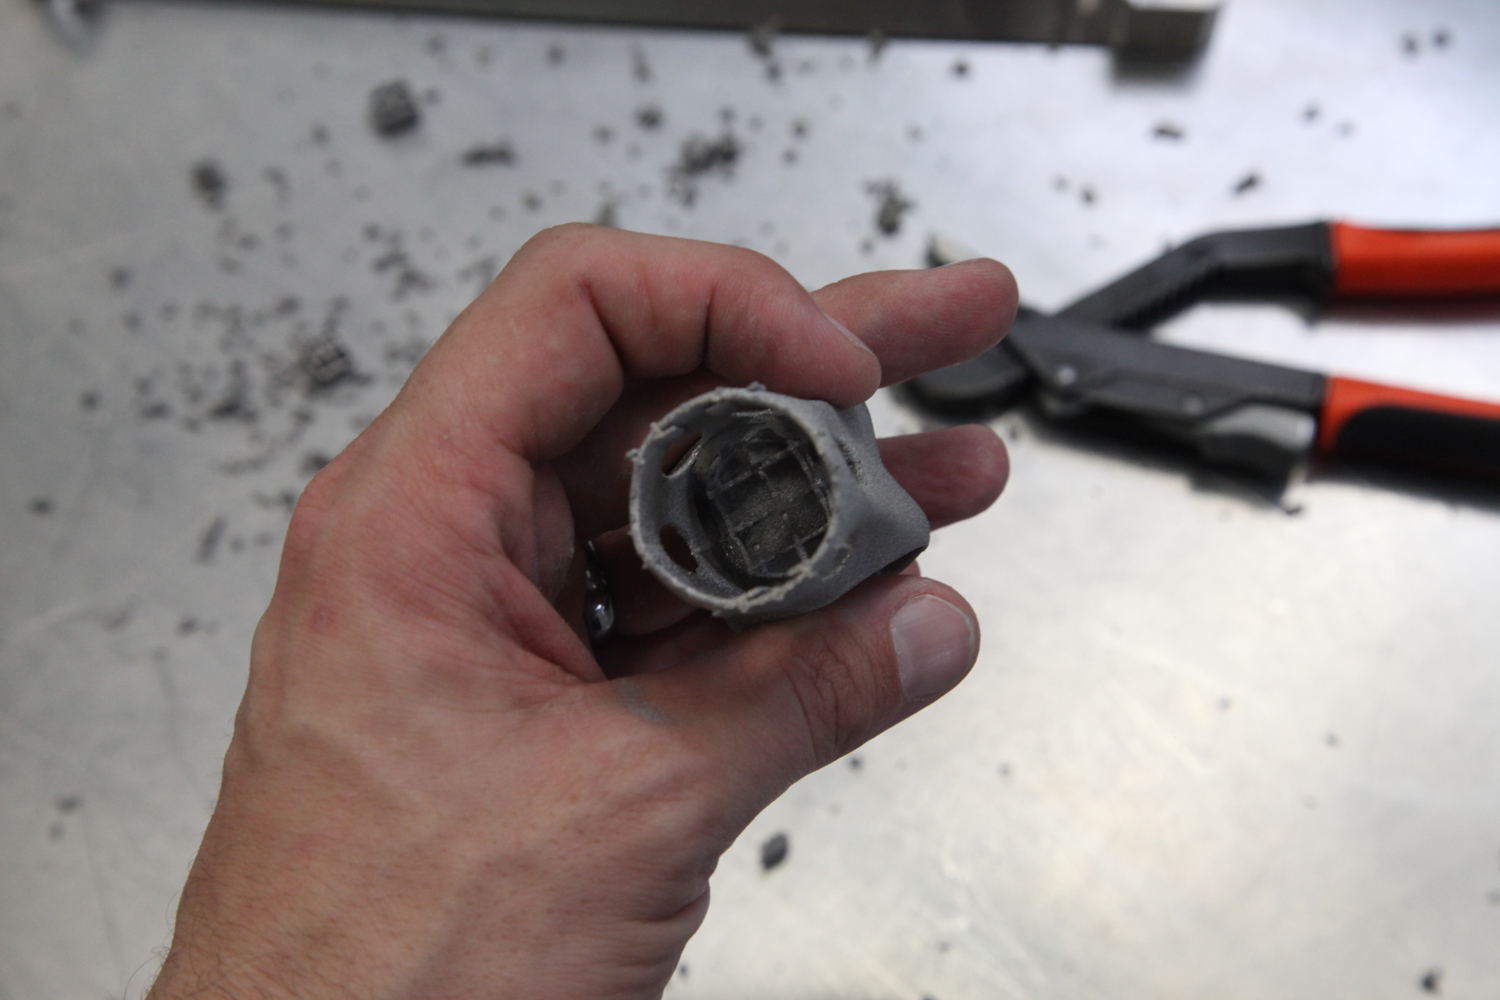
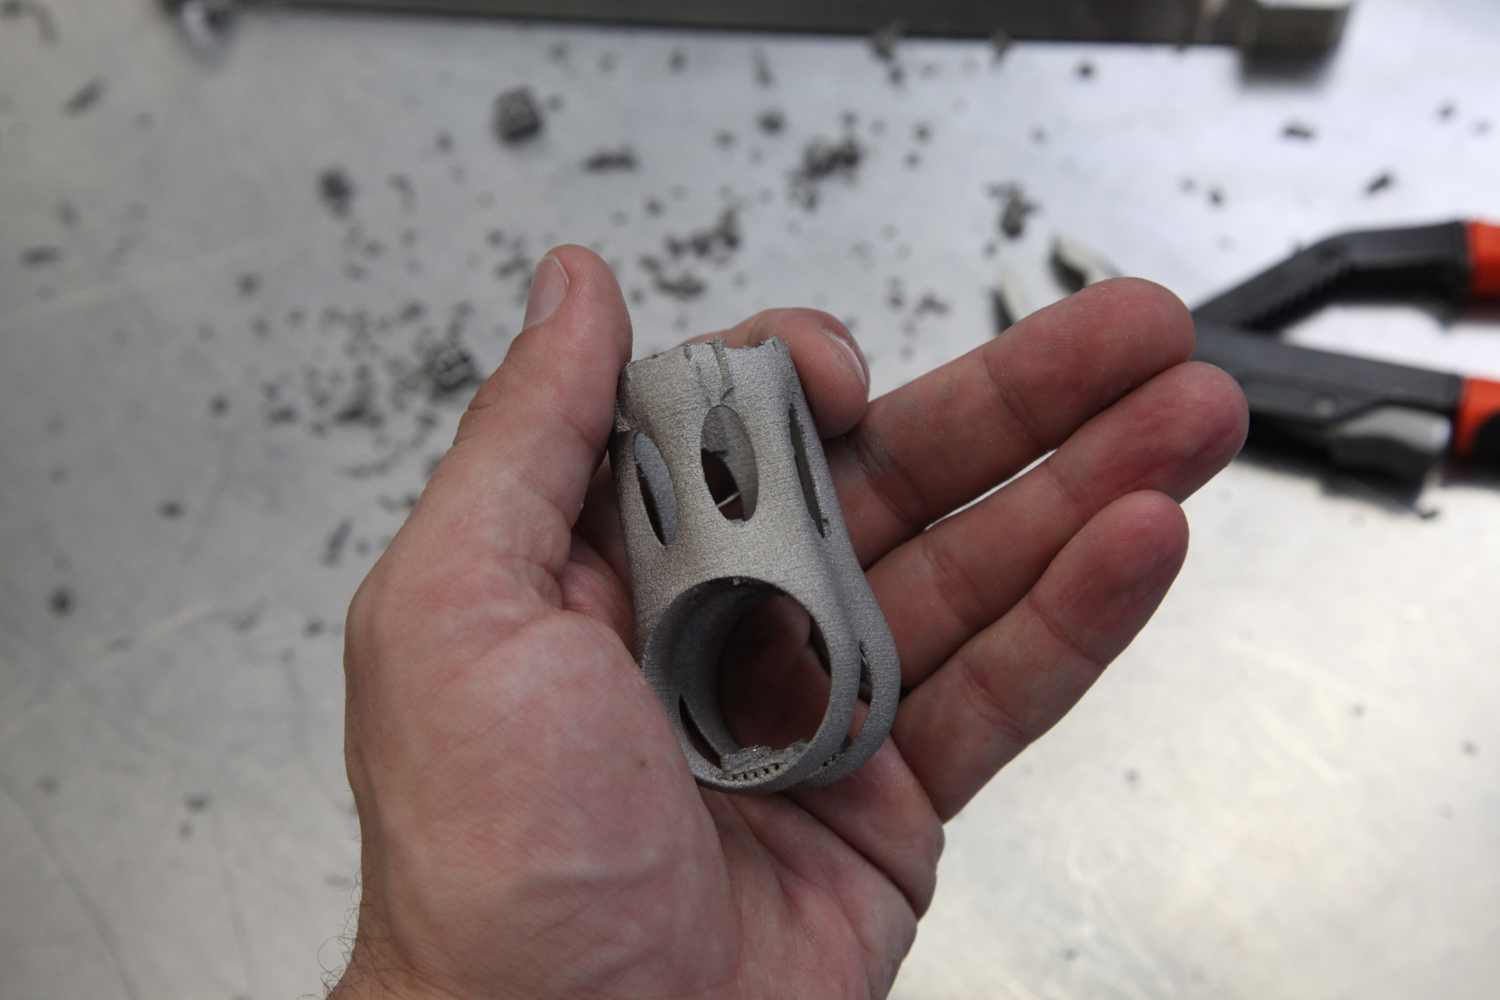
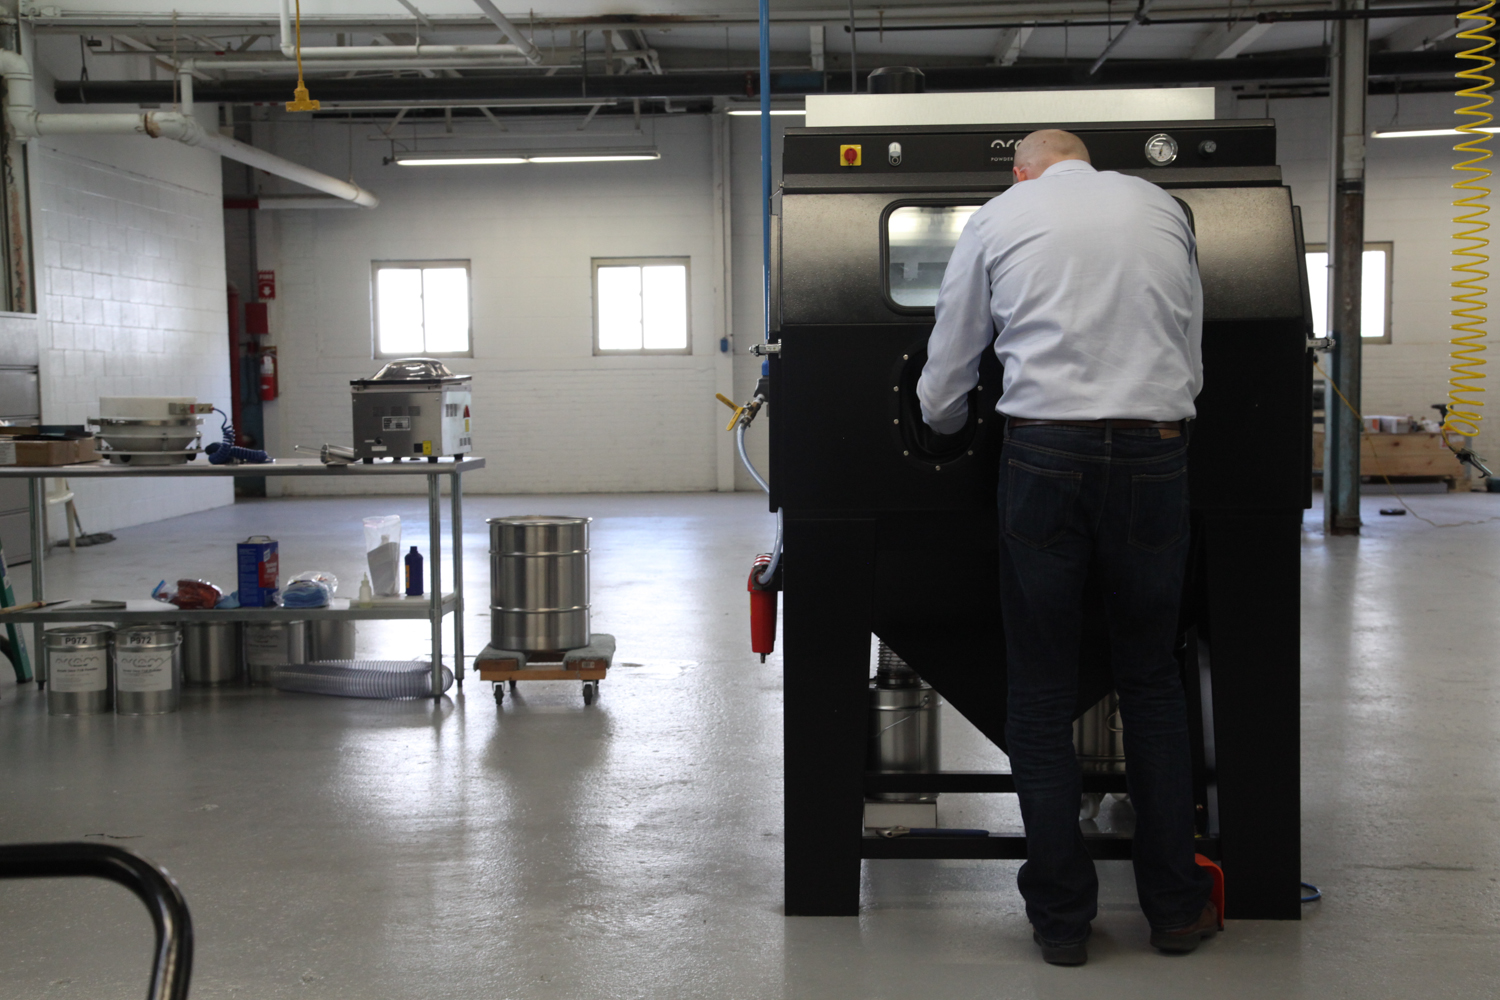
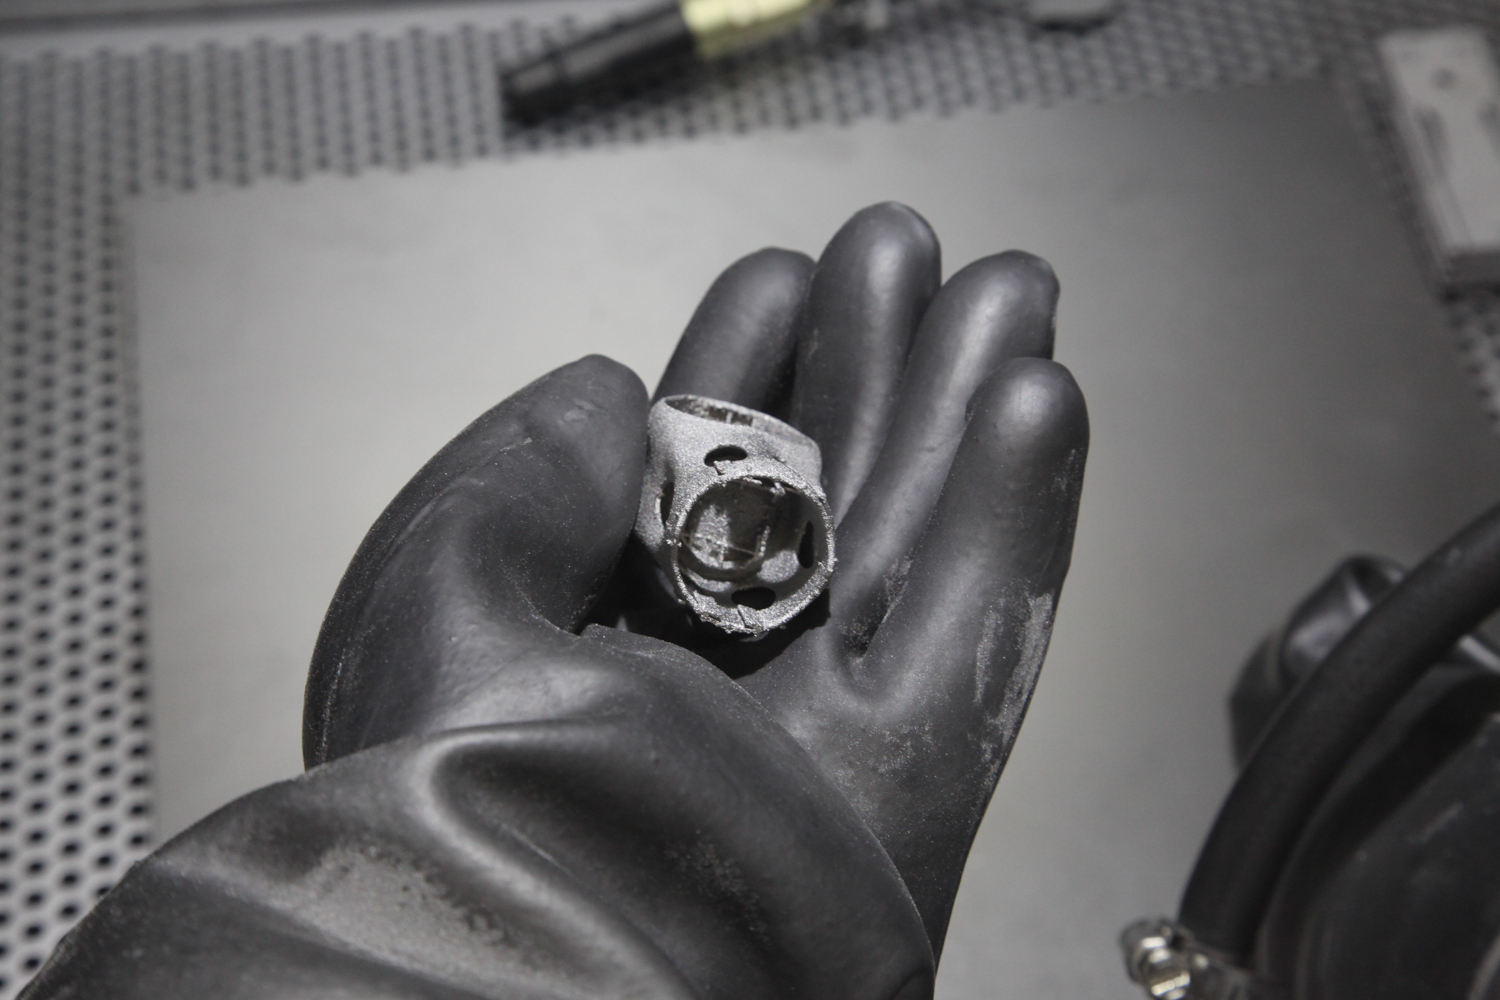
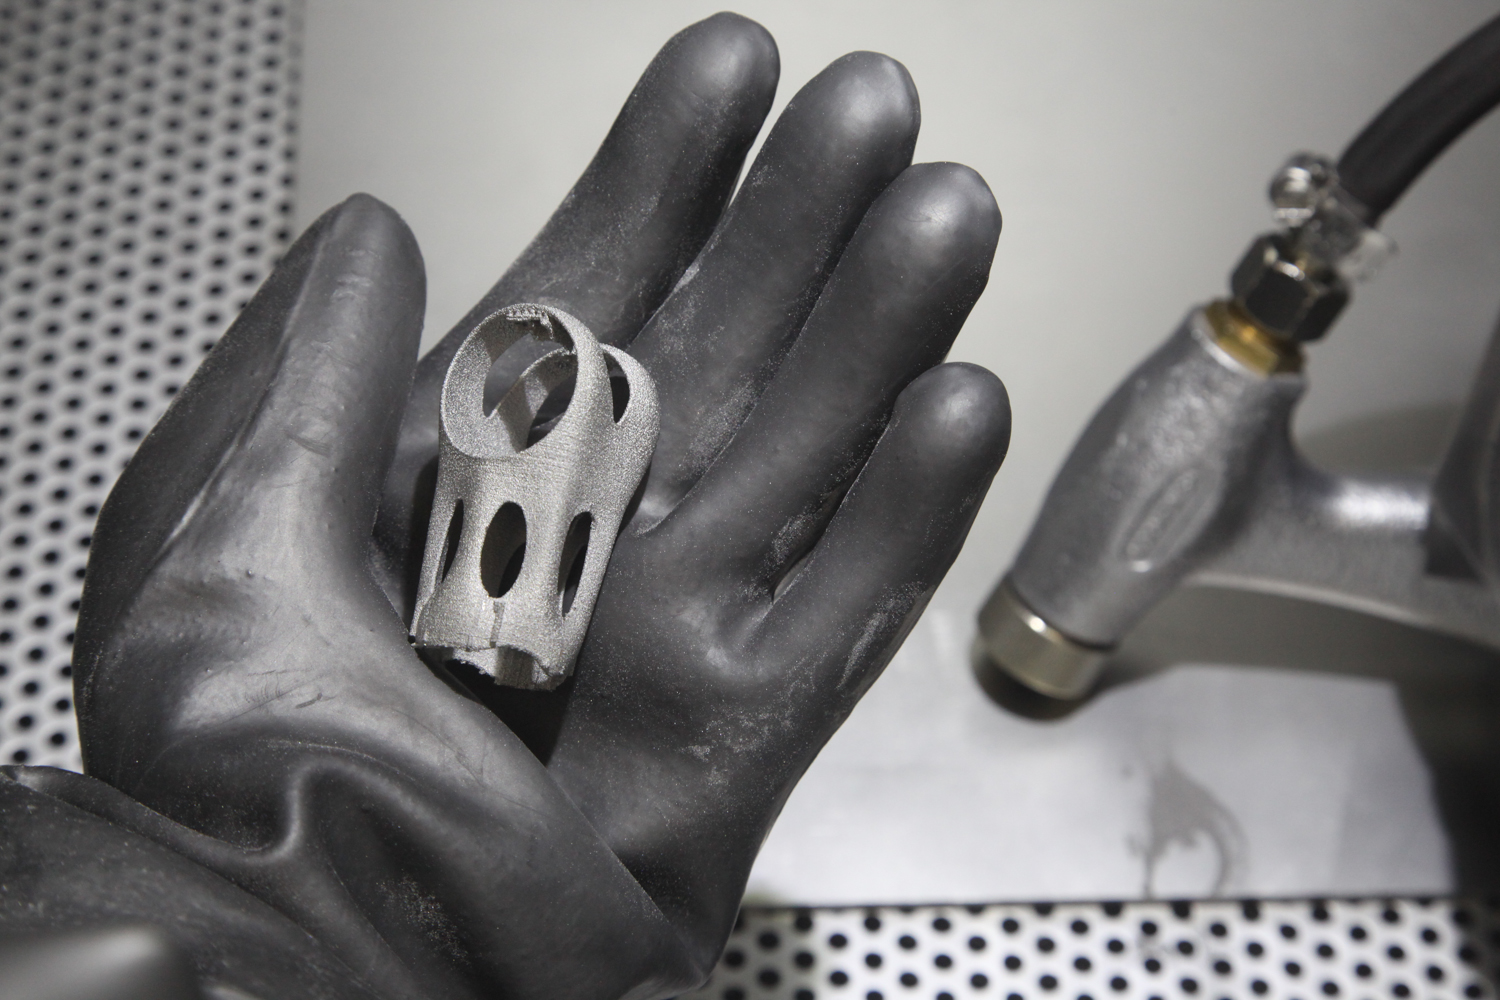
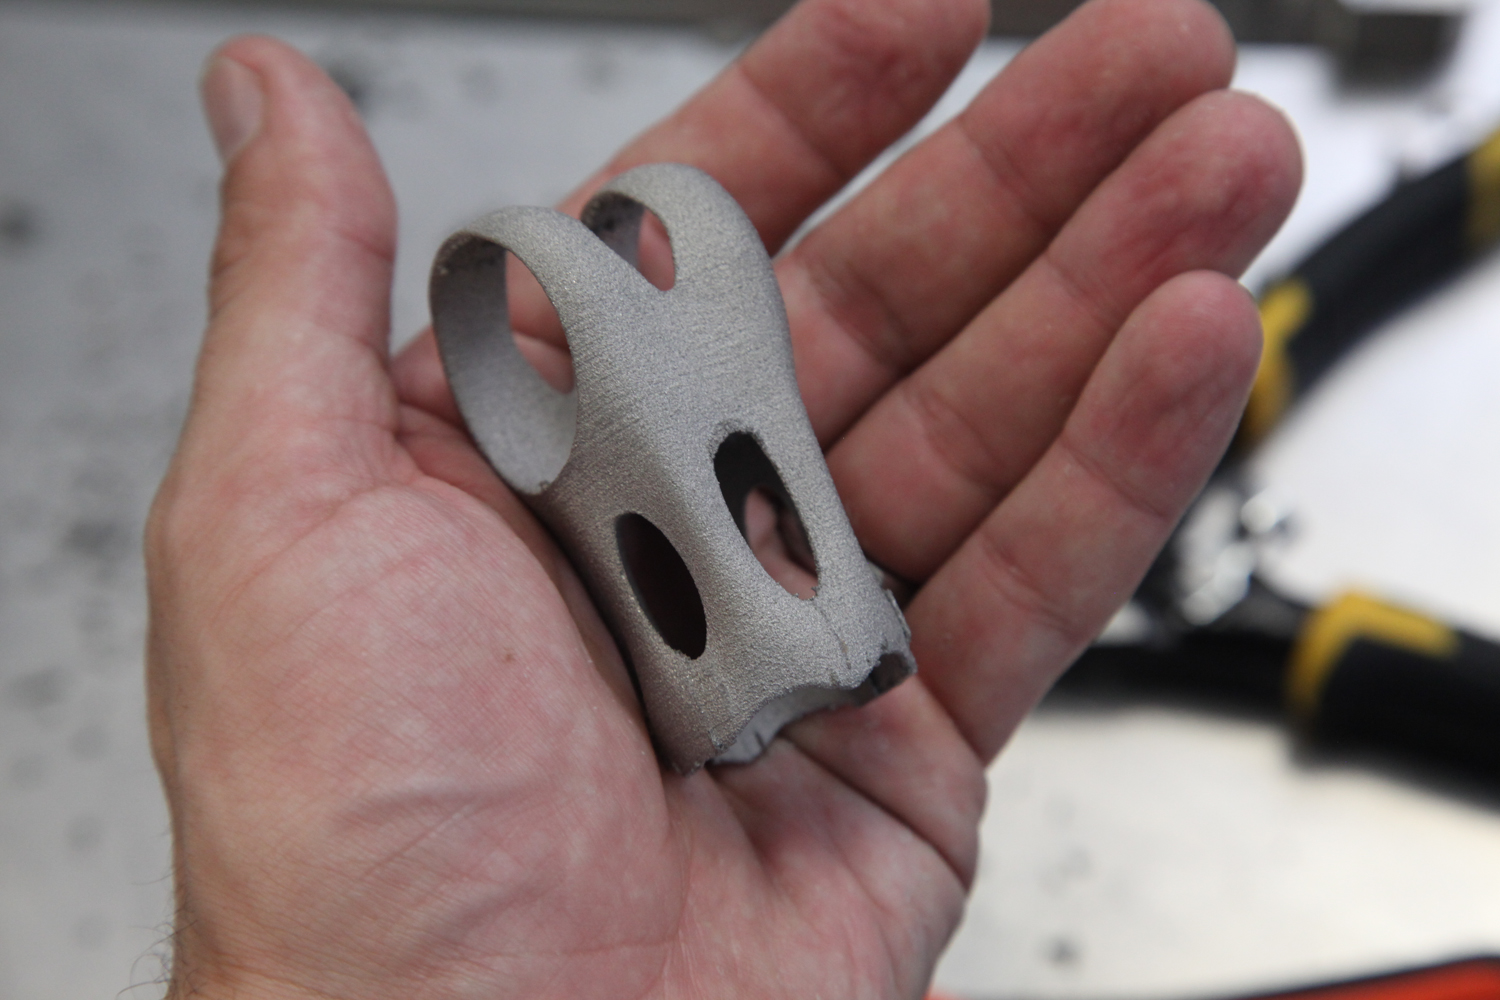
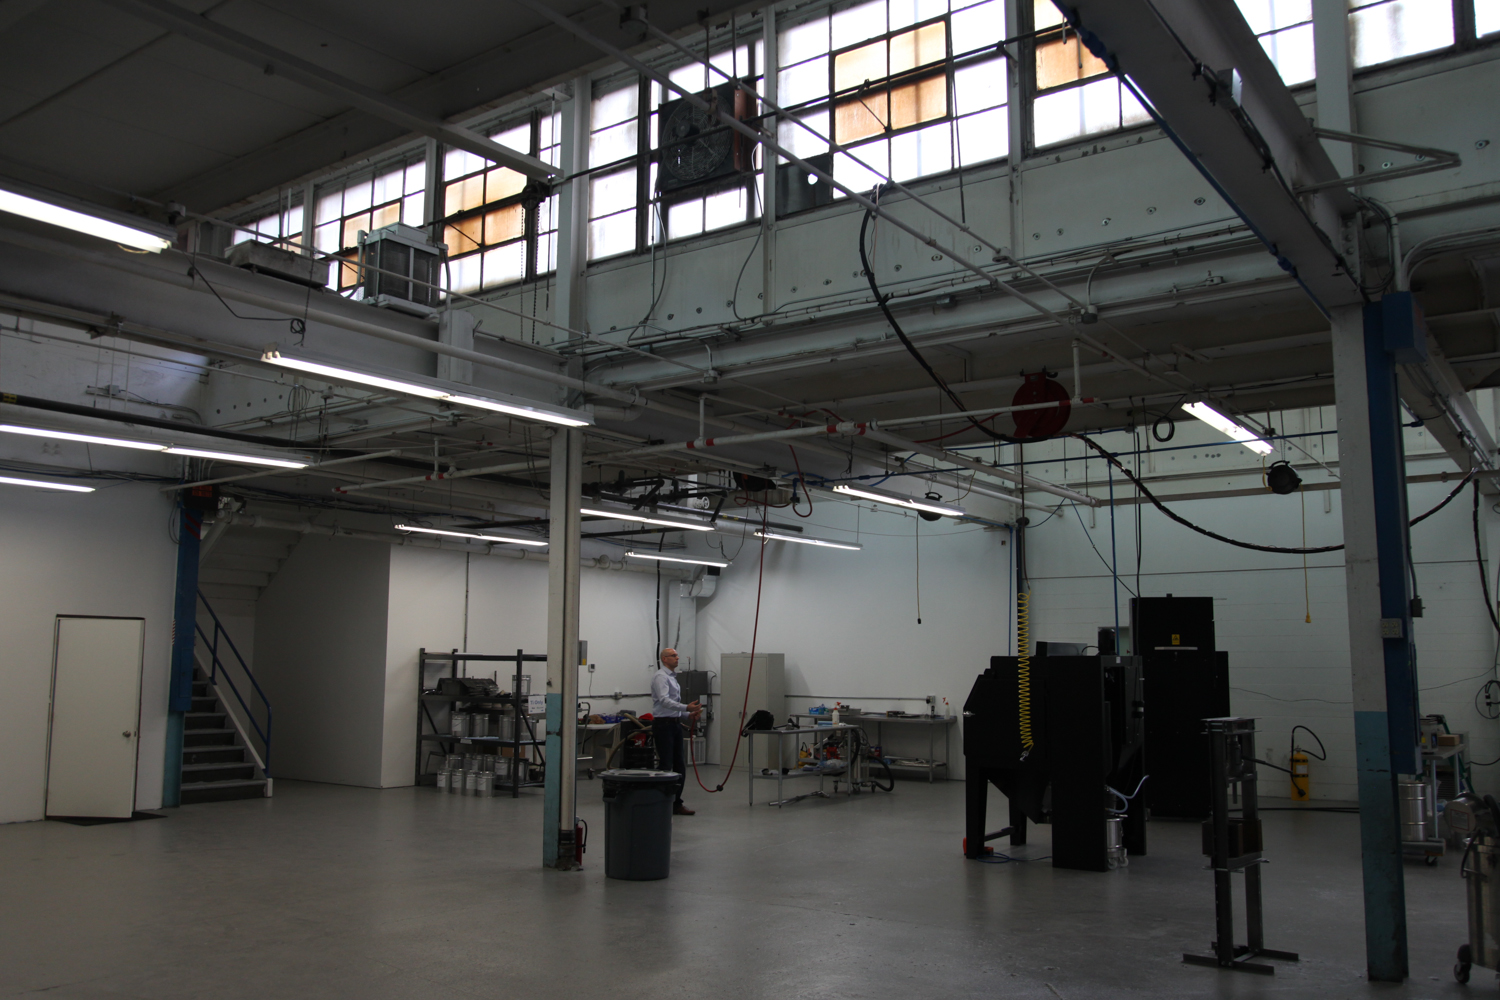
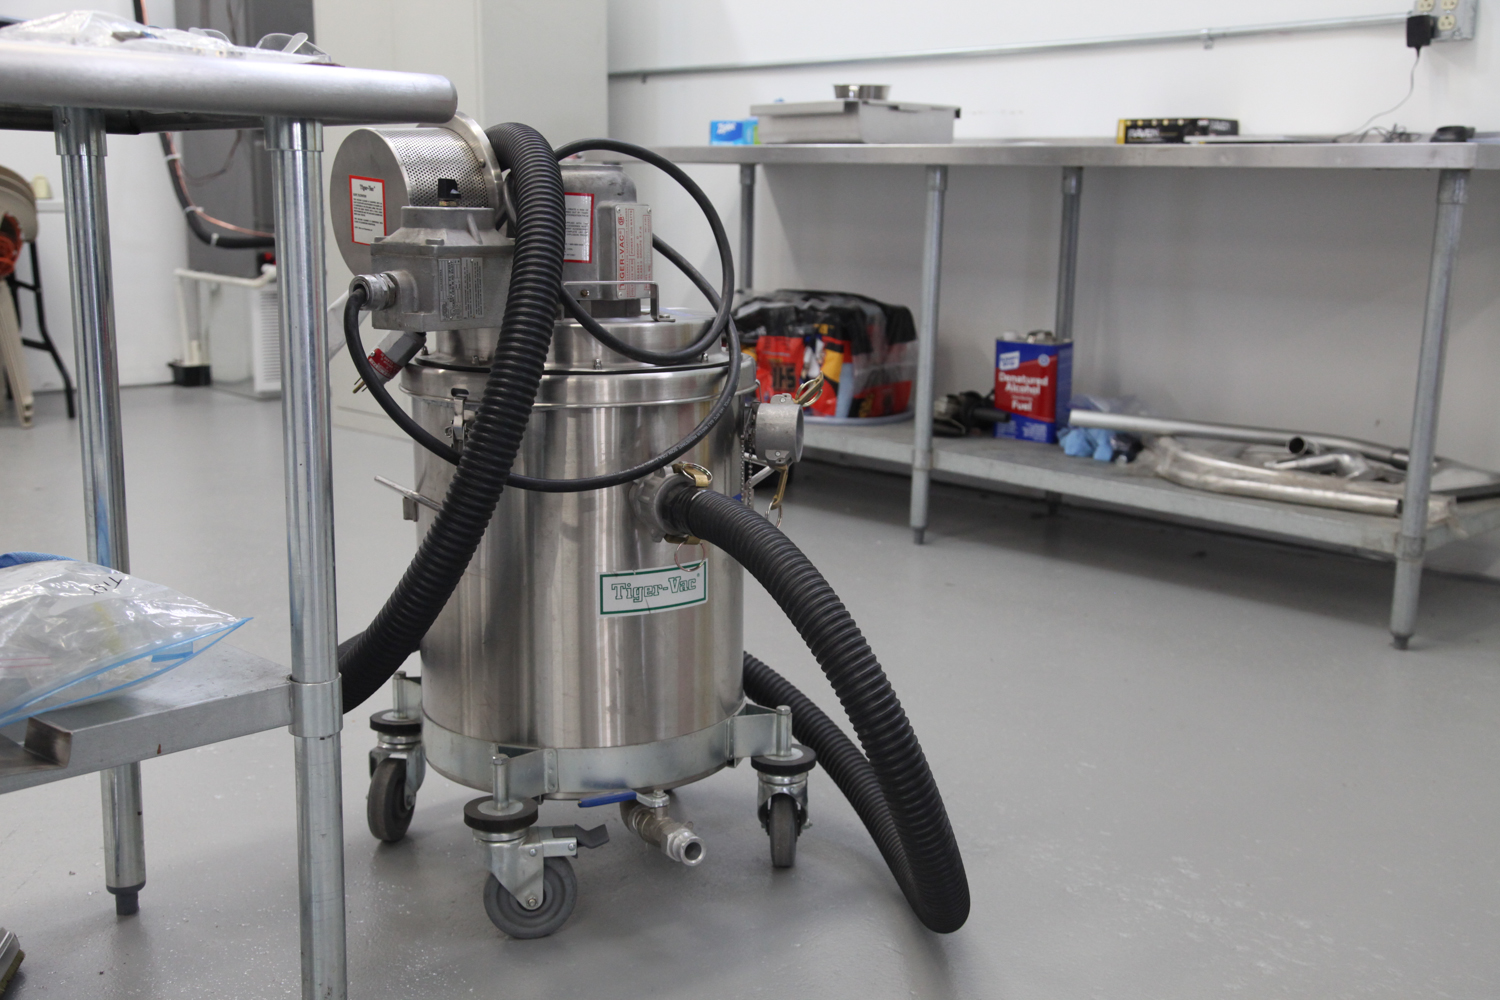
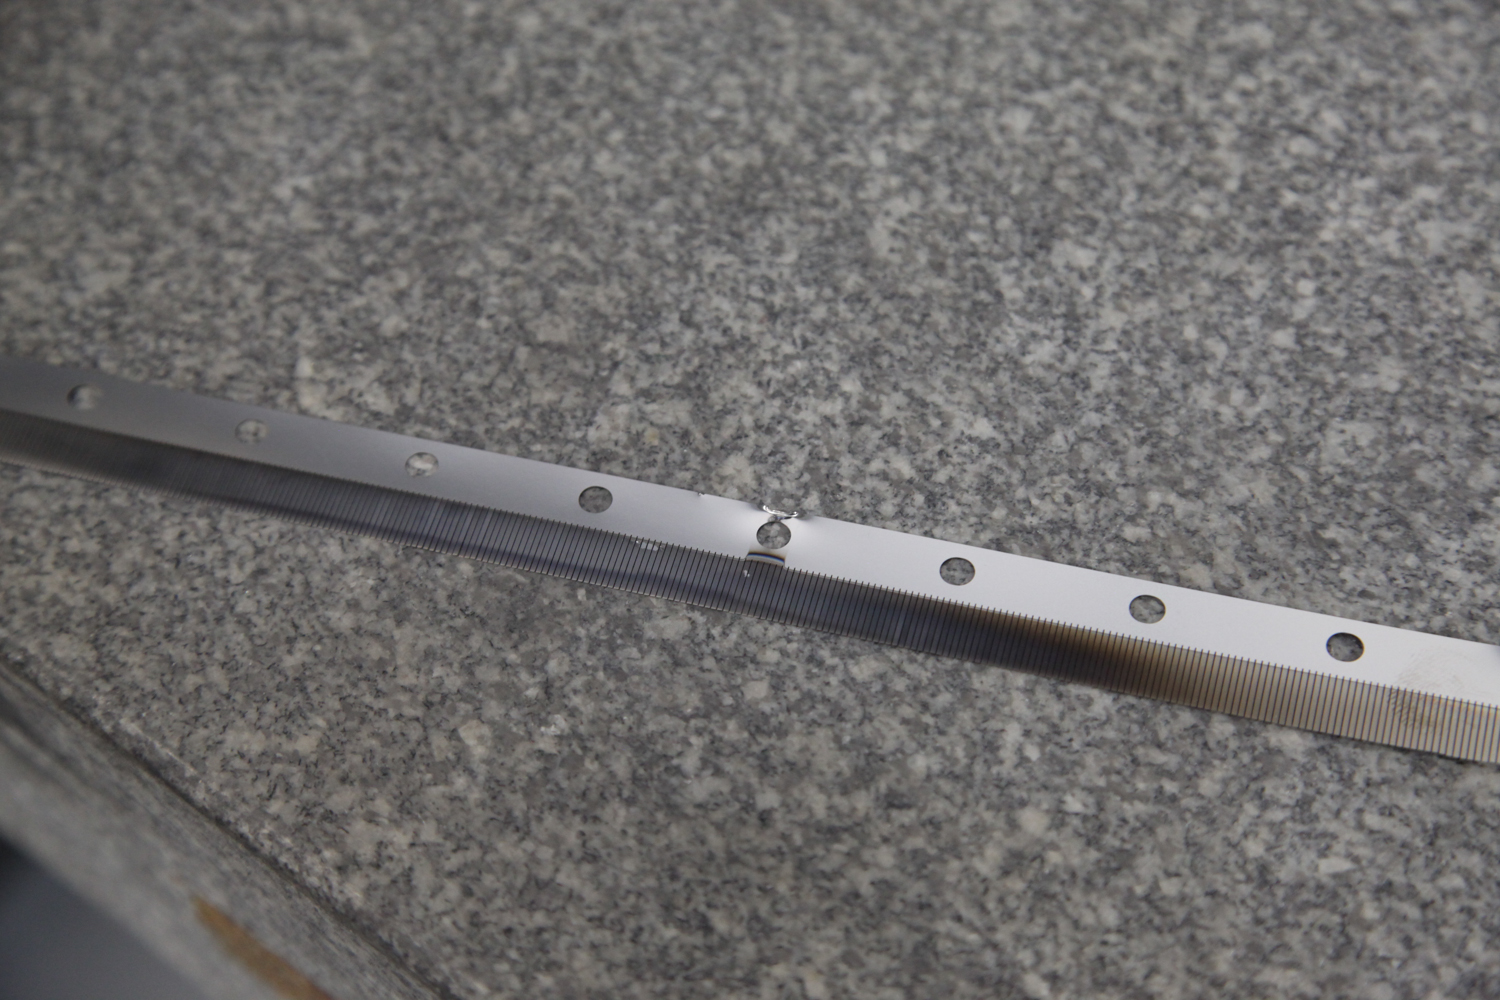
At this point, the parts Addaero made for me still need post processing before they can be assembled and tested. I'll be working on that over the coming weeks, and will update soon on my progress.
Mostly for my own benefit & the sake of catharsis, here are the things that are consuming my attention over the past & for the next few months:
There are a few more longer-term things, but this is a pretty good list for now.
From a NIST report titled Measurement Science Needs for Real-time Control of Additive Manufacturing Powder Bed Fusion Processes:
Finally, metallic debris from the [heat affected zone] can coat a window or viewport used in an AM imaging system, and disturb temperature measurements by changing the radiation transmission through the window. This is particularly troublesome in electron-beam melting (EBM) systems, and prompted Dinwiddie et al. to create a system to continuously roll new kapton film over the viewport in order to provide new, unsullied transmission.
This is a very important and totally nontrivial challenge. Measuring process signatures (which this report defines as "the dynamic characteristics of the powder heating, melting, and solidification processes as they occur during the build") is key to the industrialization of additive manufacturing. If the systems we have for measuring those factors are unreliable, machine manufacturers need to develop improvements for them ASAP.
Prompted by an impromptu back and forth with Jordan, I was compelled to write down the things I spend so much of my time thinking about. Some of these I have a better grasp on than others, but they're all problems that I'm excited to see developments on - and work on myself.
I'm in the middle of a NIST report that goes through many of these. The sad thing is that knowing what the parameters are is only half of the battle; then, you need to control those parameters on-the-fly (which is not something that all machine manufacturers currently allow).
Industrial additive manufacturing machines tend to be harsh environments for sensors and sensor hardware. Once we know what parameters to measure, we'll need to build measurement systems that are robust, accurate, and reliable.
This is hard. I believe that it'll be easier to automate process chain comparison than it will be to automate process chain creation; in other words, coming up with a list of steps to manufacture a part will remain hands-on, but assessing the cost difference (time/money/energy) between two process chains will be increasingly automated. Regardless, these are big problems.
This feeds into question 3. In many cases today, design decisions are made based on a hunch. If it were easier to estimate the production cost for parts with complex production process chains, designers would be able to make more informed decisions.
Also feeds into question 3. Manufacturing engineers need to pick a build orientation quickly and be guaranteed high fidelity end parts; today, those decisions are made mostly by gut. Bonus points if this data is also made available to designers, so that they can make even more informed design decisions.
Given the early effort that startups (namely 3DSIM) are putting into this question, it stands to reason that it's an easier one to solve than question 5. It's also possible that they think it'll be easier to commercialize support structure optimization software in the near future. Either way, I see this as just part of a bigger need that 5 and 6 are pointing at together: additive manufacturing engineers need better tools to set up and process builds.
These issues outline the biggest roadblocks that I've experienced on my path to commercially viable additively manufactured parts. If you have different experiences, or know of developments on what I've described here, I'd love to hear from you.
A few weeks ago I visited CIMP-3D by invitation of its co-director, Dr. Tim Simpson. I was there partly just to visit (I love these kinds of places), but also to see first-hand the role that CT scanning can play in non destructive testing of additively manufactured parts.
CIMP-3D is located at and operated by Penn State University, and serves as part of Penn State's Applied Research Lab - and as an Additive Manufacturing Demonstration Facility for DARPA. In aggregate, they help both government agencies and commercial partners qualify and improve parts made by powder bed fusion and directed energy deposition. In their well-equipped shop, they have two powder bed fusion machines: an EOS M280 (EOS calls their process "DMLS", a term that I continue to get flack for using generically :) and a 3DSystems ProX 200 (3DSystems calls their process, which was developed out of their 2013 acquisition of Phenix Systems, "DMP" - for "direct metal printing). For their work on directed energy deposition, they also have an Optomec LENS MR-7 (a laser based powder deposition machine), and until recently had a Sciaky EBAM (a large scale wire fed electron beam welding machine, which had been sold just prior to my visit).
While I was excited in see their directed energy deposition machines, the real attraction was their GE phoenix v|tome|x m300 CT scanner. This machine is made by GE Measurement & Control division, which is part of GE's Oil & Gas business unit (it should be noted that I've done consulting for both M&C and O&G, though not for the people who make CT scanning equipment). CT scanners are *expensive* (close to $1M, depending on options), and are basically unheard of in private service providers. They can be used to analyze both the as-built form of a part (which will often deviate from the as-designed form significantly), and also any flaws (cracks and voids) which would make it unusable.
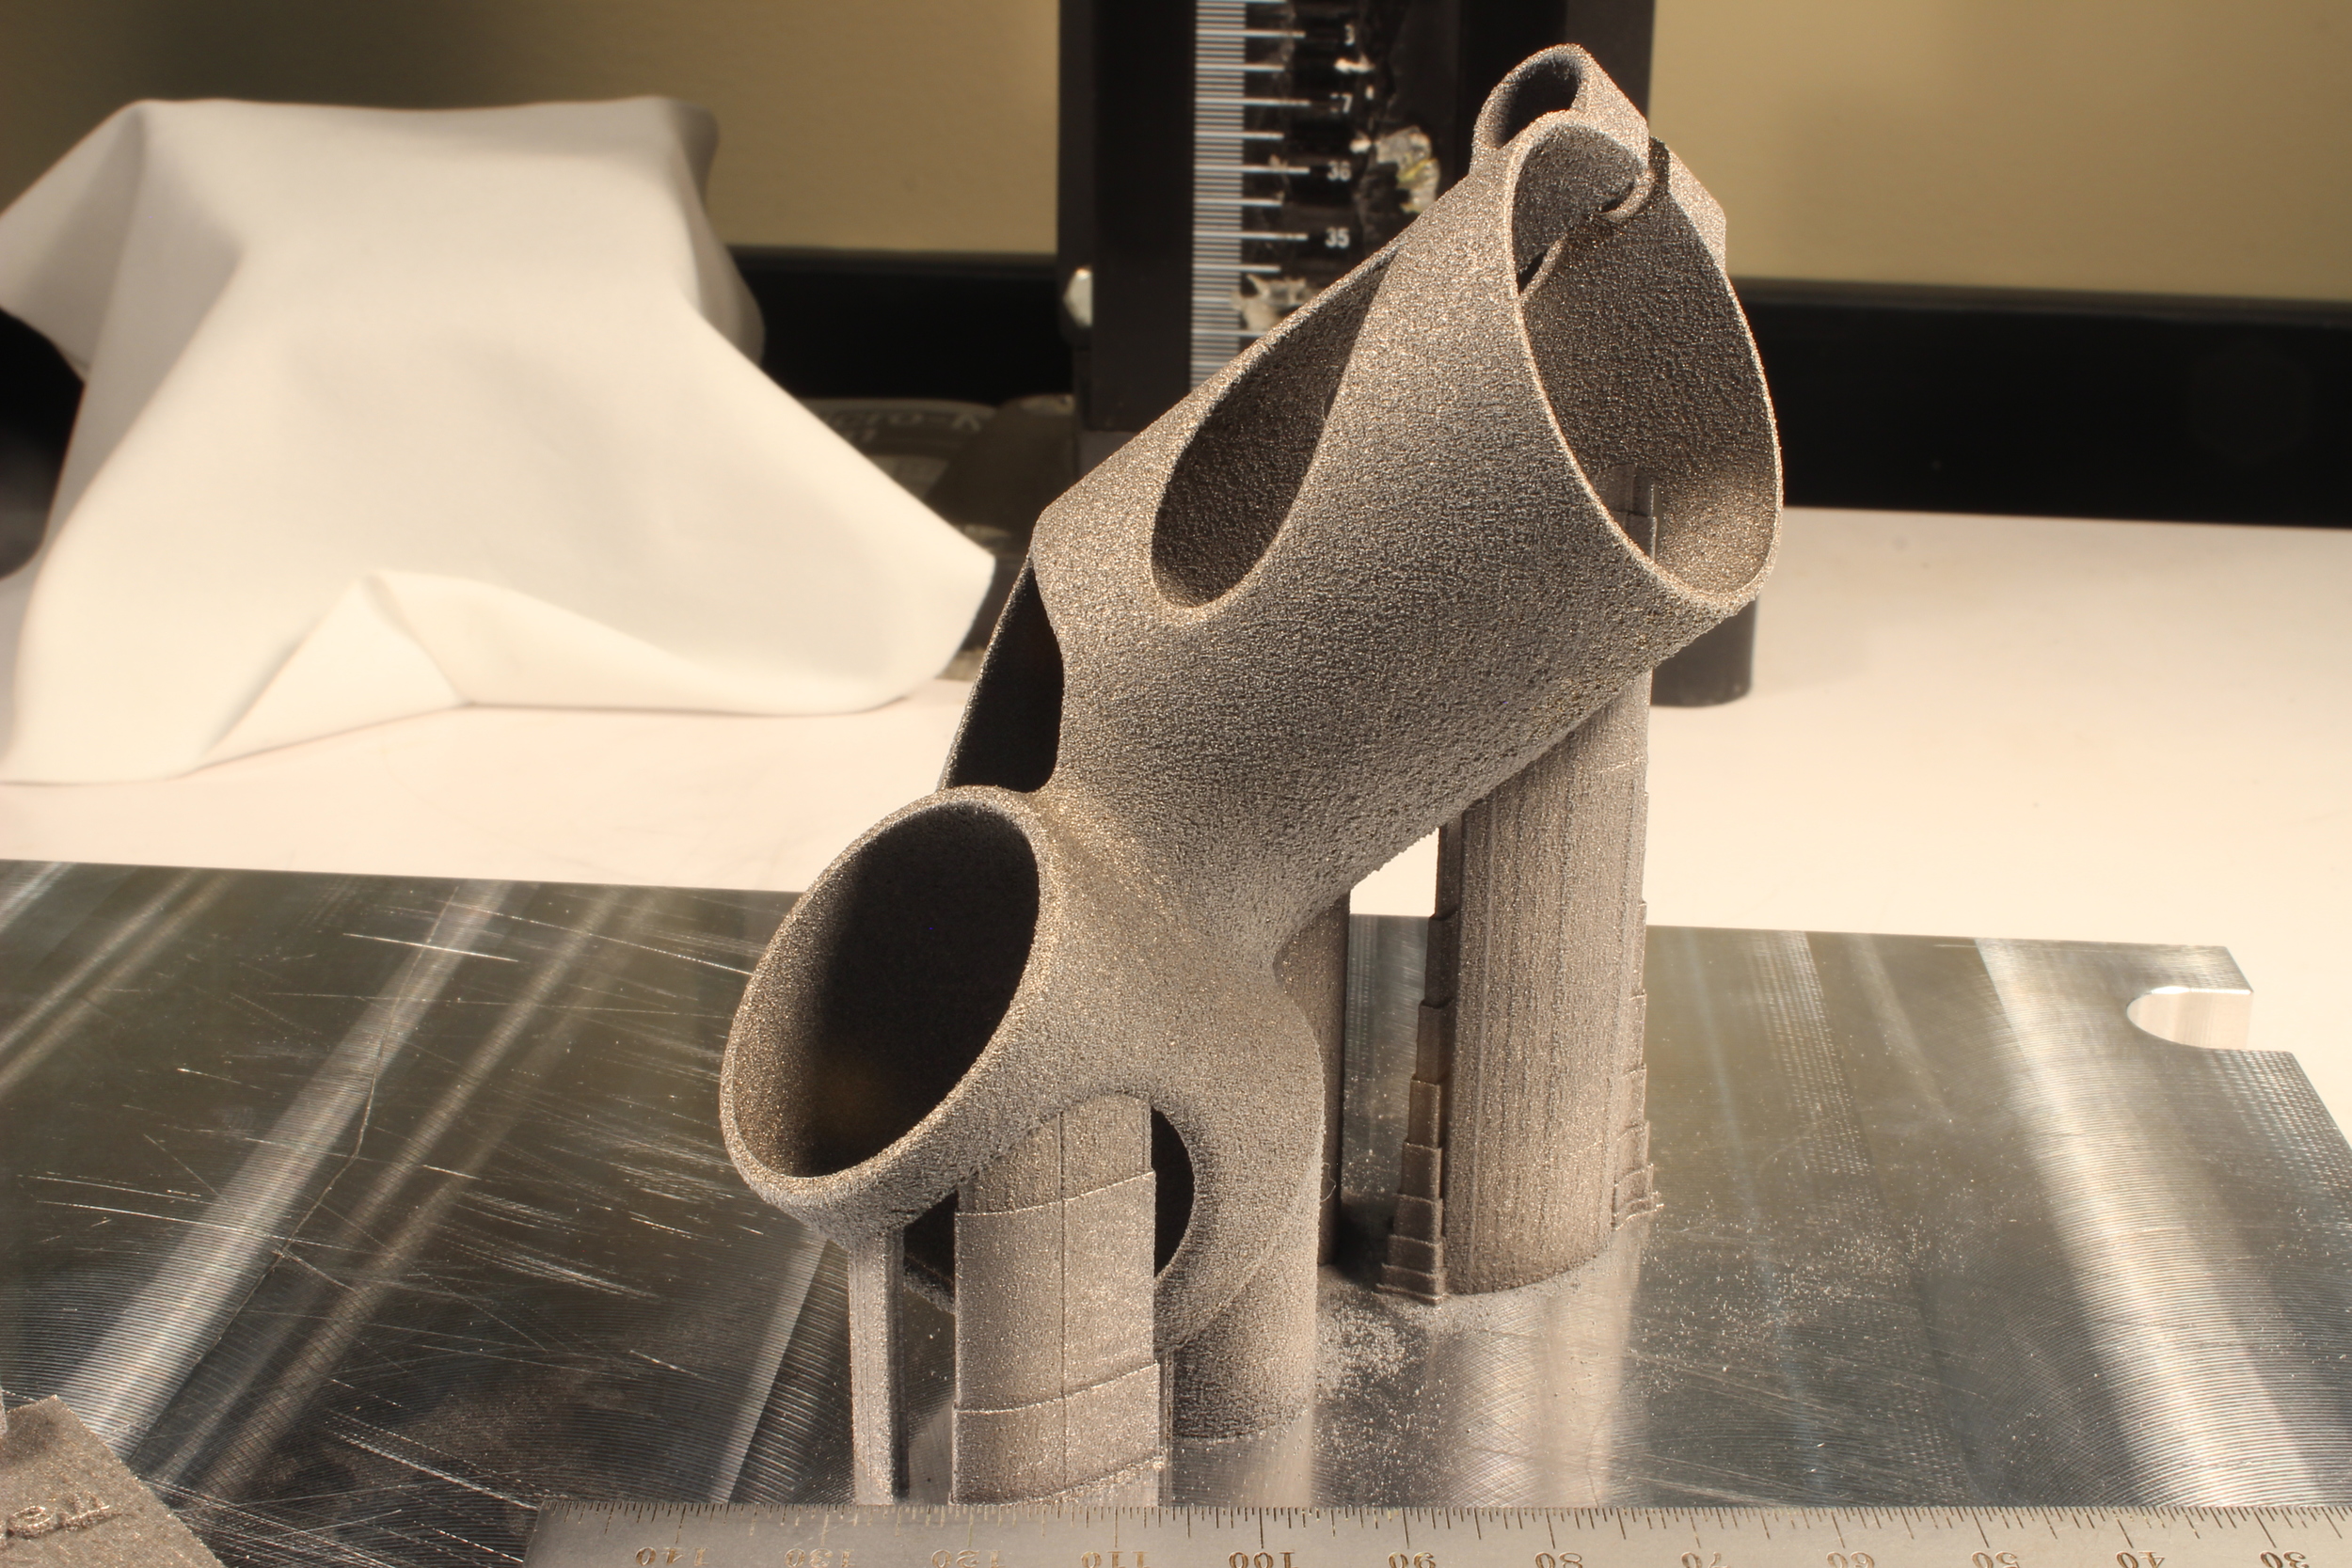
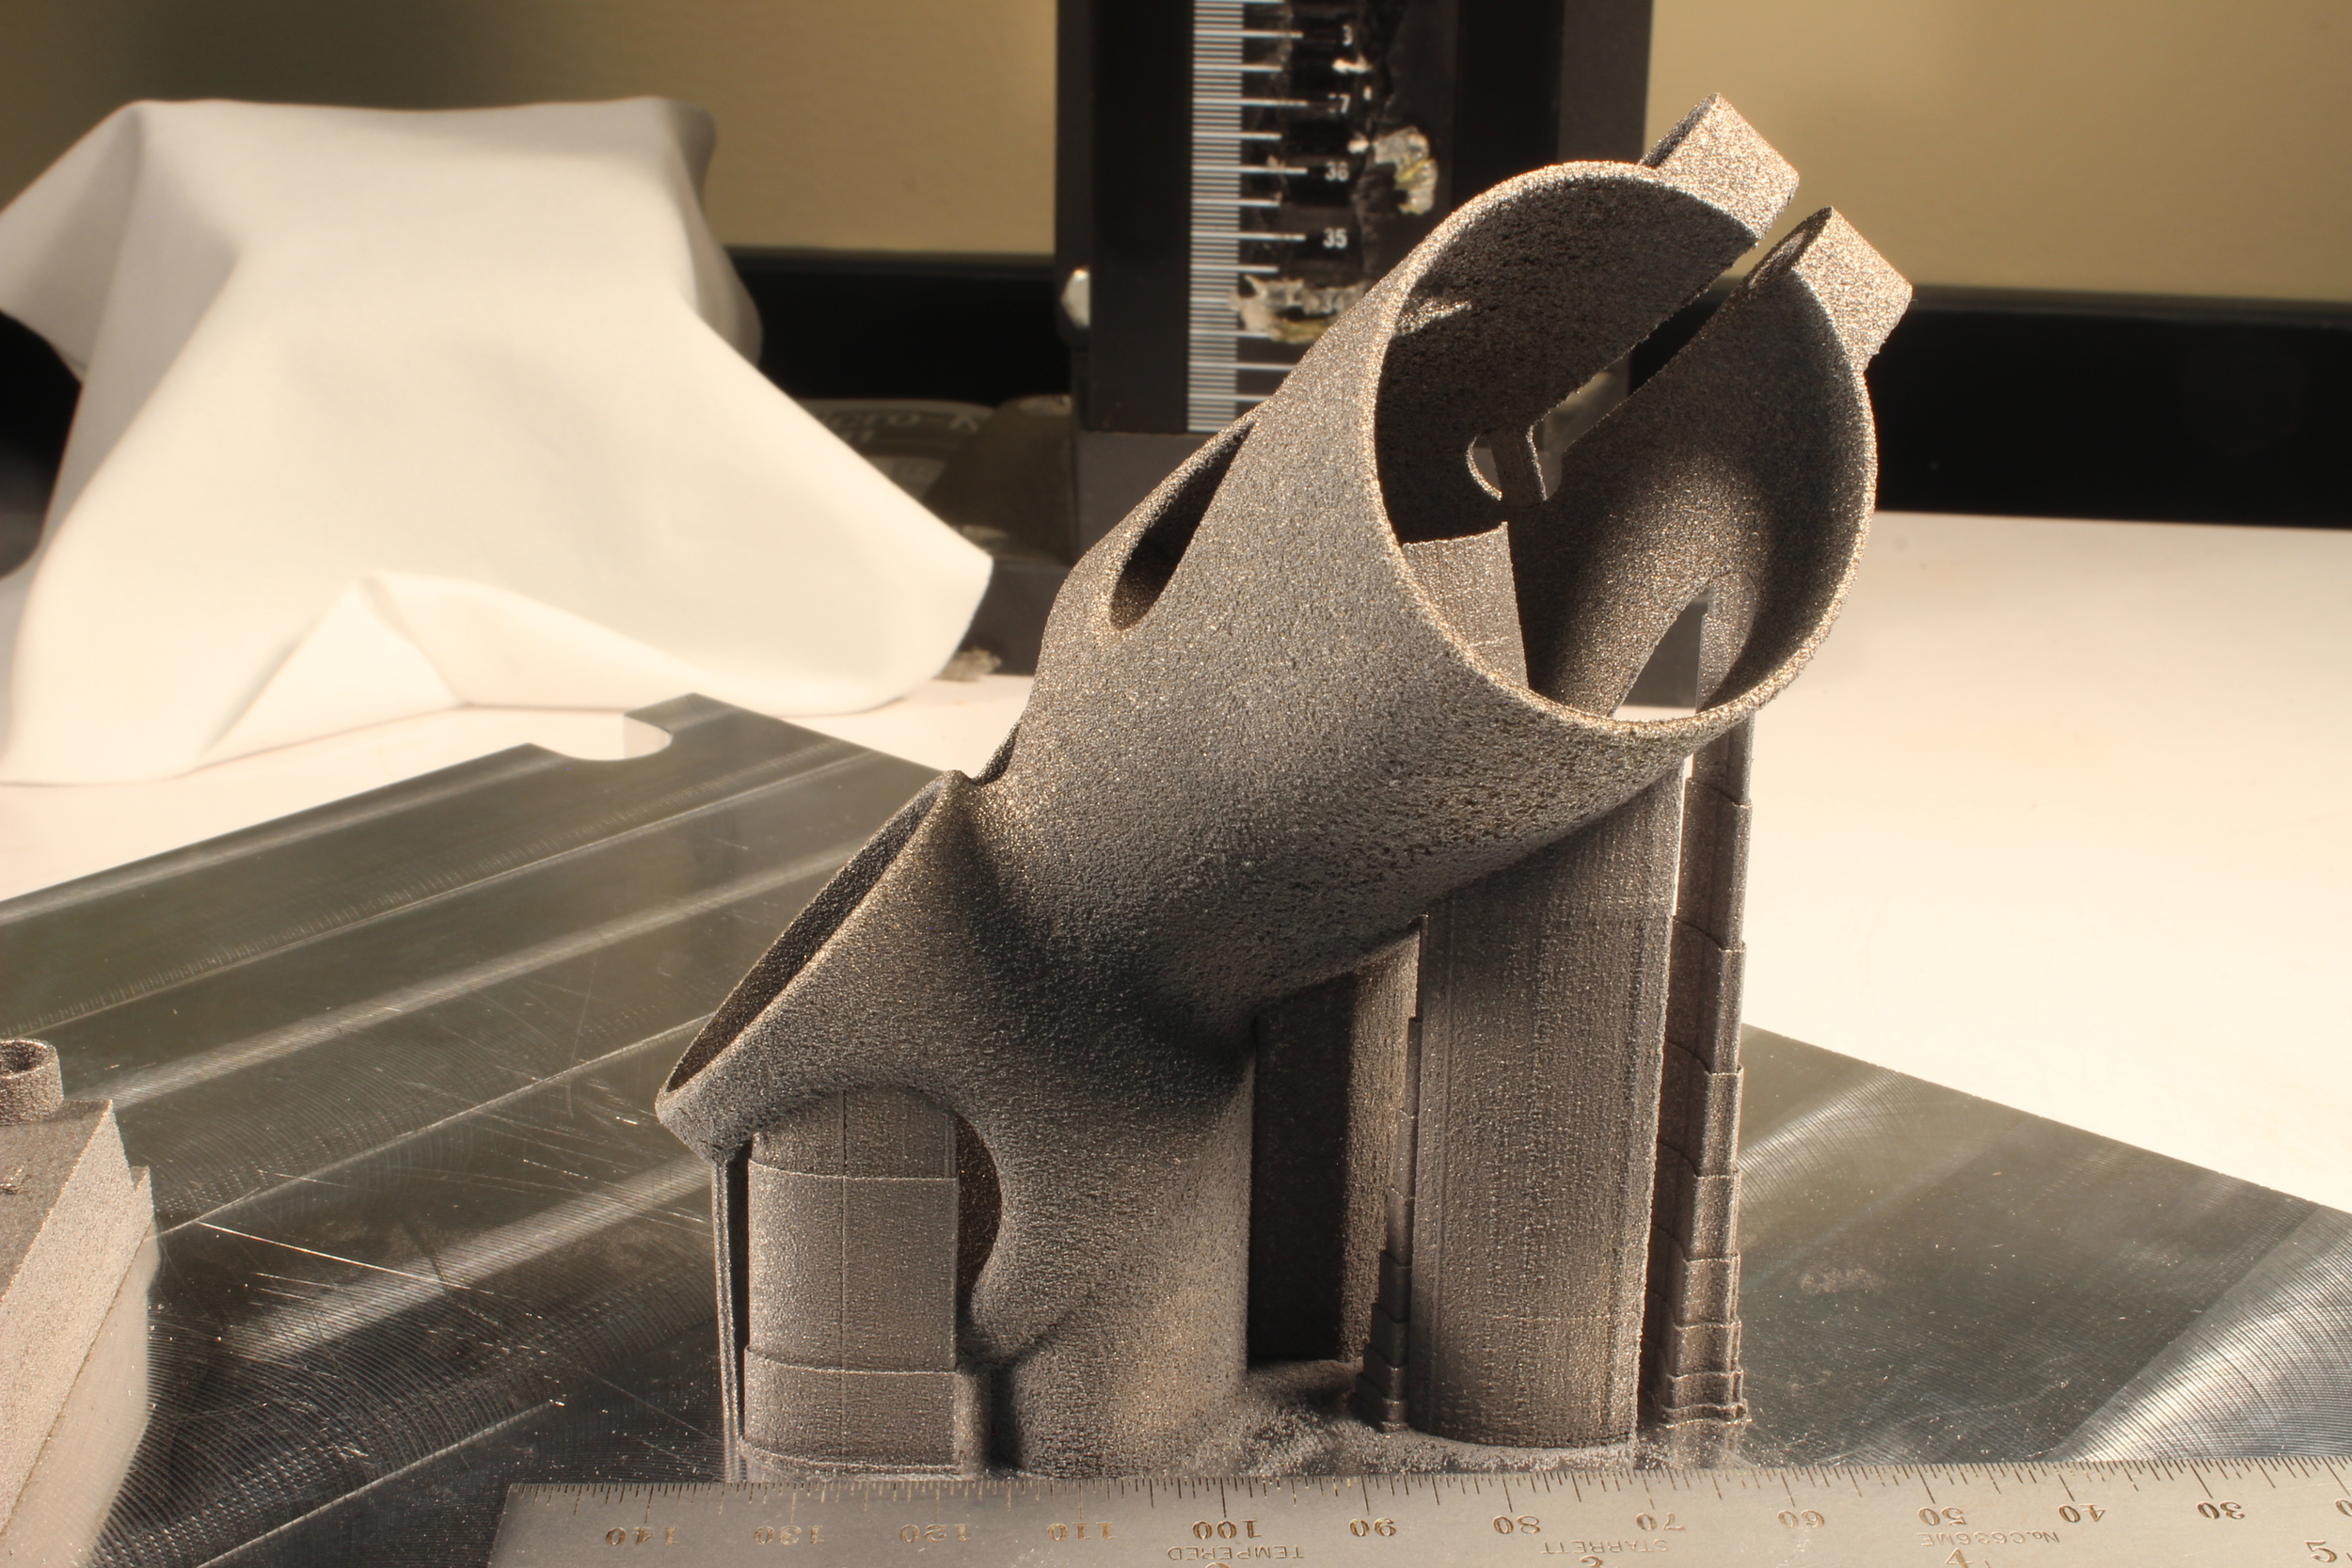
Before I visited CIMP-3D, Corey Dickman (an R&D Engineer there) was kind enough to print one of my seatmast toppers, in aluminum, on their EOS M280. It came out well, with only a small defect in the seatmast clamp area. Corey used some pretty clever support structures, tapering them in order to provide a balance between a solid grip on the plate on the one hand, and relatively low material usage on the other:
CT scanning uses a series of 2D X-ray images to reconstruct a 3D part. In CIMP-3D's scanner, the part is placed on a turntable in the middle of the machine. The X-ray projector, on the right side of the machine, shines X-rays through the part onto a sensor on the left side. Solid parts block X-rays, creating shadows on the sensor, and the result is a greyscale image where dark areas correspond with solid mass and light areas correspond with empty space.
The scan moves pretty slowly. My part was scanned in 3500 slices, or one scan every ~.1 degrees. At this rate (and at a voxel size of 58µm), the total scan time was about an hour. Each scan takes about a second, and between scans you can see the turntable rotating slightly.
Fixturing the part in the machine presents an interesting challenge. You want it to be held securely, but you don't want any other solid things touching it - as they will cast their own shadow in the X-ray images. As a result, parts are often held in place by simply sticking them into a piece of styrofoam - as mine was.
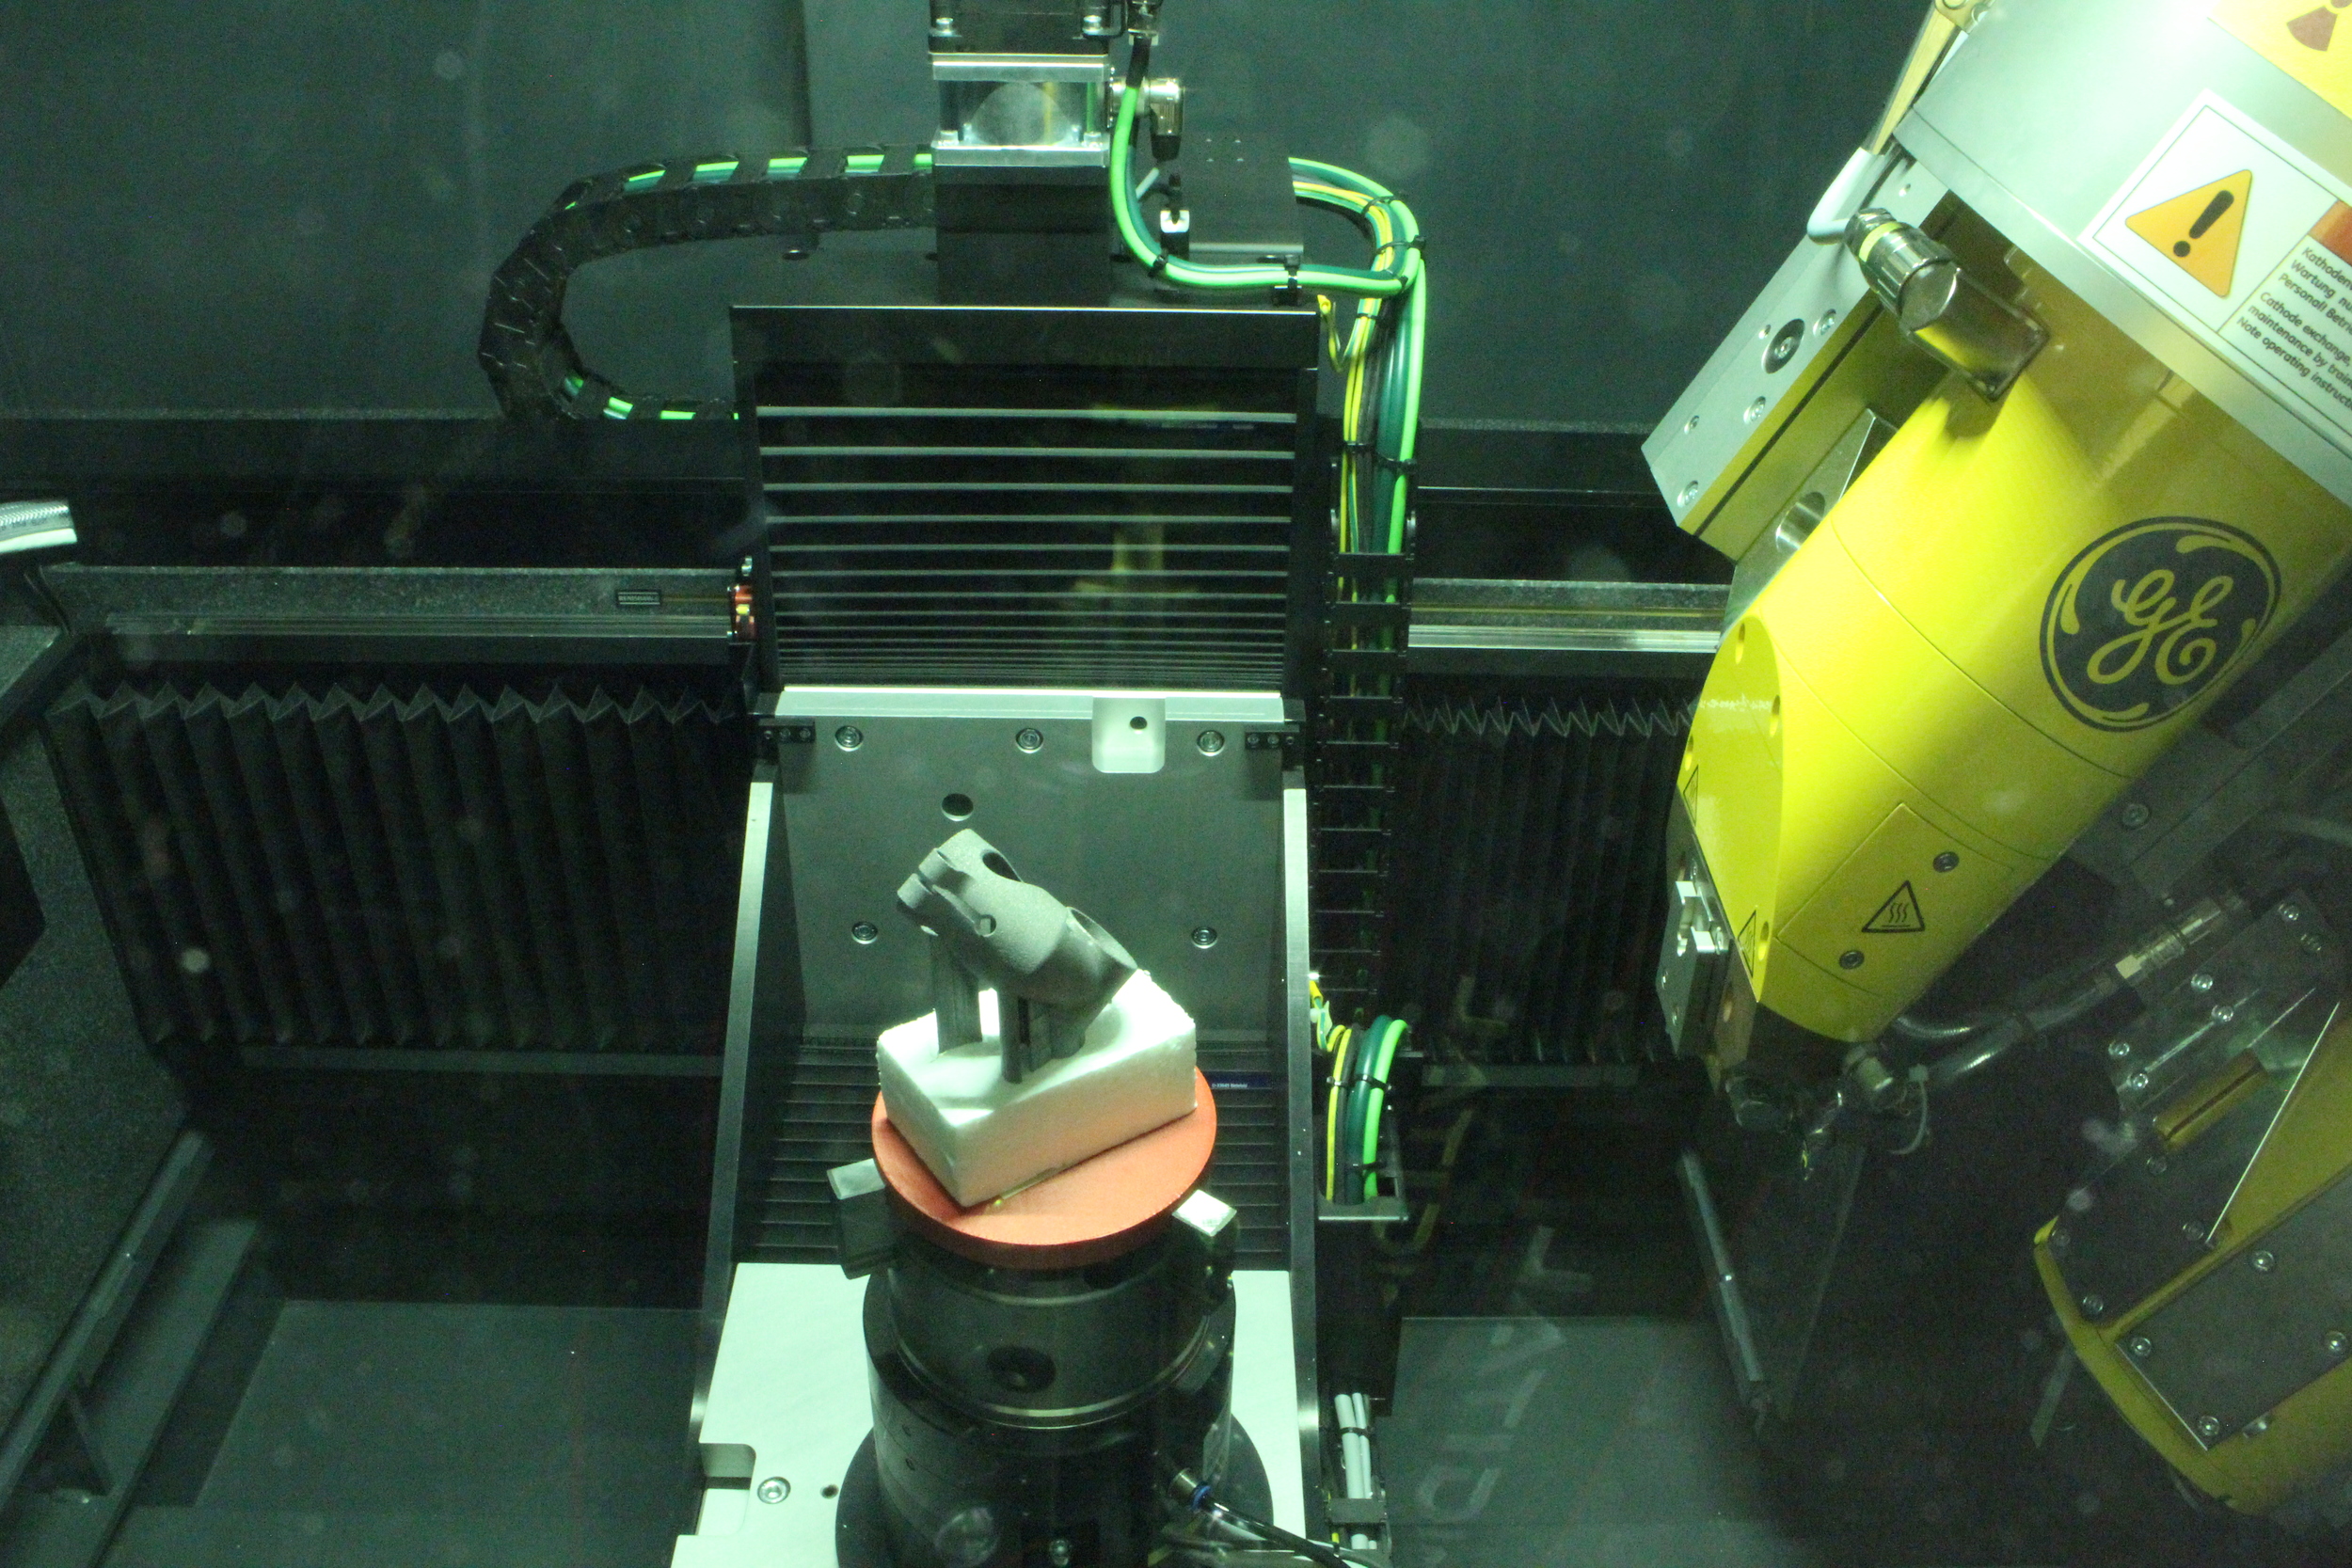
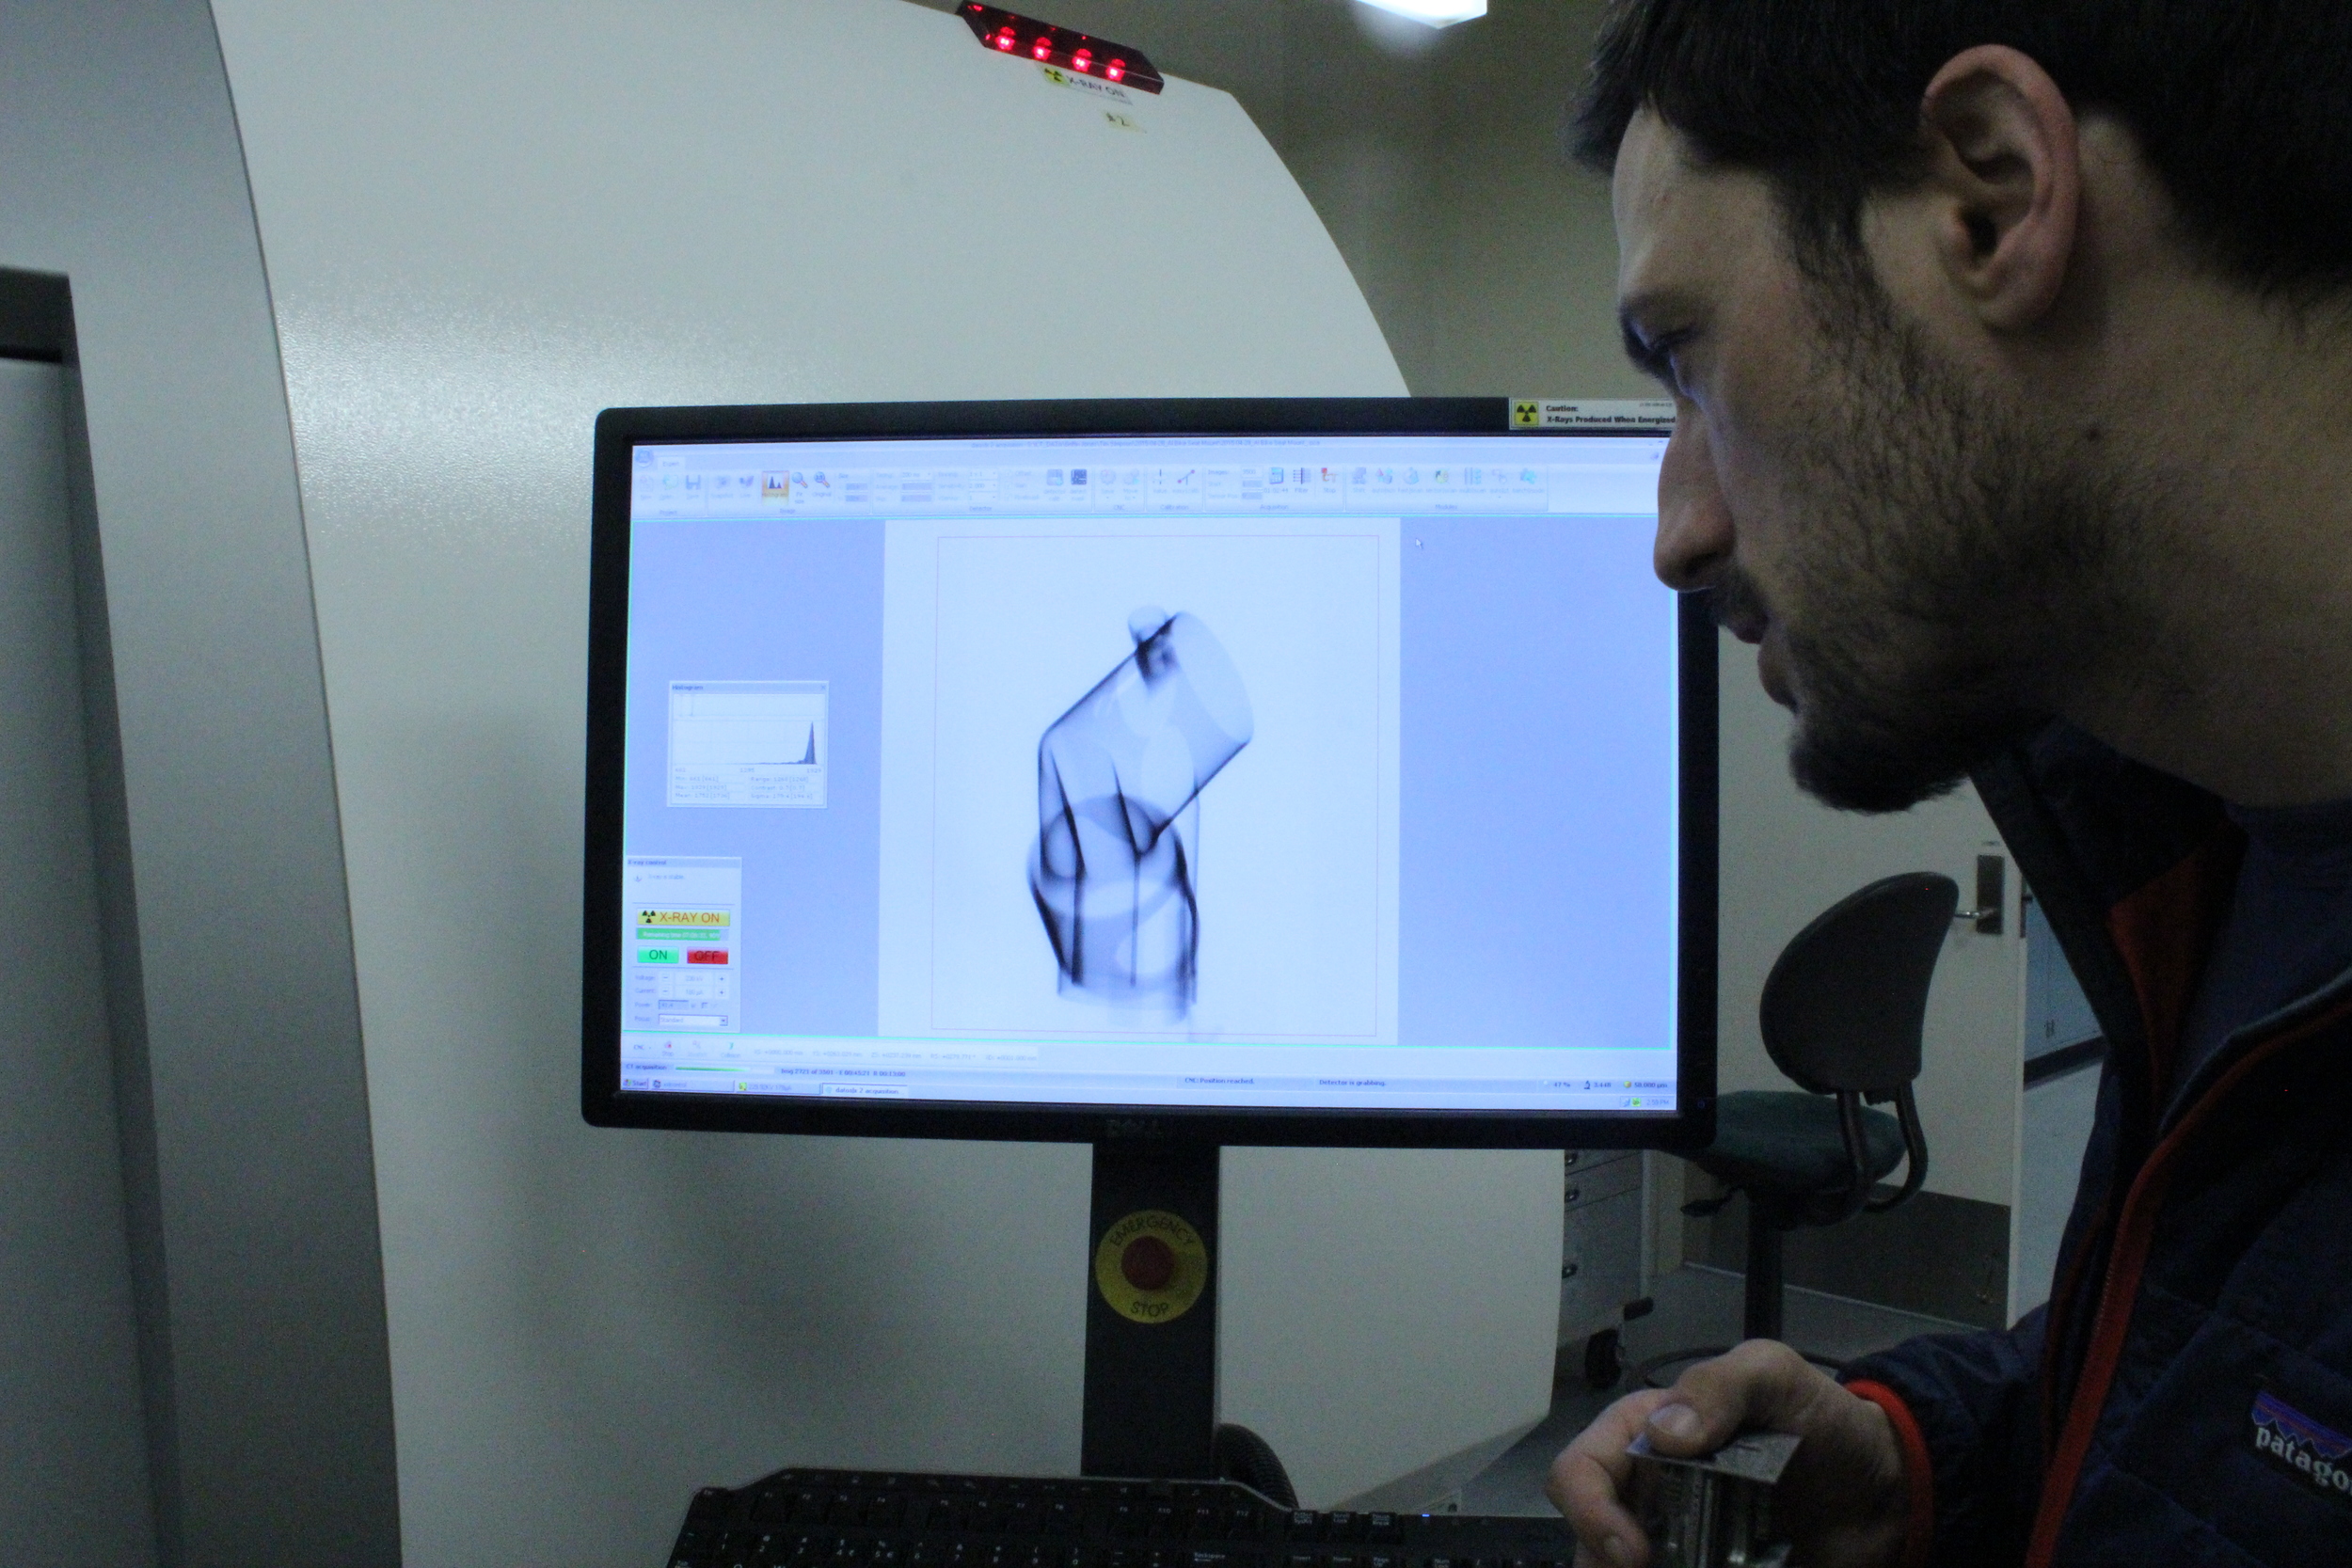
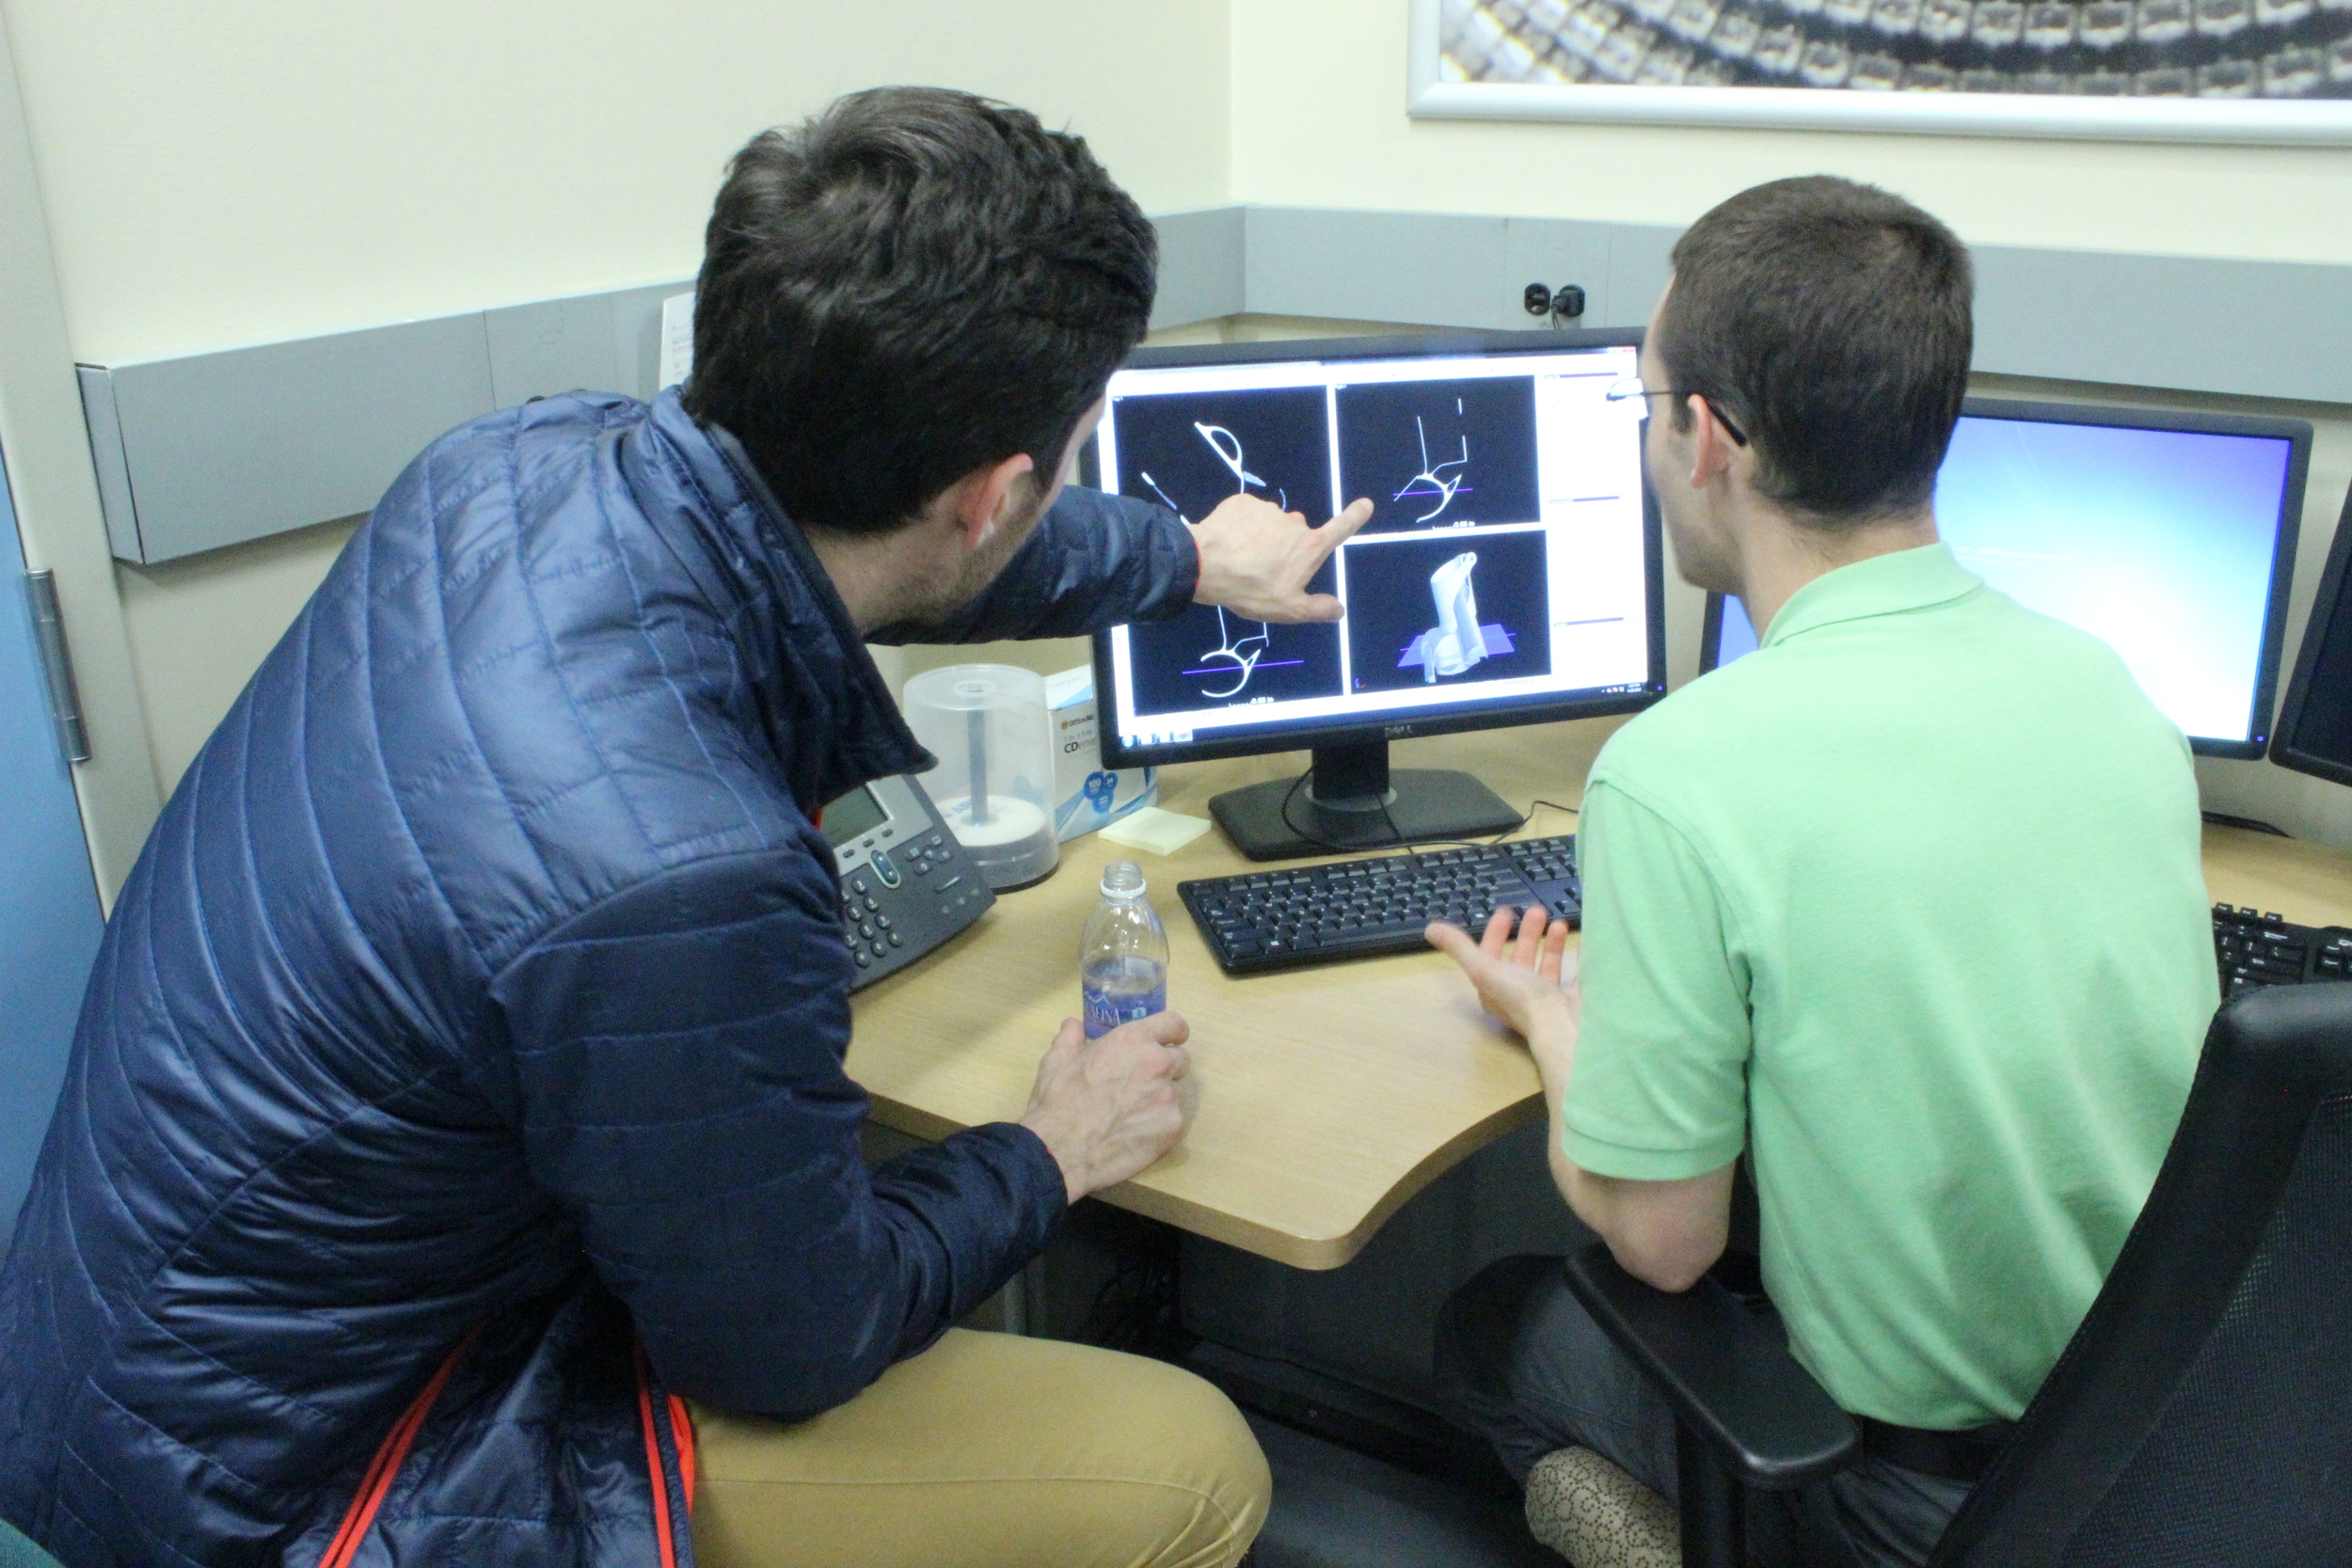
Once the data is captured, it's loaded into a separate workstation to be reconstructed. The amount of data that needs to be processed here is staggering - my scan generated about 25 gigabytes of image data, which reconstructed into a 5.7 gigabyte model.
Once the reconstruction was complete, Griffin Jones (the R&D Engineer responsible for CIMP-3D's CT scanning) was able to do a visual analysis of the as-built part, checking it for voids and flaws. The as-built model can also be overlaid on top of the as-designed model, allowing for deviations to be easily quantified. The model can also be explored layer by layer in any orientation, allowing for a really complete understanding of what the solid part looks like:
A word on resolution: this scan was performed at a voxel size of 58µm, and each voxel is assigned a greyscale value that corresponds with the material's radiographic absorption coefficient at that location. However, any given voxel is subject to some amount of randomness as well; if a voxel has a vastly different value than its neighbors, then the operator needs to determine whether that's a result of a microscopic void, or a result of random variations.
As a rule of thumb, Griffin assumes a void when he sees three voxels in a row with low grey values. Interestingly, the scan did reveal a few tiny voids in my part. They're mostly near the edges - specifically, the zone right at the boundary of the profile scan (the perimeter of the part's cross-section) and the infill hatching. Since the scan was performed at a voxel size of 58µm, and Griffin was looking for three voxels in a row with low grey values, the voids we detected were about 180µm - just larger than the diameter of a human hair.
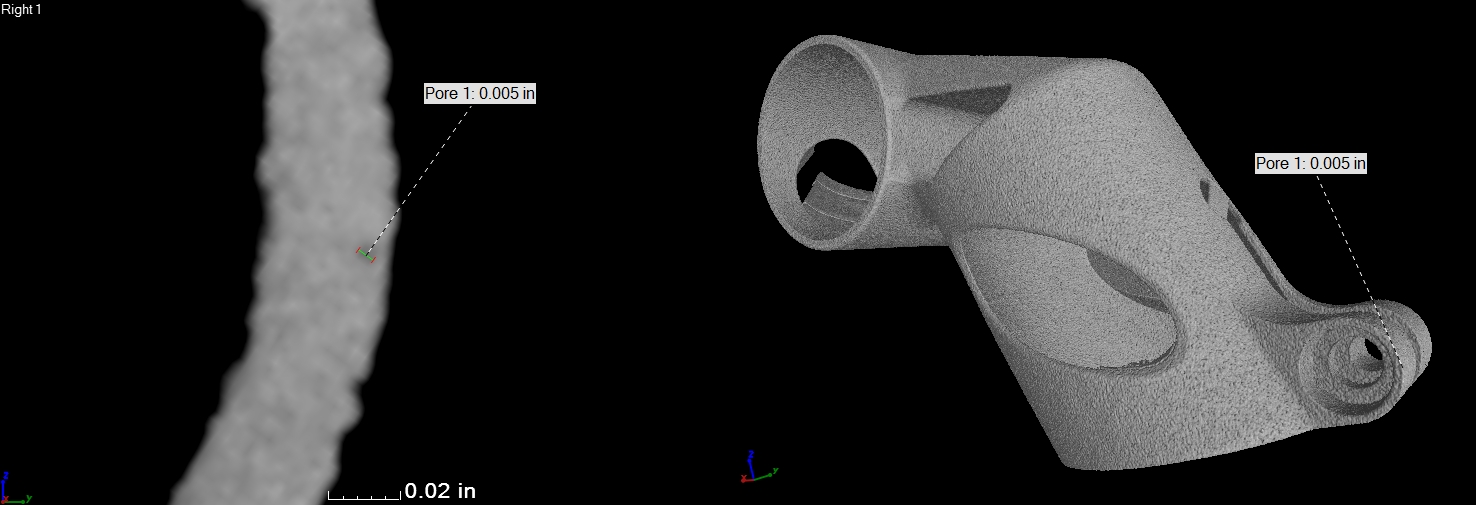
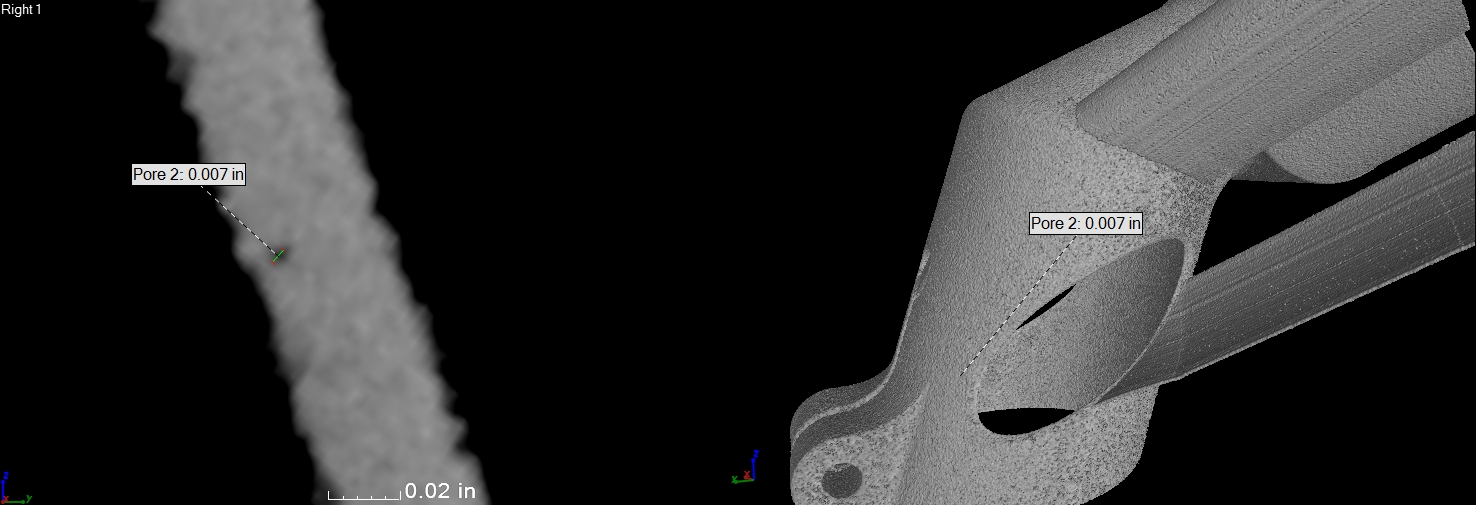
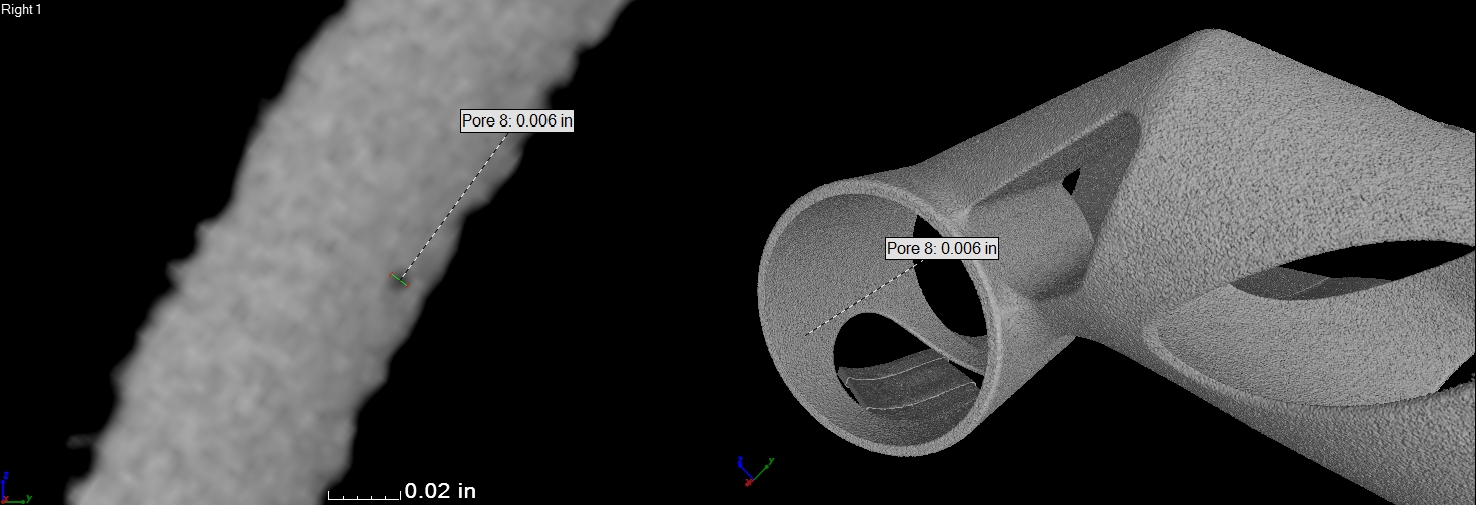
My suspicion - which would need to be verified by destructive testing - is that voids of this size are probably well within the functional requirements of my design. Of course, this particular model is aluminum, and the design is meant for titanium - but I'm looking forward to having a ti model scanned and destructively tested in the future.
For most product development teams, non destructive testing (NDT) is just one part of the process of qualifying a new part. My part, for instance, is being put through physical load testing this week - and I'll use the data I get from that test to improve my design. But for early on in the build planning process, having a tool that allows you to dive inside otherwise obscured areas of your part is incredibly helpful. Especially in the case of complex, topology-optimized parts with organic forms, it can be difficult to impossible to measure a part's deviation from the underlying design. Moreover, there may be regions that it's impossible to inspect without destroying an expensive prototype. My part has just this: the front of the neck section contains a completely hidden hollow zone. And as I move into redesigning for EBM, knowing the areas where powder tends to cake up will be even more helpful.
Thanks so much to CIMP-3D for hosting me!
Posting this here because twitter/email isn't panning out so far:
I'm looking for a prototyping machine shop in NYC! Must be interested in working on some pretty futuristic stuff (metal 3D printing, etc), and must have a knack for fixturing irregular & rough parts.
Please give me an email if you know of one!
I can barely speak:


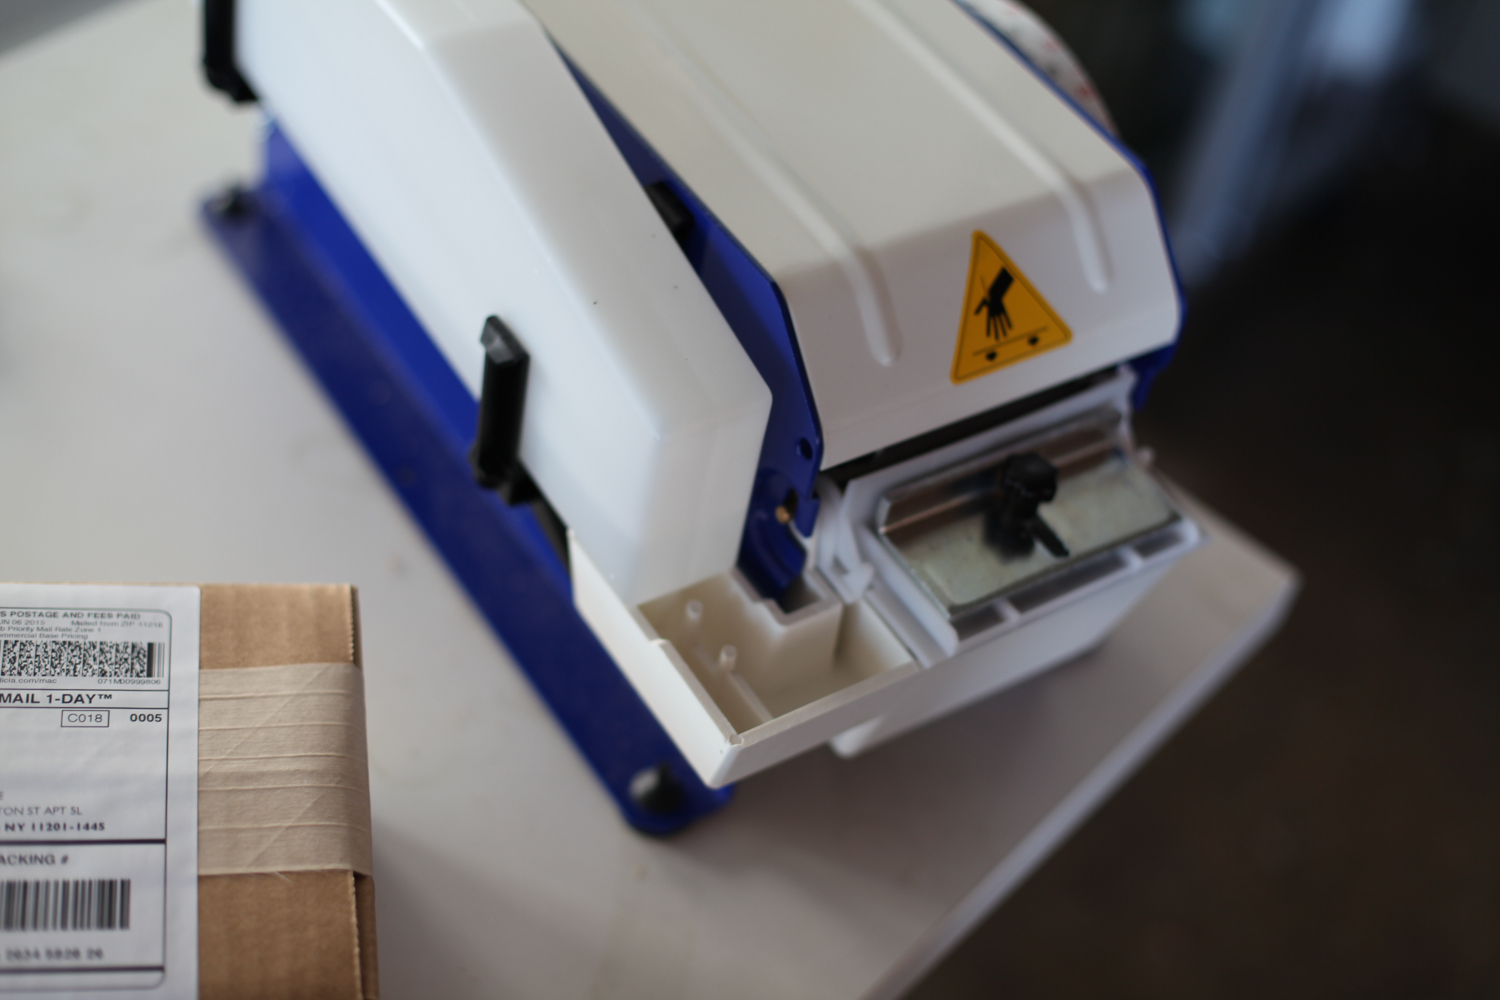


By the end of today, there will be about 1100 Public Radios in the mail. They should start being delivered to backers tomorrow.
We owe *so* much to our family, friends, and random interested people who helped us get this far. We're so lucky to have had the help, and it was really fun getting to work on a fun project with interesting, interested people.
Tim Urban, writing about learning about Tesla (emphasis mine):
I’ve heard people compare knowledge of a topic to a tree. If you don’t fully get it, it’s like a tree in your head with no trunk—and without a trunk, when you learn something new about the topic—a new branch or leaf of the tree—there’s nothing for it to hang onto, so it just falls away. By clearing out fog all the way to the bottom, I build a tree trunk in my head, and from then on, all new information can hold on, which makes that topic forever more interesting and productive to learn about. And what I usually find is that so many of the topics I’ve pegged as “boring” in my head are actually just foggy to me—like watching episode 17 of a great show, which would be boring if you didn’t have the tree trunk of the back story and characters in place.
Yesterday Zach and I packaged up the very first Public Radios.


This is the first 71 radios to come off of our (much improvised) production assembly sequence. We've relied *so* much on our friends, family, and employers over the past few months, and absolutely could not have done this without all of them.
Next weekend we'll finish building the remaining ~400 radios, which we're still waiting for PCBs for (we had a SNAFU - totally my fault - with our battery clip inventory). We're also planning on shipping out 1000 radios, which would comprise all of our base level ($48) Kickstarter backer rewards.
Looking forward to getting it done :)
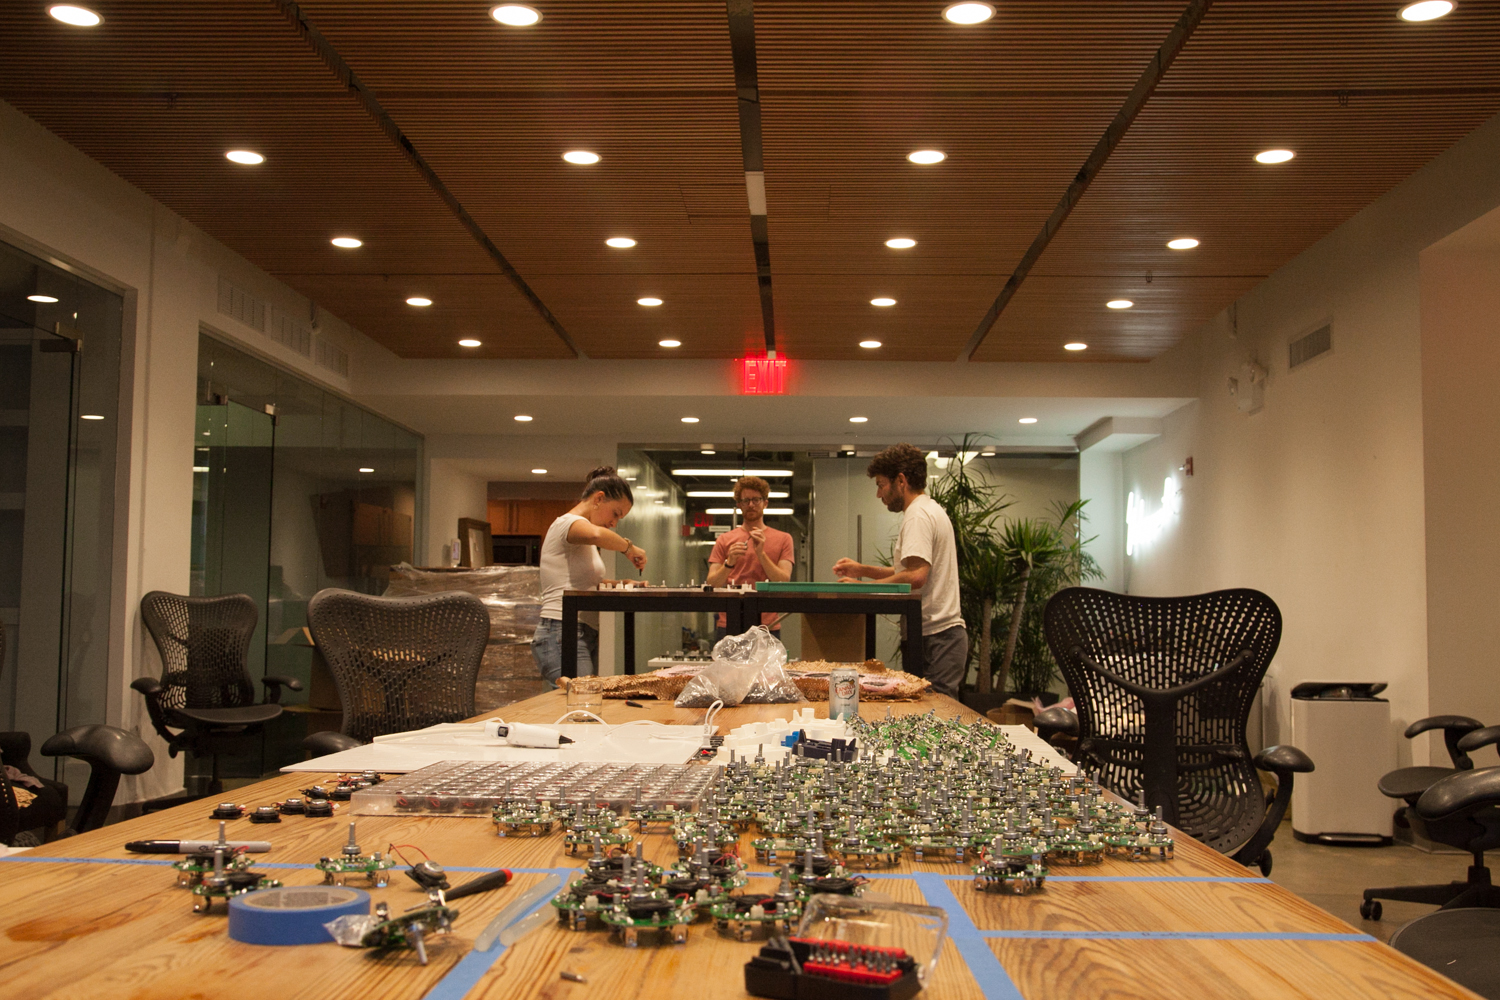
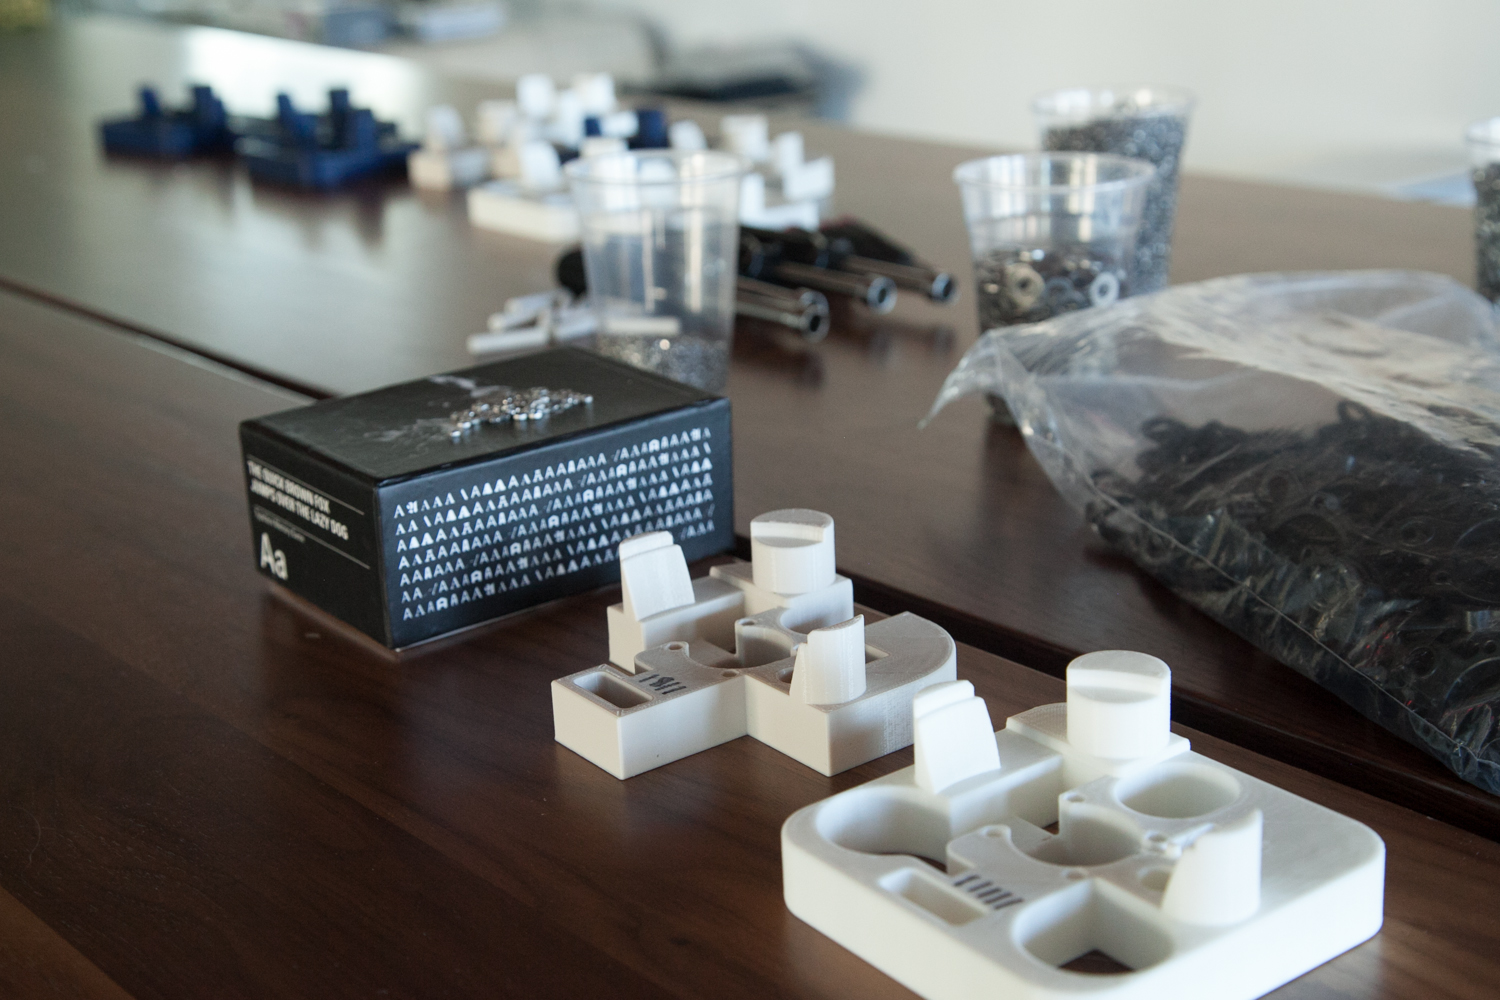
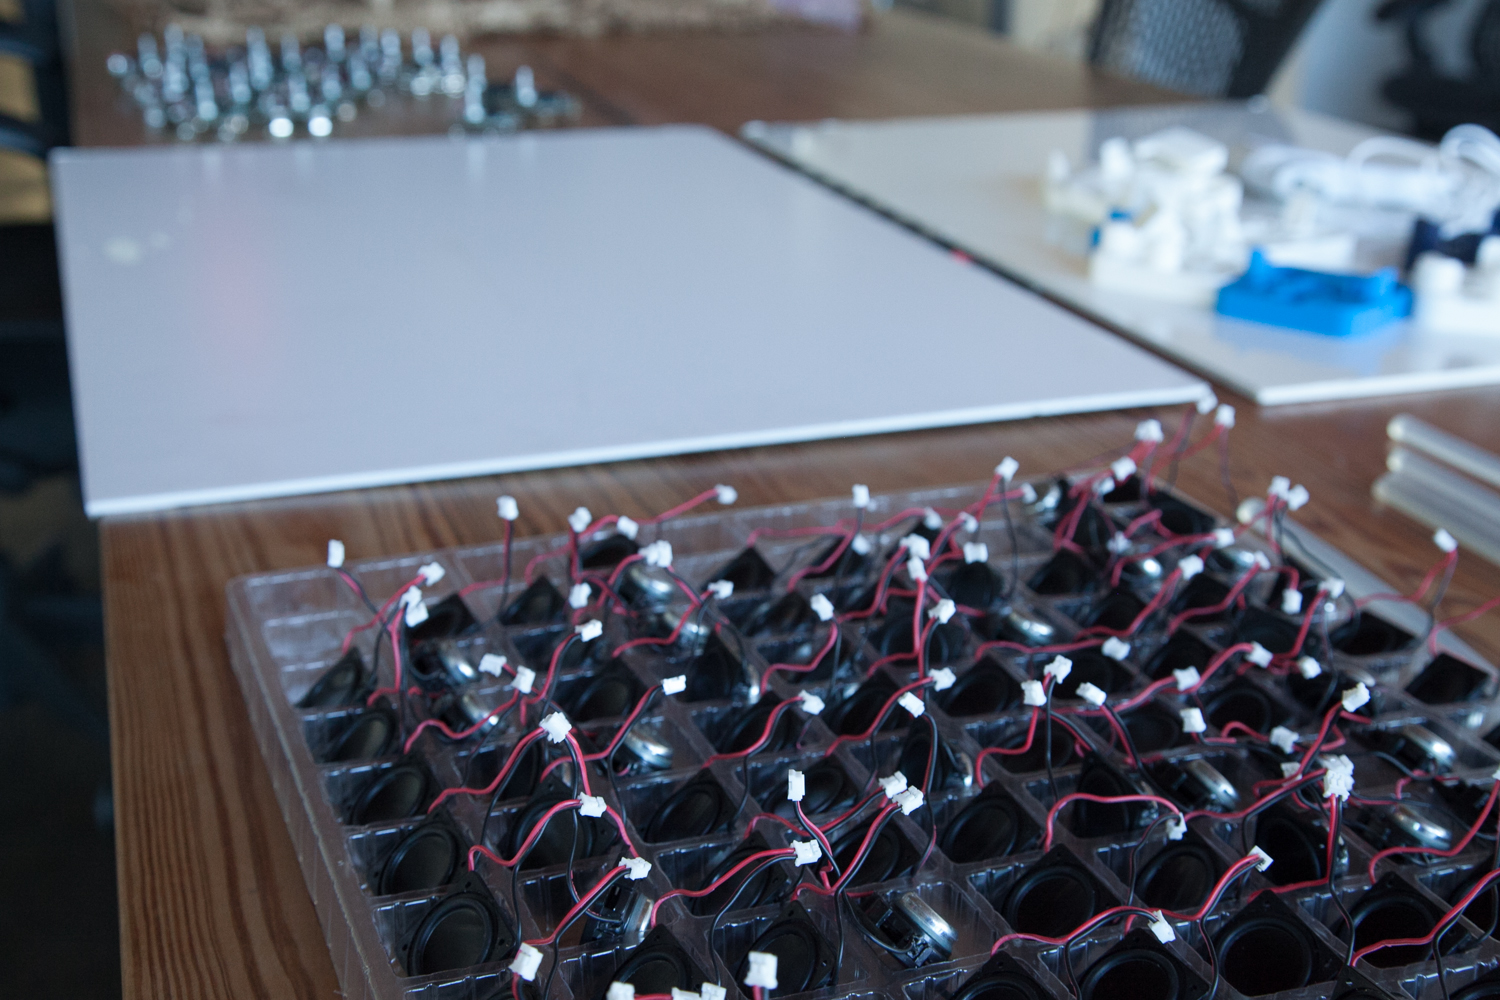
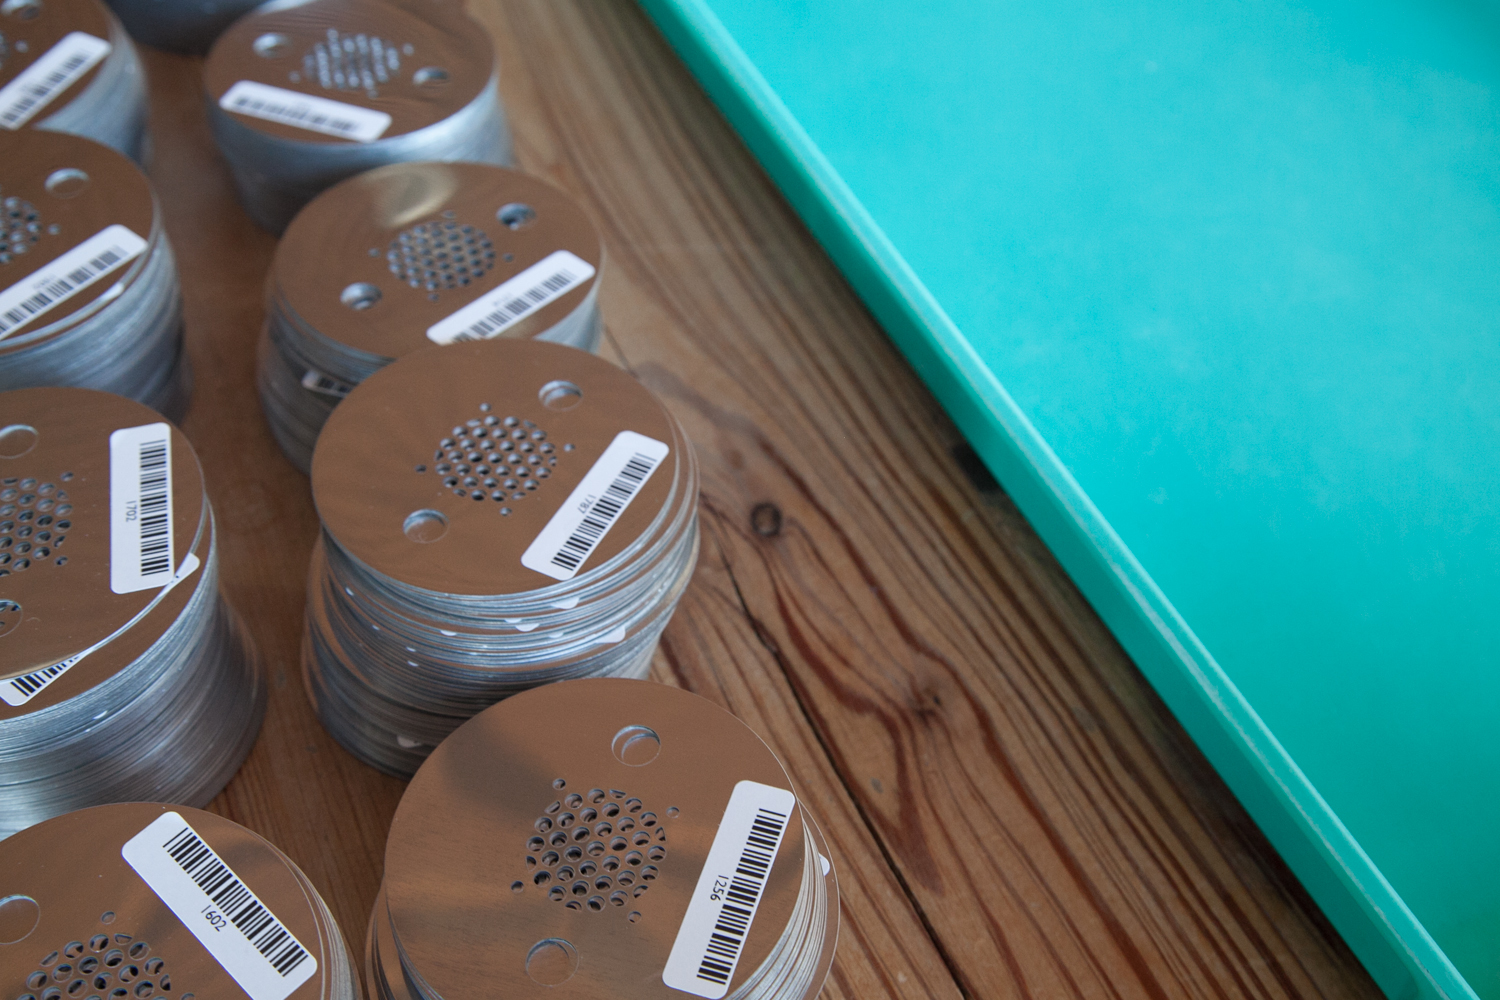
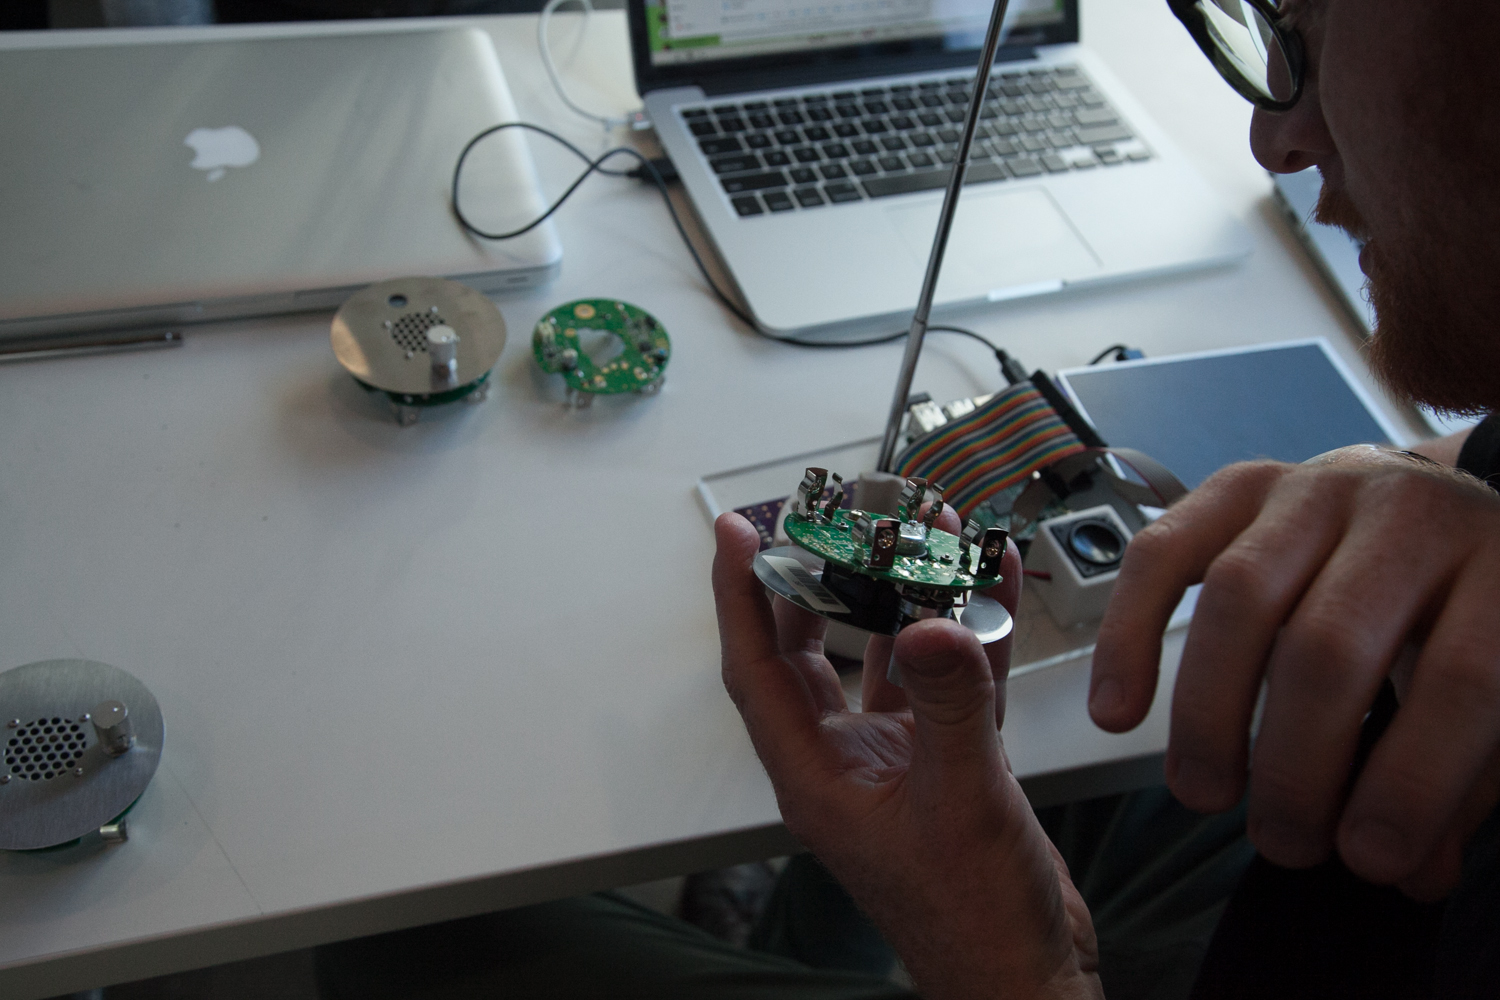
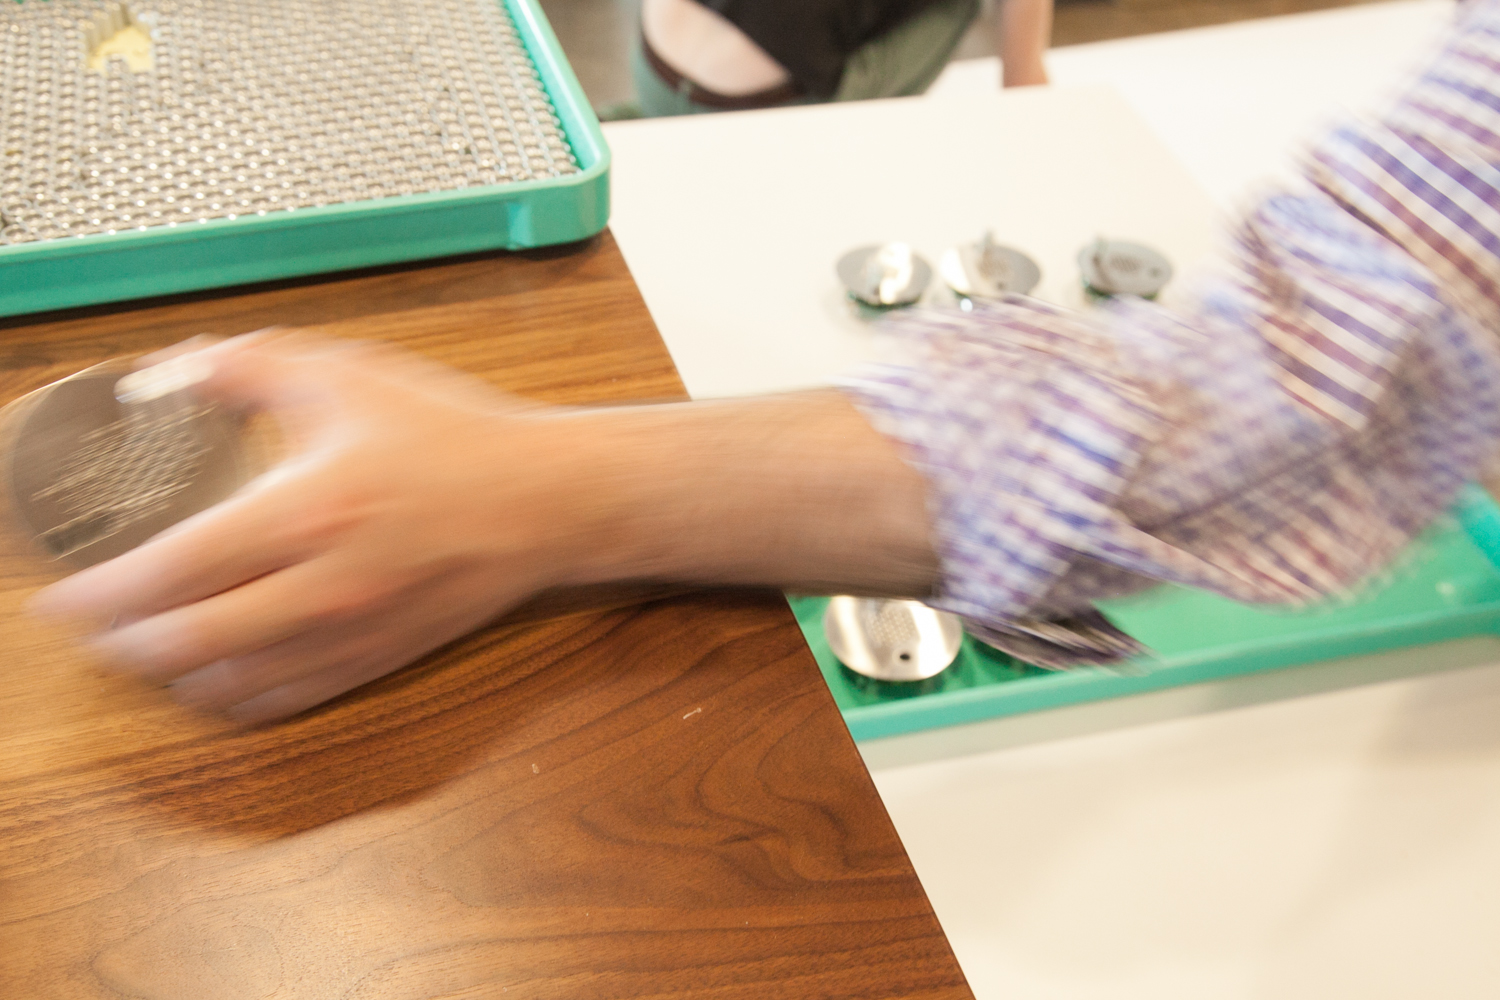
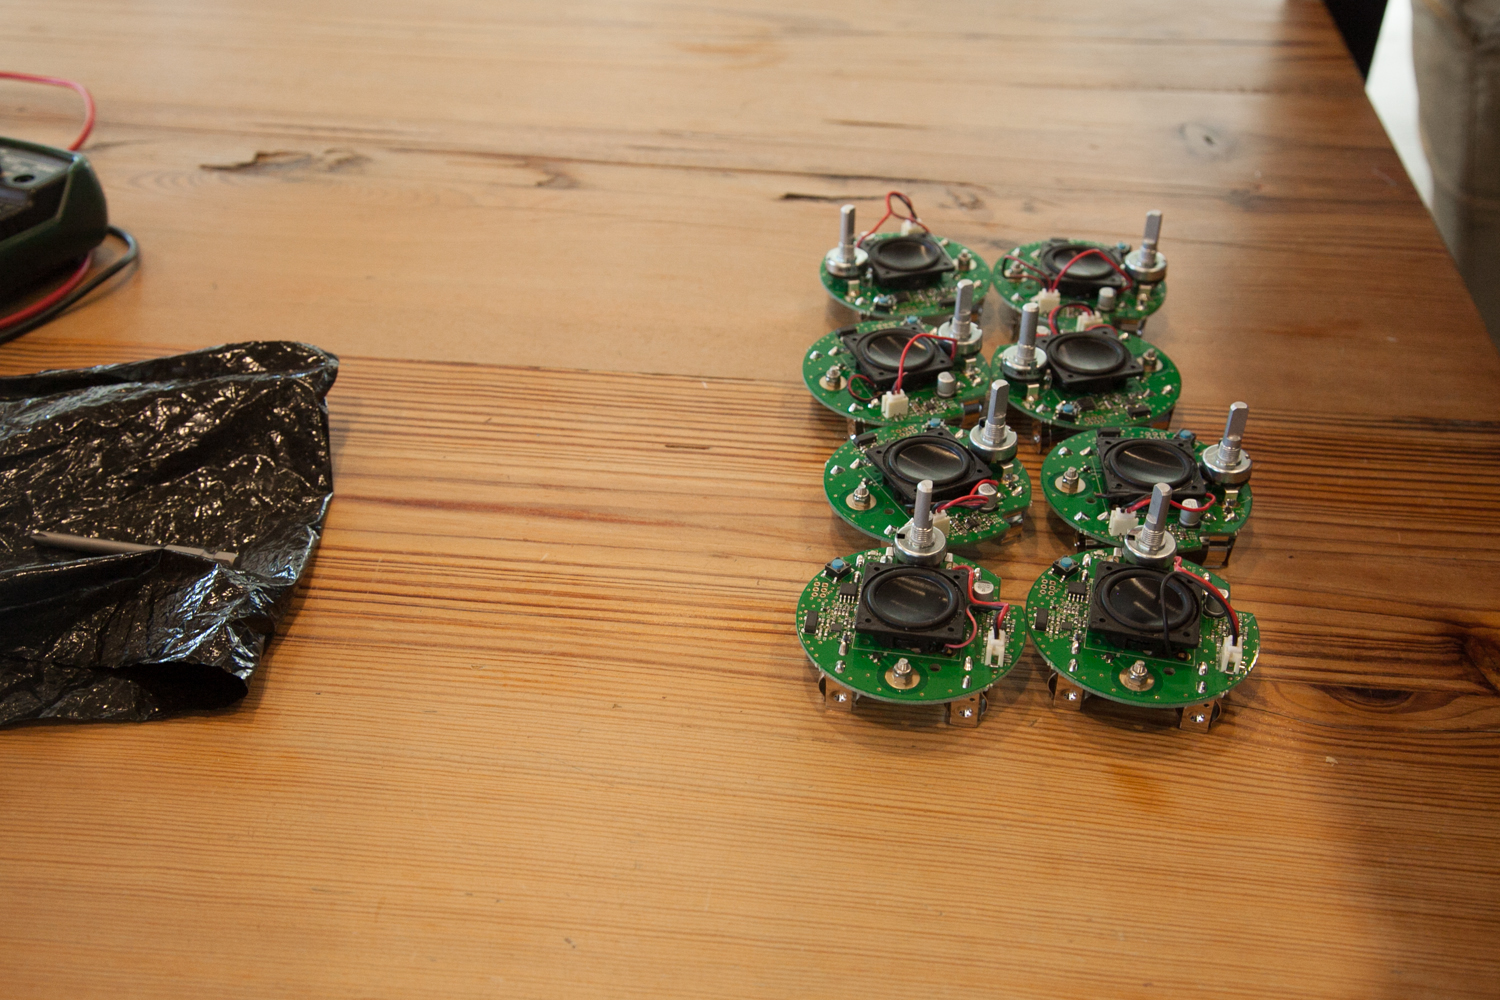
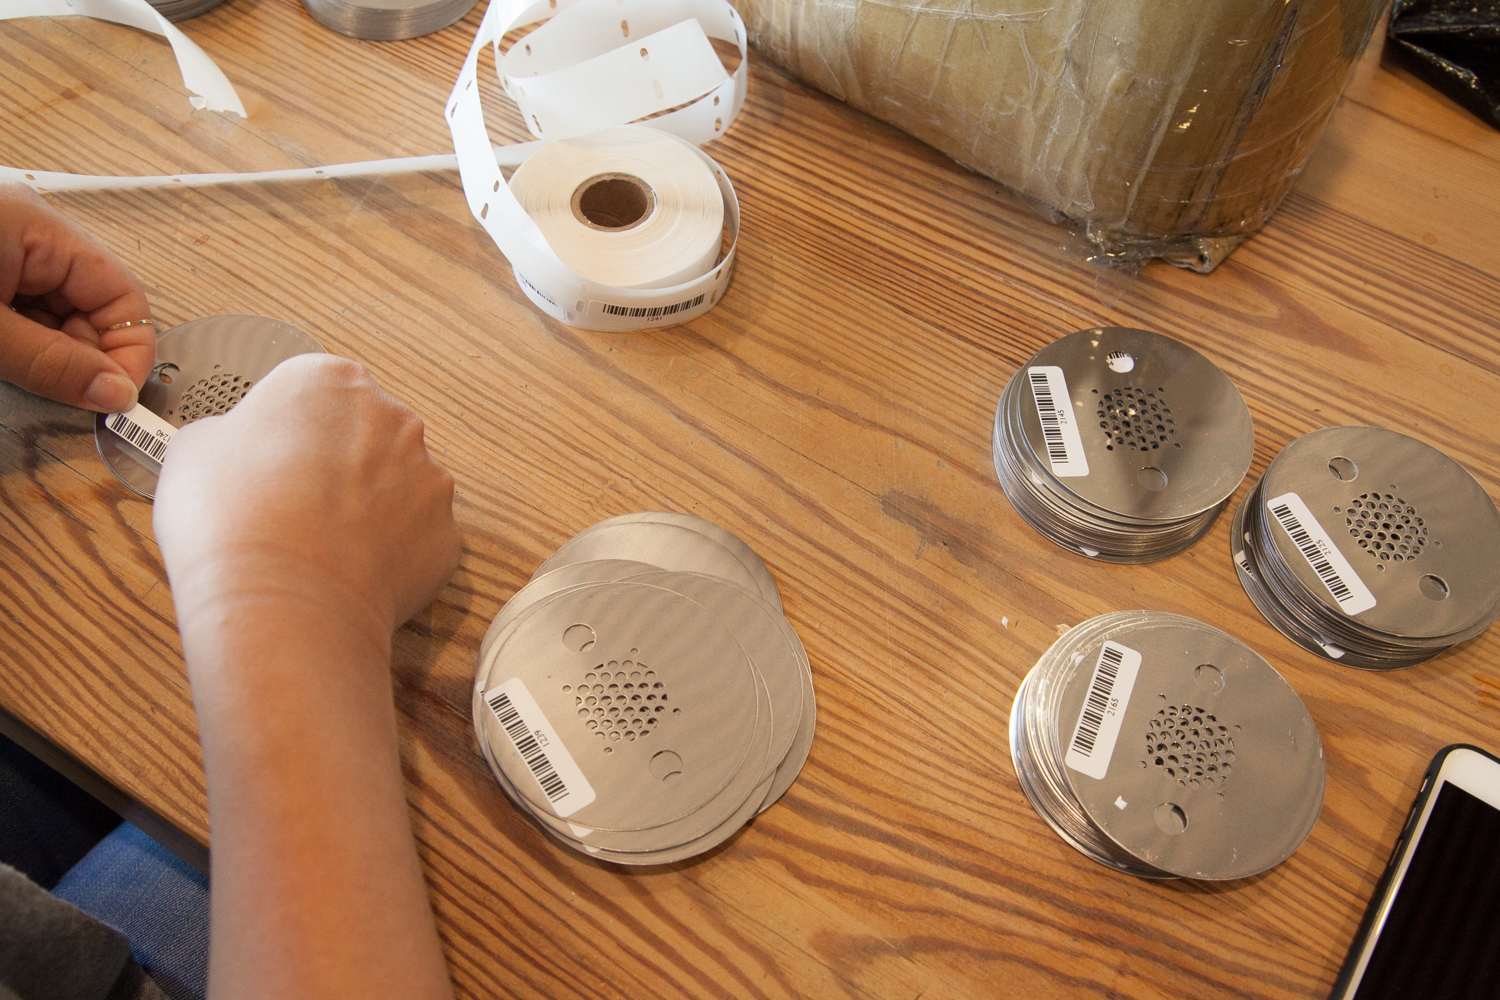
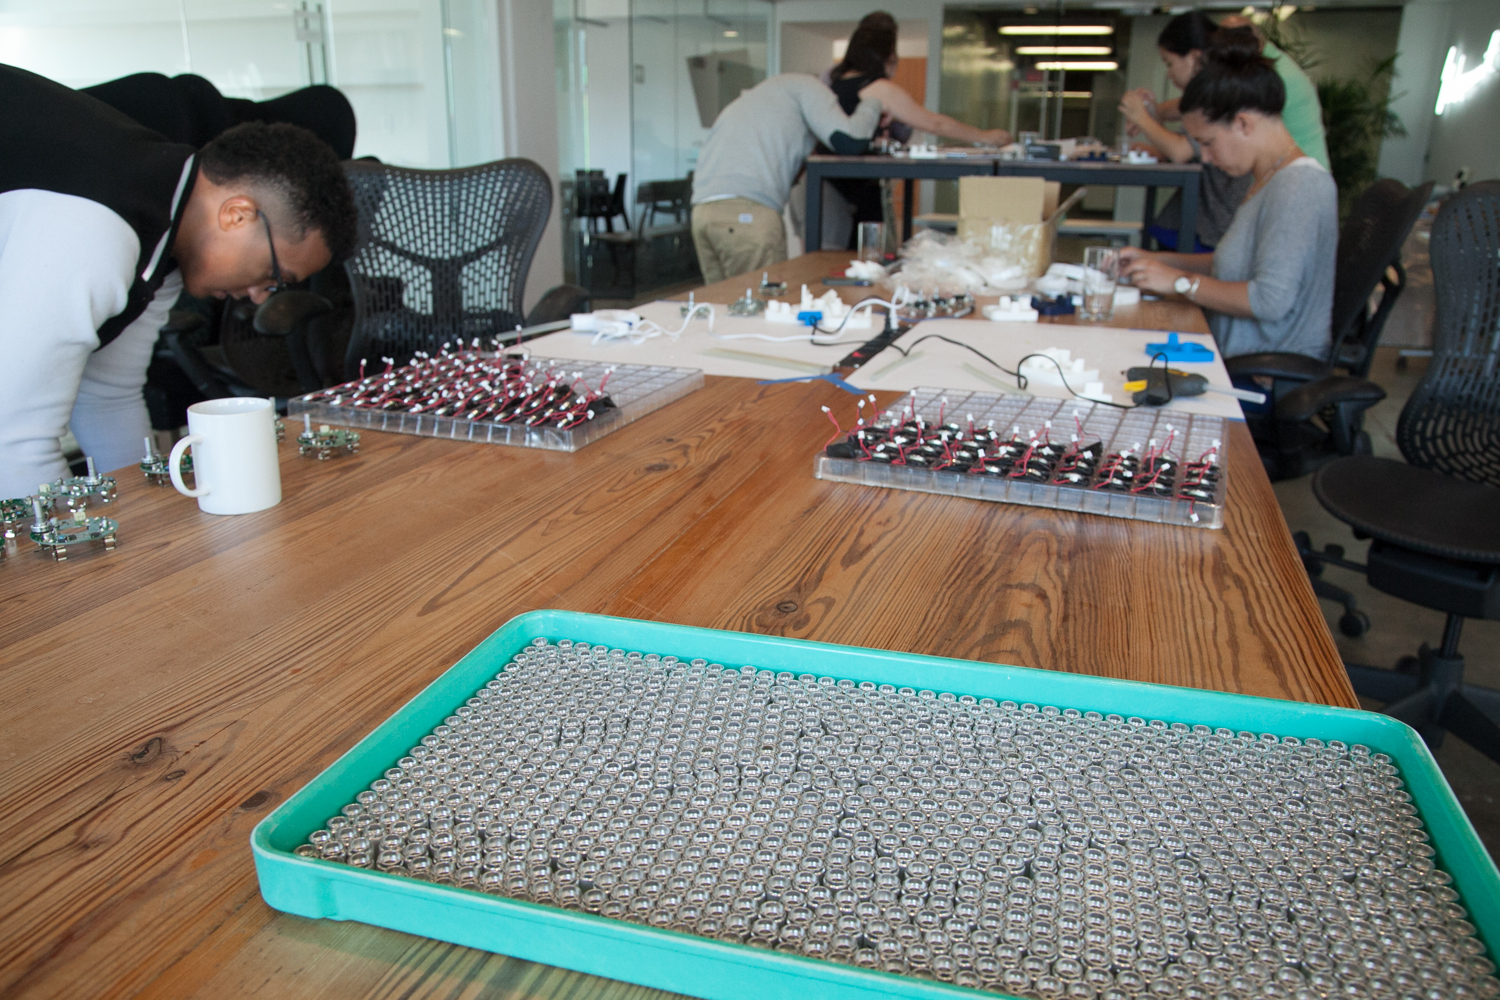
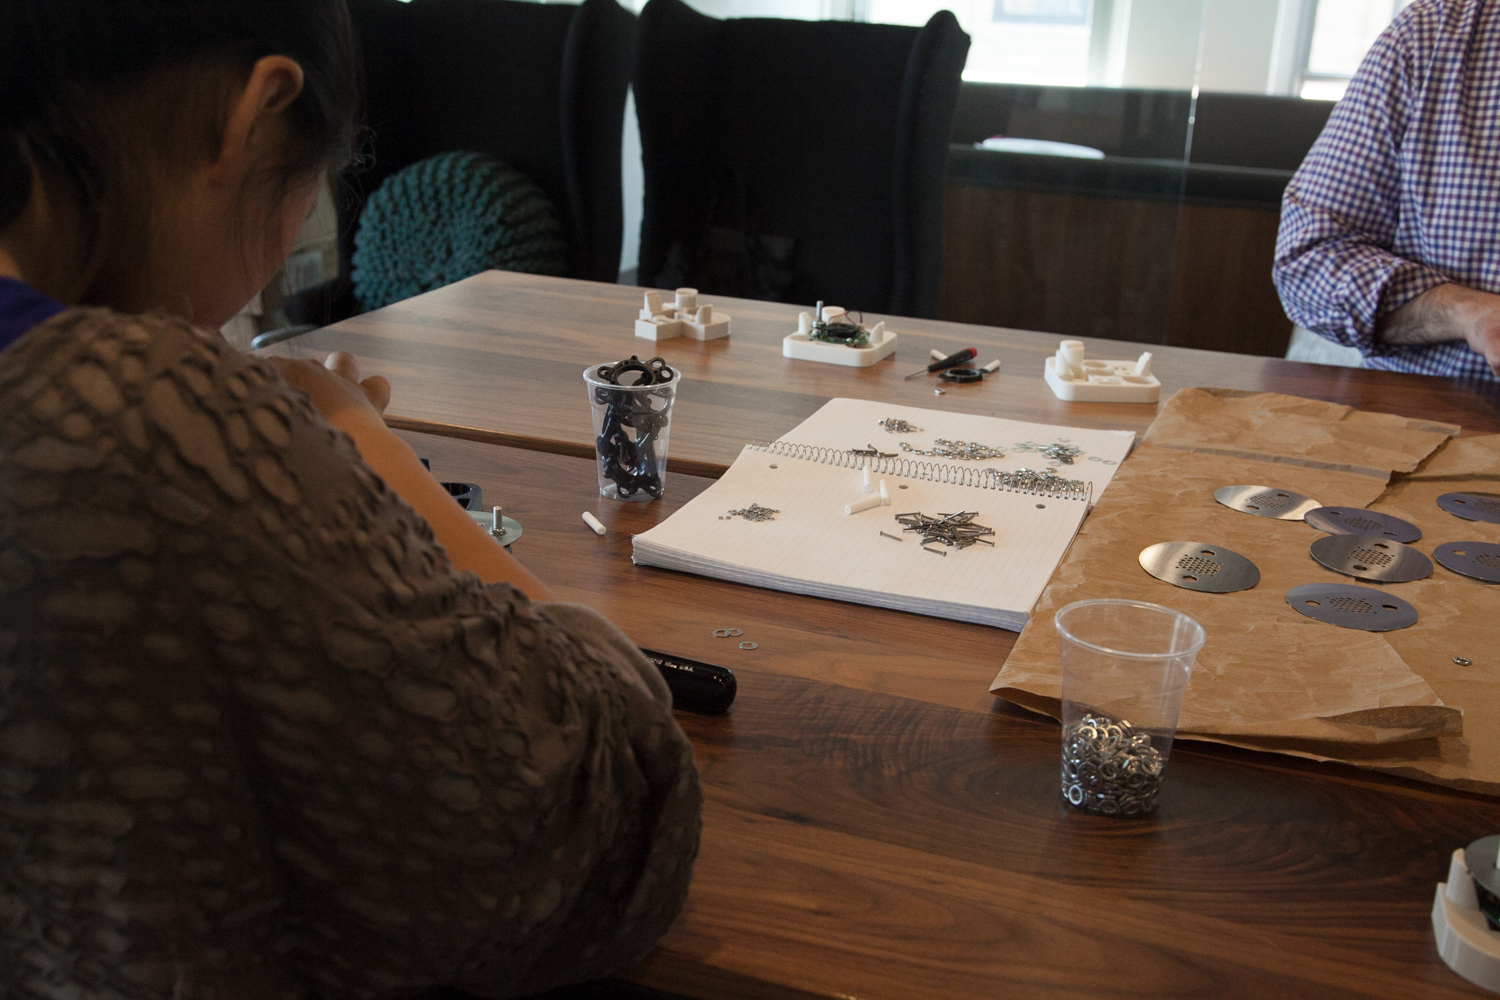
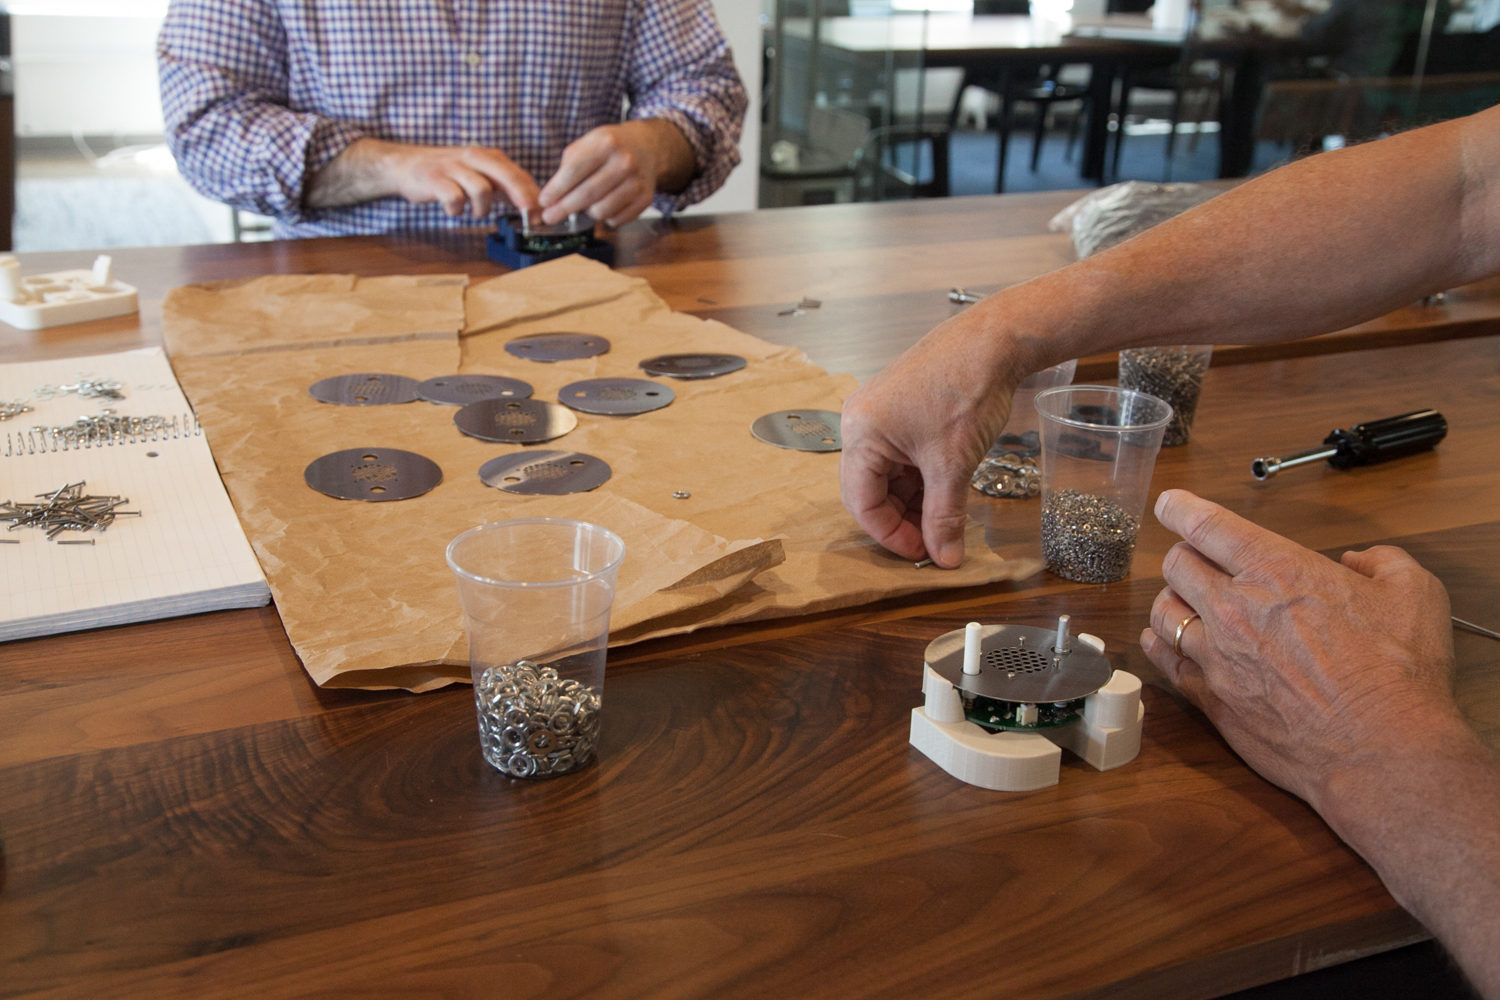
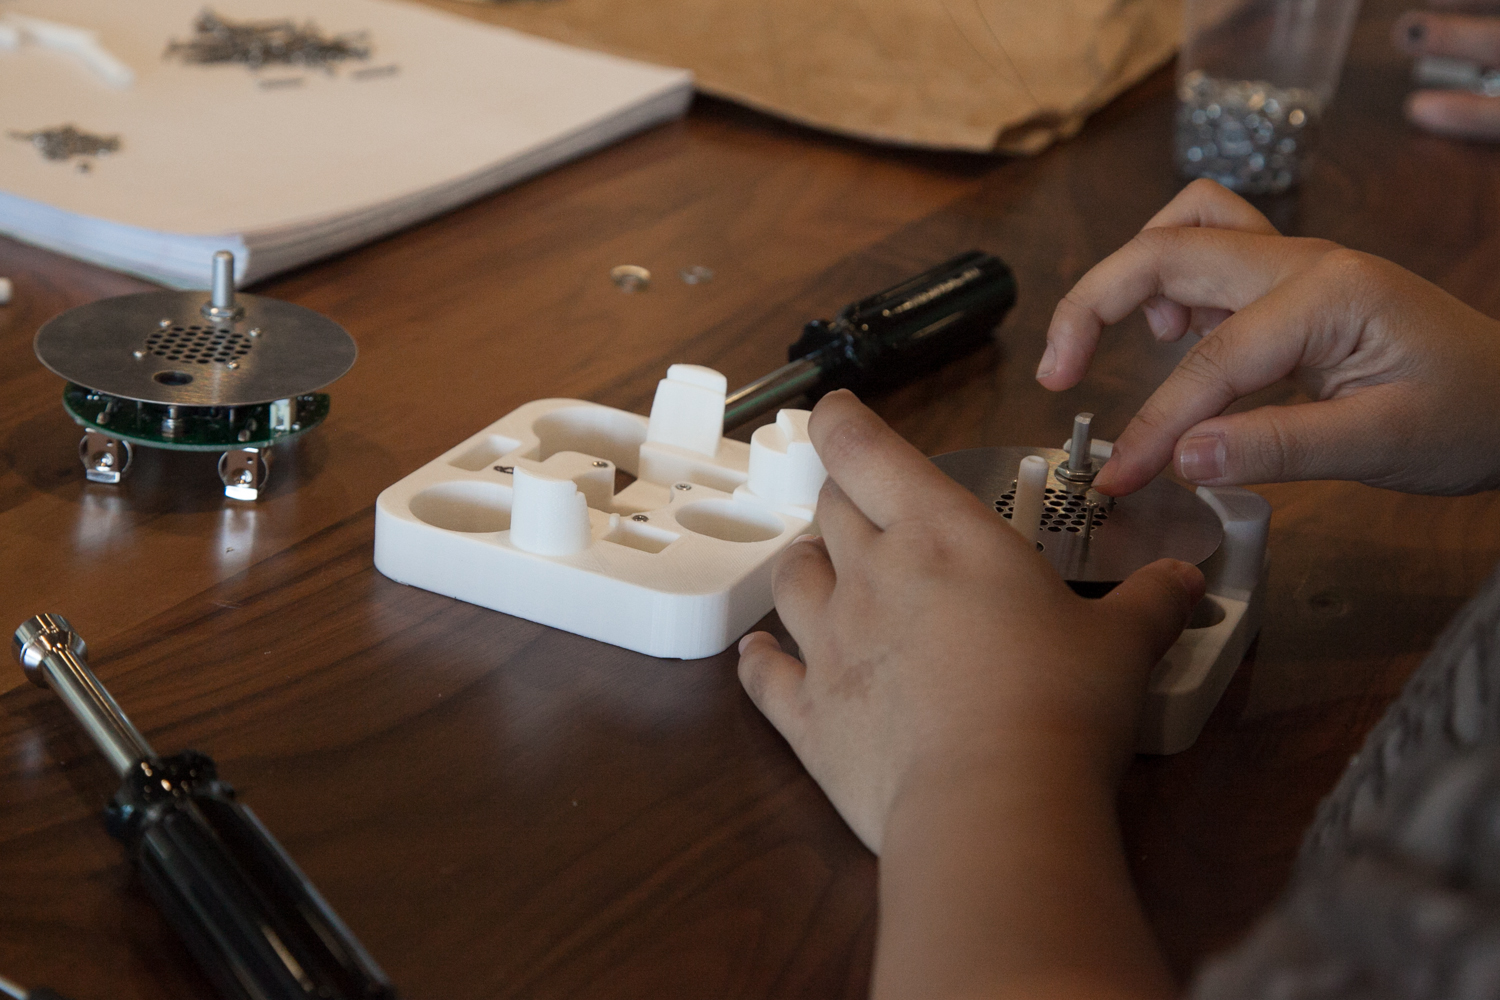
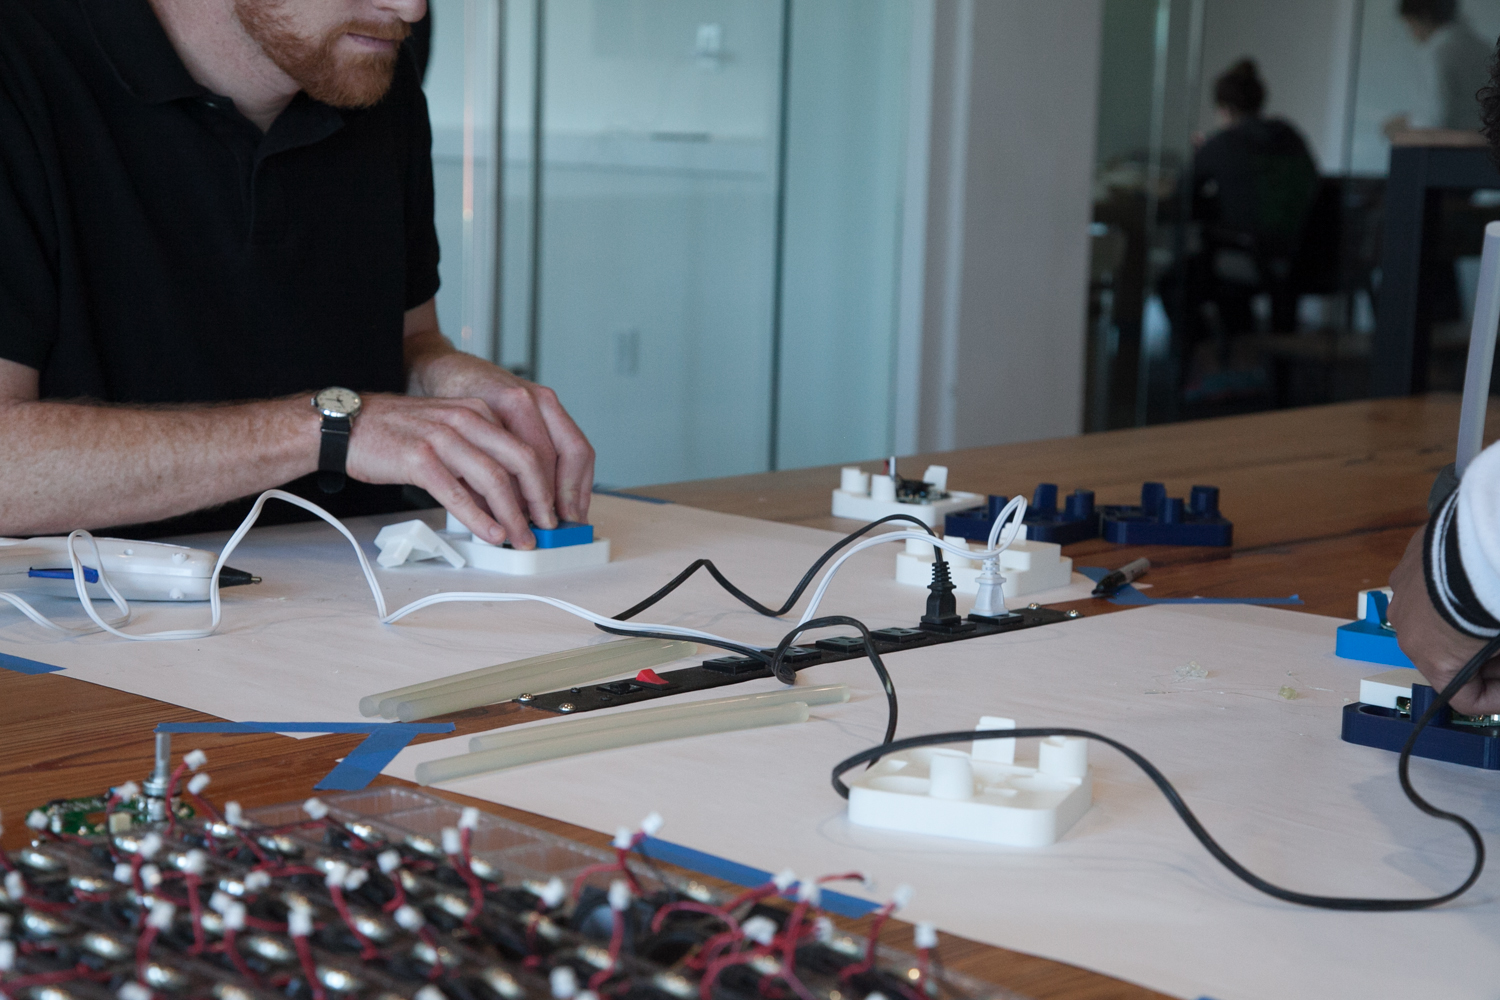
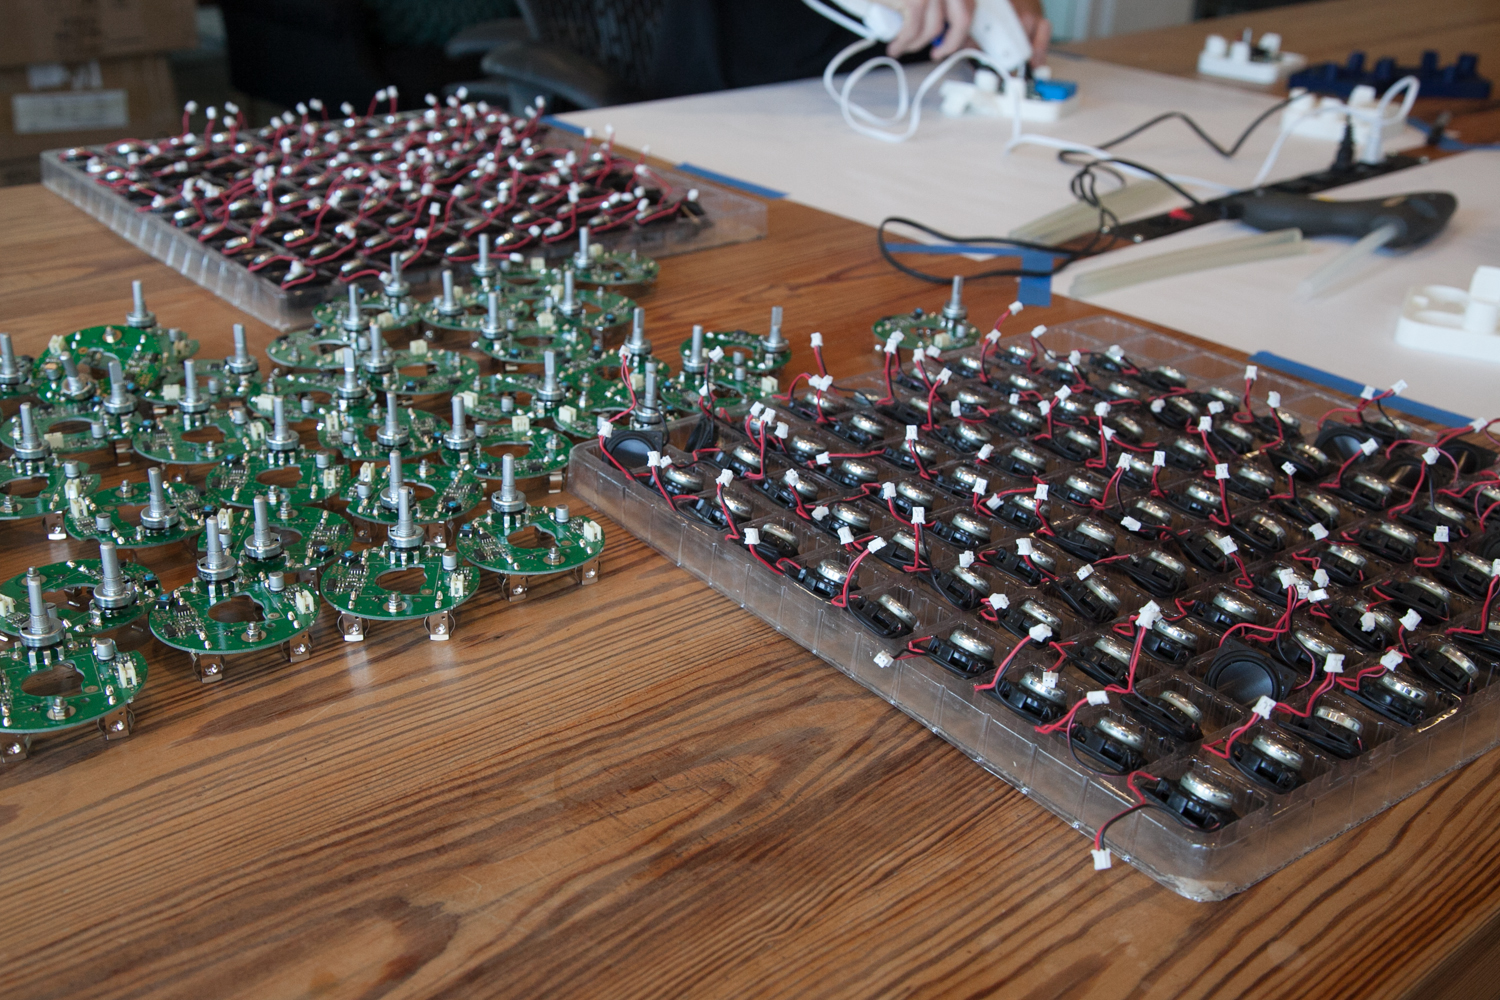
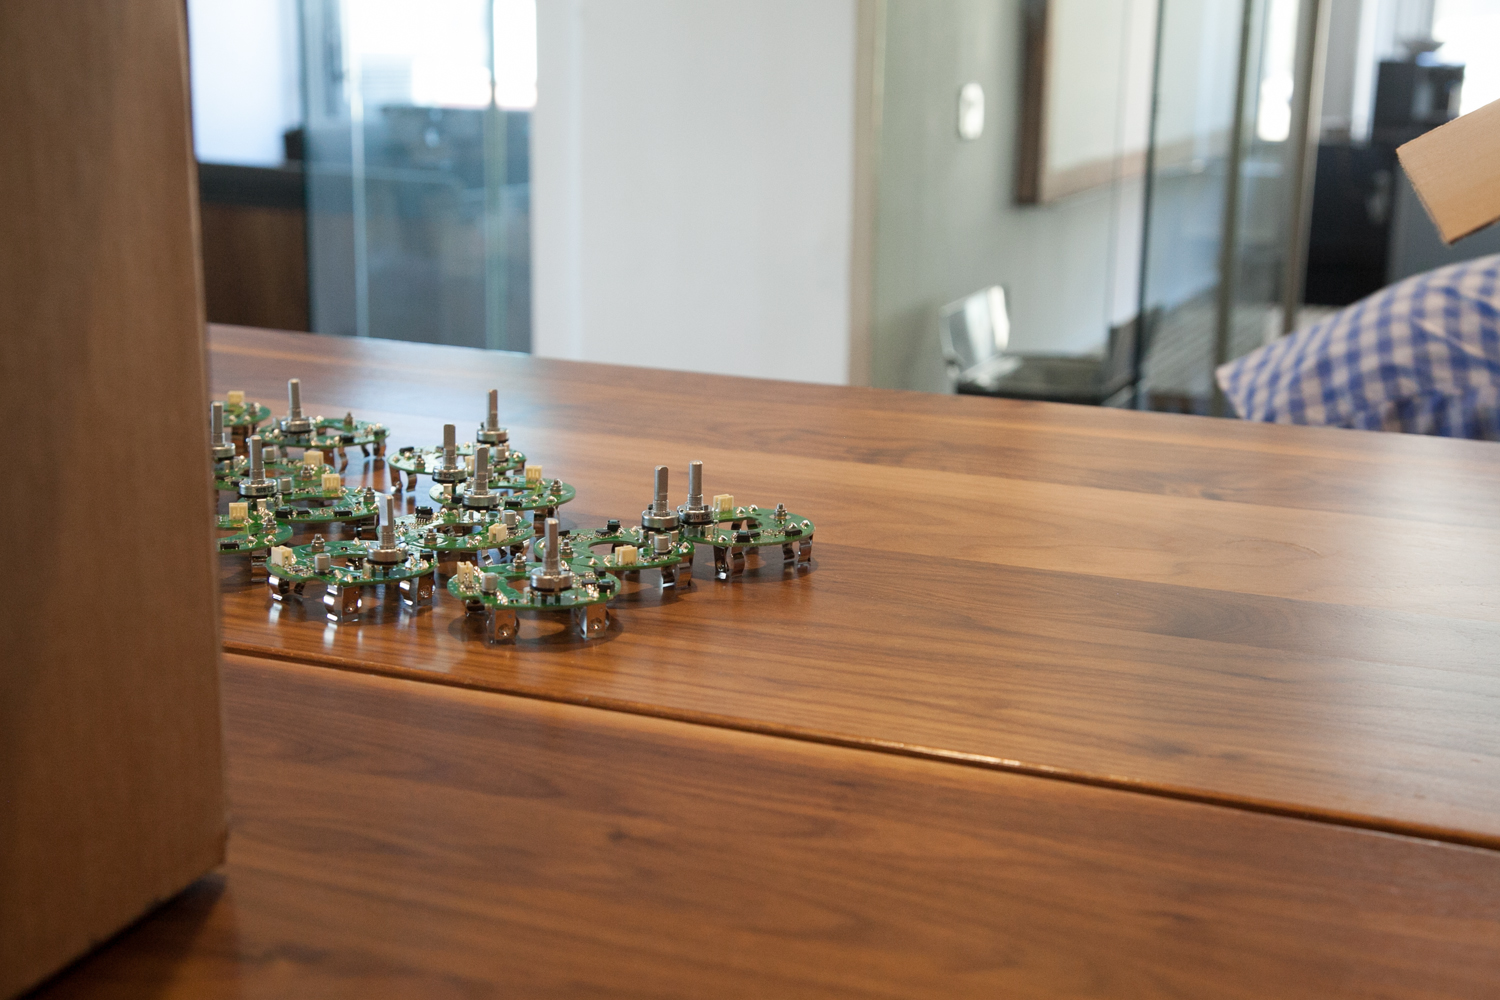
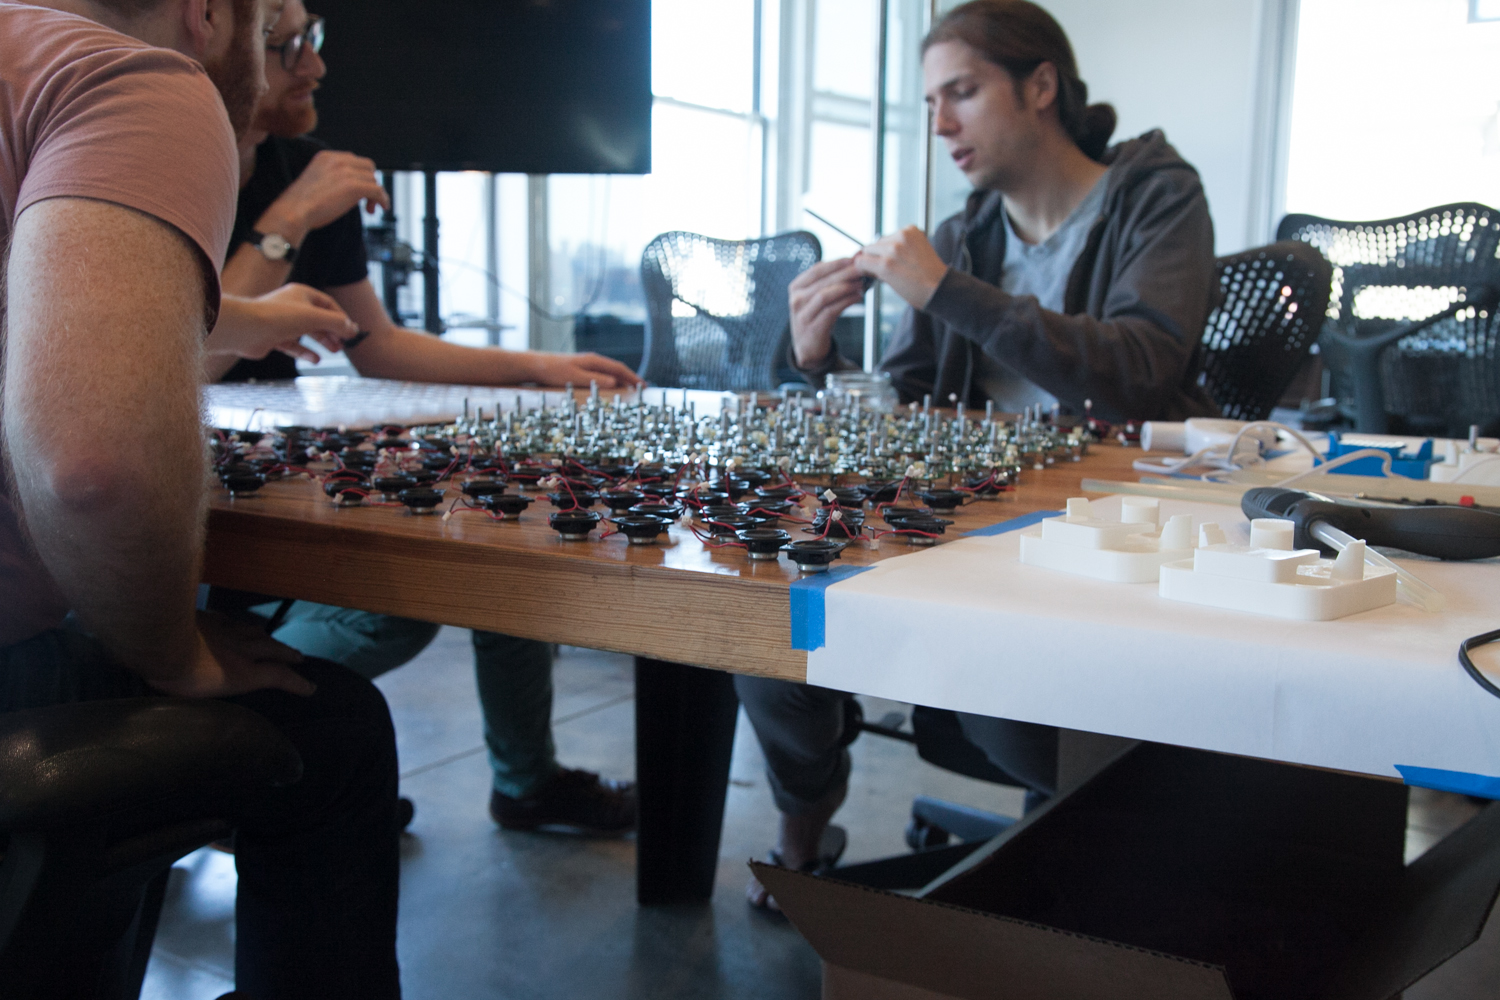
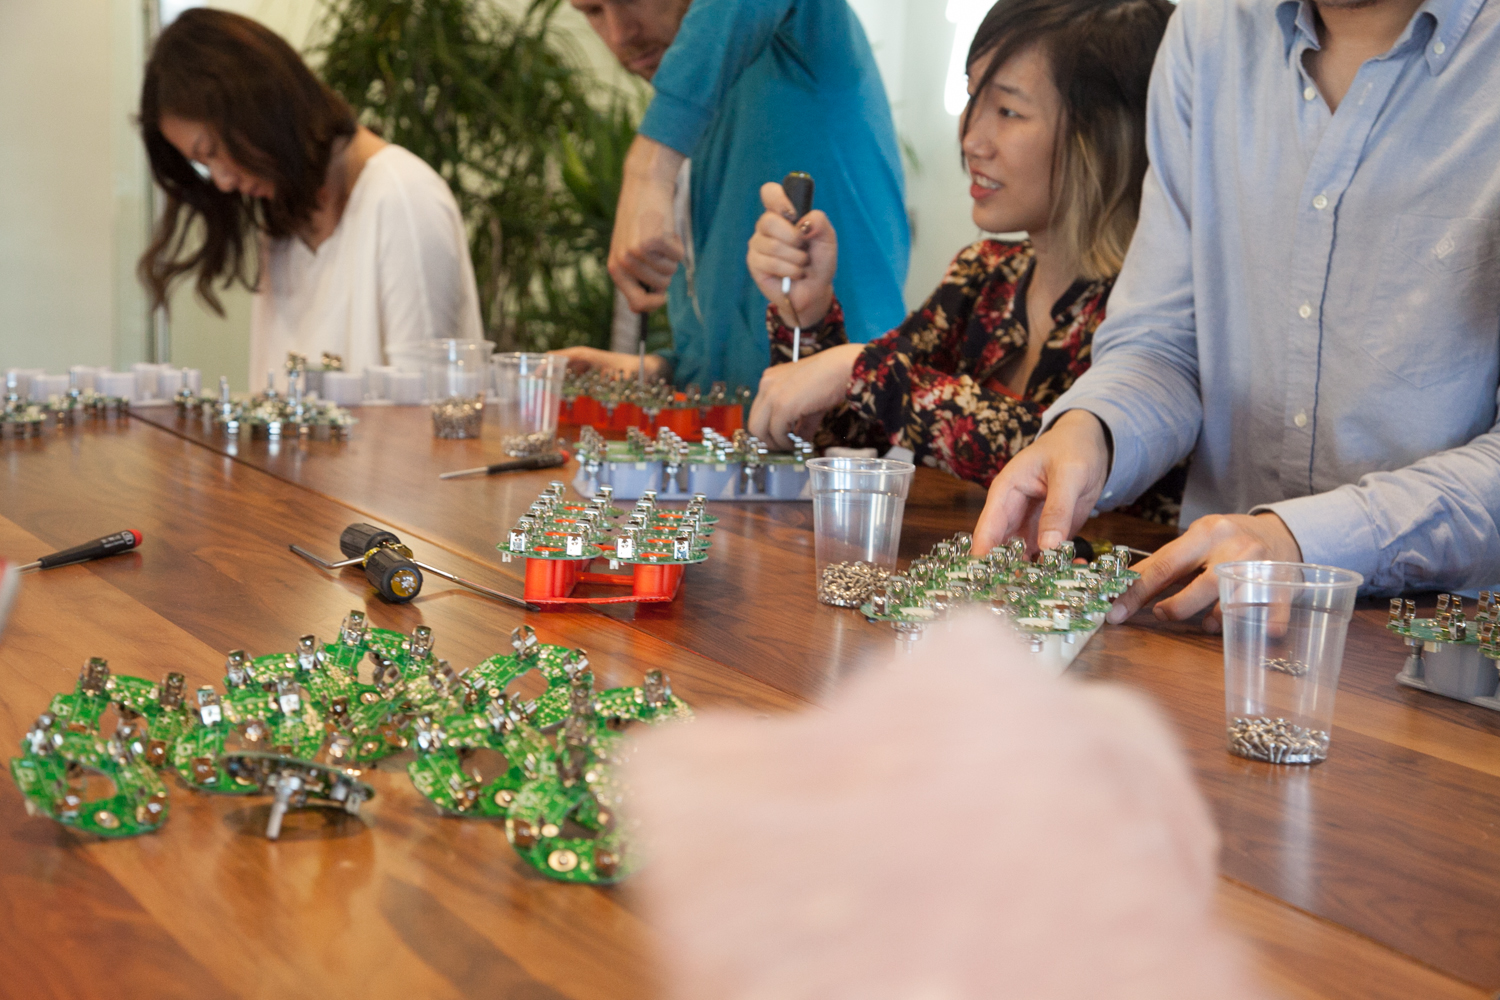
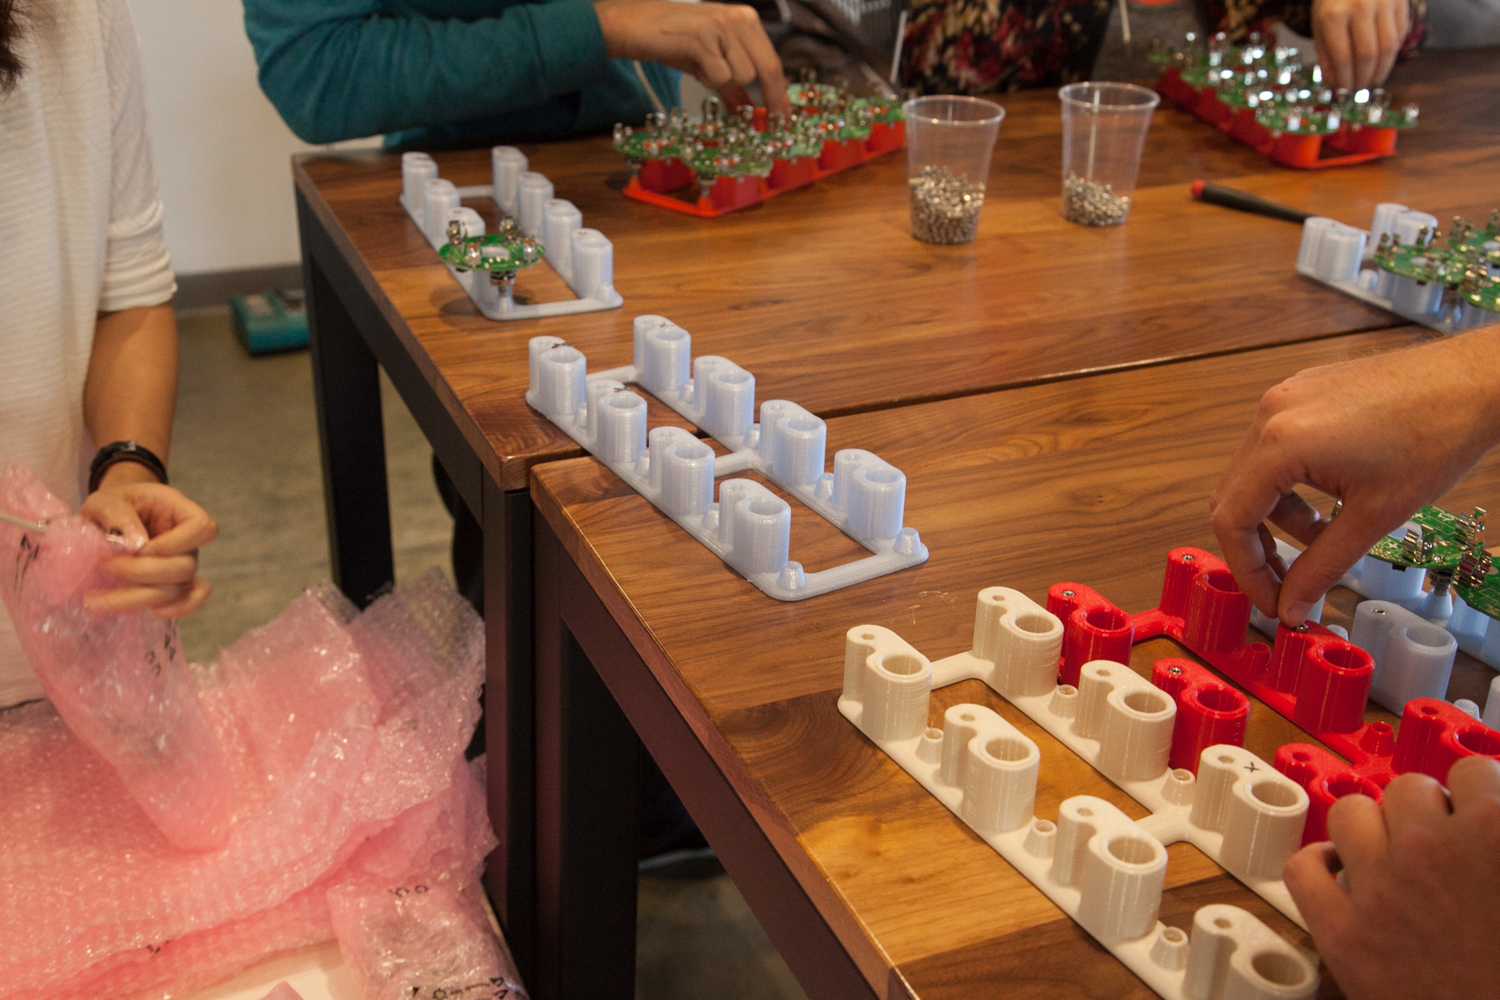
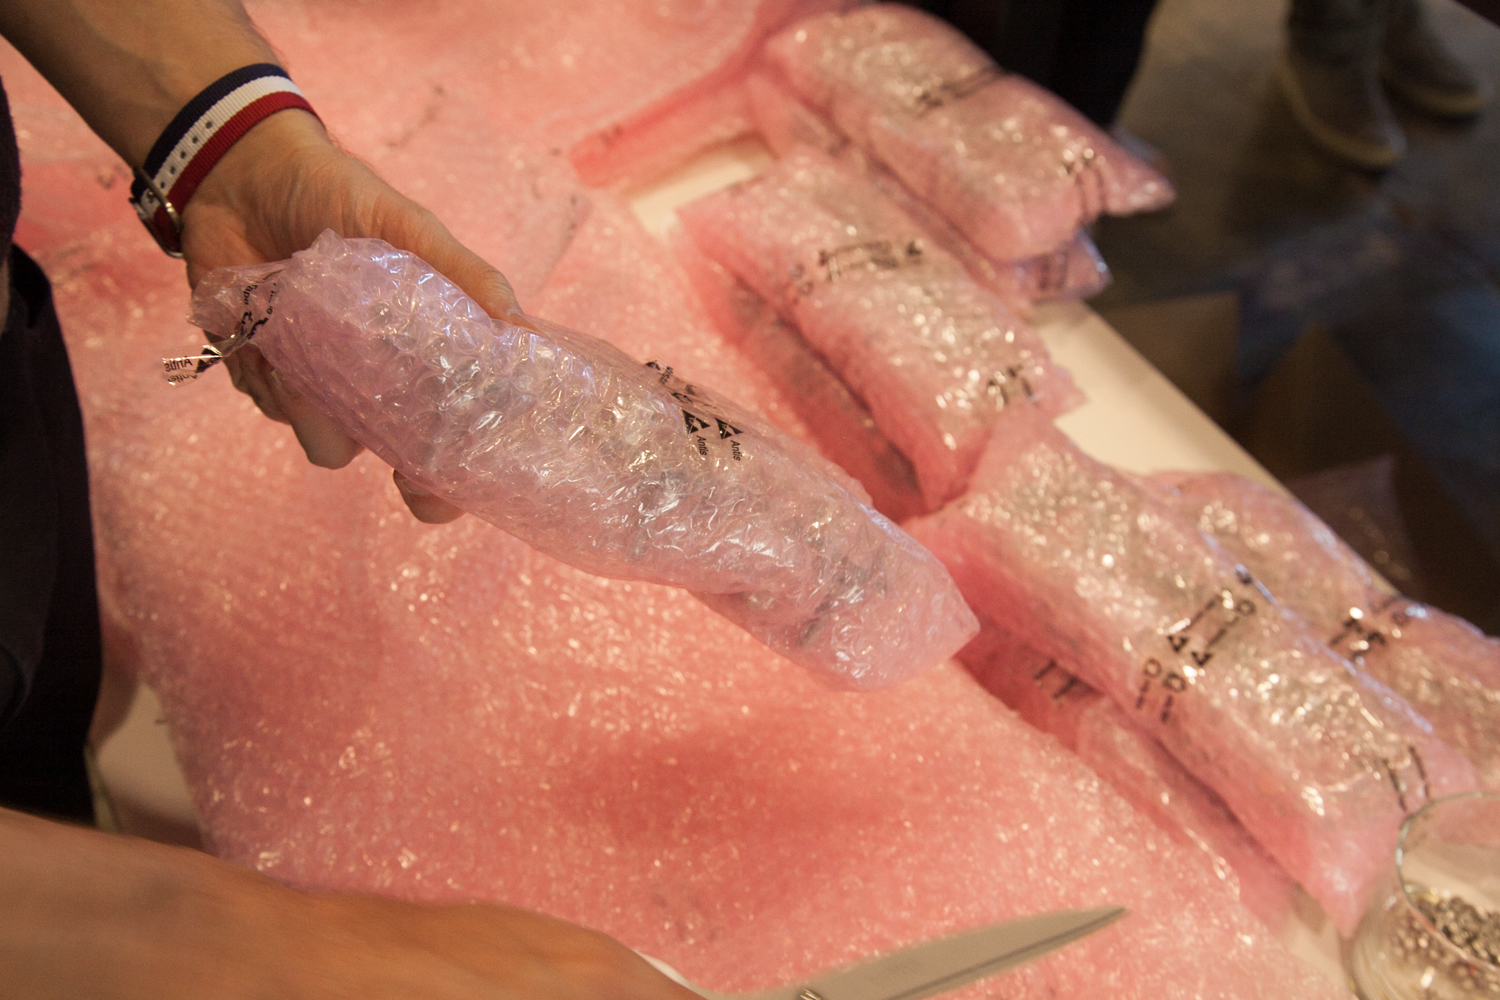
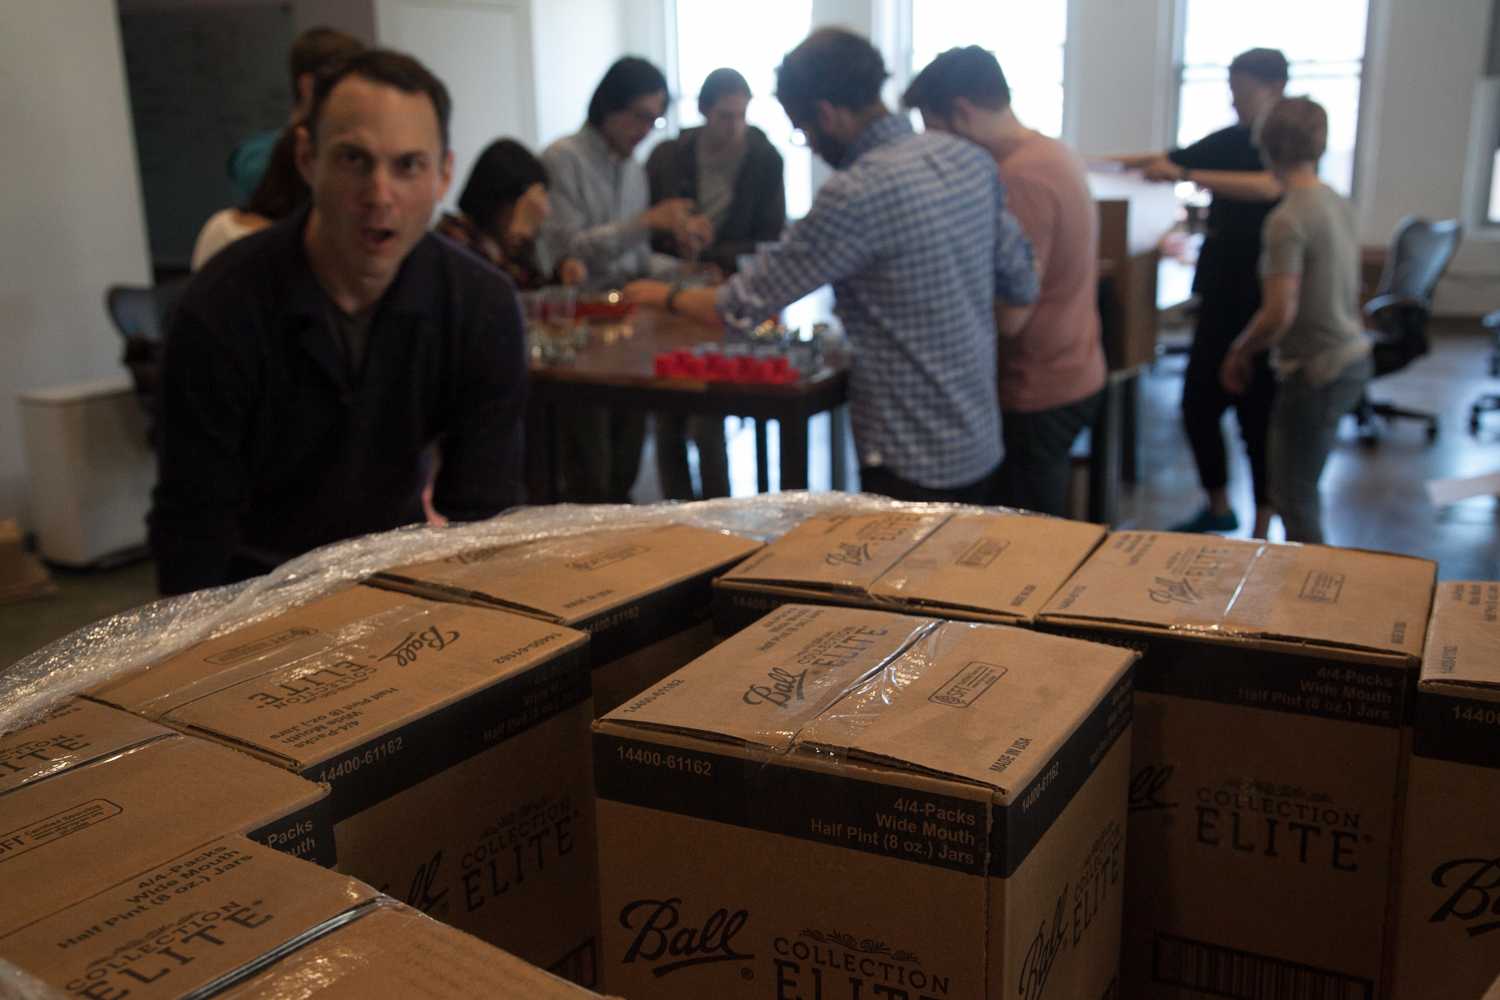
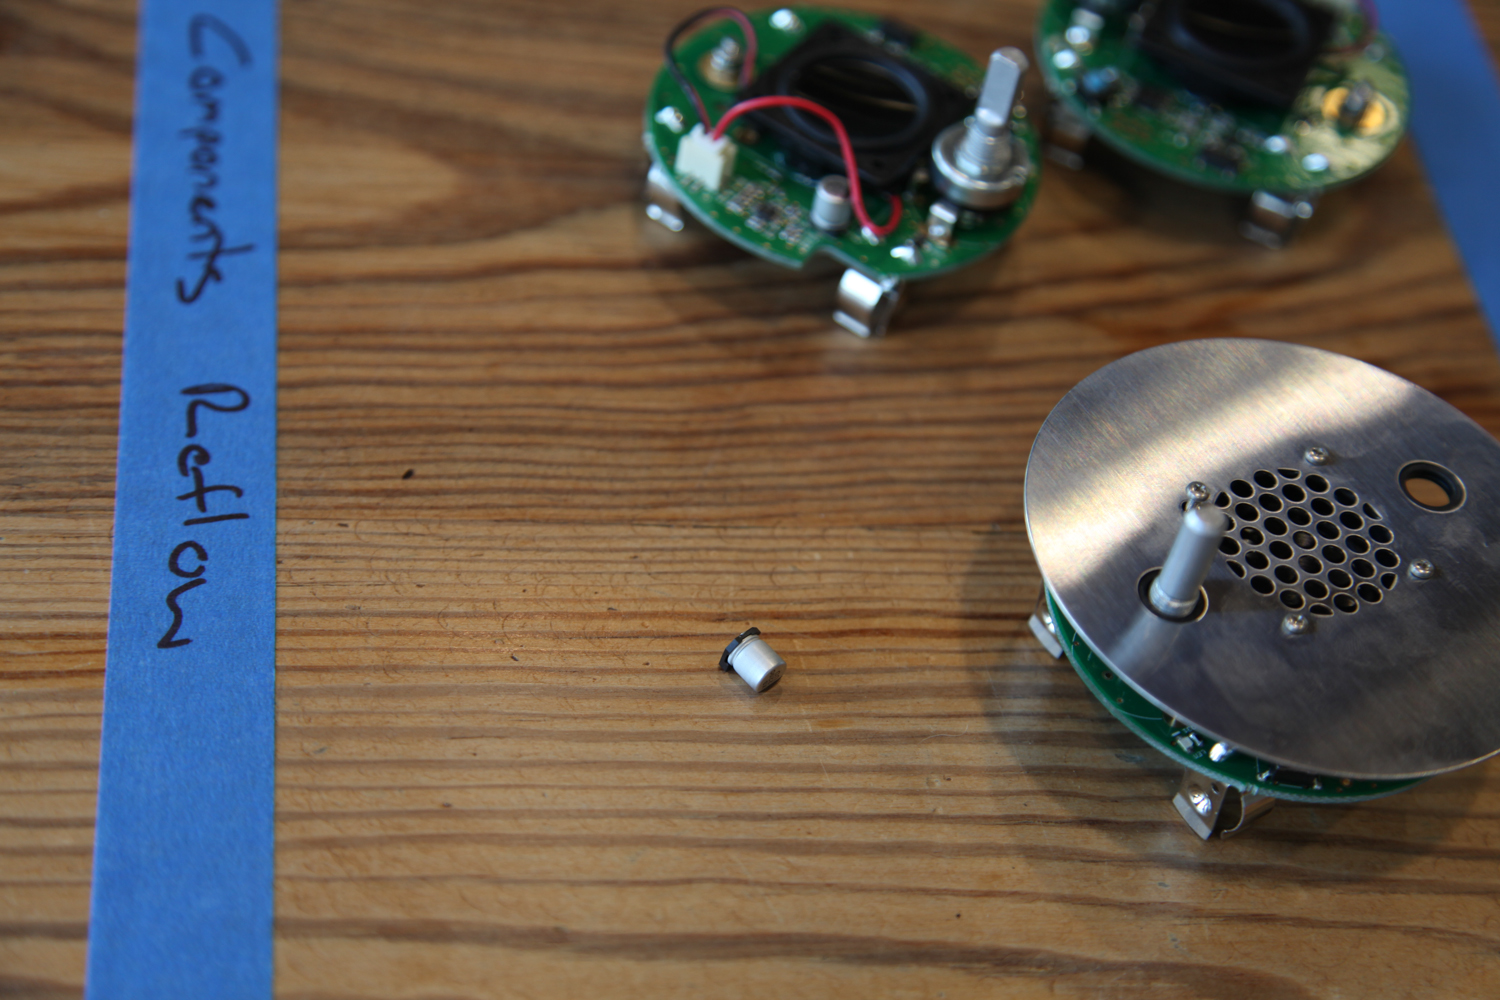
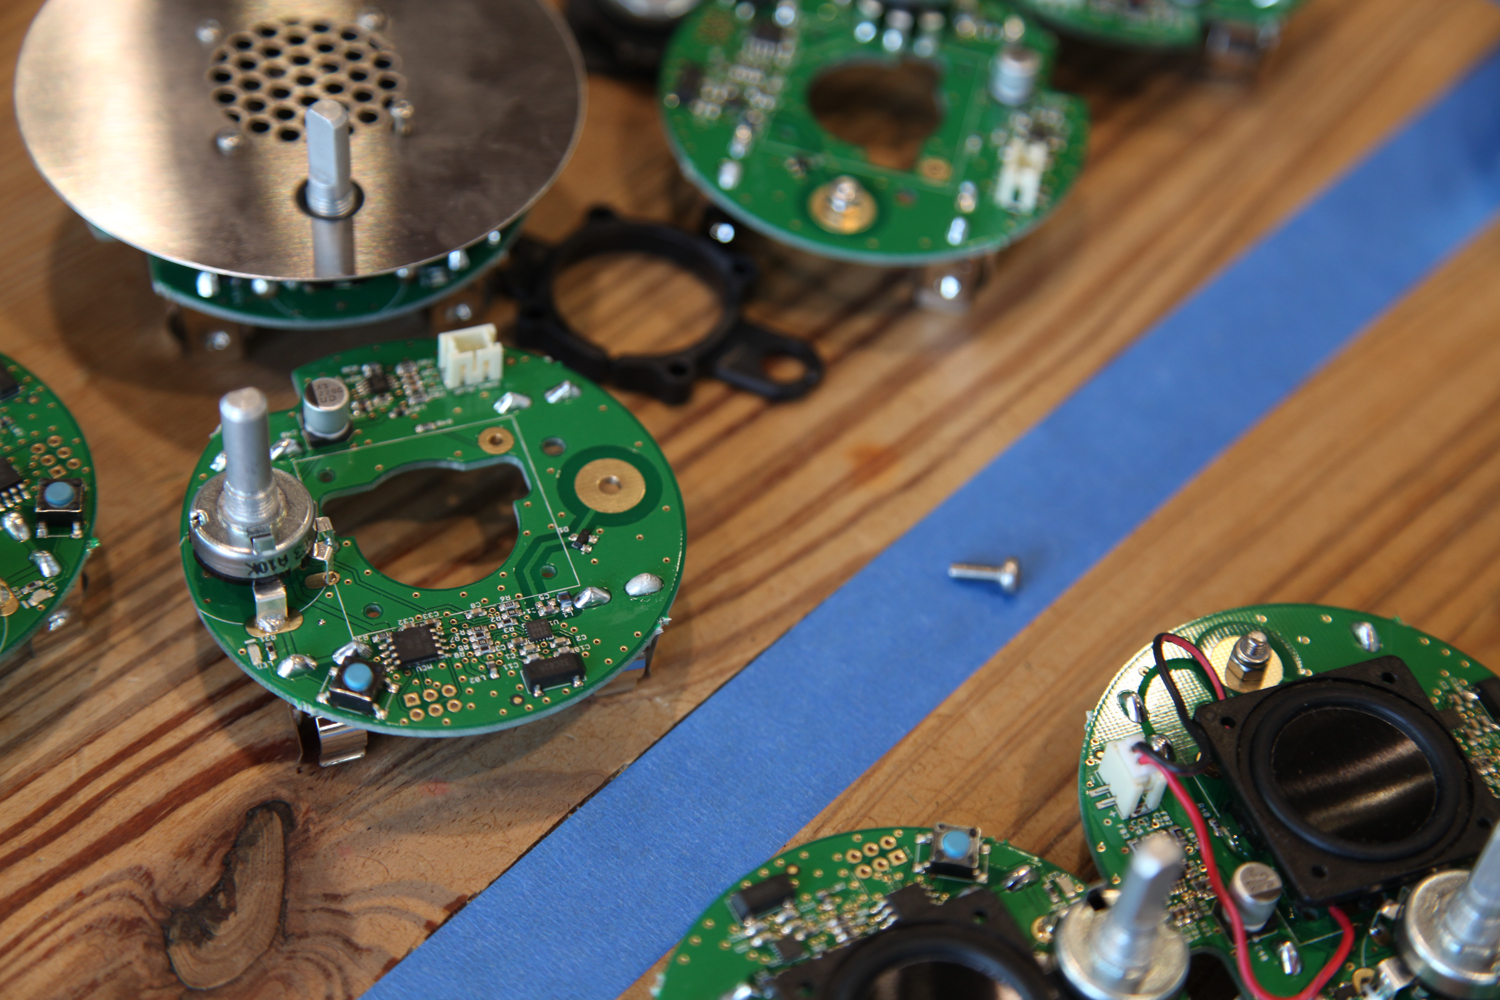
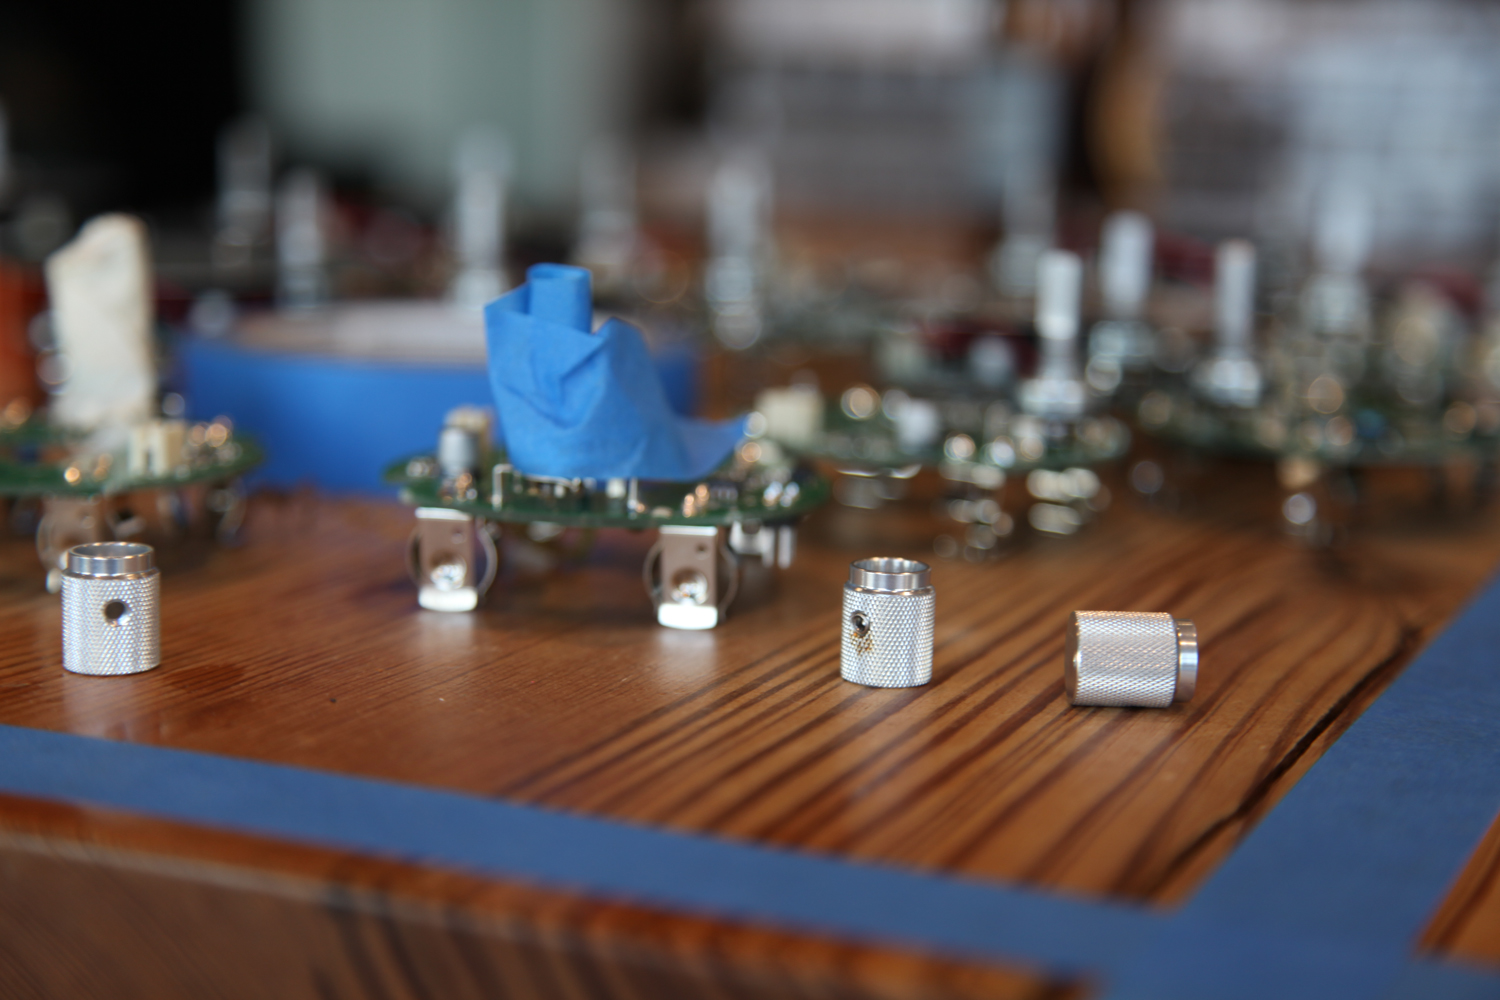
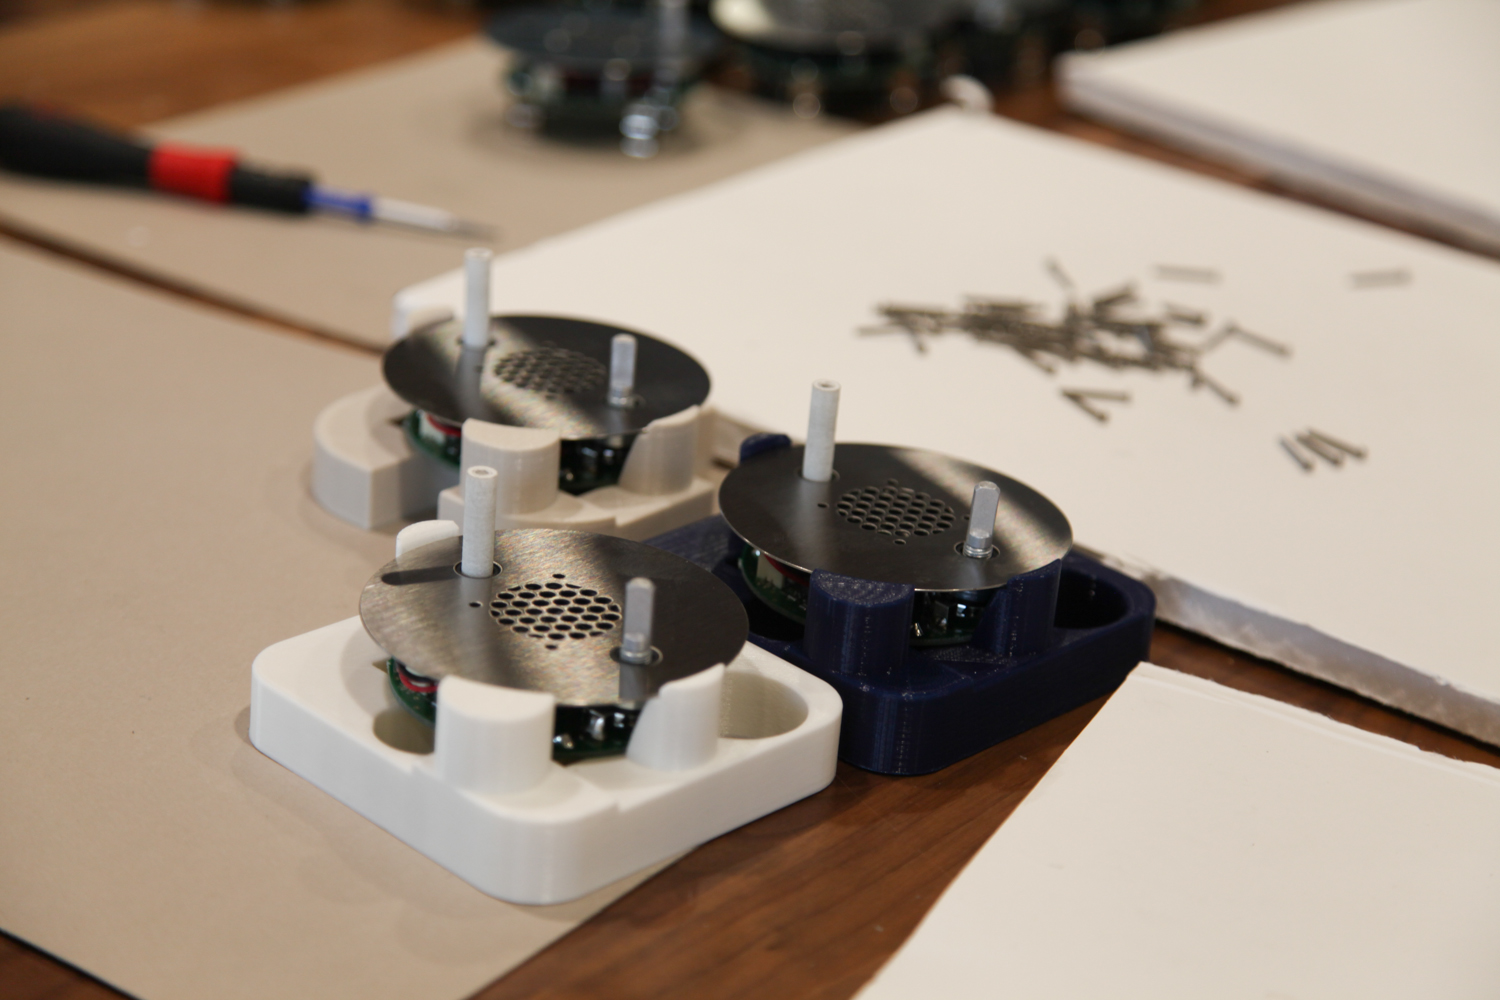
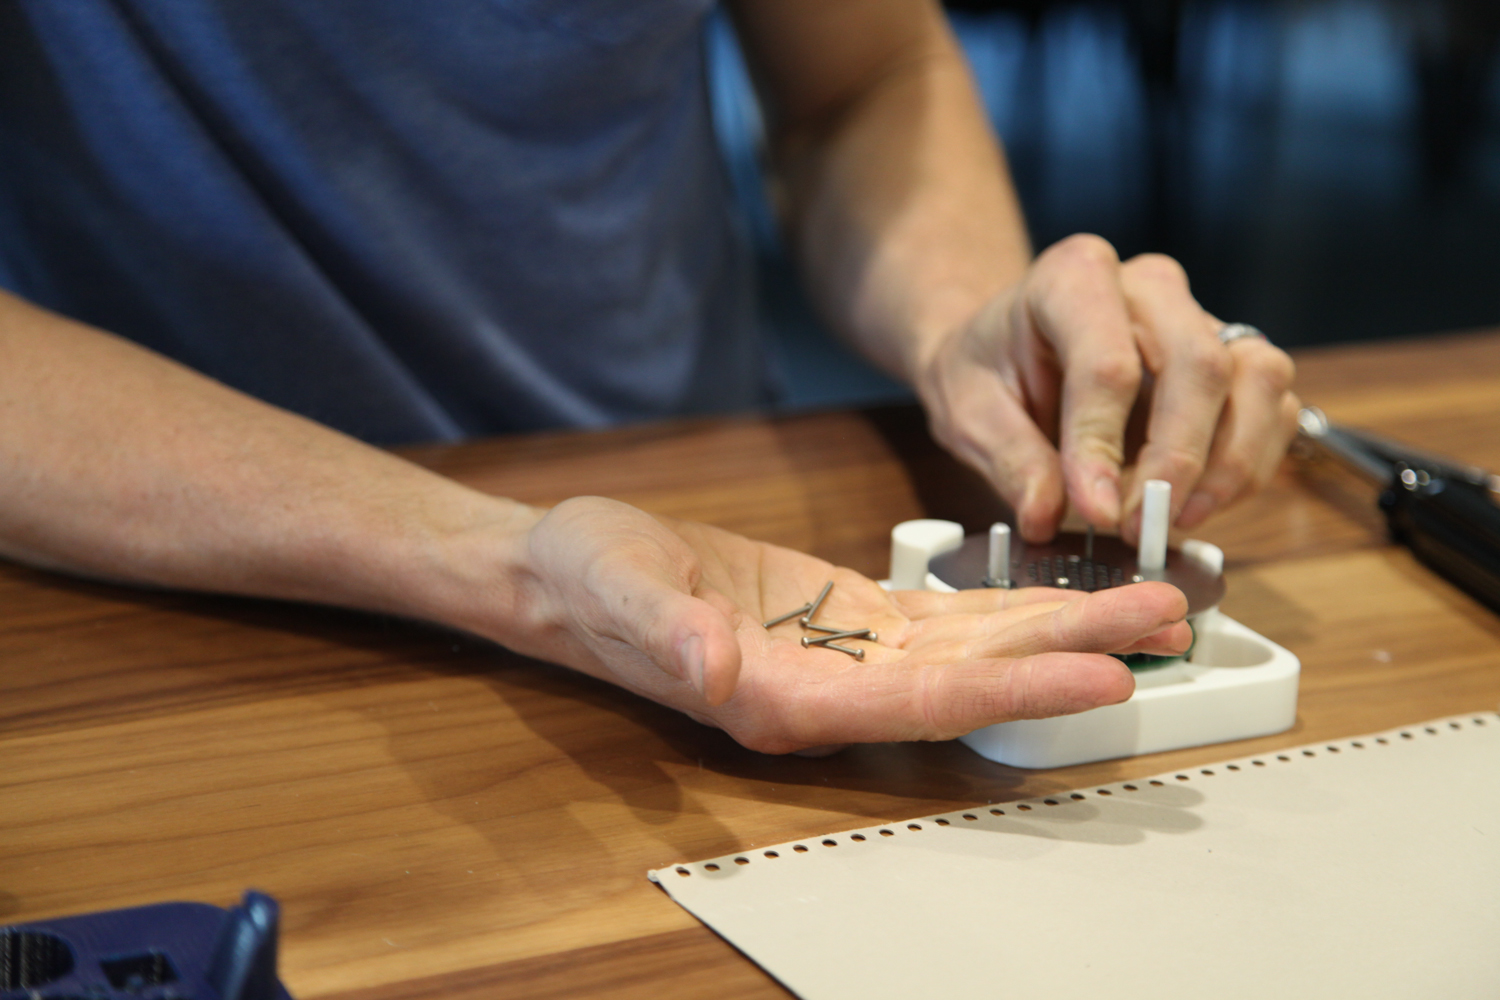
This weekend was really intense. More reflections soon, pictures now:
This is a total load of crap:
The high cost of tooling up a factory has long been a barrier to developing niche products. But now anyone with an idea and money could go into small-scale manufacturing, using computer-aided design software to create a three-dimensional drawing of an object and letting a commercial 3-D printing firm do the rest.
Some of the shit that's written about 3D printing *really* irks me. The above quote totally misses two key truths:
I'm honestly excited for the future of manufacturing, but articles like this one only froth the market - resulting in less focus on the today's most interesting and pressing problems.
When I joined Undercurrent, I found one phrase to be in particularly heavy use: "Speed is the new IP." I liked it, and I'm sure I used it in arguments from time to time. But over the past year I've developed some skepticism - especially given the wide variety of contexts in which we encourage our clients to go faster.
You see, I'm focused on learning as fast as I can. At times, that will mean releasing products really quickly. But immature products rarely teach you anything useful. In order to learn - in order to get the IP, the competitive advantage that you really want - you sometimes need to hold back.
Sometimes that may seem slow; hell, sometimes it may actually be slow. But fast product cycles in and of themselves aren't worth shit. The goal is to know how to fulfill your customers' needs better than anyone else, and to be prepared to fill those needs. And if you can do that without a strenuous series of rapid product releases, all the better.
The other day I got a package from Layerwise. In it was the second titanium seatmast topper of mine that they printed, and this one is ready to ride.
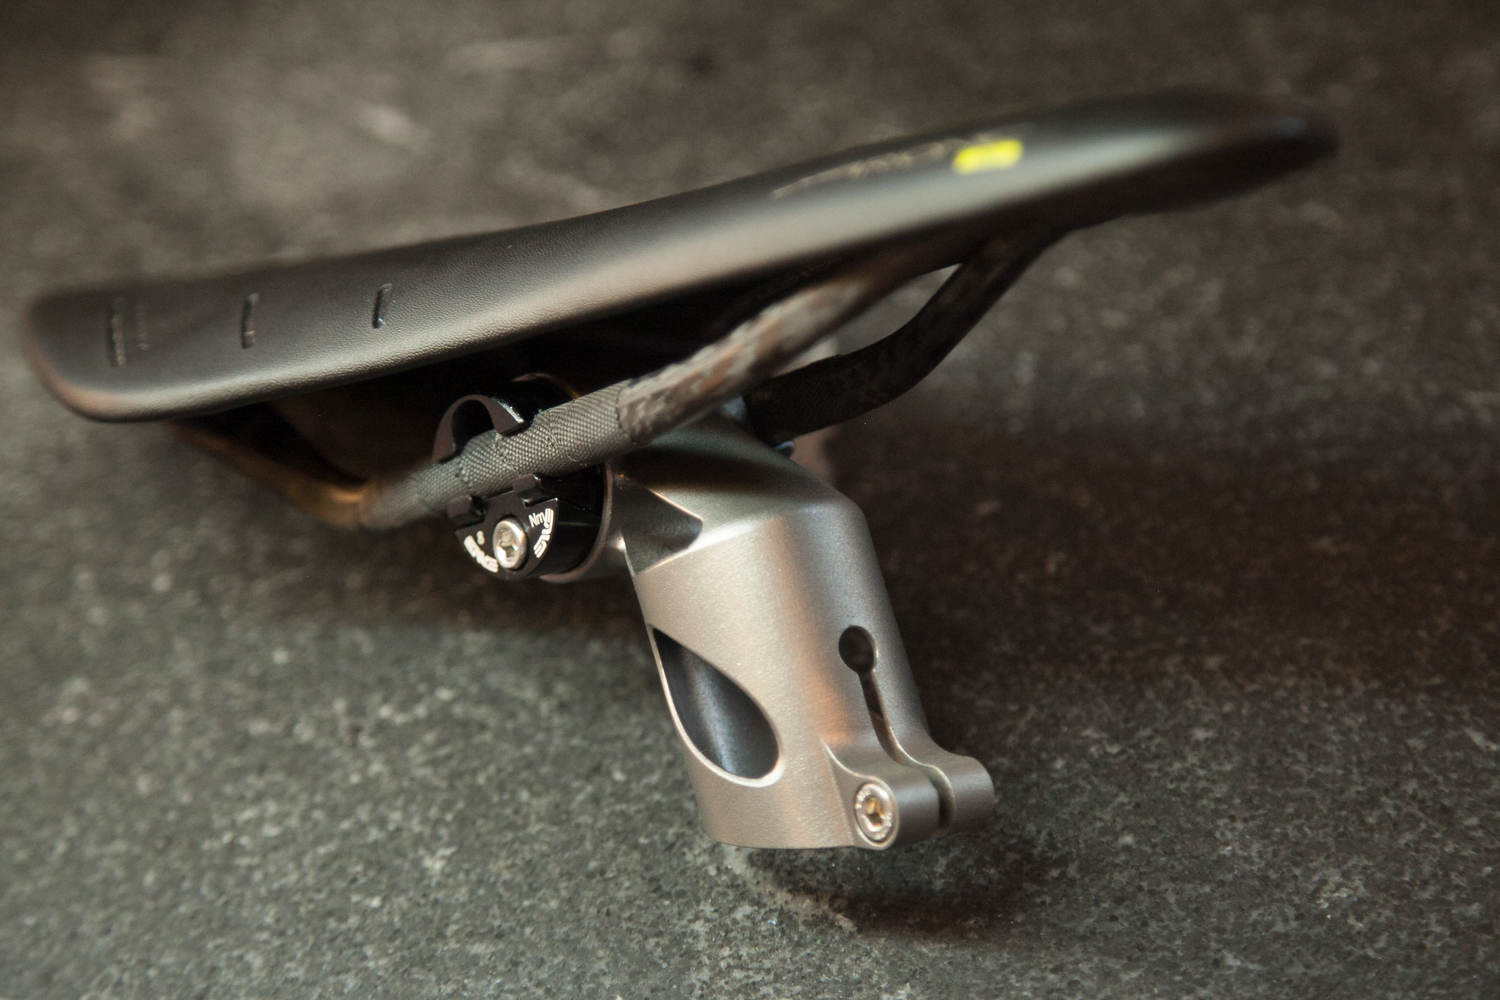
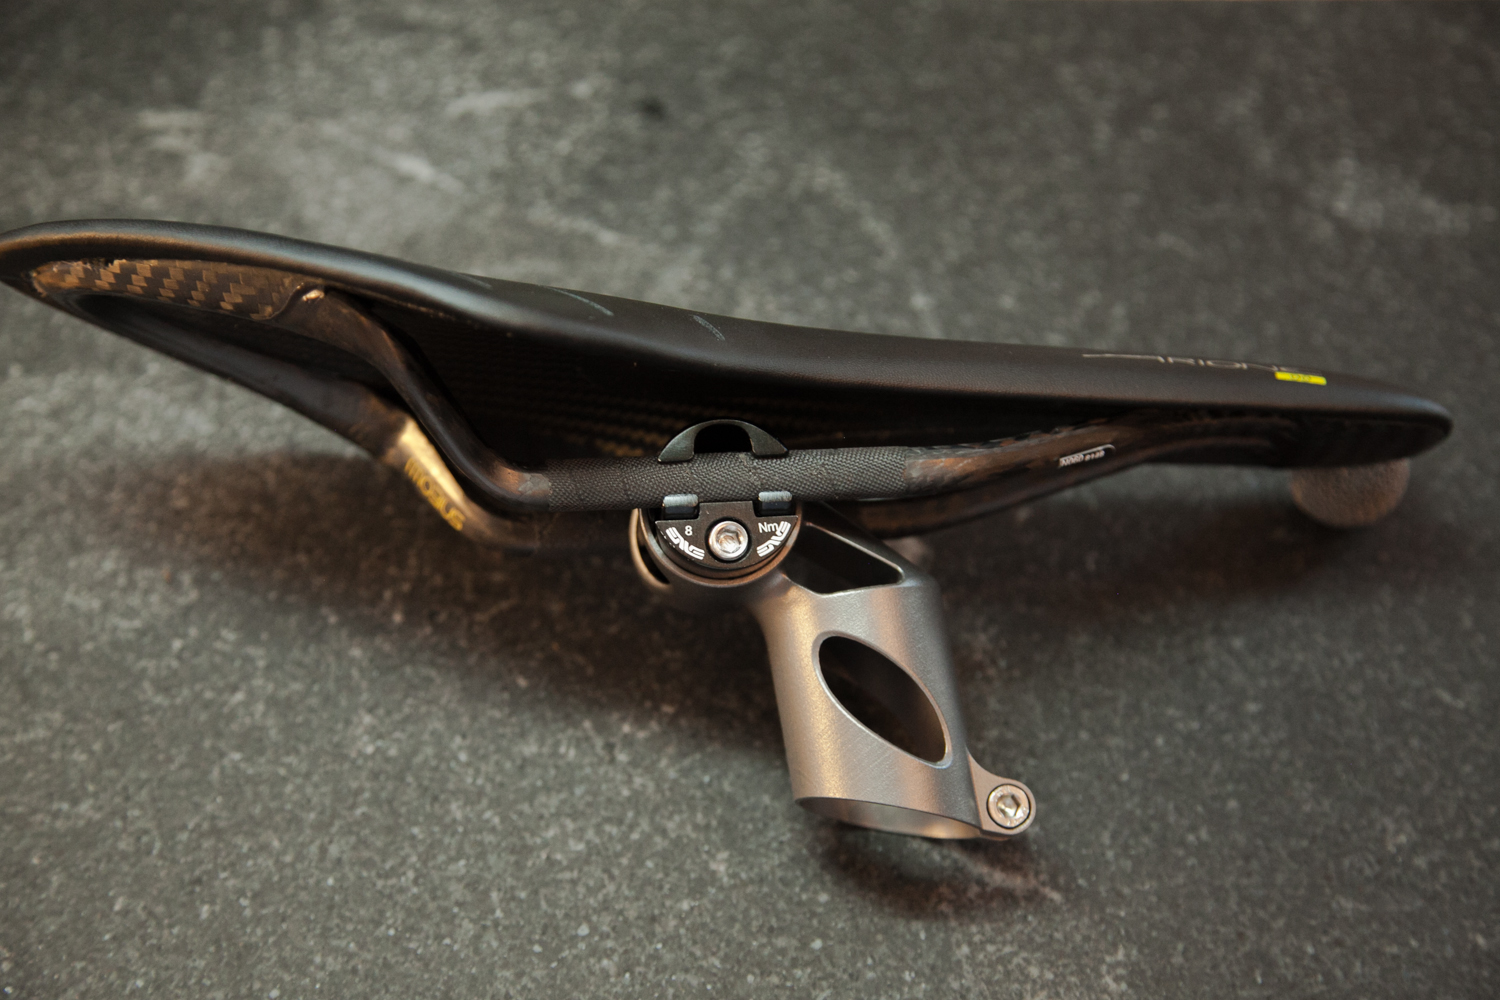
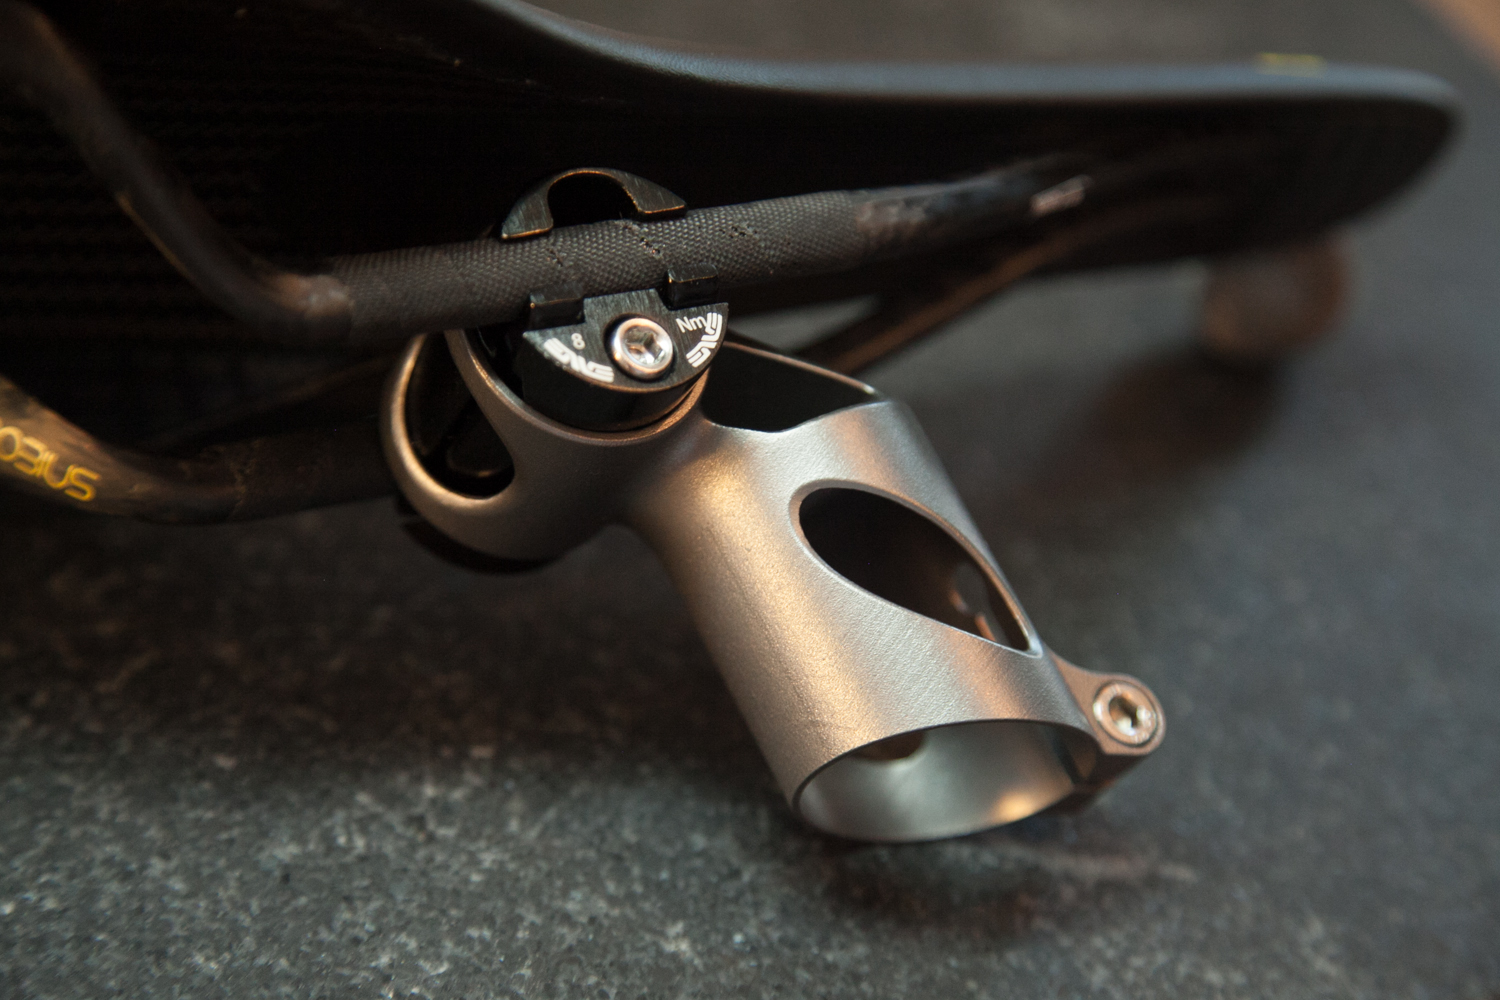
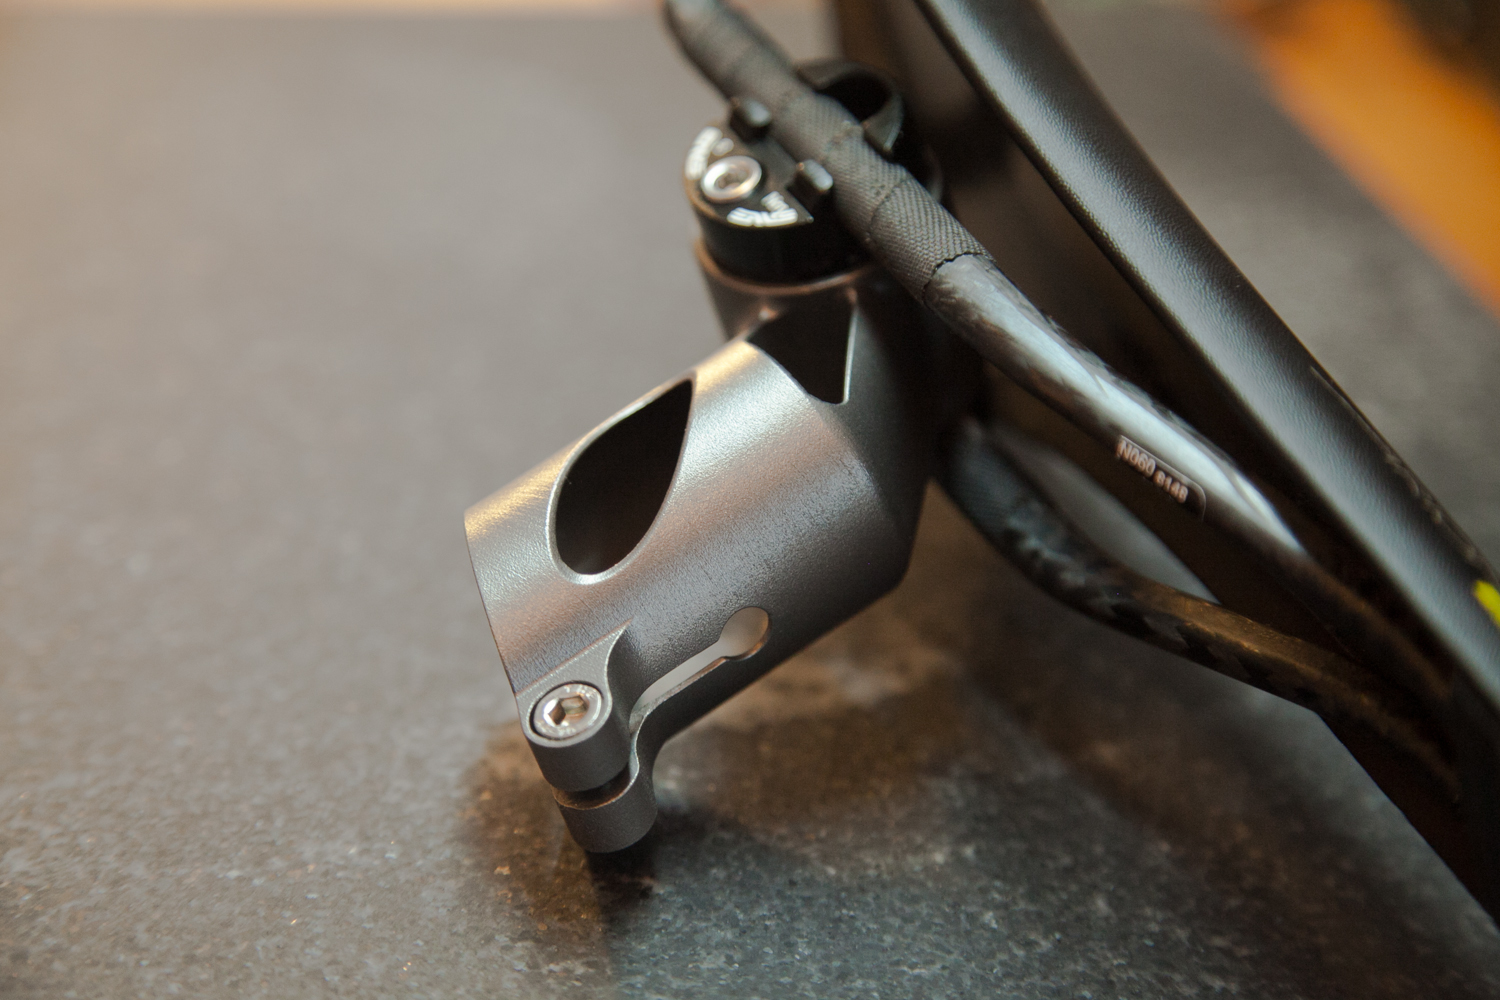
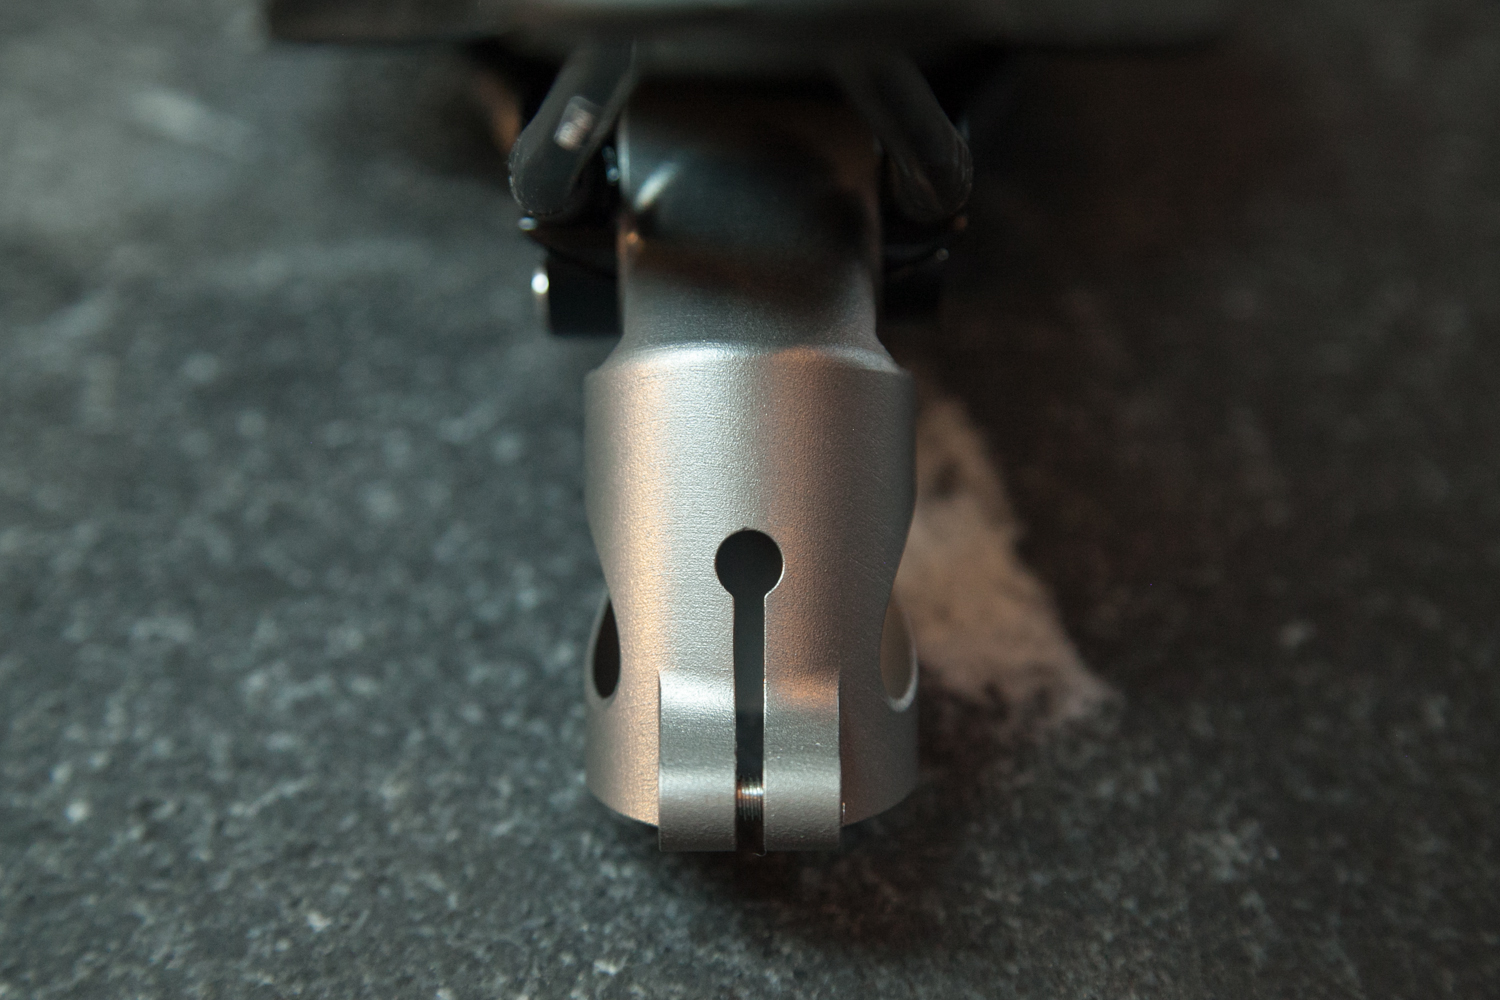
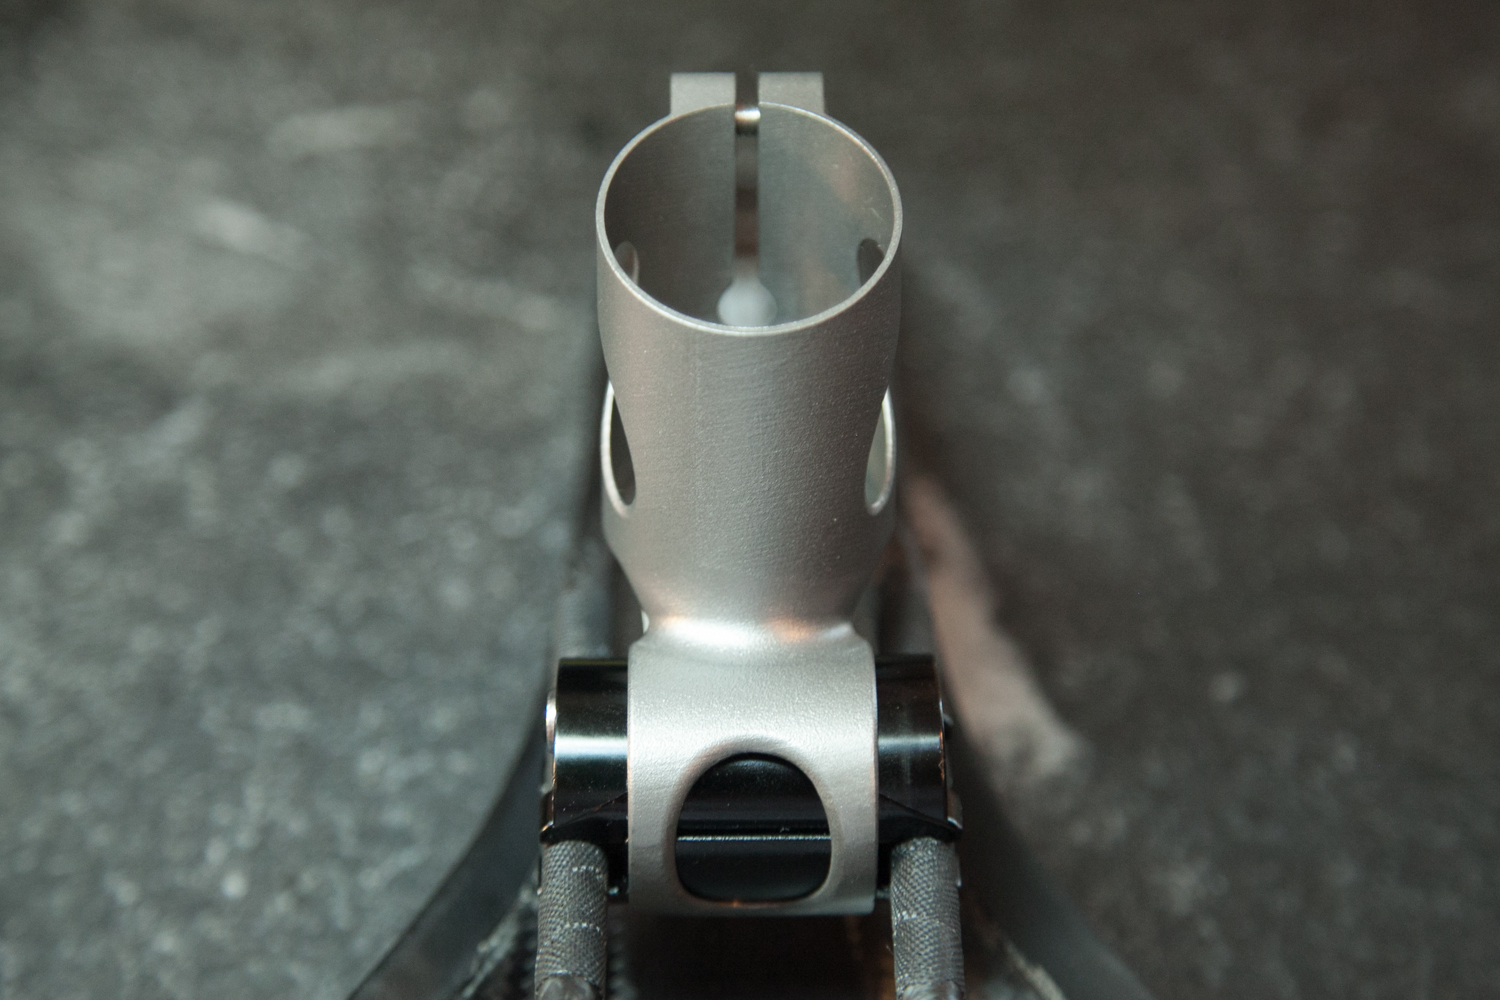
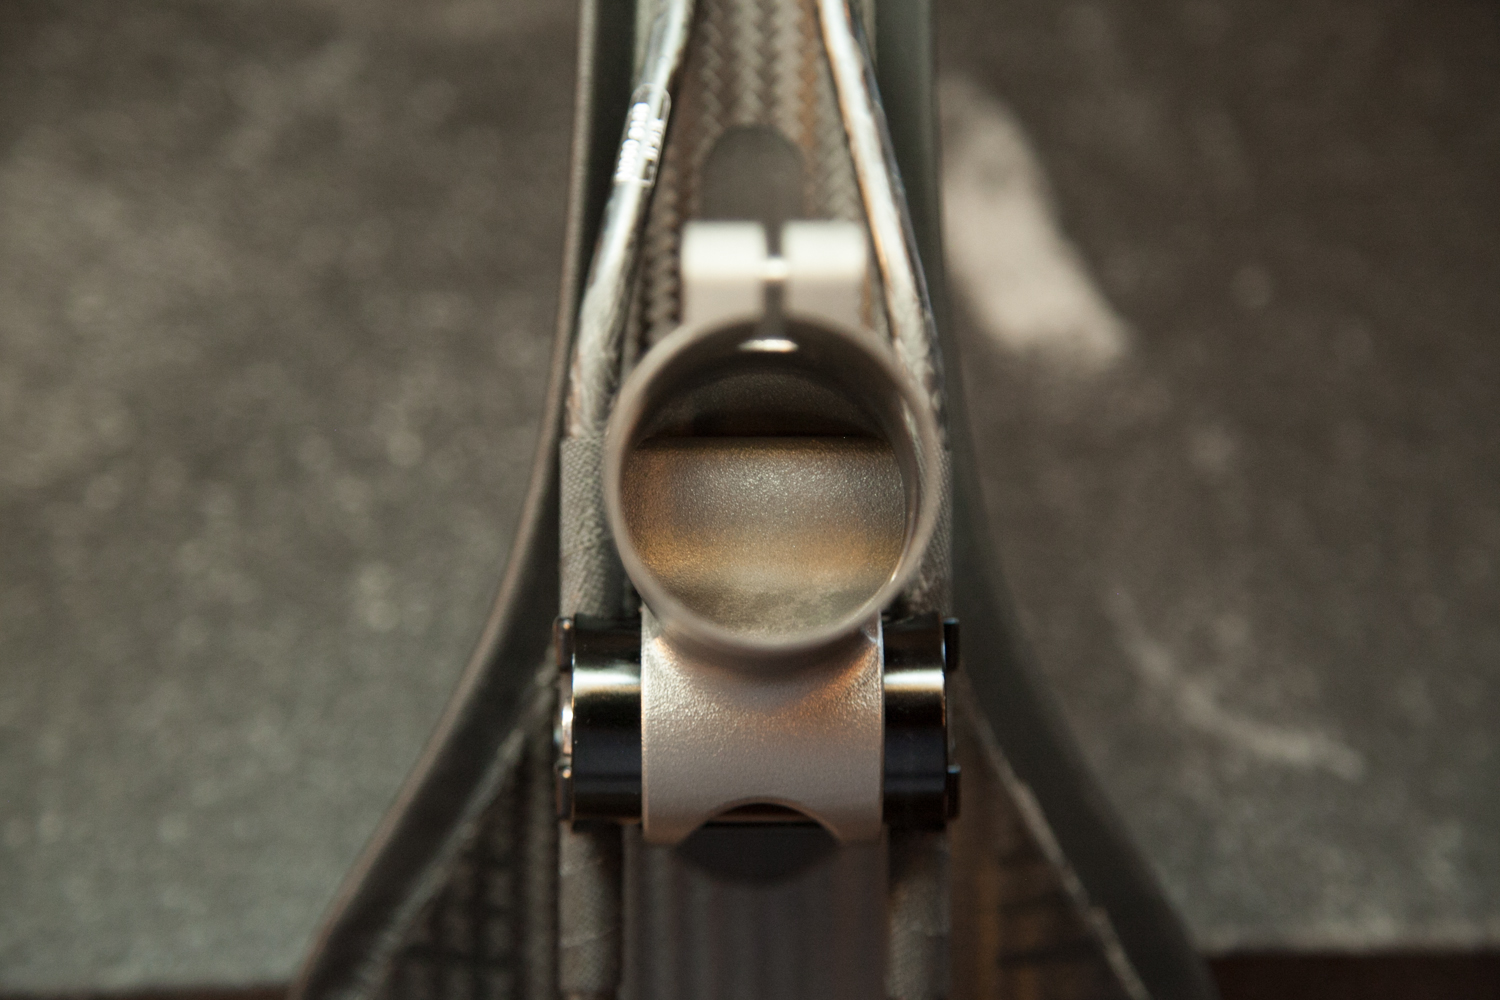
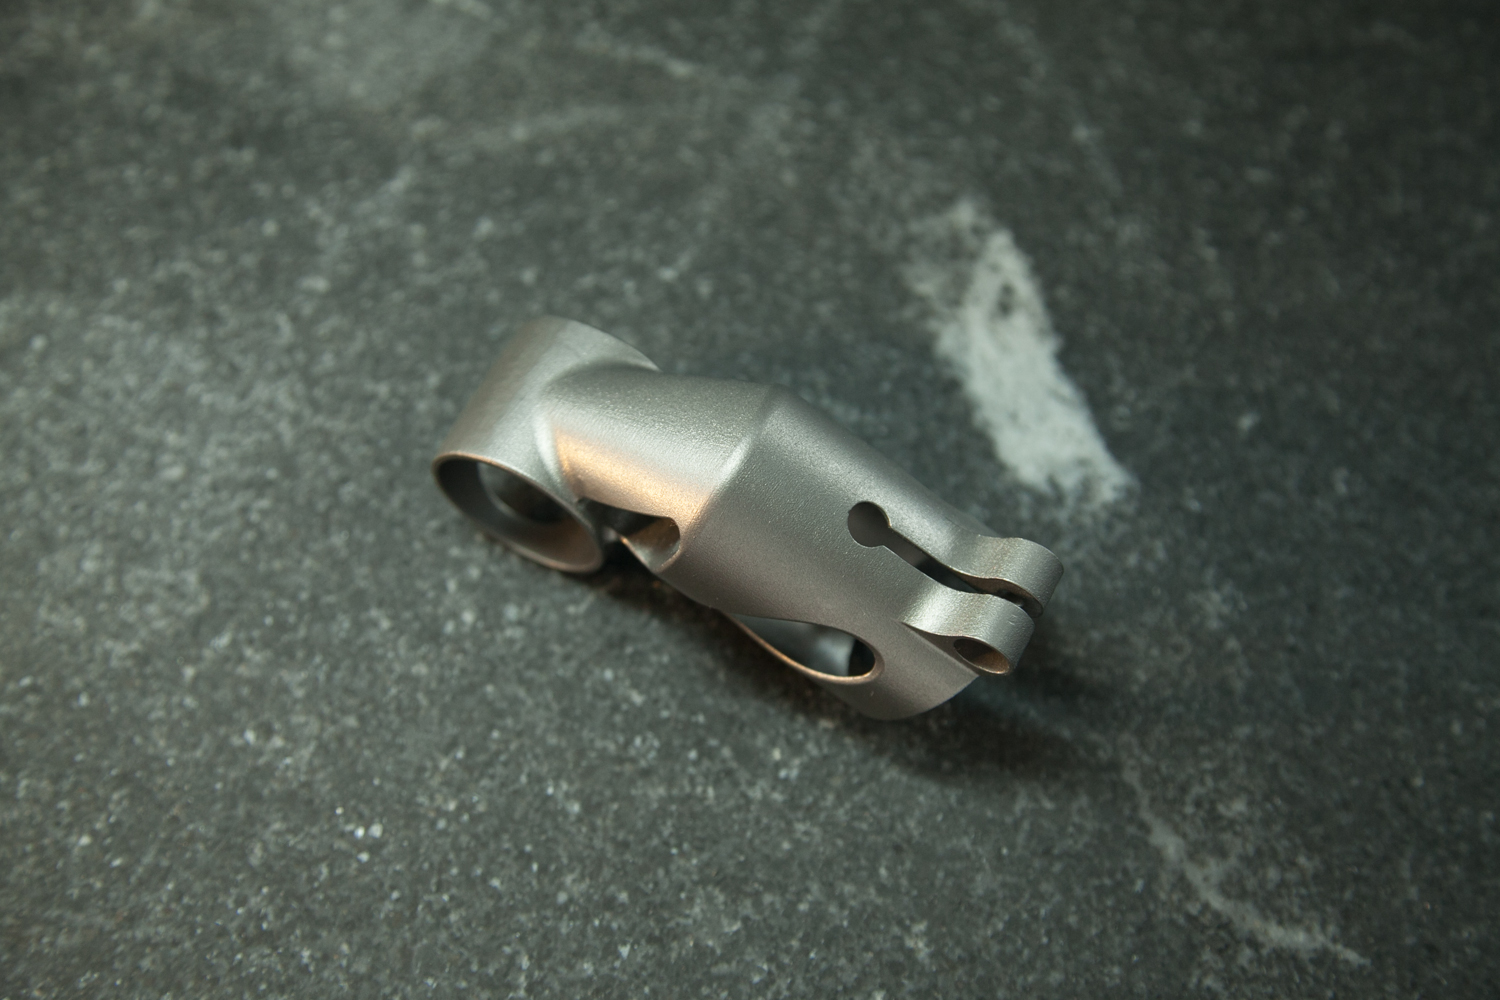
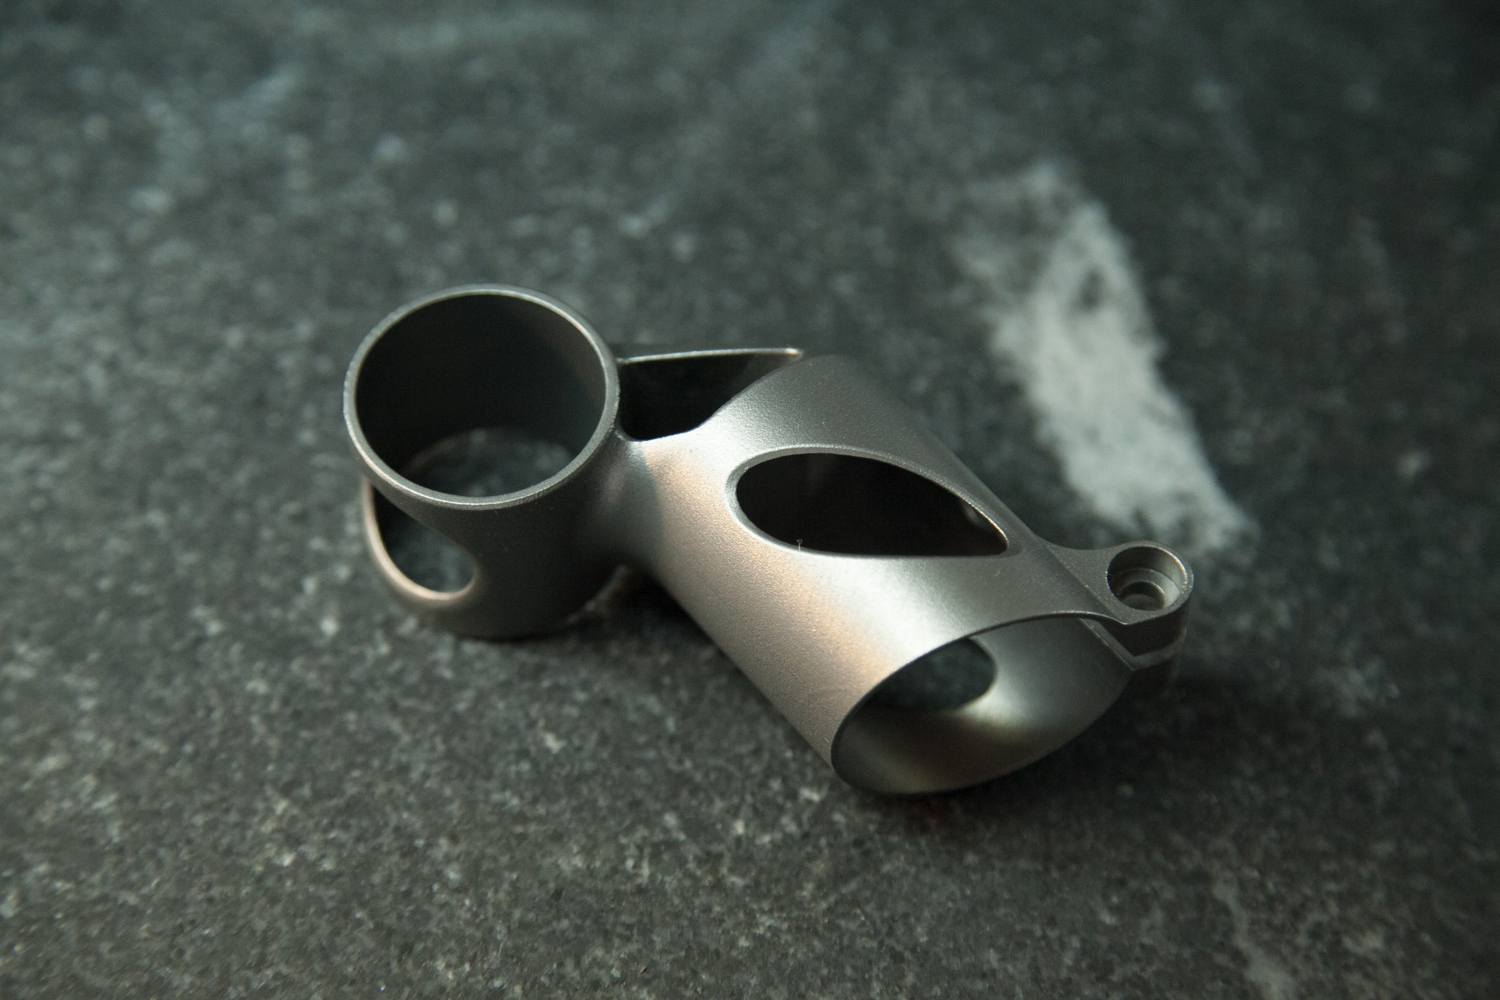
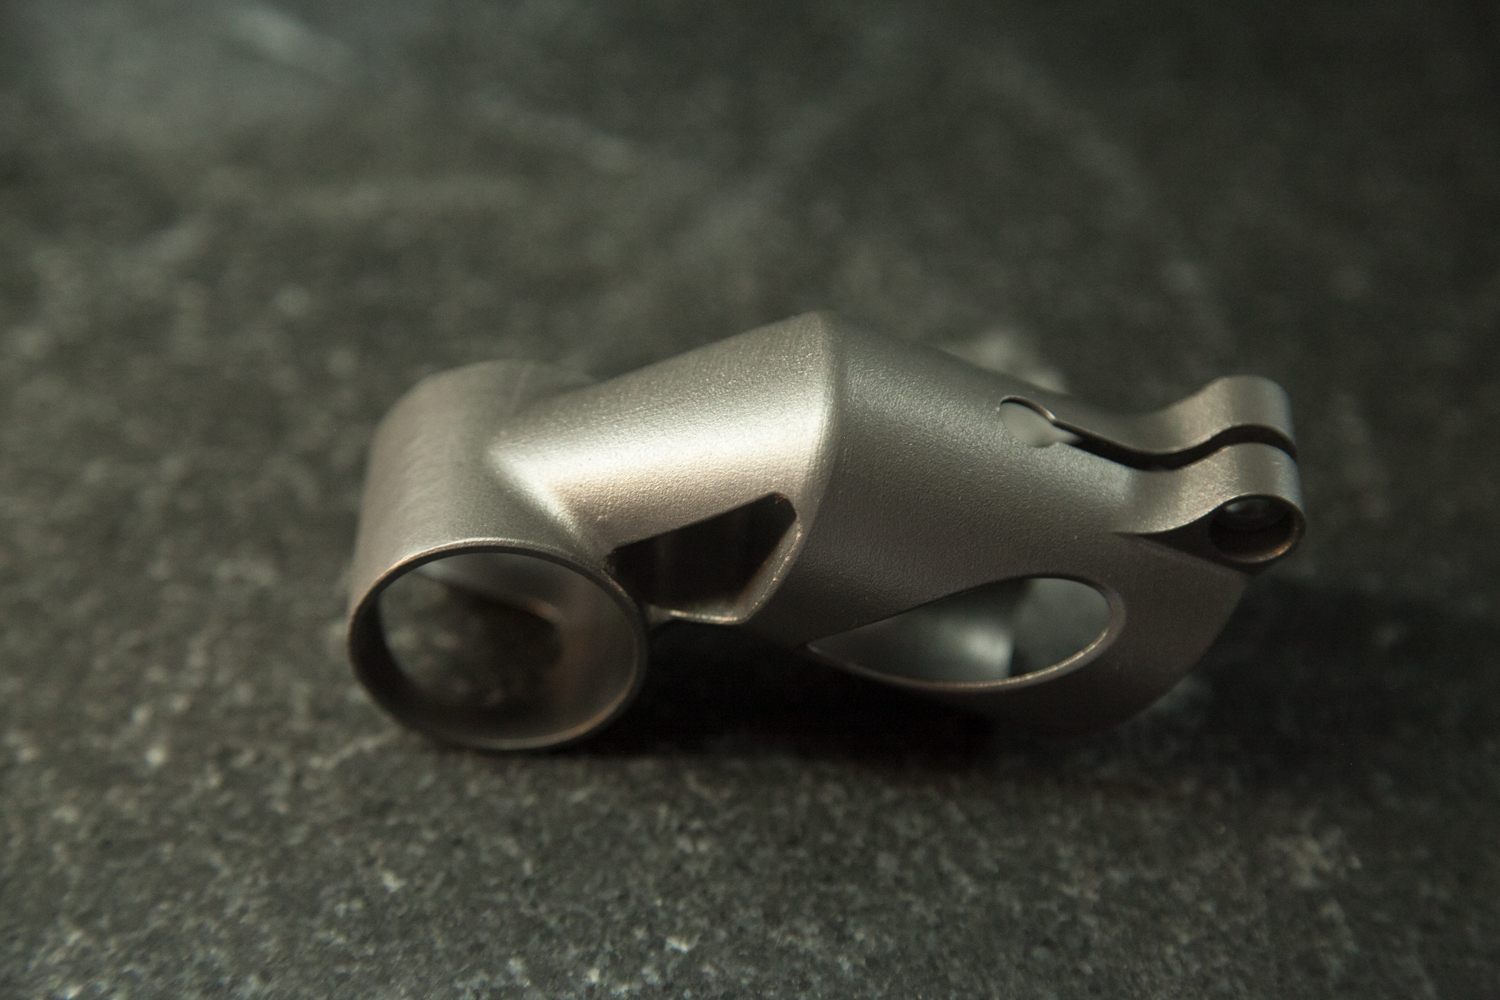
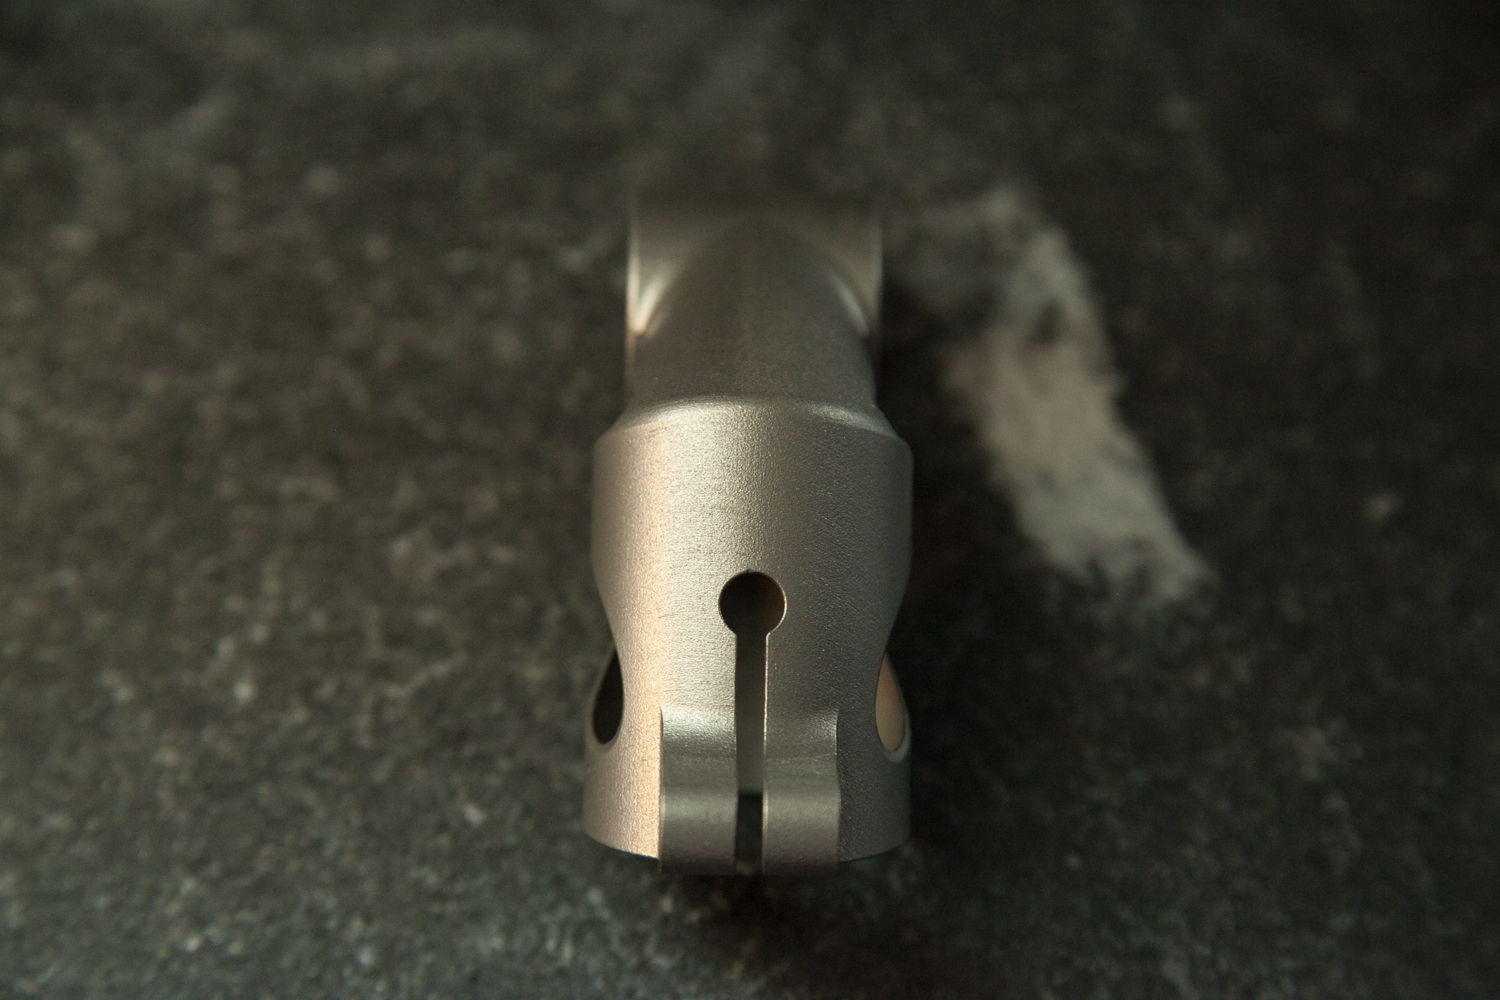
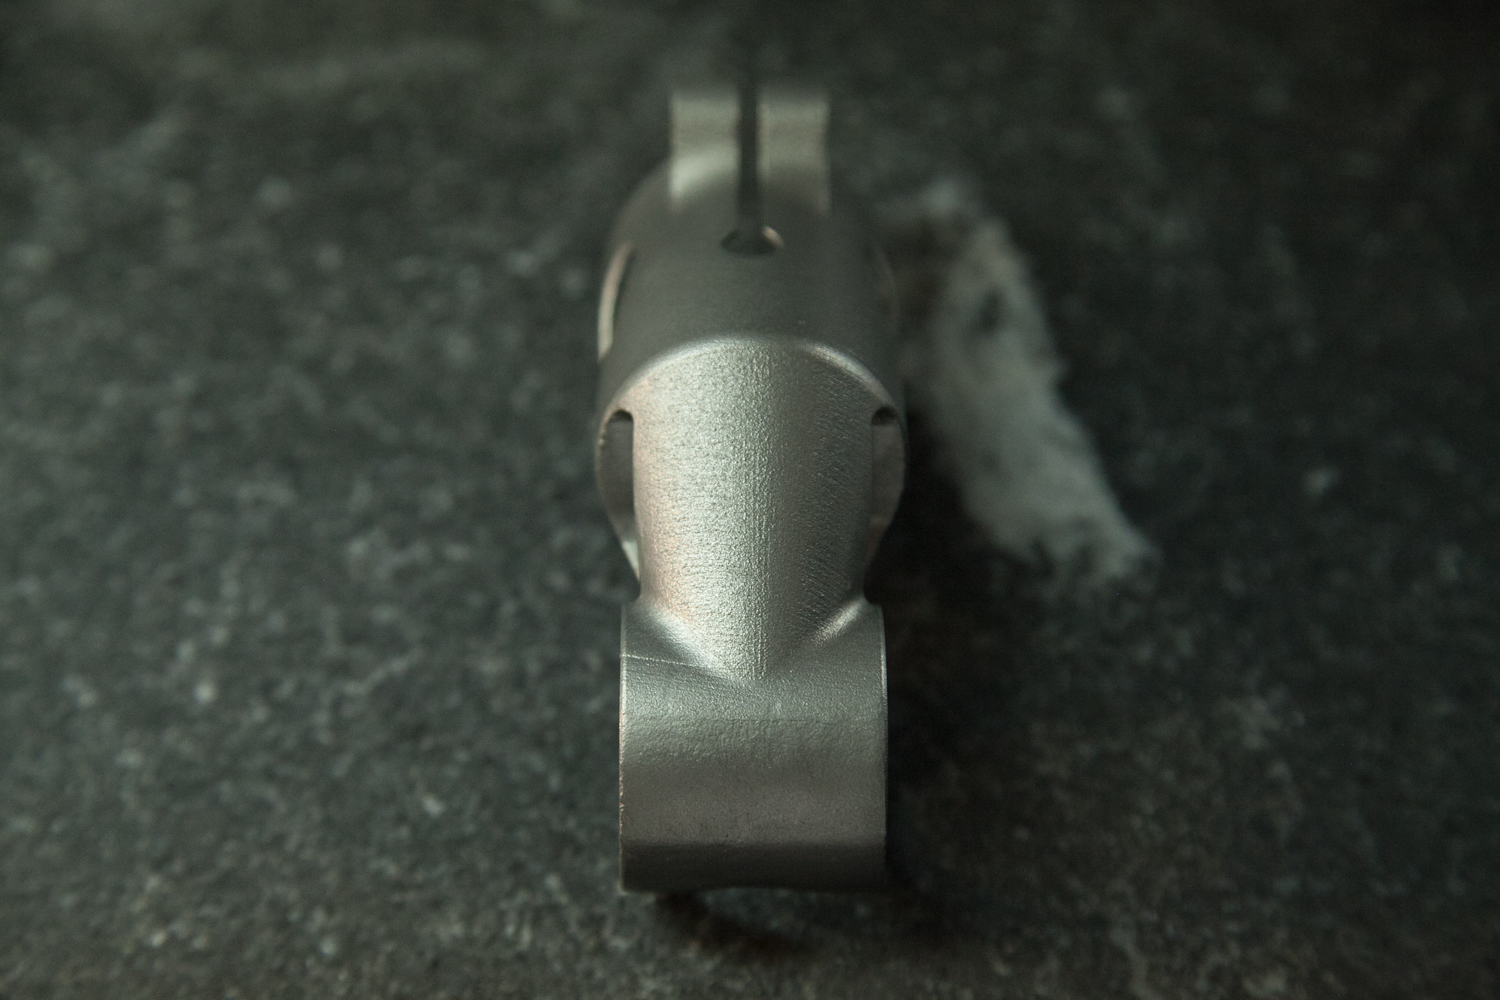
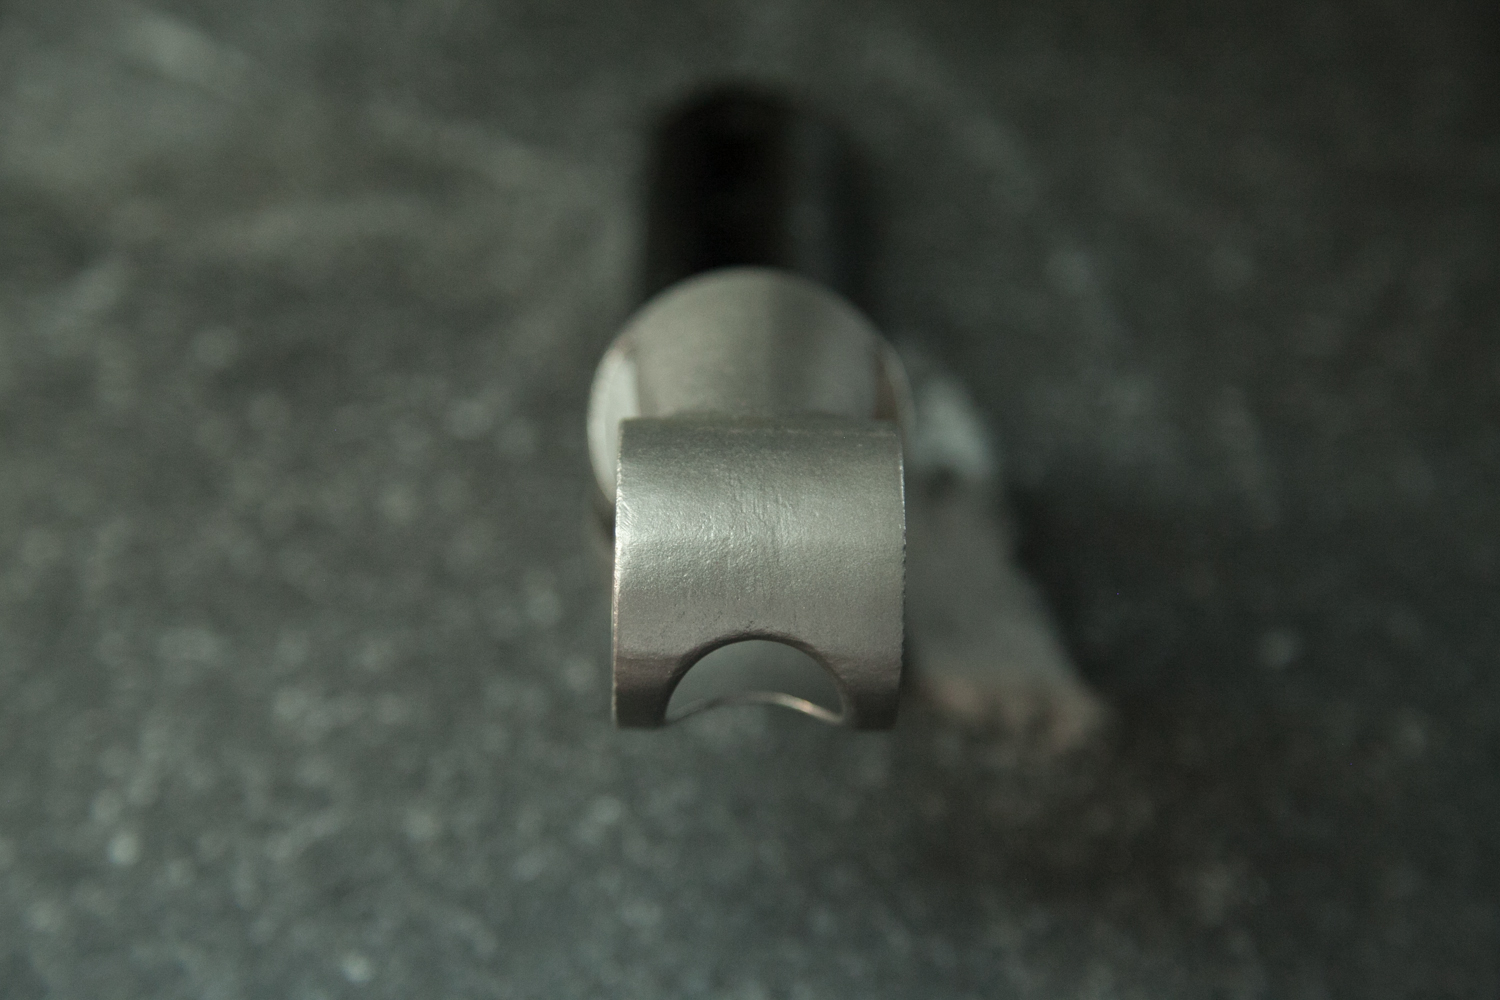
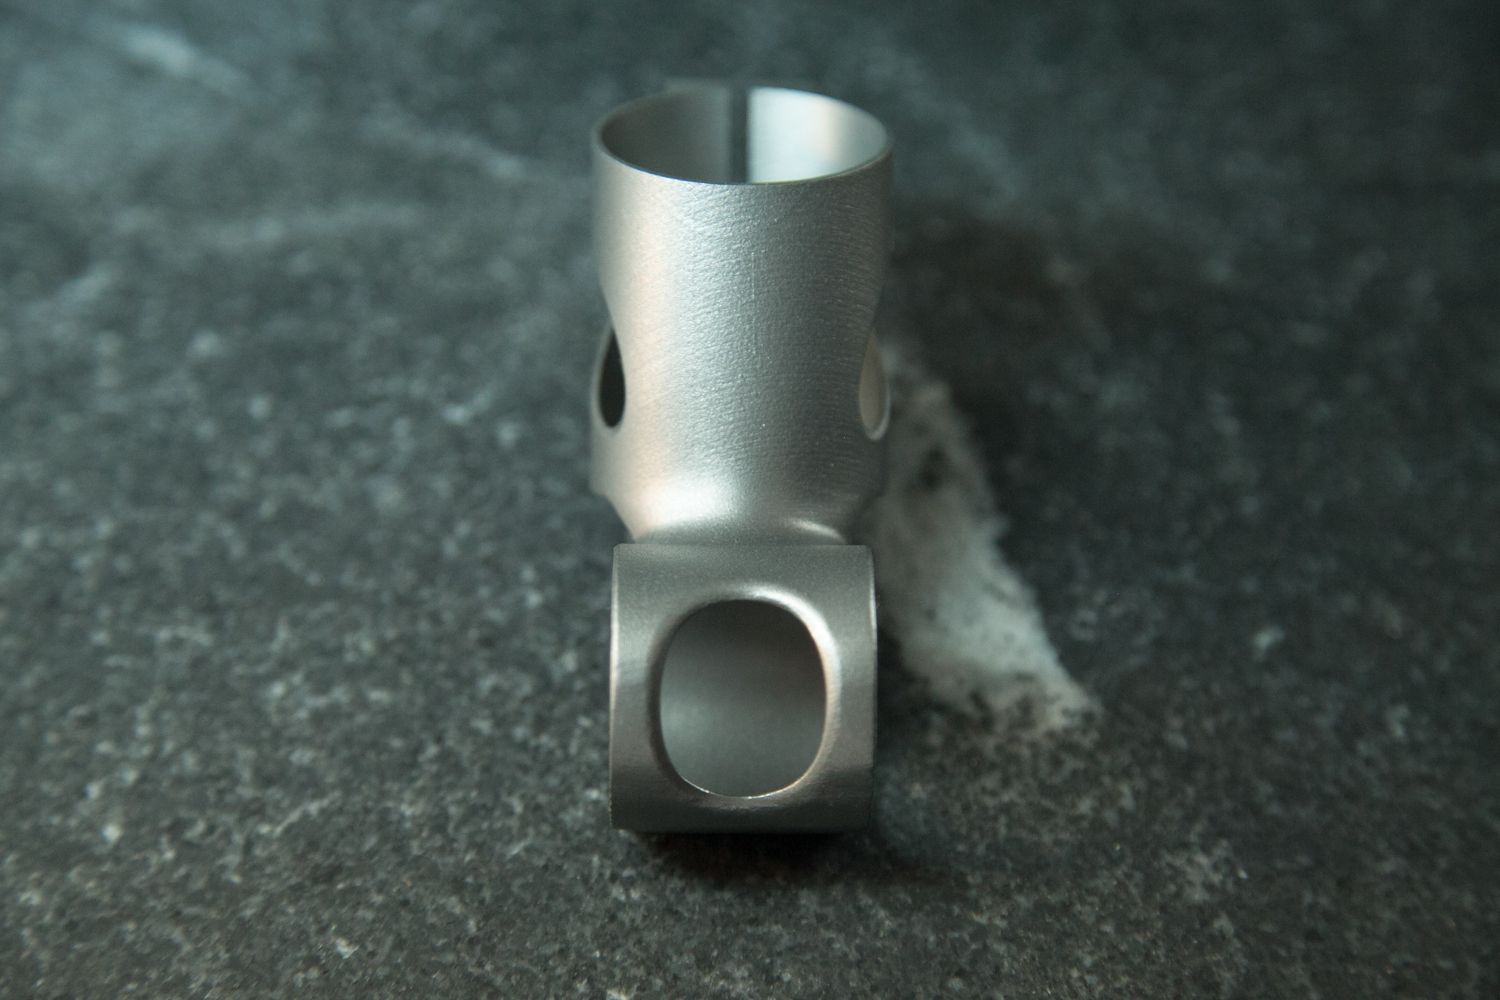
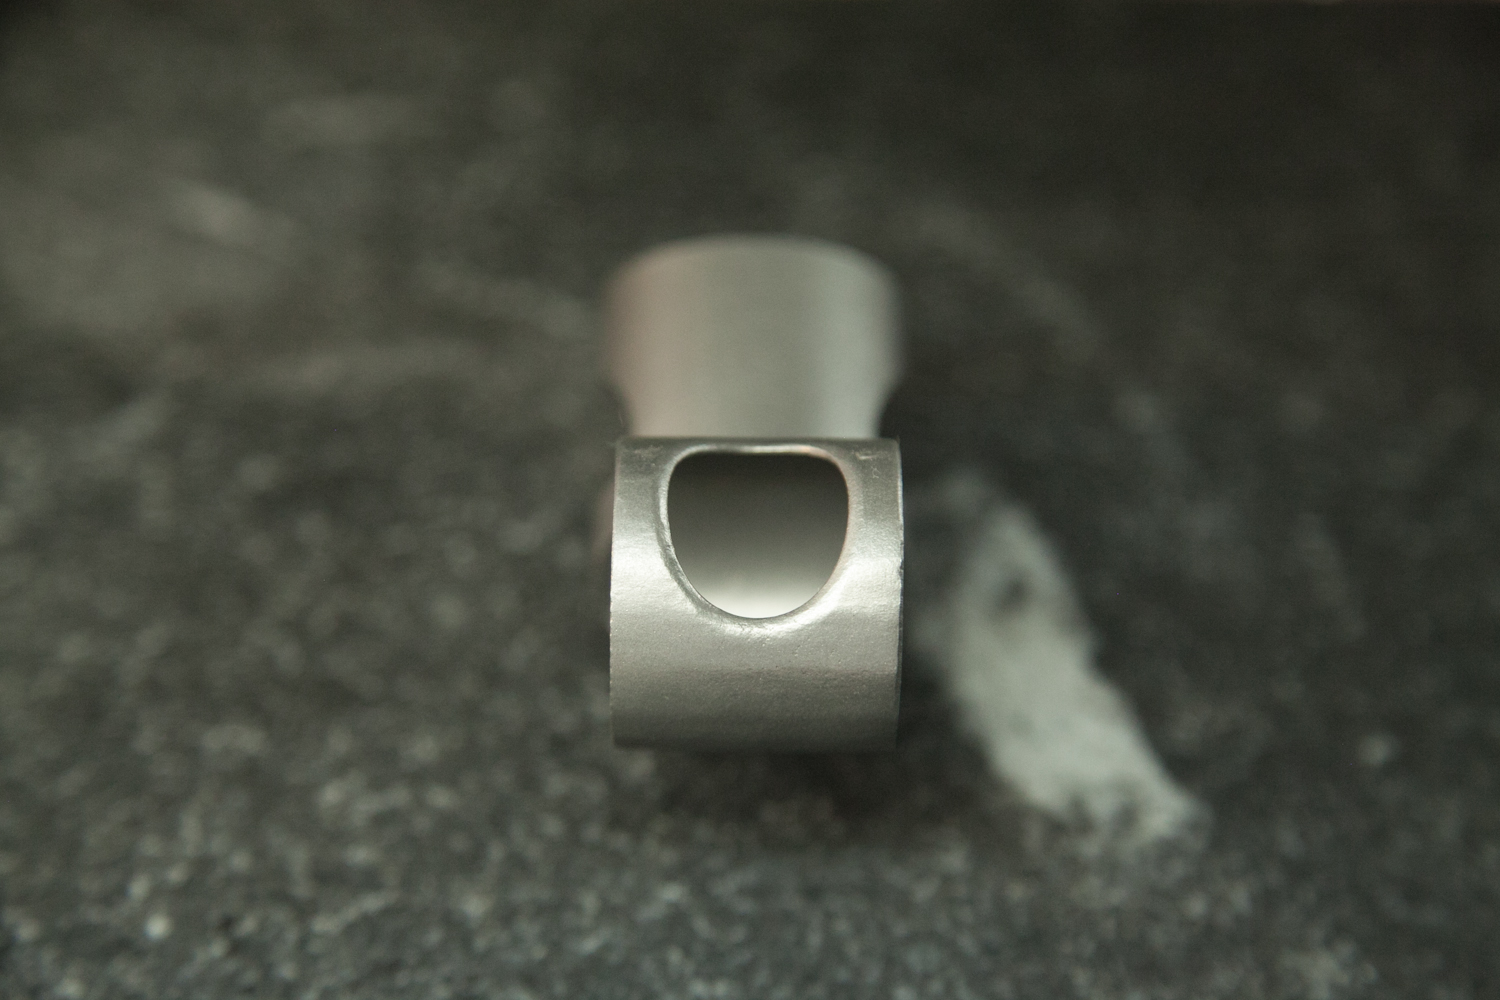

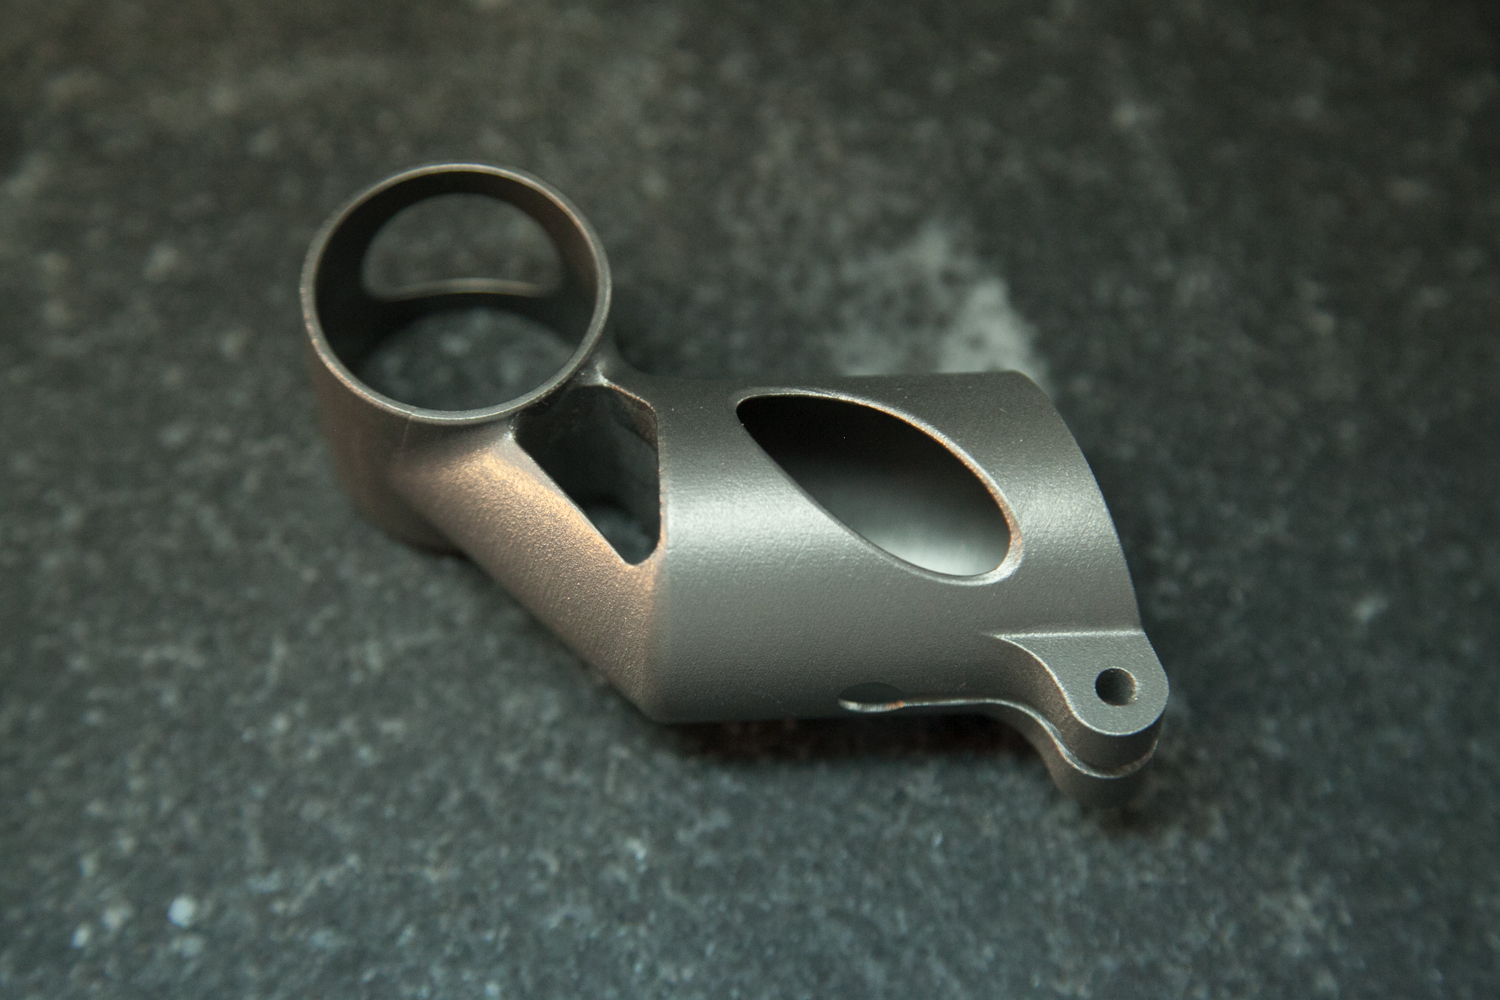
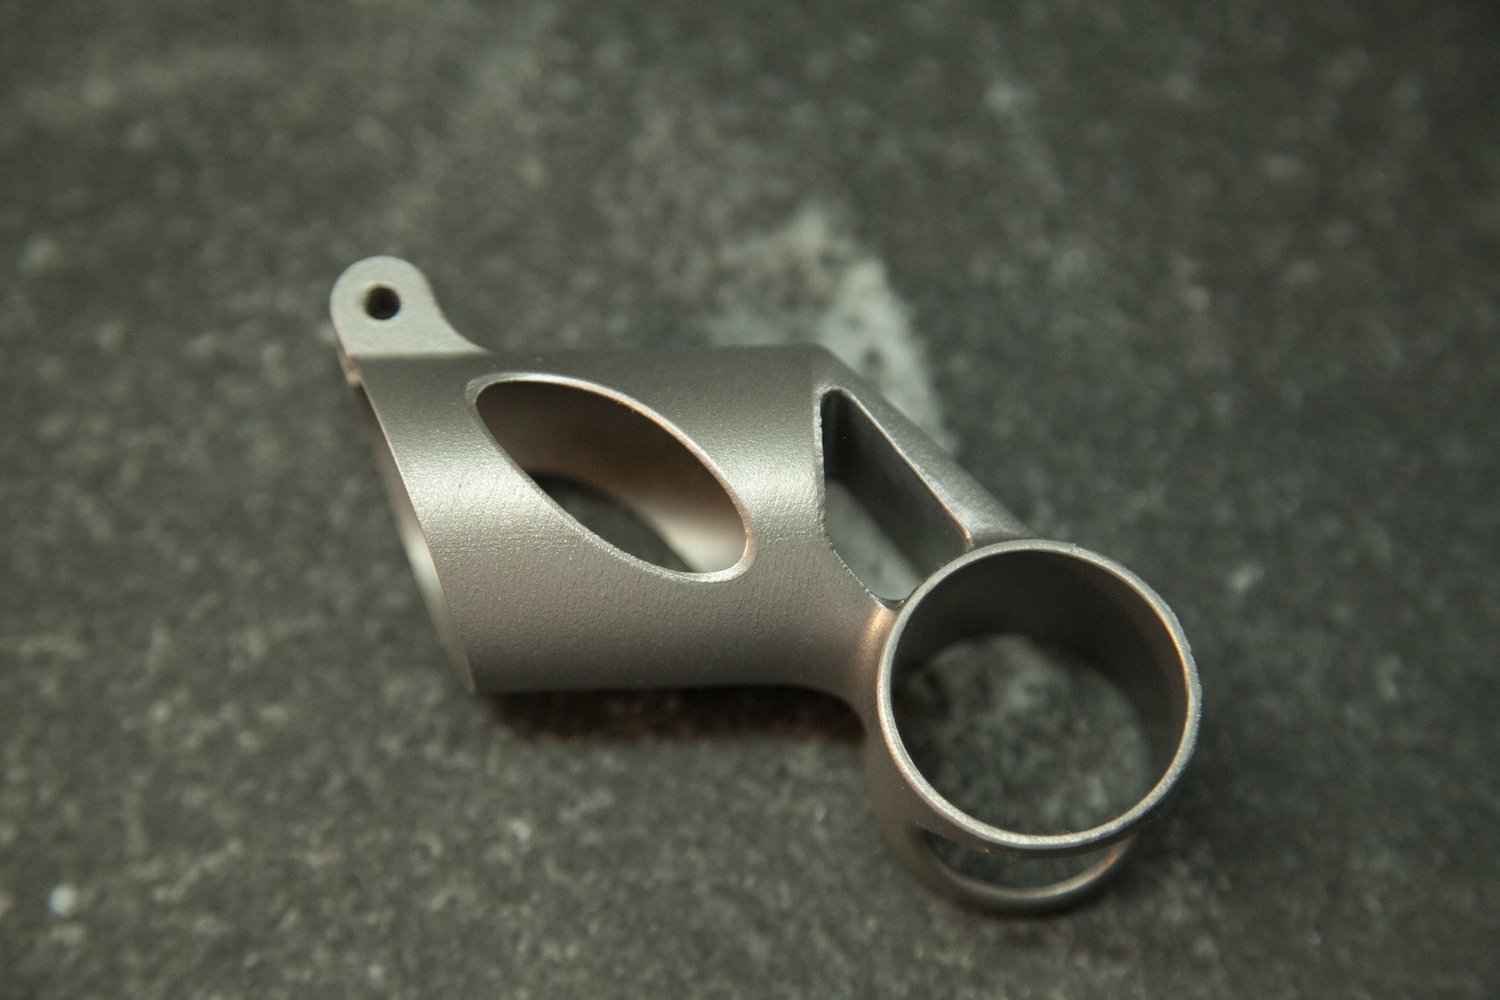
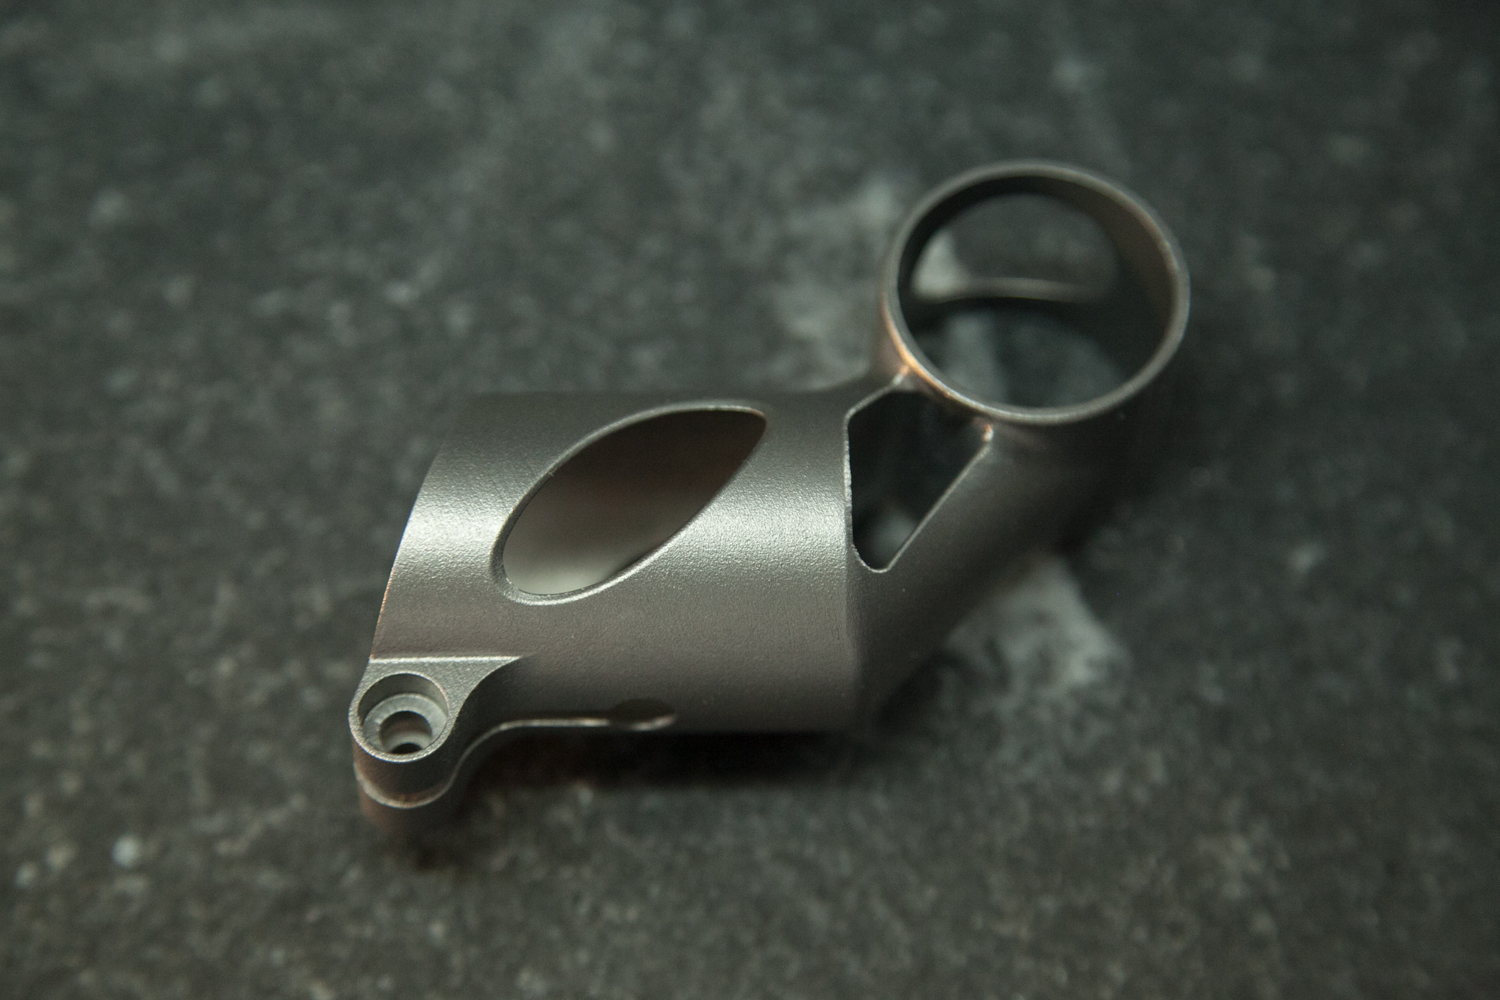
...but actually, this part might not actually be ridden - it's off to Germany to be tested. I'm in the process of writing up a longer report about how the project has gone over the past month or so - expect that soon!
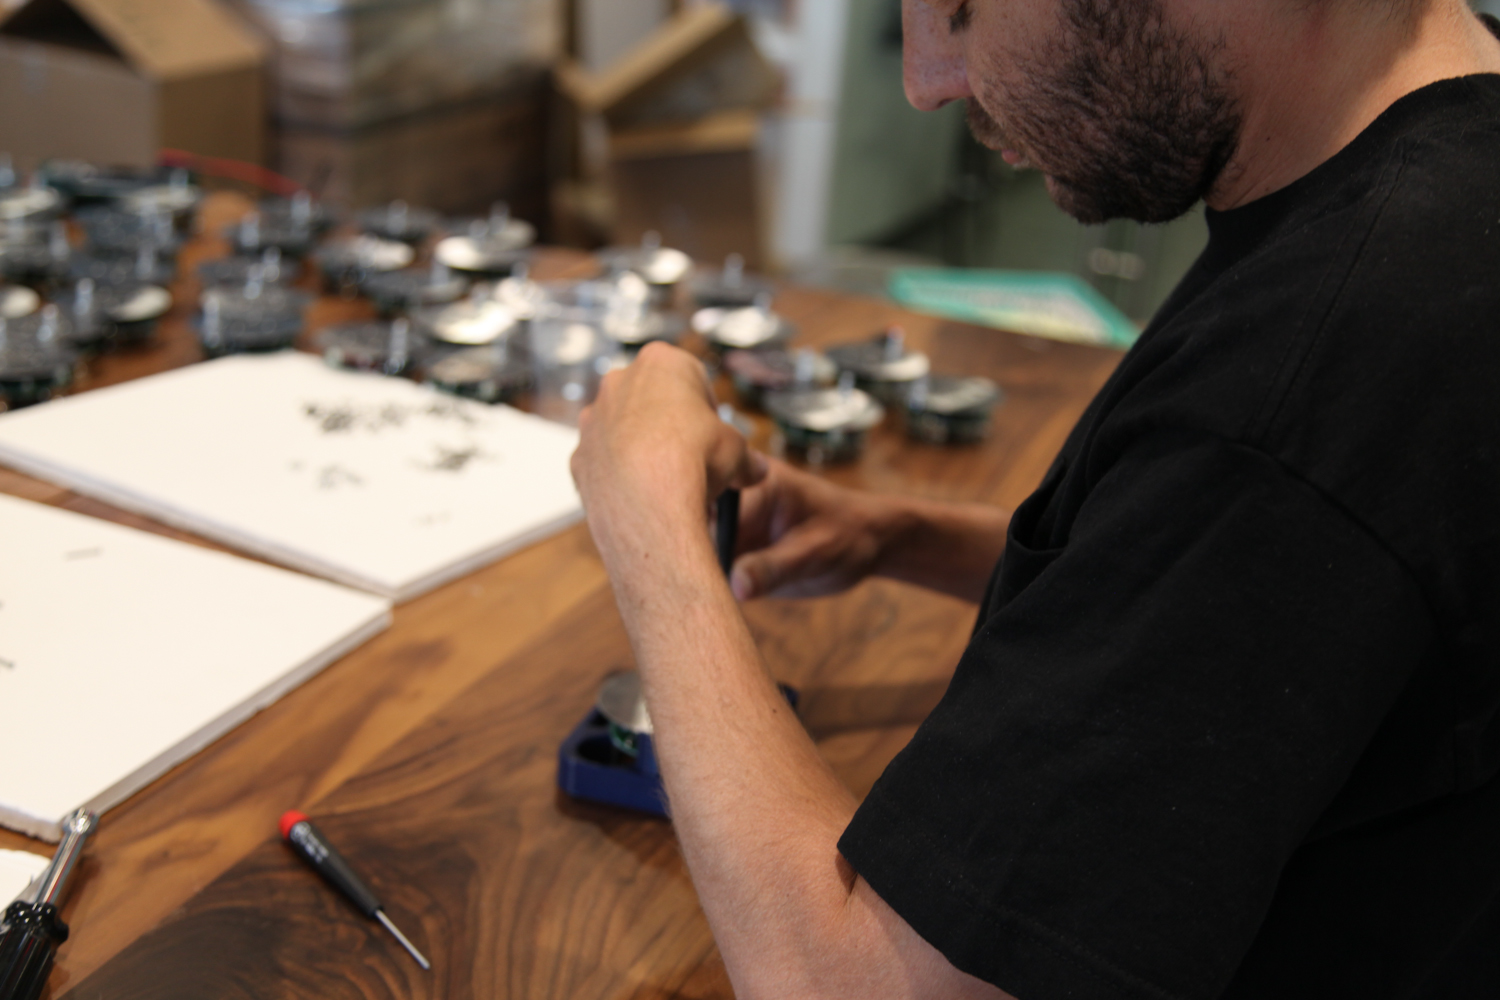
First: Big thanks to Sam, Tieg, Buenas, Amanda, Jenny, Daniel, Lisa, Jordan and Sasha for helping Zach and I assemble the first 65 Public Radios. The day went really well, and we really appreciate everyone who helped out.


A few things we learned:
In total, the mechanical assembly process takes about 6 minutes per radio. I'd like to cut that in half; I really want the full box build (taking raw components in and ending up with a tuned, packaged radio at the end) to take about 4 minutes. I think the stuff above will help, and I'm hoping to make more progress towards this goal over the next week.