Manufacturing guy-at-large.

Filtering by Tag: making

Photos from the Packaging Party

Added on by Spencer Wright.

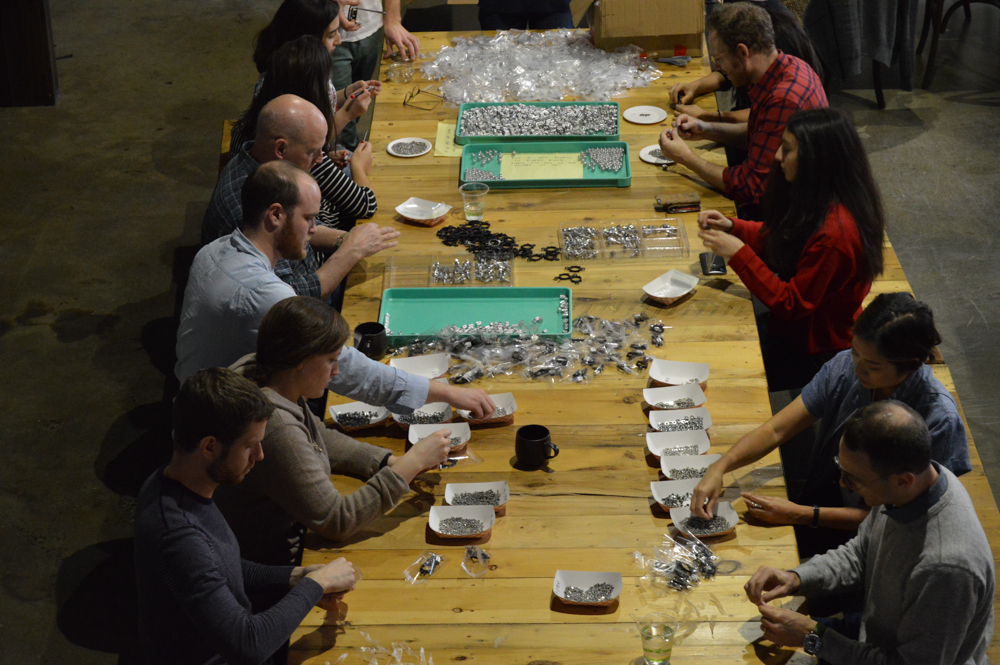
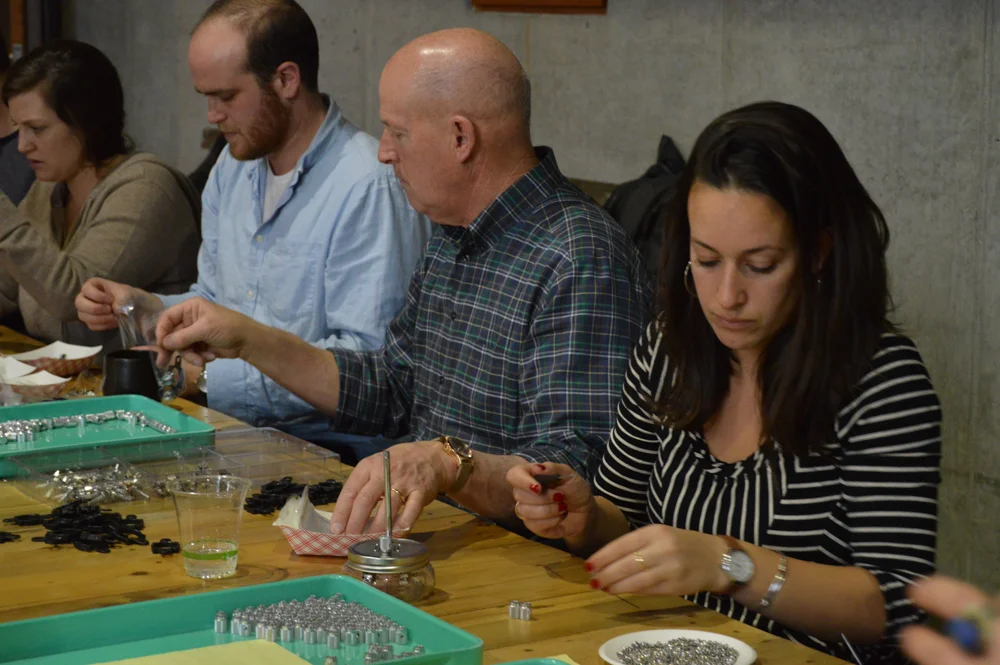
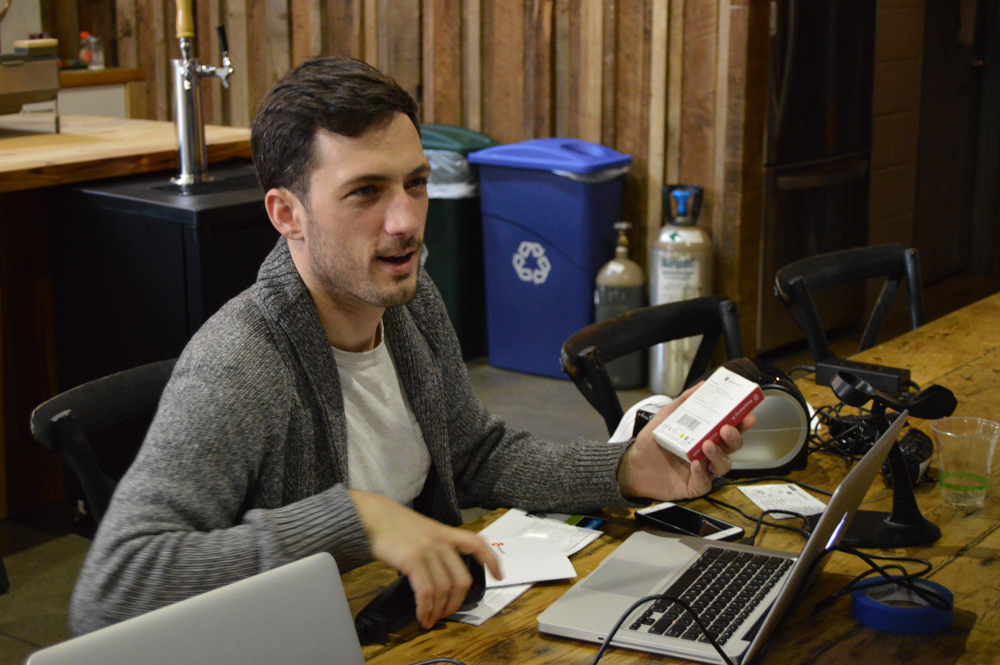
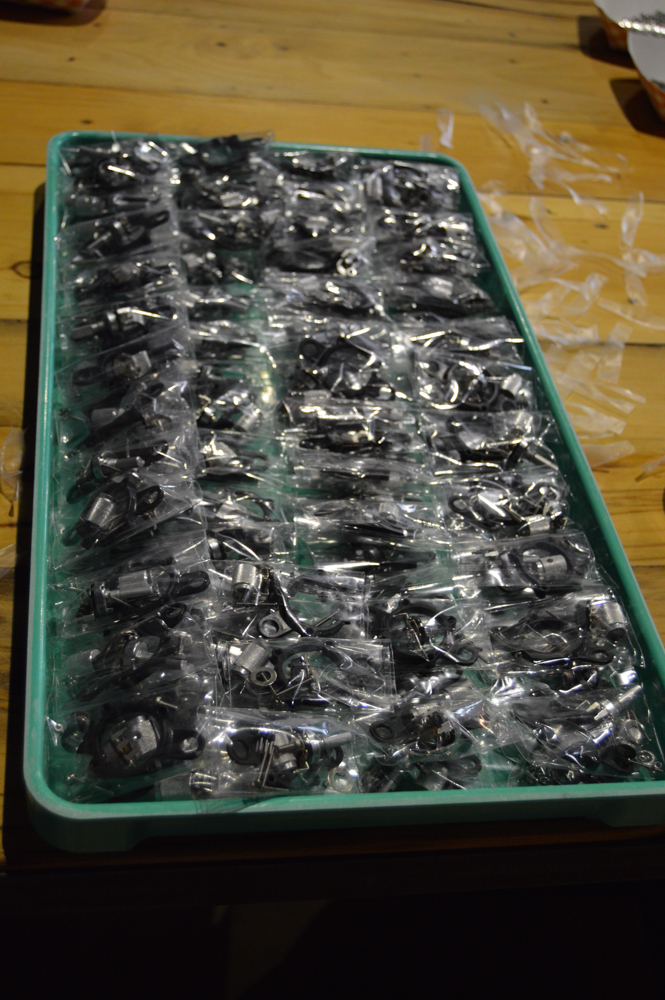
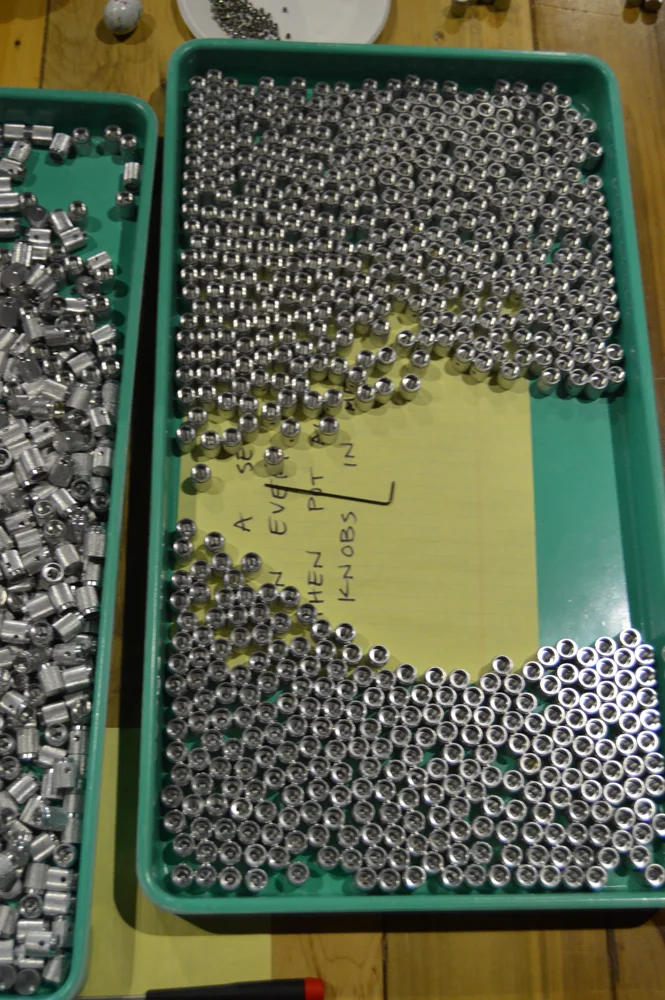
On Saturday, I had the great pleasure of putting a bunch of my closest friends & family to work on preassembly for The Public Radio. 
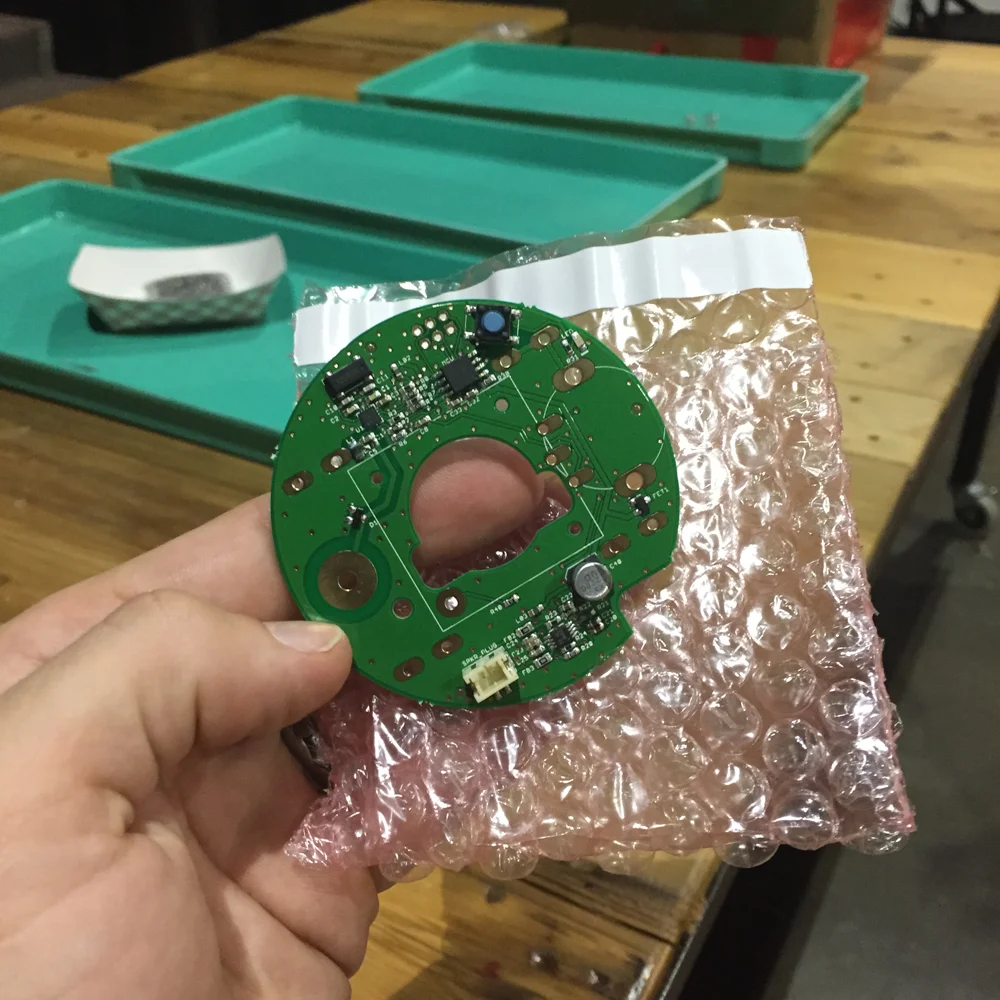
*So* many thanks to everyone who came out! We'll be doing another one in about two weeks - let me know if you want to participate!
Packaging party

Added on by Spencer Wright.

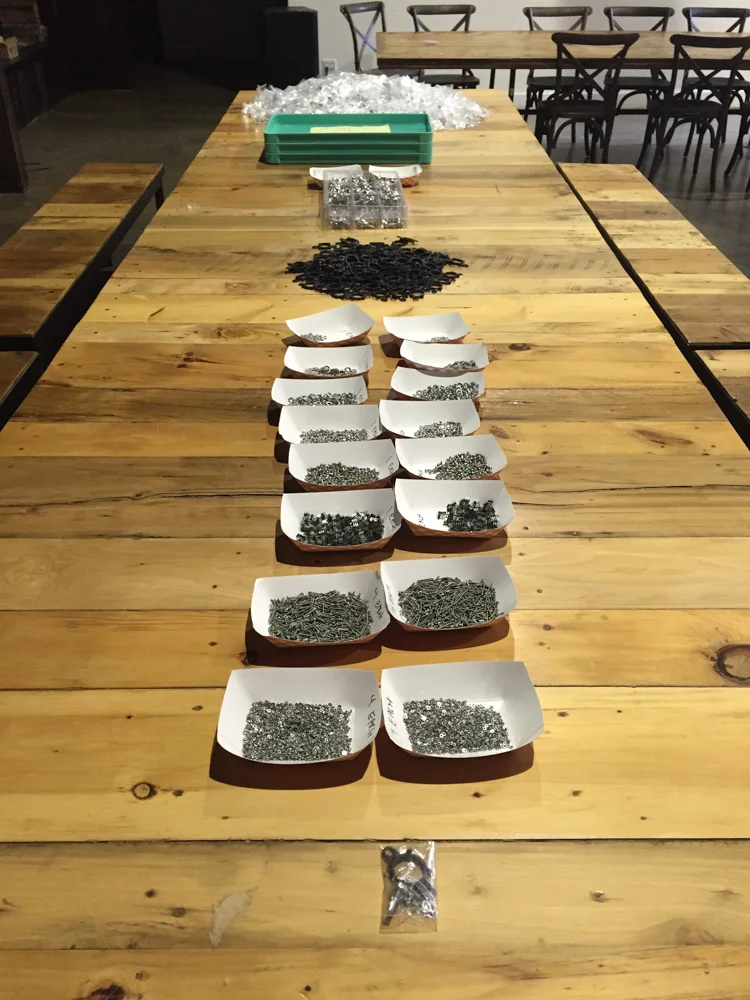
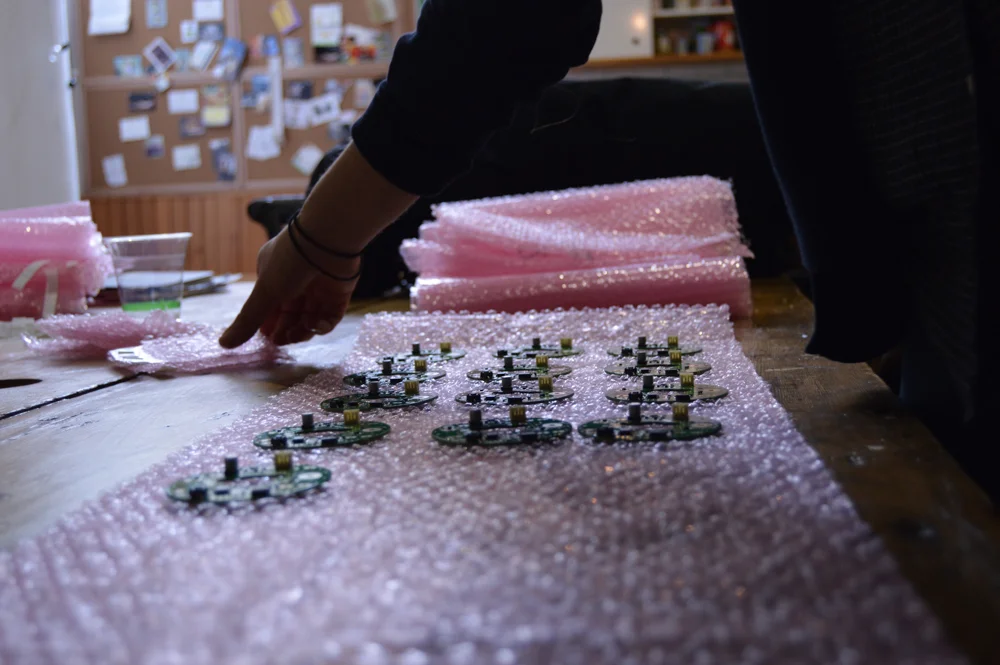
This evening Zach and I set up all of our printed circuit boards,knobs, screws, and anti-static bubble wrap bags. It's looking like we'll have a fun little assembly line tomorrow :)

If you happen to be in North Brooklyn tomorrow and feel like stuffing some radios, give me a holler!

Dog collar

Added on by Spencer Wright.

After 3 or 4 years, Libo's old collar was falling apart. So I took it apart and made him a new one.

The buckle and D-ring I made by hand back in 2010. They both started out as solid copper rod; 1/4" for the buckle frame and all of the D-ring, and 3/16" and 1/8" for the center bar and prong. The D-ring is just bent, cut, and brazed together with (IIRC) 56% silver, but the buckle was a bit more complicated. There I bent the frame first (on my old DiAcro #2 bender, which was *so* great). I turned the center portion of the center bar down on my lathe and brazed it to the frame. Then I bent the prong, mostly by hand, forming it in-situ over the center bar. The whole thing took some finishing time with a disc sander, a hand file, and aluminum-oxide abrasive cloth.

The nametag I cut from stainless steel stock and engraved on an Engravograph/New Hermes manual pantograph engraver. Then I bent it over the biggest mandrel I had in the DiAcro.

The leather is by far the easy part. The belts come precut from Tandy; I dyed them with Fiebings dye and then bevel the edges by hand. All of the holes are punched with a hole punch and mallet. The rivets are solid copper with washers from McMaster-Carr; you just put the parts together, secure the washer in place (usually driving it softly with a mallet and a tubular punch) and then give the end of the rivet a swift smack with a hammer. When you do that, the whole thing bulges out a little and squeezes on the inner diameter of the leather belt and the washer. Then you take a ball peen hammer to the rivet, smushing it down so that it's flush and soft to the touch.

Rebuilding the collar didn't take much time; figure 45 minutes or so. Building the buckles from scratch was kind of a pain, though; although it was fun and satisfying, I'd like to find a way to do that via Shapeways in the future.

Anyway. A good Sunday morning project, and one that will get a lot of use.

Wallet parts

Added on by Spencer Wright.

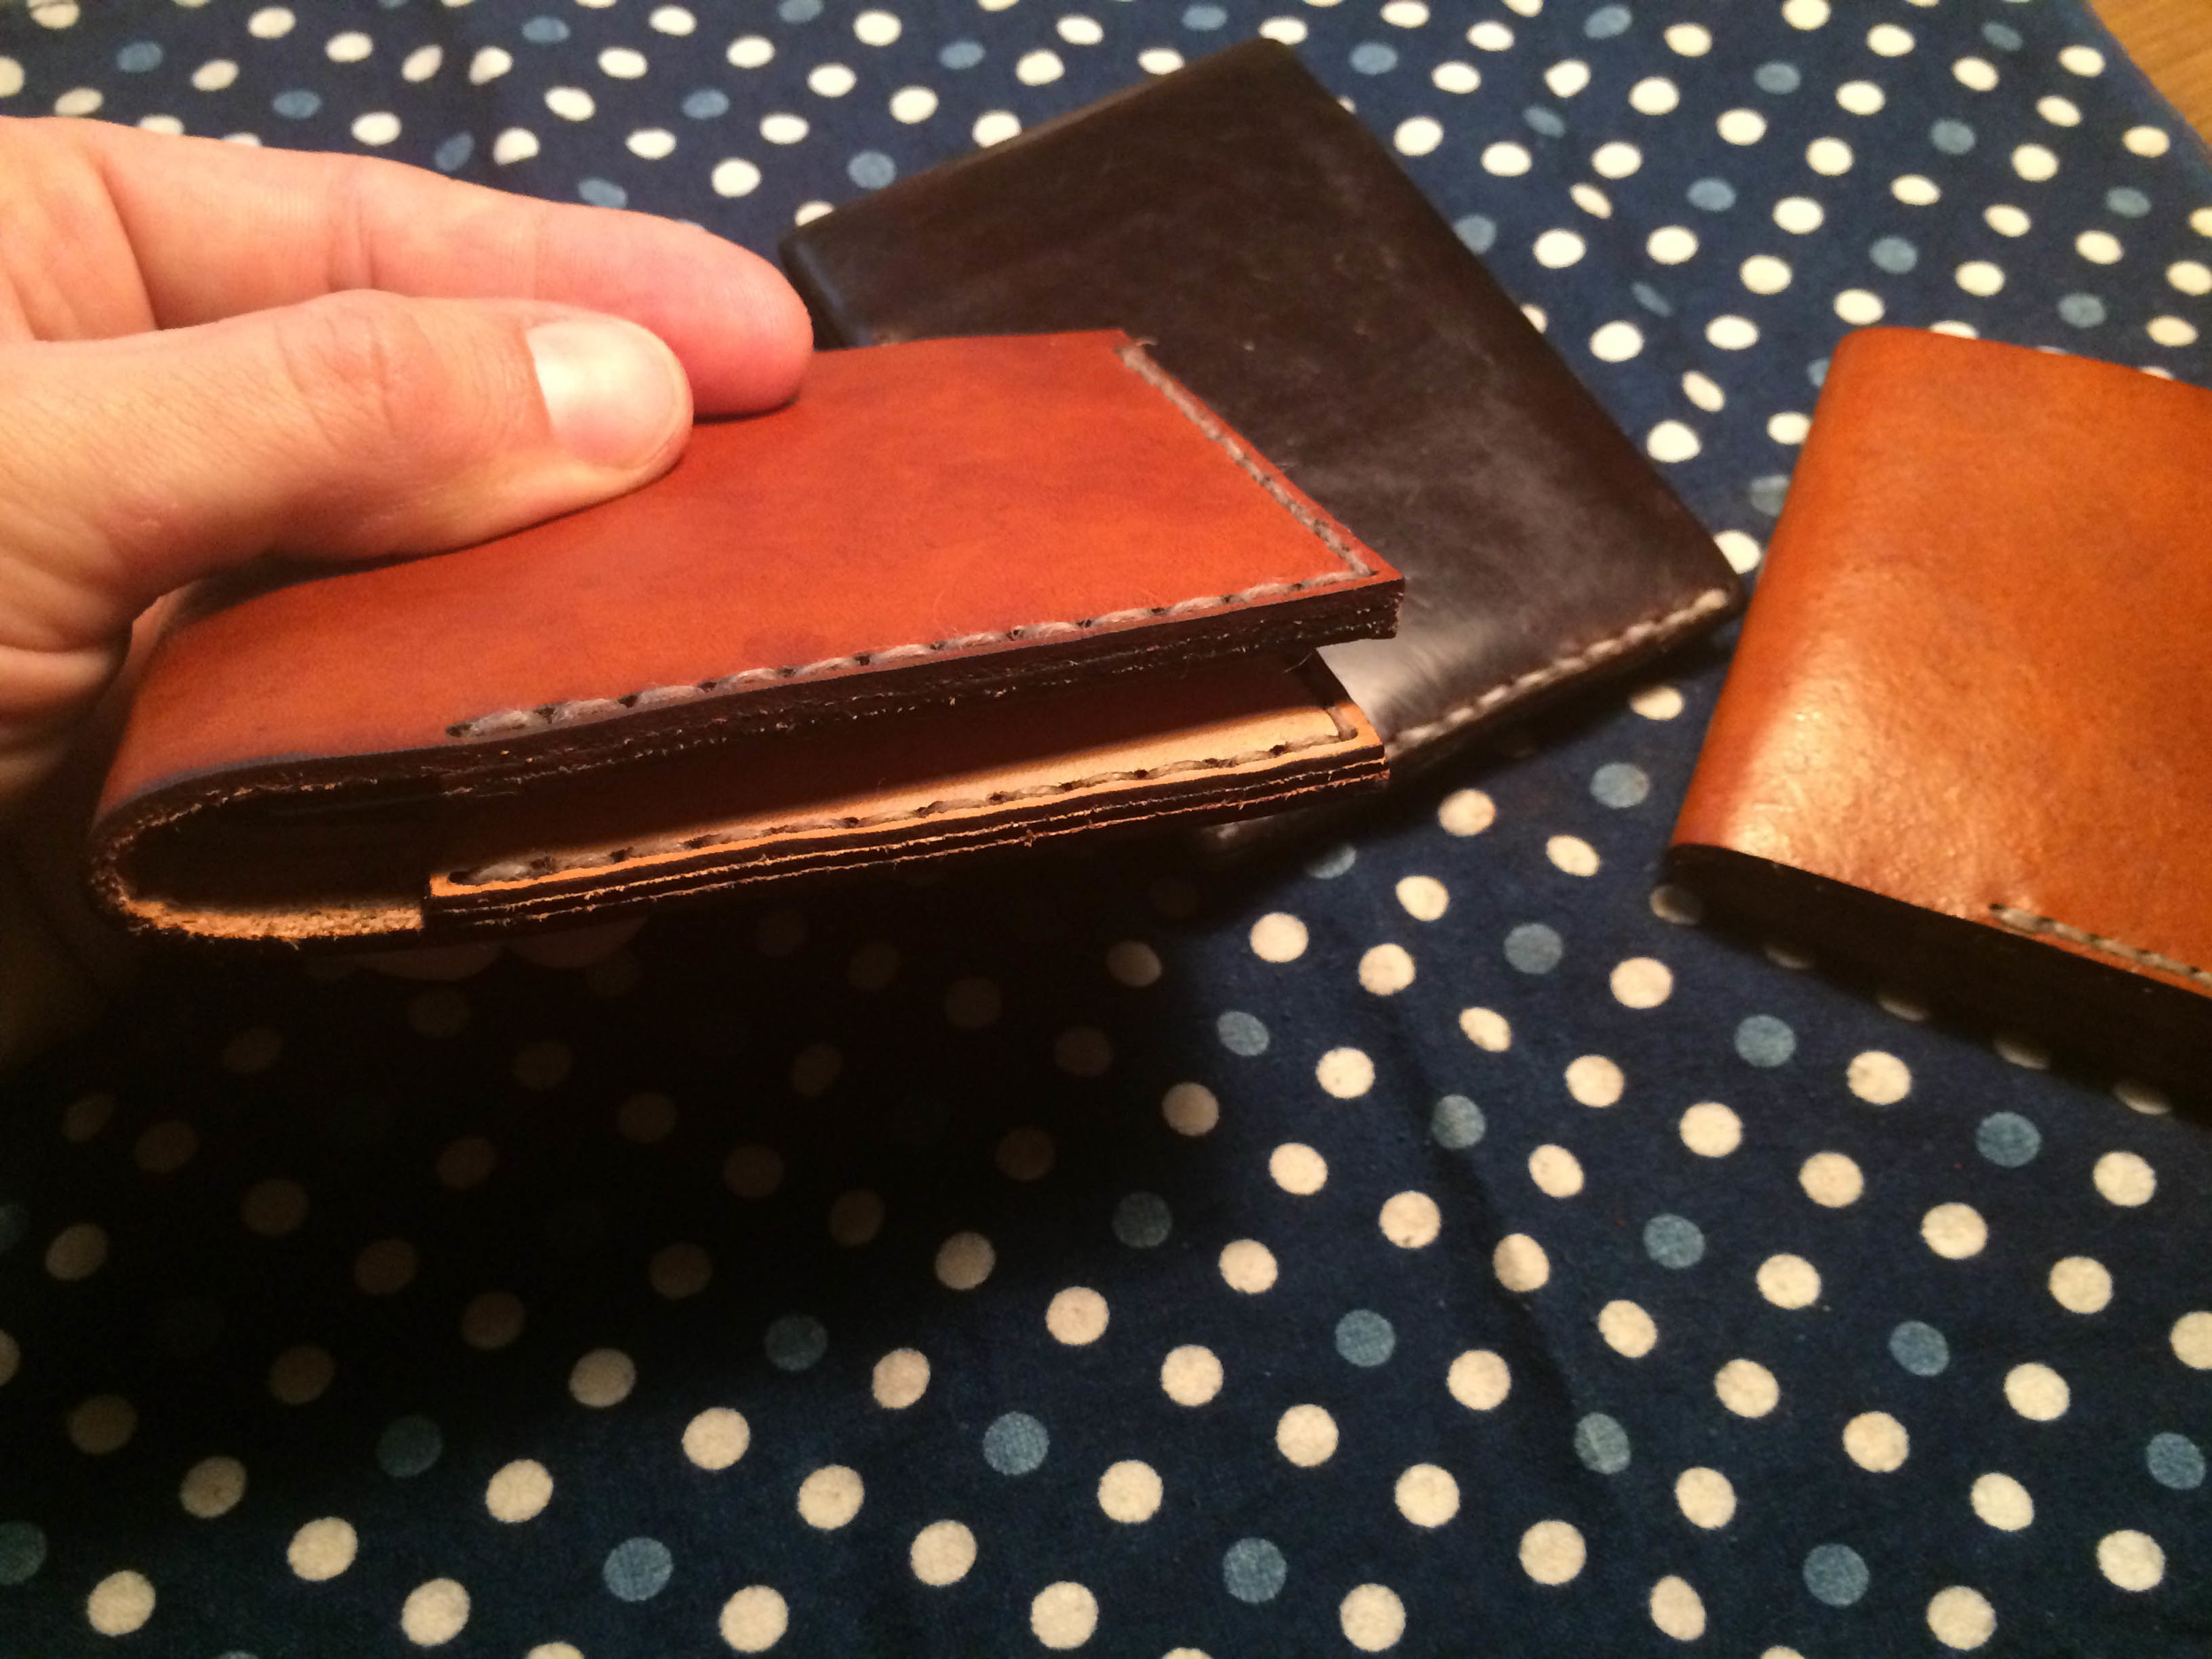
These are parts for my wallet design, which I'm working on with Christy Holzer. On the bottom left is my personal wallet, which I carry daily. On the top left are natural, vegetable-tanned leather parts. On the right are those same parts after being tanned (naturally, in the sun) and lightly oiled with Neatsfoot oil. 

The tanned & oiled parts will be sewn up (by hand, by yours truly) tomorrow. I may switch over to one of these (be your own beta tester; eat your own dogfood), and will give the second to a friend.

Then I'll be tanning, oiling & sewing a small batch (with Christy) and hope to be putting them up for sale (and/or crowdfunding) soon.

Old

Added on by Spencer Wright.

From February, 2010:

What I wrote about this part then:

This is part of a drawbar for my Steinel horizontal mill.  I decided to make it in two pieces - a 3/8" rod, threaded on one end, which slips into a cap that was turned from 1" rod.  This is that cap.  It took a few steps to make - little while in the lathe, a few minutes in the mill, little while back in the lathe.  It's not quite finished - I gotta TIG the two parts together tomorrow - but jeez, I'm finally close to getting this machine set up.

Coined Countersinks

Added on by Spencer Wright.

This blew my mind! 

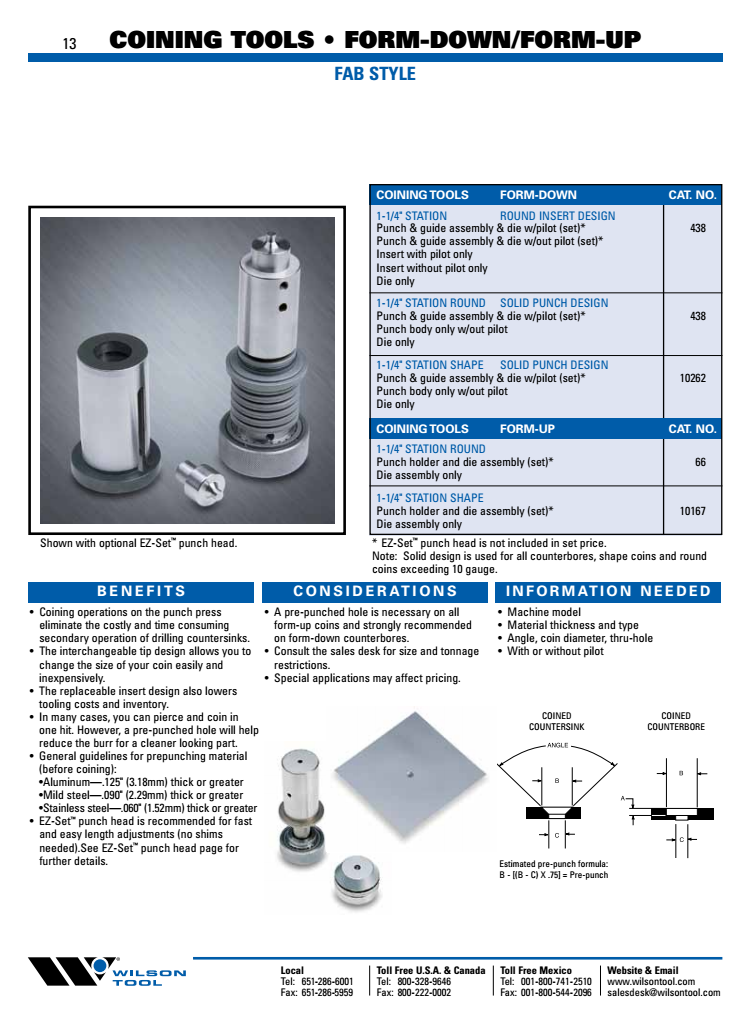
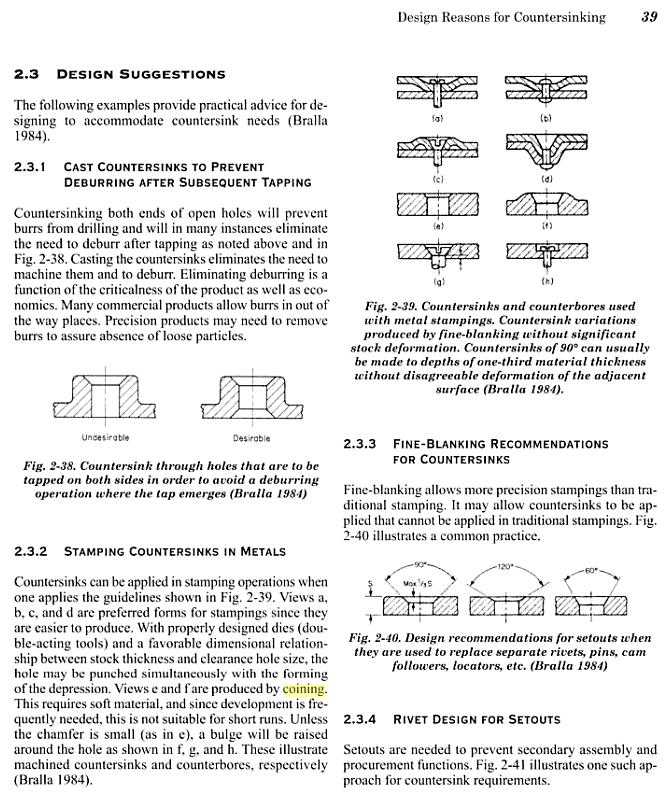
A supplier of The Public Radio's stamped lid sent me a catalog of stamping tools, and I took a little while looking though it. This page set me on a google wormhole:

Screen Shot 2014-02-15 at 1.16.27.png

They're talking here about cold working countersink features in sheet metal. The hole is pre-punched and then worked with a tool that moves material around to create a countersink.

This process probably isn't right for The Public Radio - it requires thicker material than we're using - but it's really cool. I googled around a bit and found a textbook on countersinks, which describes a bunch of sheet metal features that I was unaware of:

Screen Shot 2014-02-15 at 1.13.56.png
Screen Shot 2014-02-15 at 1.14.11.png

It would be really fun to explore these. Stamping is really economical at scale, and knowing all the ways it can be used is super interesting.

Yet more Eagle

Added on by Spencer Wright.

This is getting closer.

Zach has been doing crazy research on the minutiae of our circuit and figuring out ways to mitigate noise, especially on the antenna line (to improve reception). I've been deep in Eagle, which is still a PITA but is getting to be more fun :)

Extra special crazy thanks go to Todd Bailey for walking us through the datasheets on a few of these components. Todd has saved my ass more than once, and he continues to have a huge influence on this project.

Public Radio v1.2 PCB

Added on by Spencer Wright.

Today Zach and I spent most of the day laying out new boards for The Public Radio. Here's mine:

There are a handful of obvious errors here. The top edge is too tight, and I've packed a *lot* in near the FM chip. I've totally ignored most of what the datasheets says about locating blahblah next to whatever (doing that tomorrow), and I could probably take a *lot* of style tips from someone with more experience.

But the basic concept is there. The PCB mounts to a 3xAAA battery holder on its back, and has SMT and thru-hole components on the front.

Tomorrow we'll spend the AM scouring the datasheets and then will likely end up totally rebuilding the boards. Plans have been discussed to make them round instead, and mount them directly to the lid of the jars, though that's a bit more than we can/should bite off for now.

Today the two of us were working in parallel, which was great for jumpstarting each of our abilities. We'll probably do the same thing for most of tomorrow, but eventually transition to one design and operate more in a pair-programming mode. We'd like to get a design to a board house tomorrow afternoon, though it could slip till Tuesday or Wednesday *possibly* - but only in the service of getting a better finished product.

:)

Eagle, etc.

Added on by Spencer Wright.

Today Zach and I spent most of the day laying out a new PCB for The Public Radio.

battery-1.jpg

I'm trying to implement pair programming on the project, and so far that's been really helpful for me - especially right now. To date, I've only designed one PCB in Eagle, and The Public Radio is quite a bit more complicated. Zach's no expert either, but he's got a bit more experience than I do. Regardless, working together on it feels a bit slow, but I'm confident that we'll make fewer mistakes and will eventually move a lot faster as a result.

One thing we're revising is the battery setup on the PCB. On the last board we just used screw terminals and plugged old 9V batteries into them. It worked, but it's an inefficient use of space and energy. On this version we're probably putting a 3-pack of AAA batteries (hence the photo above) right on the board, and are getting a little cute with the layout.

More details to follow; we'll be working on this most of the day on Sunday, and hope to get designs out to a PCB shop on Monday.

The Lady's Harp progress

Added on by Spencer Wright.

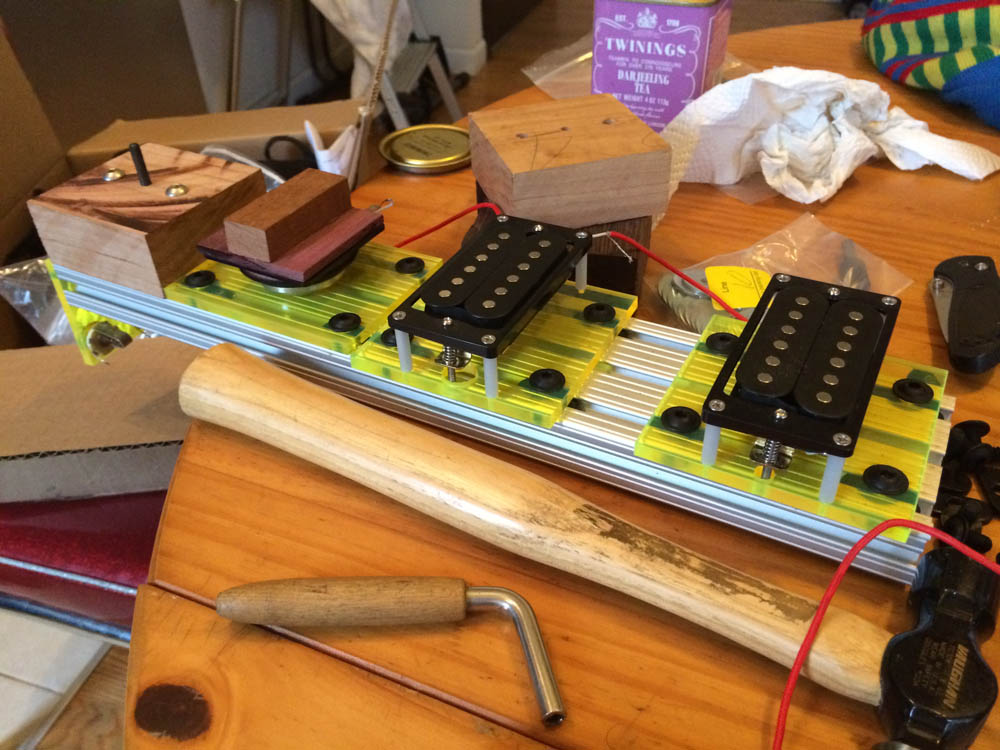
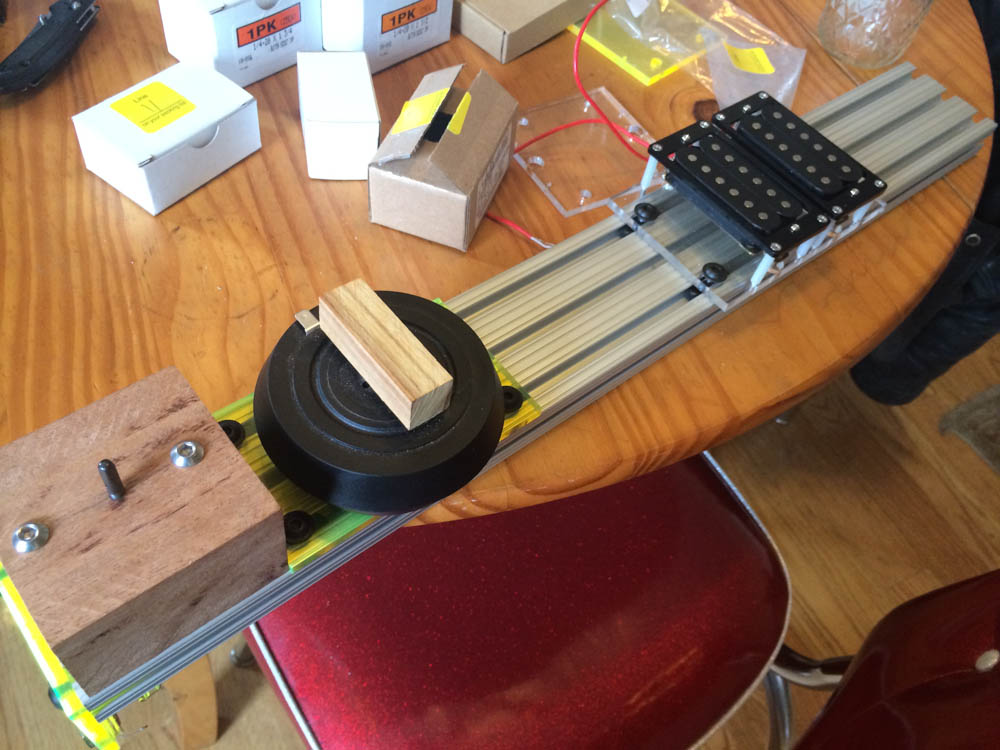
Spent a little while with Daniel this AM and got some of The Lady's Harp rails built.

The two rails here are configured differently along a few dimensions. The top one uses the smaller Dayton DAEX58FP transducer, which has a fairly low profile and puts out a maximum of 40W. The lower rail uses the much heftier HDN-8, which is weatherproof and *bumps* a full 100W. Daniel wanted to try both transducers out, and so the tuning blocks (the wood parts, which have piano tuning screws in them) needed to be built at different heights.

Incidentally, these transducers are intended to be mounted to walls, floors or furniture to provide a more tactile audio experience. Imagine 100W of bone-shaking bass when you're watching a movie - I'm not sure it would be enjoyable, but I sure would like to try it out.

I also built the pickup platforms so that they can be gang-mounted (two pickups on one plate) or separated (one pickup per plate). It's possible that the pickups will want to be located at a particular node of the string, and these two configurations will allow all sorts of adjustability. 

We should get the whole instrument together next week; expect updates.

The Public Radio assembly

Added on by Spencer Wright.

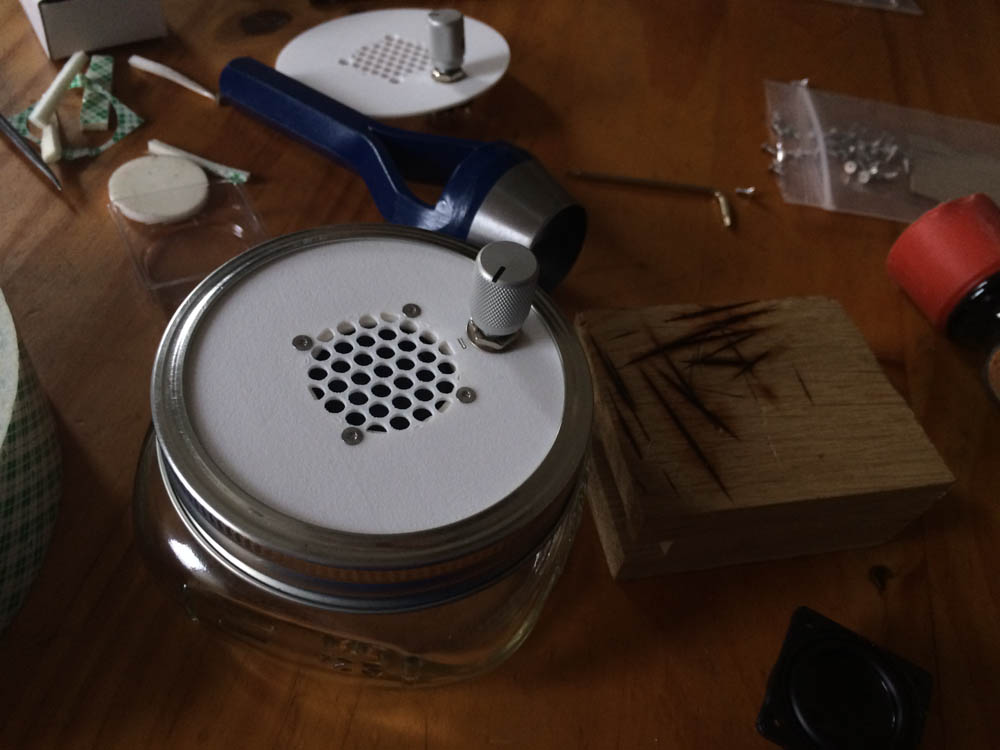
A few days ago Zach and I assembled the lids on the newest version of The Public Radio. 

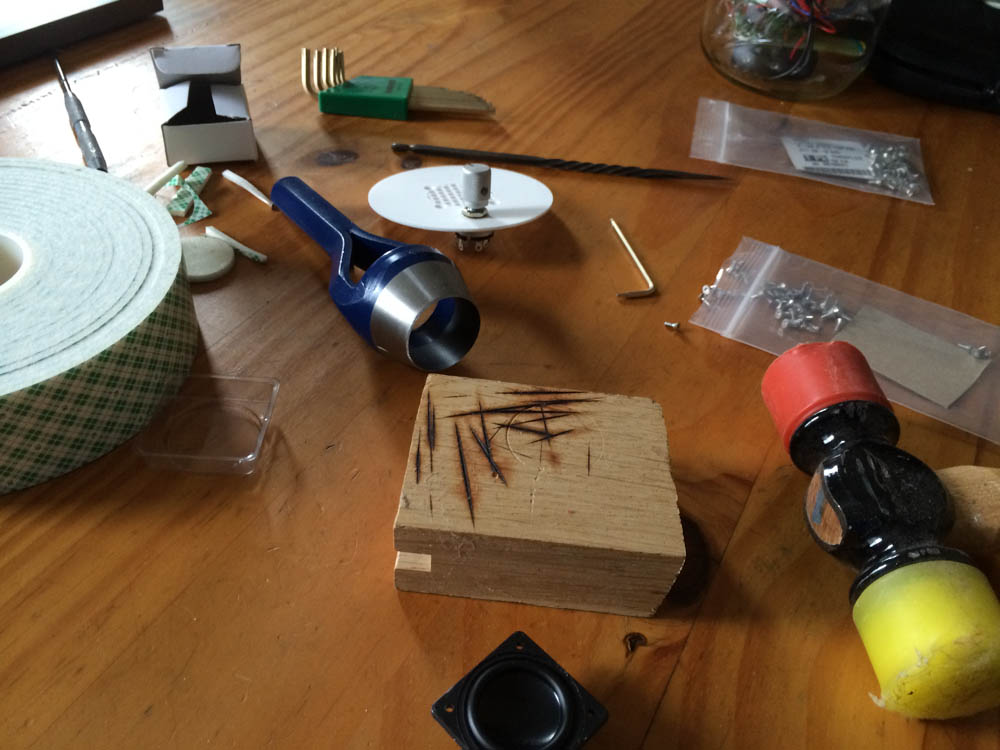
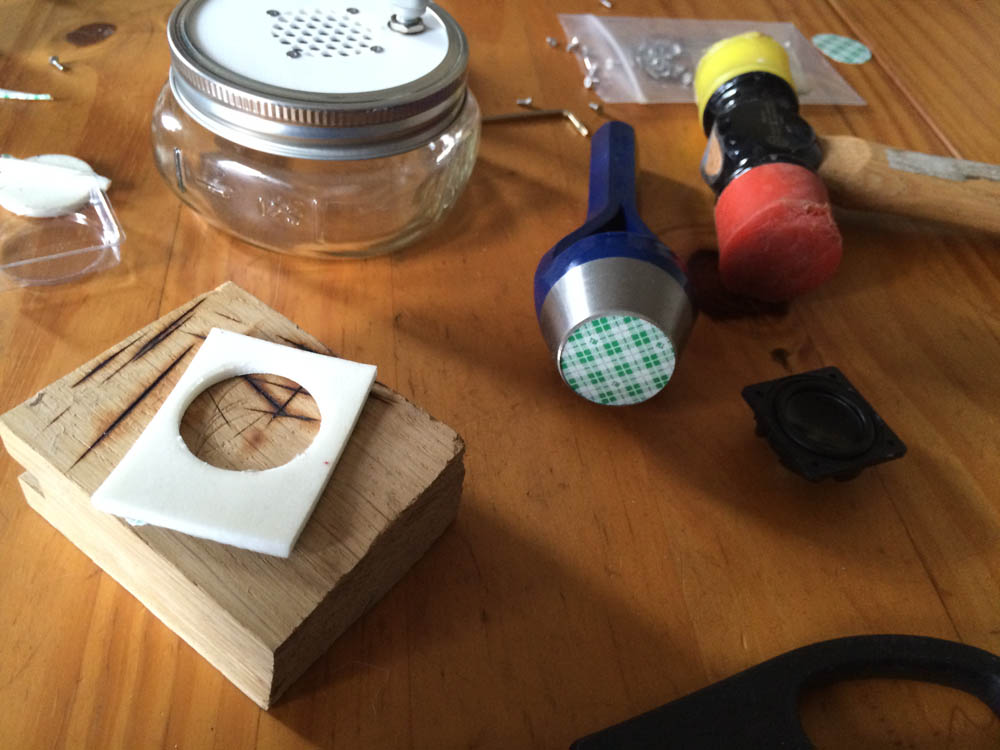
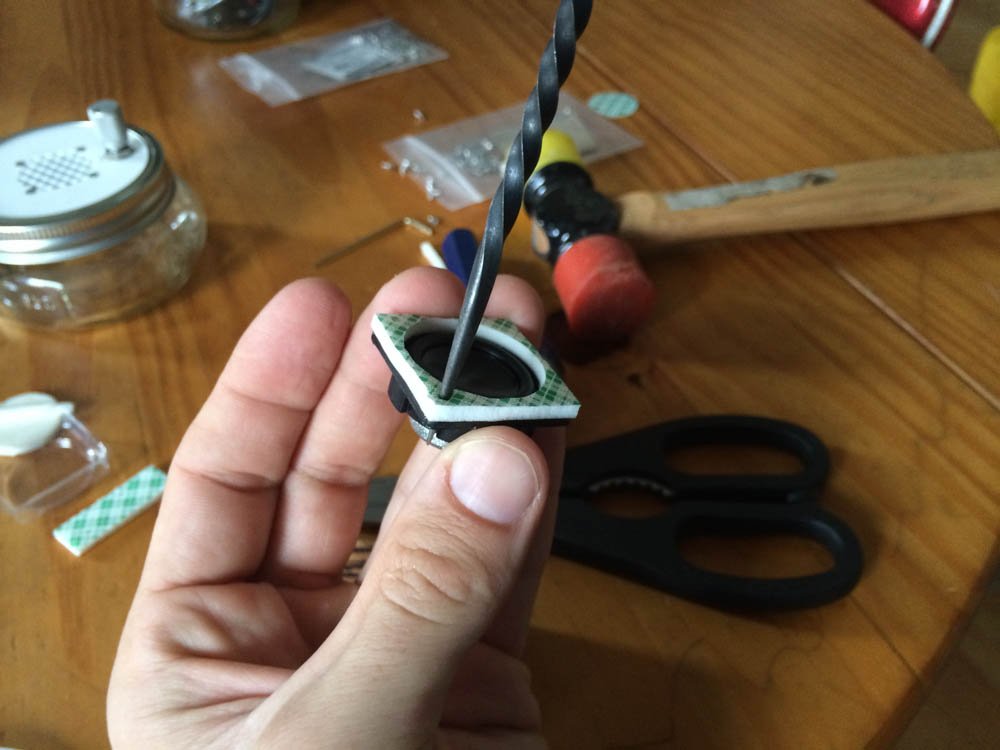
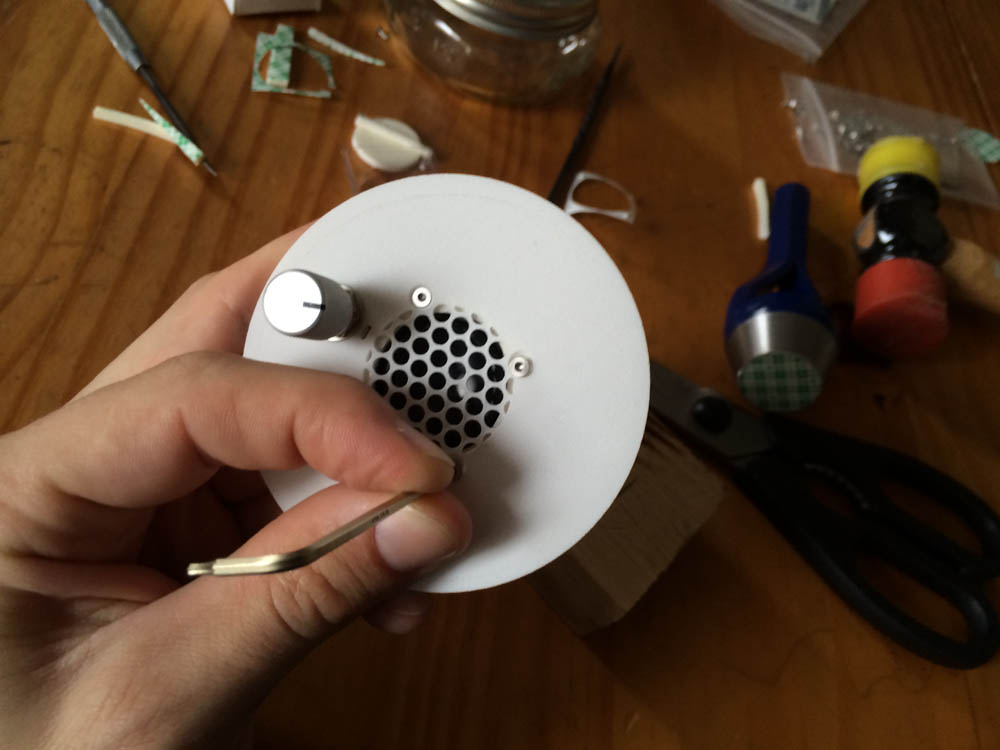
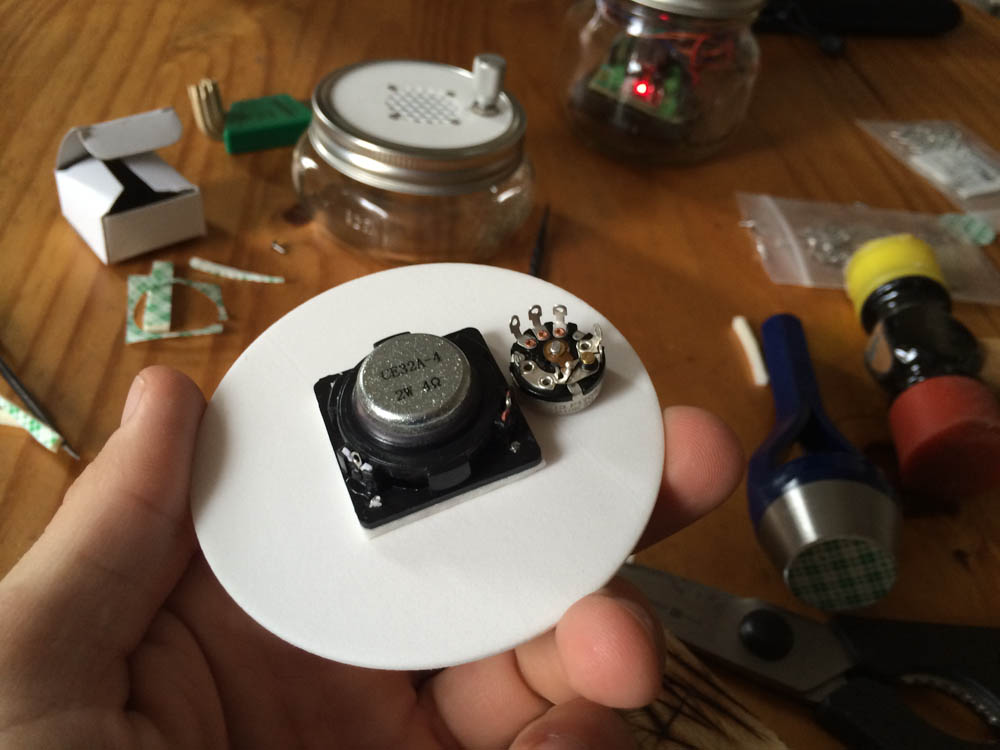
I had spent a bit of time thinking of how we'd streamline the process, and had purchased a round punch and some foam tape to make an adhesive backed spacer for the speaker. For production we'll get these die cut by a job shop, but for prototyping this worked very well.

I was trying out two different varieties of mounting screws for this version. In order to make the lid cost effective, I designed it with countersunk thru holes and am mounting the speaker from above. That meant finding screws that would bite into the plastic speaker body well, and I bought a selection of thread-forming screws for that purpose. They've got cute little torx heads which - if I spend a little more time organizing the speaker perforations - will look pretty nice on a stamped (as opposed to this SLA printed) stainless steel lids.

Overall, the assembly worked very well. Honestly I'd prefer to nix the screws, but that's impractical... it's possible that I would design the lids in two parts (like a clamshell) instead, so that the mounting hardware could be hidden from view.  We'll see :)

We should be receiving new PCBs on Monday, and will be assembling a few v1.1s ASAP. Expect updates.

Driver

Added on by Spencer Wright.

This one is silly. This is 2012, and I needed this dumb Maxon motor driver to be quickly reversible, etc., for mocking up BLDC motor assemblies. This thing was a major PITA... but it worked.

IRL Crowdfunding

Added on by Spencer Wright.

Every few days someone asks me about one of the projects I'm working on. Most often they've seen something I've put up on Instagram or Facebook, but didn't have enough context to really understand what it is I'm working on or even whether it's for sale.

Most of my projects will eventually be crowdfunded, and I expect to be able to convert some of the folks who I've talked to during development. But I had a thought the other day: Why not start taking orders immediately, whenever someone asks? 

The thought is this: If you ask me about The Public Radio, I'll give you my little pitch and then (assuming you've acted enthusiastic) ask for $20, cash, now. I'll then whip out my phone and email you an informal receipt, and will deliver you a v1.0 when it ships (probably the pre-Kickstarter version). 

This would help me in a few ways. First, it locks in a customer. Second, it lets me know whether I'm actually onto something - if everyone says "no," then maybe I should pivot. Third, it gives me a little cash to help keep the project moving forward. And I can be pretty sure that you'll ask me about the project status in the future, which is the most thrilling parts of building a product like this.

I think this is a decent idea. If you're reading this, ask me about what I've been working on the next time you see me - we'll see how it works :)

In the jar

Added on by Spencer Wright.

When we started The Public Radio, we planned on making it look sleek and functional. My design aesthetic tends towards midcentury modern, and brushed aluminum is kind of the standard bearer for that class of objects. But after an hour or two of talking, we realized that the type of customer that we wanted to appeal to would probably never pay the kind of pricetag we'd need to charge for the product we wanted to build.

Plus: If cuteness allows you to be effective, maybe you should get over yourself and just do it.

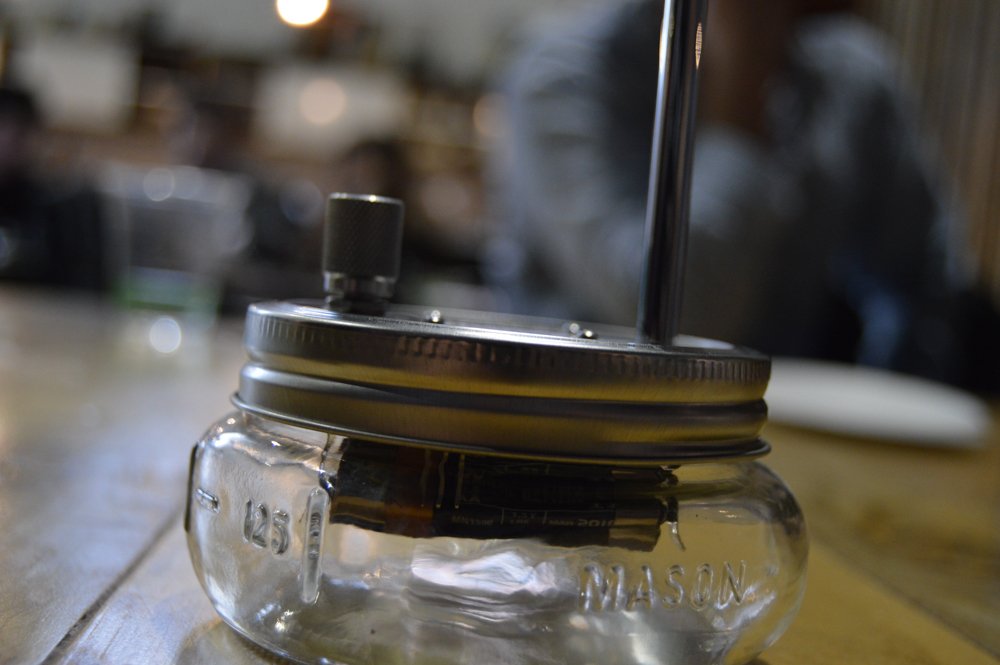
So it's a radio in a Mason jar. It's cute, and it allowed us to iterate quickly and inexpensively.

A few months ago, I put an MVP together (an iPod + a simple amp) and threw it in a jar with a speaker. Since then, The Public Radio has been mostly an idea, or at best a breadboarded, hacked-together mess of wire. While cool to the two of us, it hasn't been much to look at - iPhone headphones and all.

Over the past few weeks, I've gotten the lid design & potentiometer figured out. Meanwhile, each of us has been learning about register addresses & trying to strip our firmware of everything unnecessary. So yesterday, after much ado, we finally wired up the switch and speaker to the rest of the ratsnest and got the thing mocked up.

Quickly, then, the goal was to get it into the jar right away. So a bit of protoboard and a little more fiddling, and we were able to squeeze it in.

To backtrack a bit: It's worth noting that our current state - an Arduino Pro Mini and a couple of Sparkfun breakout boards - is a step backwards from where we were a few months ago. If you'll recall, there was a time that we were putting discrete components on our own PCB. But we had a few issues with our circuit design, and regardless we realized that we had aimed too high on our MVP. So we went back to off-the-shelf components and protoboard, with the intention of doing some basic product validation. Which I dare say we're getting close to.

The next step here is to make a few more of these things and start showing them off. I made some revisions to the lid the other day, and Zach has already ordered a new custom PCB (basically a breakout board with a few screw terminals on it) that'll replace the protoboard here.

We'll have three of these, plus a few more speakers & pots, in the next week or so. In the meantime we've been scheming about the next steps: having the lids die cut out of brushed stainless steel; getting rid of the Arduino and building the radio out of a ATtiny + the Si4702 + a class-D amp; world domination, etc. 

It's hard not to get ahead of yourself sometimes, but I prefer to keep my mind at a point where I'm aware of which questions to ask just before I need to ask them :)

Old & New

Added on by Spencer Wright.

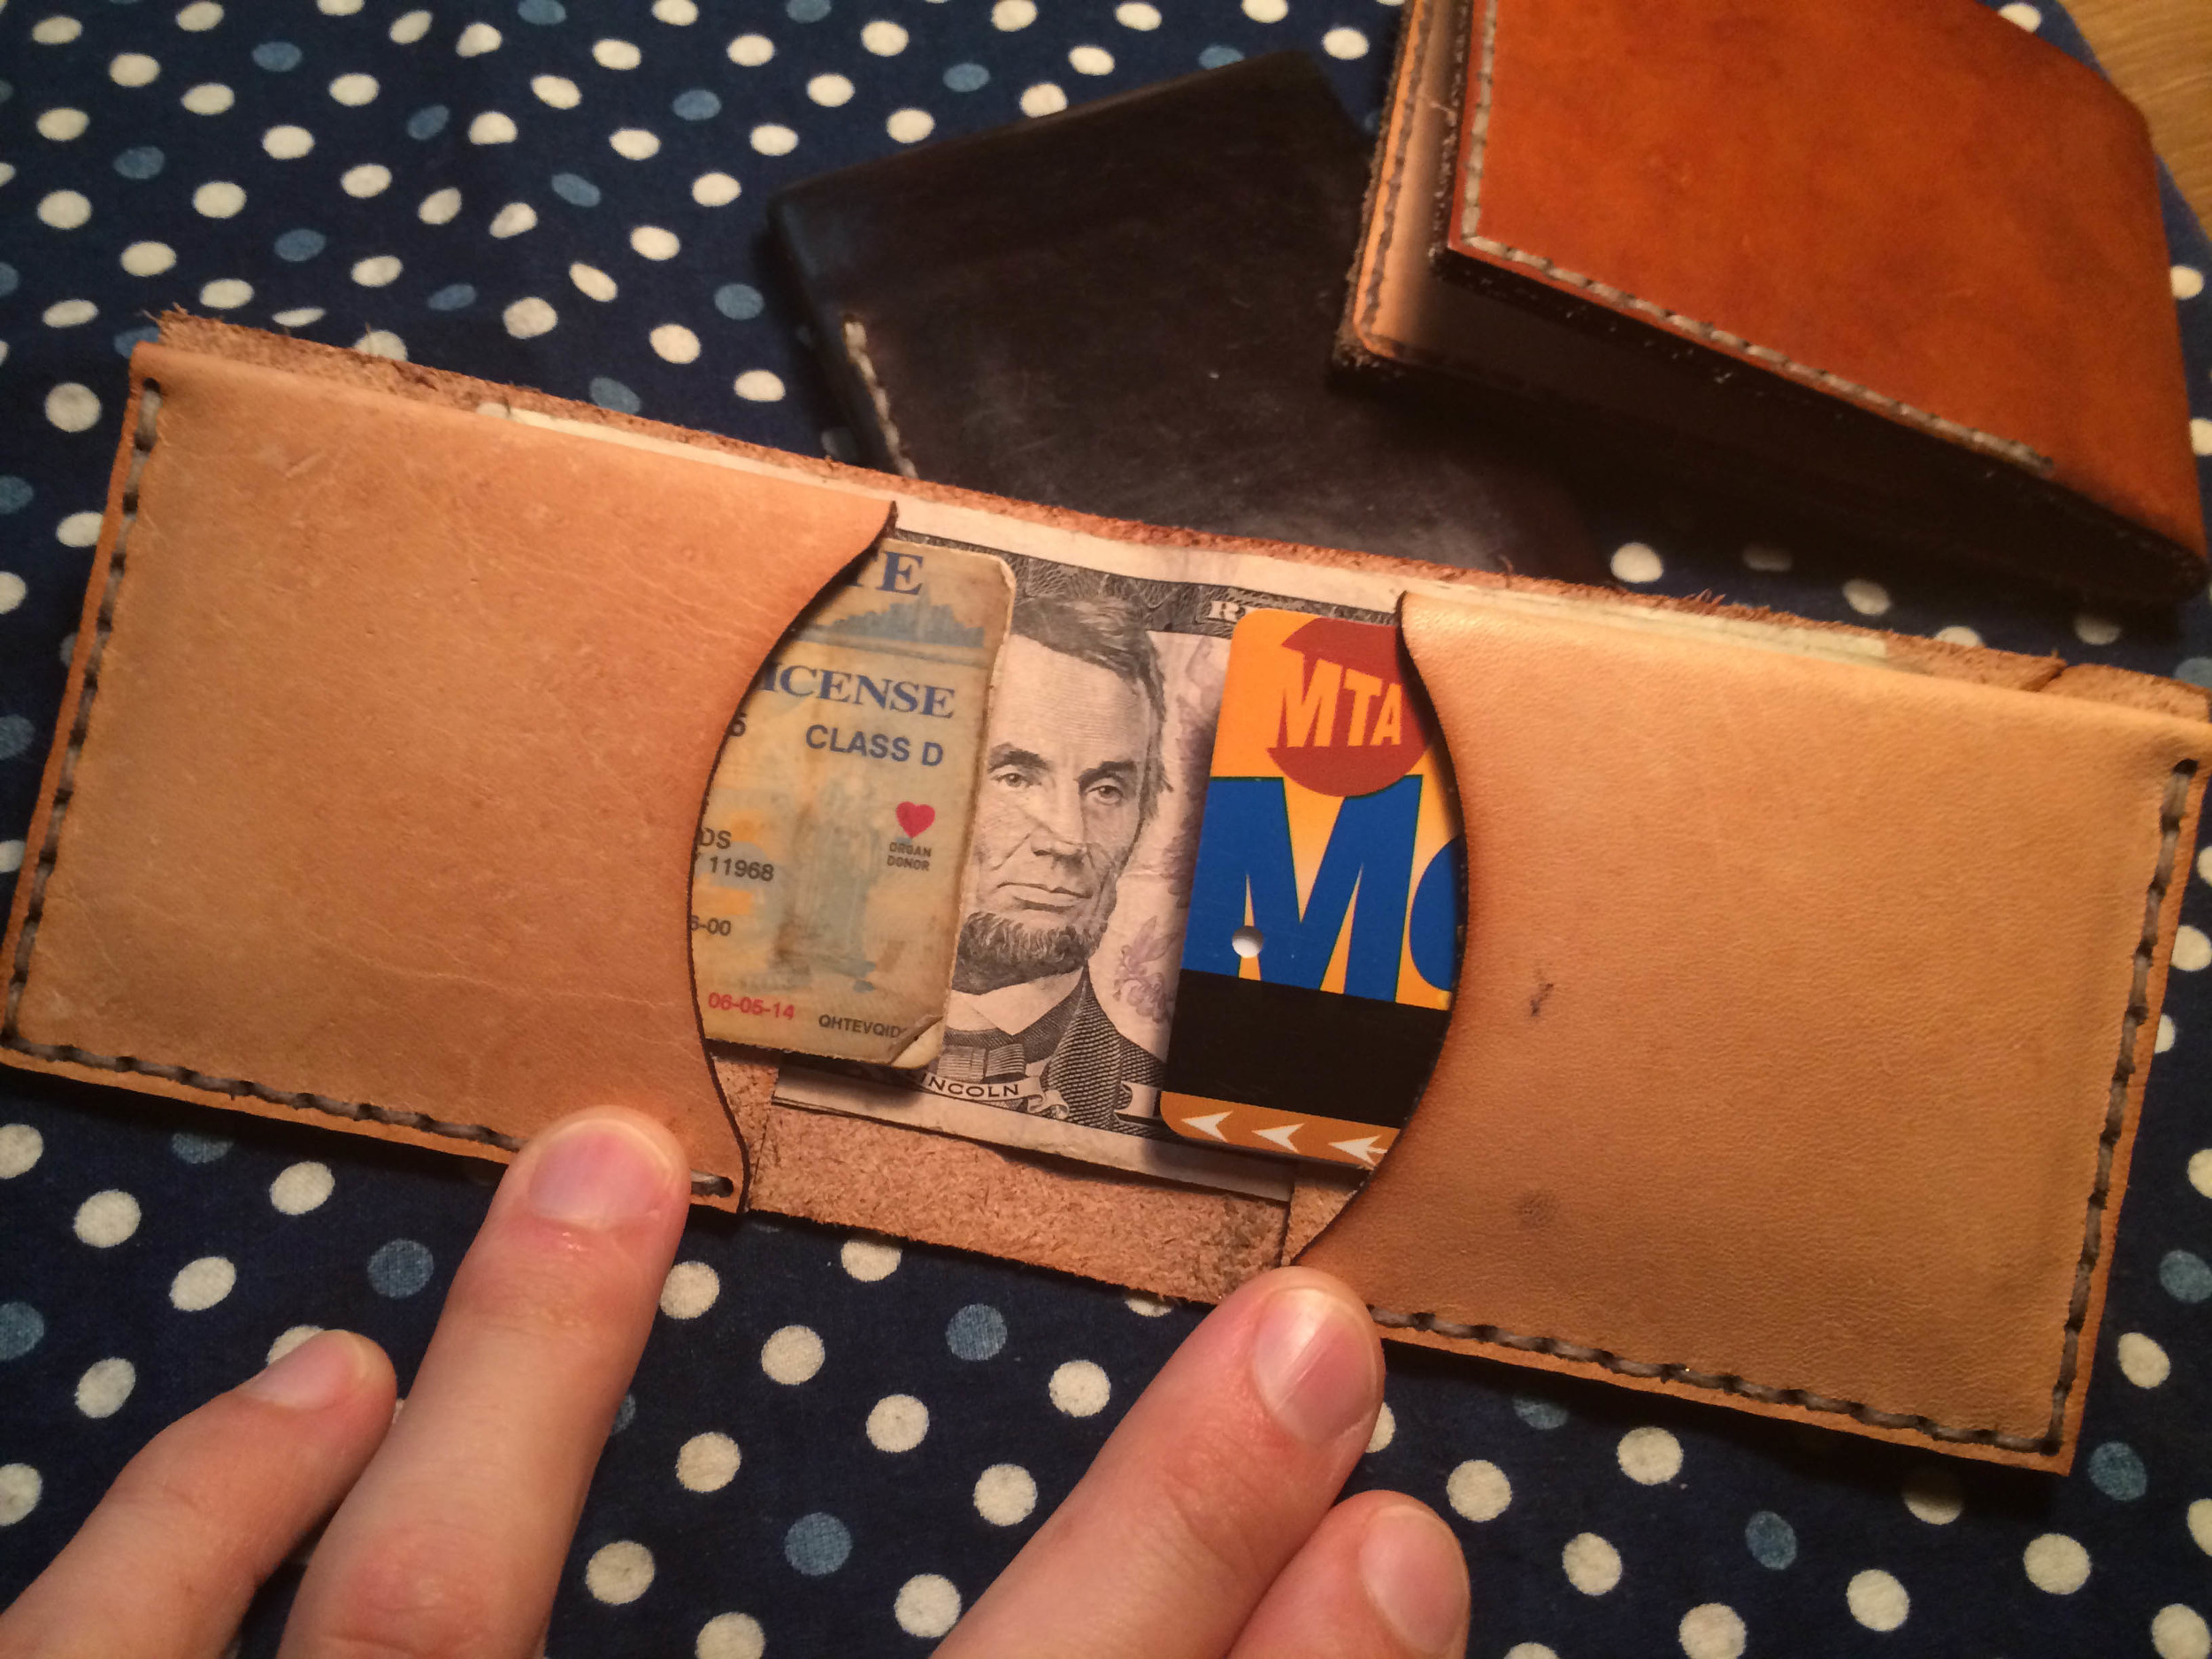
Christy and I have been making progress on the wallet :)

Center front is the latest version. On the right is one we made a few weeks back, but which needed a few modifications. In the back is the original version, which I made completely by hand in 2010 (it's been in my pocket for most of the time since then).

Throughout, the parts are vegetable tanned tooling leather. On the two new ones, we had the parts laser cut - but I'm not sure we'll be doing this for the production version.

We'll be finding suppliers of whole sides in the next few weeks, as well as looking into steel rule dies for making parts, etc. Expect updates.

Short!

Added on by Spencer Wright.

The Public Radio is now shorter :)

We've been working on fitting everything into the next size down jar for a little while, and this afternoon we made a few steps in that direction. To celebrate, I spent a few hours modeling the target jar. 

The previous model was one of my first surface models, and I hacked it together *hard.* In the meantime I've gotten a lot more experience with NURBS, and it was great banging this out quickly. It's a lot more realistic in many ways, though I did half-ass the Ball logo a bit.

On the electronics front, Zach cranked out a new board design and we should be ordering a new PCB tomorrow. I also ordered new lids (one based on the new design, which is heading in the direction of sheet metal stamping). Meanwhile we've got a breadboarded version running, though it's a bit unwieldy. 

Expect more in the next week.

Public Radio Progress

Added on by Spencer Wright.

More on the electronics side soon (we had some good progress today), but for now just a few images.

I spent a bit of time today remodeling the lid to account for a few slight changes. The real rationale has to do with the potentiometer, which needed to be reoriented slightly. In the meantime I laid the speaker holes out a bit differently, and I'm pleased with the result.

I hope to have the whole thing together & in a jar by the middle of this coming week - finally! 

Currently

Added on by Spencer Wright.

I think this is technically workbench #4.

I spend quite a bit of time prototyping at my desk, and a lot of stuff ends up behind me, here. Could be worse.

Potentiometers

Added on by Spencer Wright.

Today is potentiometerday.

The Public Radio has one knob on it: a switched single-gang potentiometer. The switch turns the entire device on, and the pot adjusts volume.

The plan originally was to get a PCB mount pot, and hang all of the electronics on it. That ended up causing troubles re: fitting everything into the jar, though, so we changed directions a bit. At the moment, the goal is to find a pot with solder lugs. It'll be panel-mounted to the lid of the radio, and will have five wires going from it down to the circuit board. My hope is that this isn't *too* labor intensive to assemble... we'll see soon. 

Ideally, we'd be using a 10k pot with a logarithmic (audio) taper. The theory goes that the human ear has a logarithmic response to sound pressure, and so audio should be controlled along a logarithmic curve. From a great article called "The Secret Life of Pots":

Volume controls are different. The human ear does not respond linearly to loudness. It responds to the logarithm of loudness. That means that for a sound to seem twice as loud, it has to be almost ten times the actual change in air pressure. For us to have a control pot that seems to make a linear change in loudness per unit of rotation, the control must compensate for the human ear's oddity and supply ever-increasing amounts of signal per unit rotation. This compensating resistance taper is accurately called a "left hand logarithmic taper" but for historical reasons has been called an audio or log pot. In these pots, the wiper traverses resistance very slowly at first, then faster as the rotation increases. The actual curve looks exponential if you plot resistance or voltage division ratios per unit of rotation.

As it turns out, finding a logarithmic pot in the configuration I want is rather difficult. I spent a while searching and ended up buying a little selection of pots - some linear and some logarithmic; some PC pin and some solder lugs; with various shaft conditions and body styles. I tried them all out, testing for knobfeel and comparing price, availability, and usability. The results were interesting, and to my delight the pot that I liked best ended up also being one of the least expensive and most readily available. It's a 10K linear taper with a 6mm flatted shaft and solder lugs.

In the background you can see the knob that I'm planning on using. It attaches to the shaft of the pot with a little set screw; the result is quite pleasant.

A geeky note: I really like looking at switch designs, and this one is super simple and rather clever. On the backside of the pot there's a tiny cam which actuates a little spring-loaded contact. The whole operation is totally visible and rather mesmerizing. 

As I noted, this pot has a linear taper. It's likely that, after some testing, we'll add a resistor between the wiper and the counterclockwise lug, making the nearly logarithmic. This is done through a simple and really effective algebra trick, which is described really well at the same "The Secret Life of Pots" post. More on this as we get the rest of the radio together, likely in the middle of next week.