Manufacturing guy-at-large.

Filtering by Tag: making

Share

Wallet

Added on by Spencer Wright.

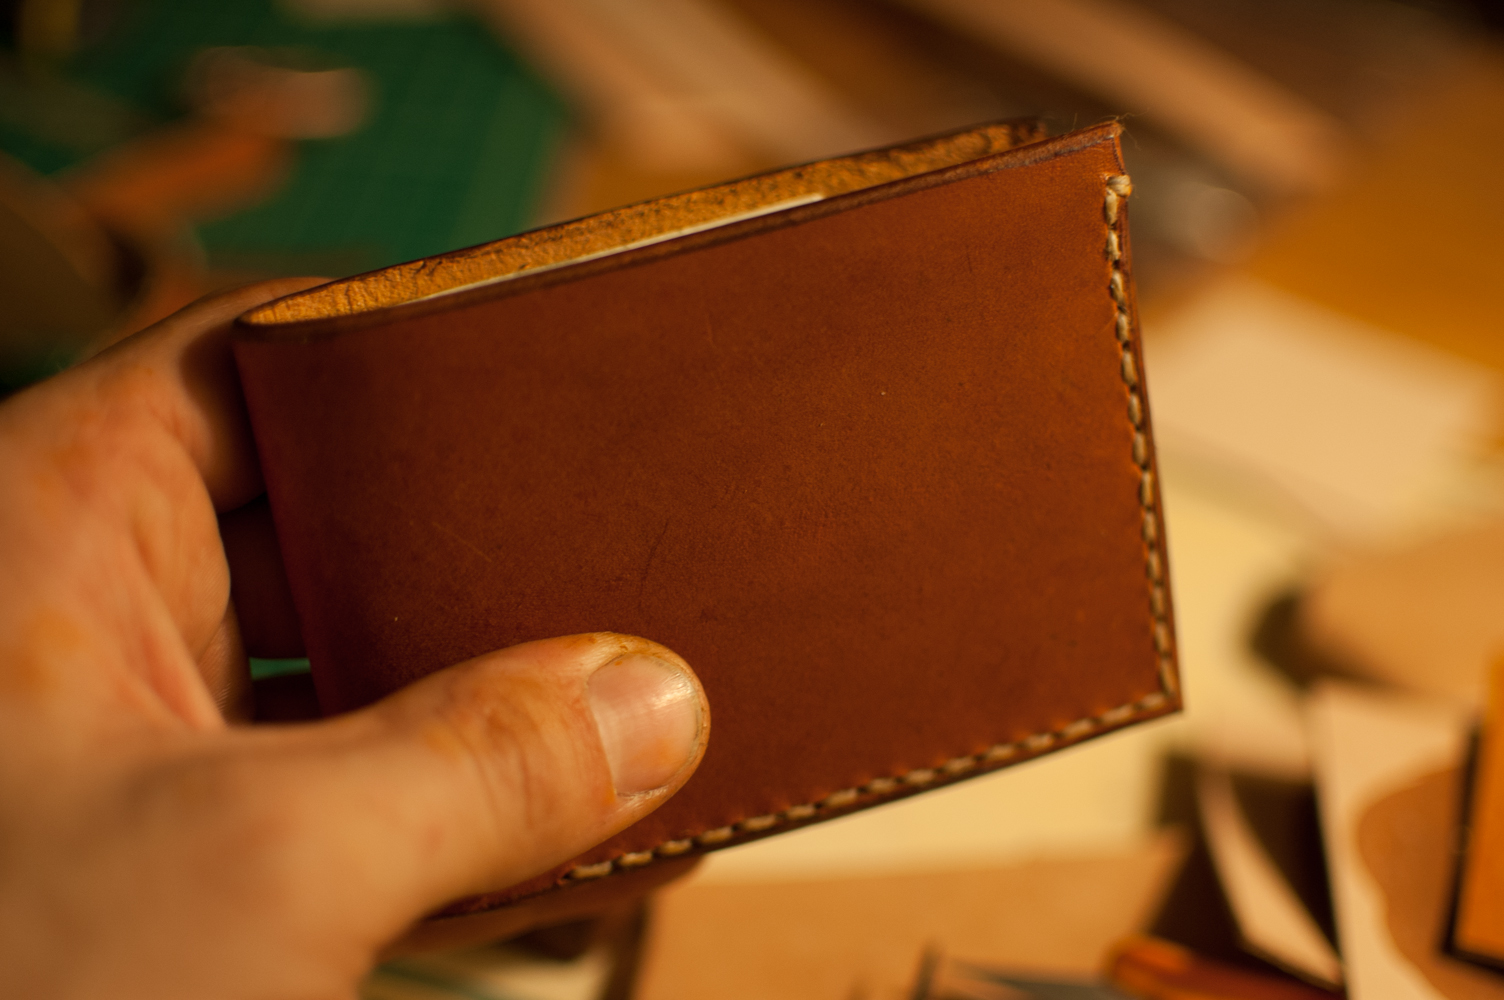
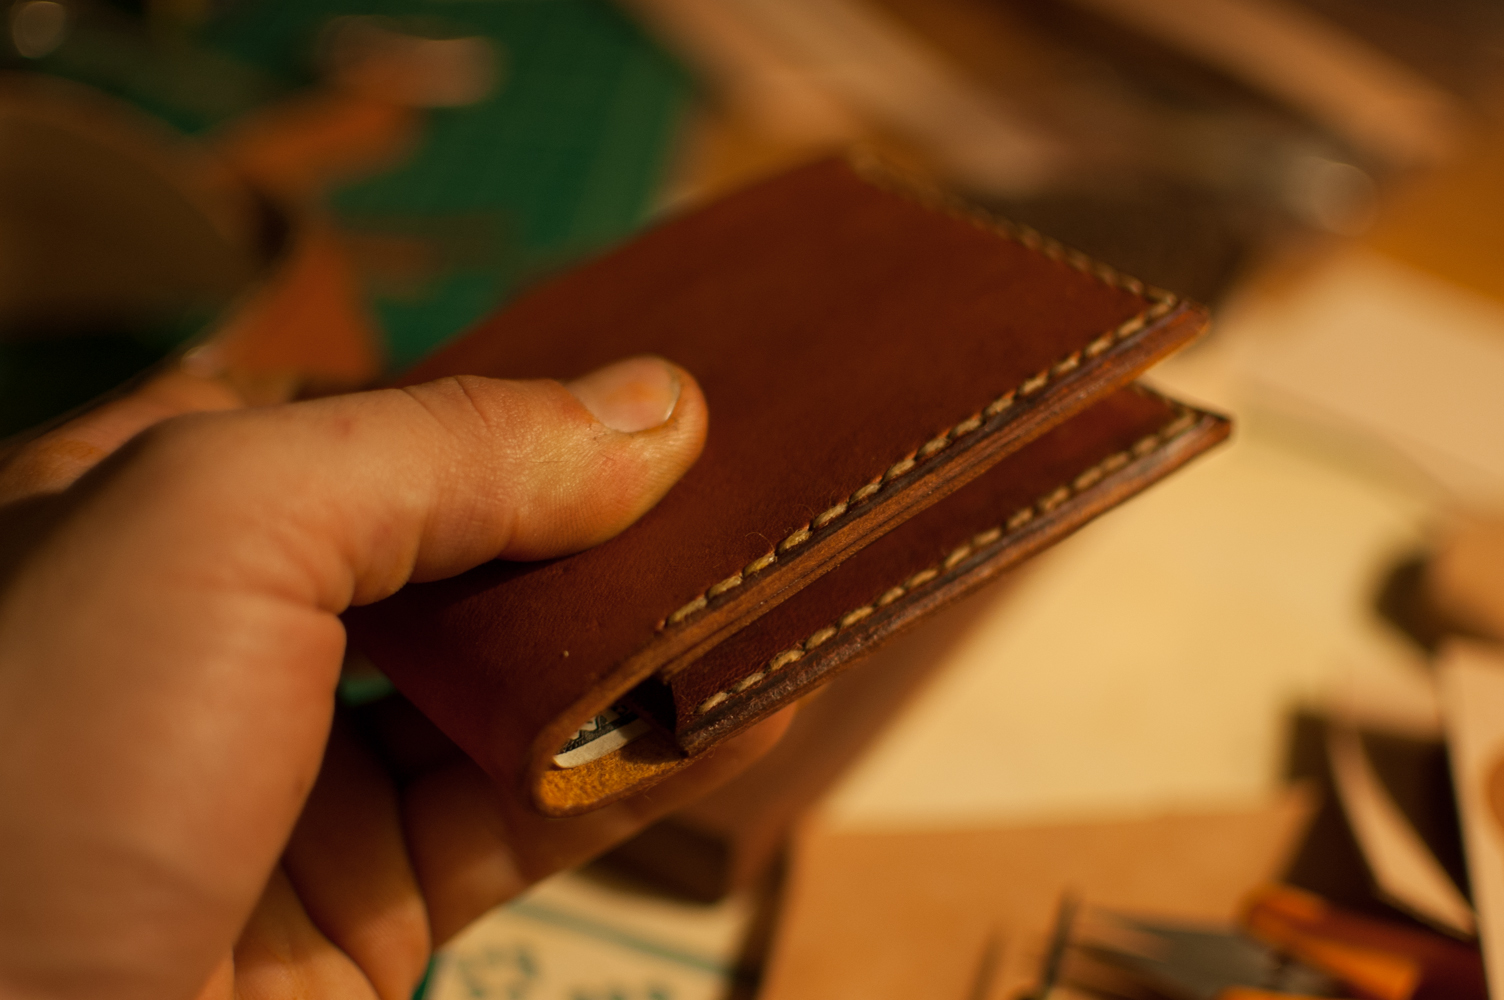
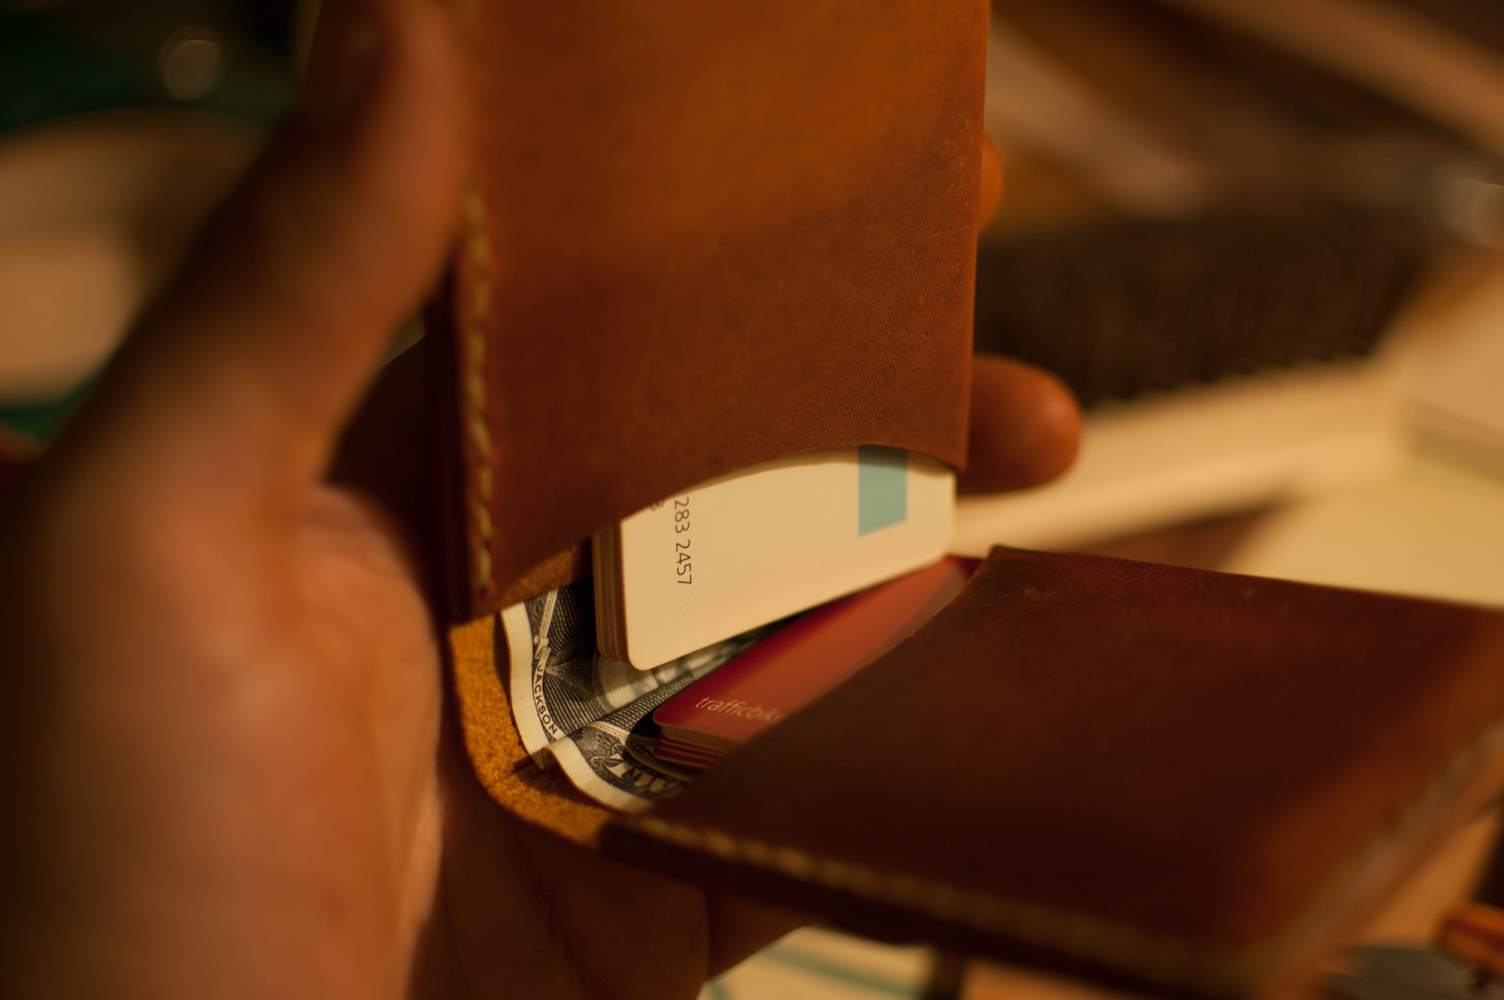
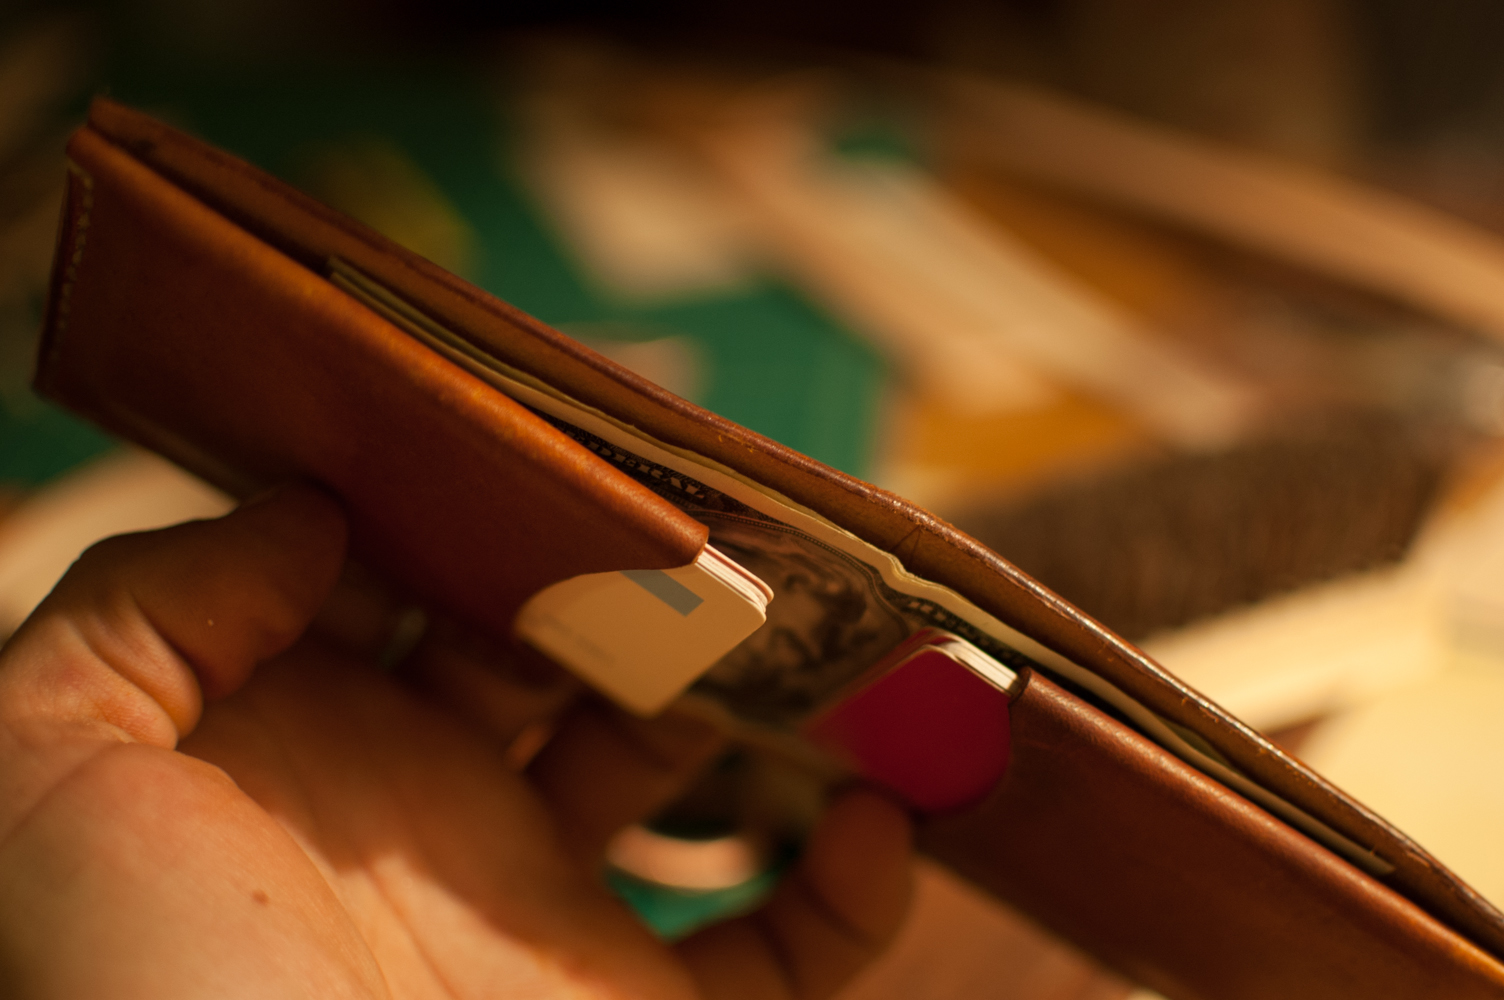
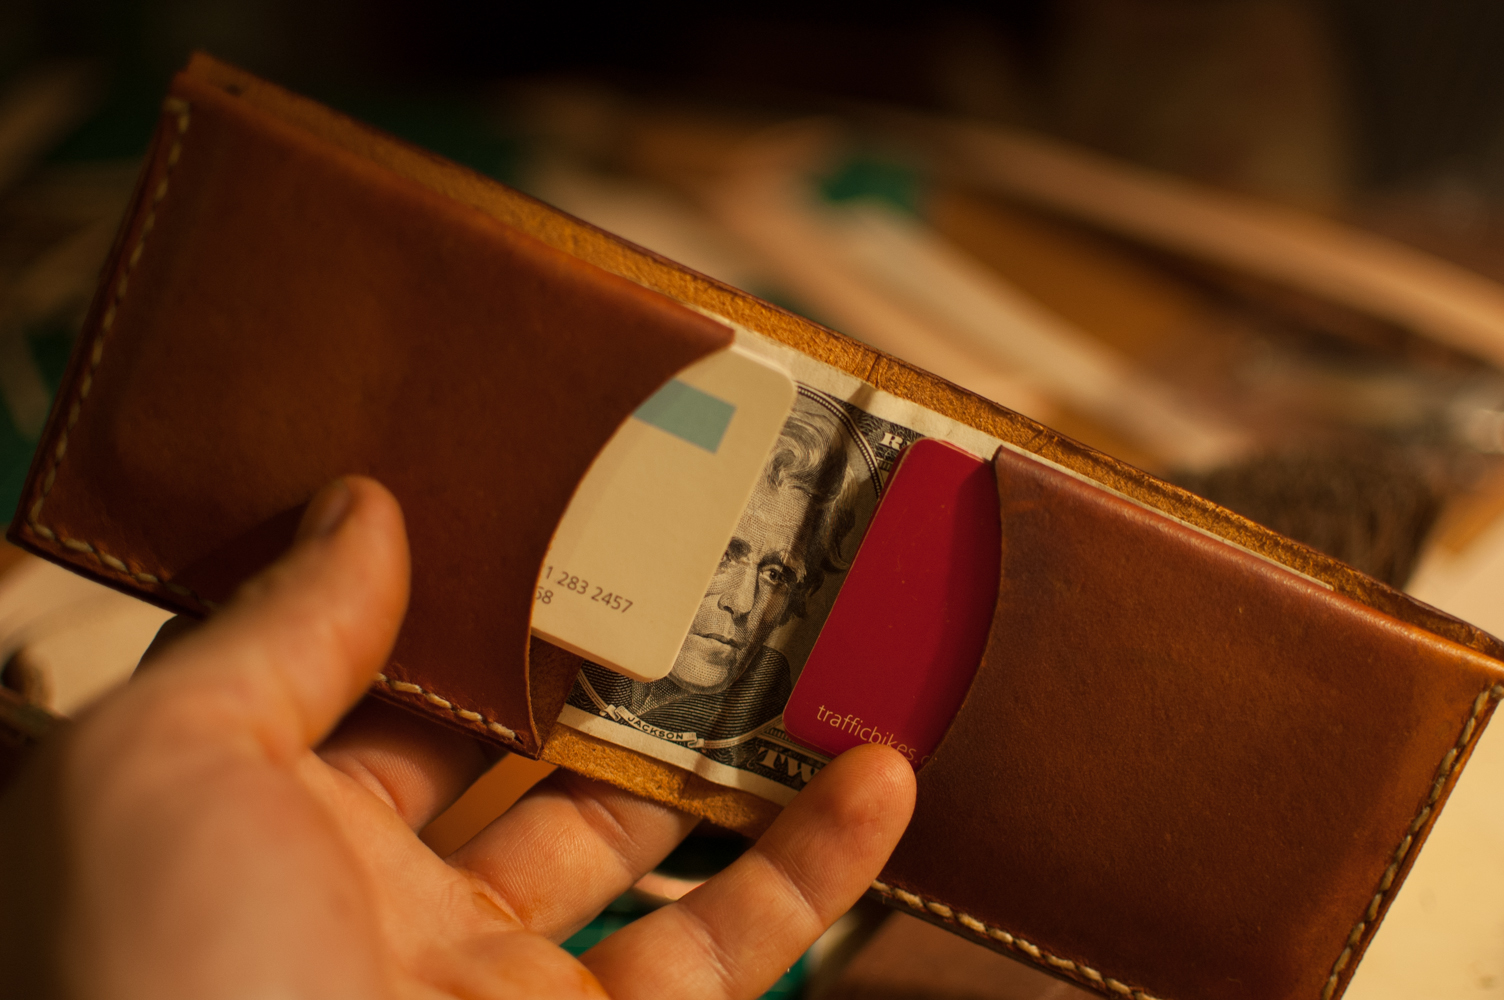
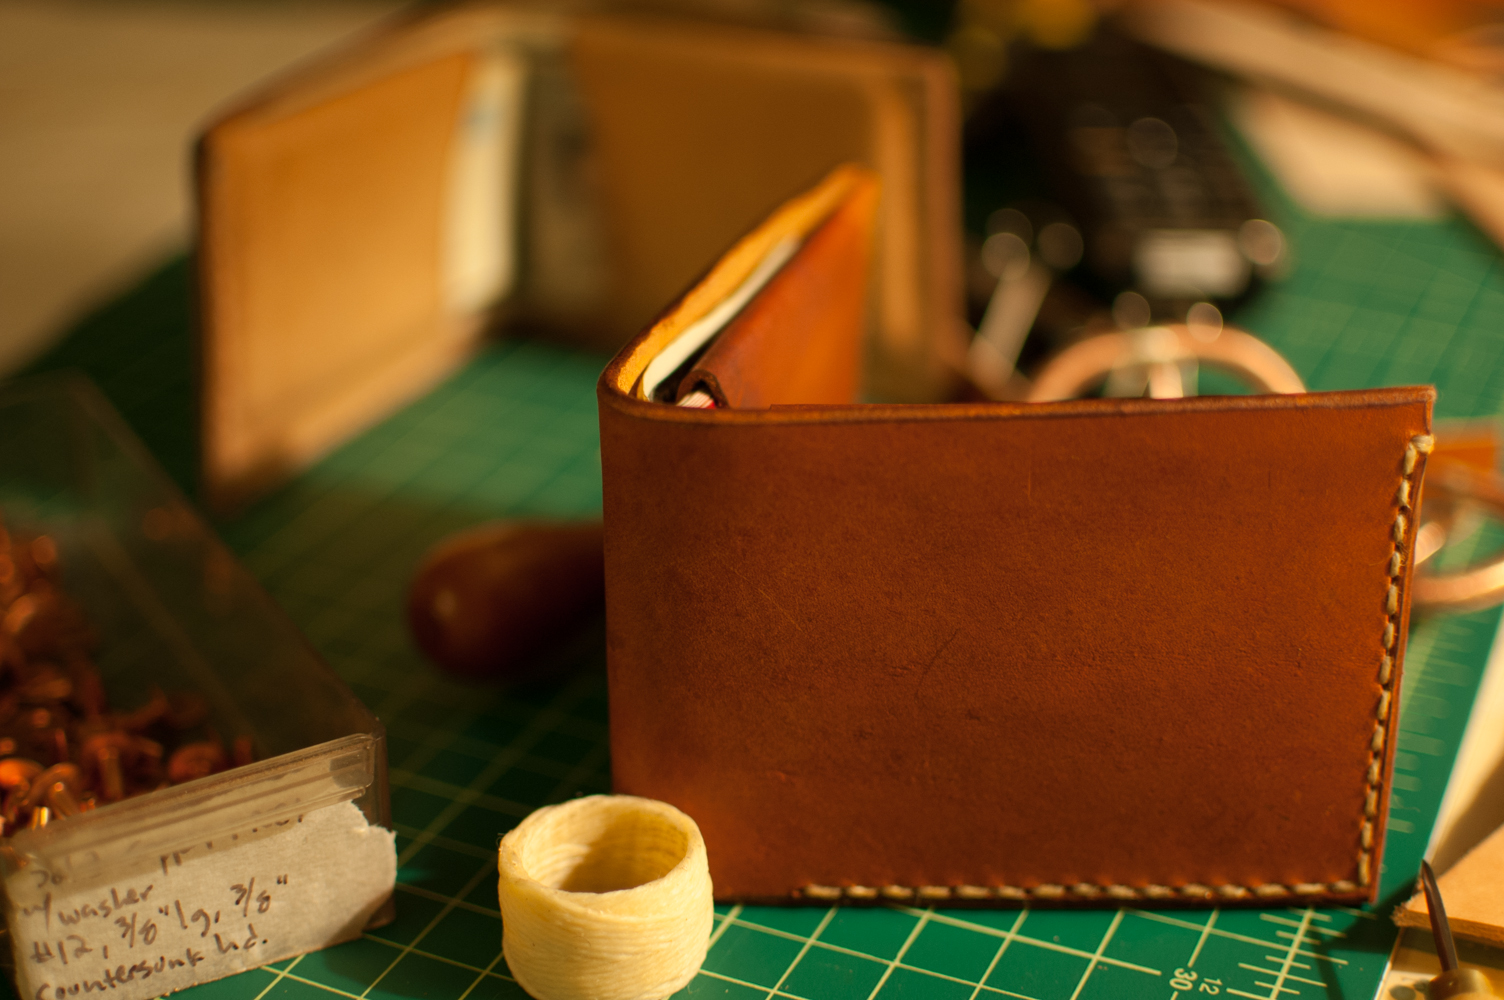
About three years ago, I made myself a wallet.

I drew inspiration from a number of makers, among them Billykirk, Makr, and Corter. Eric Heins @ Corter was also helpful in getting me oriented on a few of the details.

Recently I've been inspired by the idea of making a batch of similar pieces, and have been working with Christy Holzer on developing specs and finding suppliers of the necessary parts.

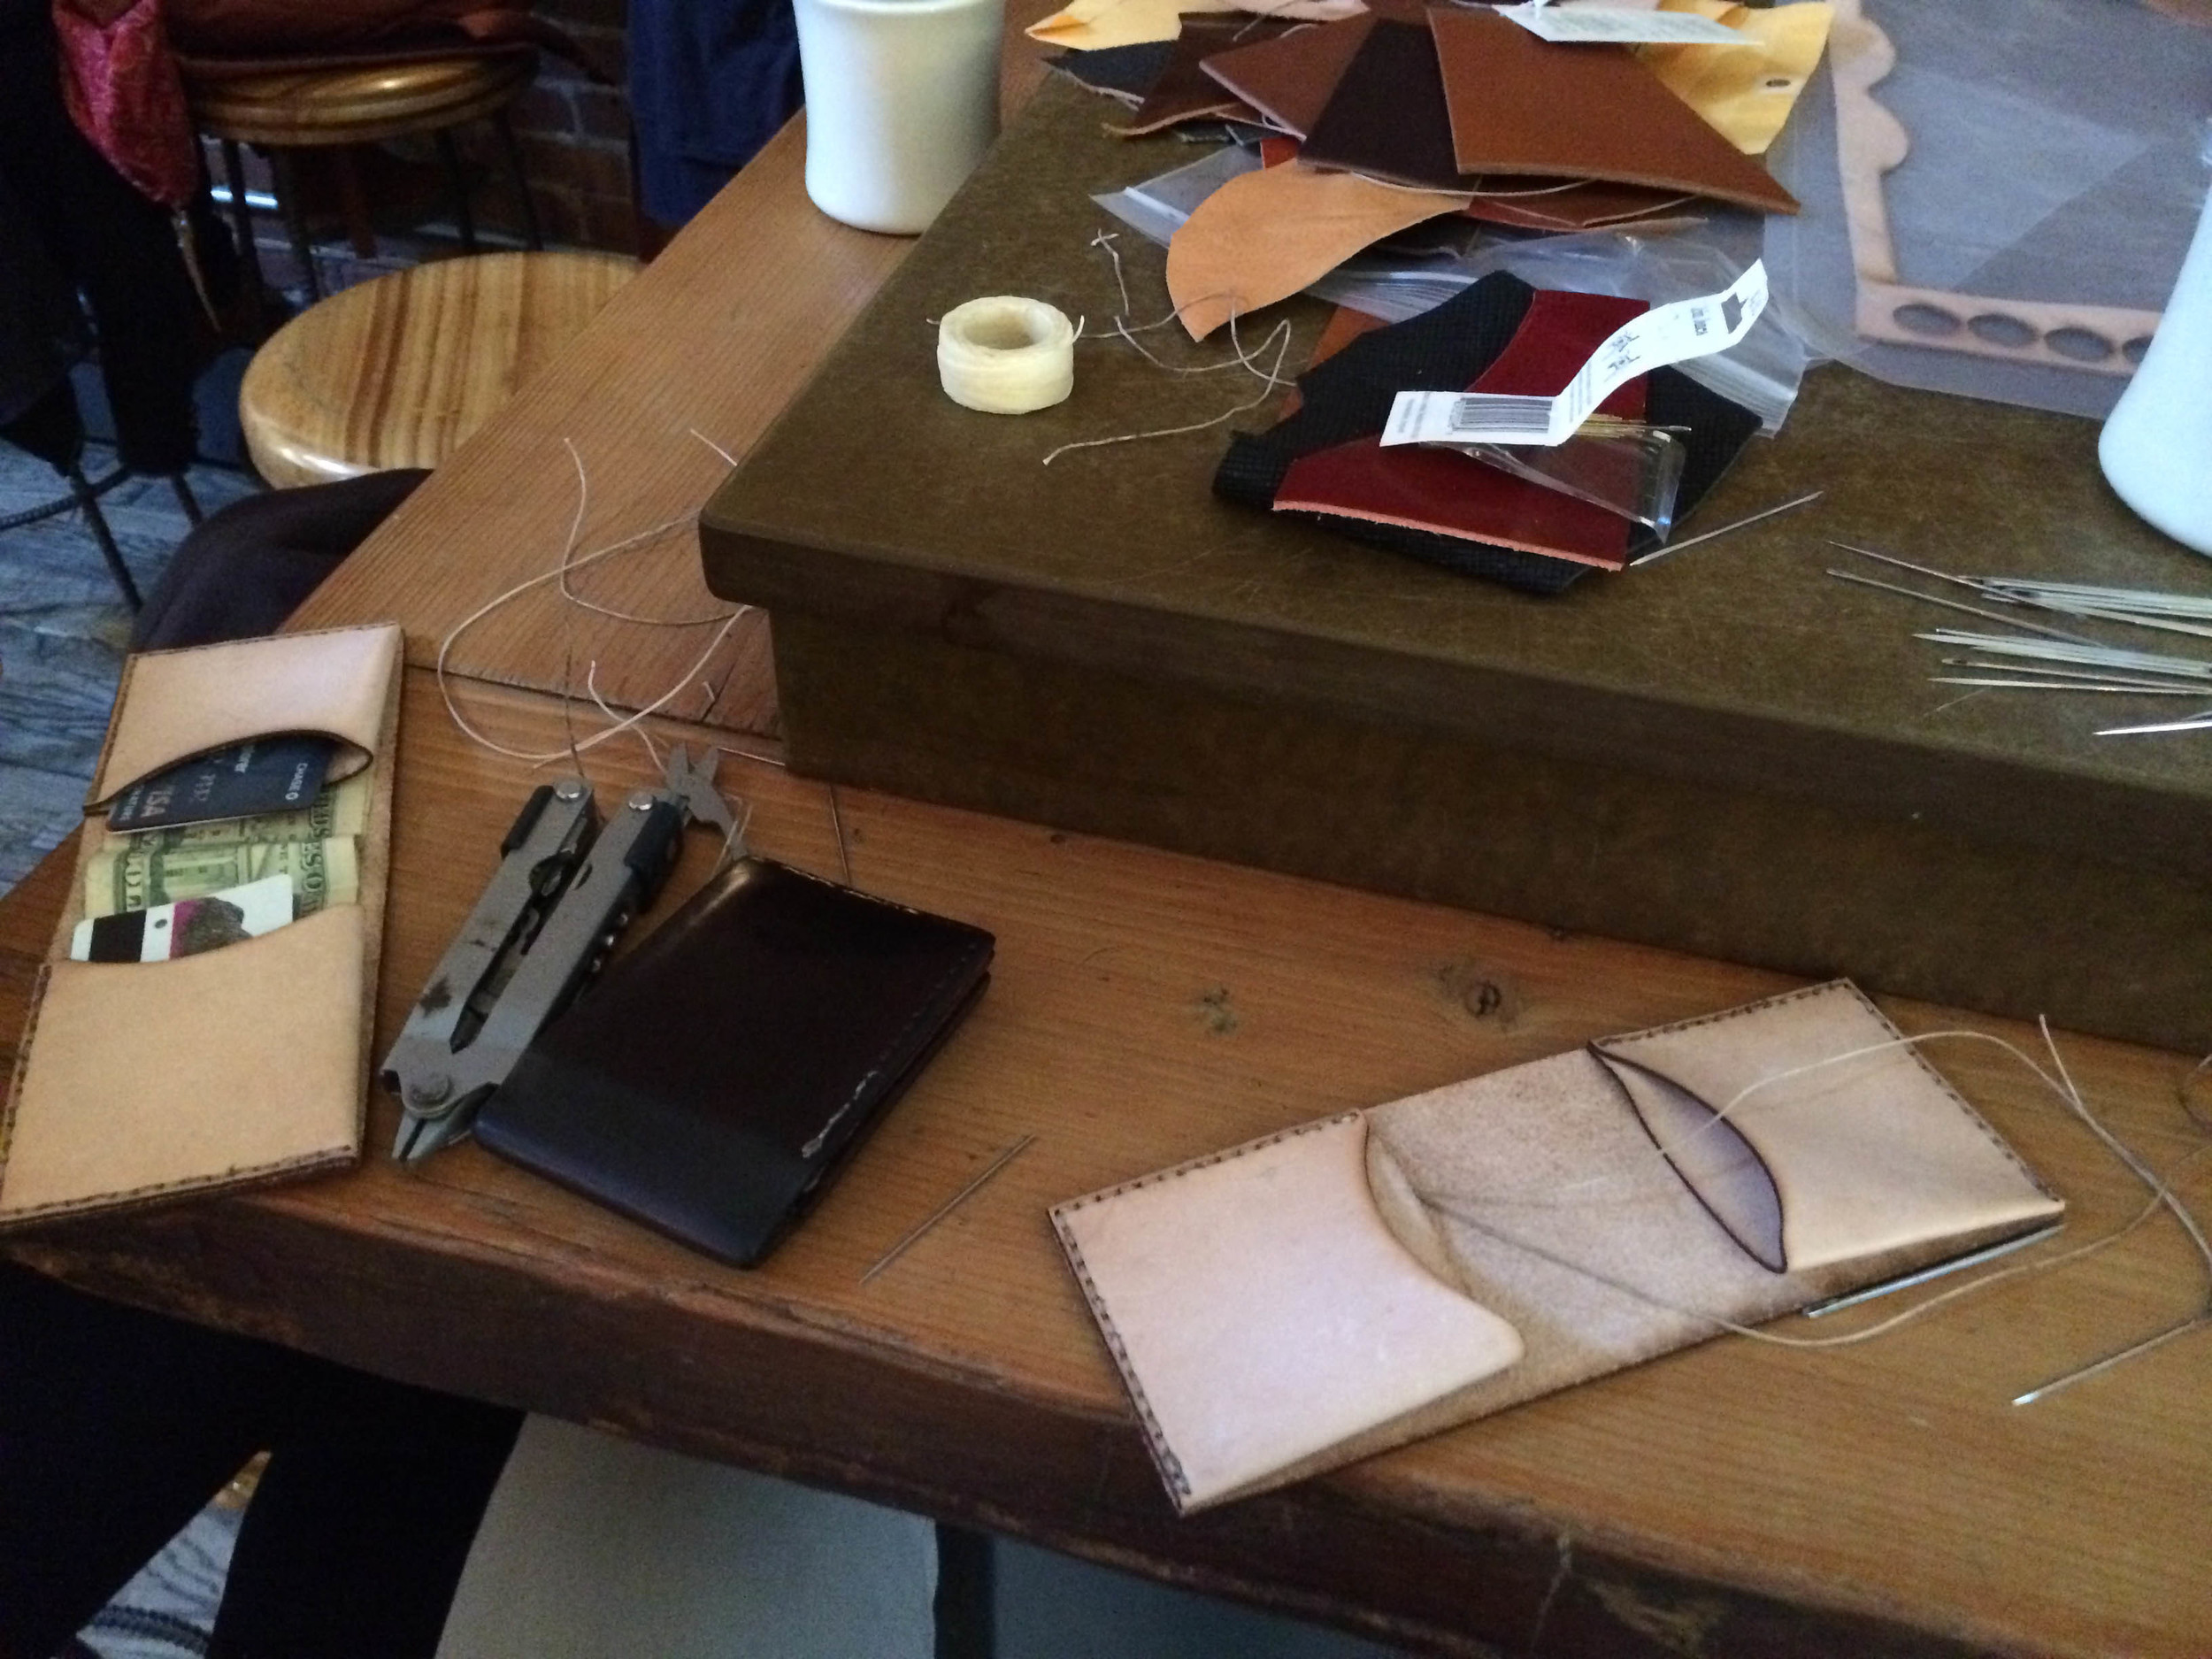
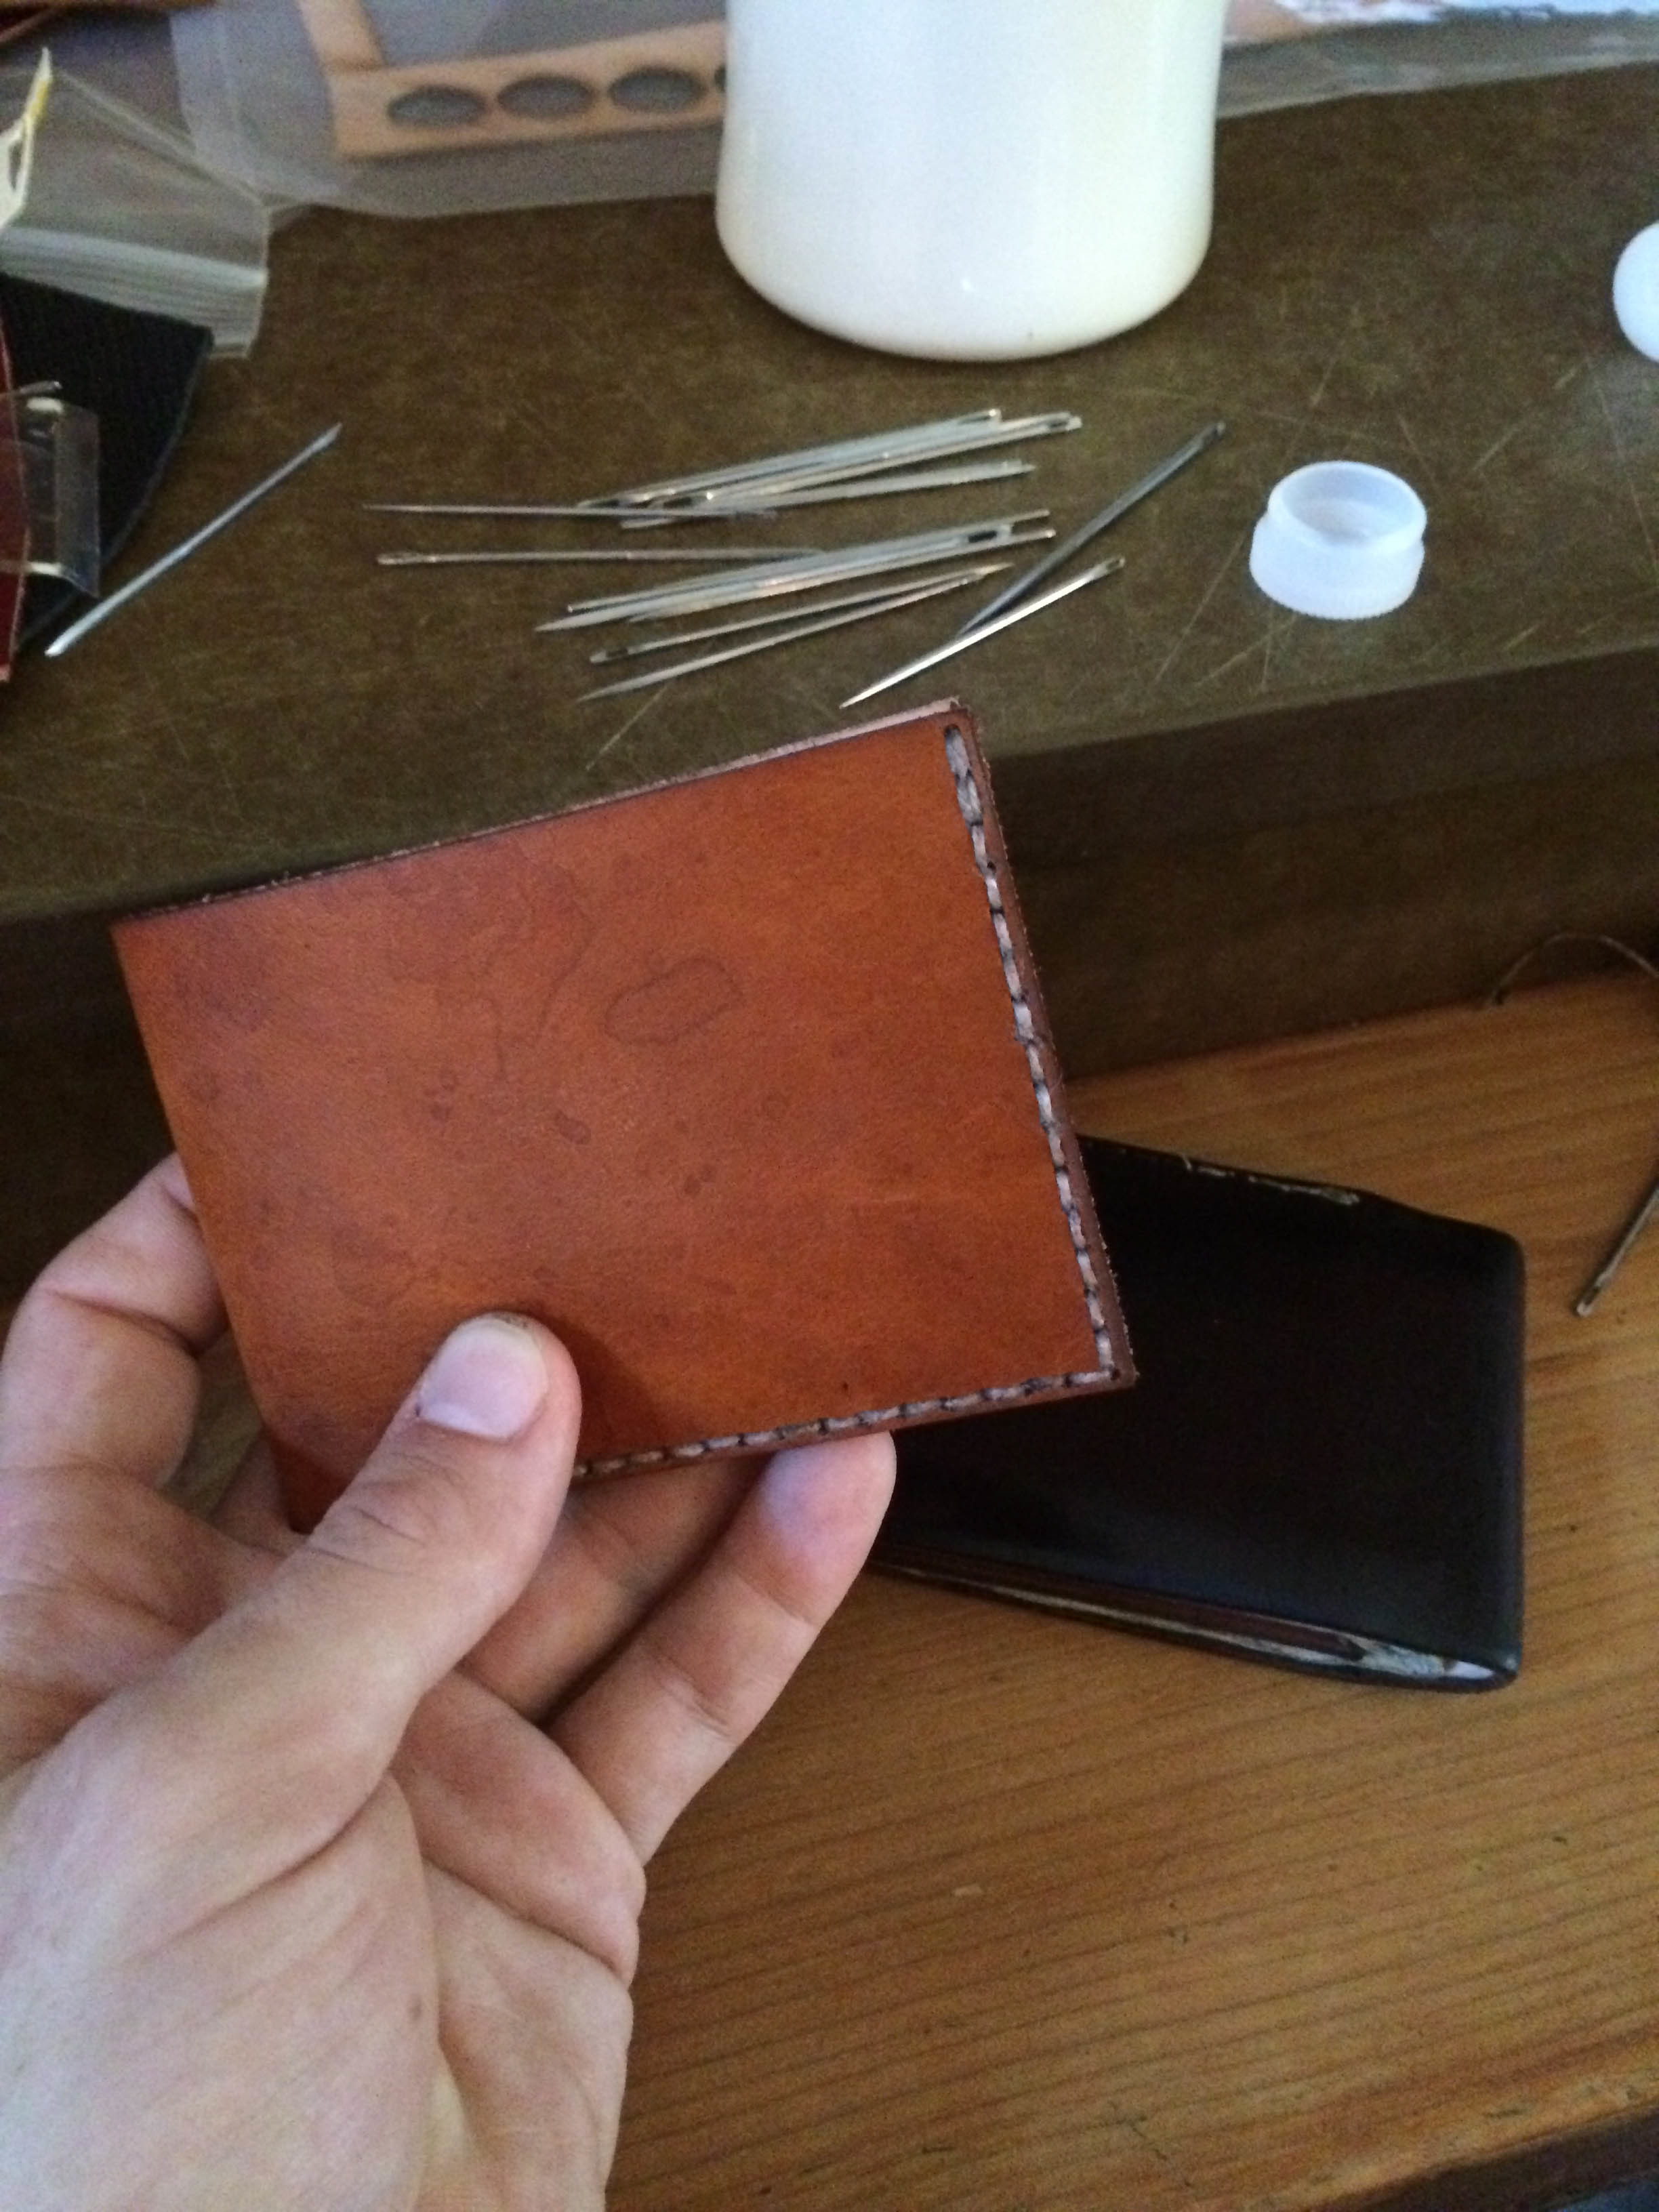
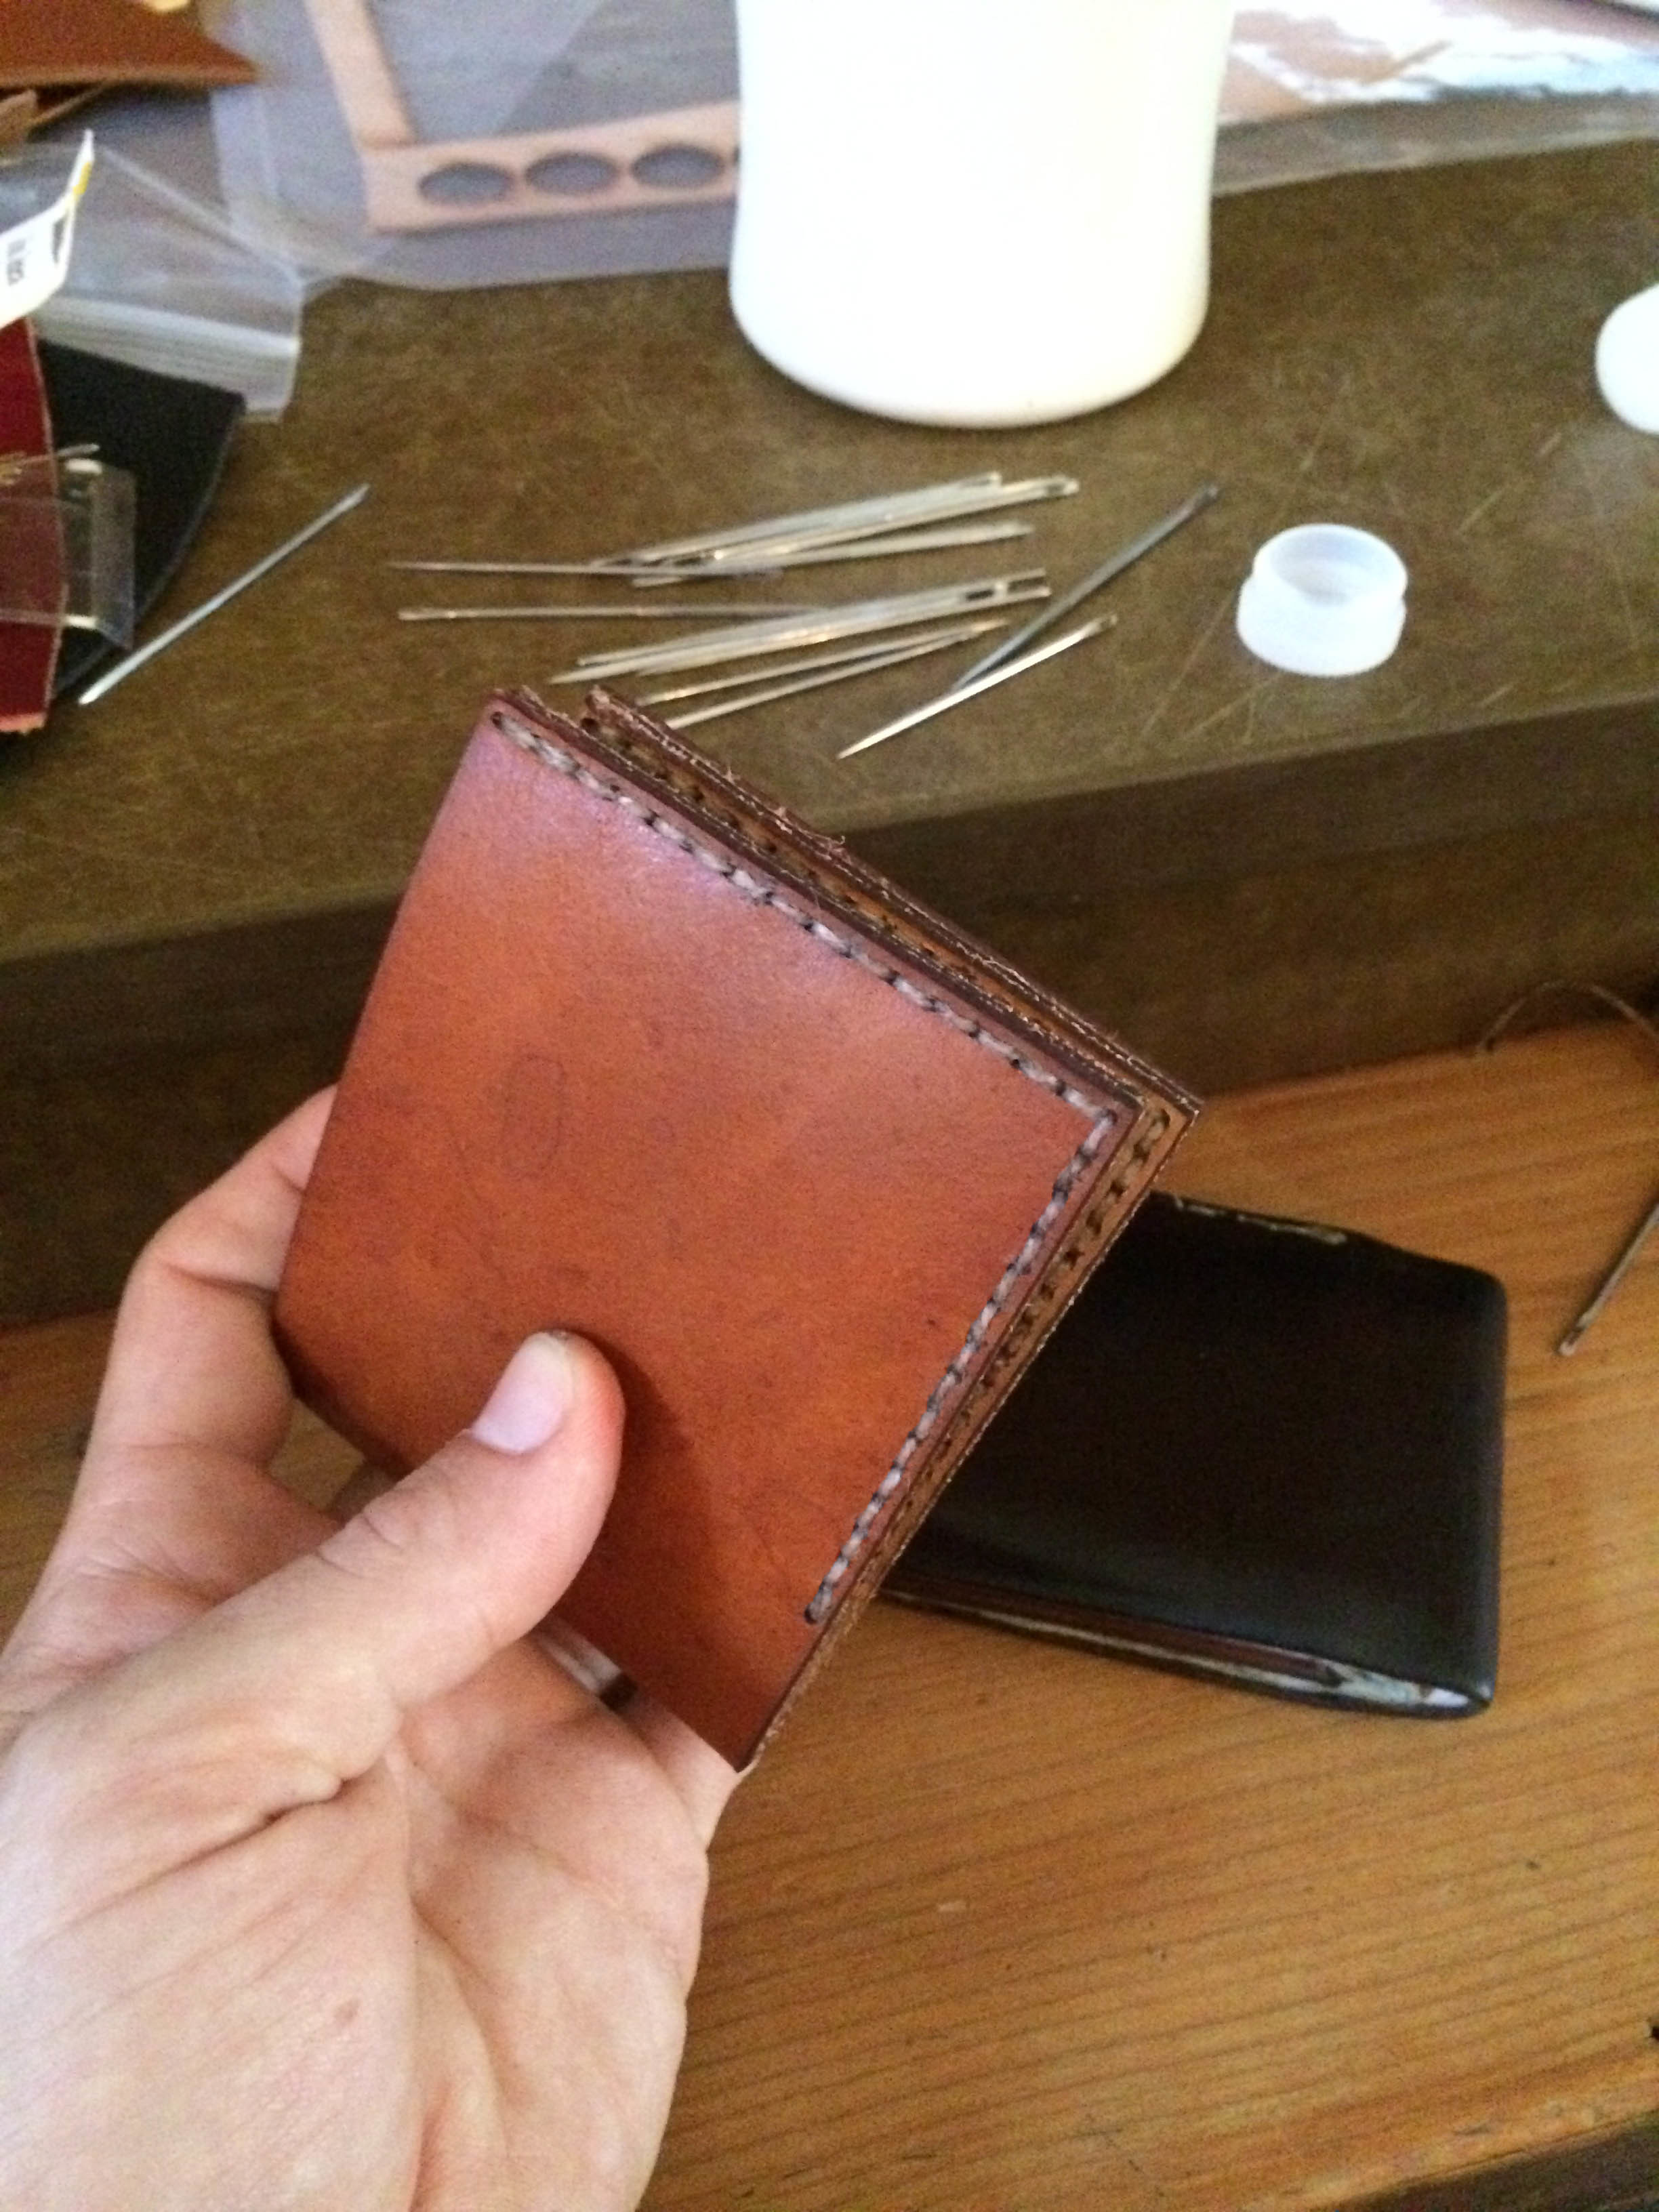
Last week, we got a few pieces cut and met to sew them up. The leather was all old scraps I had, and the fit & finish isn't exactly what it'll be in the end, but I like the result. We'll be refining it a bit over the next week or two, and hope to make plans for a small production run soon. 

It's a fun project, and I'm excited to see what the response is. Sign up below to get updates!

Share

Other stuff.

Added on by Spencer Wright.

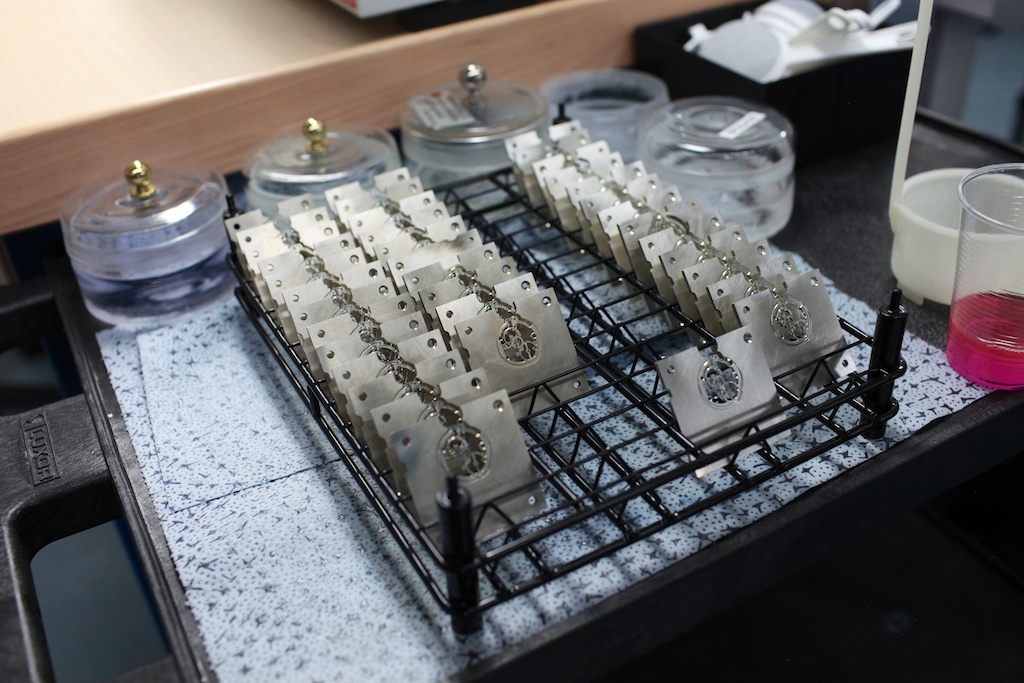
Among various other things, I've been scheming with Christy on some leather based stuff. These parts are laser-cut, and will be assembled into pre-production samples of the wallet that I designed and made for myself in 2010. 

This project is likely to develop slowly over the next few months. I'm enjoying it, and looking forward to moving it forward.

Share

Progress: The Public Radio

Added on by Spencer Wright.

Last night, Zach and I bribed Todd to help us jumpstart The Public Radio a bit. When we last worked on it, we had a short on the 3.3v line that we couldn't find. Well, that was fixed in short order, and we also were able to diagnose & fix a few other issues that we weren't aware of. 

We left with a board that's still not quite ready, but it's getting a lot closer. We also had a few more thoughts about how we should be proceeding, and it seems likely that they'll brew into something more actionable in the coming weeks.

It seems likely that with another day's work, we could get this board tuned up and blasting HOT97 like it should be. At that point, though, we need to undertake a total redesign of the whole assembly. The PCB is the wrong size & shape; the speaker is too large; the potentiometer isn't long enough; the lid is the wrong thickness (and, ultimately, the wrong material). 

It's also seeming likely that we end up redesigning the radio to be a simpler (and possibly analog) device... but that will only happen further down the line.

Share

Working with a hardware product designer

Added on by Spencer Wright.

Adapted from my answer on Quora

Q: How do you find, hire, and work with a product designer?

As a hardware product designer myself, I can say that it's really important to be working with someone with whom you have a shared understanding of the product development process.

I've generally been lucky, but from time to time I have worked with clients who simply have a different idea about how hardware should/can/will be developed. While I tend to think that I'm right when it comes to these things, the bottom line is that it doesn't really matter: conflicts of this type are undesirable and difficult to resolve once you've entered into development.

Like with most things, it's up to the client to know what questions need to be asked. If it were me, I'd get smart in as many ways as you can. Start by going to hardware design/development/production meetups. Download a copy of Autodesk Fusion 360 and start modeling your ideas. Learn about as many manufacturing processes as you can, optimally visiting actual shops in person. The more you know, the better.

I would also recommend that you approach a designer with sketches and good specs for what you want to do and how you want it to look. In other words: if you have perspectives on these matters (some people don't, but more often they just don't communicate them effectively), you want to be clear on both design intent and aesthetics.

Something to keep in mind here: The more you bring to the table, the more clarity in your relationship with the rest of the development team, AND the less time & money you spend.

I would also, for what it's worth, take Tom Wolfe's "Man From Mars" stance, described here.

Share

Not about form

Added on by Spencer Wright.

From Vanity Fair's recent piece on Jony Ive and Marc Newson. Emphasis mine.

“We are both obsessed with the way things are made,” Newson said. “The Georg Jensen pitcher—I’m not even sure I love the way it looks, but I love how it is made starting with a sheet of silver.
“We seldom talk about shapes,” Ive said, referring to his conversations with Newson. “We talk about process and materials and how they work.”
“It’s not about form, really—it’s about a lot of other things,” Newson said. Both designers are fascinated by materials; they understand that the properties of a material affect the way an object is made, and that the way it is made ought to have some connection to the way it looks. Theirs is a physical world, and for all that their shared sensibility might seem to be at the cutting edge, it is really a different thing entirely from the avant-garde in design today, which is the realm of the 3-D printer, where digital technology creates an object at the push of a button, craftsmanship is irrelevant, and the virtual object on the computer screen can be more alluring than the real thing.
Ive is the son of an English silversmith, and Newson, who grew up in Australia, studied jewelry design and sculpture; both were raised to value craft above all. It’s ironic that Ive, who has had such a big hand in the rise of digital technology, is made so unhappy, even angry, by the way that technology has led to a greater distance between designers and hands-on, material-shaping skills. “We are in an unusual time in which objects are designed graphically, on a computer,” Ive said. “Now we have people graduating from college who don’t know how to make something themselves. It’s only then that you understand the characteristics of a material and how you honor that in the shaping. Until you’ve actually pushed metal around and done it yourself, you don’t understand.

I should begin by saying that while I take issue with the finer points of Newson & Ive's comments - and with much of the pontificating that the Vanity Fair writer engages in - I found it refreshing to read this passage. I value my time building physical objects immensely, and while I'm somewhat ambivalent about some of the career decisions I've made, I'm proud of the artifacts that exist as a result.

Were I a bit more pushy re: my design career, I'd tout the above passage as gospel. But the truth is that I'm not sure I believe that designers *need* to make things first, and anyway it's not like the design world agrees wholeheartedly with Ive either (my file handling skills just aren't that much of a selling point, and with just cause).

I also take issue with the cynicism expressed re: craftsmanship being irrelevant in the age of the 3D printer. I see no a priori reason for that to be the case, and if it's indeed the way the design world sees advanced manufacturing, I'm certainly unaware of it. 

My time as a craftsman was brief; I shed the term almost as soon as it could reasonably have been applied to my work. But whatever its connotations are, I'm sure that my transition to digital design and manufacturing has not infringed. Craftsmanship - whatever it consists of - does not directly correlate with the size of one's calluses. Craftsmanship is an attitude about work and a focus on a particular (and generally small) skillset. And in my opinion, the romanticization of craftsmanship that I see around me (and in the tech world specifically) is unproductive and dangerous.

  Side note: I can't tell exactly which pitcher these dudes are drinking out of, but I'm pretty sure it's fancy as hell.

Share

Update: Dummy Headset

Added on by Spencer Wright.

Short update on my Dummy Headset project!

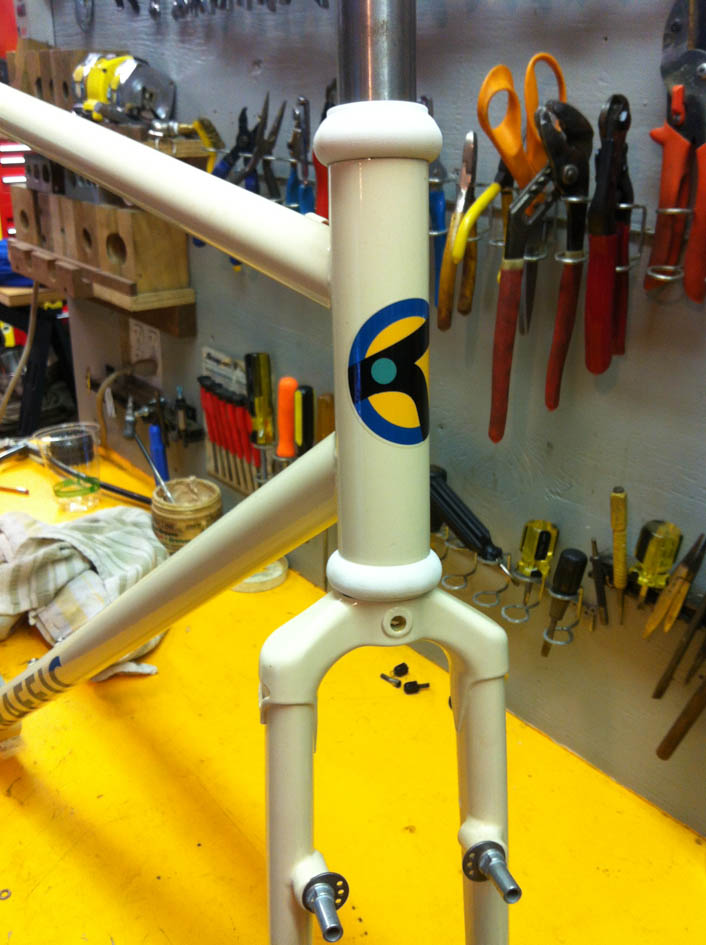
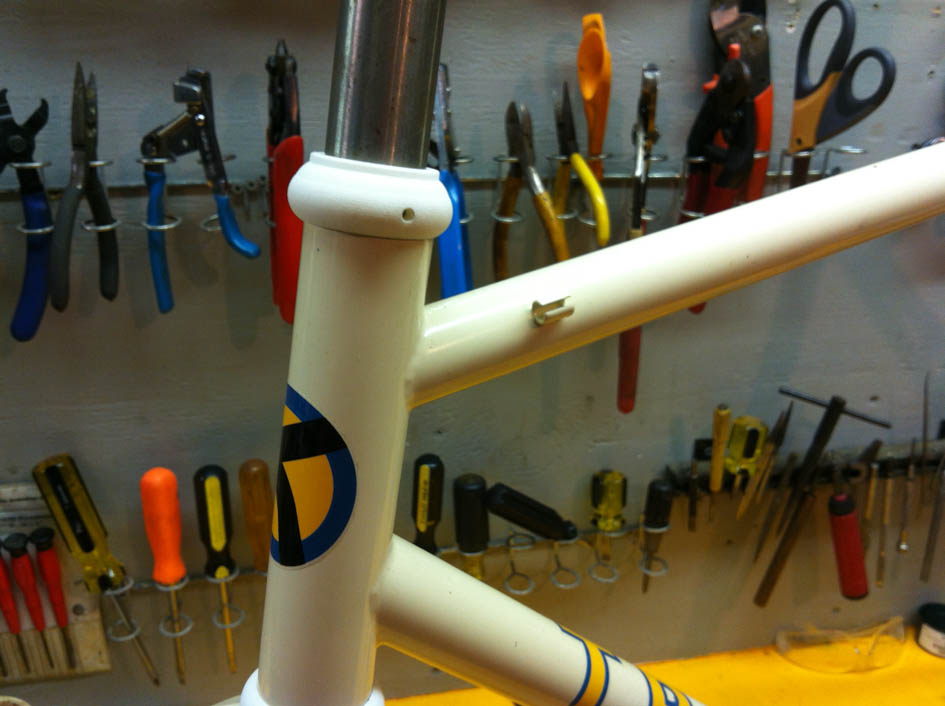
First, I took v1 (the non-lightened version) and installed it on a frame I lad lying around. In order to do so, I had to tap threads into the holes that were SLA printed right into the parts, which I did by hand. Shapeways and the other 3D printing houses just won't do secondary operations (this is dumb and will in time change), but it only took a few minutes to do. For mockup purposes I used some cup point set screws that I had in my shop (the final version will have soft tipped set screws). The end result was pretty slick - my frameset now has the fork semi-permanently attached, and the whole thing is totally secure. 

Of note: Here's a photo of the original dummy headset that I turned on my late circa 2010. I used little thumb screws on it, which were kind of convenient, but the overall look is too blocky for my eyes. 

My old aluminum dummy headset, made on manual machine tools.

After mocking the whole thing up and seeing that it functioned as intended, I went ahead and ordered v2 of the parts, which are internally relieved to reduce build mass. They came a week or two ago, and I'm happy to say that I think they'll work just fine. The internal ribs probably aren't totally necessary, but they're kind of a cool feature and would be *impossible* to be made via conventional methods. I may end up removing most of them, but for this version I'm happy to have included them.

I also grabbed a few soft tipped set screws from McMaster, and am looking forward to seeing how they work. The nylon tipped one would be for carbon fiber steerers, which are pretty delicate and don't want a metal screw digging into them. The brass tipped screws would be for steel and aluminum steerers, which are much more durable.  

I haven't had time to tap the holes in this version or install them on a frameset yet, but I have no reason to think they'll work anything other than perfectly. At that point I need to determine whether it's worth trying to get them injection molded or CNC machined in bulk. These SLA versions cost me about $20 for the set. If I had to guess, I'd say that they'd run $5-10/set for CNC machined and $2-3/set injection molded (in quantities of 100s, plus $2-3K in tooling and setup).  

Share

An old jig

Added on by Spencer Wright.

Fixture building comprises a lot of a manufacturer's time, regardless of the scale of the operation. For small shops, designing fixtures that can be used repeatedly for different customers is extremely useful. I faced this challenge a number of times when I was working on bikes, and spent a lot of time setting up fixtures that helped my productivity a lot. 

In 2010, I built the brake boss mitering jig below. It mounts to a tiny little rotary table that I bought for my Benchmaster, itself the tiniest horizontal mill that I owned and still one of my favorite tools. 

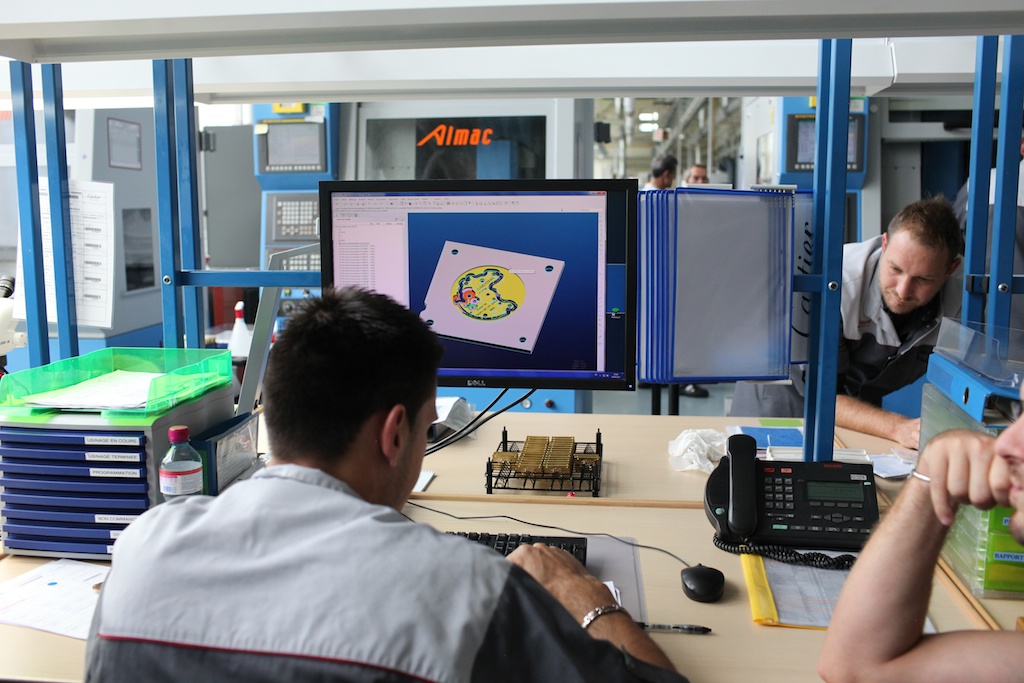
This chart maps XYZ coordinates for a toolpath that will cut a pocket in a piece of Mic6 tooling plate. It's machine code.

The pocket is finished, and will now be drilled for mounting holes. I believe I was tapping right in the machine spindle too, though not under power.

I made a variety of split blocks to hold various tube sizes to be mitered. In the center, you can see a drill bushing that I installed to allow a hole to be drilled right in the middle of the tube; it would generally receive a threaded boss.

The jig, mounted to my little Benchmaster, on a messy day in the shop.

It seems quaint, but little productivity tools like this are how shit gets done in even big production style factories around the world. I kid you not - little manual mills, drill presses and lathes are in operation as I write this, performing some little repeatable operation on high precision parts for demanding customers.  

Eventually a lot of these things are likely to be sold for scrap and passed down the line to developing economies. I've been to a few tooling auctions, and have seen 75 year old punch and foot presses that weigh (literally) a ton being sold for under $100. I understood that they would be loaded into a container and shipped to Asia, and it's likely that they got a new life there making good parts for another decade or so at least.

I generally think that that lifecycle is a healthy one, though it does have the strange effect that nowadays, even the most industrious kids are likely to end up knowing additive manufacturing in lieu of conventional (mostly subtractive) methods.  Schools around the country are buying up MakerBots by the truckloads, and with good cause - to fail to do so would be an offense on par with teaching me cursive in 1992, when what I should have been learning was C or HTML. But all those 3D printers have got to go somewhere, and I suspect [citation needed] that they're supplanting Heavy Tens and J-Heads, which anyway don't get too much use as it is.

While I'm reasonably unromantic about that transition, it does strike me that subtractive methods are likely to remain, for the long time, significantly more efficient and effective for making certain types of products. Just as CNC machining hasn't replaced casting, forging, and sheet fabrication, additive manufacturing won't totally replace those methods either. All of these tools will, instead, complement each other - and the institutional knowledge pertaining to traditional manufacturing will, I hope, be not supplanted but enriched by newer paradigms of manufacturing philosophy. 


Share

A thing from a while back

Added on by Spencer Wright.

In 2009, I made a trio of seat lugs. They were intended for a batch of Dutch bikes that remain not much more than an idea. 

The way one makes these things is silly, but it offers the designer considerable creative freedom. You essentially build the joint twice, and carve a lug in between. I made these when my file handling was at its zenith, which is both worth noting (file handling is underrated) and also a totally silly skill to possess.  

Share

Rack Ends: Background, Requirements & Design

Added on by Spencer Wright.

In the past few weeks, I've been reviving a product that I originally conceived of in 2010. I'll get more into its revival later, but I wanted to spend a little time documenting the development and design details here.


It was sometime in 2009 that I decided that rackbuilding was something I wanted to focus on. I had been building custom bike frames full-time for a year and a half, and had developed a sense that for most customers, custom frame geometry alone is just not sufficient reason to justify spending $3K+ on a bike. I had built a few nice road and mountain bikes in the $5-7K range, and I was proud of the results, but the value proposition for most customers just wasn't there. For that money, you can buy one hell of a Specialized off the rack at a LBS. And other than a sotto voce paint job (I tend to *hate* the design language that the big bike companies use), there was little I could offer to really distinguish myself.

I also wasn't totally immune to spotting trends. In March of that year, I attended a trade show and spent a while observing the way other folks were differentiating themselves. Fashion in the handmade cycling world tends towards the quaint, and rackbuilding offers framebuilders the opportunity to show their bikes carrying things like wine bottles and six-packs - stuff that most big companies would never display. 

Around this time, I was living in Philadelphia and spending a lot of time biking around and eating pizza. I spent a while thinking about what kind of rack I'd want for my bikes, and the best combination of whimsy and utility that I could come up with was a front rack that would fit a large pie. I was riding around a hardtail mountain bike at the time, and decided to build up what would become The Utility Bike - and, once it was mostly done, went about building my first real rack.

At the time, most custom builders were just cutting their own rack eyes out of plate or bar stock (Rack Lady, who I have a *lot* of respect for, is/was a great example of this).  A few folks (Signal stands out) were doing really beautiful things that more closely emulated lugged construction, but that was never really my aesthetic. Anyway, I wanted my rackbuilding process to be TIG only.

I started by having a bunch of plate-style eyes watercut from a sheet of stainless plate. The plate was .125" thick and came with a stain finish. The result was a pretty good start.

I was lucky to have access to a waterjet, where I had head badges and rack eyes cut. I didn't have any sway with the programmer, though, who used the controller's stock nesting protocol to place the eyes on the plate. I'm pretty sure you could lay these out a lot more intelligently if you did so 'by hand,' as it were - but I never got the chance to prove it :-/.

I used these on a couple of racks, and all in all they were a great improvement over cutting them by hand. I tried a few different methods. In at least one case I crimped the rack tubing over the tab itself, but it was a bit cleaner to slot the tubing and insert the tab into the slot. Welding the whole thing together was a bit sloppy (The wall thickness on the rack tubing is .028", which contrasts badly with the .125" thick plate eyes. The result is that keeping both parts right at melting temperature is tricky.) , but the result was passable.

This was my first nice rack. I eventually got Ian to make me some slats to fill in the deck and, and I made some custom length bungees too. I learned a lot in the process, and also tried out a detail that - although kind of silly - would end up informing the way my rack end design progressed. The rack required that a few tubes be terminated, and I turned down some solid stock to a point, relieved an area to insert into the tube, and lap welded the entire thing together. The result is below.

Right around this time, I started building bikes for both Saylor and Ian. Both required racks, and Ian got a chainguard as well. I spent a little while thinking about how to terminate all the tubing, and ended up making a batch of mill-turned rack ends that would become my go-to solution on a bunch of future projects. The process went turn-mill-turn, and included at least ten processes per part, described roughly below: 

The end result can be inserted into a piece of .375"x.028" tubing (cut square) and lap welded. I generally would then file and sand the result smooth. This assembly technique offered me a key feature: If a strut was just slightly too long, I would shorten it (by rolling it against a benchtop disc sander) quickly and in small increments. In addition, the entire assembly is self aligning - the rack end bolts to the boss and slips into the tube, which can have any orientation necessary. This method was much easier than if I had been using tabs & slots, which take a lot of work to align just right and is difficult to adjust the length of.

I got a lot of mileage on these parts, and adapted them for a few alternate configurations as well. I developed something of a symbiotic relationship between their design and my rackbuilding workflow, and the result has been (to me) great.  

I think these parts could be useful to a lot of framebuilders out there, and I'd be interested to hear from anyone who might be interested in them.  Drop me a line if that sounds like you. 

Share

3D printing & Material specifications

Added on by Spencer Wright.

I've been working on a few product ideas that would be 3D printed from titanium or stainless steel, and the methods by which 3D printed parts are specified has been on my mind throughout the process. The following passage, taken from the IDA Science and Technology Policy Institute's 2012 report "Additive Manufacturing: Status and Opportunities" sums up my feelings quite nicely. Note: "AM" refers to "additive manufacturing, which is a slight superset to the processes casually described as "3D printing." Emphasis is mine.

AM technology has made significant strides over the past 25 years, but technical challenges related to materials, equipment, and applications remain. Many of the challenges described in this section, which have commonly been discussed in workshops or publications, are the focus of ongoing research in government agencies or industrial organizations. In some cases, the topics may be underfunded by the private sector and could benefit from new or additional Small Business Innovative Research funding. 
Information is needed on material properties for different processes, but who would maintain such a database and which data should be publicly available are unclear. Before the AM industry can fully transition to offering viable manufacturing solutions, specifications are needed that provide mechanical properties data for available materials, as well as more detail on how parts made from these materials perform (Campbell et al. 2011). Engineers and designers cannot design without fully understanding the properties of the materials used to manufacture the parts being designed. If the properties for AM materials are not available, designers will not consider additive manufacturing as a method of manufacturing. With so many AM processes and materials currently available, the creation of comprehensive specifications is a resource-intensive endeavor, requiring the involvement of research organizations and system and material manufacturers (Kinsella 2011). 

Worth noting: despite knowing the difference between yield strength and ultimate tensile strength, I am not an engineer. But having access to full material data - as well as data on how parts made of that material perform - would be incredibly useful, even to a dullard like me.

Share

Hackweek Day 5

Added on by Spencer Wright.

Friday was Rubyday.  

On Thursday, Zach and I had banged out about a third of the Codecademy Ruby class. It was a good primer on Ruby syntax and basic usage, and I'll be completing it this week. But we wanted to get a little web dev practice in, and so on Friday we went through the "Getting Started with Rails" tutorial on RailsGuides.

The tutorial is great. My method is to hand-type (not copy/paste)  every section of code. I keep two BASH terminal windows open and got the Sublime Text command line tool running so I can quickly create files and edit them without touching my mouse.  There were a few anomalies in the tutorial that I had a little trouble with, but googling solved them in short order (It seems that the guide is written for Ruby 1.9.3, and the syntax for 2.0.0 requires a few changes).

By the end of the day, I had created a simple blog app and was hosting it locally. I should note that I don't totally understand the structure of all of what I did, but I got a bit of debugging in, and just typing the entire thing out really did help develop a basic feel for the framework.  I think it's also worthwhile to go through simple exercises like this, just to understand how little you know about the basic tools (e.g. blogs) that you get used to using on a daily basis. 

The net effect of the week: Every week should be like this. Which is to say, every week is hustle week.  

Of course, shit will get in the way. This week I need to be out of town for a couple days, and that'll inevitably throw me off a bit. But I will finish the Codecademy Ruby class. And I will make progress on my seatpost project, and I will move on to the Ruby On Rails Tutorial book. This last one is the most significant of the three, but I would hope to complete it in a matter of a week.

:Sigh: 

You know, for three years I worked alone building bikes. It was an incredibly lonely, frustrating time of my life, and in the end I allowed those factors to prevent me from learning all the relevant lessons that were available to me. I didn't hustle hard enough; I had a hard time learning things quickly enough. I'm learning more quickly now, and hustling harder. And though the burn will remain slow for a while, I'm betting that the blaze that results will be quite a bit more satisfying.

Share

Rubyday photos

Added on by Spencer Wright.

From yesterday. 

In my own experience, working with dogs around is incredibly inefficient. It's also fun sometimes. In the afternoon we took a walk down to Prospect Park for a little while, and Zach threw some treats in a ziploc. So, there you go.

Share

Hackweek Days 3-4

Added on by Spencer Wright.

For reasons I'll get into below, I've got a bit less to show for the past few days. 

The major theme of the past eight months of my life has been to form a new path towards long term stability, satisfaction and happiness. Some of that has been personal: I've spent a lot of time with friends; I've done my share of dating; I've been about as physically active as ever. But a major component has been my career.

I'm skeptical about anyone who claims a high degree of authority over their own emotional state. I tend to think that statements of ultimate preference (e.g. "I could never be happy in finance" or "I'm not satisfied unless I'm building something") tend to fall to post hoc ergo propter hoc fallacies. I want to be happy, and I refuse to let my career get in the way of my happiness. 

That said, I have a particular set of goals vis a vis my career, and high on the list is to be appreciated for my ability to break down complex problems on a range of subjects. And it so happens that the types of problems I'm interested in solving are largely strategic rather than technical, and it so happens that I see the most interesting strategic problem solving happening in the tech world.

I have spent most of my adult life learning skills, but software development is not one of them. I'm probably more comfortable at a command line than the average person, and I can talk generally about a tech stack, but I am not a programmer. Except in certain contexts that fact doesn't bother me. I'm not an engineer either; nor am I a certified welder or a particularly well practiced machinist or carpenter. But I've got all of those skills nonetheless, and I've put enough time in on those types of projects to communicate well with people whose careers are dedicated to those crafts. 

I don't want to be a developer any more than I want to be a bike mechanic. Skills are like tools - I like having them, but I'm wary of committing to any particular one, lest I view the entire world through a single lens. Some problems require a hammer; some require knowing the first damn thing about how serial port emulators work. I want to be a general purpose problem solver; I want to bring a wide variety of skills and experience to the table. I want my range of conceptual frameworks to be broad. I want to be intellectually agile. 

Also - and I don't mean this to be trite - I like computers. 

So Zach and I spent most of yesterday doing an overview of the tech stack required for a basic web app. We've got a couple of ideas that would fall across hardware and software, and it would seem that an RoR backend would fit our needs nicely. We'll still probably be programming our hardware in C, and will have a bit of HTML/CSS on top, but the meat of it - and, really, the fun stuff - would be Rails.

So today, we got about a third of the way through the Codecademy Ruby class. The Codecademy site is pretty slick. It's weird doing programming classes in this context, though. I took a few CS classes in college, but that was before laptops were ubiquitous, and I never really got comfortable with the format. Doing Codecademy is a lot cleaner - I like having the instruction and the execution all in one interface - but there's something about it I haven't gotten totally used to yet. I suspect that'll go away, but it was there a little bit today.

I'm excited to bang this class out over the next few days. I'd also like to be making concrete progress on a project, though, and it's hard to know how the two mesh. Not wanting to be a developer puts me in a weird position in the tech world. I'm a bit of a spectacle - a guy who swatted nails for a few years and can talk with some conviction about the benefits of climb milling. For the most part, that's fine with me, but the romanticism that the tech world has for physical objects - and old ones in particular - strikes me as a bit condescending and disrespectful. And all things being equal, I'd rather not be the one being condescended to. 

But, whatever. Sorting hashes is fun, and I relish the opportunity to flaunt my command of logical structures. I'm enjoying learning a new skill, and if history is any guide, I'm sure I'll find a way to put it to use. 
Share

Hackweek Day 1

Added on by Spencer Wright.

Zach and I started the week with The Public Radio

When last we visited it, we had assembled - destructively - our first PCB. Today we started fresh, beginning with solder paste application. 

Paste applied. Click to "embiggen," or whatever.

Parts. Click to "embiggen," or whatever.

Parts applied.  Click to "embiggen," or whatever.

We spent a little while trying to find a reflow curve for our solder paste, but gave up after Sparkfun (of course) fell flat on a datasheet (Note to self: get proper solder paste, and get it in a fucking syringe. Enough with the toothpicks.)  So we found one for some Kester paste and shot for that. With my non-contact thermometer and our crappy hot plate, reflowing went damn well.  

Ready for reflow.  Click to "embiggen," or whatever.

Why would you want to look at this more closely? I'm not sure. Still,  click to "embiggen," or whatever.

 Click to "embiggen," or whatever.

Reflowed.  Click to "embiggen," or whatever.

Then, we basically looked at it real close. I've got a line loupe, and recently threw down for an eyeglass style magnifier. Add a multimeter and we were able to figure out where all of our bridges were pretty easily.

Gimme da loupe?  Click to "embiggen," or whatever.

On to fixing. We had a bit of trouble getting our wick + torch to agree with each other, but eventually got all (but possibly one - but it's going *down*) bridge fixed. 

The area, i.e. my kitchen. Click to "embiggen," or whatever.

Fixing.  Click to "embiggen," or whatever.

Fixing.  Click to "embiggen," or whatever.

The net effect: The Public Radio is basically ready to have its bootloader installed. With any luck, we should get it programmed, tested, and bumping HOT97 tomorrow.

Meanwhile... 

Lunch. 

Lunch: Franks does the heavy lifting here.  Click to "embiggen," or whatever.

I spent a good part of my afternoon working to get data passed to a Google Spreadsheet. It turns out that the quickest way to do so is to create a form, which by default dumps text inputs to the next row of a spreadsheet.  The standard format puts a timestamp on the first column and then text strings in each subsequent column. I wanted to start by passing data from a command line, mostly because I was pretty sure that implementing cURL was going to be straightforward. There's plenty of info about cURL and the Google Data Services API, but once you get to the complicated stuff, everyone's building PHP scripts - something that was a little much for me to take on for the afternoon. So I reached out on twitter, and within a half hour a friend from college got back to me with the syntax I was looking for

Computers like notebooks. Click to "embiggen," or whatever.

Posting to Google Docs directly from the command line. Click to "embiggen," or whatever.

The next step here (if you believe my pseudo-engineer ass) will be to built a PHP web app that can pass data to the same spreadsheet. Some of this will transfer right from what I did today, but the complexity level - and the potential things I can do with it - will increase pretty quickly. A PHP script will allow me to get and push data, and will also handle some computation as well. From there, I hope to add an additional layer - a basic embedded system that can post data from a wireless connection (likely XBee and/or GSM) directly to a Google Spreadsheet.  I'm planning on getting the web app mostly built tomorrow (it'll be extremely simple, but will be the basis for a lot more) and hope to be getting data from a wireless device later this week.

The net effect: A good amount of progress today, capped off with a (somewhat...) interesting meetup in the evening. Plus, Zach got a little real about his twitter account

Shit's real. 

Share

If you need me, I'll be: This Week

Added on by Spencer Wright.

This week is hackweek for me and Zach

We've been working, slowly, on a handful of projects (products?). Some require skills we don't have; some require time we haven't had the guts and/or availability to put in. 

I'm not bothered by the things not being done. I'm bothered by the skills unlearned, the effort not put in, the mental and emotional shit that I've put in my own way (nb. I'm not talking here about actual shit that actually happens - I accept that God laughs, etc. - I'm talking about self imposed shit, which I suspect is the lion's share of what most of us deal with most of the time). These are the problems that keep anyone - everyone - from taking care of the crap that matters most to them.  

But fuck that, right? 

In the interest of keeping ourselves on track, here's a brief overview of the week's agenda. Some of it's pretty hazy, but that's what you get. 

  • The Public Radio. We've got a couple PCBs and need to populate, reflow, program and test them. 
  • GSM data.  Getting activities on an Arduino to a Google Doc, web app or Twitter feed.
  • Temperature sensing. I got a high temperature waterproof thermometer a while back, but never got around to figure out the communication protocol. The plan is to be able to accurately test for temperature in a pot of boiling water, and relay that (via xBee/GSM/possibly Bluetooth & a PC) to a Google Doc, web app or Twitter feed.
  • Barometric pressure sensing.  Ditto for "Temperature sensing."
  • Bluetooth.  Getting data from a Bluetooth enabled sensor node to/from a PC.
  • iOS dev.  I just want to make a static app to start. Then build something that'll post data to a Google Doc/web app/Twitter feed.
  • Google Docs API.  See above. My impression is that it's easiest to send http requests to a Google Doc Form, which then dumps the data entered into a spreadsheet; we'll see.
  • Twitter API.  See above. Useful to trigger IFTTT actions... and just as a general exercise.
  • Simple web app.  I'd like to be able to trigger physical/electromechanical actions from a web interface, and then return the results to the same interface/a Google Doc/Twitter feed. For instance, I want to ask my web app what the temperature is at my xBee, and then have that temperature returned to my output streams. My plan for now is to do this in Ruby; we'll see.

That's the meat of it. In addition, I've got a couple of additional pet projects that'll need some attention:

  • Get Zach to be posting shit actively.
  • Some interesting bike-related design. 
  • Some interesting coffee-related design. 
  • Some freelance design. 
  • The Hardwired meetup on Monday. 
  • Bike rides MWF mornings. 
  • (Possibly, depending on my condition) running w/ dog TTh. 
  • Write up & publish a post re: Geoff Pullum & George Orwell. 
  • Post a big batch of photos.

I'm expecting it to be a good week. 

Share

Feature Requirements: Parts Storage System

Added on by Spencer Wright.

Parts storage has been a key aspect of my product development career, and has consistently frustrated me. A few reasons for my ire:

  • Parts cabinets are expensive. I probably spent $200 on my cabinets, which were mostly used; at my last employer, we spent over $2K on "standard duty" parts drawers, shown here, from McMaster-Carr.
  • Traditional parts organizers are time consuming to organize, and often aren't formatted to hold the size and quantity of parts you need to store.
  • Most management systems don't allow for reorganization without significant amounts of work.
  • Every organization & labeling system I'm aware of is disconnected from the part specs that I usually want to have on-hand when making a selection from physical inventory.
  • Keeping a digital catalog of parts inventory on-hand is time consuming, difficult, and totally disconnected from the location and quantity of the parts themselves. 

In order for the full implications of digital product development, manufacturing and distribution to come to pass, I believe that industry will need to completely rethink how it addresses, organizes, processes and tracks parts inventory. I have a few ideas of what this will look like, but I'd like for now to focus on the requirements for such a system. 

  • Parts should be uniquely addressable. For many of my applications, McMaster-Carr, DigiKey, Sparkfun, and Amazon product numbers would be fine. Ultimately a system like IP would probably be preferable, if only to apply uniformity and allow manufacturers and distributors of all flavors to buy into a single standard. At some point, I wonder about the possibility of addressing not only each brand/make/spec of bolt, resistor, or chip - but also addressing each physical instance of each of those categories. With the enormous addressing capacity of IPv6, this is well within the realm of possibility - we simply need to find an appropriate tracking mechanism. (Side note: IPv6 has an addressing capacity of about 3.4*10^38. In comparison, there are estimated to be on the order of 7.5*10^18 grains of sand on all the beaches in the world. That's a ratio of 4.5*10^19 : 1, in favor of IPv6 addresses.)
  • Physical organization shouldn't need to be hierarchical. Hierarchical systems work fine on dynamic interfaces (e.g. on the web, where they're used in conjunction with tagging and search features), but parts organization is subject to so many other forces - not the least of which is the size and quantity of a given type of item. For example: if the bolts I have on hand vary in length from 5mm to 50mm, finding a single drawer to accommodate all of them will be difficult. Much better to allow locational organization to be loose, and instead encourage browsing through a database. Put a different way: I don't see the need to institute a browsable Dewey Decimal system on my parts; I'll just search for them on my computer, and it'll tell me where I should look.
  • Parts on hand should be treated as a subset of parts in the world. When I'm designing a new assembly and searching for a bolt to use in it, I want to access a single interface that will allow me to search either globally (the entire catalog of uniquely addressable parts in the world), from a single manufacturer/distributor, or only from my in-stock catalog. On the other hand, when I'm physically looking at a particular item in my inventory, I should have easy access to the product specs for replacement parts and compatible mating parts. 
  • Inventory should be tracked in real time. When I remove parts from physical inventory, my database of stocked components should be updated immediately. As sensor technology evolves, it is my hope that this will be possible with minimal user interaction (e.g. via the use of pressure, proximity, or chemical presence sensors within the parts cabinet). In the meantime, the parts cabinet itself (or at the very least a nearby iPad running dedicated software) should offer me the ability to quickly update quantity on hand.
  • Complete part data should be available at the part's physical location. If I'm browsing for a bolt, I should be able to have access to all available part data for that bolt - including specifications, tolerances, 3D models, compatible mates, replacements - right at the parts cabinet. For now, this could be achievable by some user gesture at the parts cabinet (e.g. pressing a tactile switch at the individual part compartment) pushing a notification to a nearby iPad. As interaction hardware evolves, I would hope that this would happen within the parts organizer itself, through the use of haptic/gestural info (picking a part out of a bin) and integrated displays.
  • My purchasing system should know what parts I have on hand. When I order parts, it's almost exclusively through webstores. When I hit the "confirm your order" page, I want my inventory tracking software to scan for similar parts in my database and alert me if I've got anything in stock that would work for what I'm doing. If I'm ordering M4x12 button head cap screws and I have M4x12 socket head cap screws in stock, it's possible that I could save time, money, and inventory space by redesigning my assembly to accept what I have in stock. Conversely: When I place an order, my inventory system should know about it and prepare my parts organizer to accept new inventory.
  • Everything should have a 3D model. This is a bit of a pet peeve of mine. It blows my mind that many PCBs are designed without a digital visual check for interferences, and the situation is even crazier when you consider integrating PCBs into mechanical assemblies. I've spent a lot of time modeling off-the-shelf components for my own use, and have begun posting them on GrabCAD  for others to use. It's my hope that this type of thing catches on, and that manufacturers find ways to support/help the effort.
  • No paper. My previous parts organizers relied heavily on sticky notes and Sharpies, as I suspect most contemporary systems do. This is absurd. What happens when you run through stock of a particular part, and decide not to reorder? Well, you spend ten minutes scraping a crusty old label off of the bin, or taping over it with a new one. Adhesives fail over time, and pen-and-paper just isn't modular enough for the rapid changes in direction that modern product development shops go through. My bins should be unlabeled. Instead, I'll identify parts by comparing them to their 3D models (viewable in my parts organizer's interactive display), or - better  yet - by my parts organizer knowing what I'm doing (through whatever gestural interaction it uses) and telling me what I'm looking at.

What I've described here is huge, but not that conceptually complex. It also has the capacity to be expanded recursively, to apply to all kinds of physical and digital objects. A cohesive, consistent system for tracking and managing parts will allow for improvements in innovation and distribution techniques to reach their full potential. And I worry that without such a system, the benefits of rapid prototyping, just-in-time manufacturing, and distributed, adaptive supply chains will be highly constrained.

Share

Modeling for SLA

Added on by Spencer Wright.

I spent a little while today optimizing my dummy headset for 3D printing. In subtractive manufacturing, cost can often be estimated by calculating the difference between the mass of the raw material and the mass of the finished object. The more material you need to remove, the more fabrication time and resources you'll consume producing the part, and hence the more expensive (generally) it will be.  

The cost structure of 3D printing is totally different. With additive techniques, cost is a largely a function of the mass of the finished object (envelope size also has an effect in production settings, but it's less critical). The cost of a part comes down to how long it takes to make, and production time is limited by the amount of material the machine can spit out in a period of time. 

As I noted the other day, my dummy headset is a bit more expensive than I'd like it to be. On the upside, though, I can remove material in a bunch of places! I took the revolved part in Inventor and made a series of revolved cuts on the ID of the part. I left some ribs along the ID to keep the perimeter somewhat intact, and left the areas right around the set screw holes thick. 

Shown before I mirrored the cuts onto the top side of the part. 

I was able to shave a *lot* of mass off the parts - more than 45% on the lower part - which means significant cost savings. 

Shapeways' volume/price breakdown.

I still need to make sure I'm on the right track on clearances in a few locations,  but cutting the extra material out should make these parts much more feasible. Keep in mind, my total development cost at this point is probably 2.5 hours of labor and $40 in parts. Were I trying to get this product to market quickly (and who knows, I may try doing so) I could be live in both Shapeways' - and my own - webstore within two weeks.

Even though I've just been playing with it for a half hour, it's pretty cool seeing my model live on the site.