In the past few weeks, I've been reviving a product that I originally conceived of in 2010. I'll get more into its revival later, but I wanted to spend a little time documenting the development and design details here.
It was sometime in 2009 that I decided that rackbuilding was something I wanted to focus on. I had been building custom bike frames full-time for a year and a half, and had developed a sense that for most customers, custom frame geometry alone is just not sufficient reason to justify spending $3K+ on a bike. I had built a few nice road and mountain bikes in the $5-7K range, and I was proud of the results, but the value proposition for most customers just wasn't there. For that money, you can buy one hell of a Specialized off the rack at a LBS. And other than a sotto voce paint job (I tend to *hate* the design language that the big bike companies use), there was little I could offer to really distinguish myself.
I also wasn't totally immune to spotting trends. In March of that year, I attended a trade show and spent a while observing the way other folks were differentiating themselves. Fashion in the handmade cycling world tends towards the quaint, and rackbuilding offers framebuilders the opportunity to show their bikes carrying things like wine bottles and six-packs - stuff that most big companies would never display.
Around this time, I was living in Philadelphia and spending a lot of time biking around and eating pizza. I spent a while thinking about what kind of rack I'd want for my bikes, and the best combination of whimsy and utility that I could come up with was a front rack that would fit a large pie. I was riding around a hardtail mountain bike at the time, and decided to build up what would become The Utility Bike - and, once it was mostly done, went about building my first real rack.


At the time, most custom builders were just cutting their own rack eyes out of plate or bar stock (Rack Lady, who I have a *lot* of respect for, is/was a great example of this). A few folks (Signal stands out) were doing really beautiful things that more closely emulated lugged construction, but that was never really my aesthetic. Anyway, I wanted my rackbuilding process to be TIG only.
I started by having a bunch of plate-style eyes watercut from a sheet of stainless plate. The plate was .125" thick and came with a stain finish. The result was a pretty good start.
I used these on a couple of racks, and all in all they were a great improvement over cutting them by hand. I tried a few different methods. In at least one case I crimped the rack tubing over the tab itself, but it was a bit cleaner to slot the tubing and insert the tab into the slot. Welding the whole thing together was a bit sloppy (The wall thickness on the rack tubing is .028", which contrasts badly with the .125" thick plate eyes. The result is that keeping both parts right at melting temperature is tricky.) , but the result was passable.


This was my first nice rack. I eventually got Ian to make me some slats to fill in the deck and, and I made some custom length bungees too. I learned a lot in the process, and also tried out a detail that - although kind of silly - would end up informing the way my rack end design progressed. The rack required that a few tubes be terminated, and I turned down some solid stock to a point, relieved an area to insert into the tube, and lap welded the entire thing together. The result is below.


Right around this time, I started building bikes for both Saylor and Ian. Both required racks, and Ian got a chainguard as well. I spent a little while thinking about how to terminate all the tubing, and ended up making a batch of mill-turned rack ends that would become my go-to solution on a bunch of future projects. The process went turn-mill-turn, and included at least ten processes per part, described roughly below:


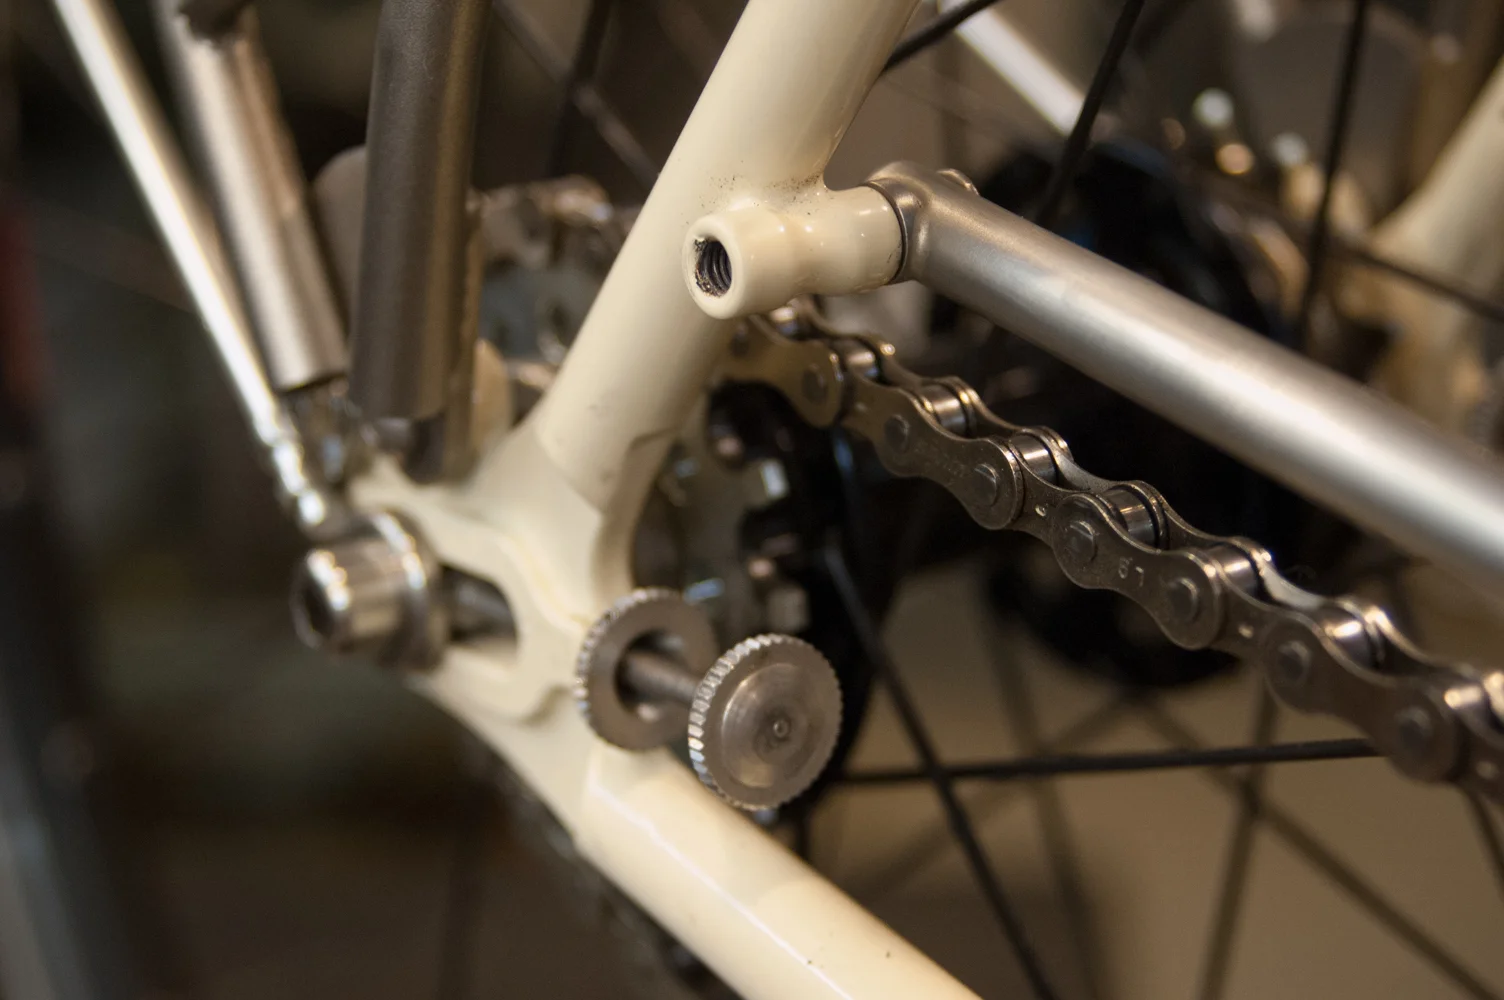
The end result can be inserted into a piece of .375"x.028" tubing (cut square) and lap welded. I generally would then file and sand the result smooth. This assembly technique offered me a key feature: If a strut was just slightly too long, I would shorten it (by rolling it against a benchtop disc sander) quickly and in small increments. In addition, the entire assembly is self aligning - the rack end bolts to the boss and slips into the tube, which can have any orientation necessary. This method was much easier than if I had been using tabs & slots, which take a lot of work to align just right and is difficult to adjust the length of.


I got a lot of mileage on these parts, and adapted them for a few alternate configurations as well. I developed something of a symbiotic relationship between their design and my rackbuilding workflow, and the result has been (to me) great.


I think these parts could be useful to a lot of framebuilders out there, and I'd be interested to hear from anyone who might be interested in them. Drop me a line if that sounds like you.