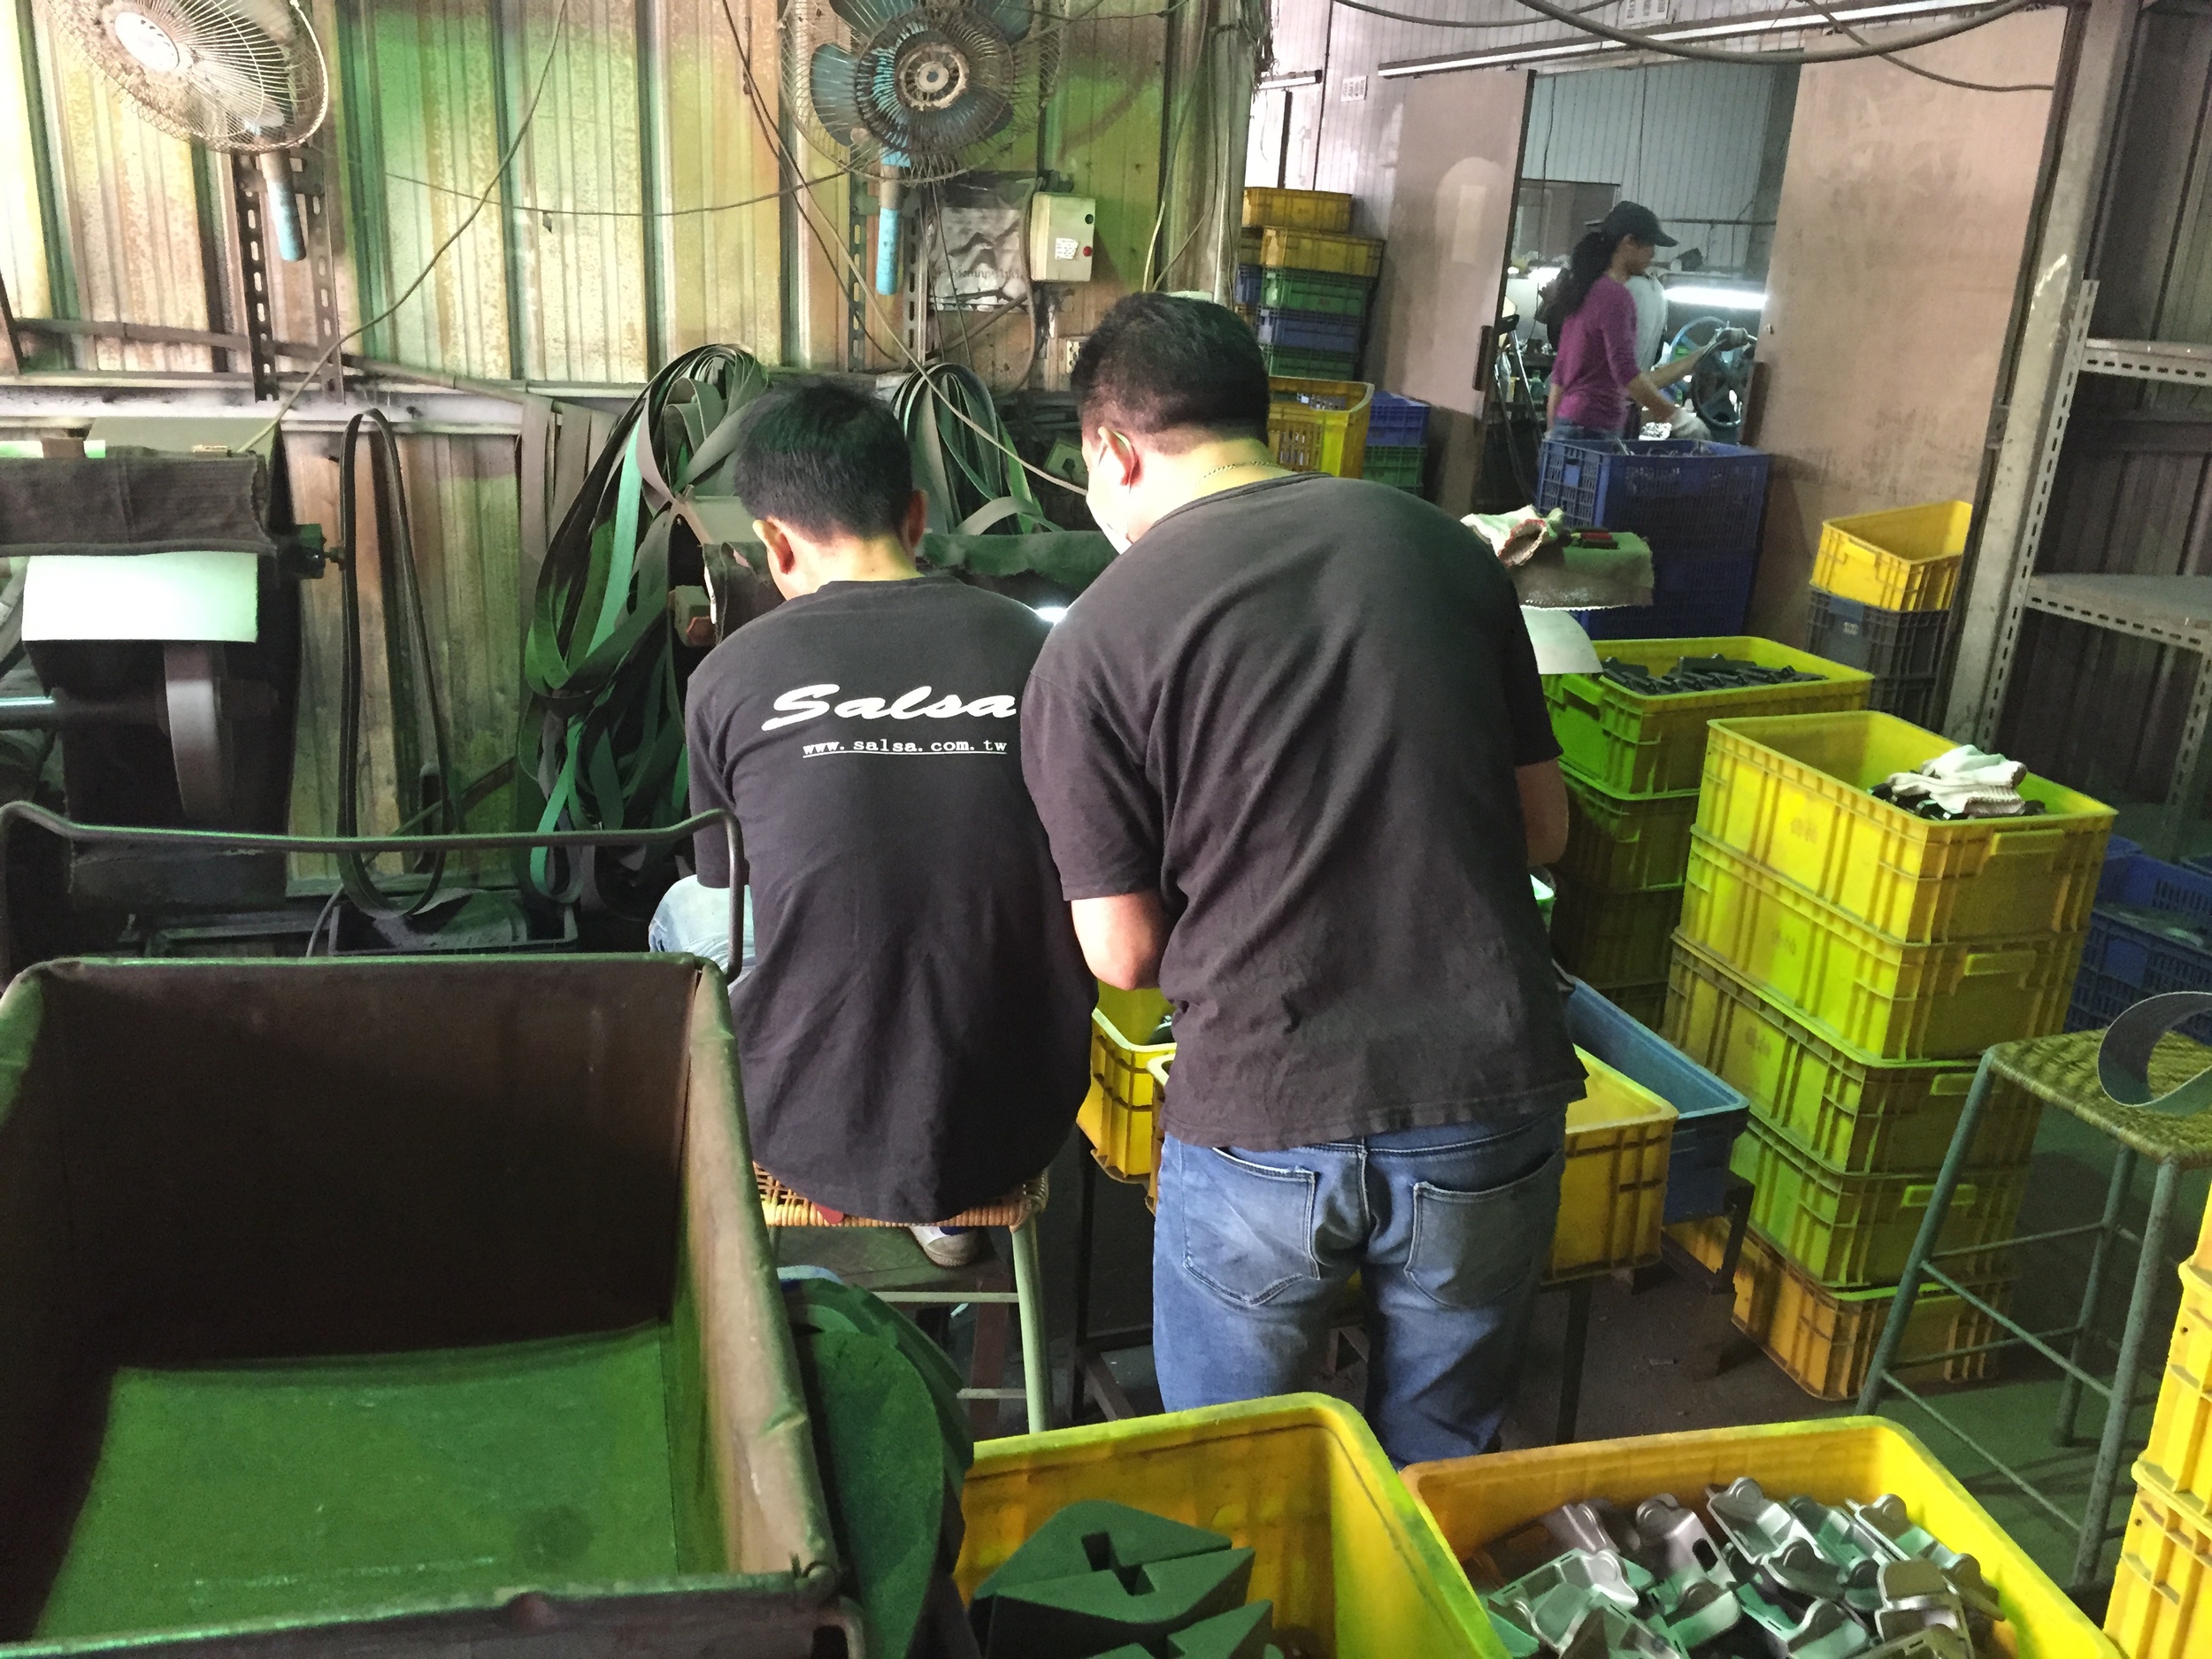
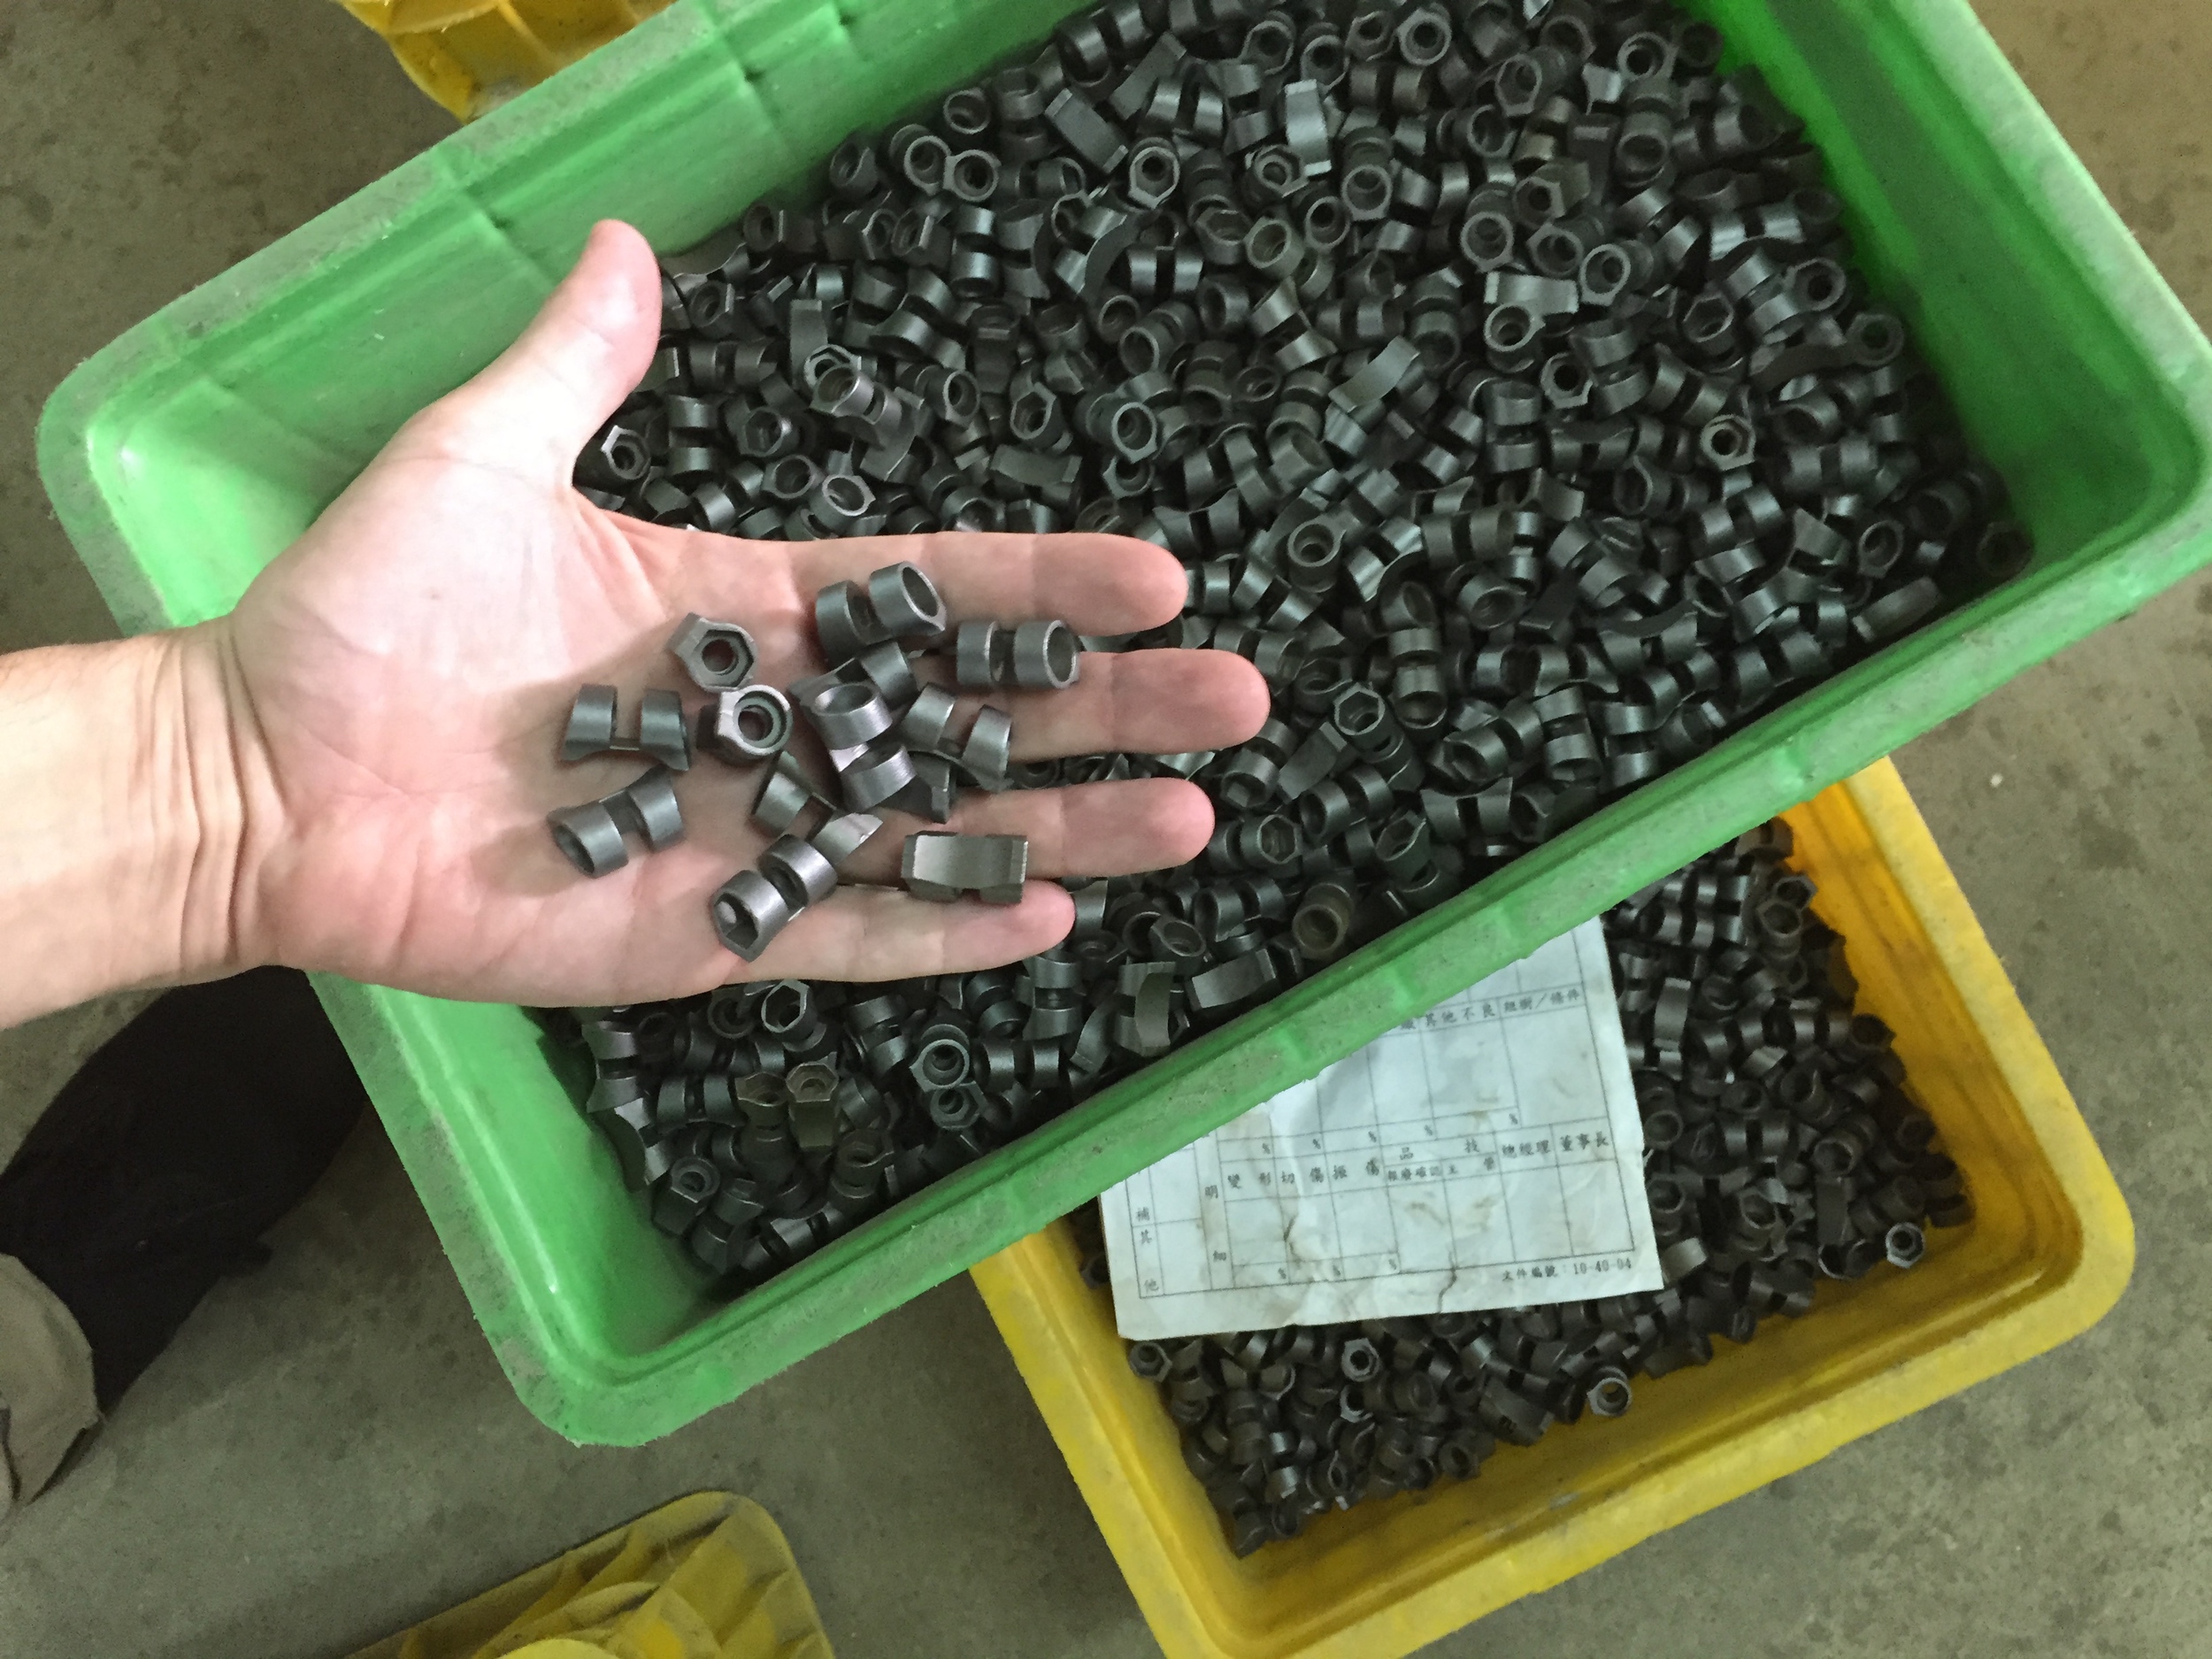
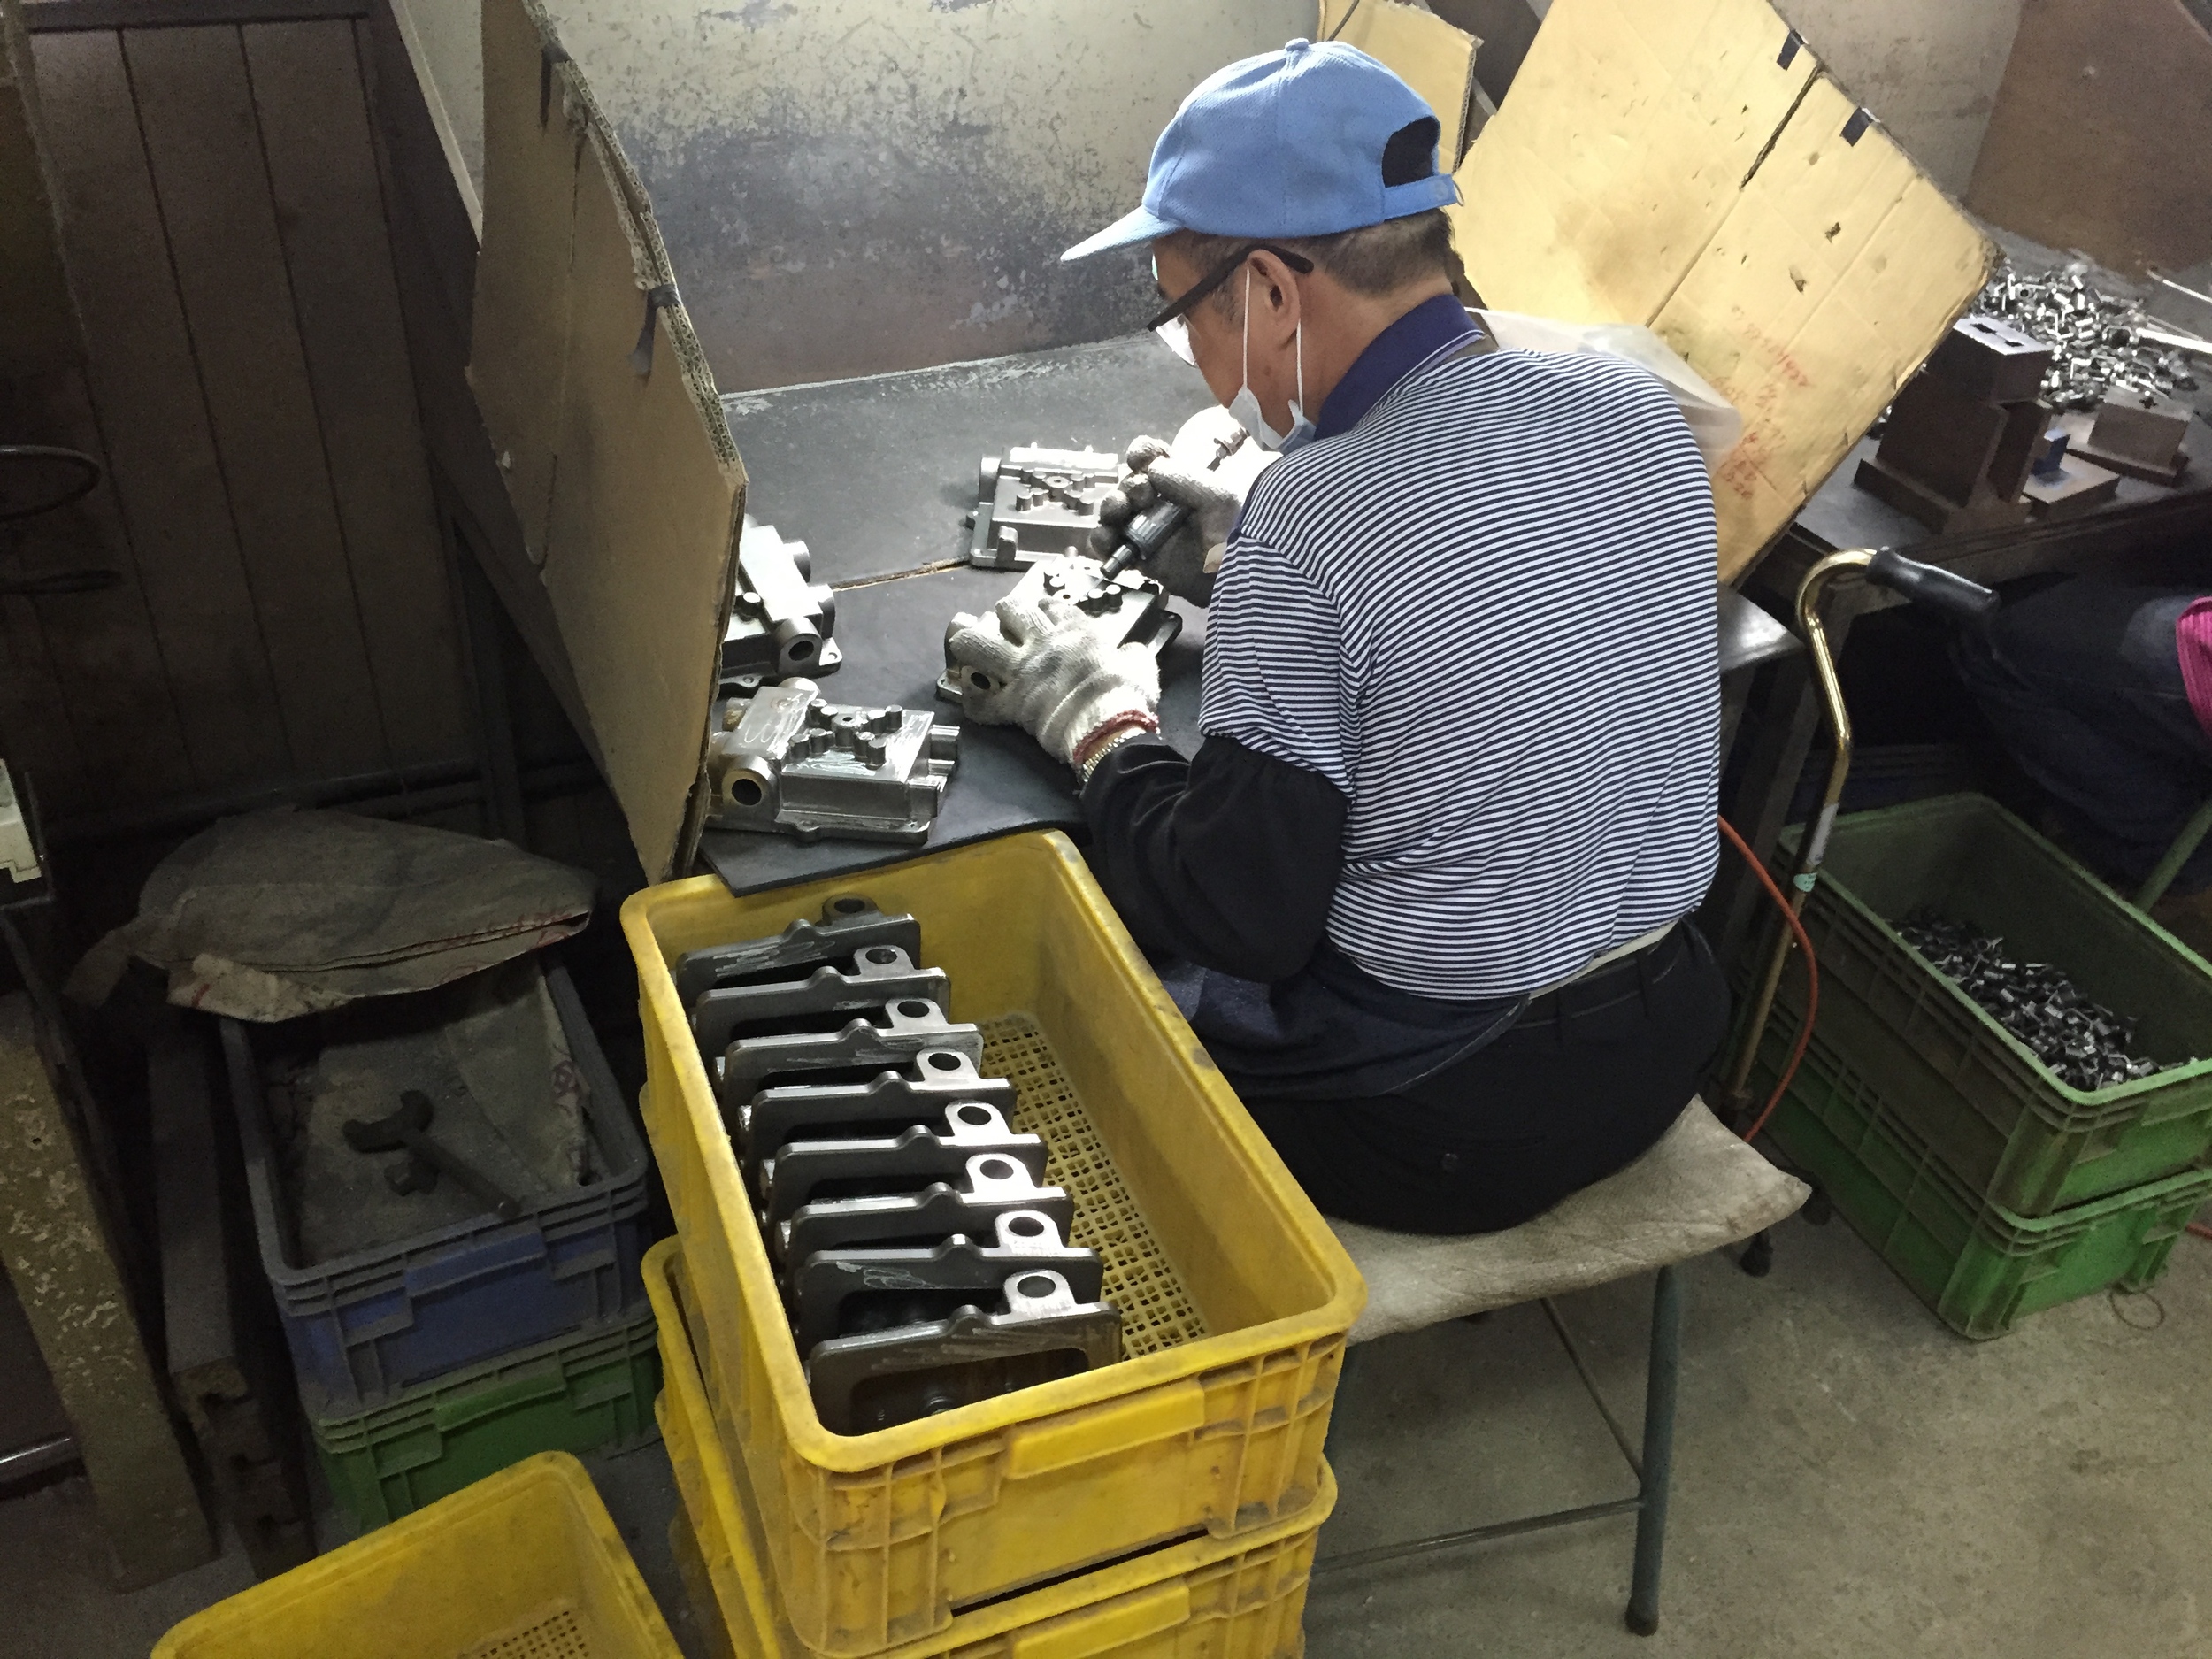
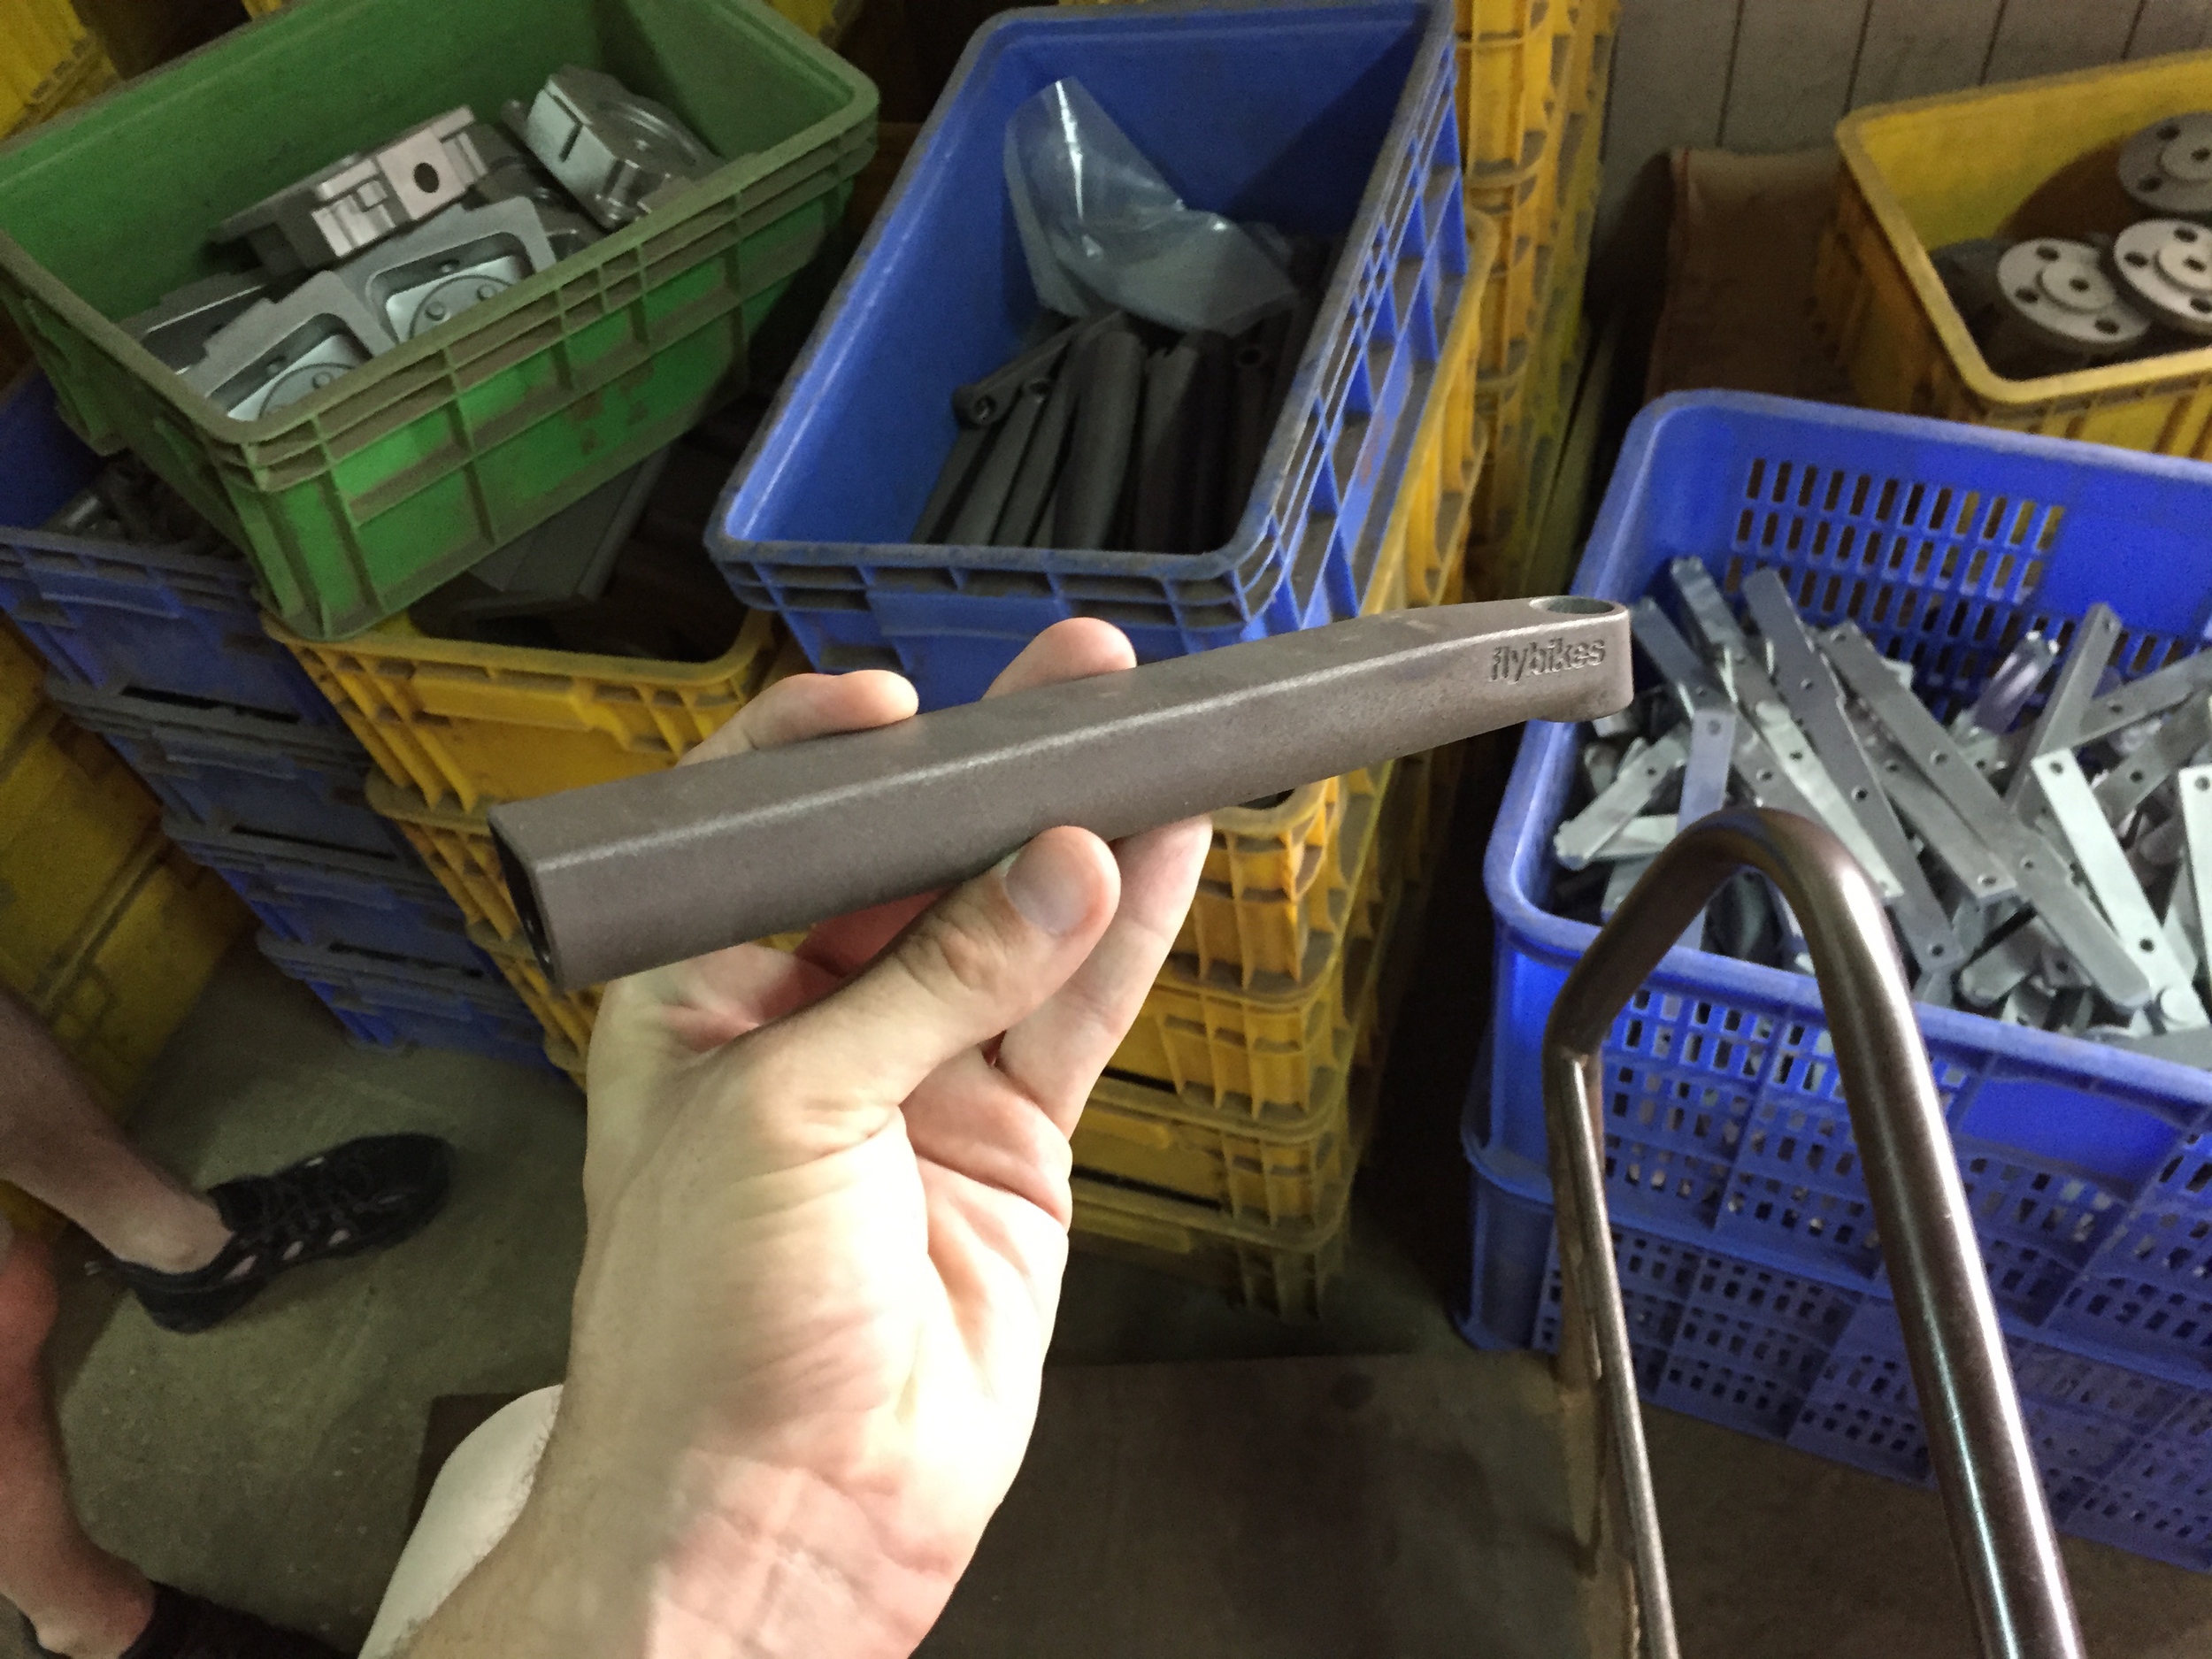
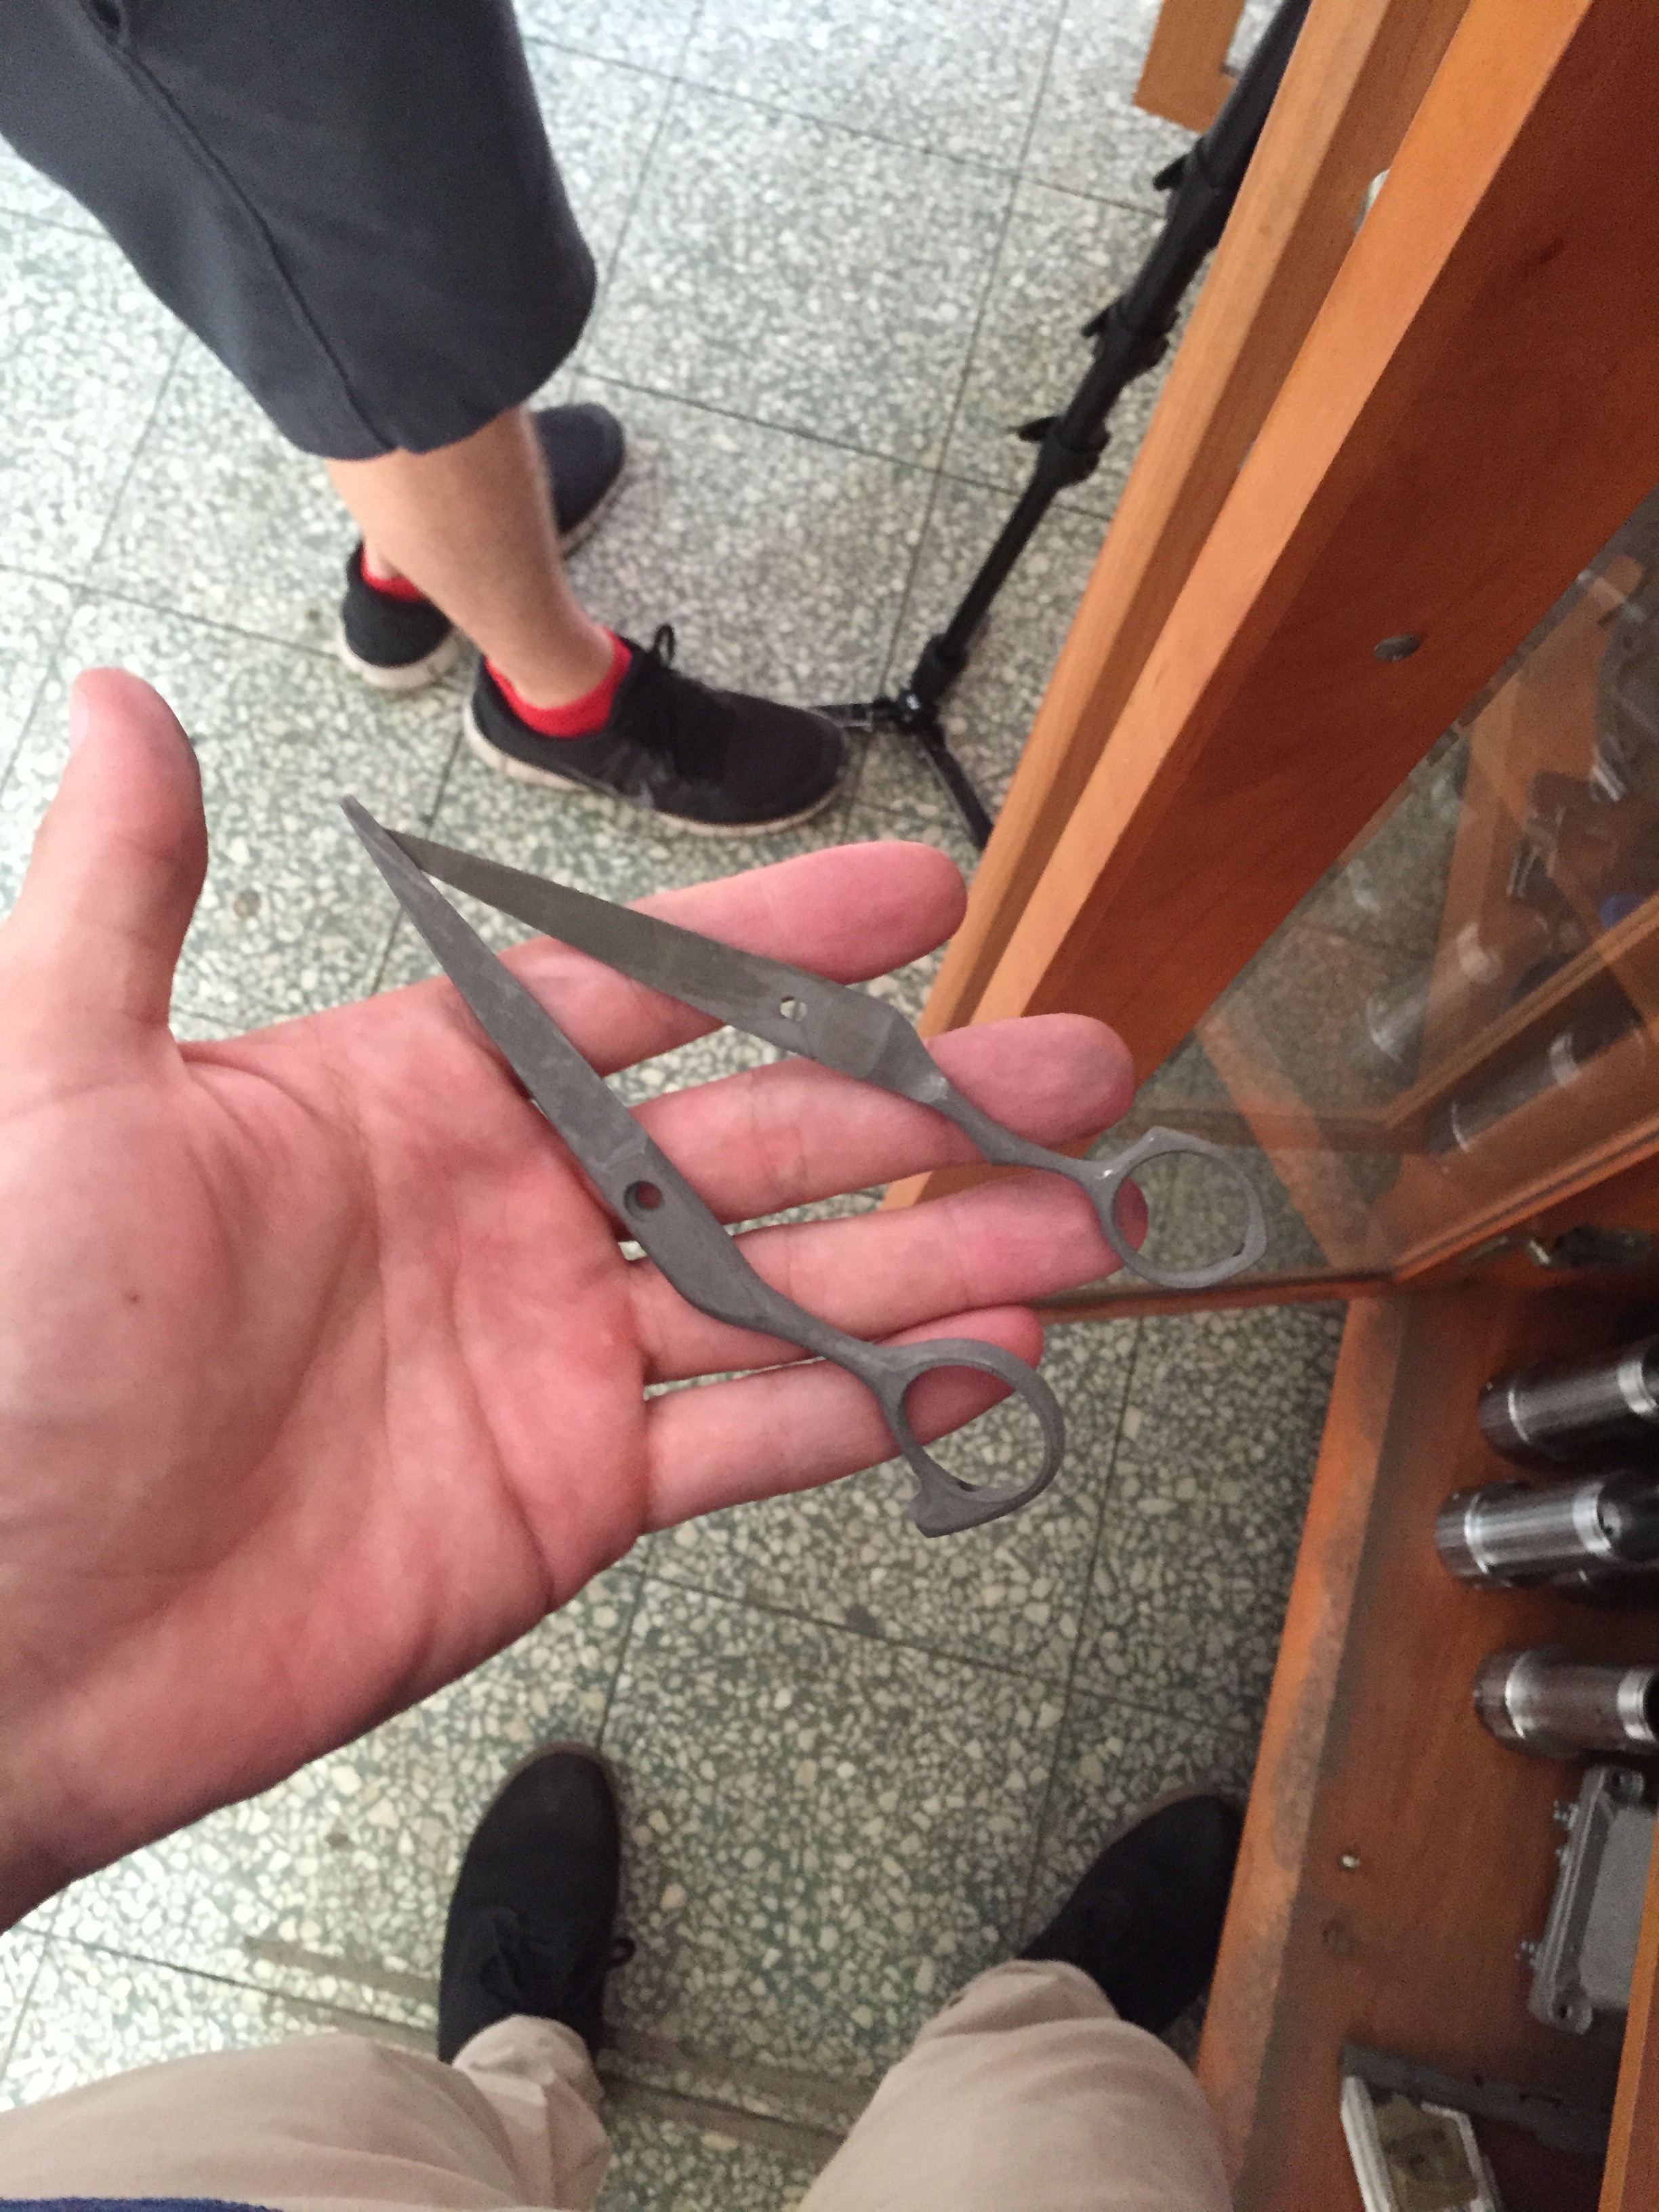
Manufacturing guy-at-large.

Filtering by Tag: building

Element Free

Added on by Spencer Wright.

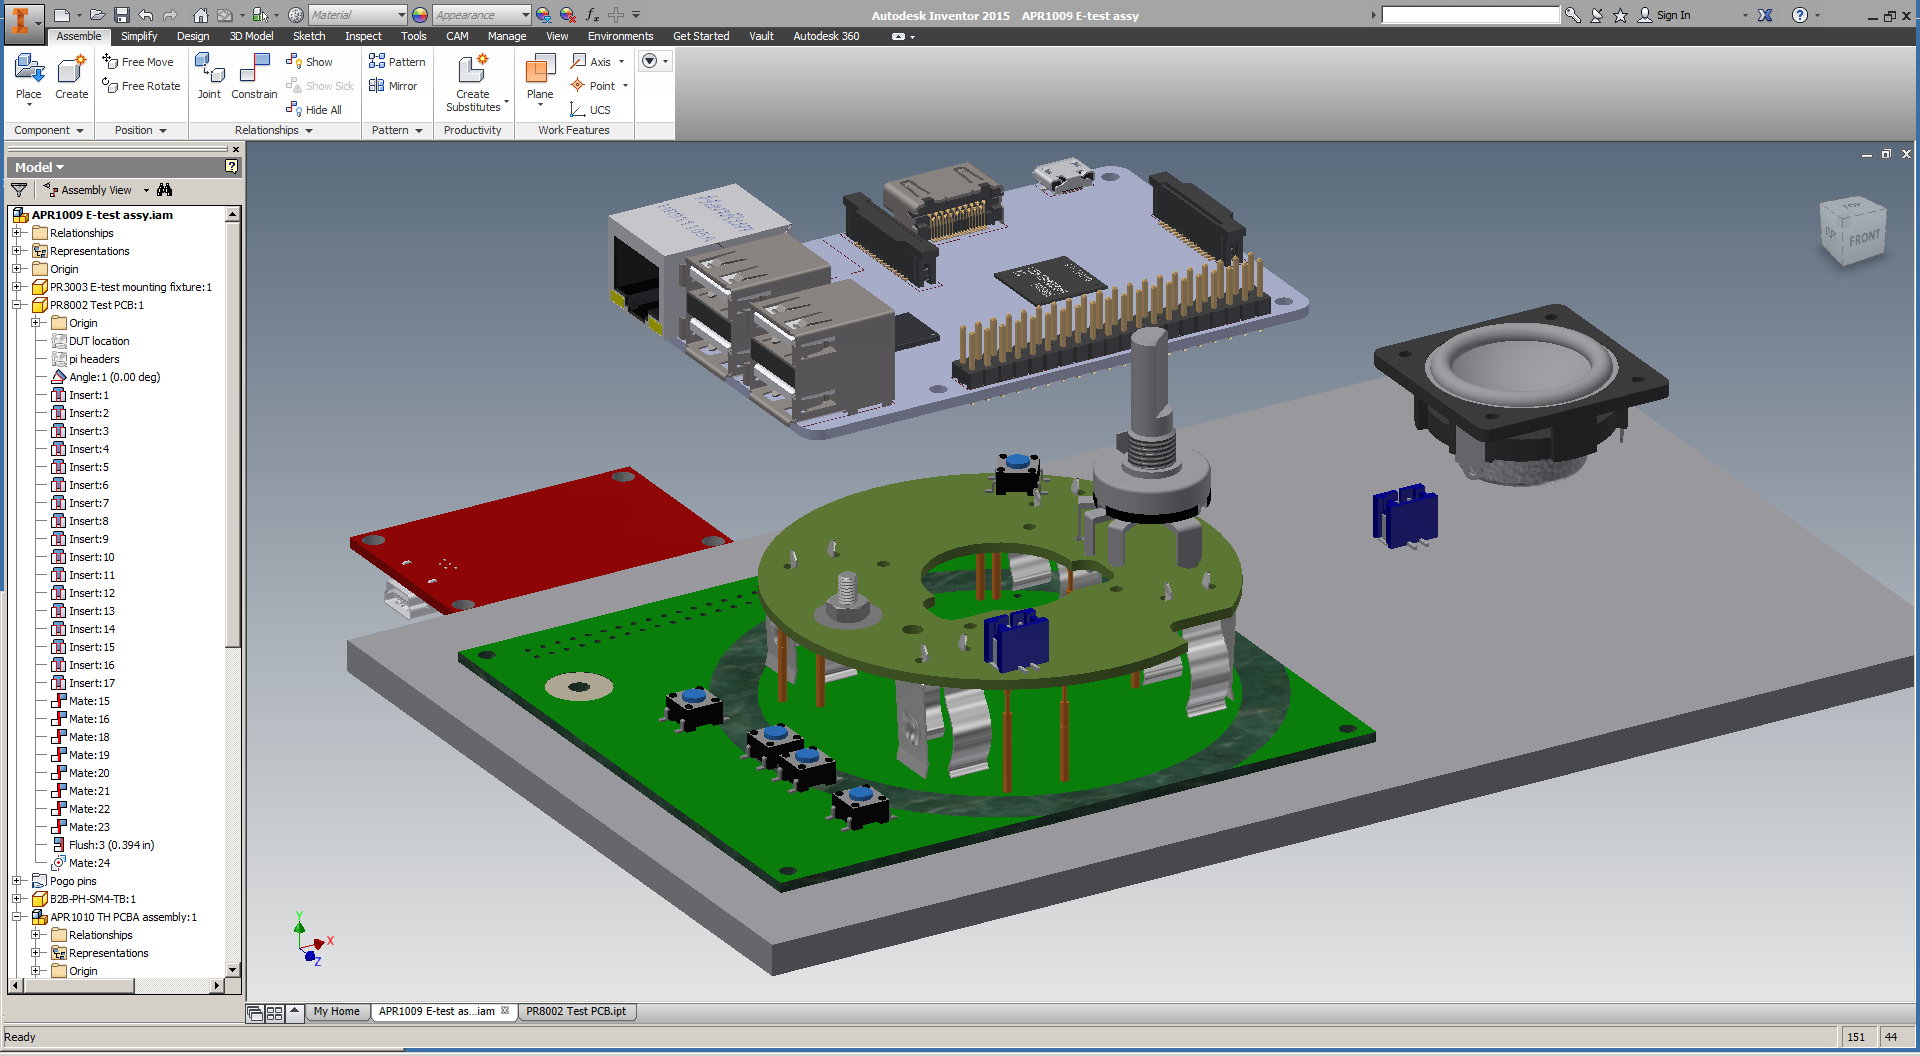
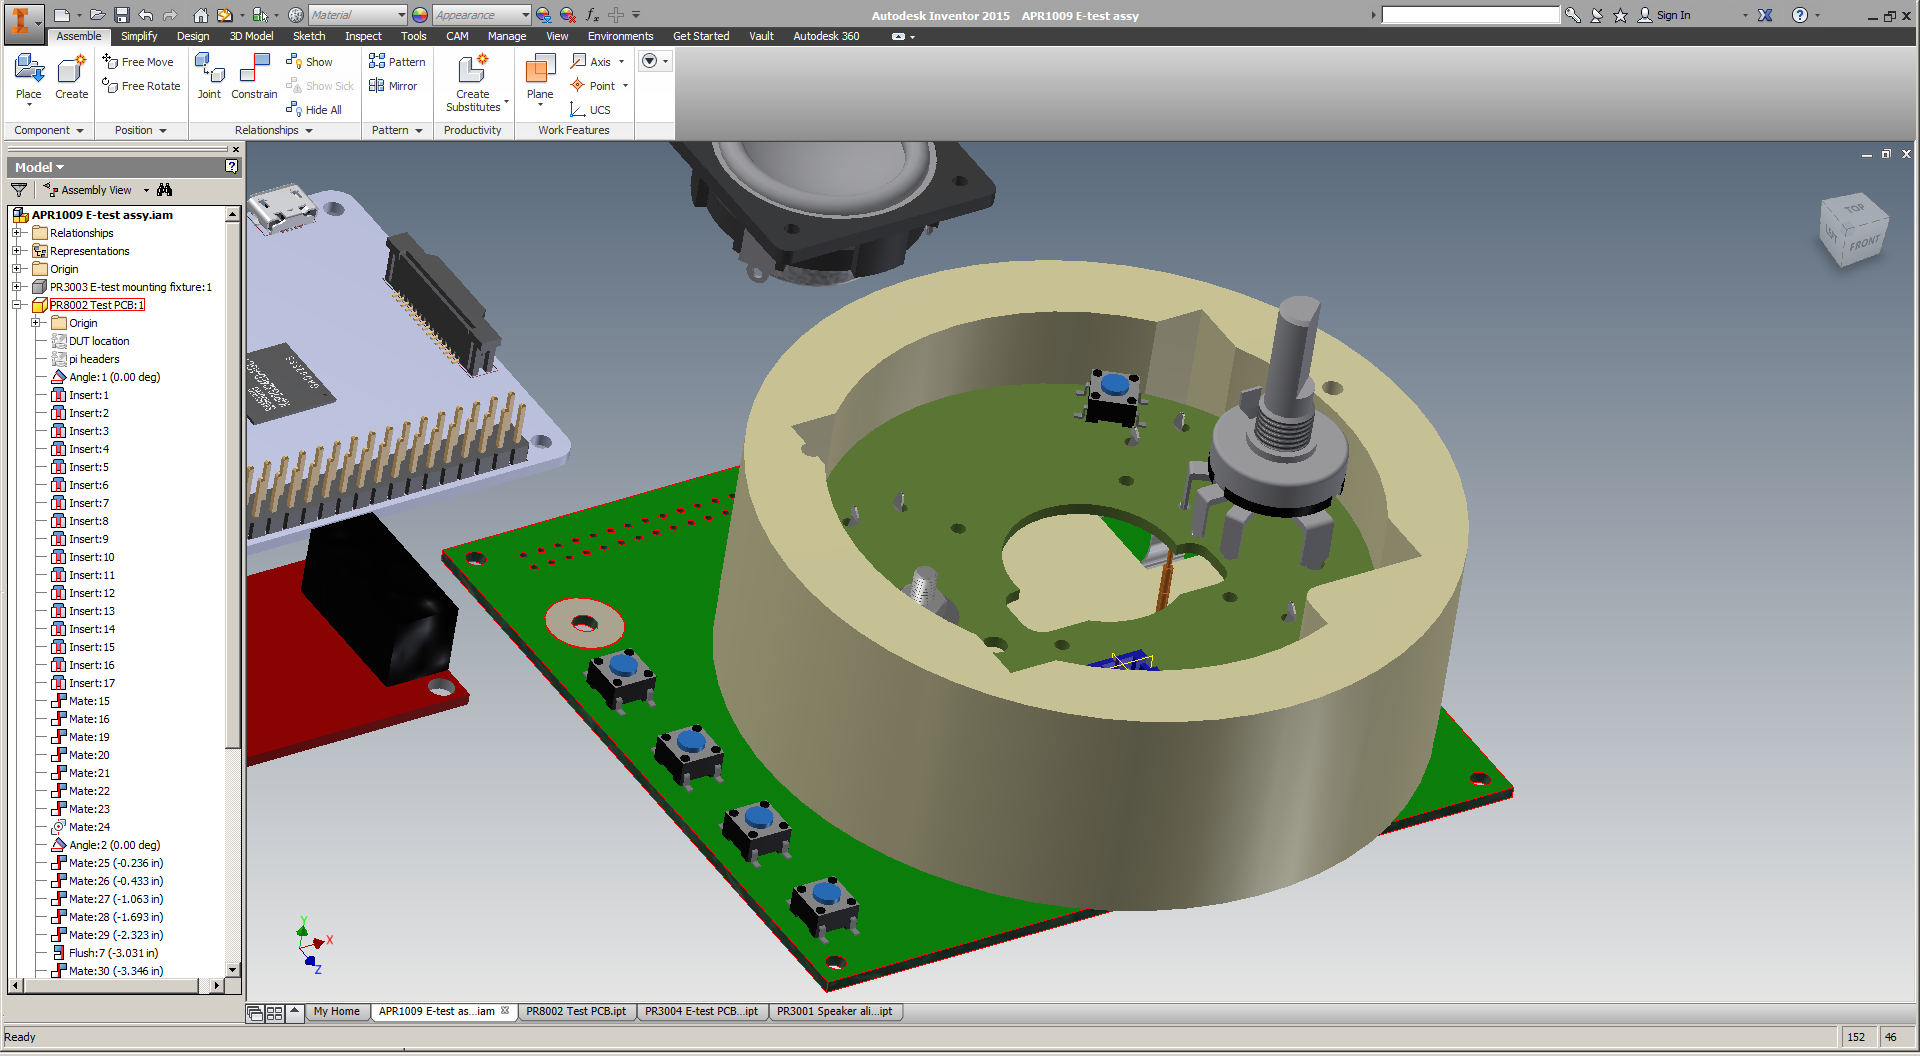
When I joined nTopology, our flagship CAD software - Element - was in closed beta. I had used it myself over the fall, and was impressed at how quick and easy it was to generate variable lattice structures. But the GUI was often confusing and many of the core functions were still very much prototypes.

Today, I'm proud to announce that nTopology has released its first public product - Element Free. We've spent a ton of time on this over the past four months, and have both streamlined the workflow and improved the core design tools needed to design and edit complex lattice structures. 

We'll be working hard to integrate more features into Element Free over the coming months - and will be releasing a Pro version this summer. Head over to the nTopology Product page to download the software yourself!

Photos from NYIO's trip to the Hudson Yards project

Added on by Spencer Wright.

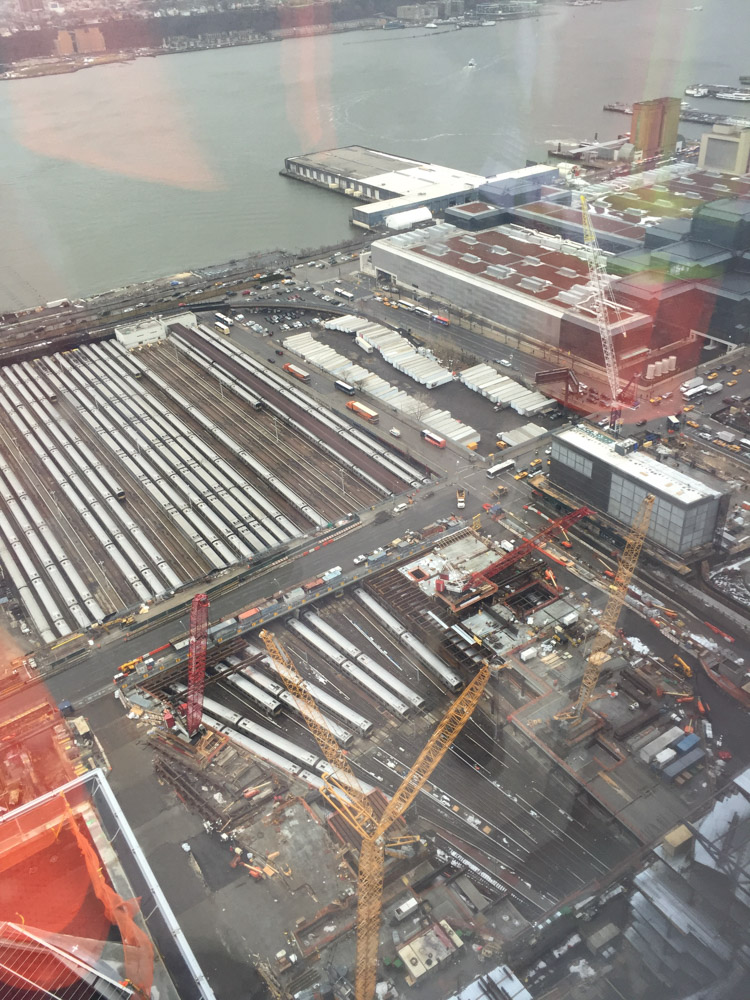
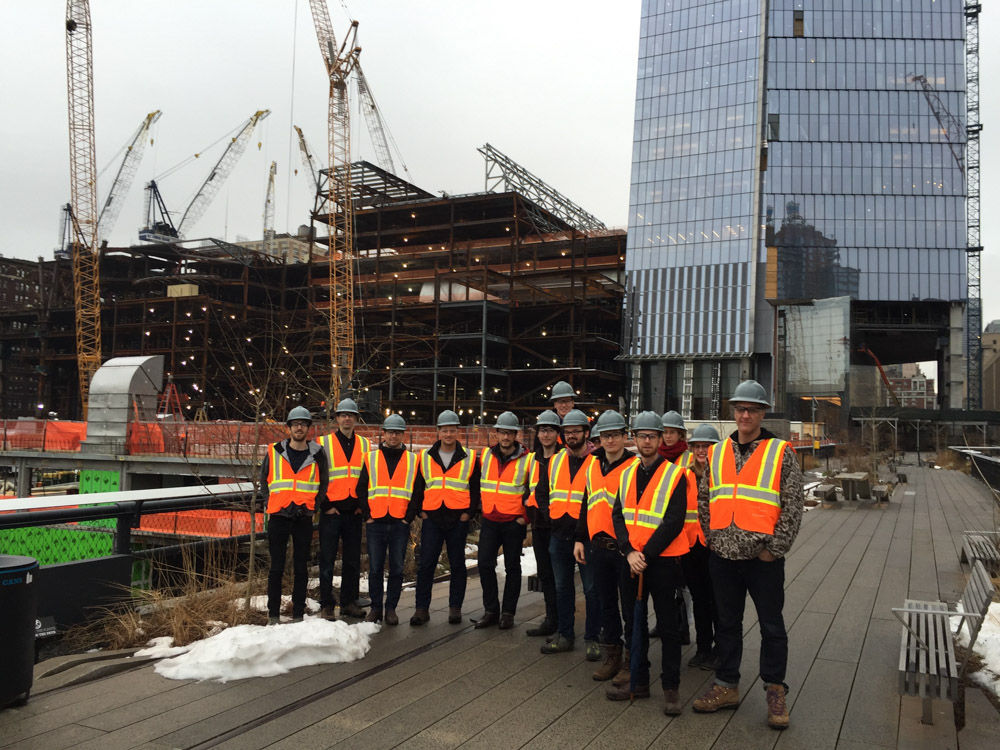
Last week, the New York Infrastructure Observatory was lucky enough to tour the Hudson Yards Redevelopment project - the largest private real estate development project in US History. From my announcement email:

I just want to reiterate that: This is 26+ acres of active rail yard, on which Related Companies and Oxford Properties are building over 12 million square feet of office, residential, and retail space, designed by Kohn Pedersen Fox. And the trains underneath (did I mention that all of this development is being built on a huge platform supported by columns?) will keep running throughout construction.

The Hudson Yards project will remake the a big part of the NYC skyline, and includes large changes to the infrastructure in the area. It's a once in a generation project, and it was *really* great to see it in person.

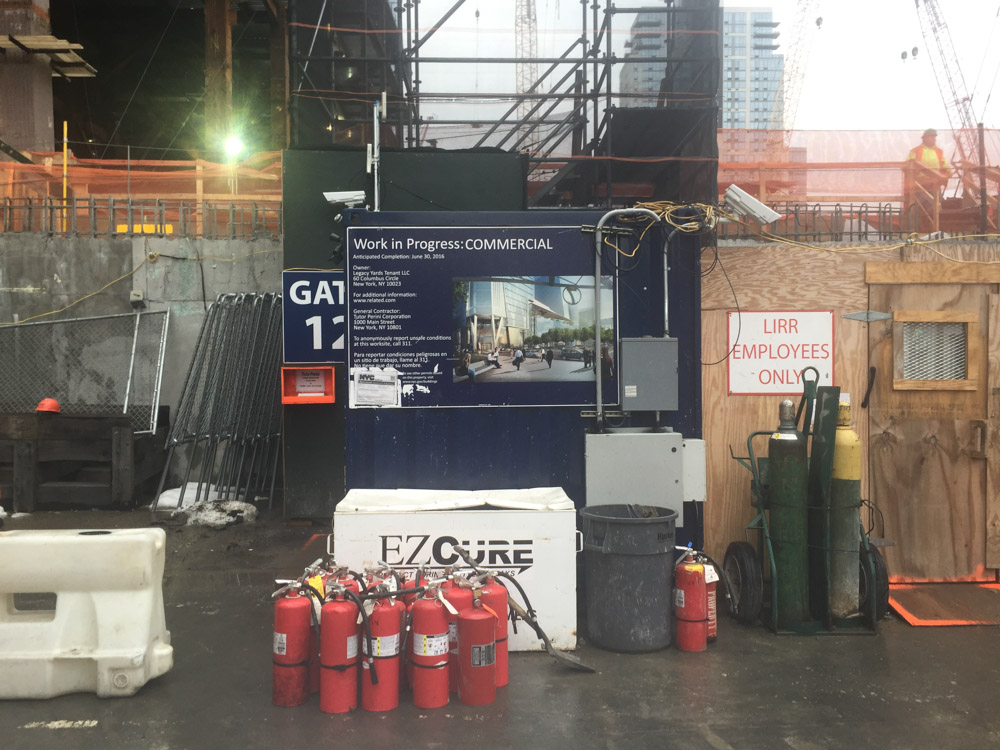
You can see my photos (with captions, if you click them) below. Gabe Ochoa also posted a bunch on his blog, which I recommend checking out too!

Hudson Yards from the new 7 train entrance

Also: You should really read The Power Broker.

Public Radio Fulfillment

Added on by Spencer Wright.

I can barely speak:

By the end of today, there will be about 1100 Public Radios in the mail. They should start being delivered to backers tomorrow.

We owe *so* much to our family, friends, and random interested people who helped us get this far. We're so lucky to have had the help, and it was really fun getting to work on a fun project with interesting, interested people.

First out

Added on by Spencer Wright.

Yesterday Zach and I packaged up the very first Public Radios.

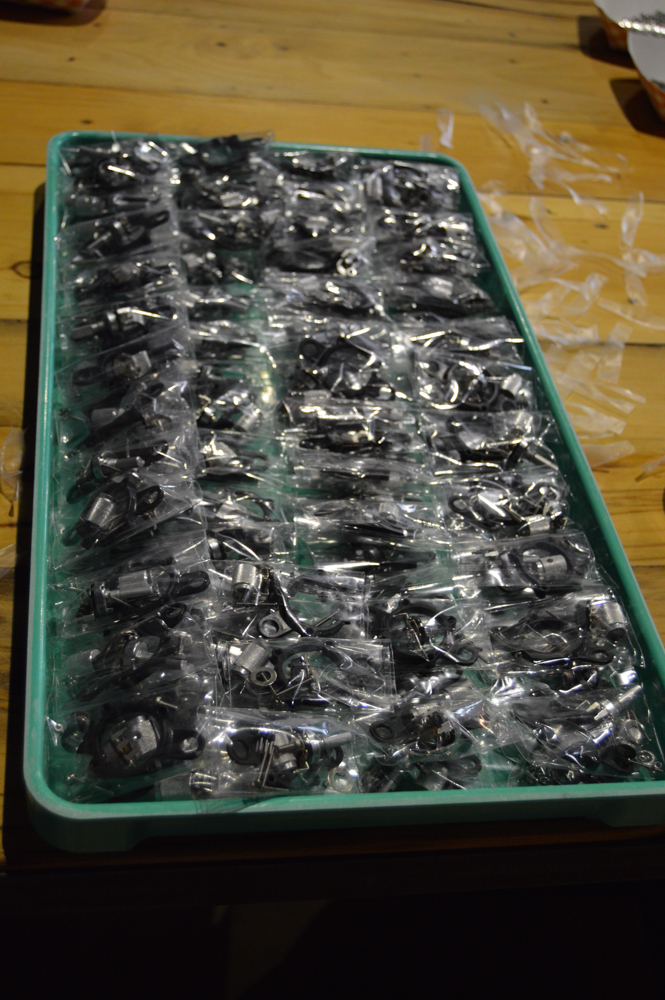
This is the first 71 radios to come off of our (much improvised) production assembly sequence. We've relied *so* much on our friends, family, and employers over the past few months, and absolutely could not have done this without all of them.

Next weekend we'll finish building the remaining ~400 radios, which we're still waiting for PCBs for (we had a SNAFU - totally my fault - with our battery clip inventory). We're also planning on shipping out 1000 radios, which would comprise all of our base level ($48) Kickstarter backer rewards. 

Looking forward to getting it done :)

Production sequence report

Added on by Spencer Wright.

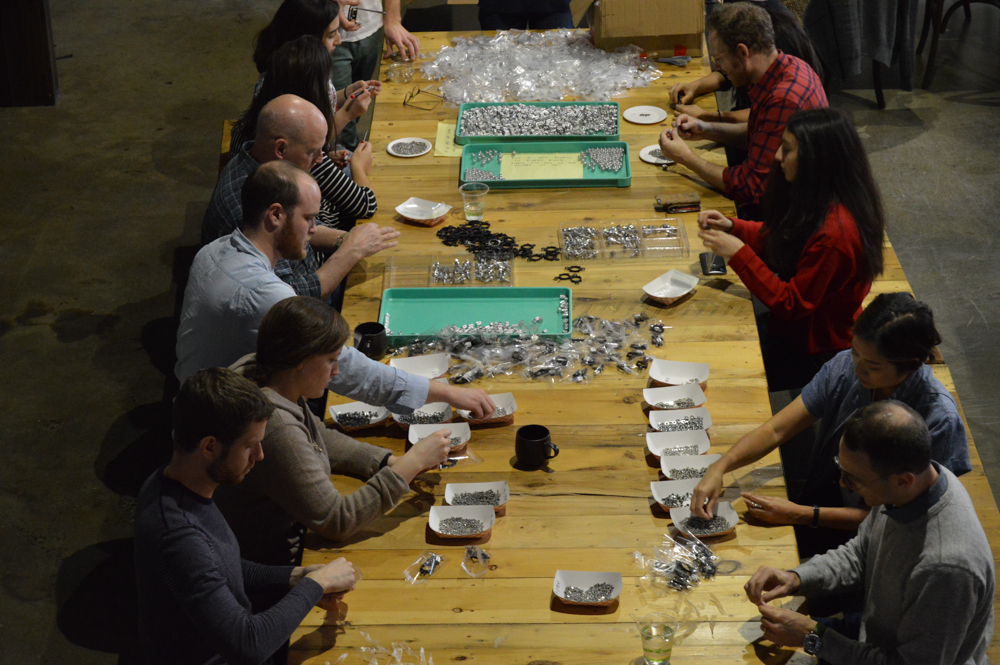
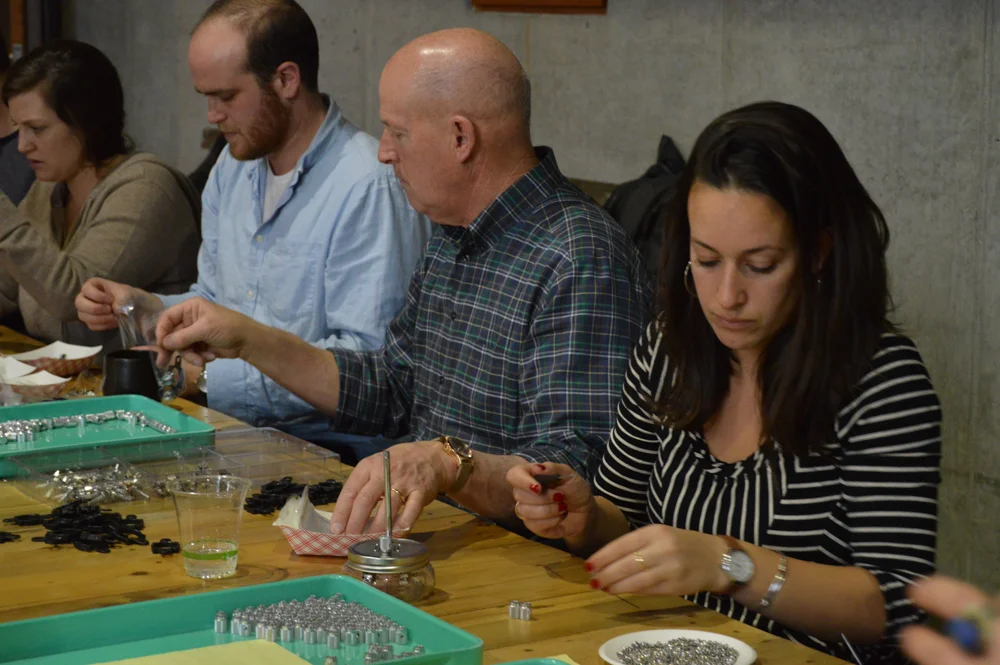
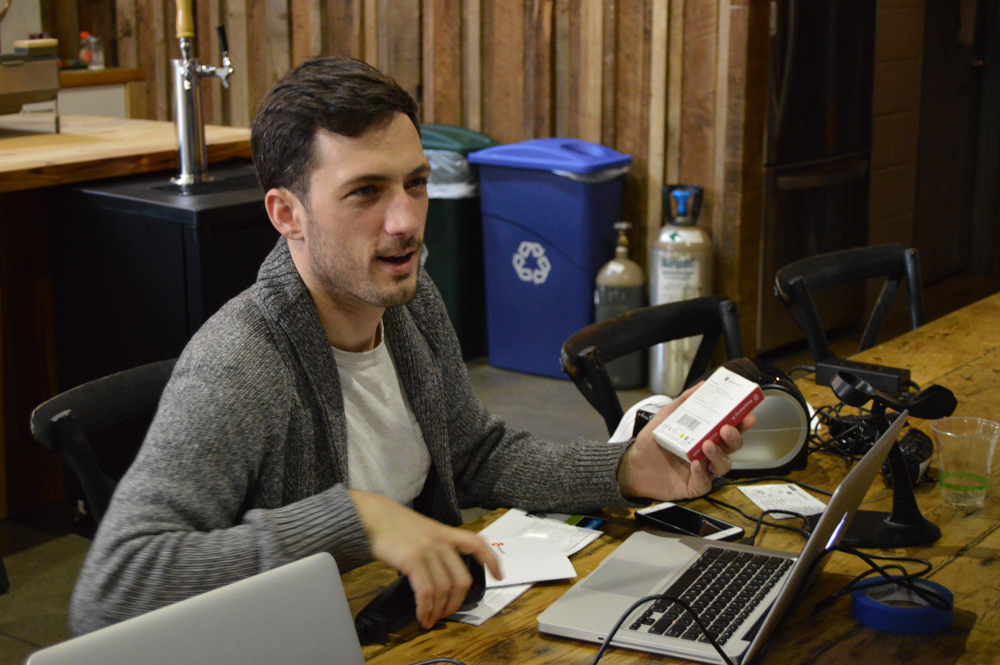
First: Big thanks to Sam, Tieg, Buenas, Amanda, Jenny, Daniel, Lisa, Jordan and Sasha for helping Zach and I assemble the first 65 Public Radios. The day went really well, and we really appreciate everyone who helped out.

A few things we learned:

  • Antenna screw installation can probably be staged separately from the rest of the operation. It's a fairly rote task, and can be done with little concentration. In the future, we'll probably do the antenna screws at its own station, possibly on a totally different day than the rest of the assembly process.
  • We need *way* more speaker alignment & assembly fixtures. We had 7; I think I want to have 25 next time.
  • We need a foolproof, mechanical method of making sure the speaker screws are all equally (and appropriately) tight. 
  • Scanning the barcodes (which are on the underside of the lids) is kind of a pain in the ass, but could be worse.

In total, the mechanical assembly process takes about 6 minutes per radio. I'd like to cut that in half; I really want the full box build (taking raw components in and ending up with a tuned, packaged radio at the end) to take about 4 minutes. I think the stuff above will help, and I'm hoping to make more progress towards this goal over the next week.

Production sequence questions

Added on by Spencer Wright.

Early this week, I handed over 250+ of The Public Radio's "Maker Kit" Kickstarter rewards to a friendly USPS employee. It was a big step forward, but the fact is that the real production hurdles are all ahead of us. Although we have most of our tools built and tested, a few steps still need to be ironed out, and we have a bunch of work to do this weekend to secure the mechanical assembly workflow.

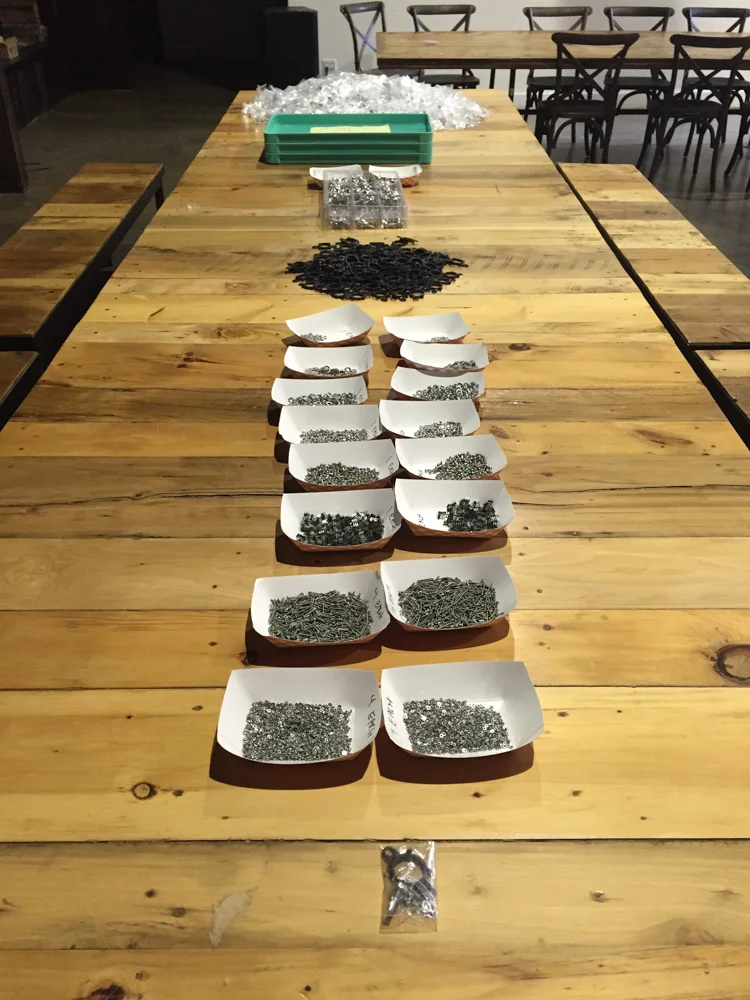
So this evening I spent a while setting up an assembly line at the Undercurrent office. We have a handful of volunteers coming by tomorrow morning, and it was great taking a little time beforehand to get things arranged how I *think* they'll be most efficient. It was also just good to think about what the possible bottlenecks could be, which to be honest I haven't had much time to do.

I documented the hand-assembly process of The Public Radio here, but what I didn't show is how it might work in a small scale production line. I also glossed over a few tricky steps, and the weird anomalies that I'm sure will come up. For my own benefit as much as anyone's, here are the questions that are foremost on my mind right now:

  • Can we use an offset screwdriver (like this Klein one) for the antenna screw, or do we need to use traditional electronics type screwdrivers (like this Wiha one), which will probably be slower?
  • Is the hot glue on the speaker going to be a total pain in the ass to apply? Do we need a different glue formula, or application method?
  • Will the speaker wires get in the way of the speaker screws? This was a bit of an issue with late prototypes, and I'm anticipating a bit of manual manipulation (read: fucking around with the wires with your fingers before the speaker is glued down) in order for everything to work out. Is that going to be problematic?
  • Will the speaker wire length be appropriate? We made the wires a bit long to start, figuring that it's better for them to be long than to be too short. How will the extra slack affect assembly?
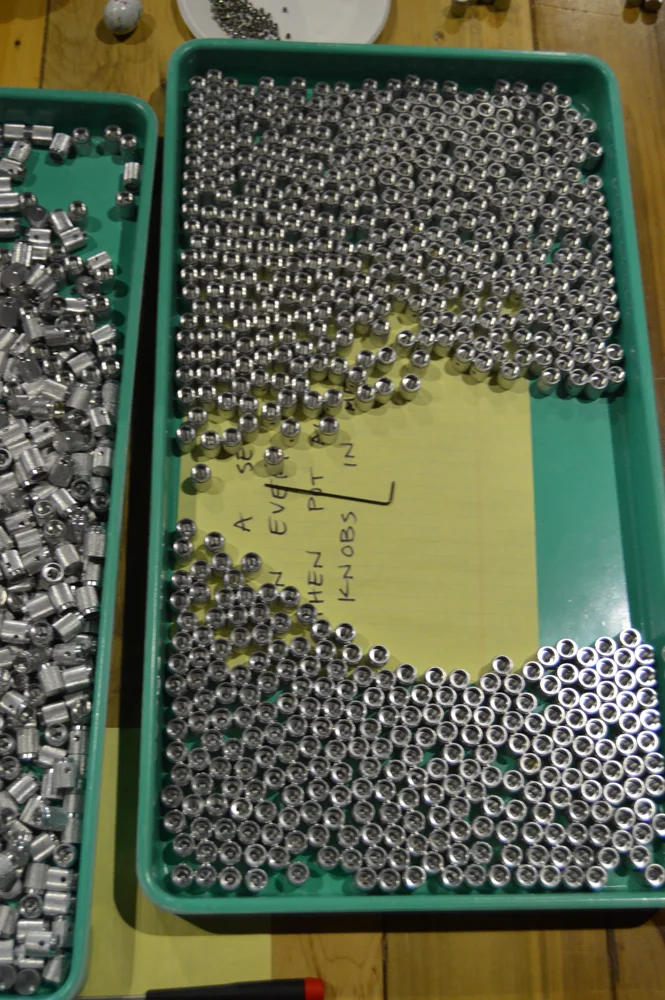
  • Both the speaker nuts and screws are tiny. Do we need a customized tool to help install the nuts into the speaker assembly fixture? Is there some way that we can orient or direct the nuts and screws so that they're easier to grab and put into the assembly?
  • Putting the lid onto the assembly can be a bit wobbly - especially because the lid spacer tends to swivel around while you're putting the lid on. Do we need a separate fixture or tool to hold the spacer in place while the lid is being screwed on?
  • How long will the little hex recesses in the speaker assembly fixture last? We need to put a bit of torque on the screws, and I'm concerned that the recesses will strip out after not too many units.
  • How do we store the potentiometer washers so that they're easy to pick up and install? The washers are pretty thin, and they're kind of hard to handle.

So, that's a pretty good list. But that's just what I *know* that I don't know; I'm sure there are many other questions that I *should* be asking.

While I'm trying to find those questions, Zach will be leading the effort to get our tuning & shipping procedure mission ready. There, we had a *great* advance yesterday: Jordan found a way to get our Raspberry Pi tuning fixtures to actually broadcast audio on the FM spectrum. We'll use that feature to test every single radio we ship: after the radio is tuned, the Pi will start broadcasting the default Cisco hold music on the same frequency the radio was just tuned to. If you don't hear Opus Number 1 when the tuning is complete, then something's wrong.

So. By this time tomorrow, we should have about 70 mechanically assembled (and possibly tuned) Public Radios. We won't ship them immediately - our jars haven't arrived yet - but everything we learn will be immediately turned around and improved for the next time we build radios - probably a week from now.

Fun.

Getting ready

Added on by Spencer Wright.

Today Zach and I spent all day getting readier for the fully assembled Public Radios.

At the moment, the Maker Kits are 12 days late. We're waiting on two parts for those: our lids (which will arrive in NYC early this week), and our speakers (which we're getting final production samples of on Tuesday). 

While we're waiting for those, we're firming up our assembly, tuning, and shipping procedure. This has become pretty complicated, and involves multiple barcodes & a scanner, both python and BASH scripts, a bunch of C, many FDM fixtures, and a bunch of assembly steps.

Still a *lot* of work left. More to come.

Process chain reality

Added on by Spencer Wright.

I love this:

This is from the demo video for the Matsuura LUMEX Avance-25, a hybrid CNC mill/directed energy deposition machine. This is the same machine that GE Measurement & Control is apparently using to make valve parts. 

Most of the video isn't all that interesting. Most of the hybrid machines out there today are marketed in a similar way, relying largely on renderings and demos that seem a little concocted. But this one slide hit me in its candor - specifically, the fact that this part's process chain is 86% subtractive by time. 

I would love to see a comparison between this process and one that's purely subtractive. The part is fairly complex, and would probably require multiple fixturings, but who knows. It would also be really interesting to see how the process chain would change if you used a non-hybrid powder bed fusion machine (like an EOS M280) and then CNC machined it afterwards. 

Photos from the Packaging Party

Added on by Spencer Wright.

On Saturday, I had the great pleasure of putting a bunch of my closest friends & family to work on preassembly for The Public Radio. 

*So* many thanks to everyone who came out! We'll be doing another one in about two weeks - let me know if you want to participate!

Test fixture

Added on by Spencer Wright.

Over the past week, Zach and I have been hustling *hard* to get a test fixture build for The Public Radio. We're shipping our first Kickstarter rewards in just a few weeks, and will be testing them ourselves, so if all goes well this fixture will get used by yours truly in about a week. 

Basically, the rig accepts a single radio, tunes it to a given station, and tests to see if it's fully functional. The procedure is still a work in progress, but it's coming along well.

We're spinning the test PCB this week, and will be getting a lasercut base + FDM'd alignment fixtures as well. More soon!

Progressive die

Added on by Spencer Wright.

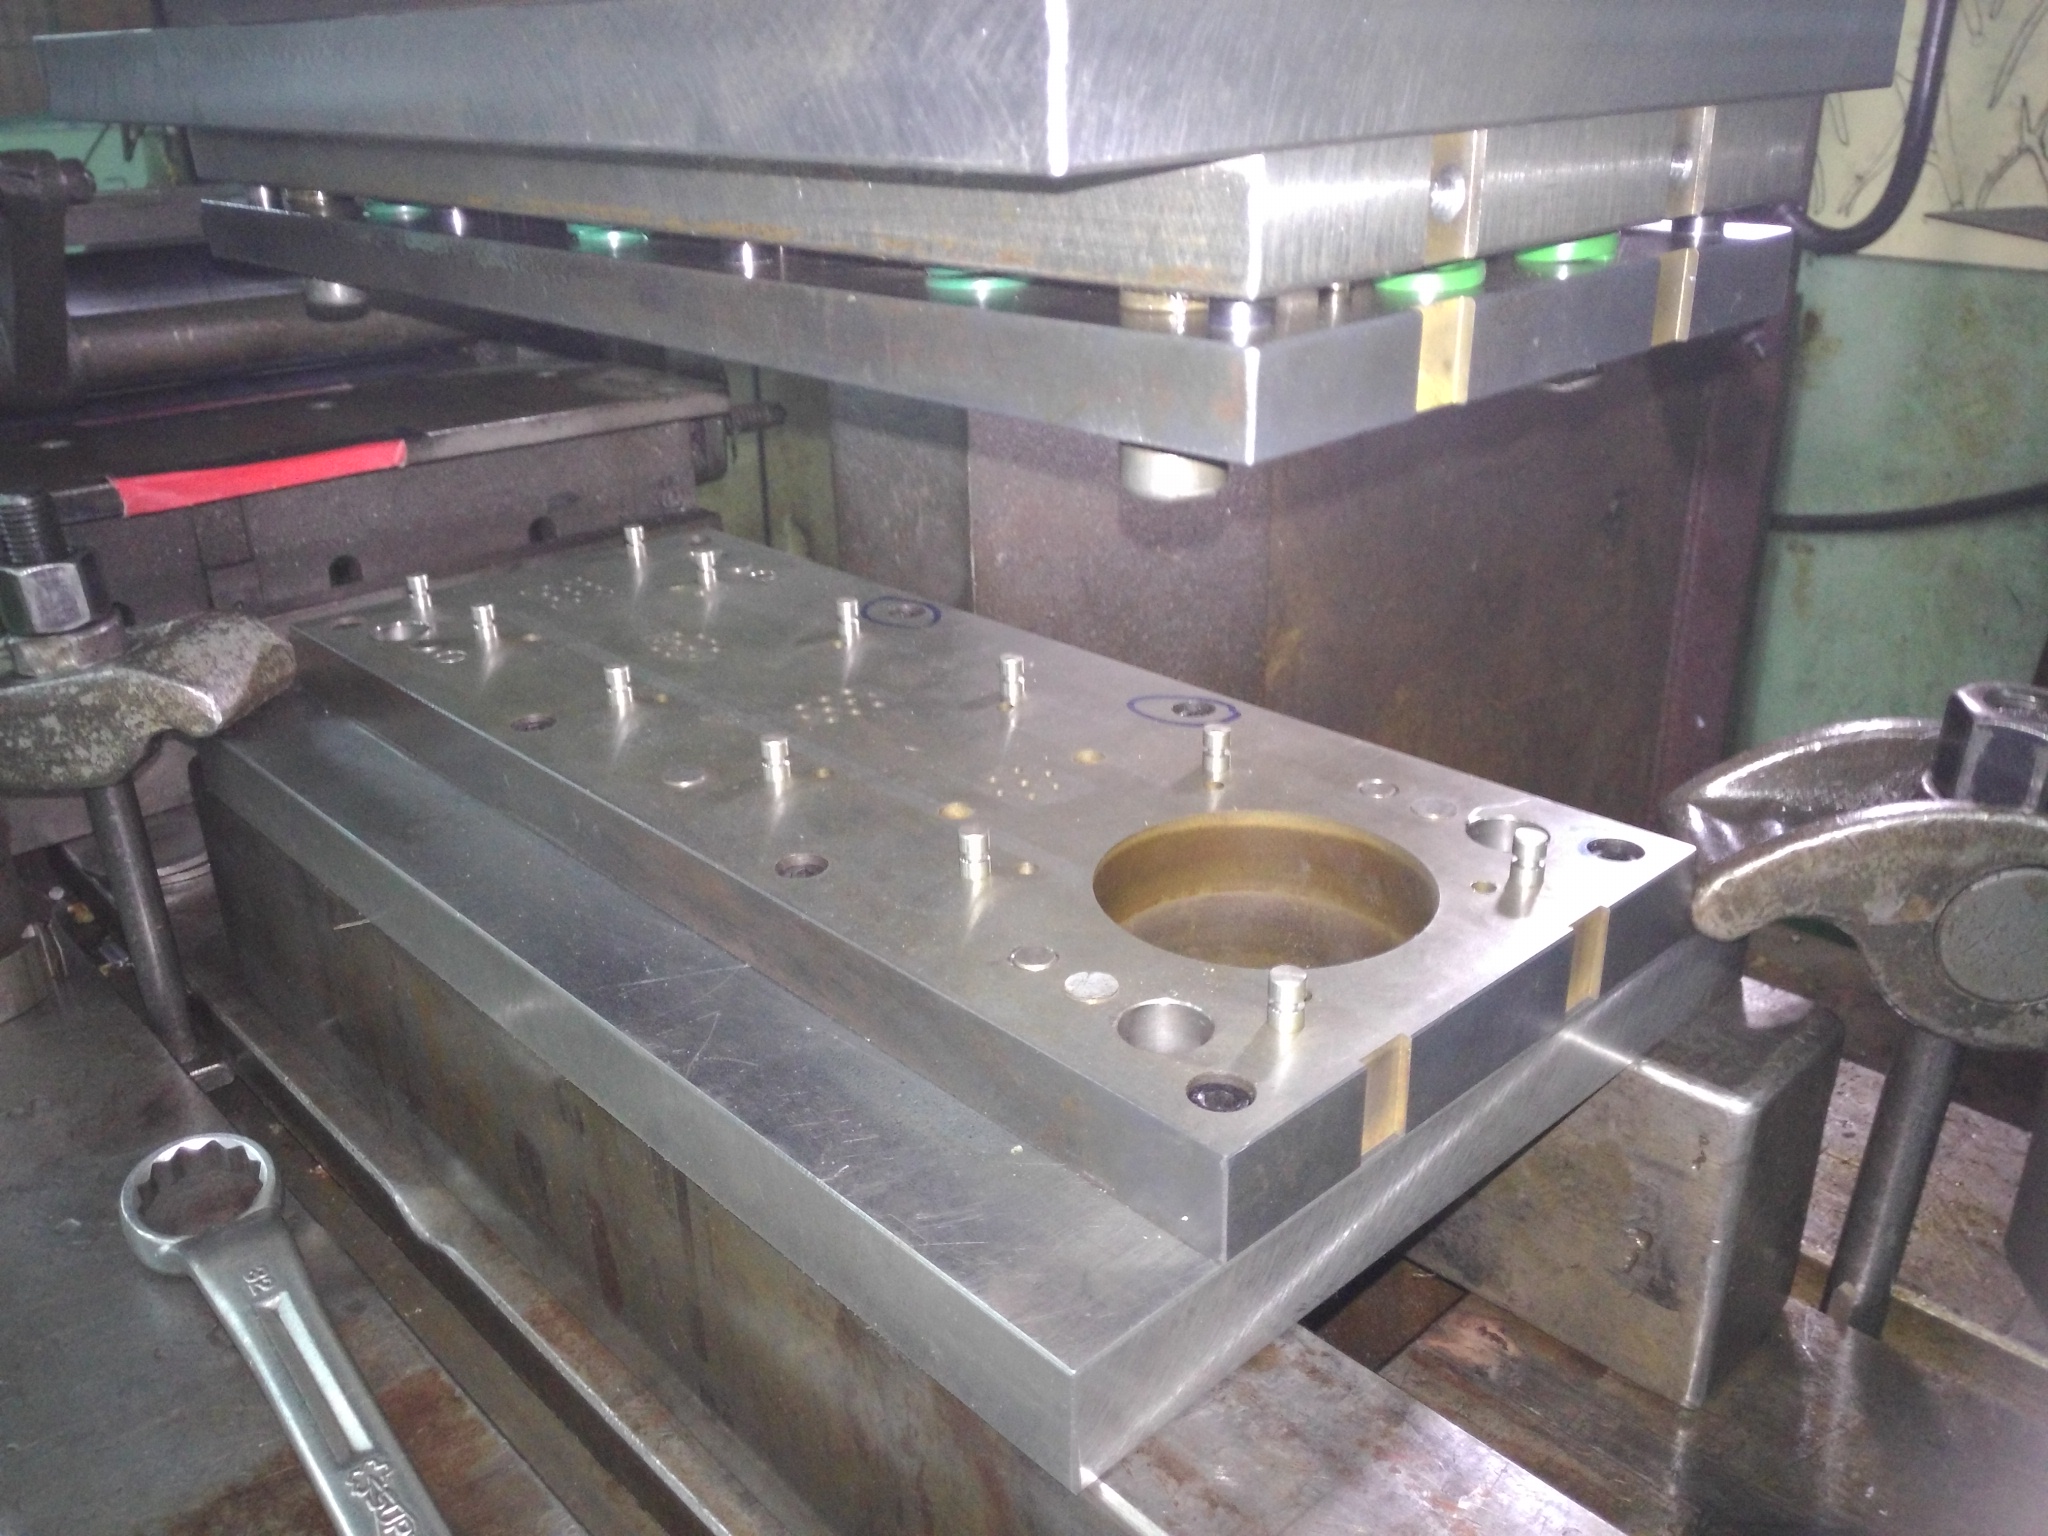
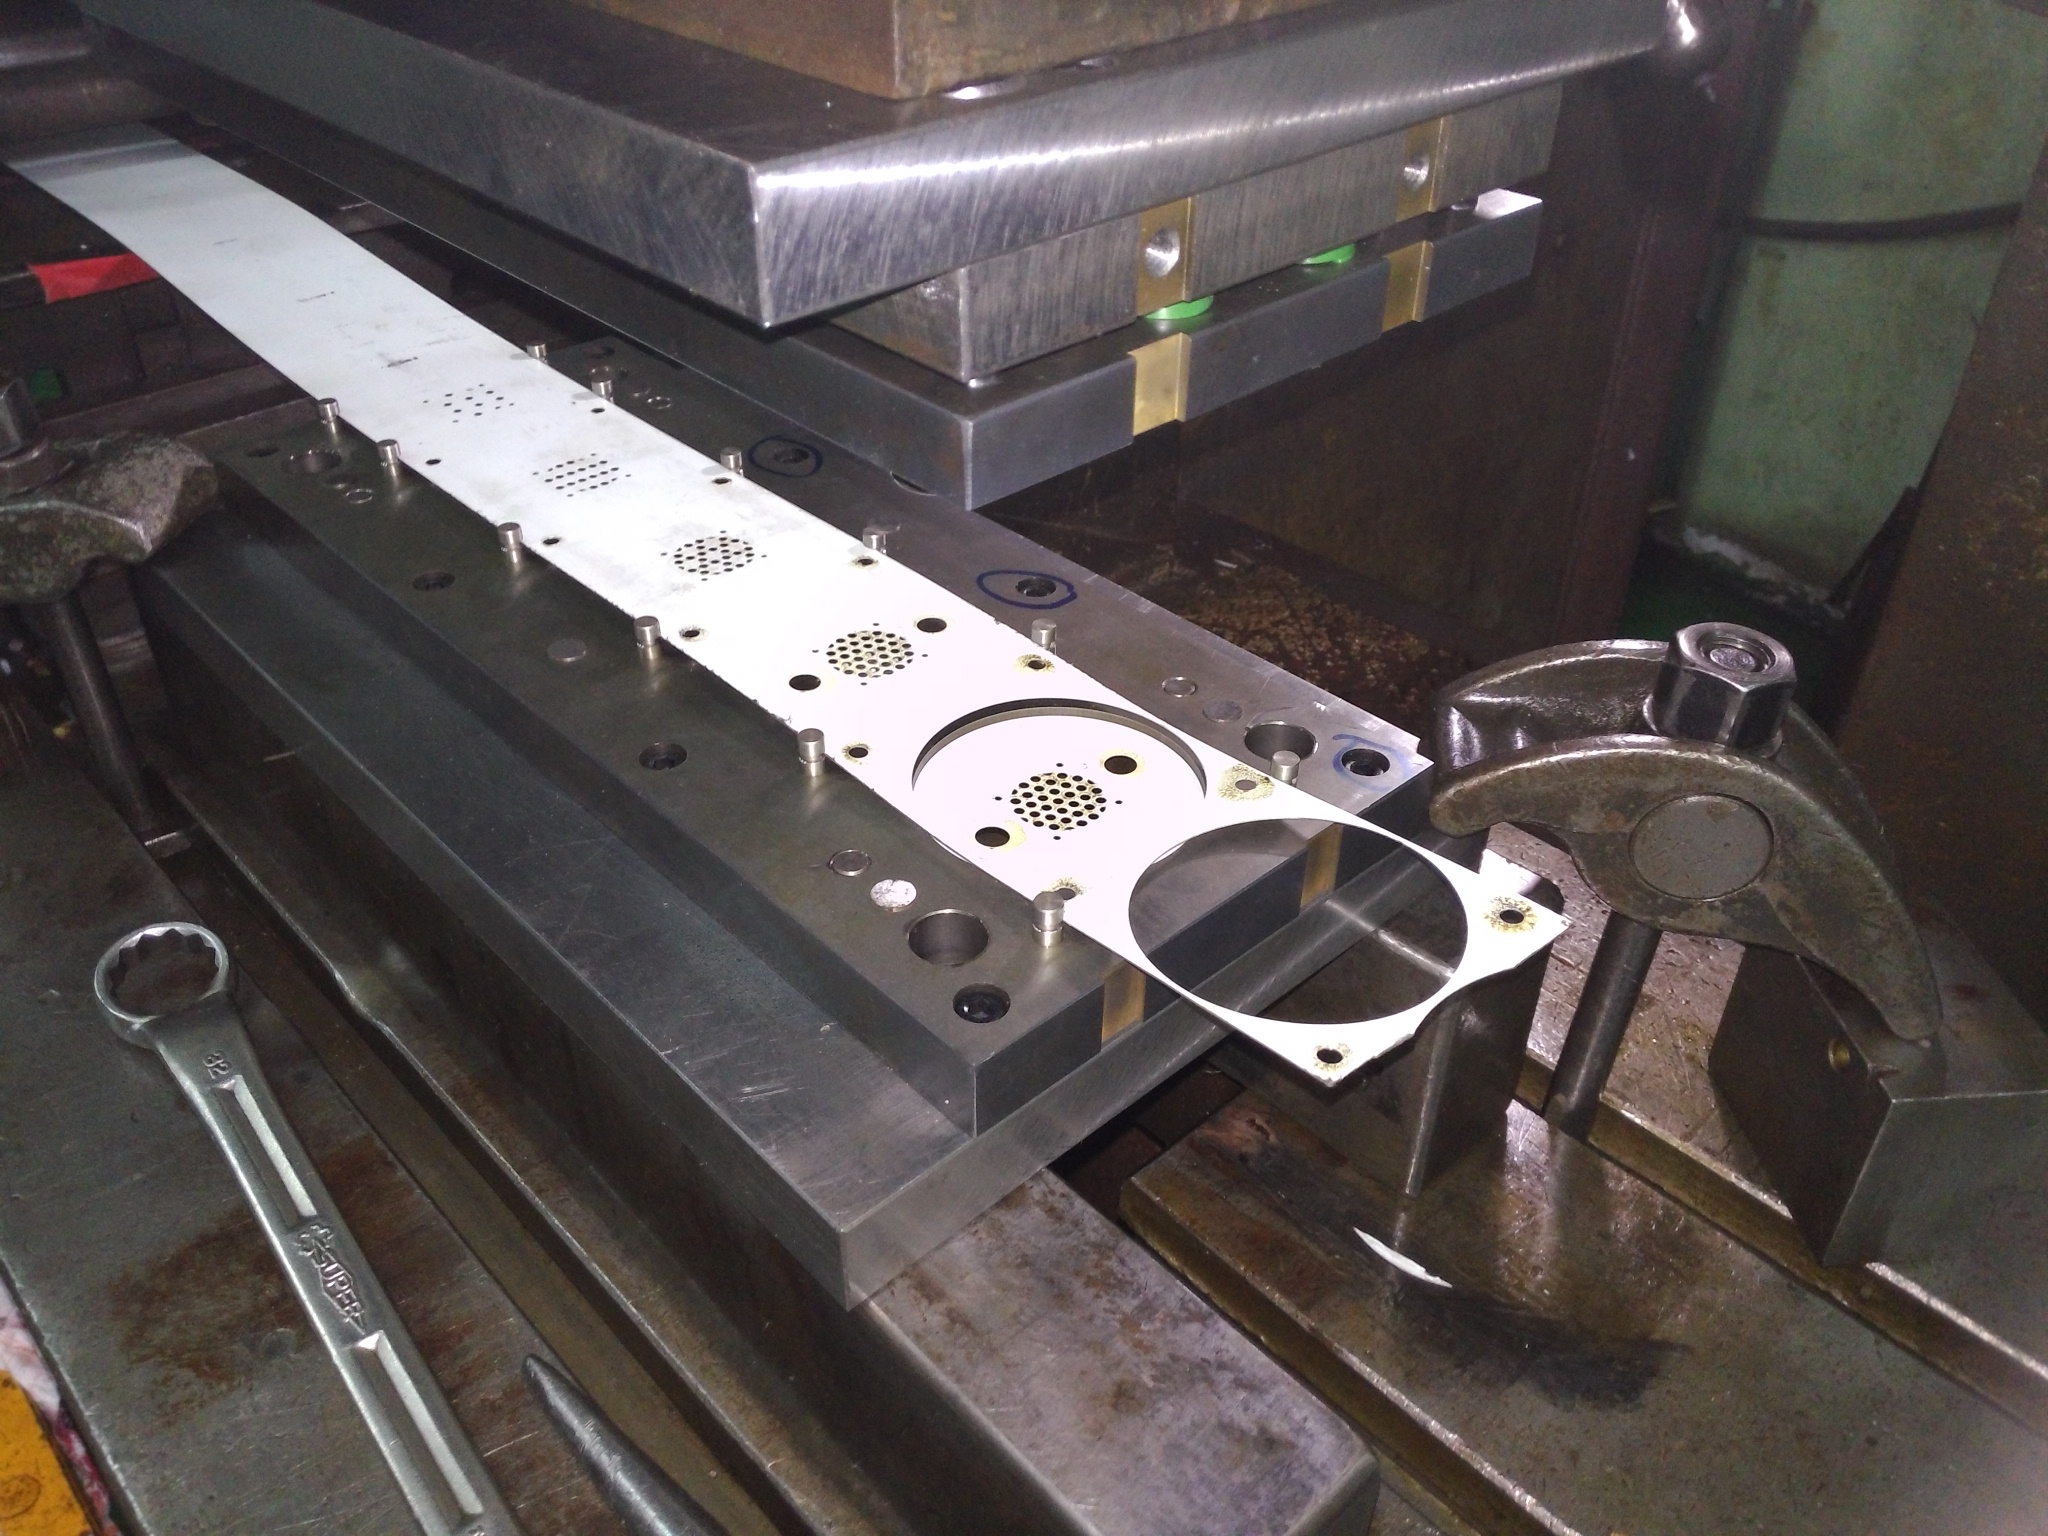
I've only visited a progressive die shop once, and I loved it. Never thought I'd get my own progressive dies, though:

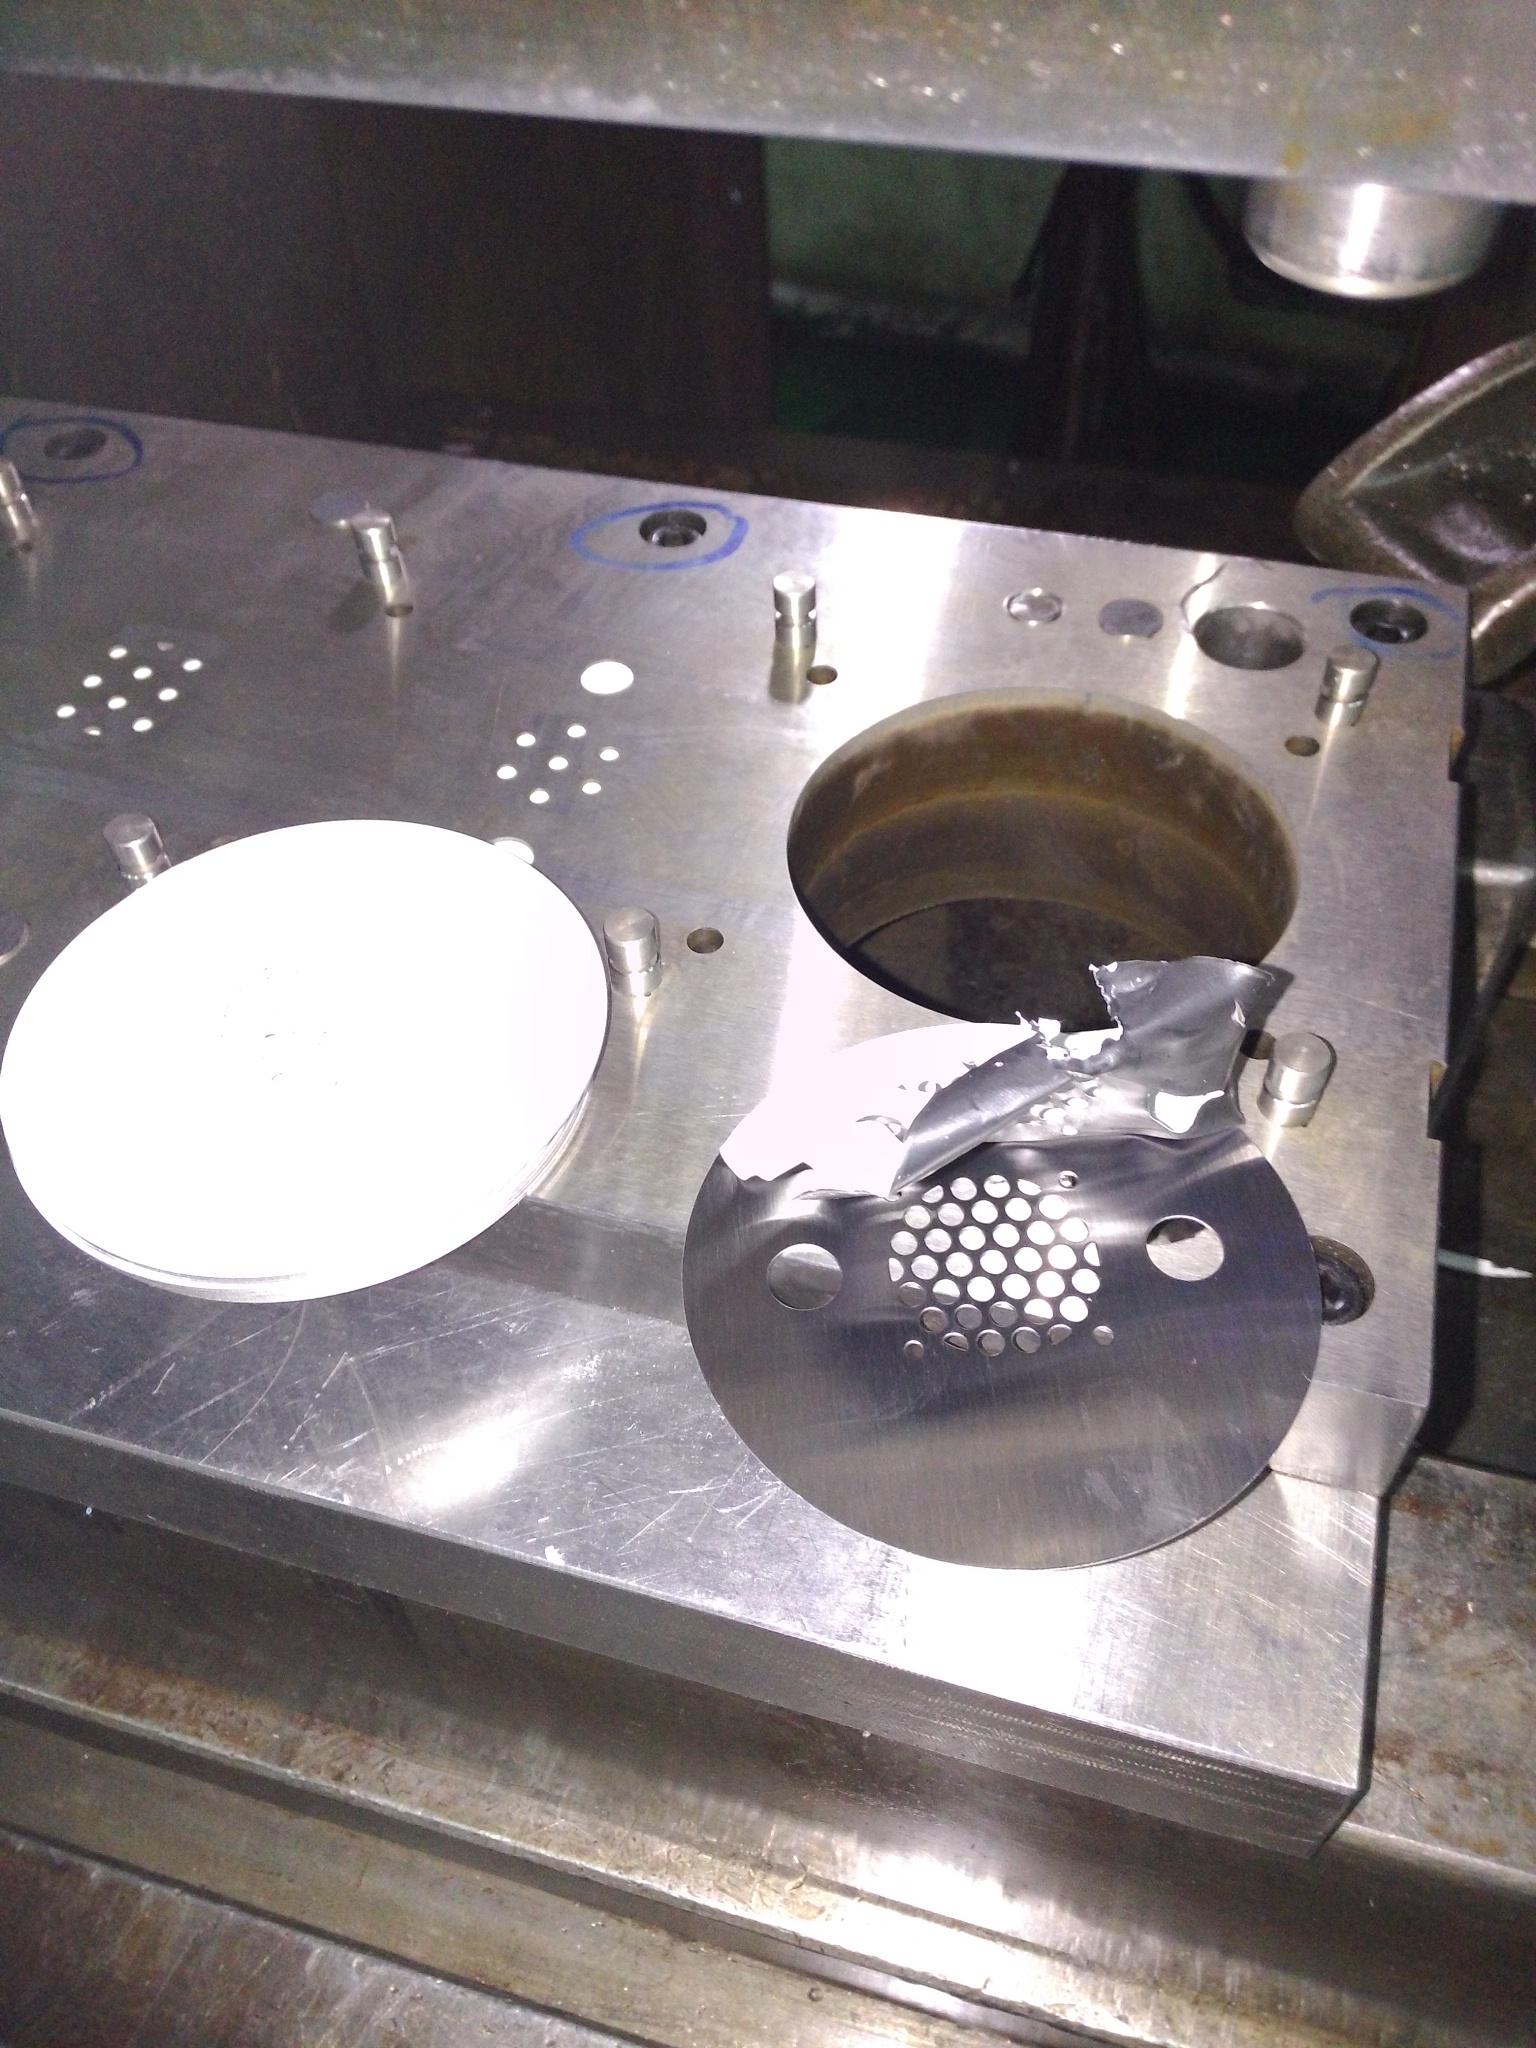
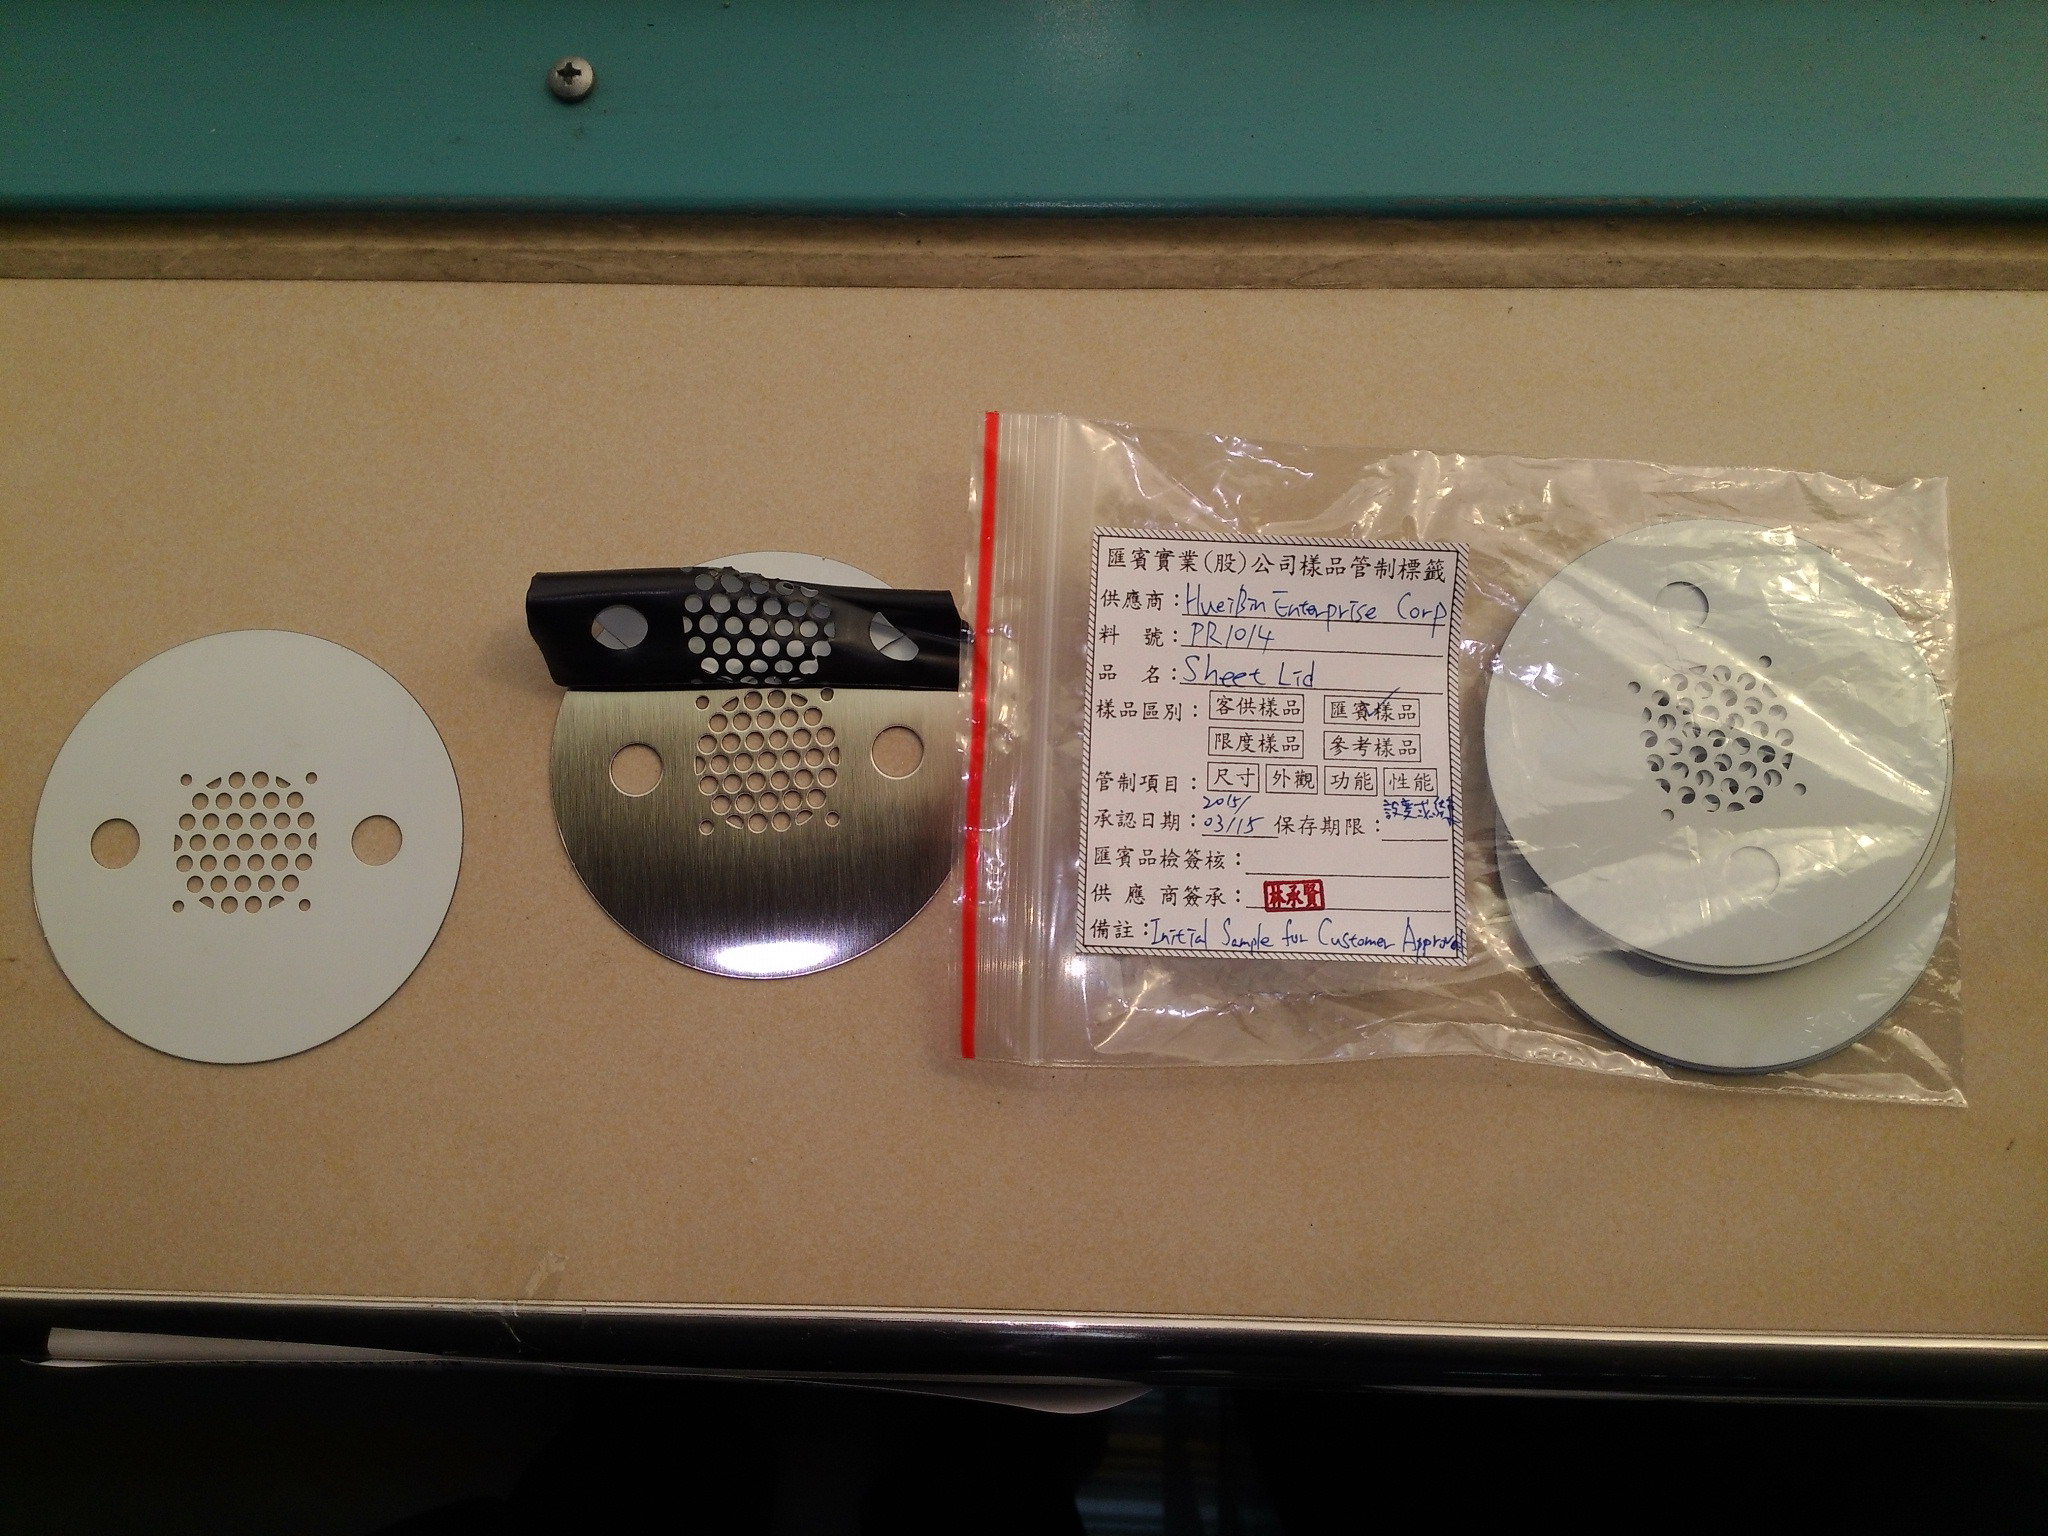
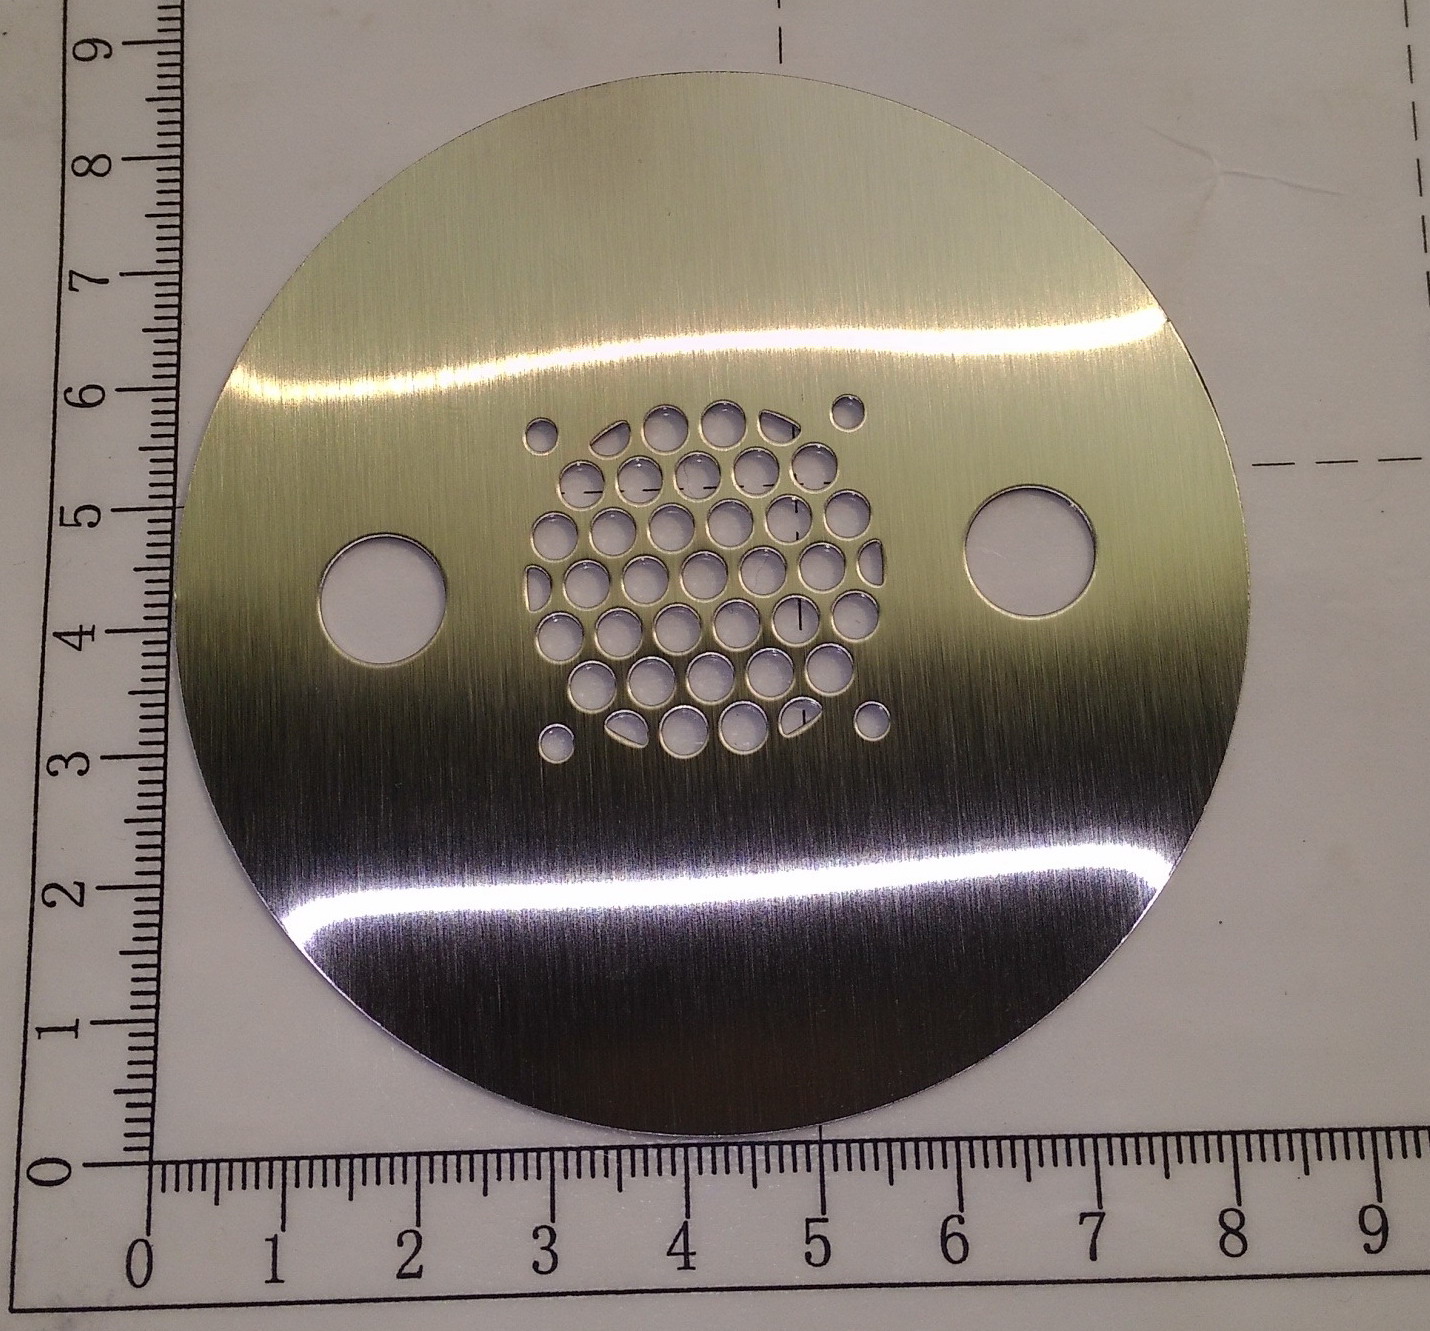
These are in Taiwan currently, and will be producing lids for The Public Radio in the next week. Pretty fun. The speaker holes are made in four stages, and the outline is the last step.

Our deliverable just begins with form

Added on by Spencer Wright.

From The New Yorker's profile on Jony Ive (emphasis mine):

Apple’s designers still visit factories, but a final prototype part from Cupertino is not the start of a conversation; it’s the part. Ive gave me a tour of the area in the studio behind the glass, where, beyond the milling machines, there’s also a color lab. He said, “Years ago, you thought you’d fulfilled your responsibility, as a designer, if you could accurately define the form”—in drawings or a model. Now, Ive said, “our deliverable just begins with form.” The data that Apple now sends to a manufacturer include a tool’s tracking path, speed, and appropriate level of lubricant.

This is interesting. As a designer, I welcome any and all developments that allow me to send G-code directly to my manufacturer. 

Everything I know about how speakers are made

Added on by Spencer Wright.

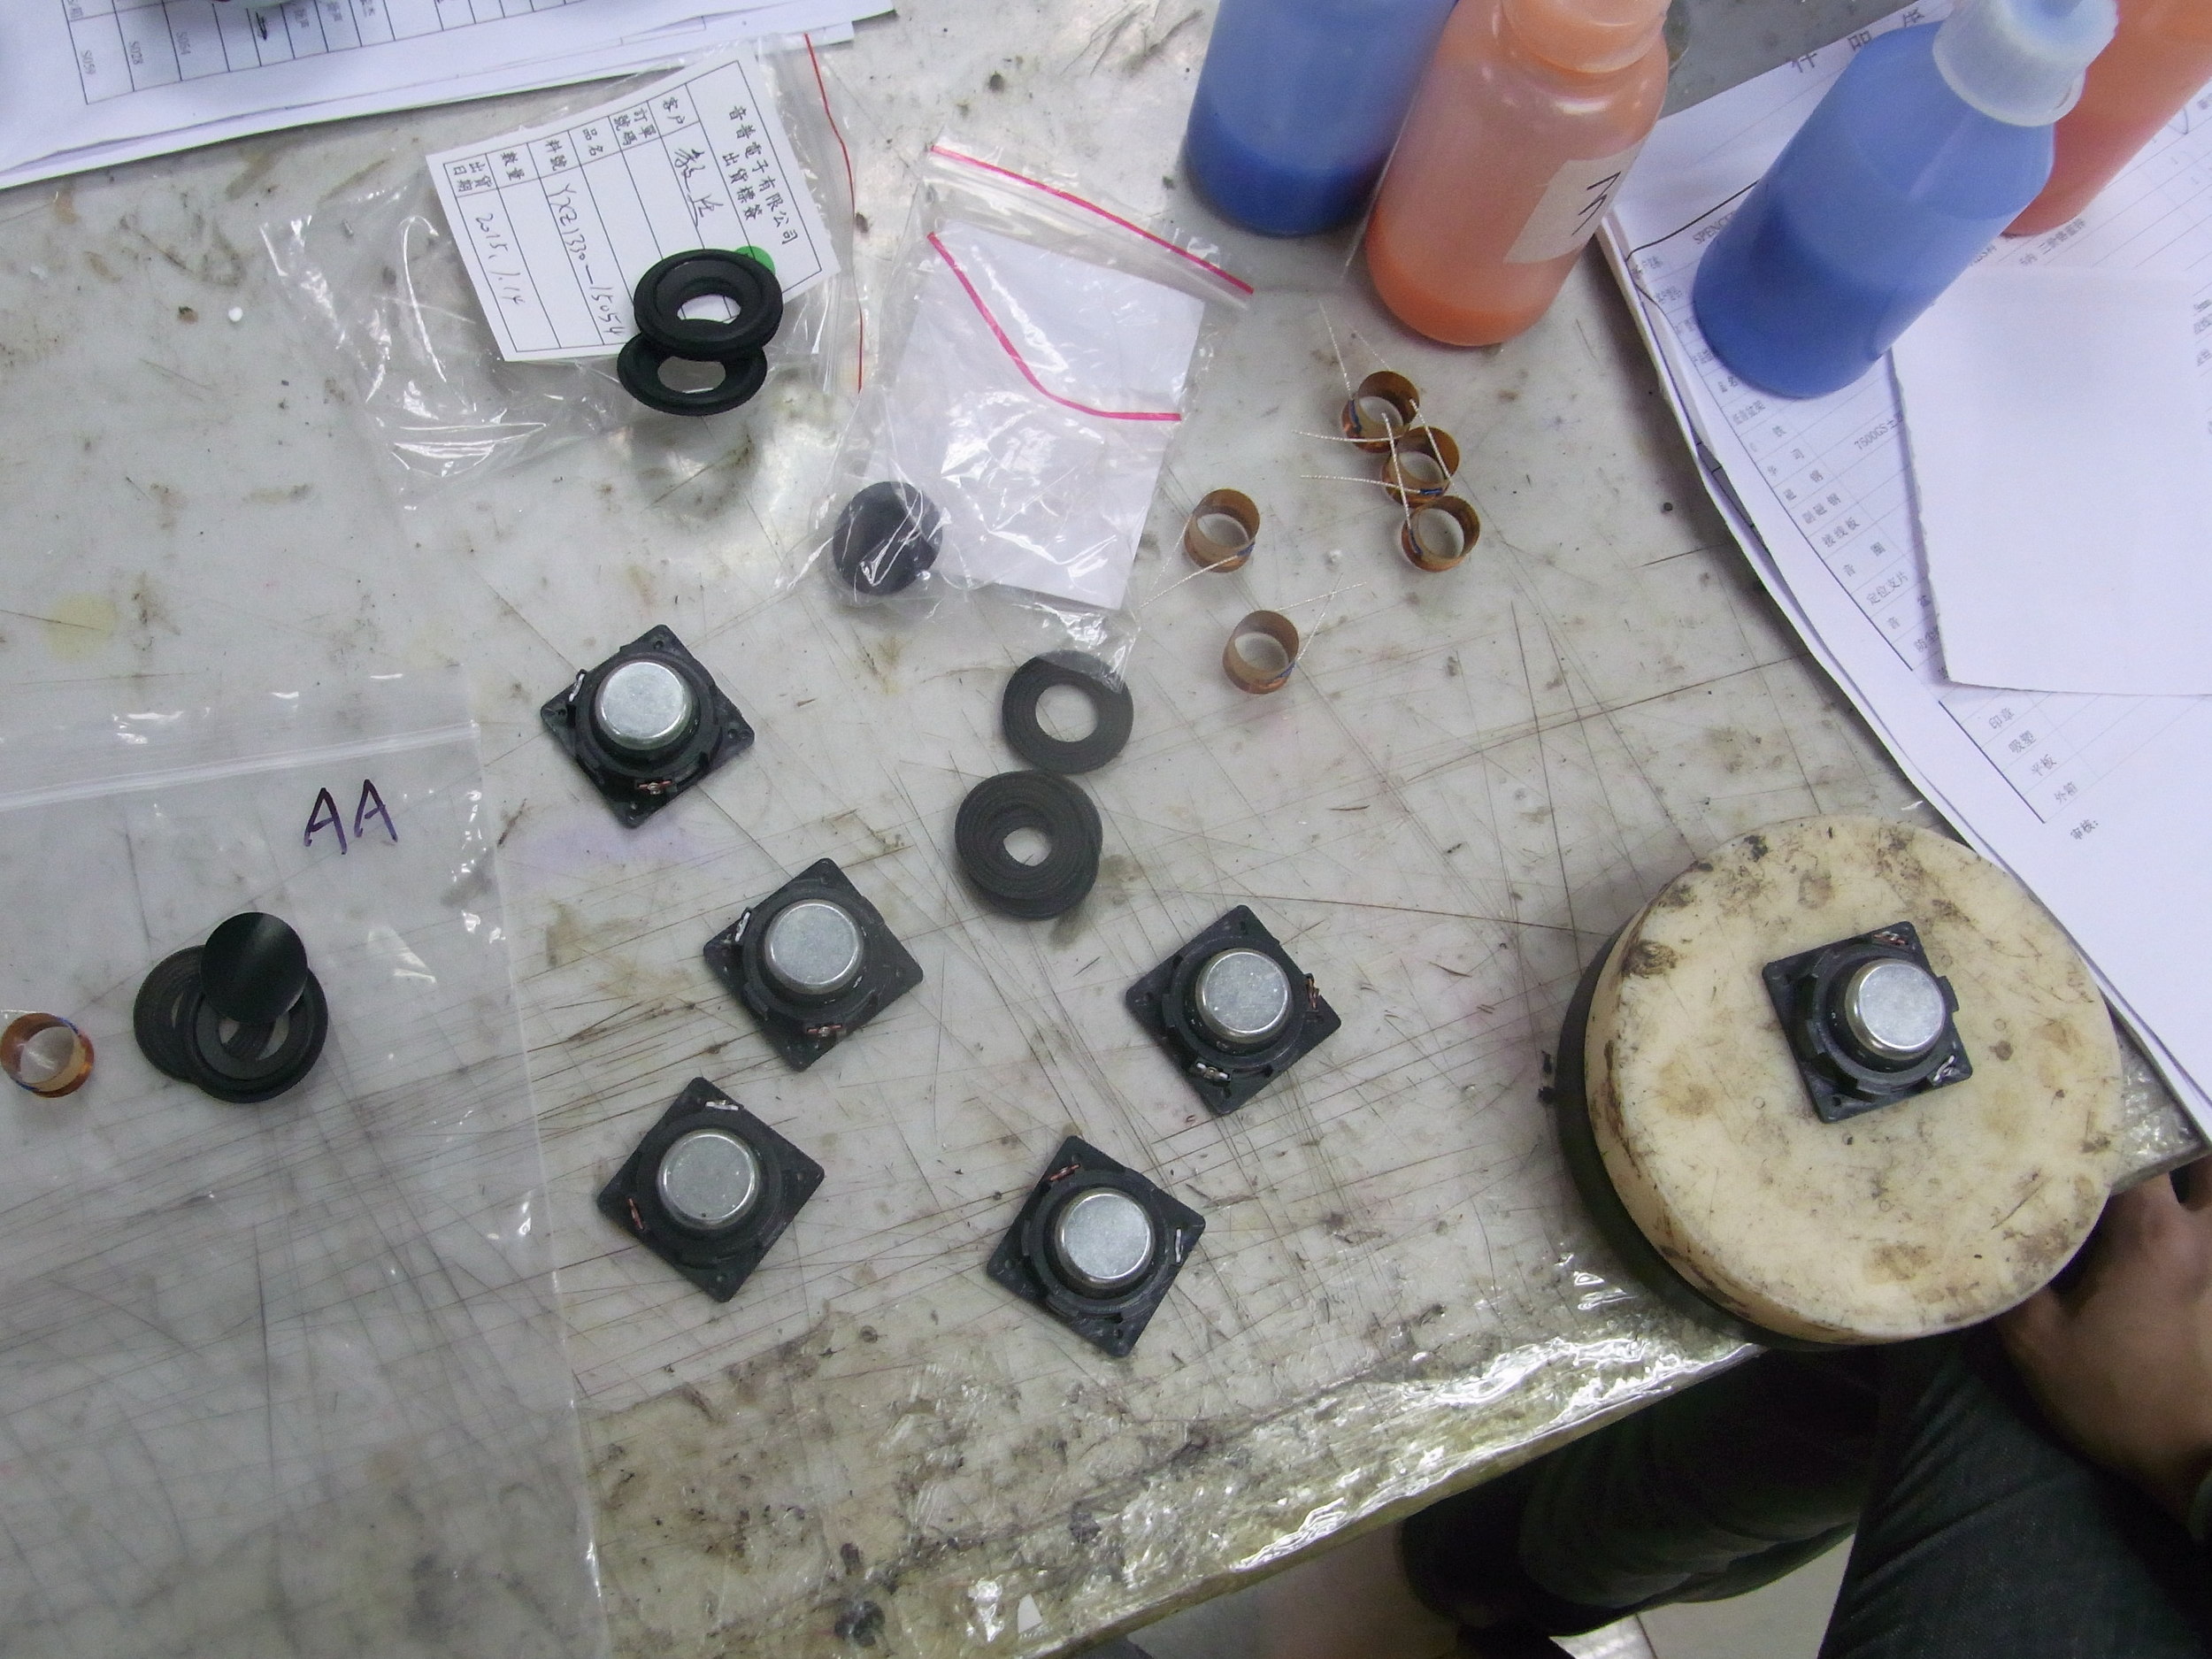
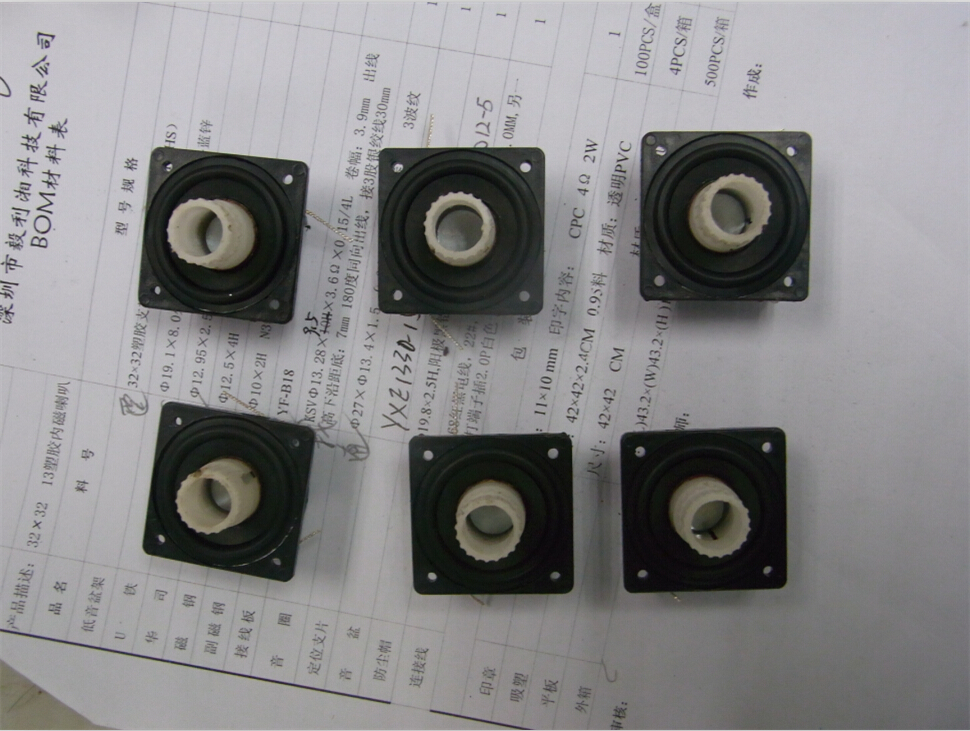
Two photos from a speaker manufacturer in Dongguan. These constitute basically the entirety of what I know about speaker manufacturing.

So, there you go. Speakers. I'm looking to learn more: ping me if you can help (seriously).

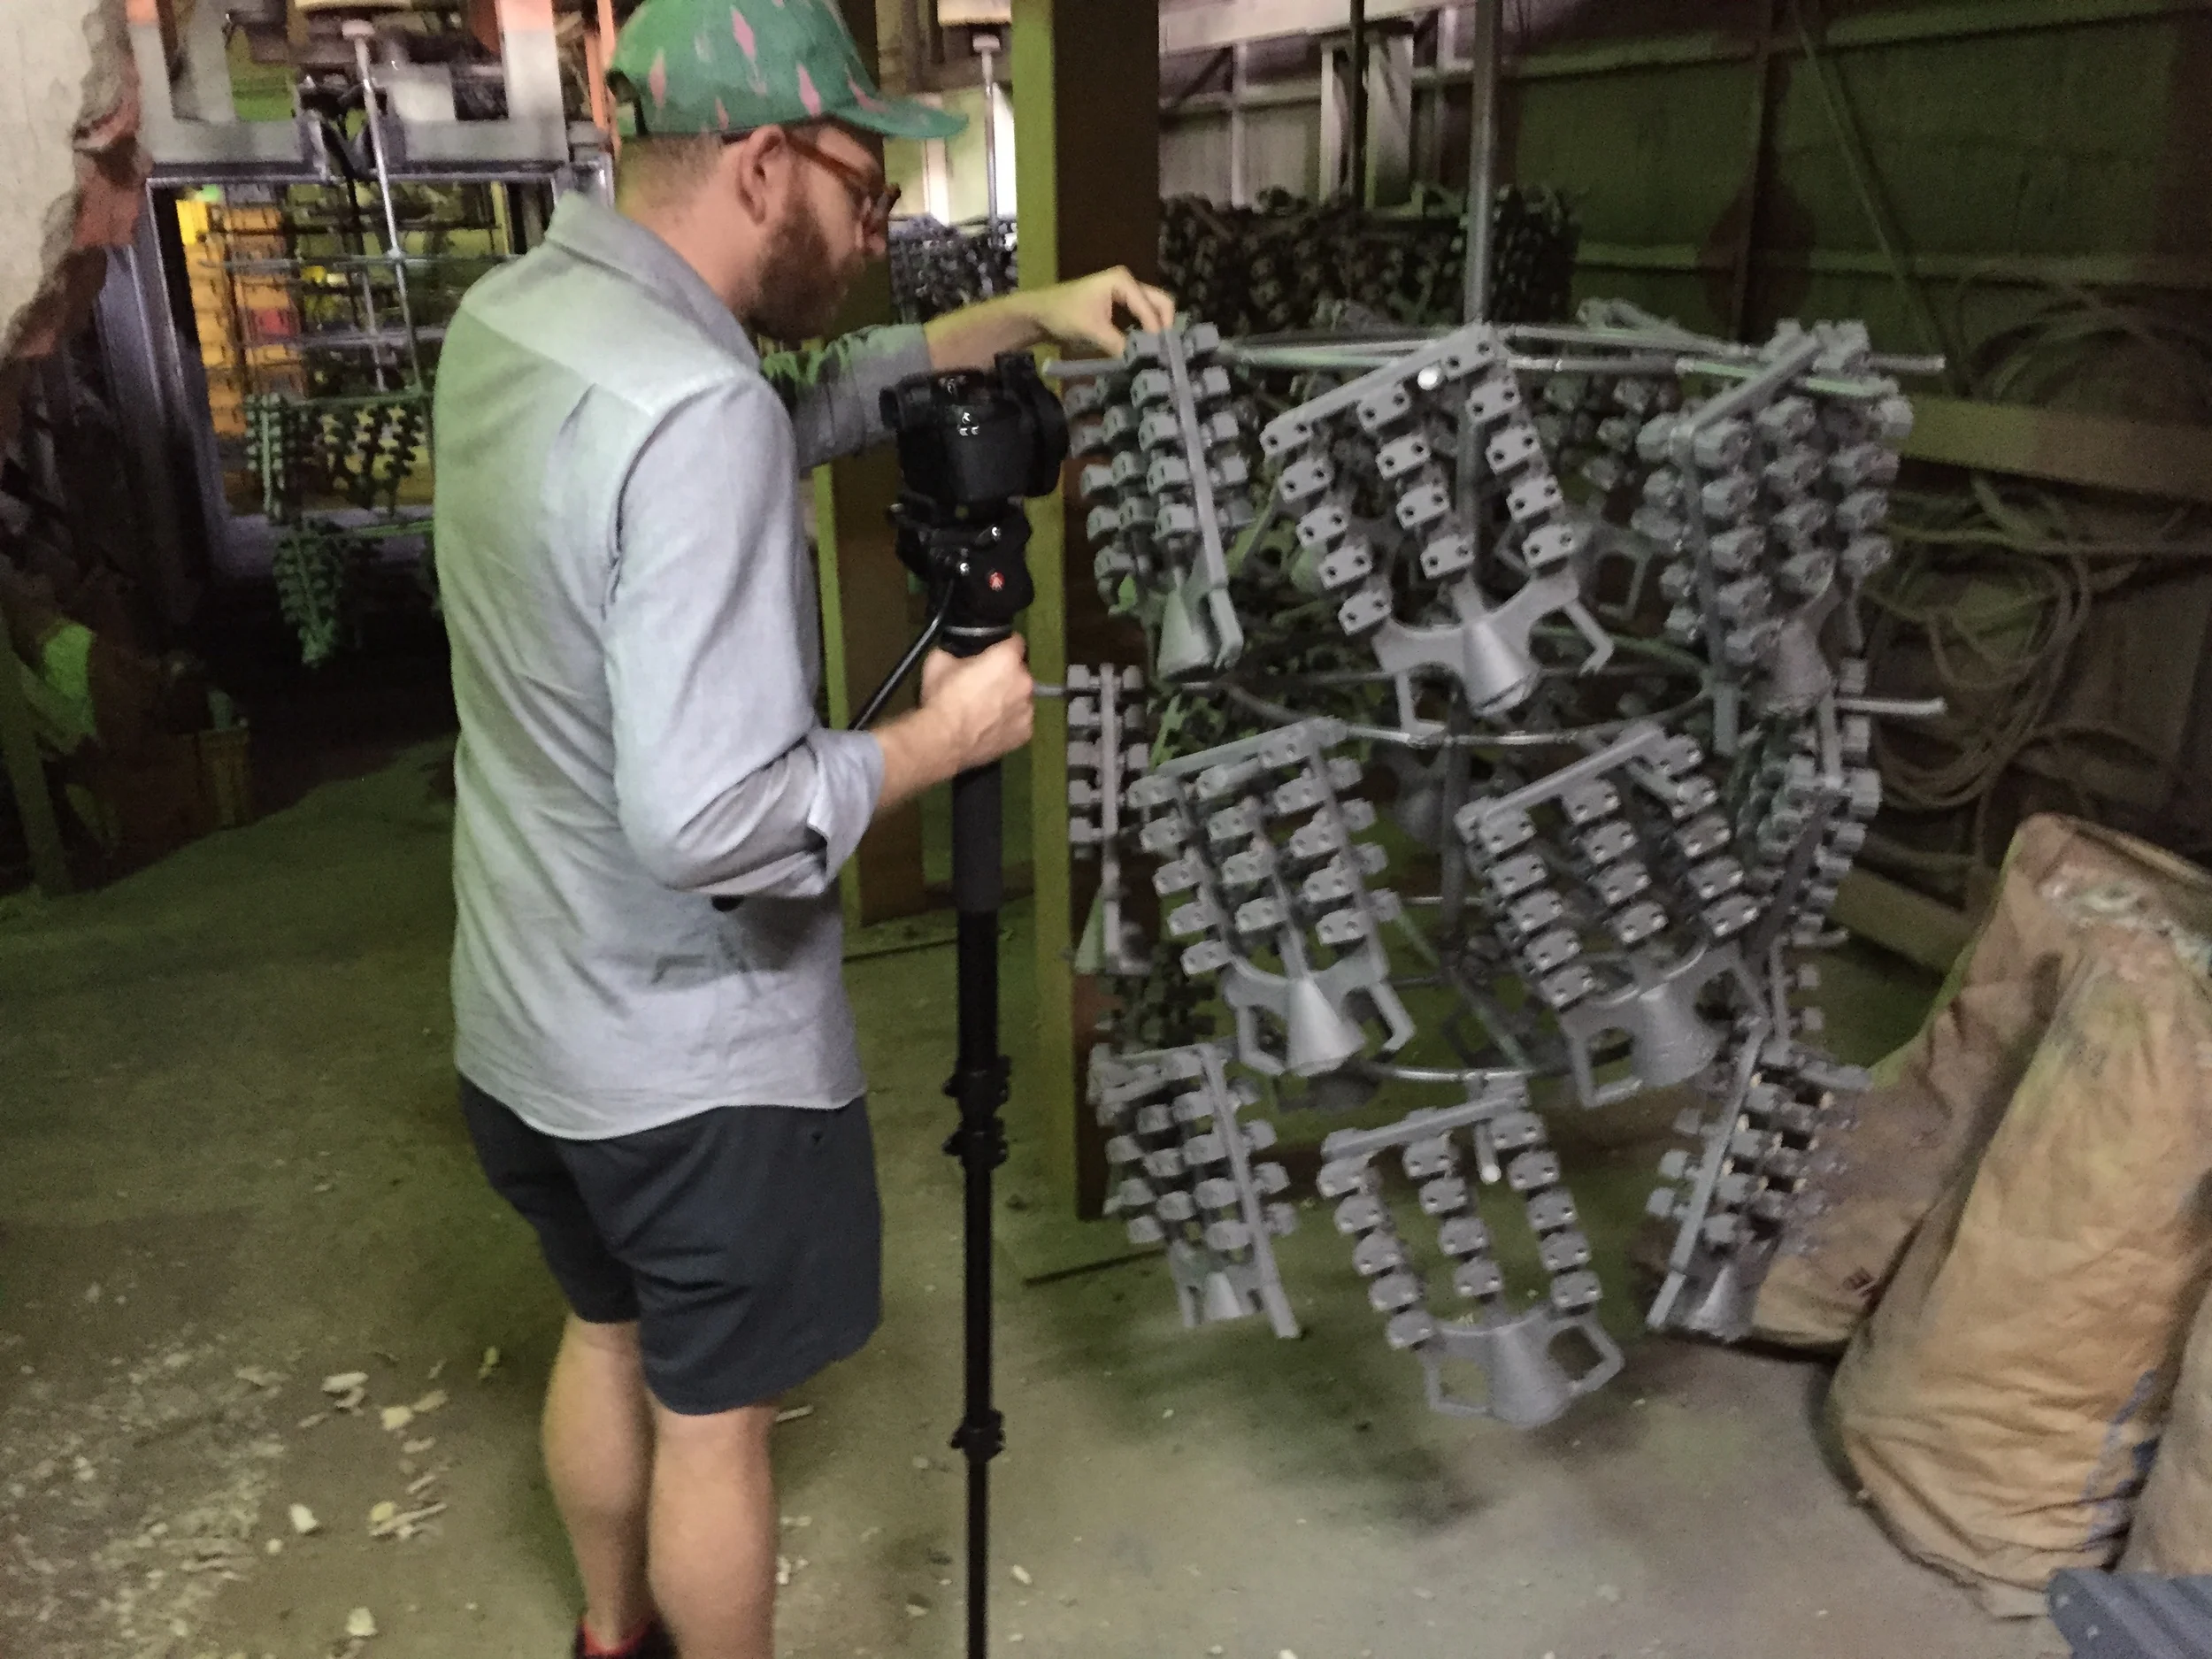
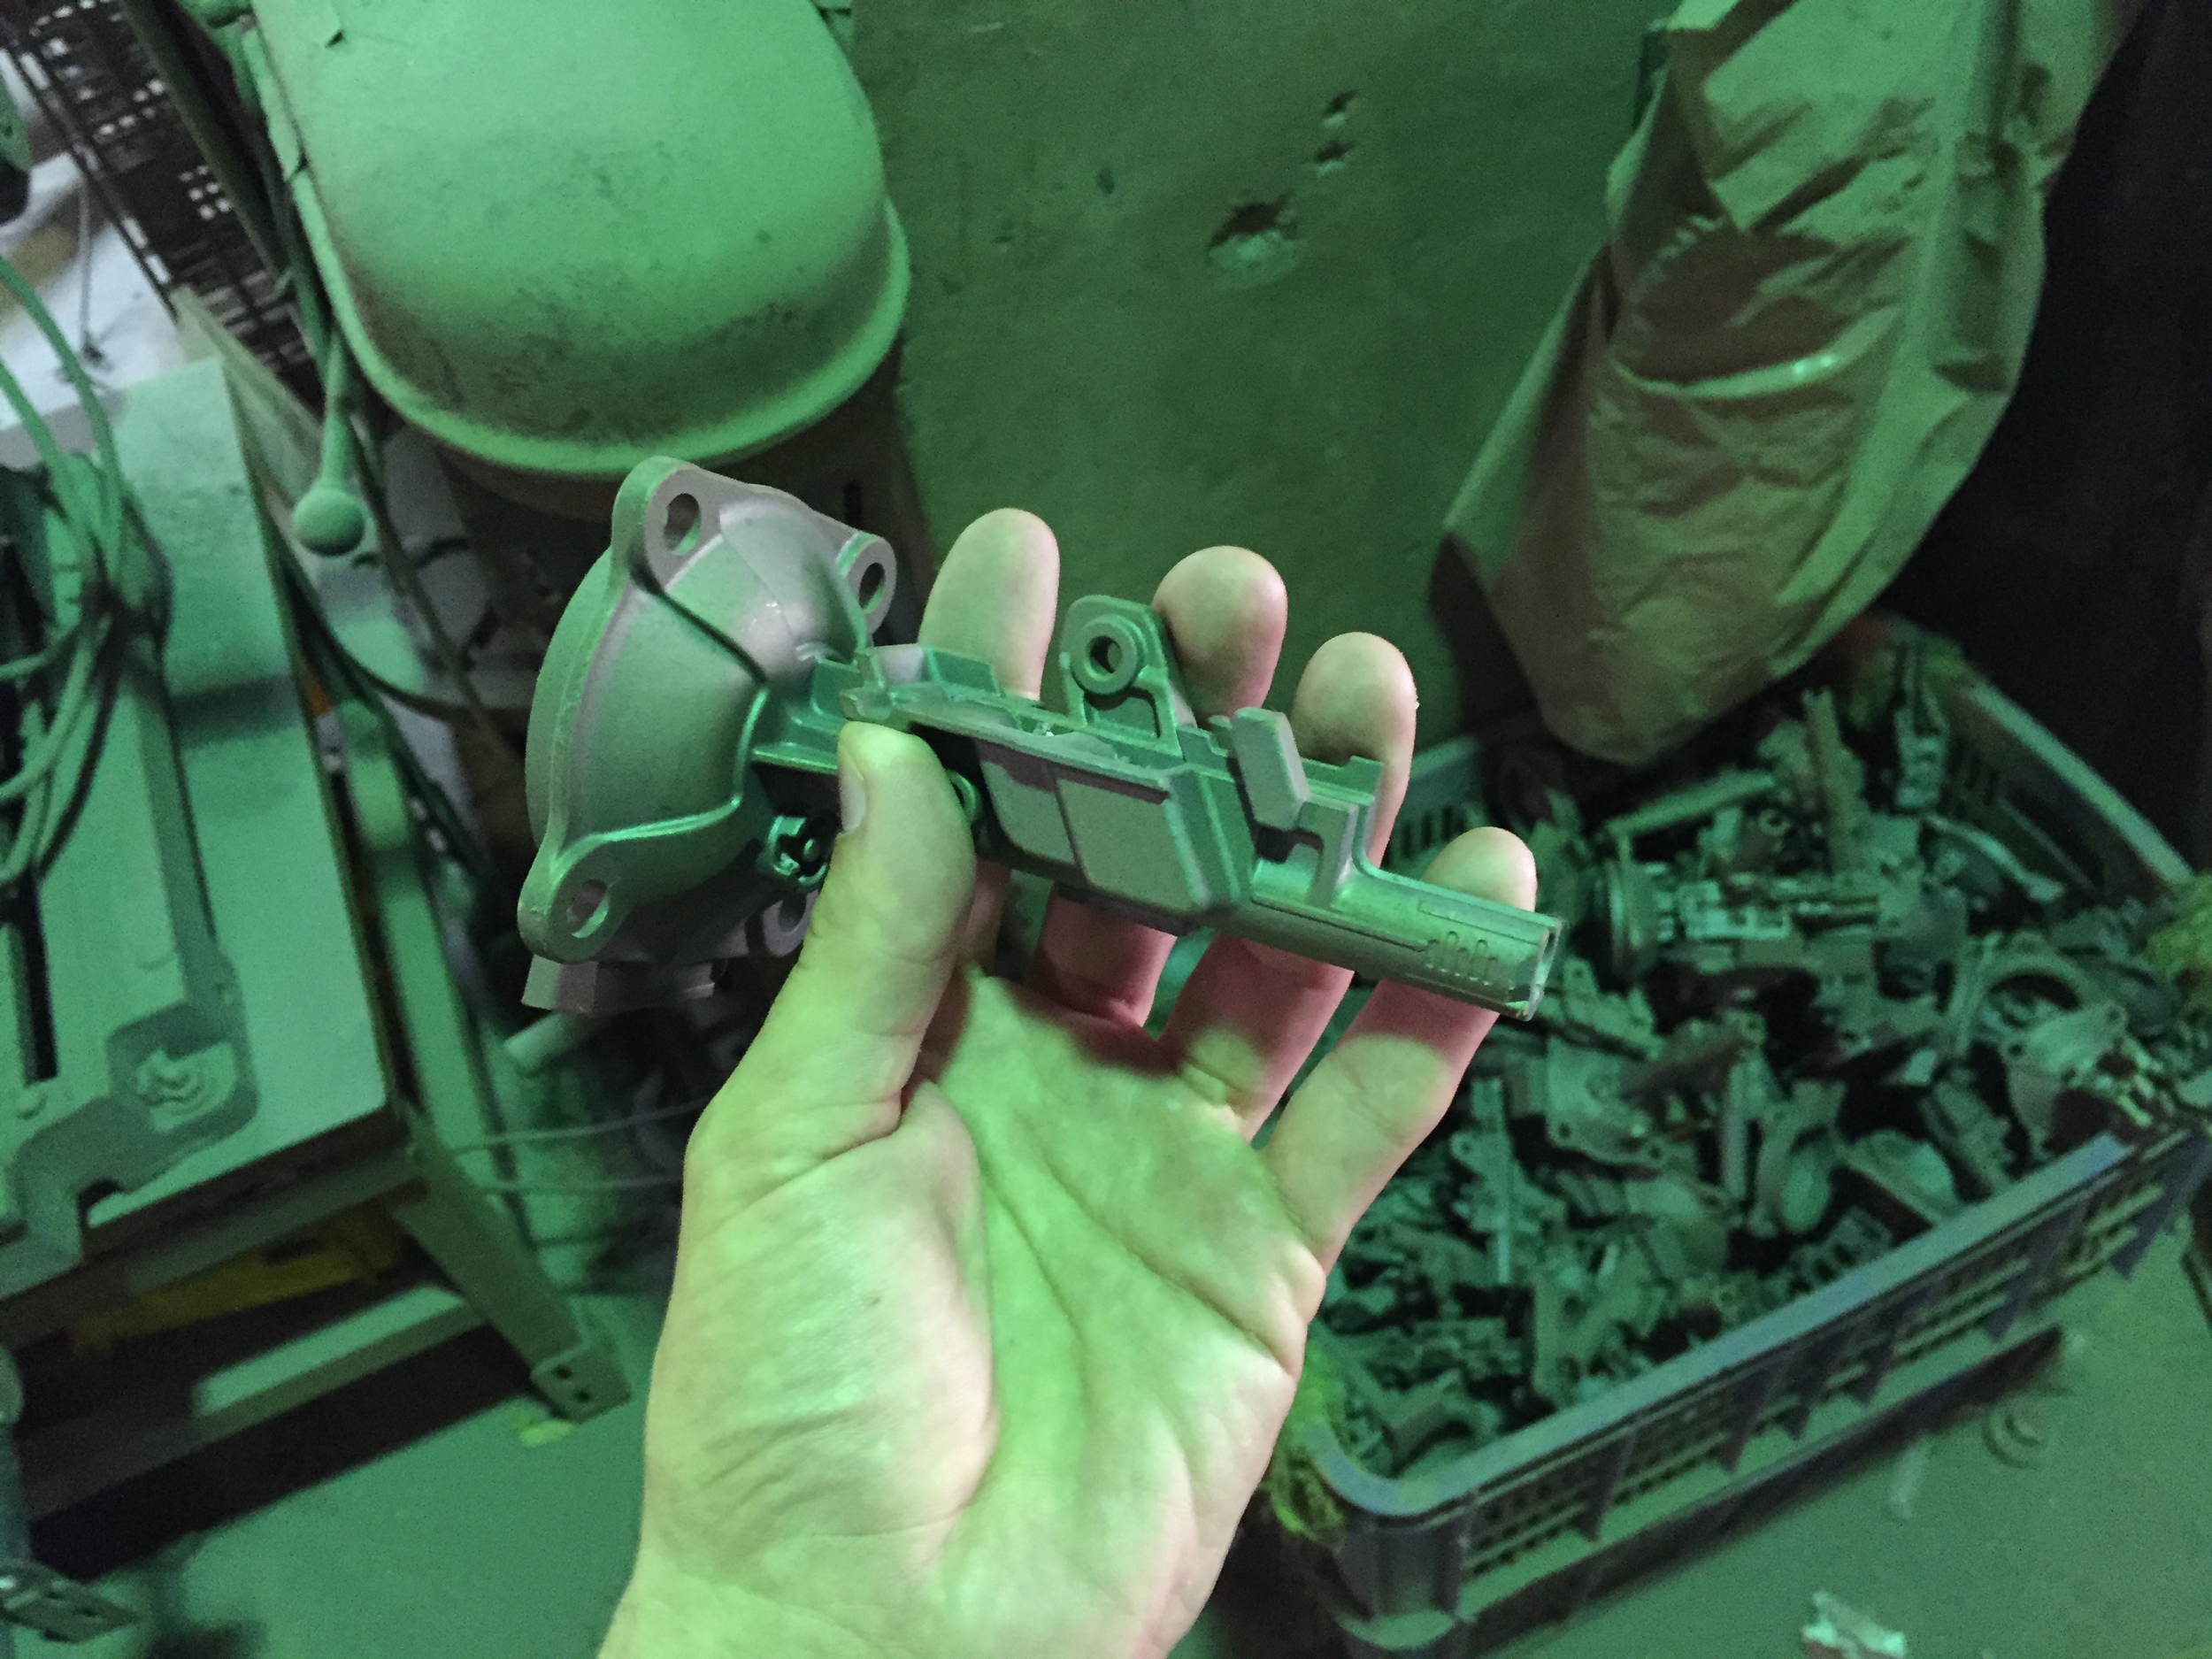
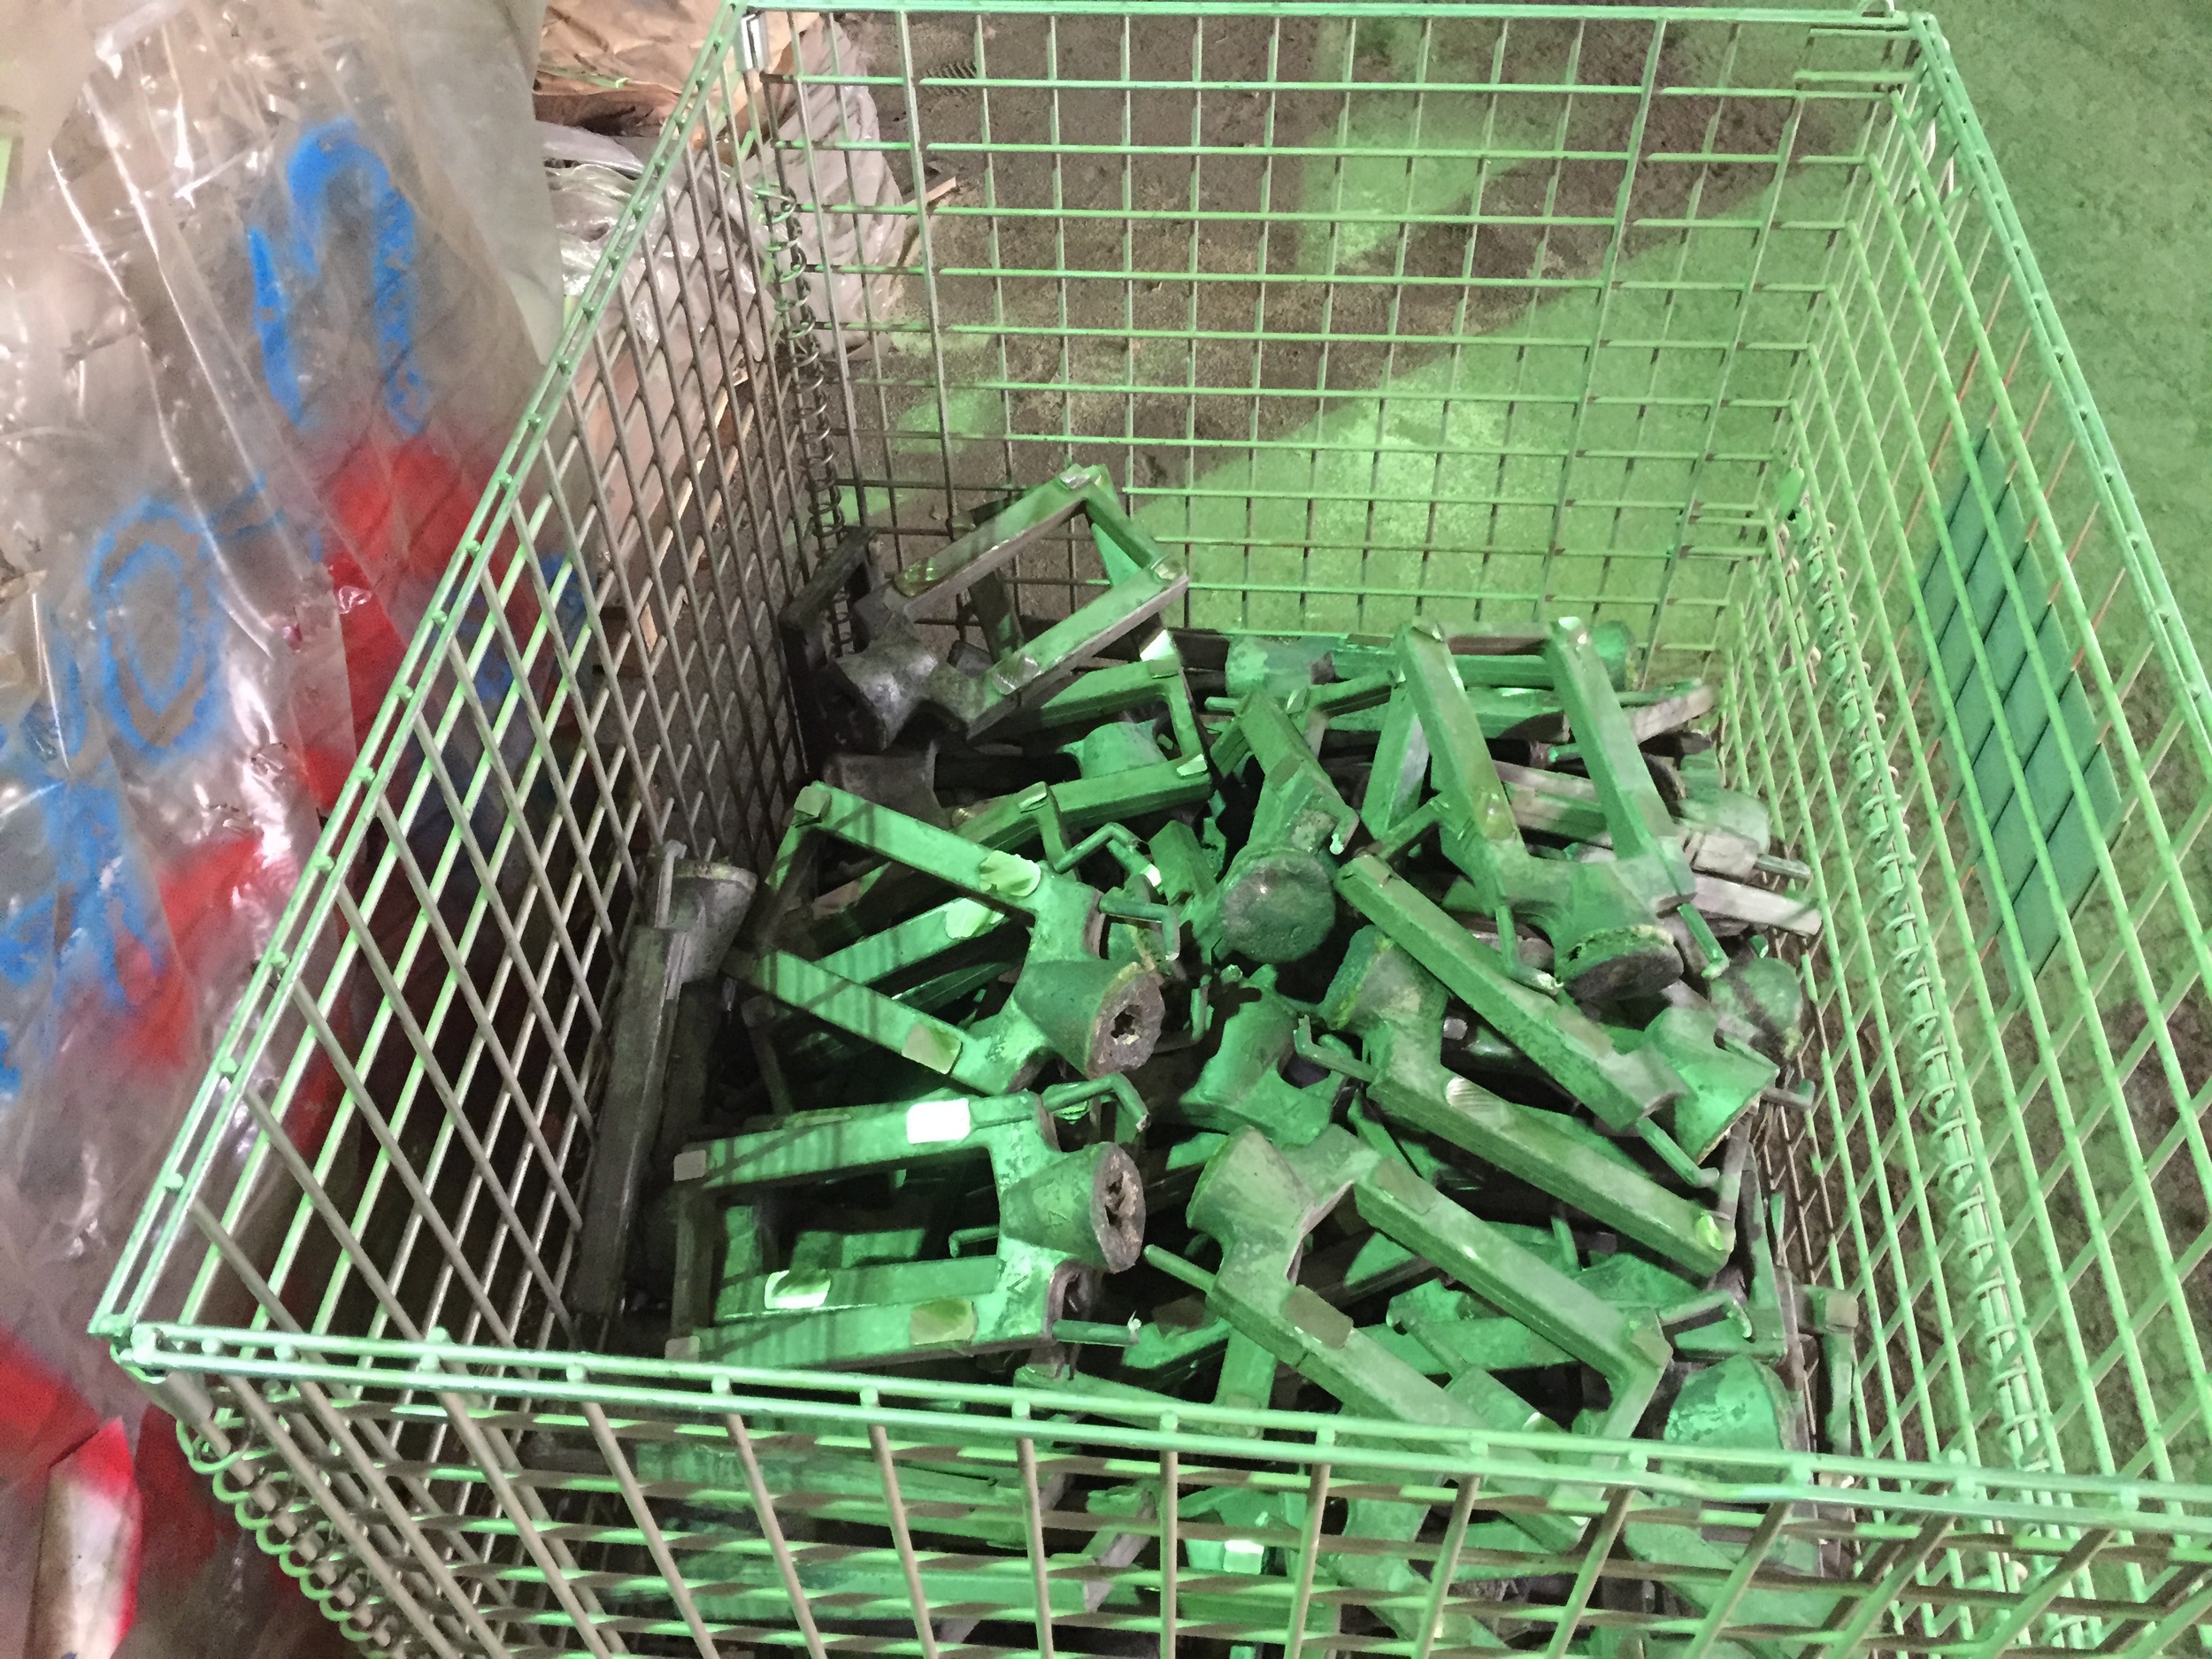
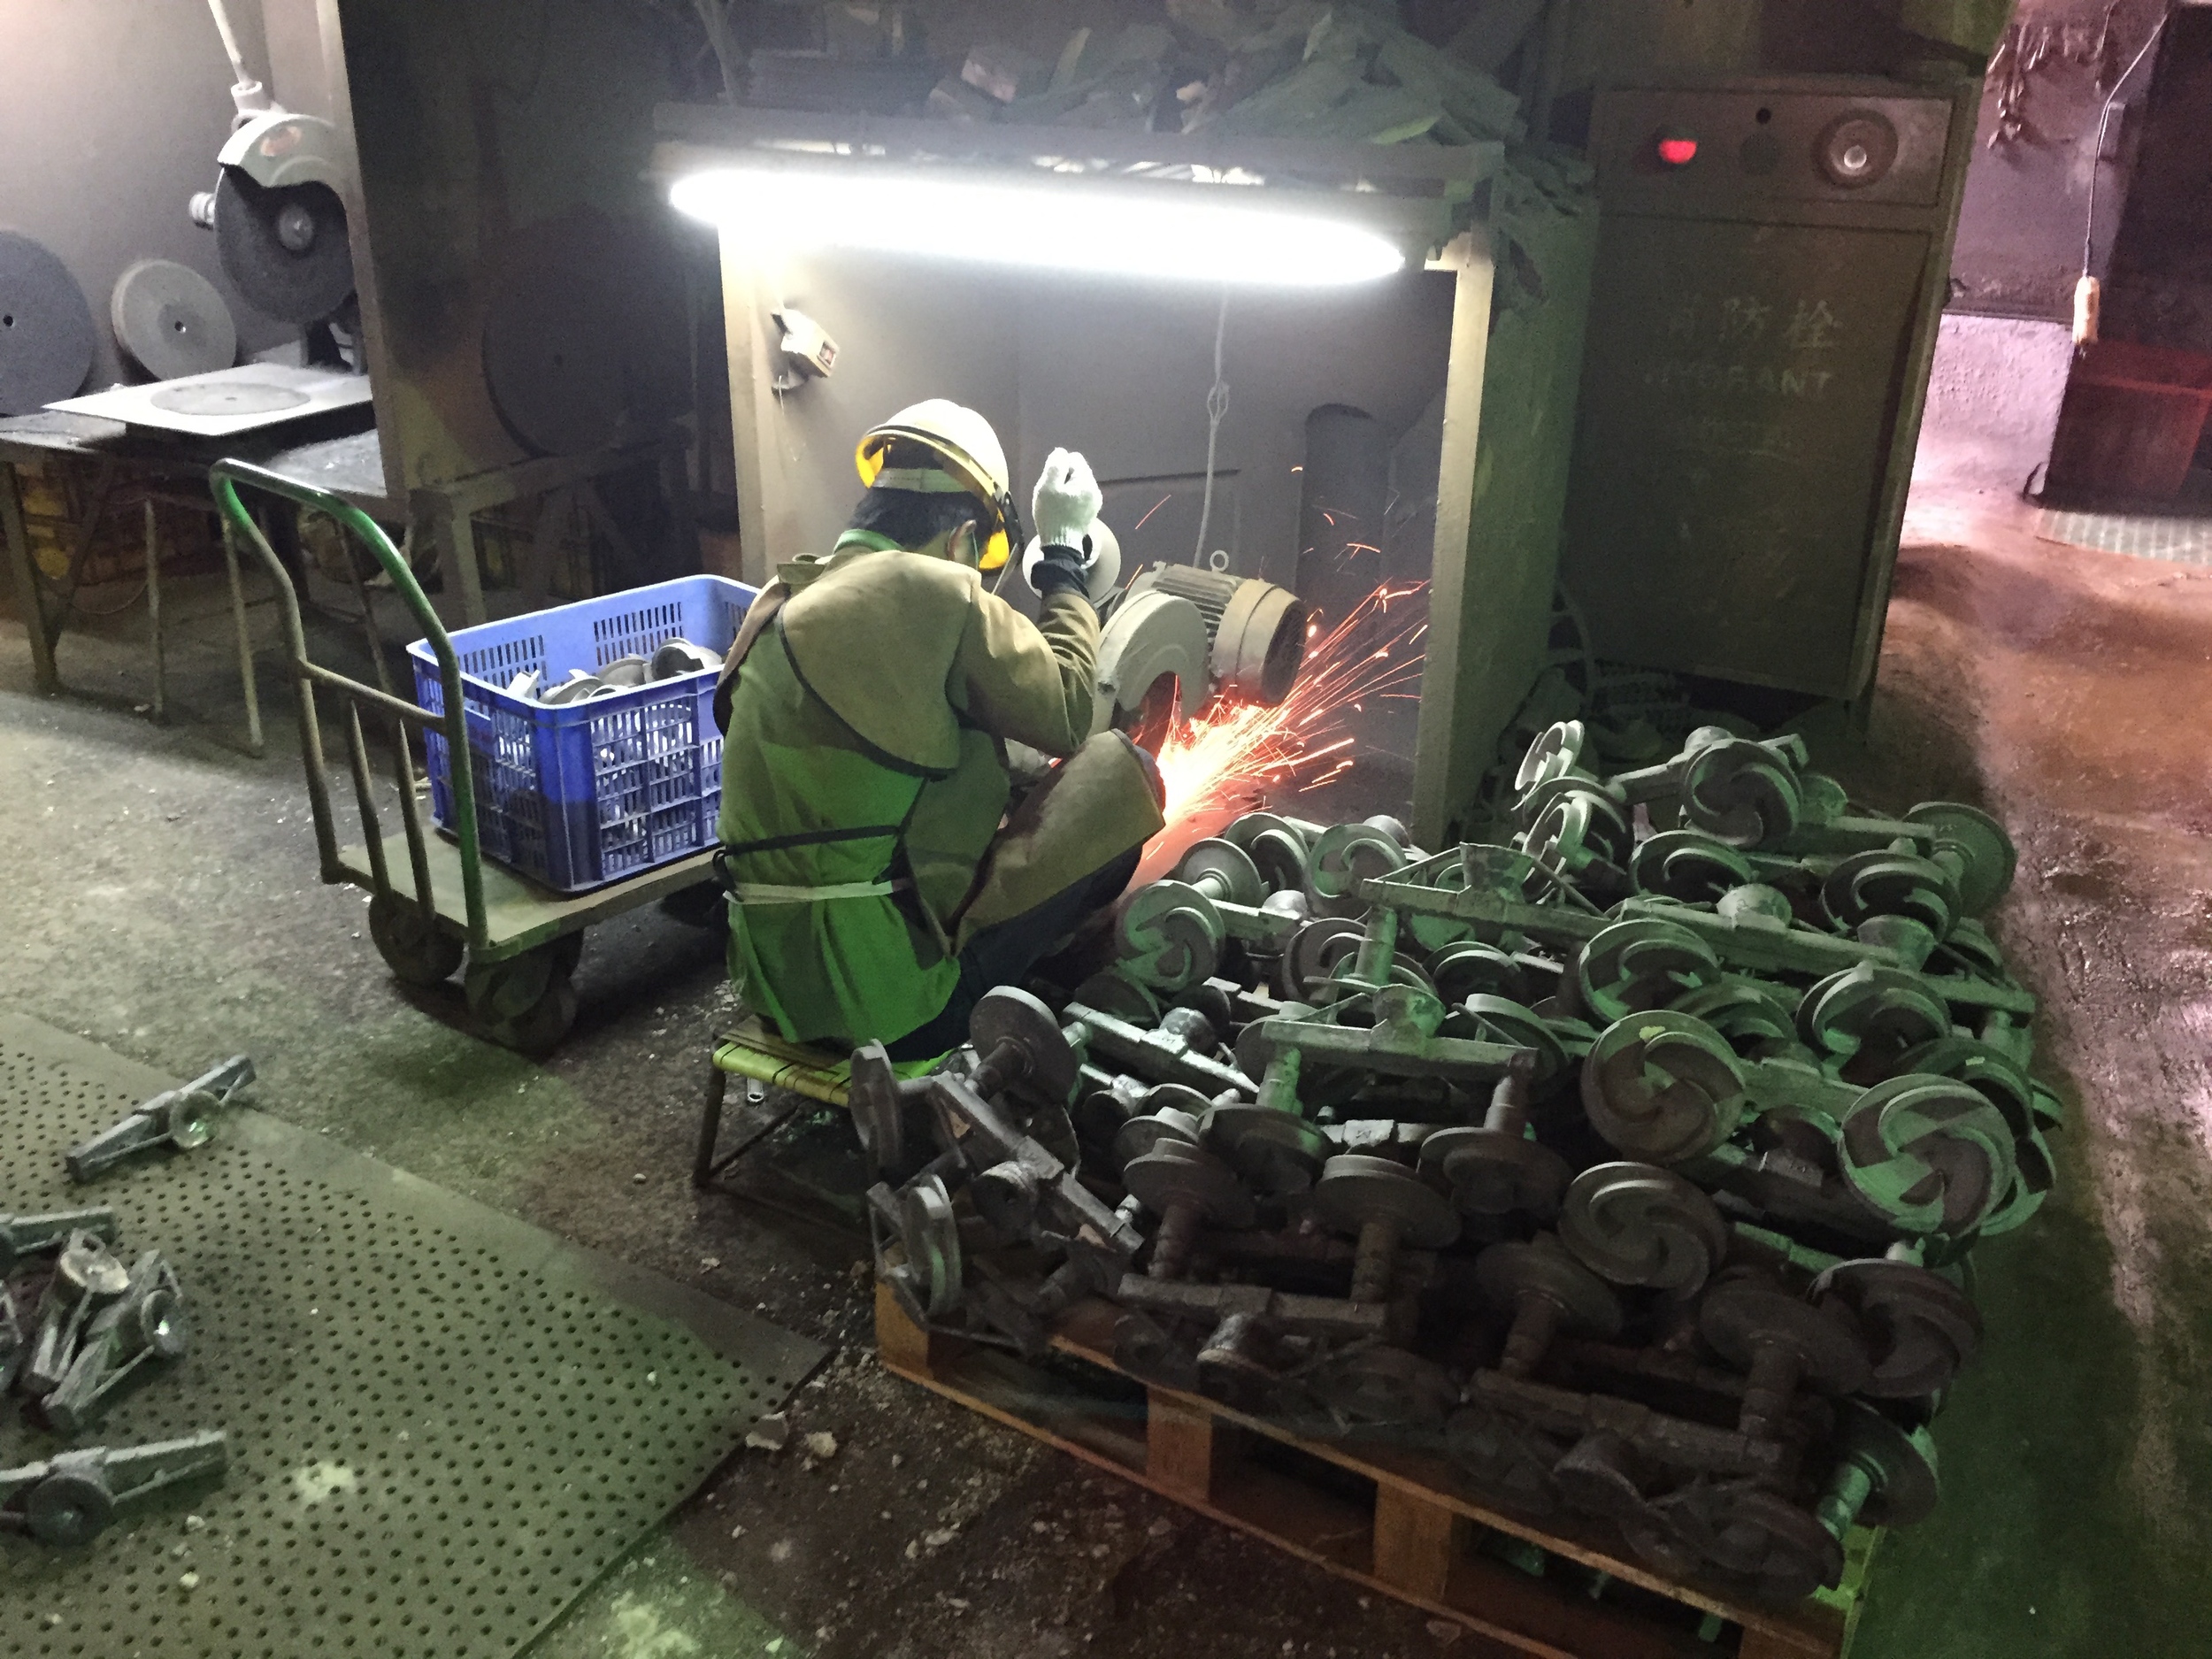
Notes from an investment casting factory in Taiwan

Added on by Spencer Wright.

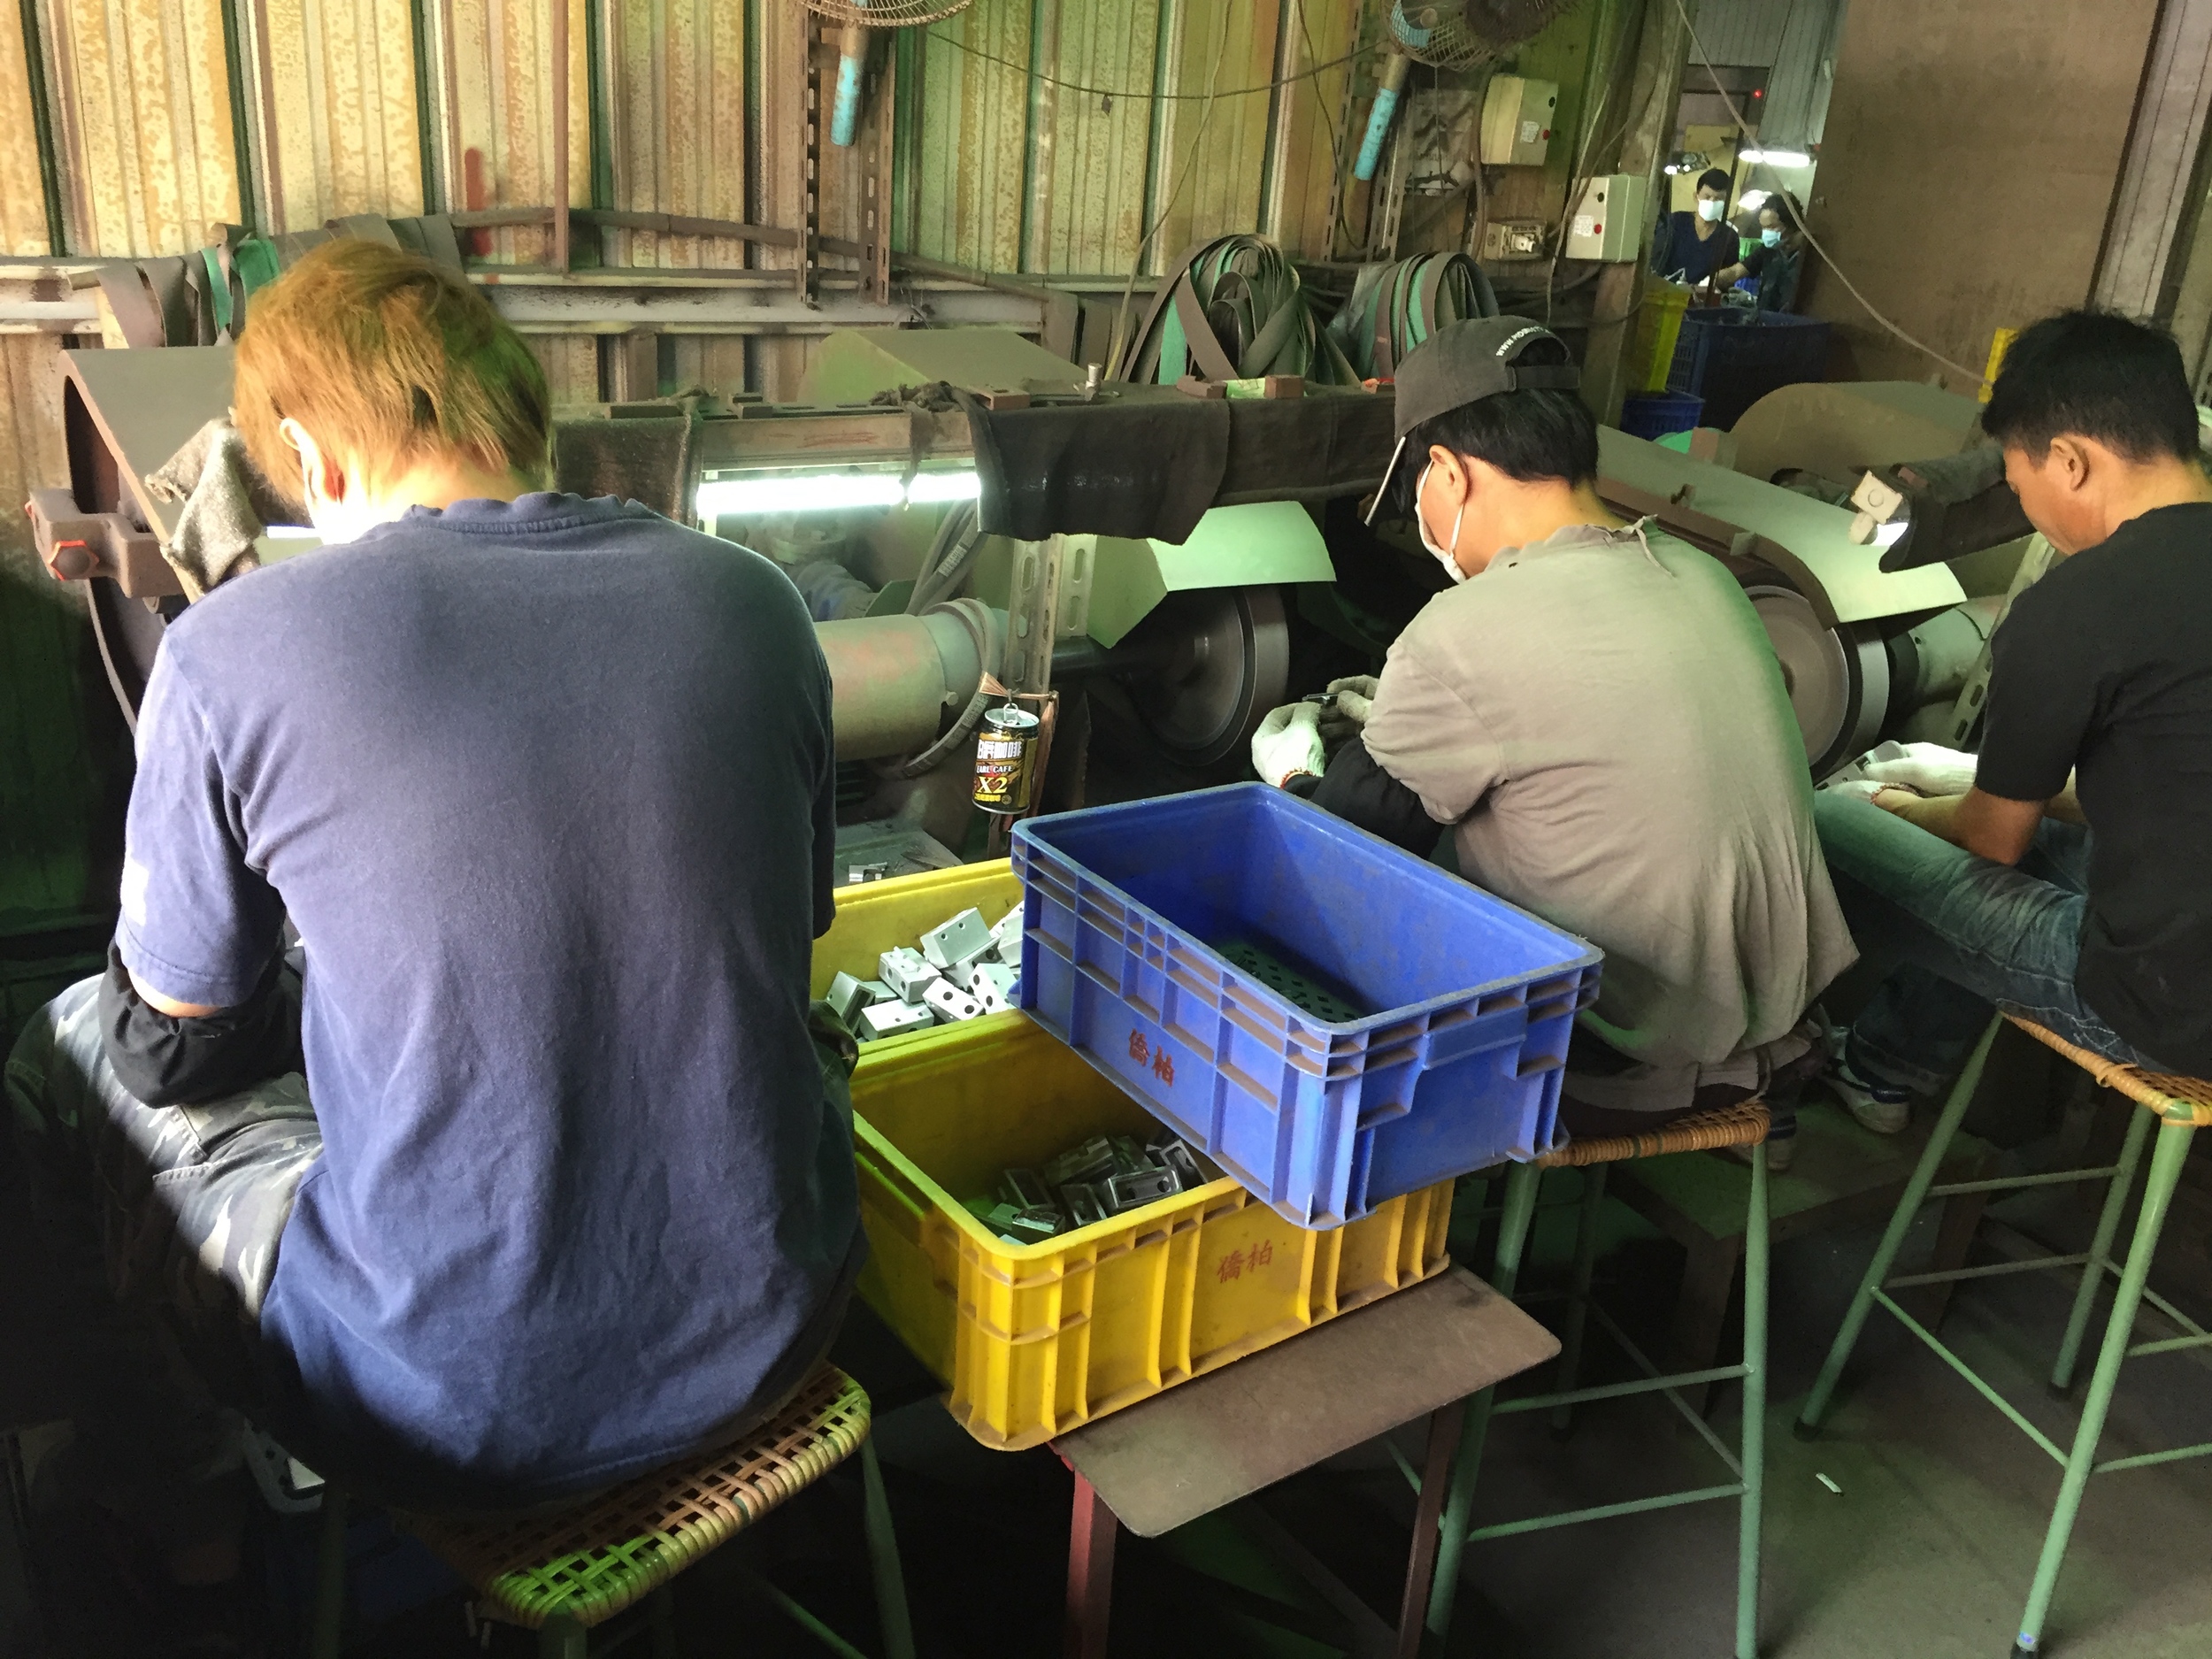
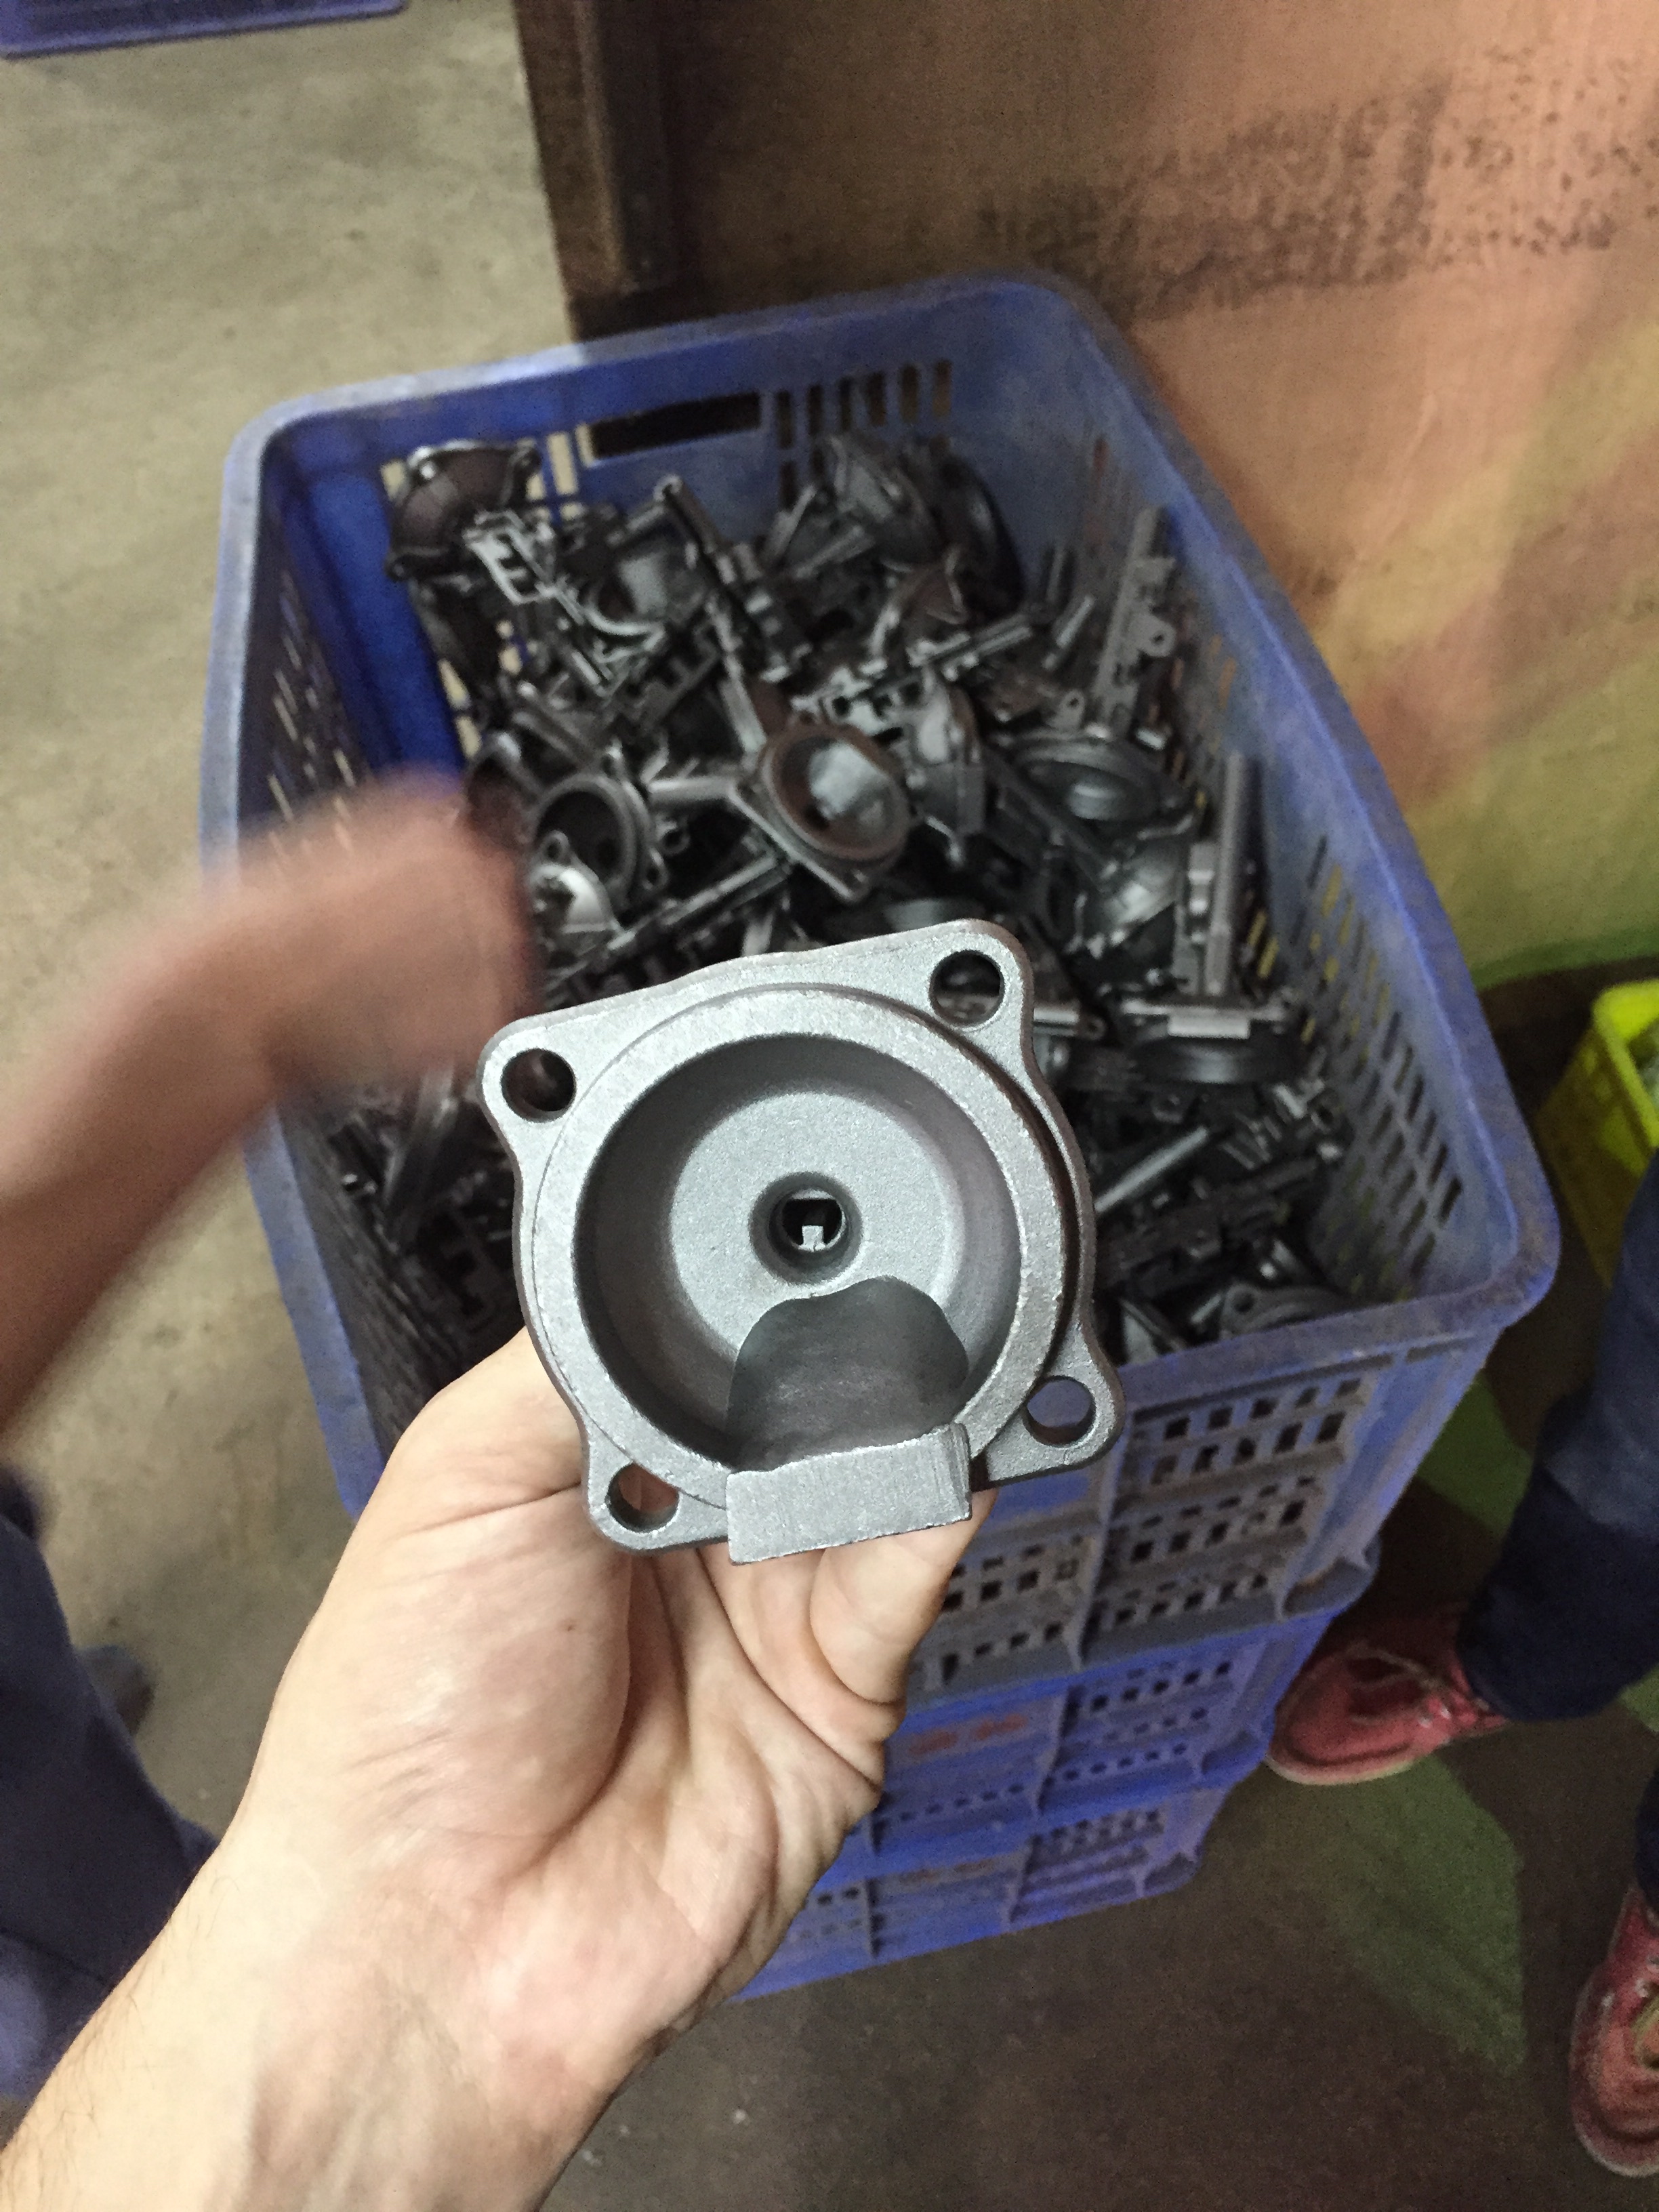
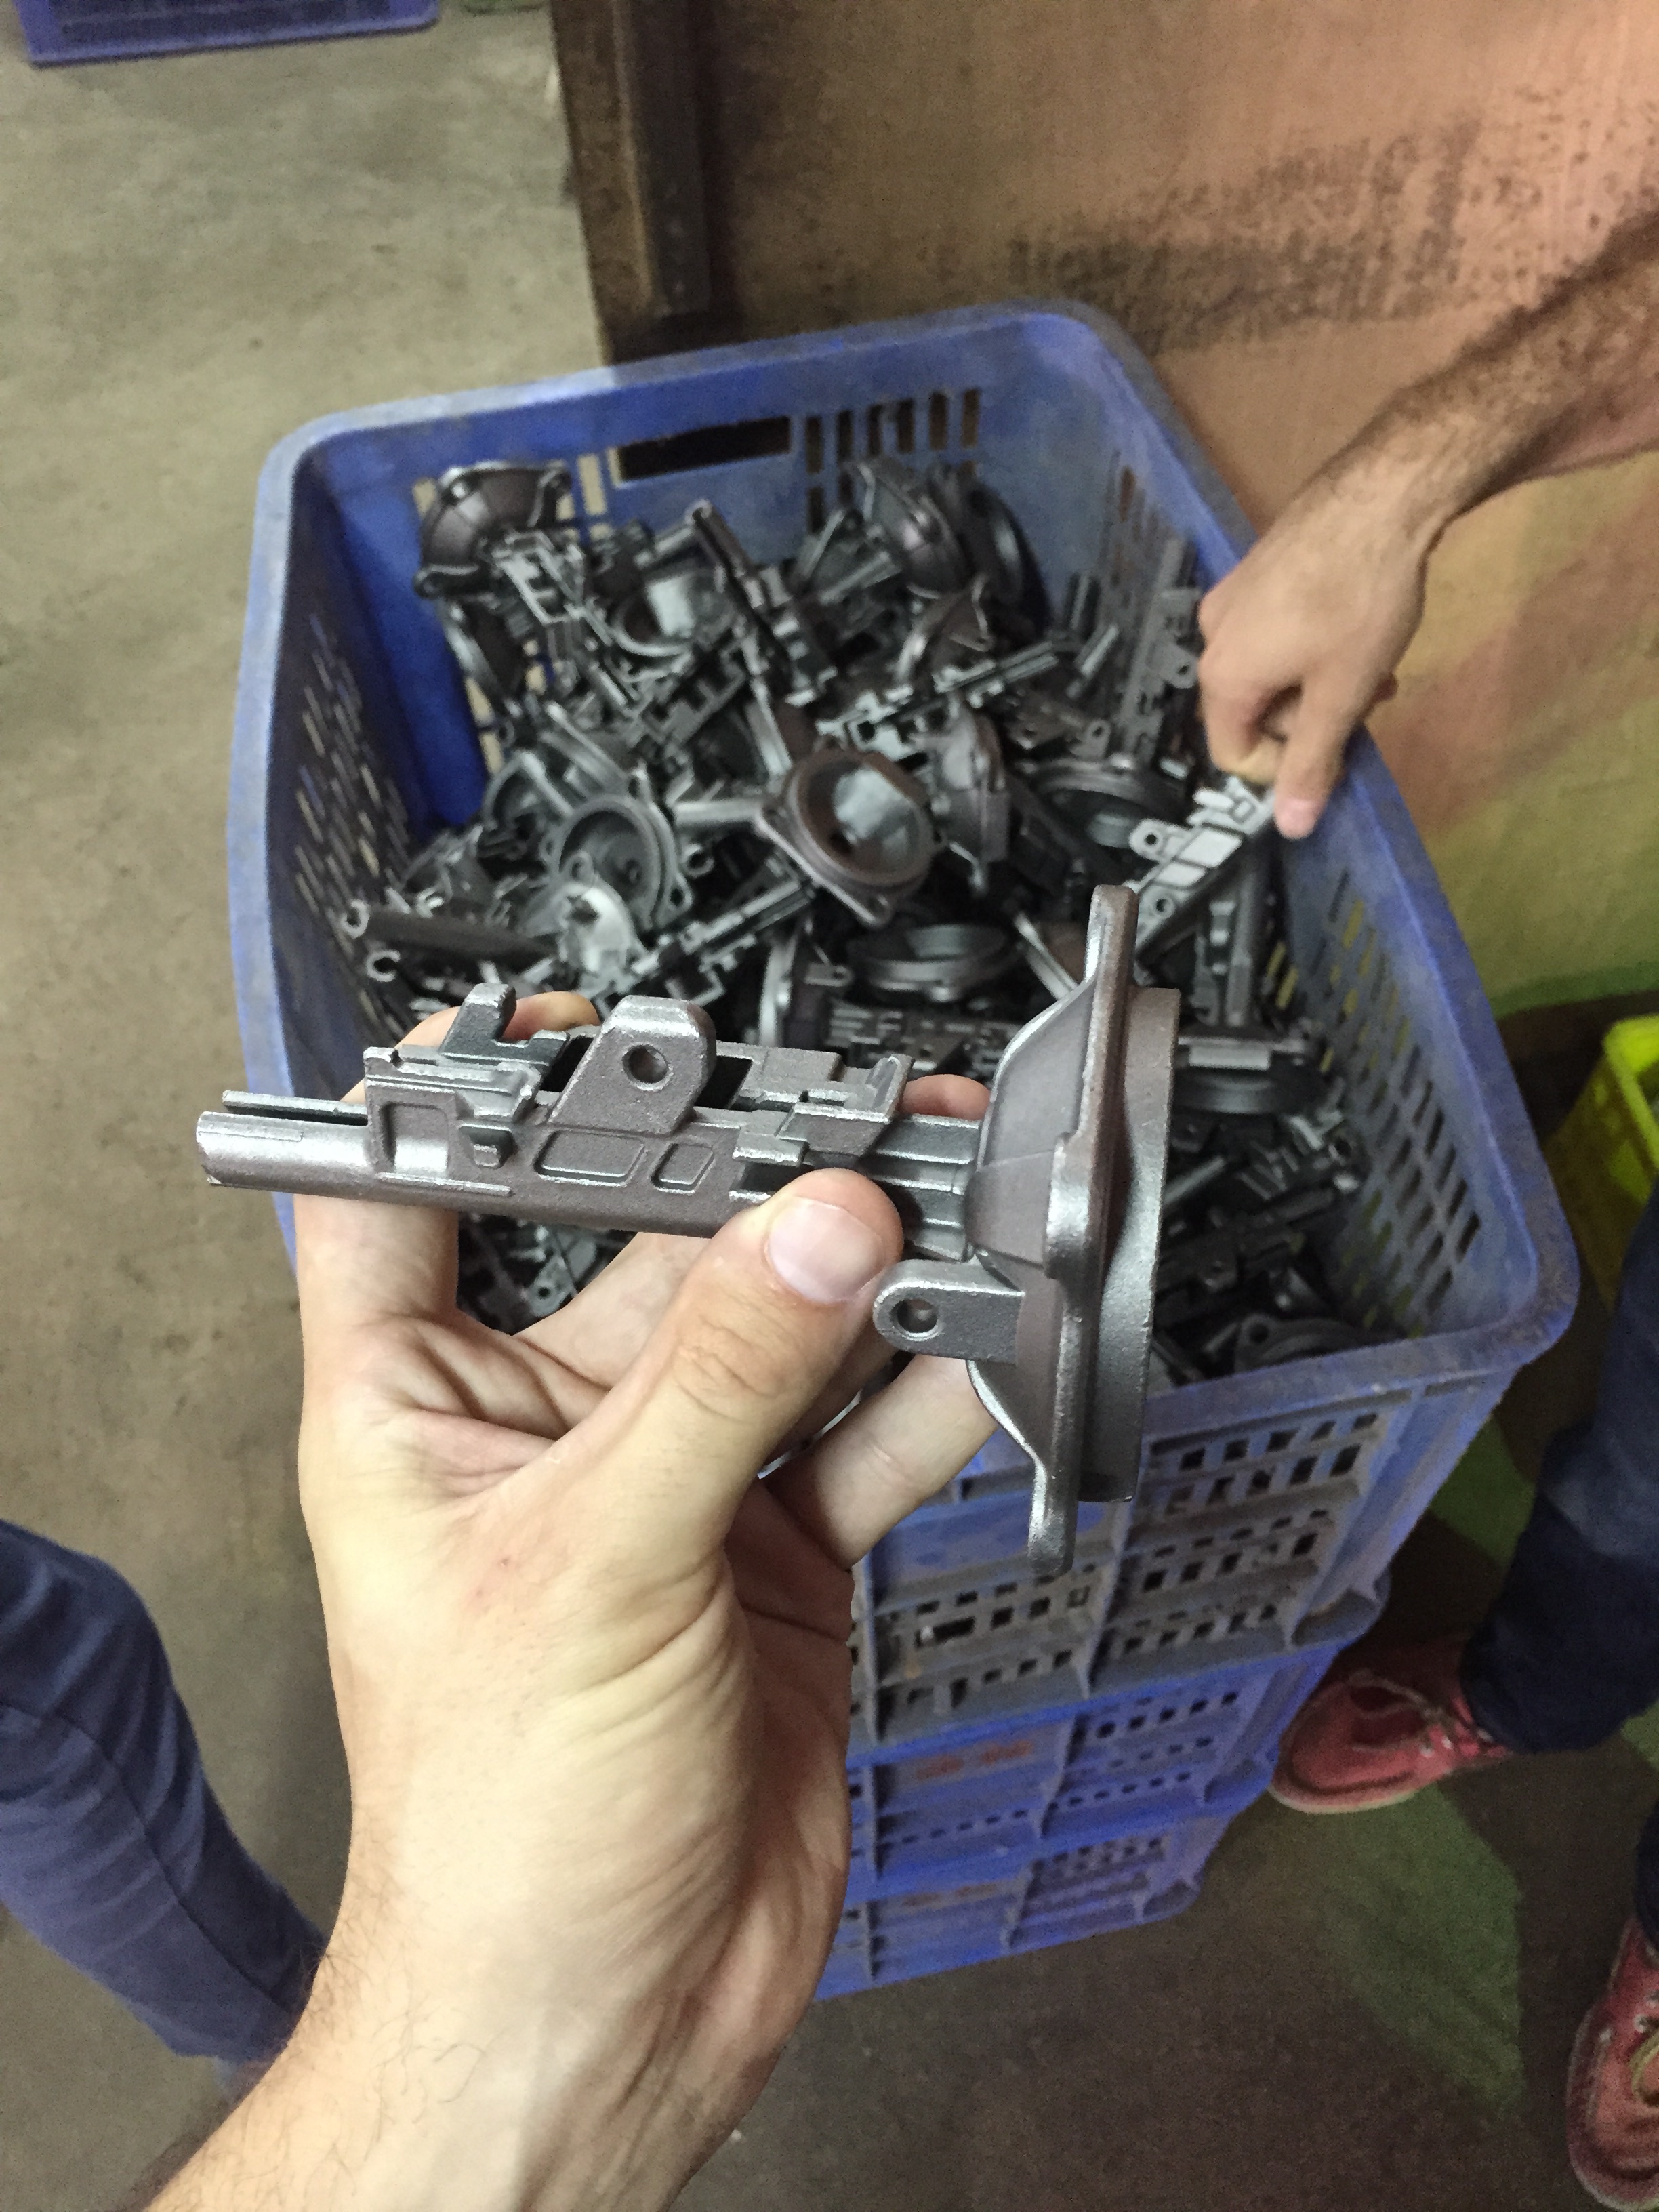
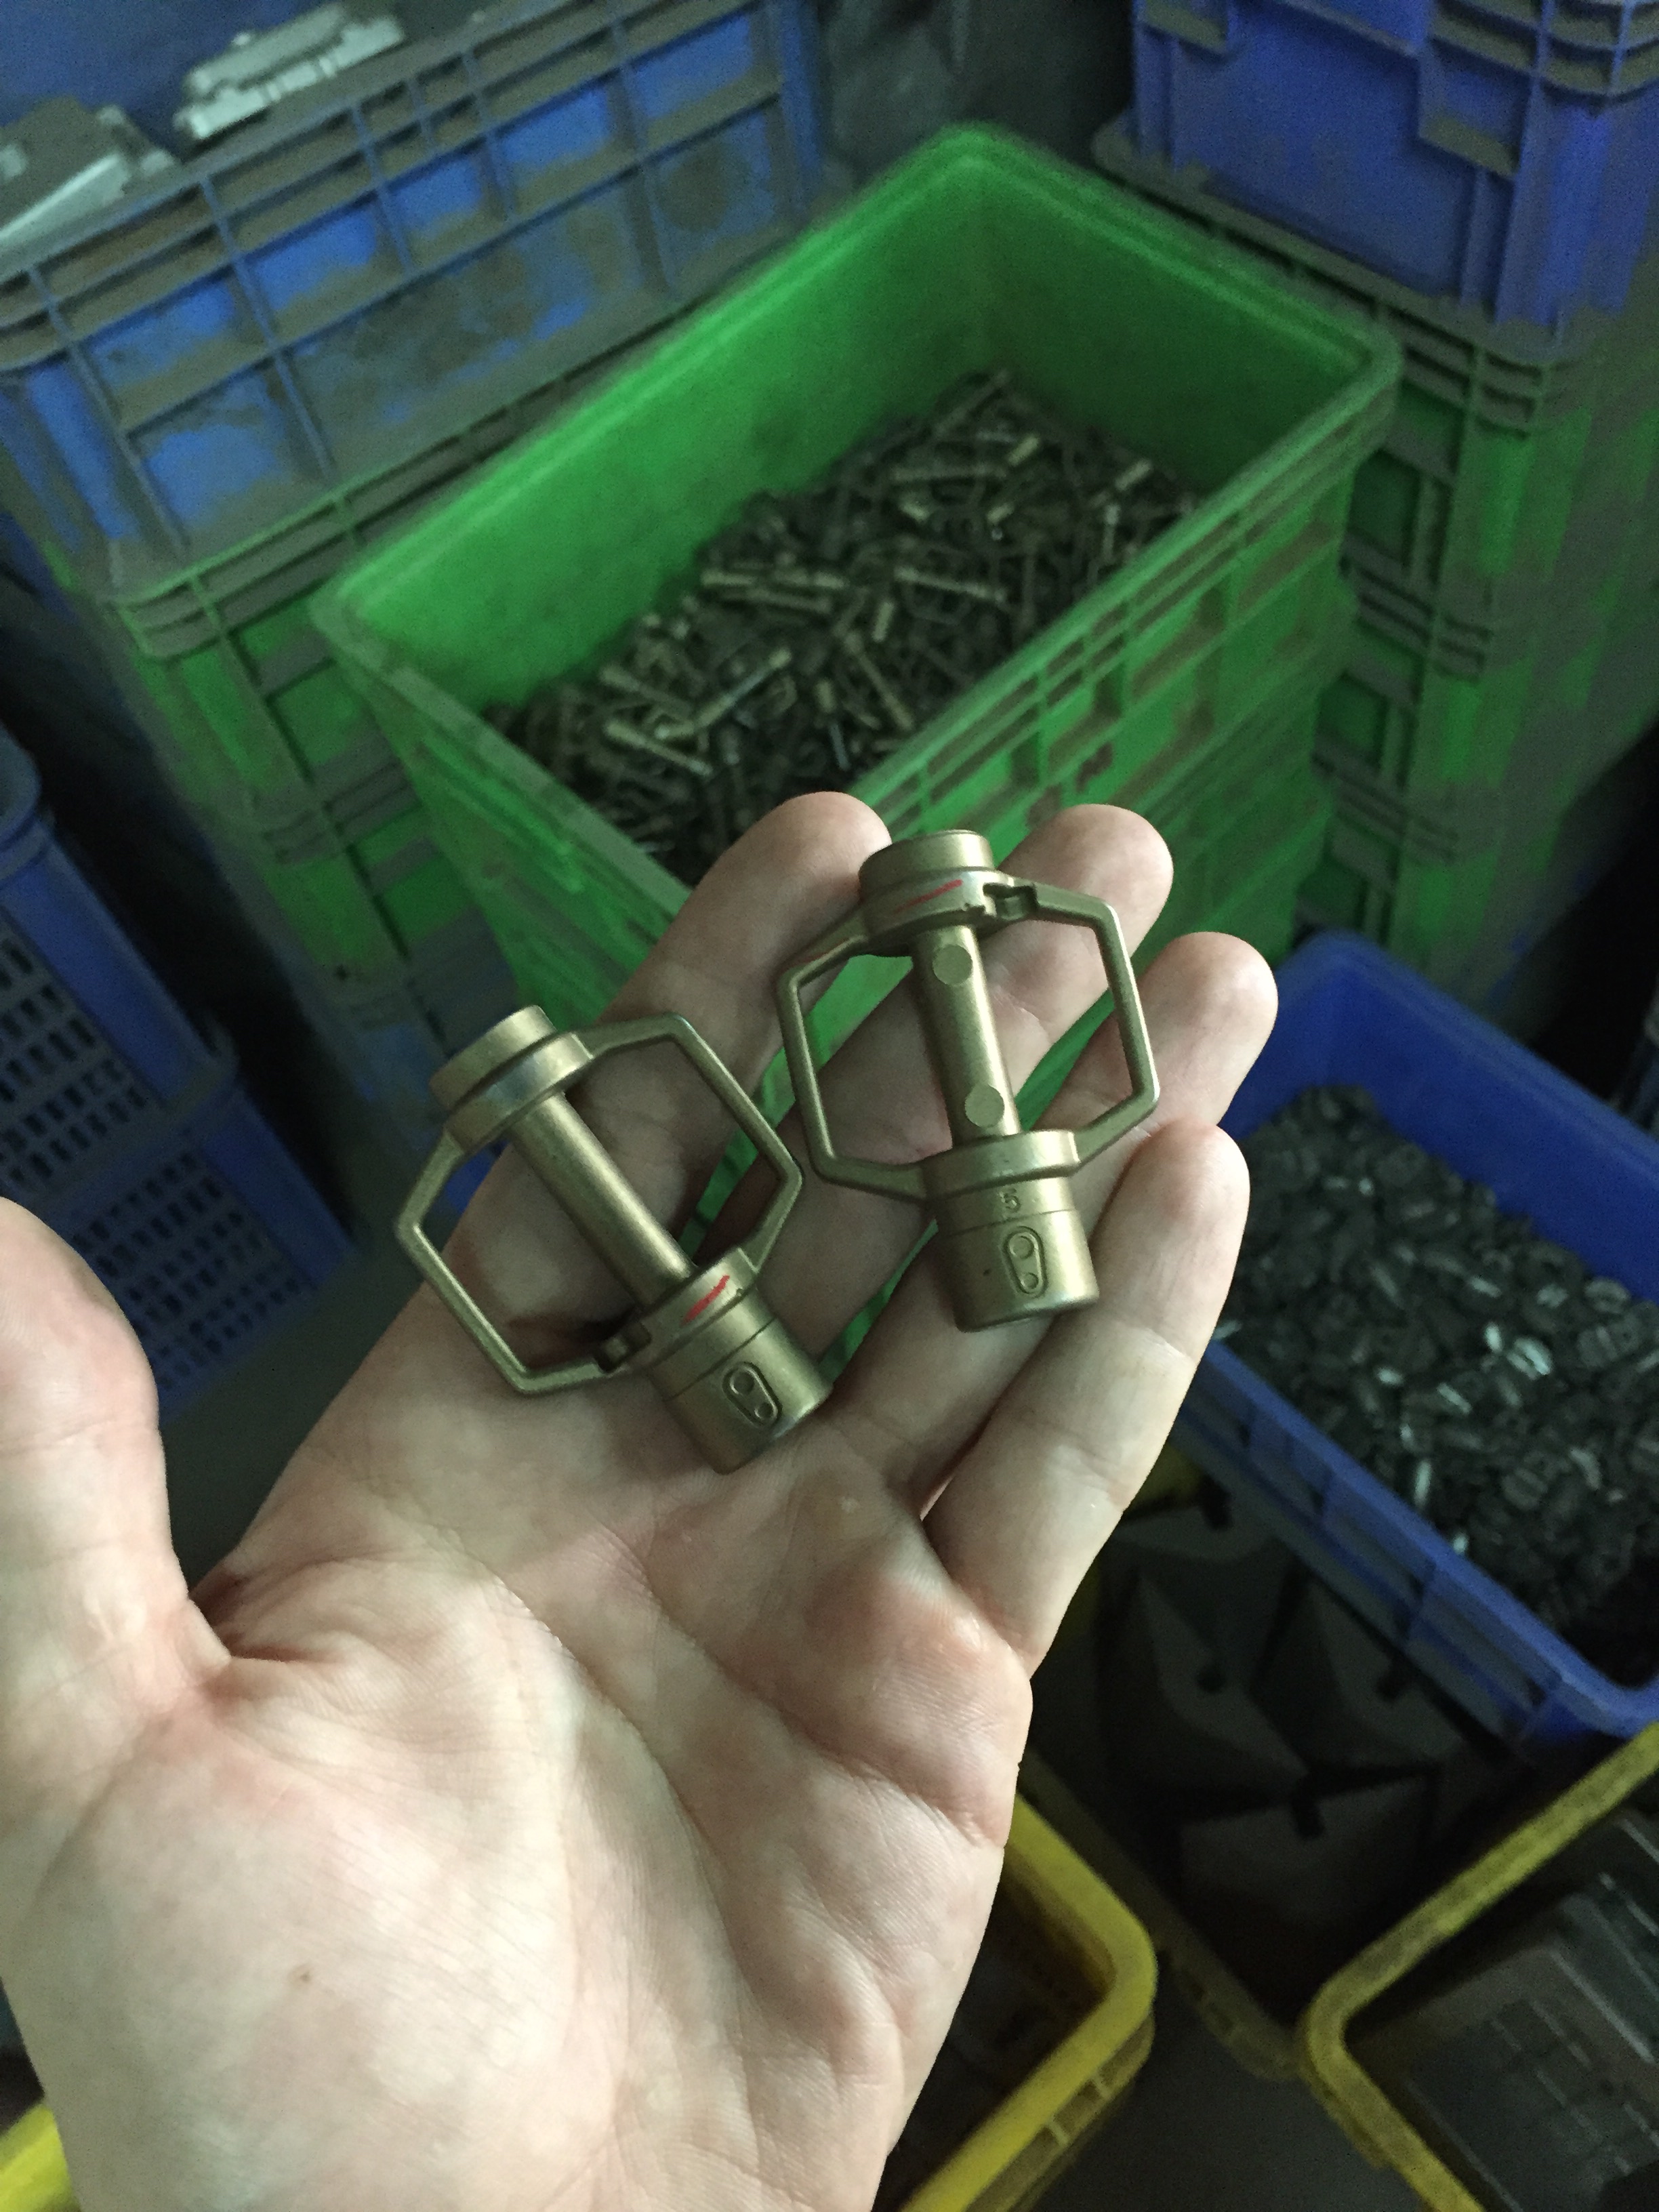
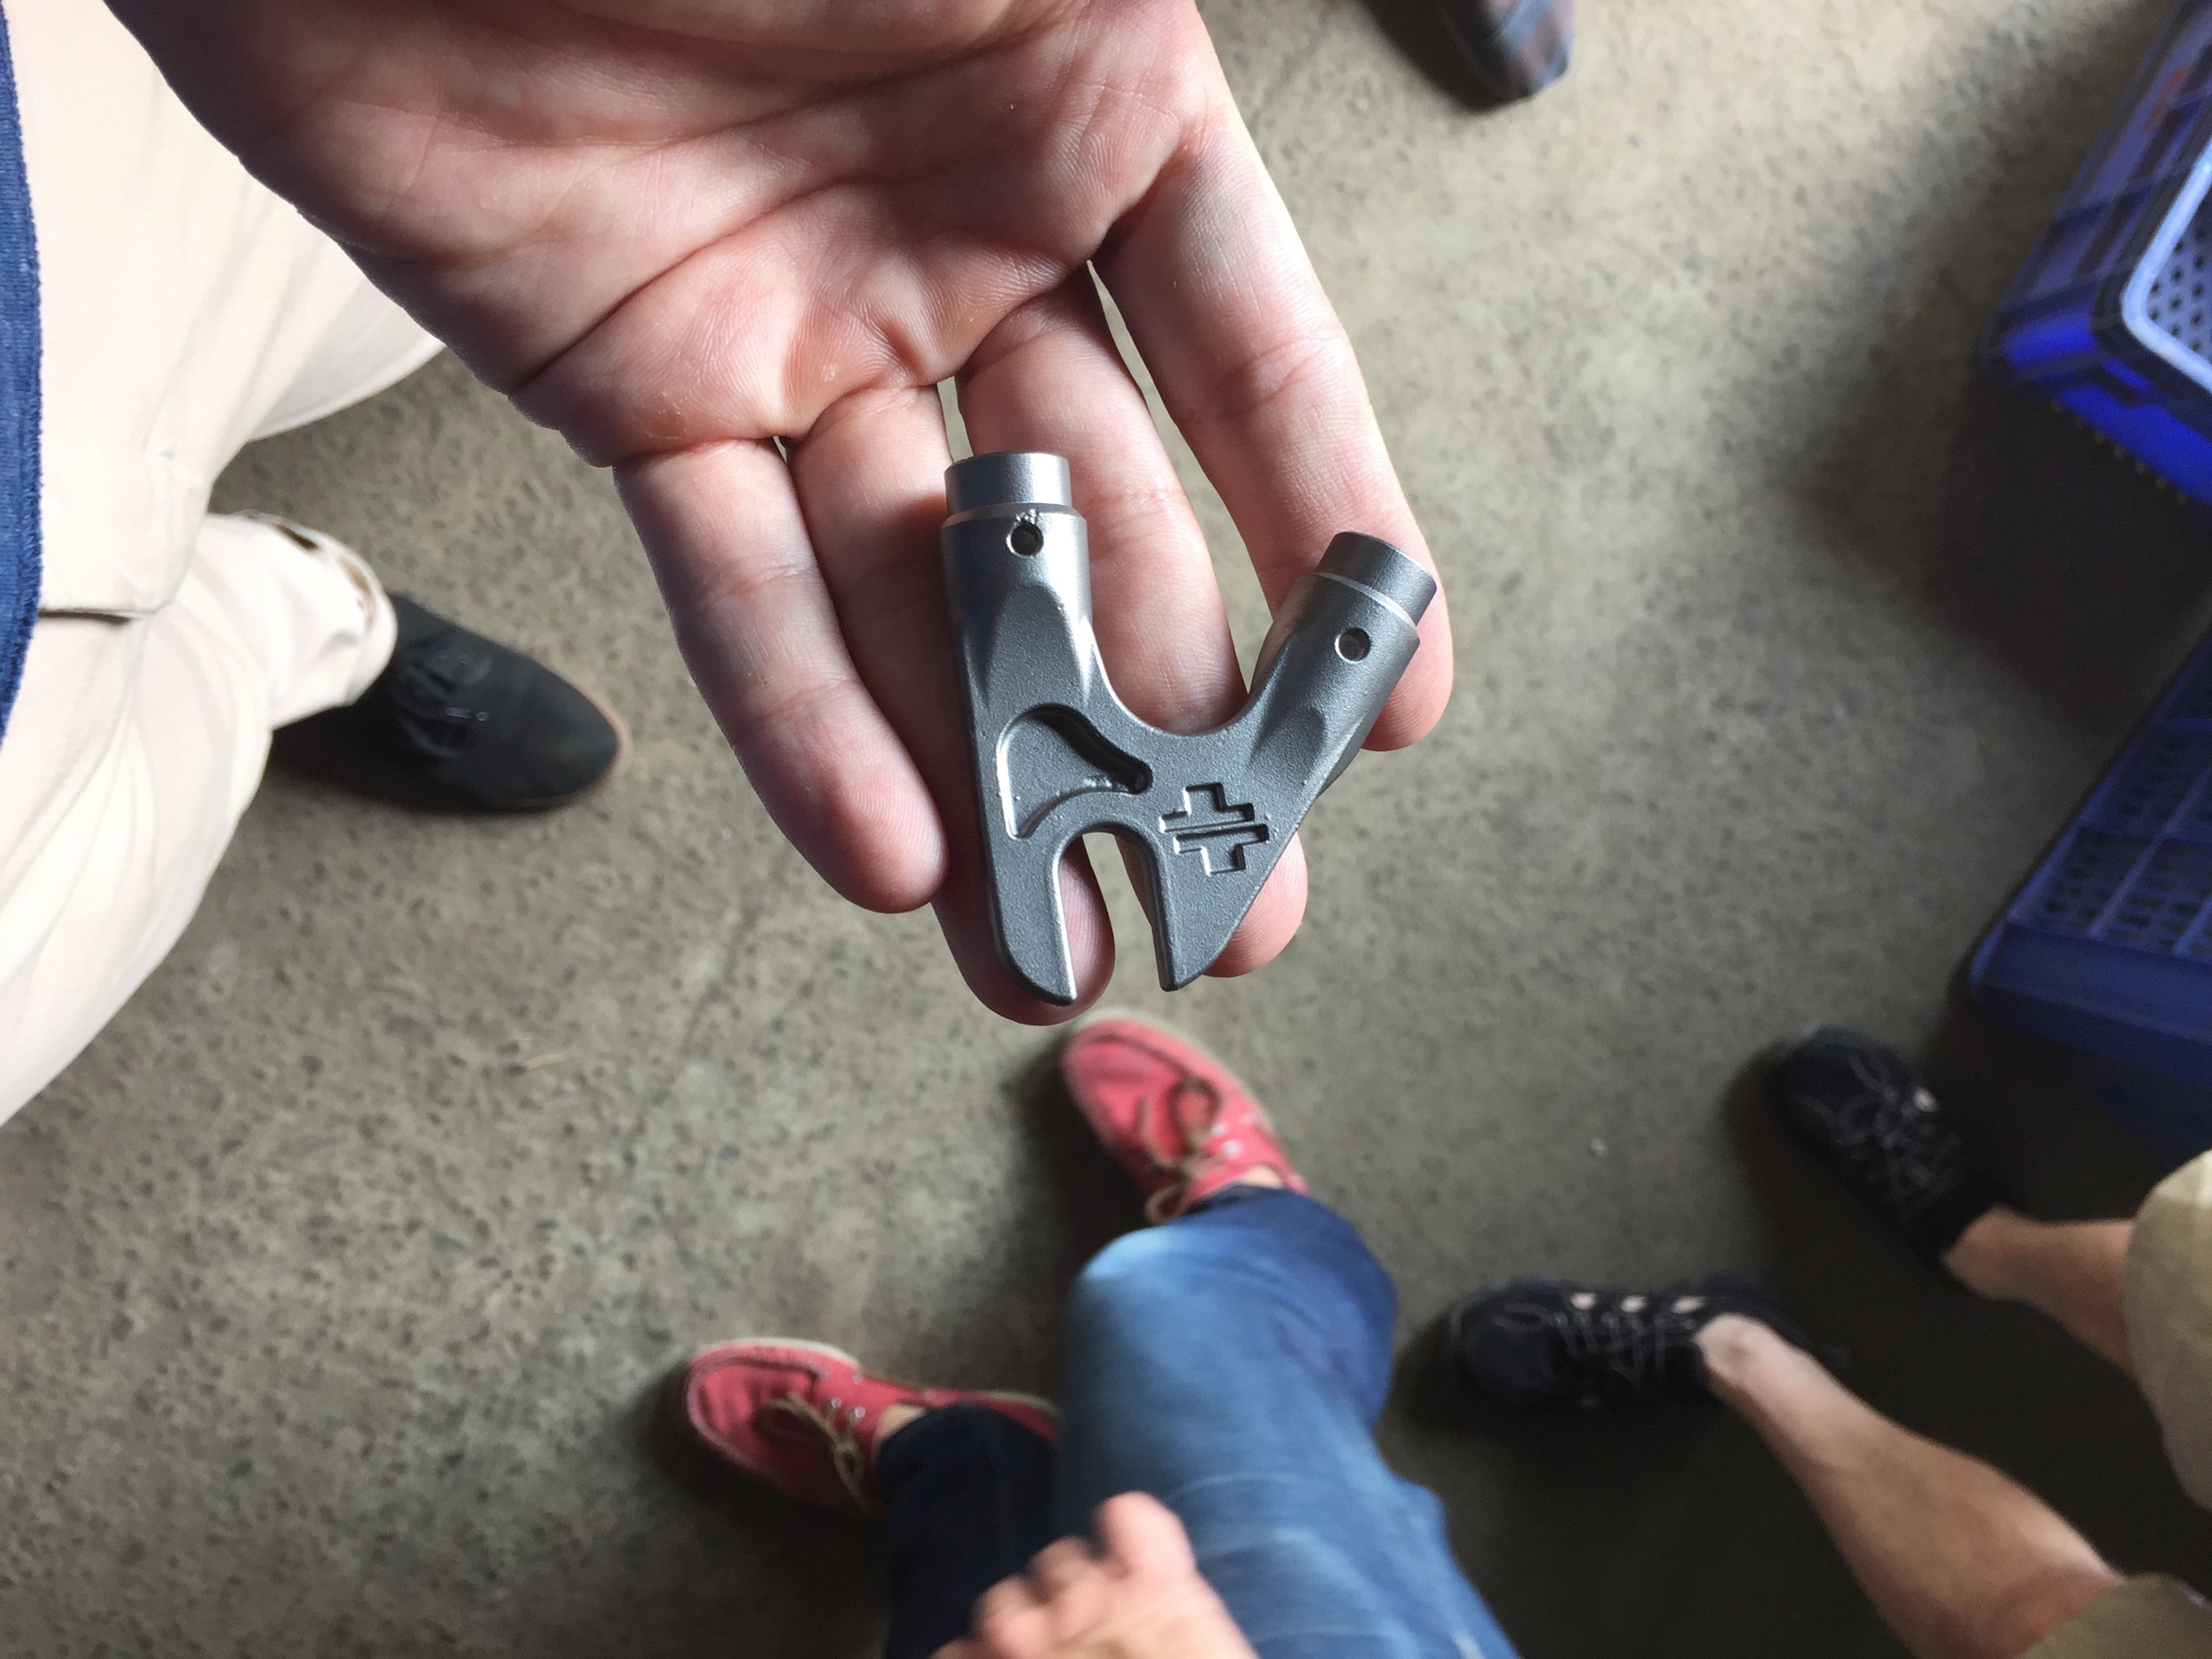
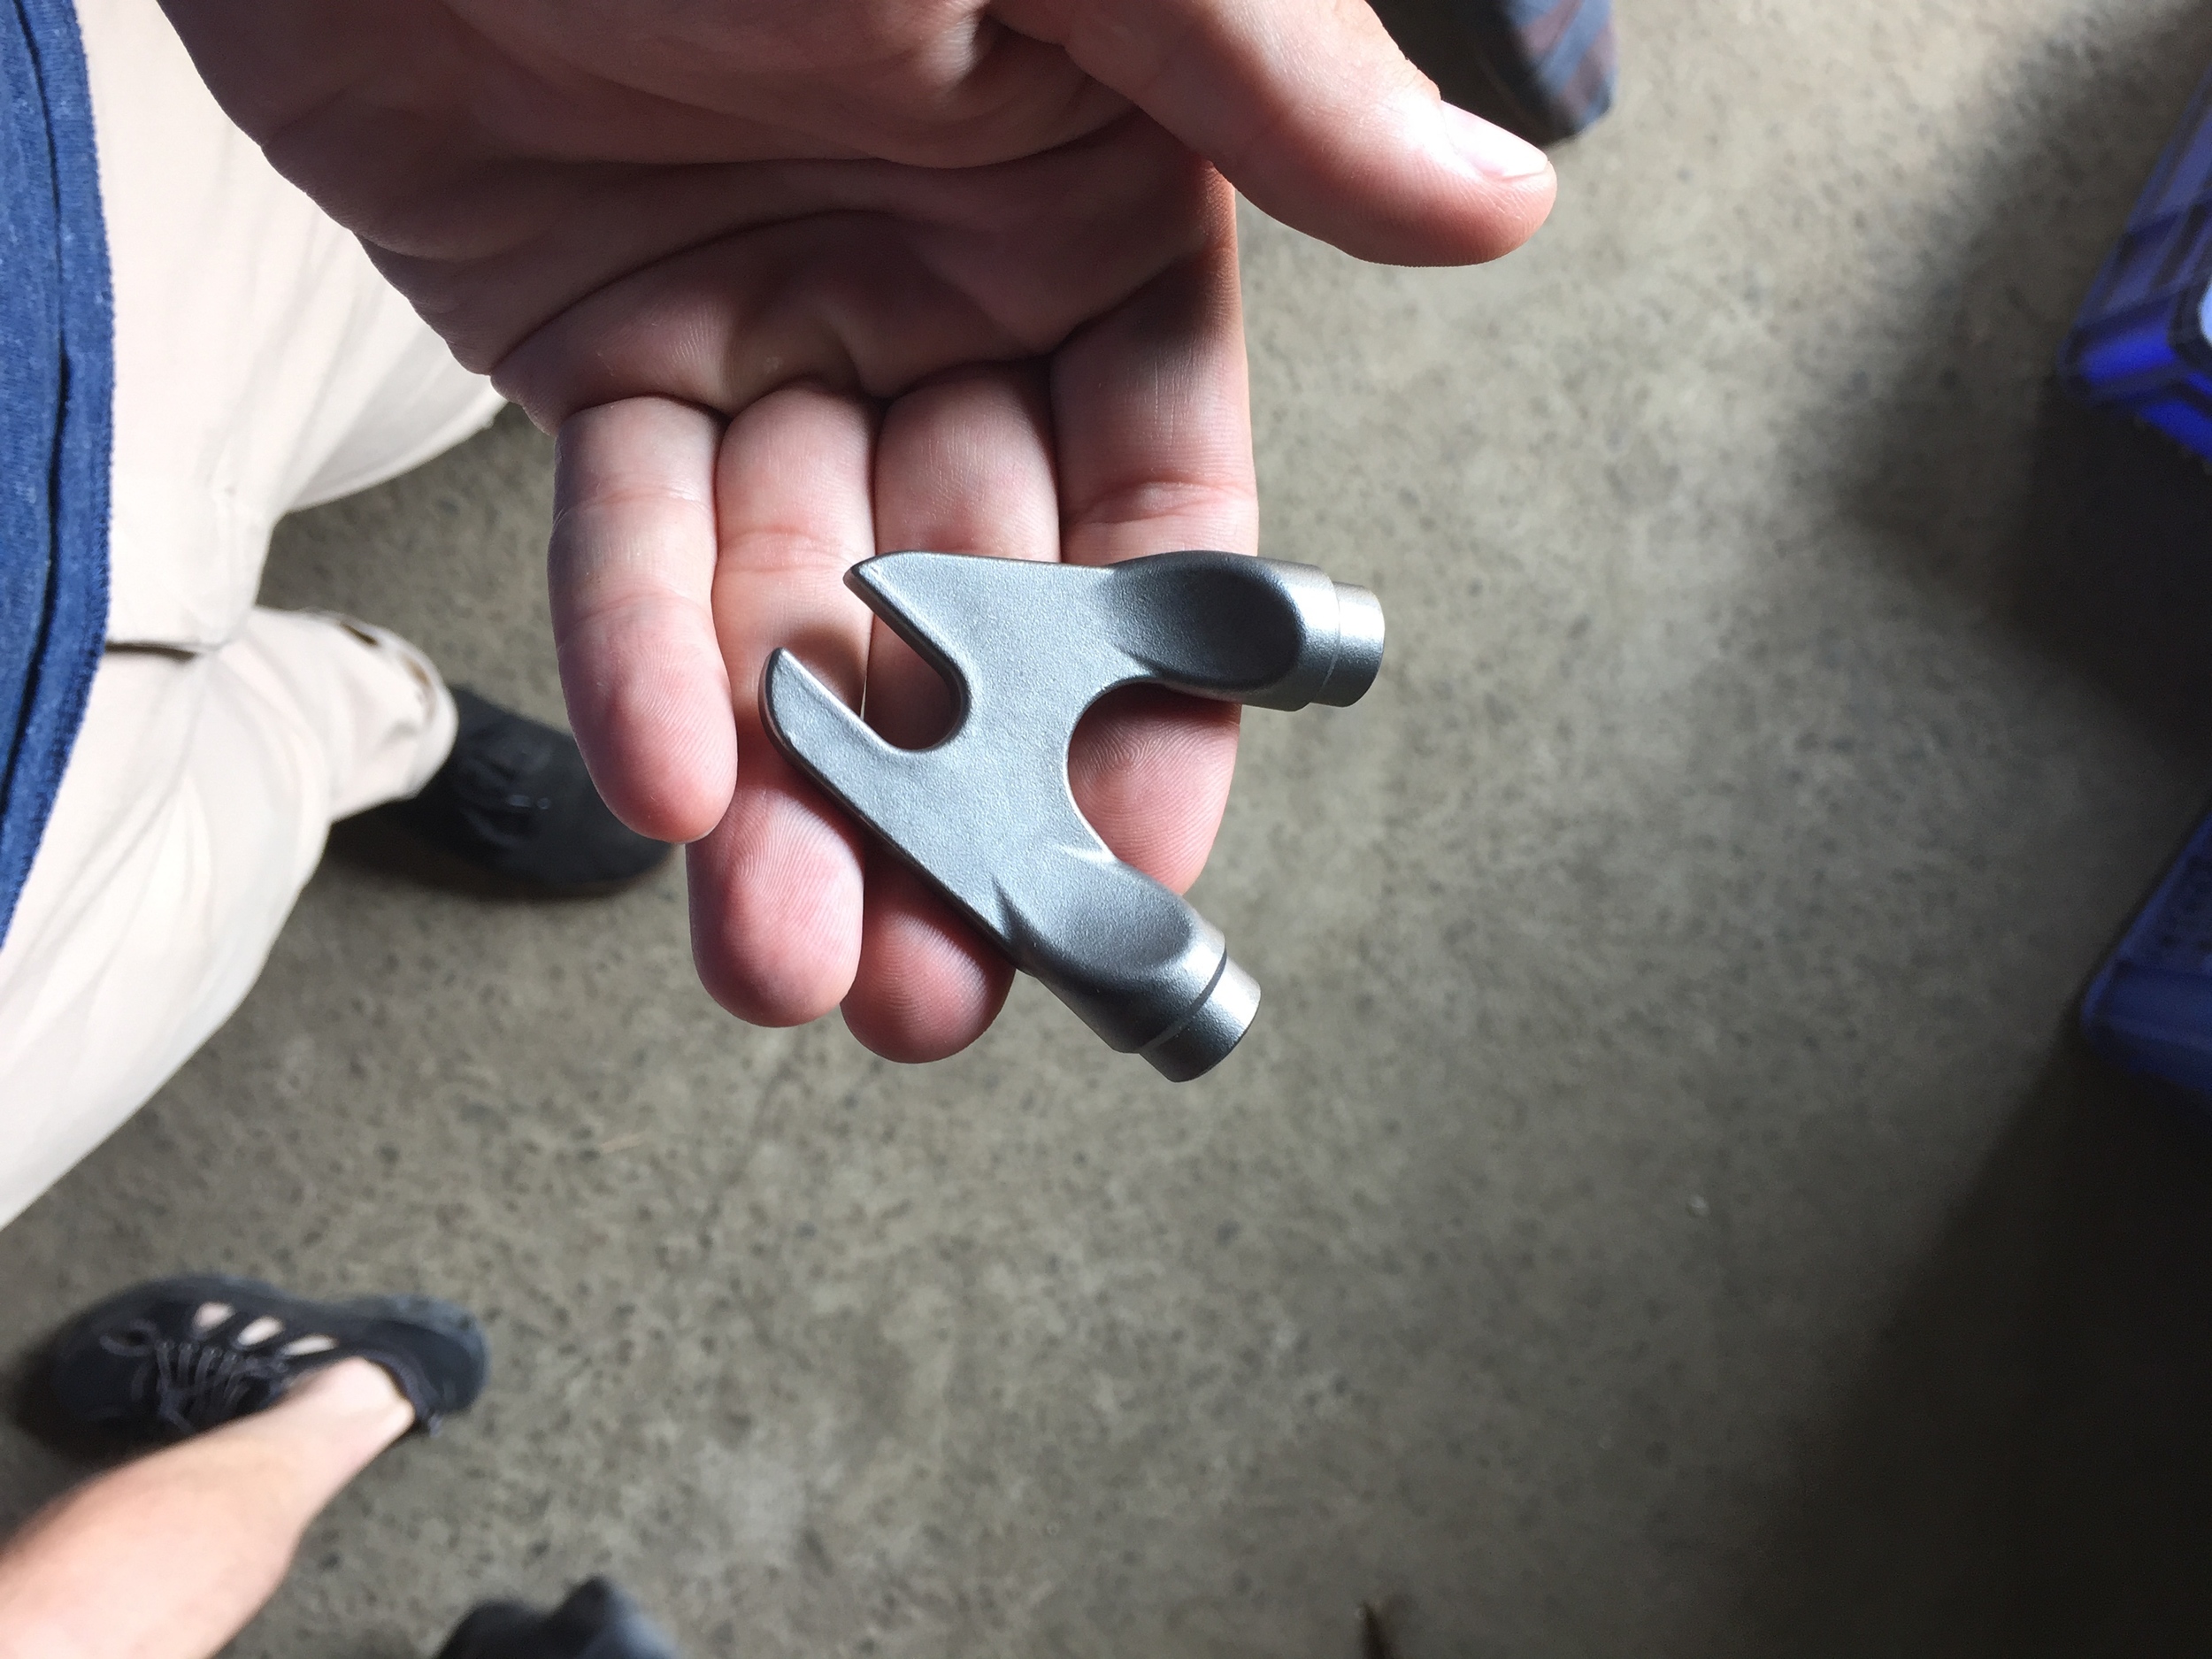
In October, I visited a Taiwanese investment casting shop with Brilliant Bicycles. It was *great.*

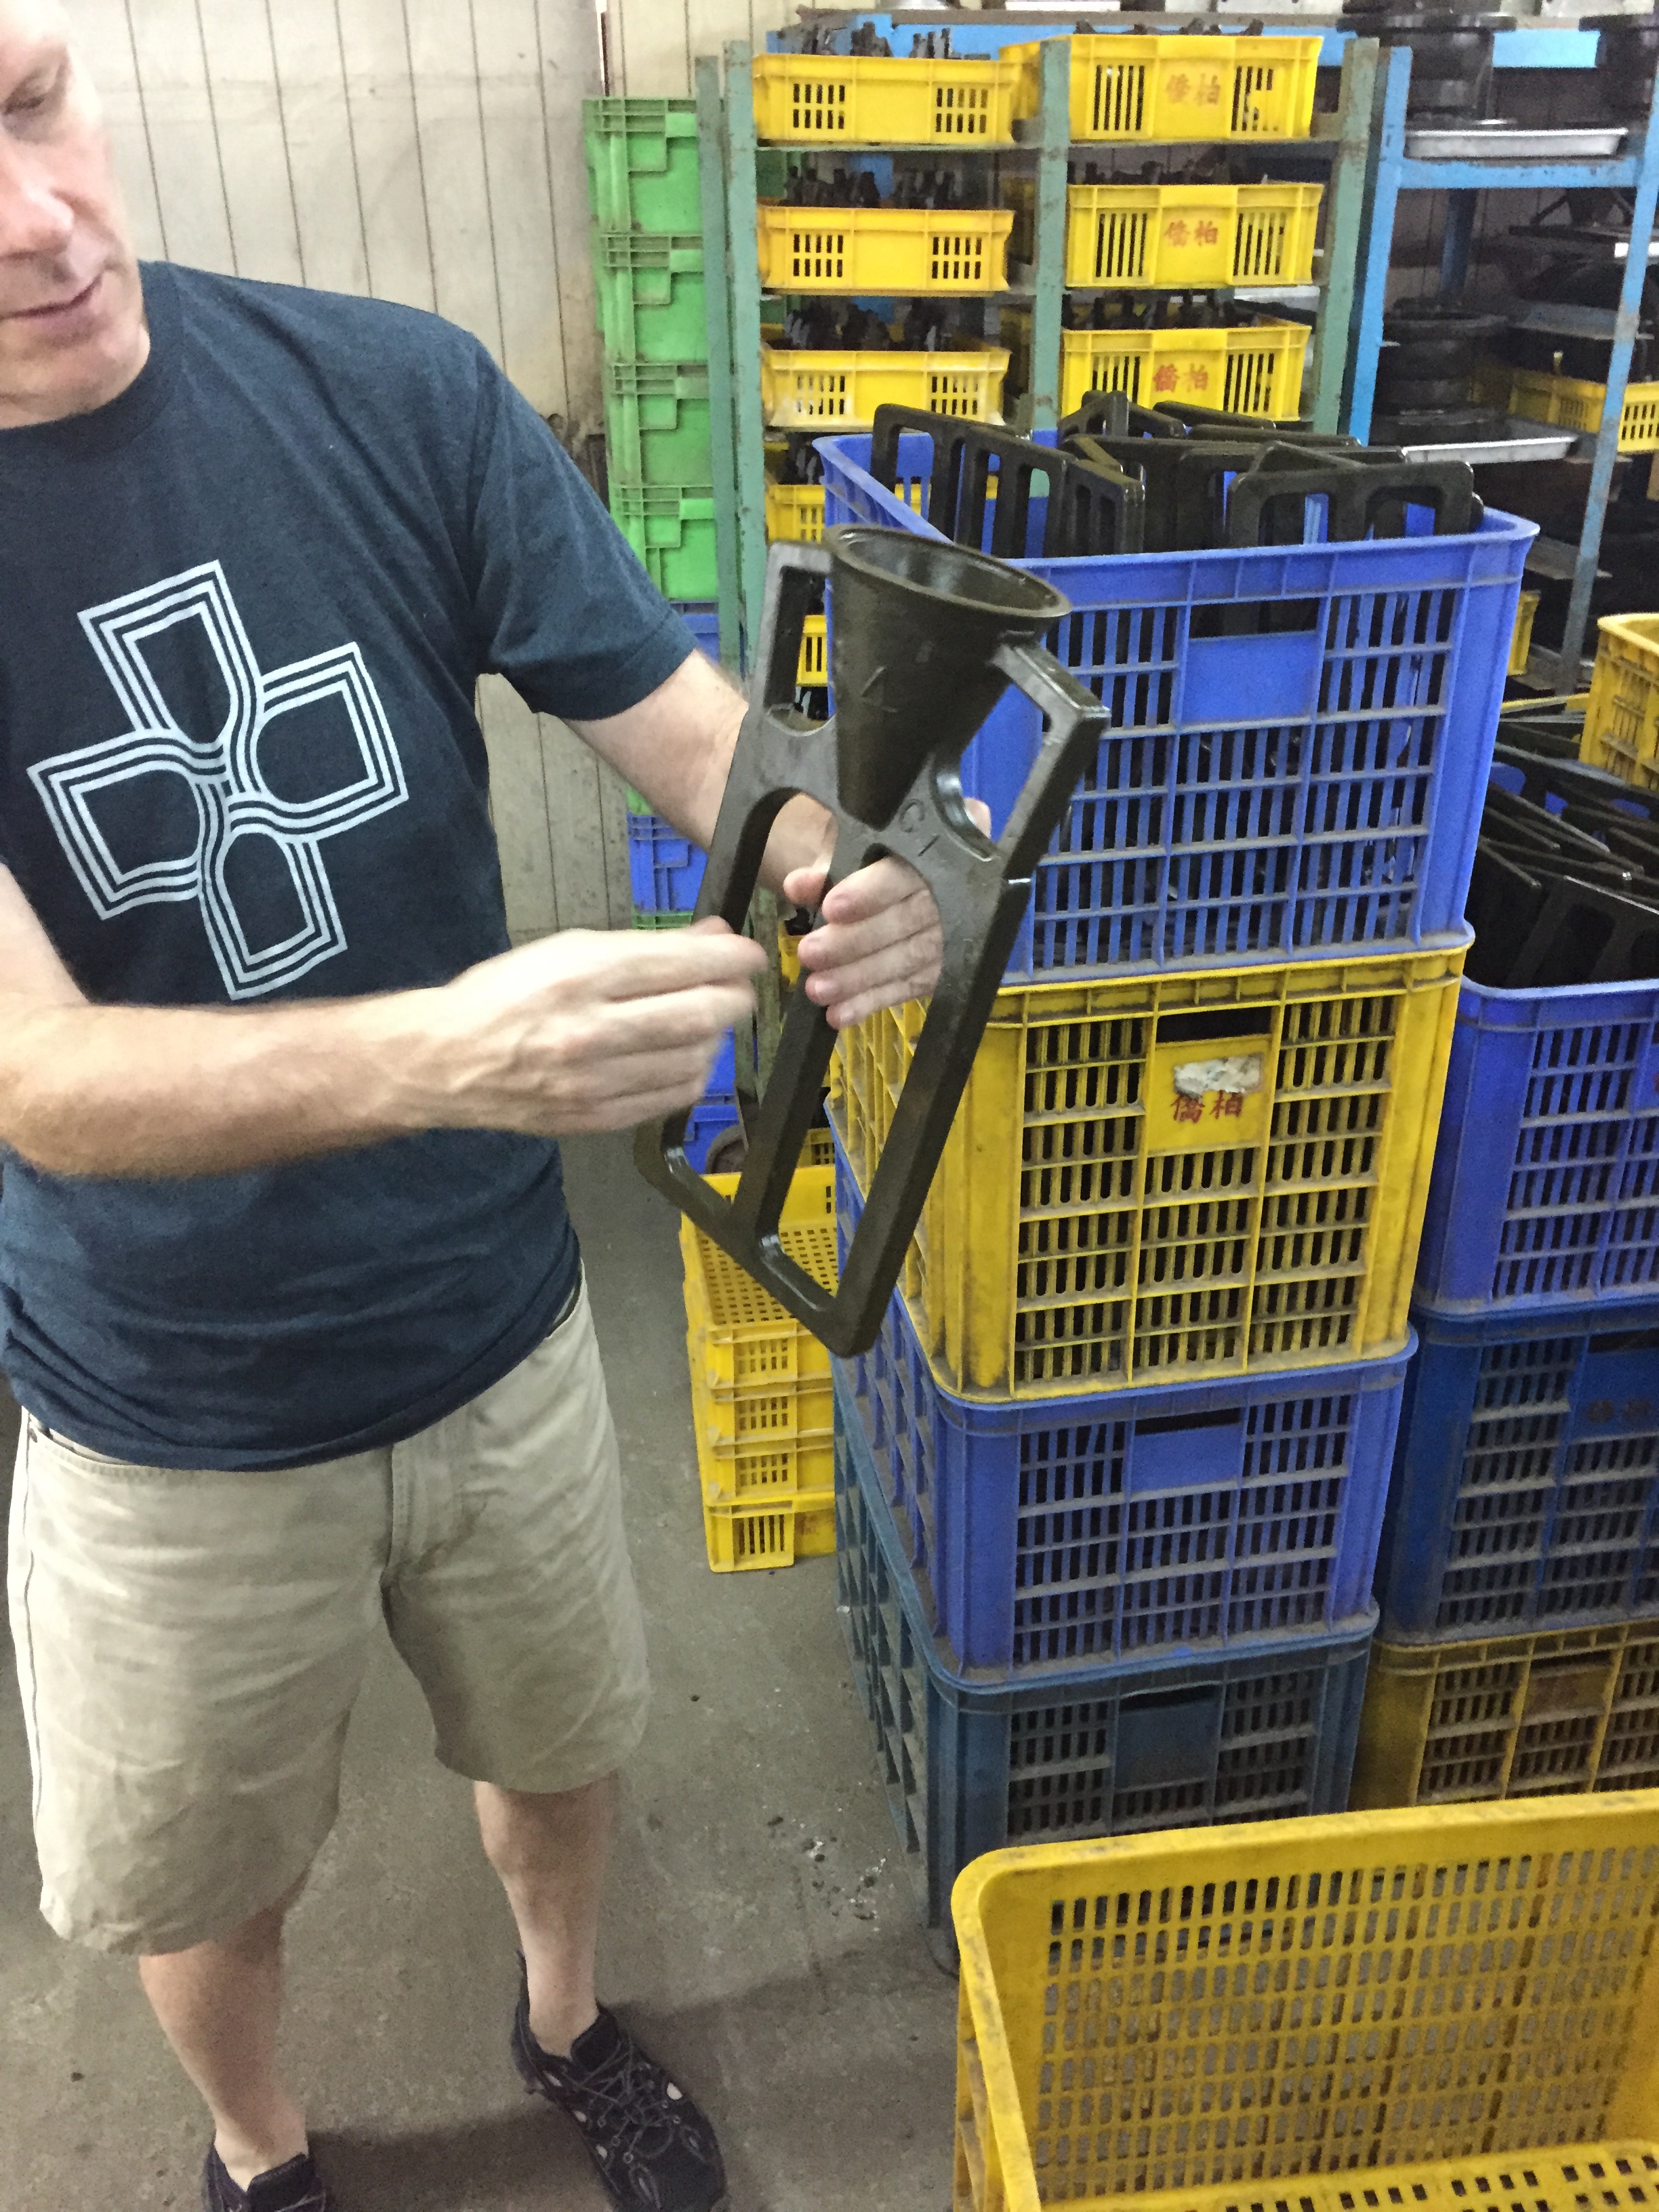
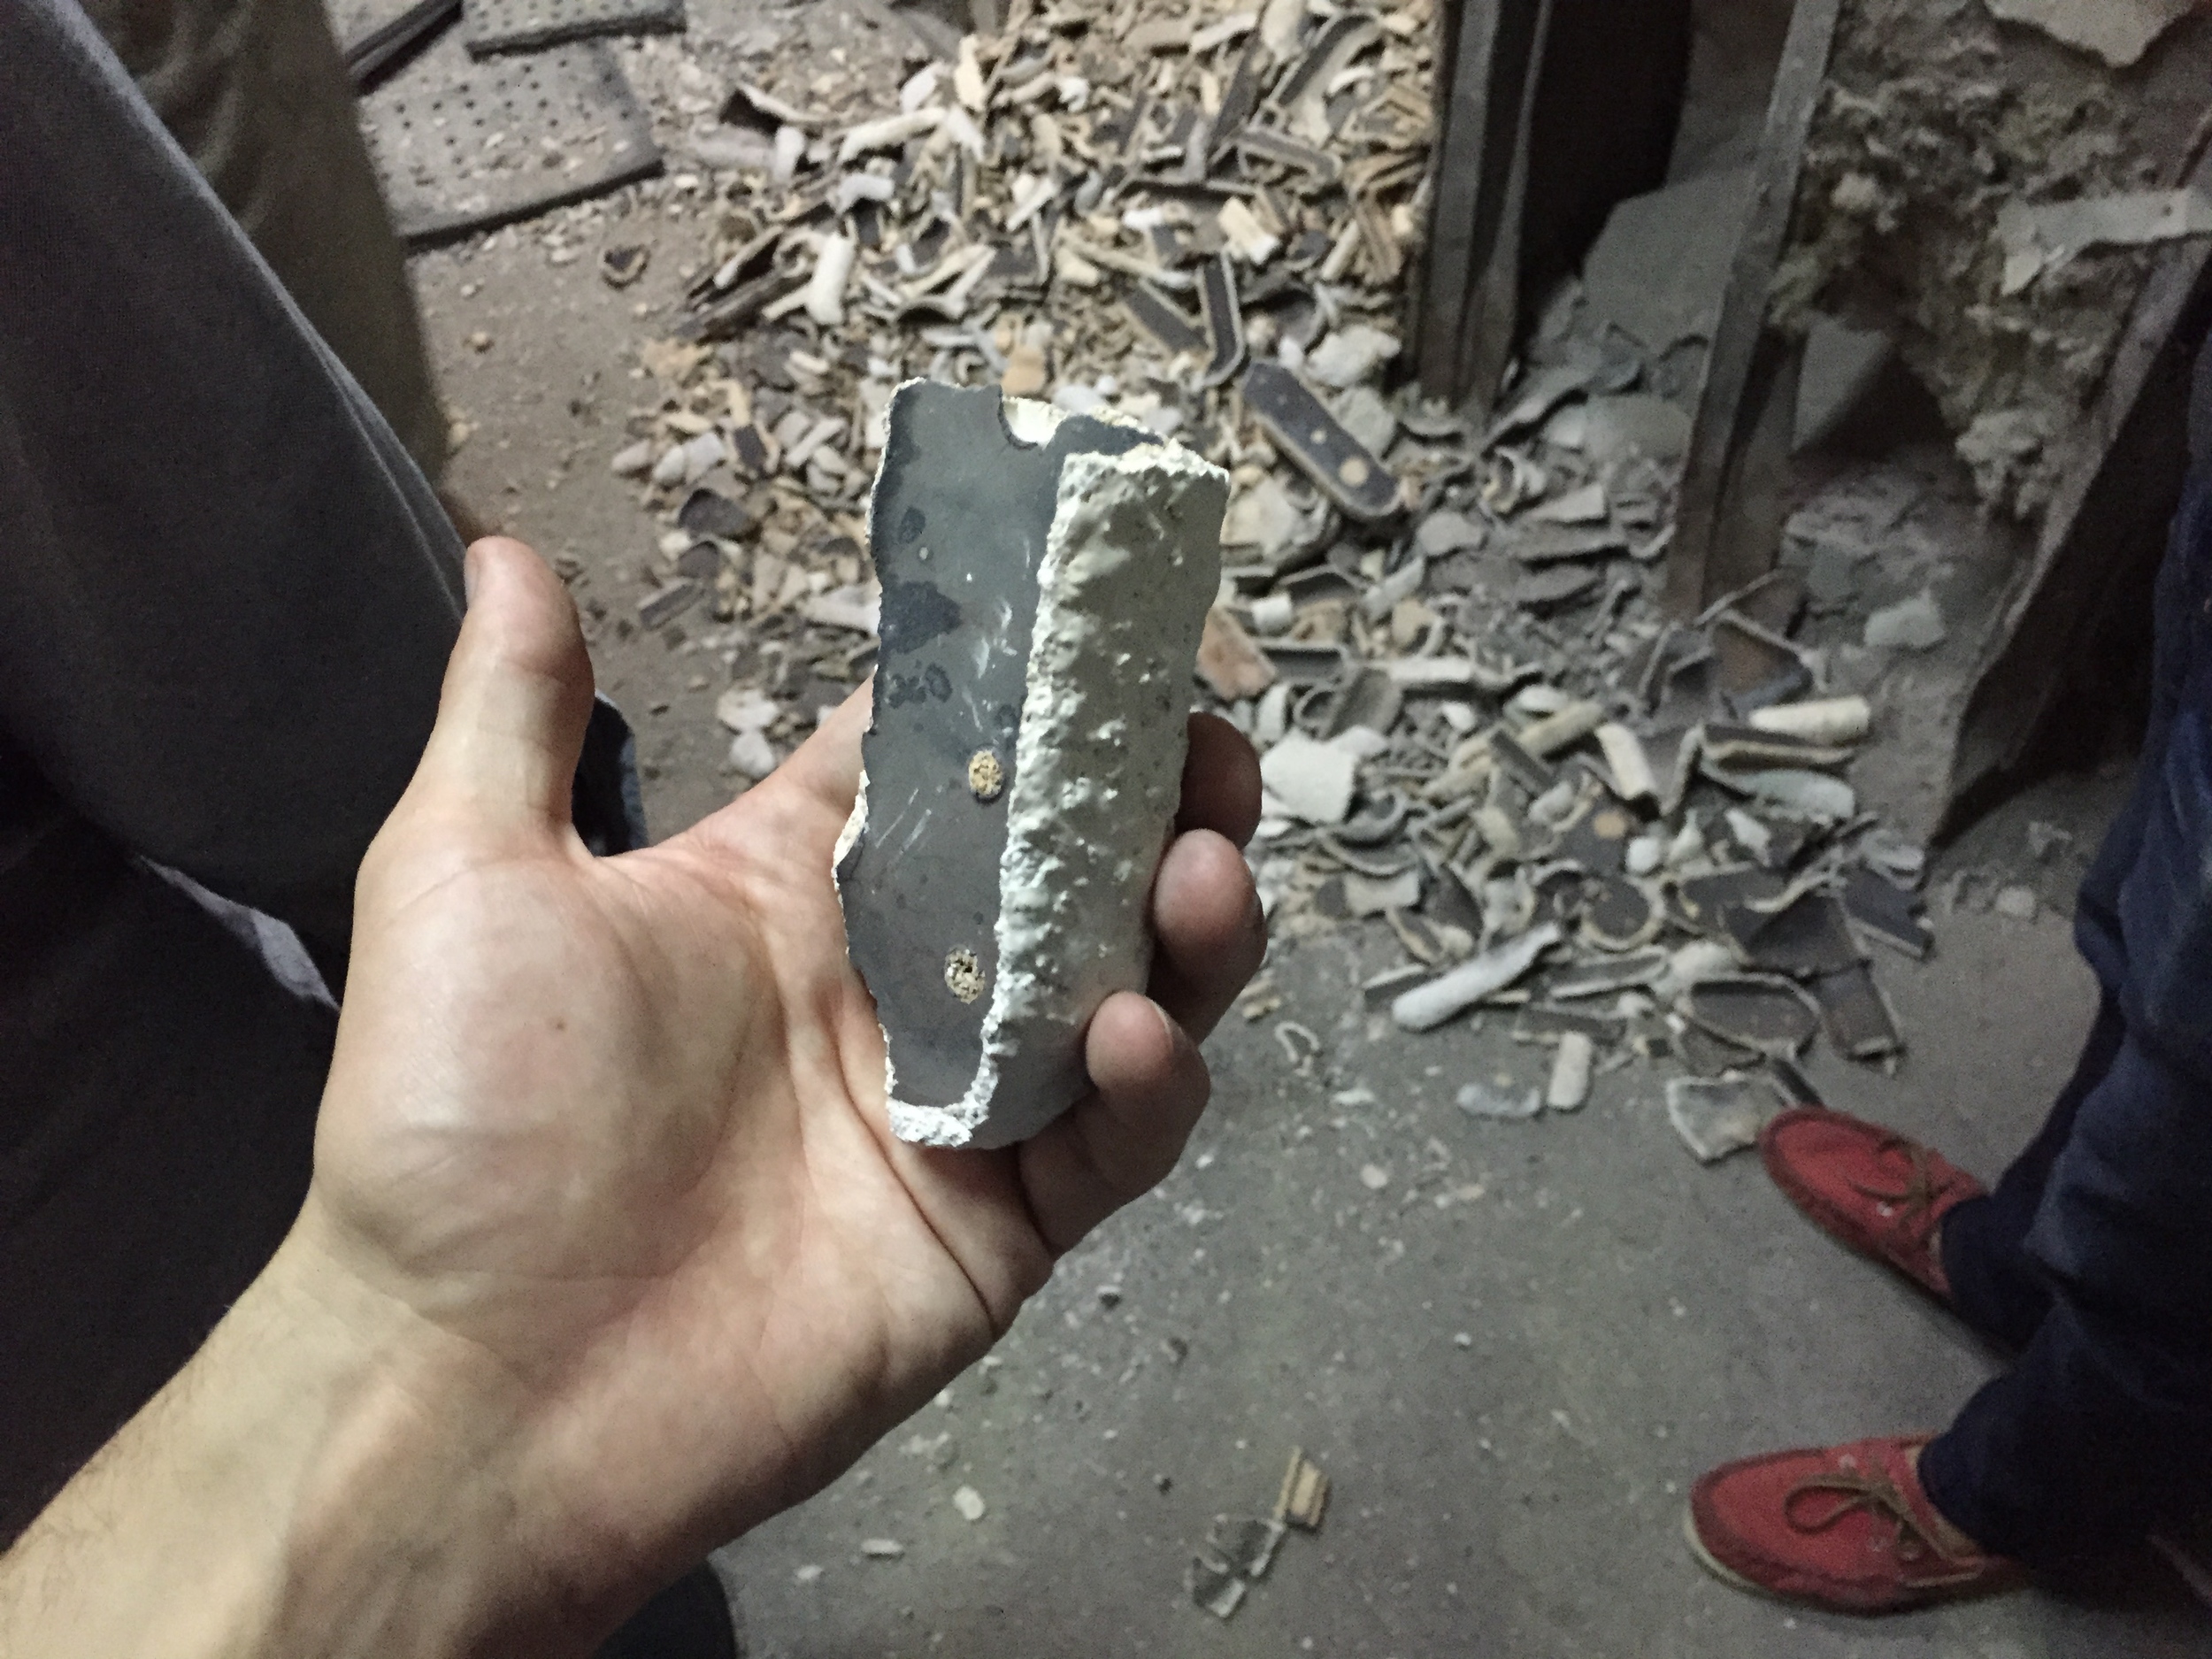
We started in the wax casting room. Here, aluminum molds are used to cast wax positives, which basically resemble finished parts:

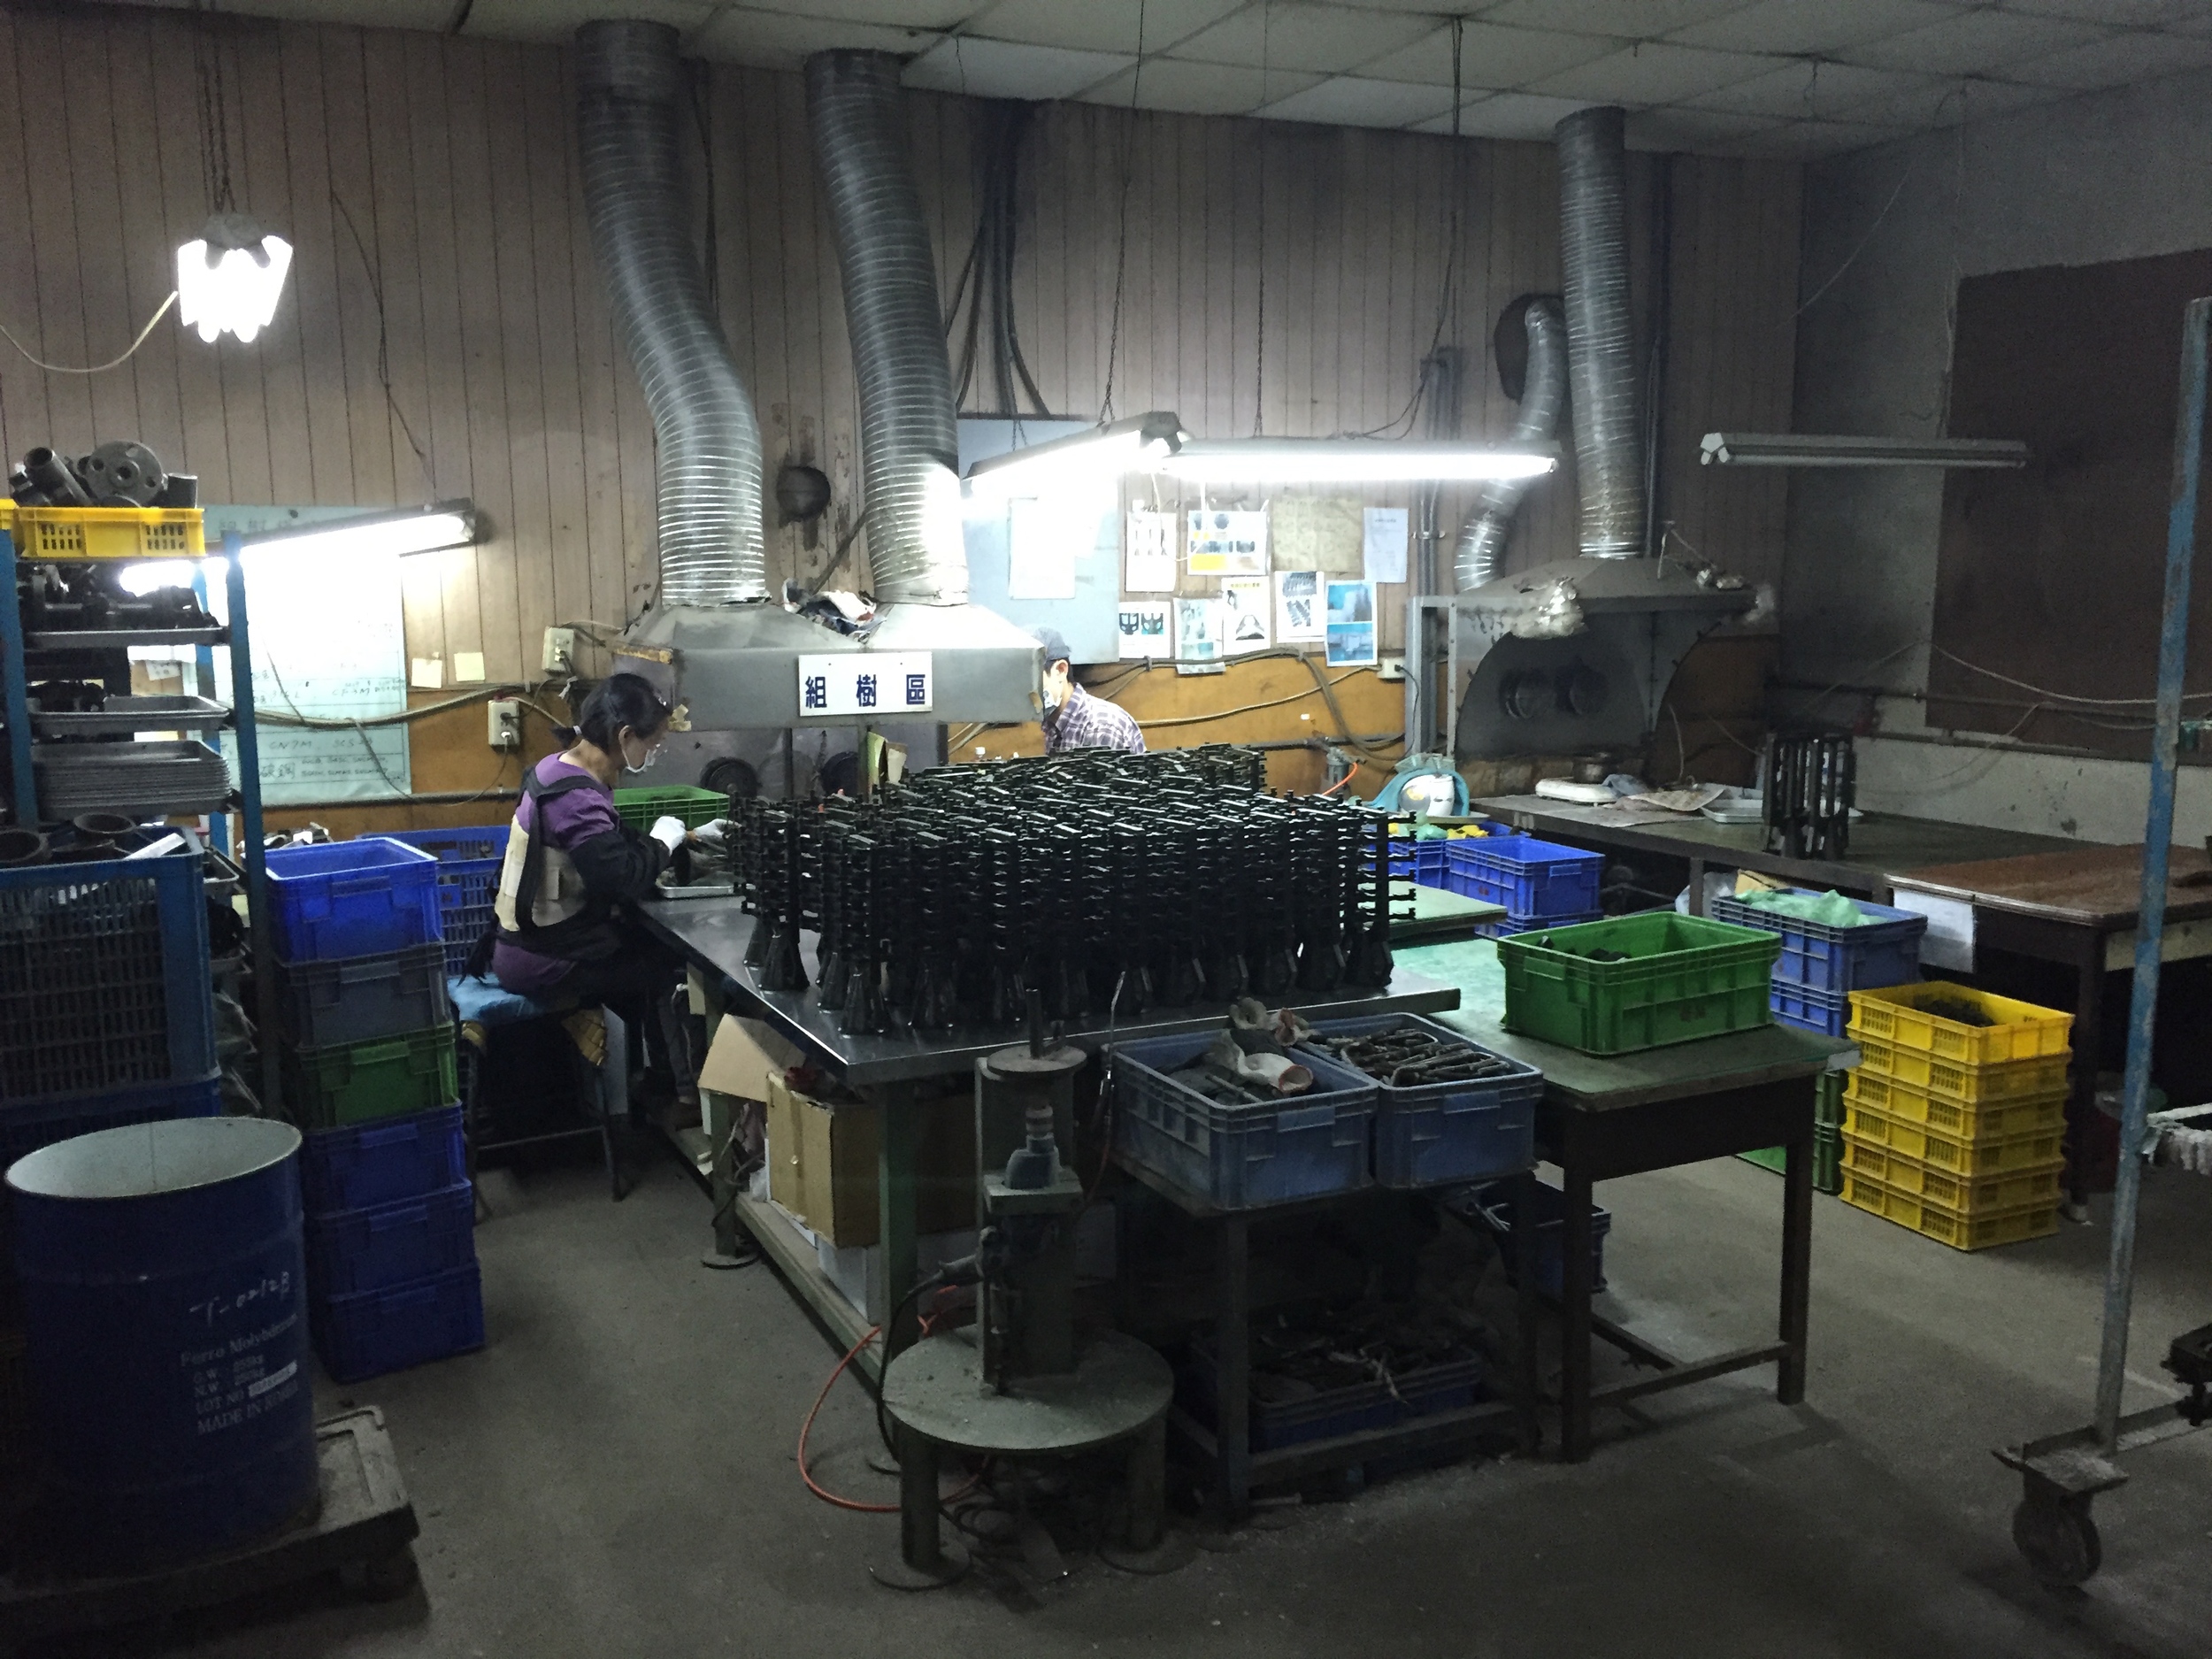
Then we moved to wax tree assembly. Here, wax positives are welded (with an iron) to sprues. It was a really quick process. On one side there was a guy molding the sprues themselves:

And on the other side they're welded to parts. The whole room was air conditioned and very cool (it was hot outside), to keep the wax from melting.

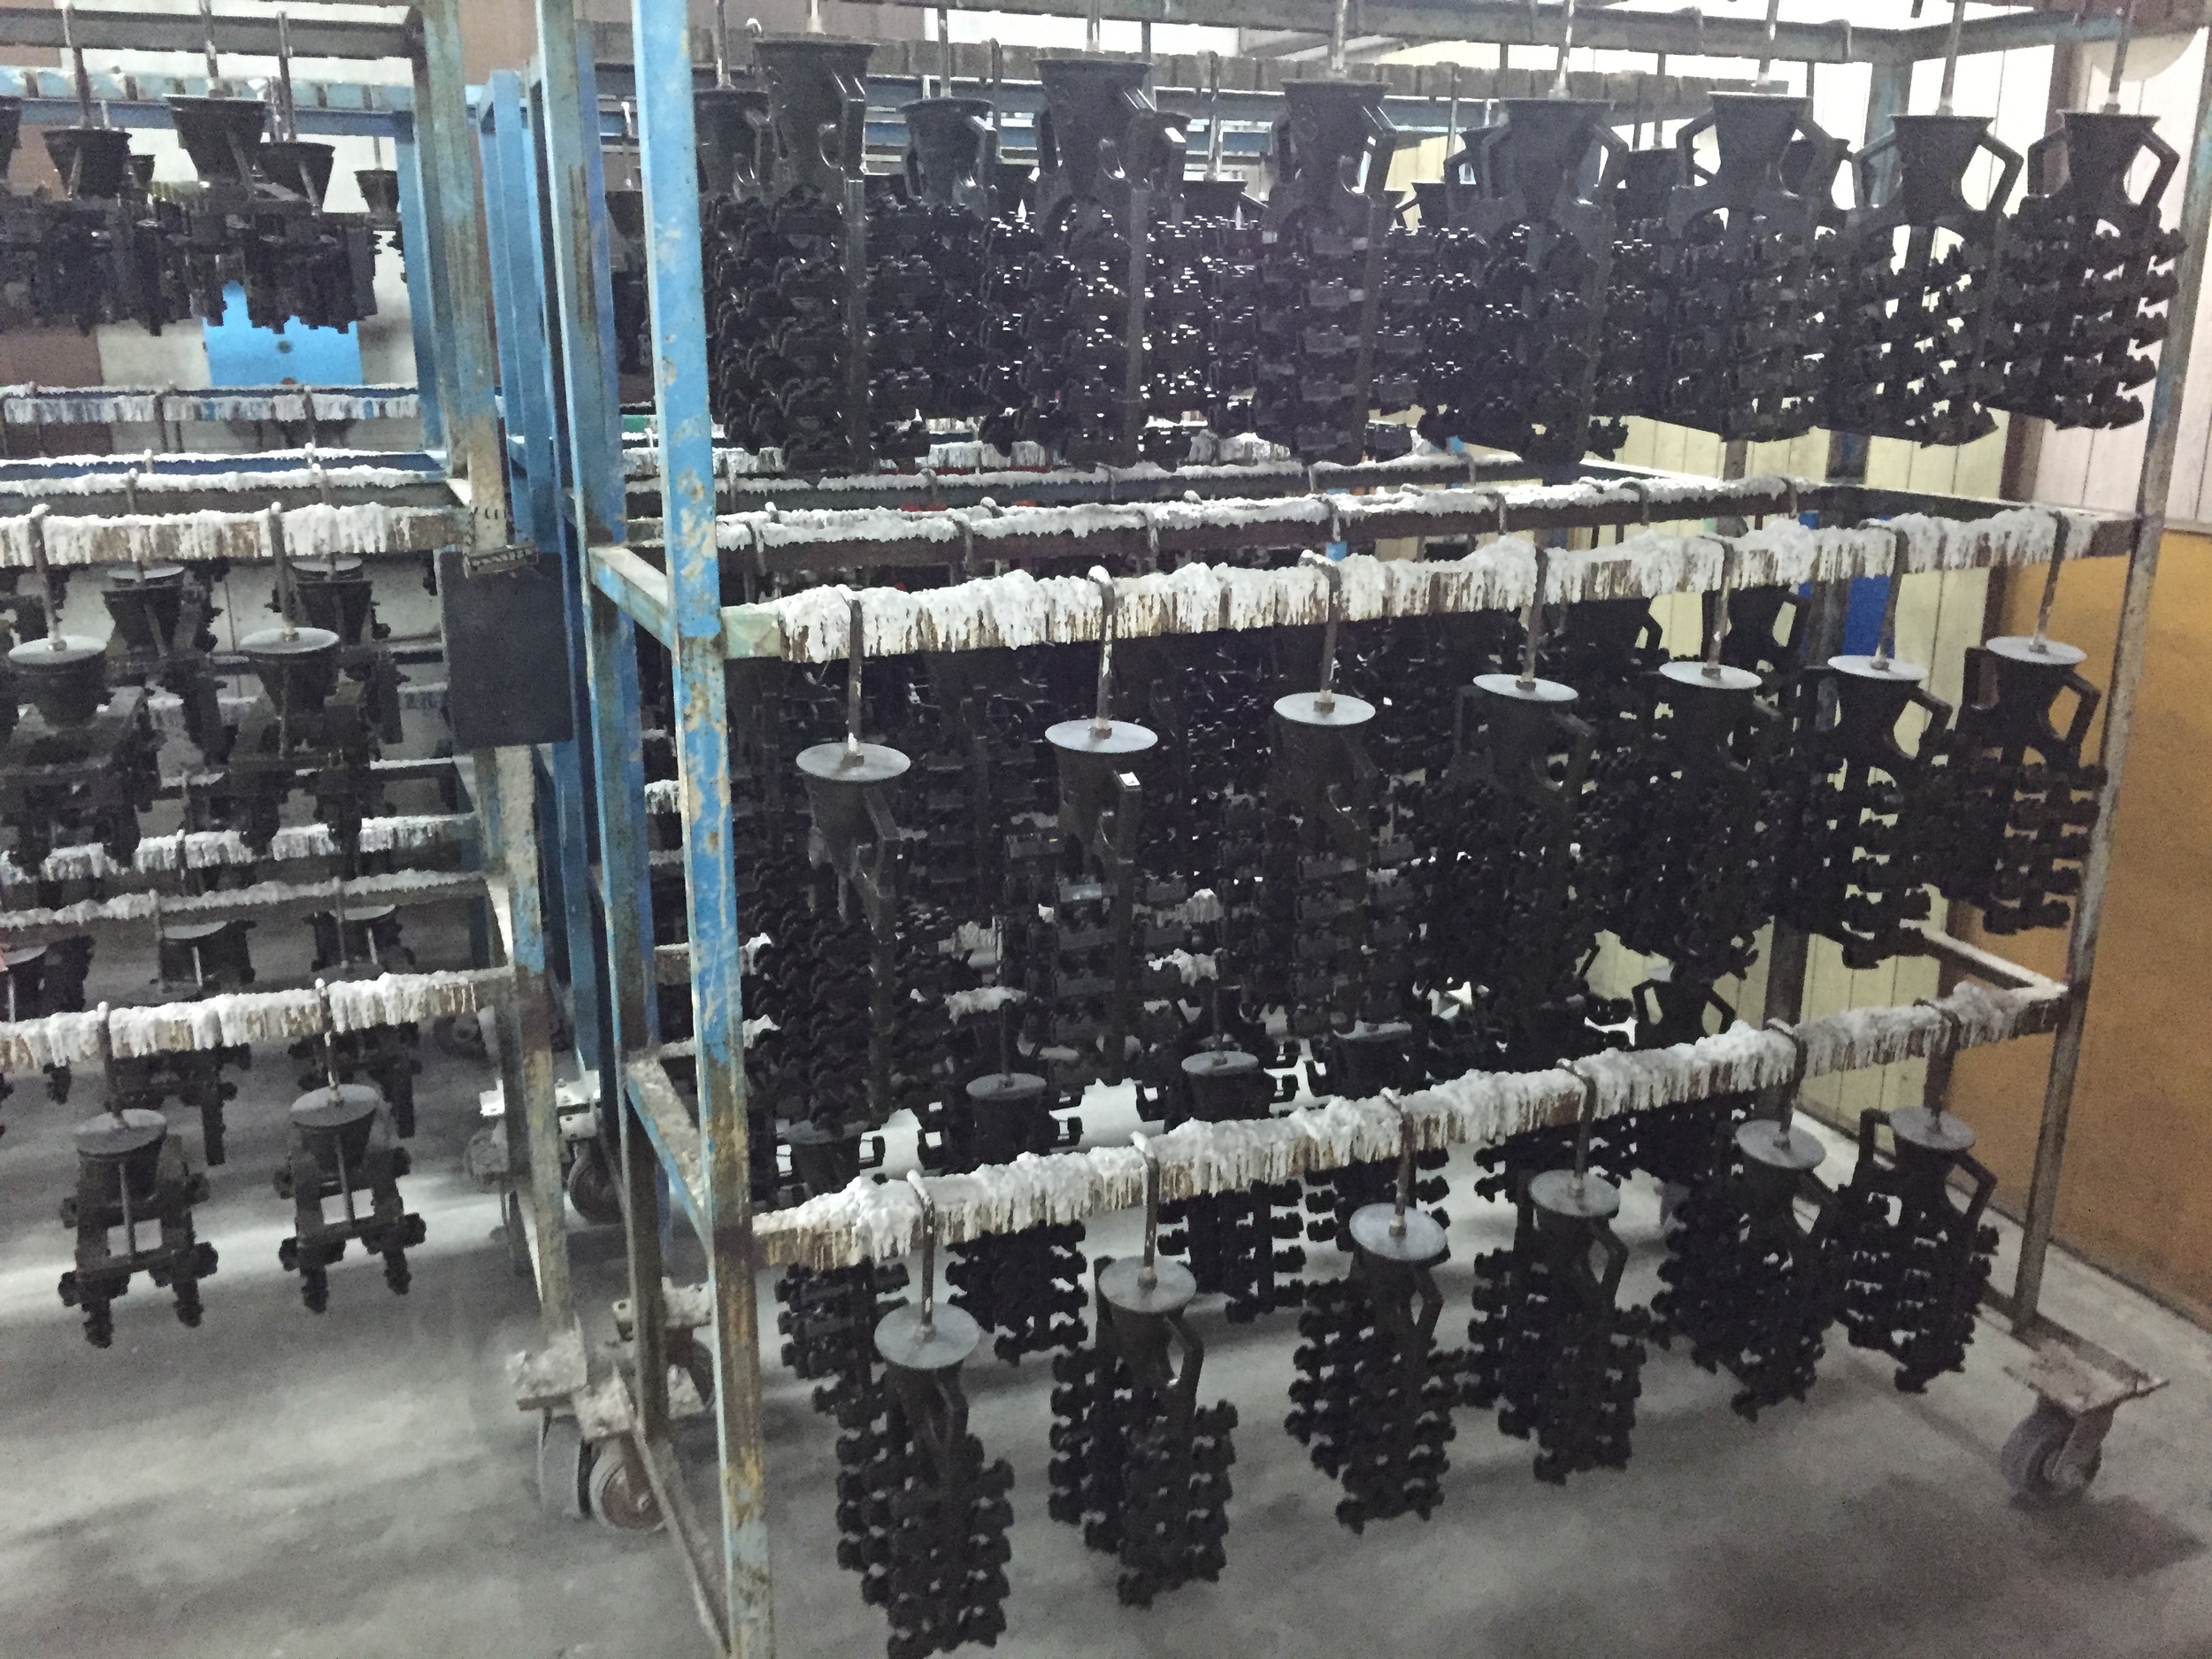
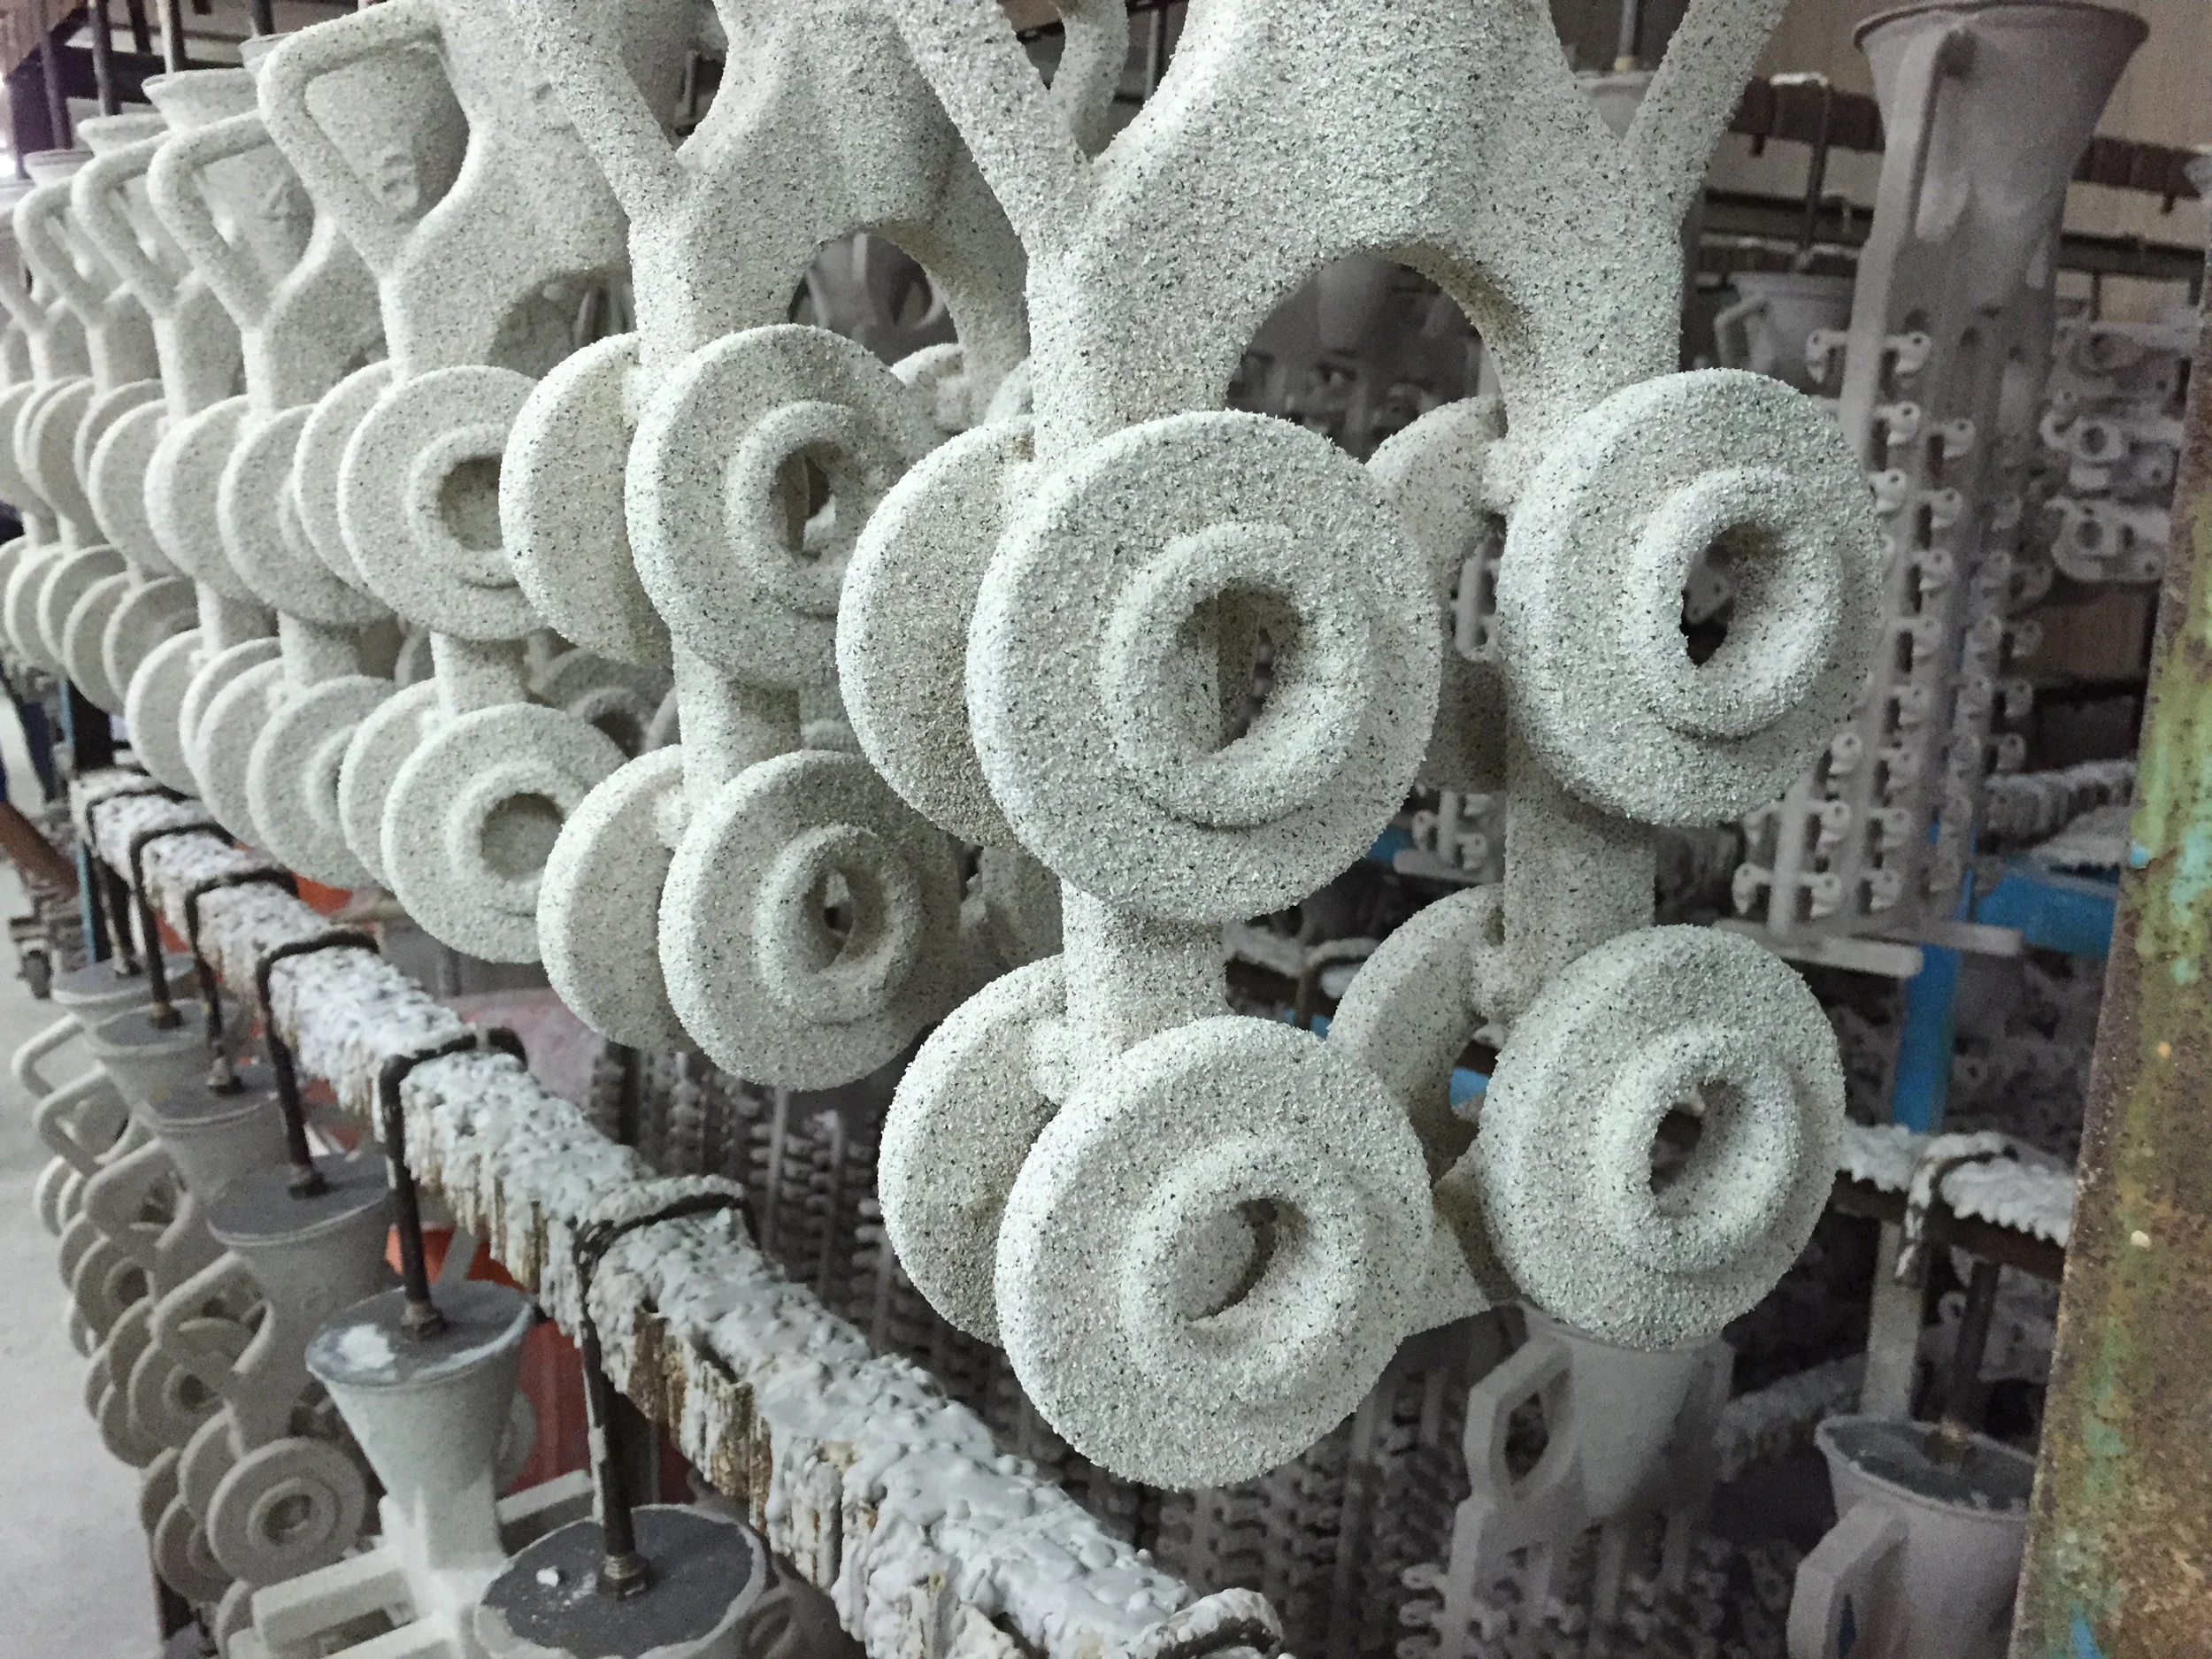
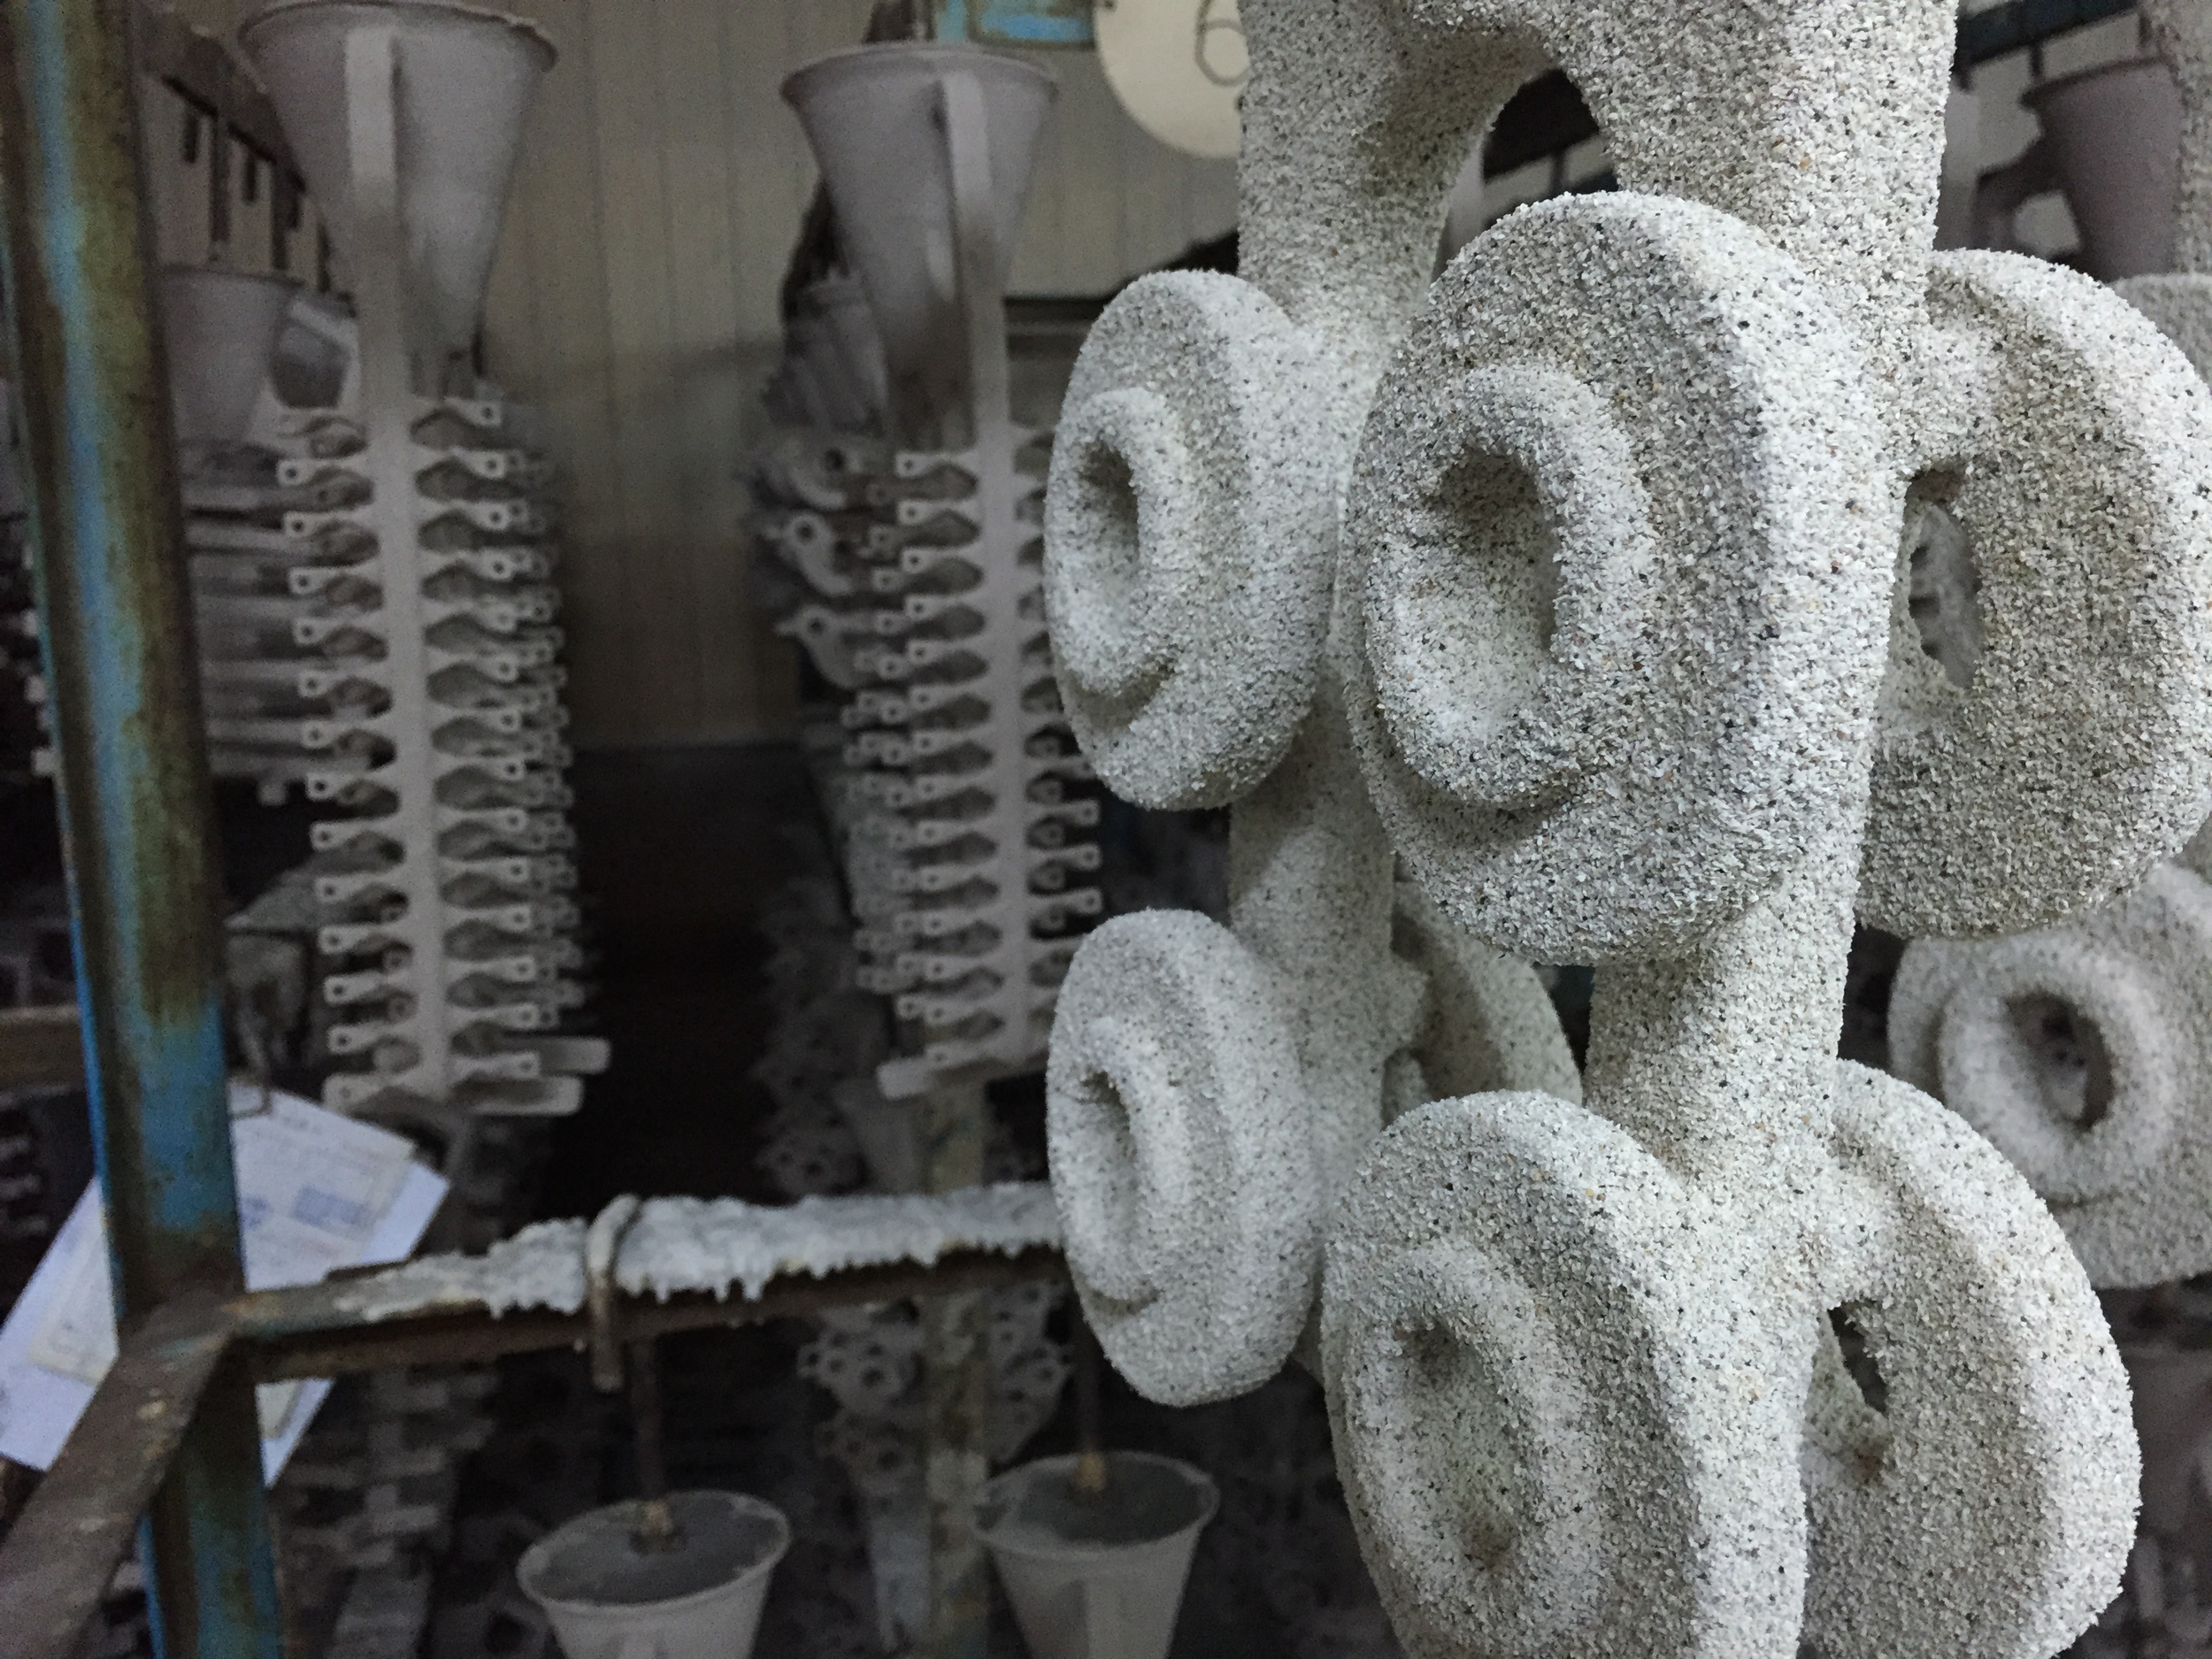
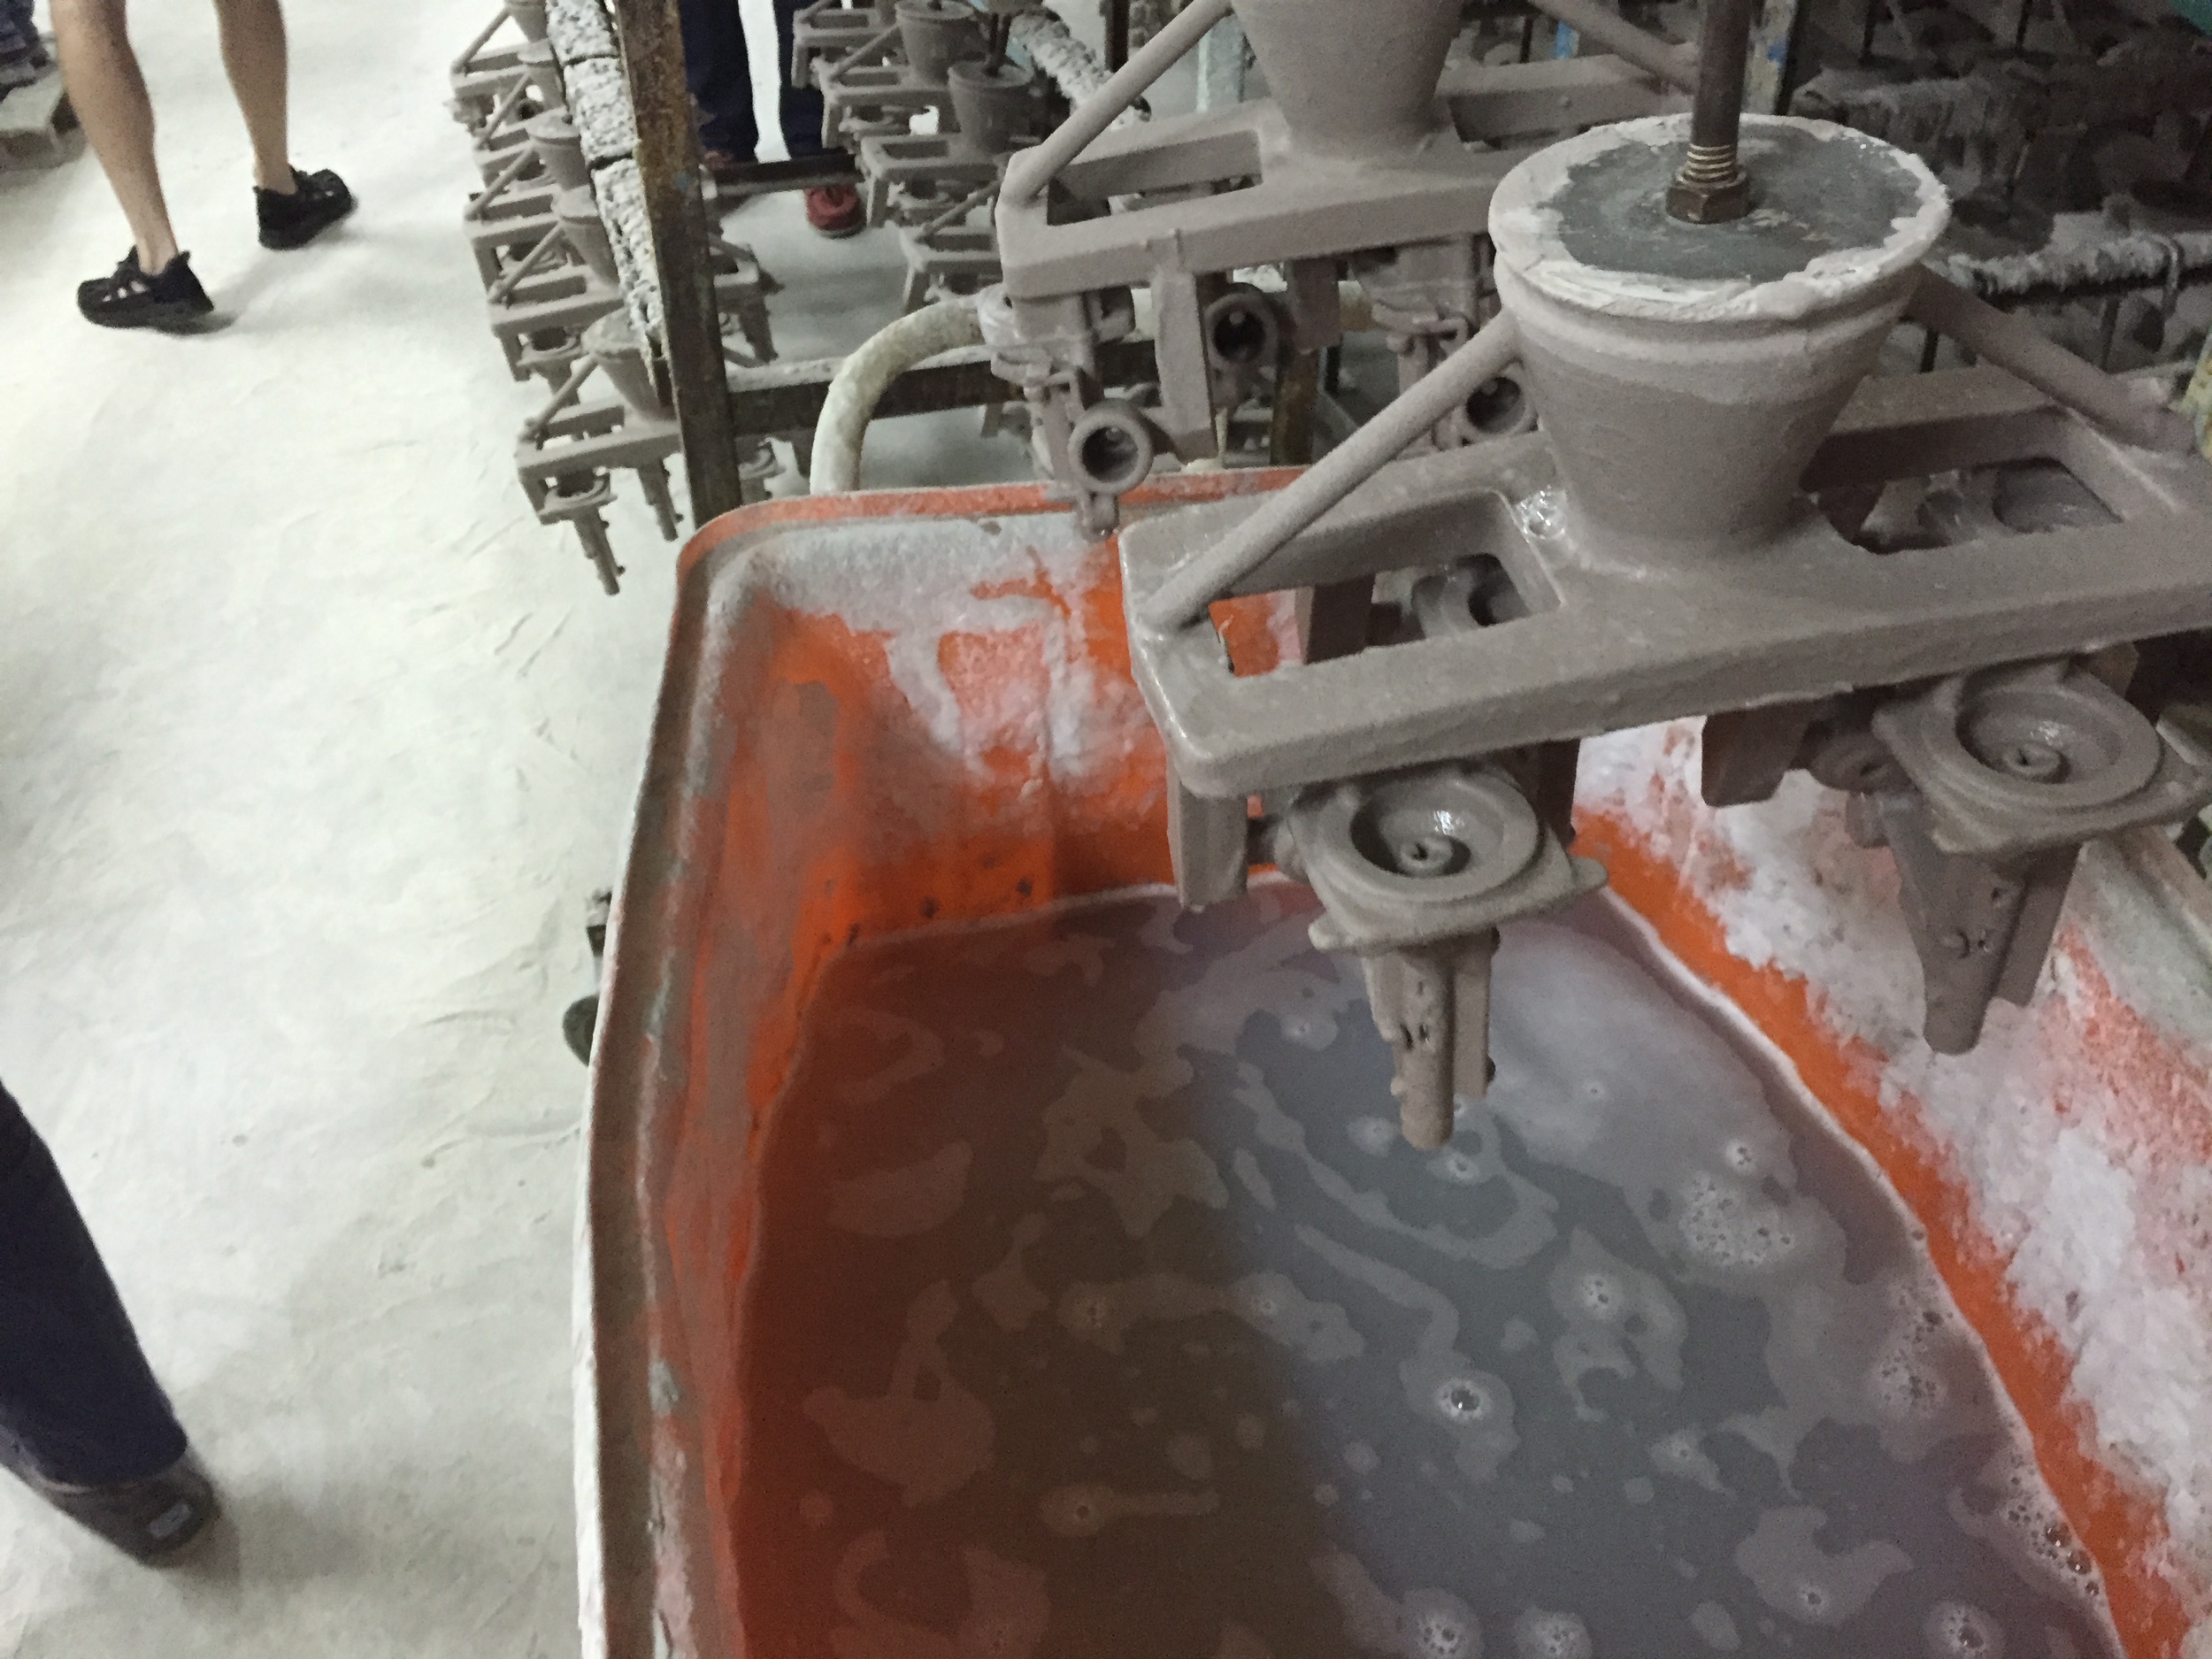
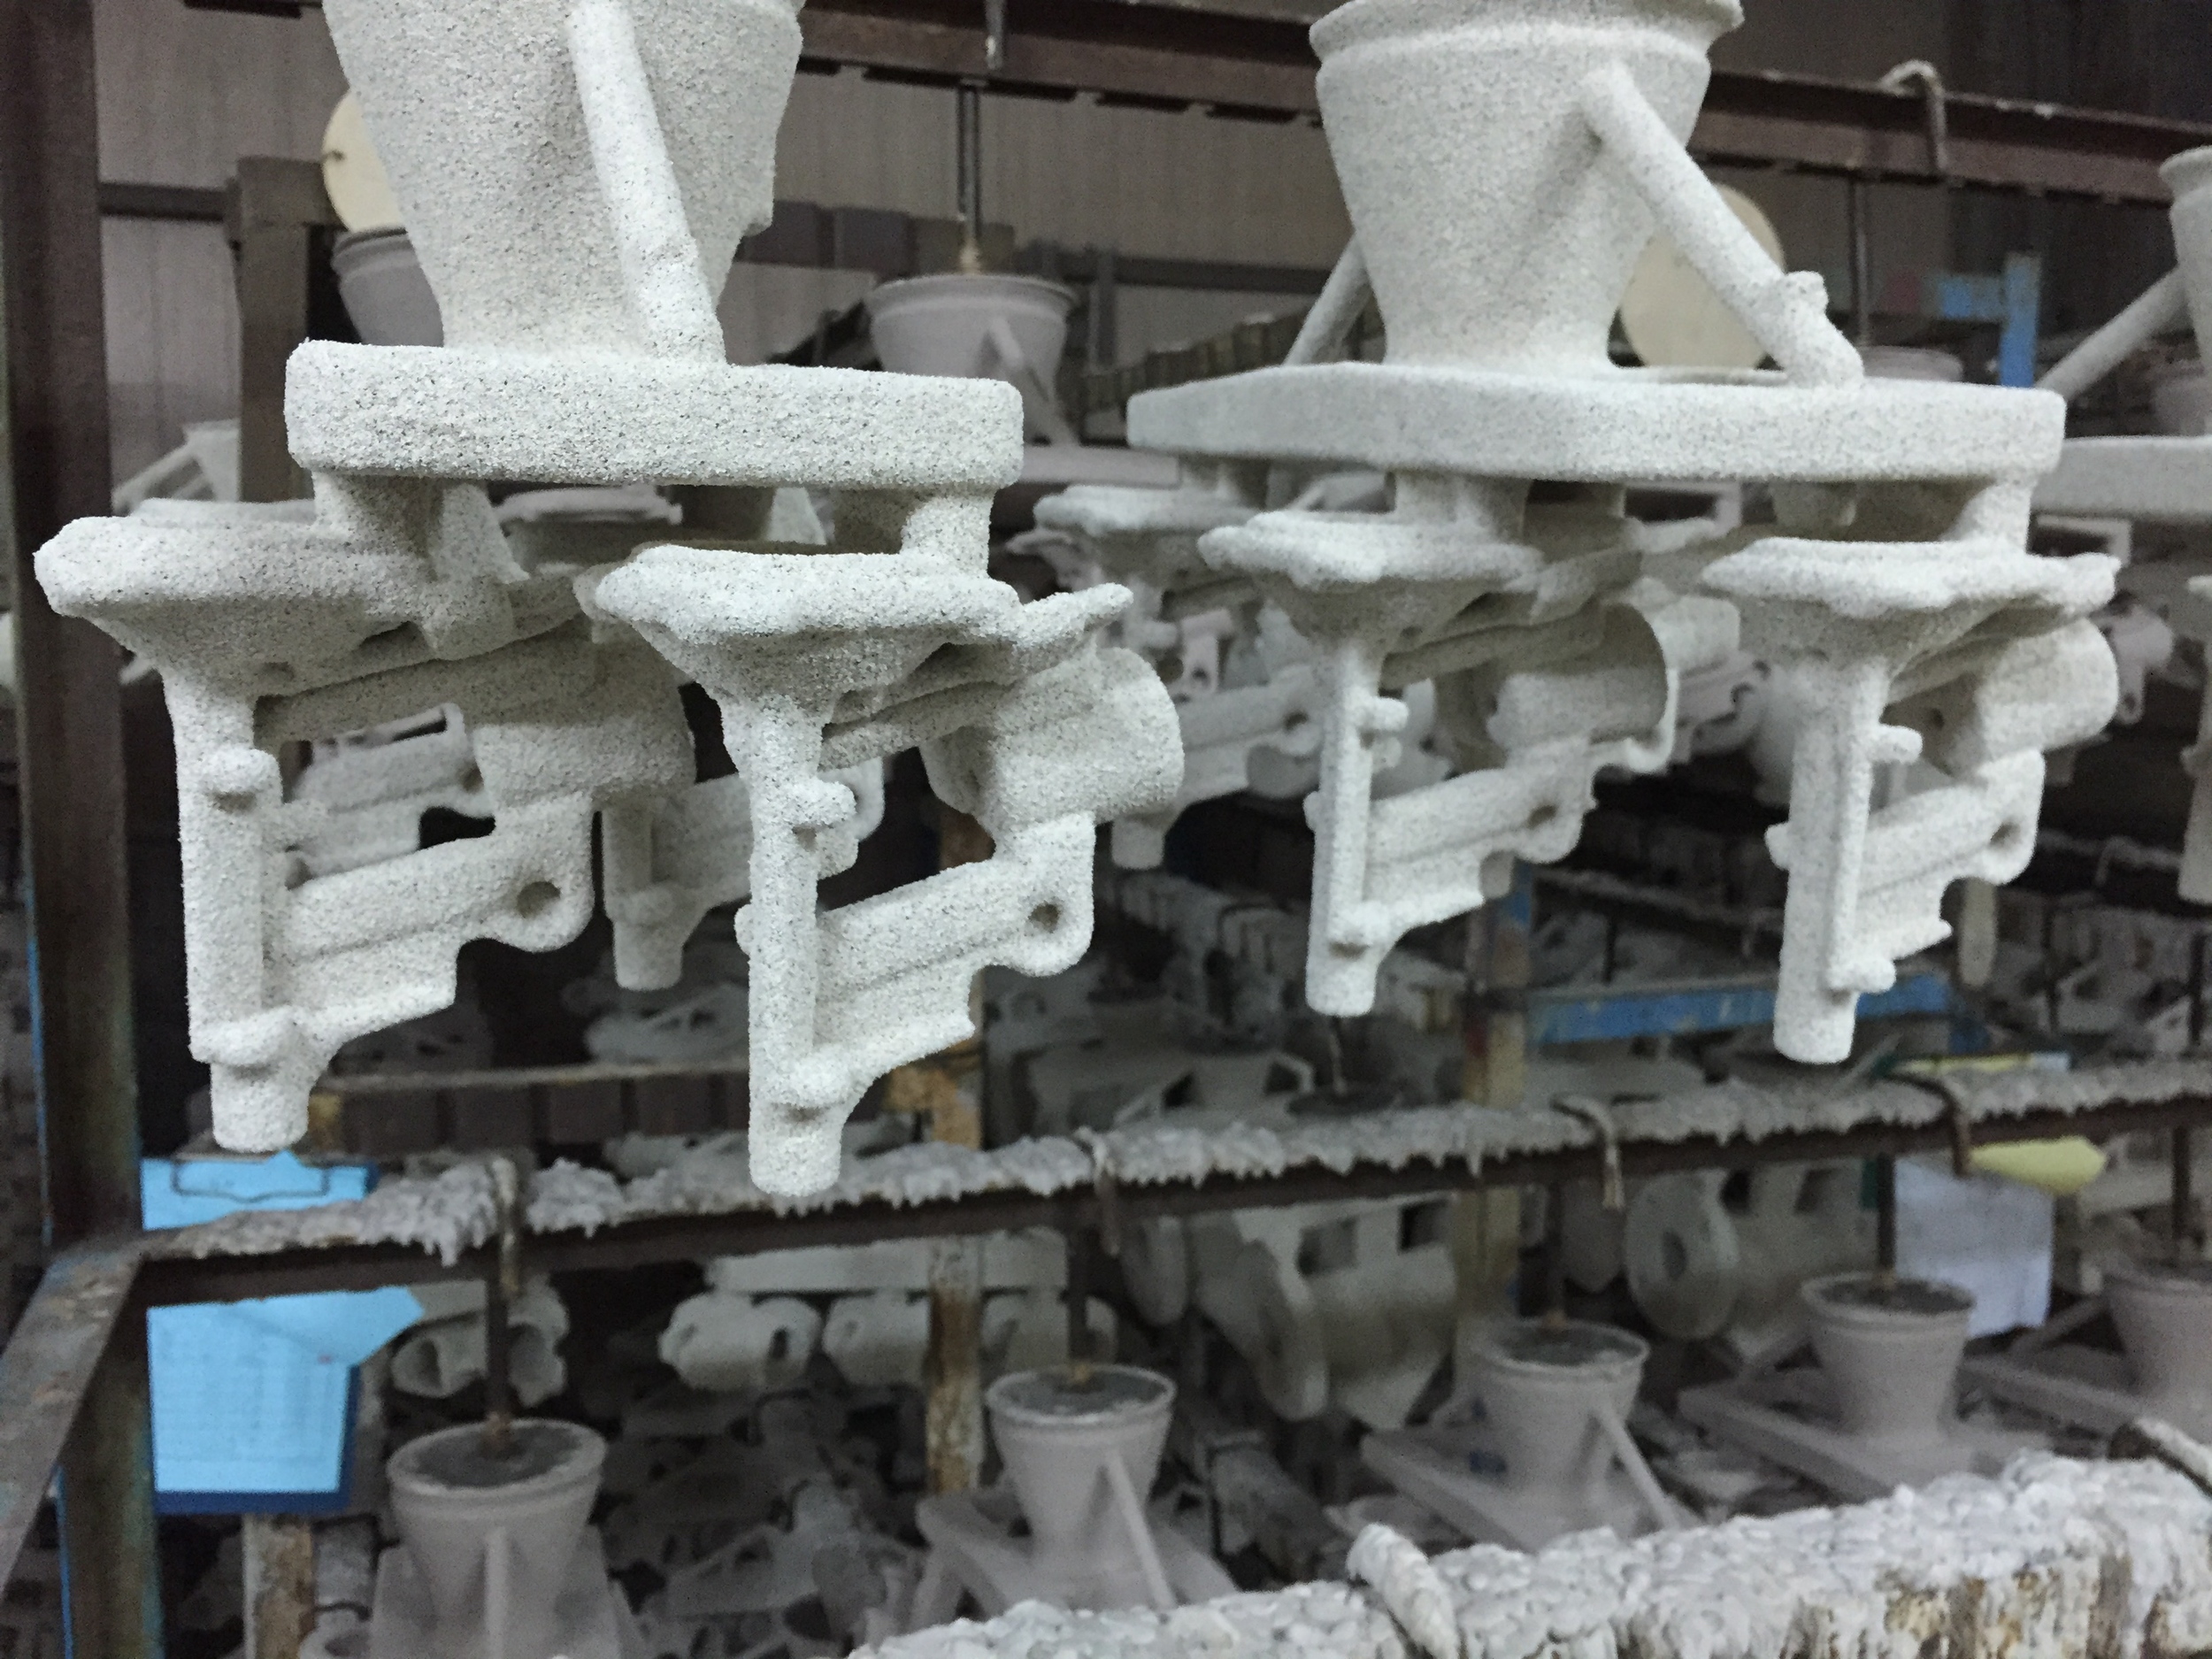
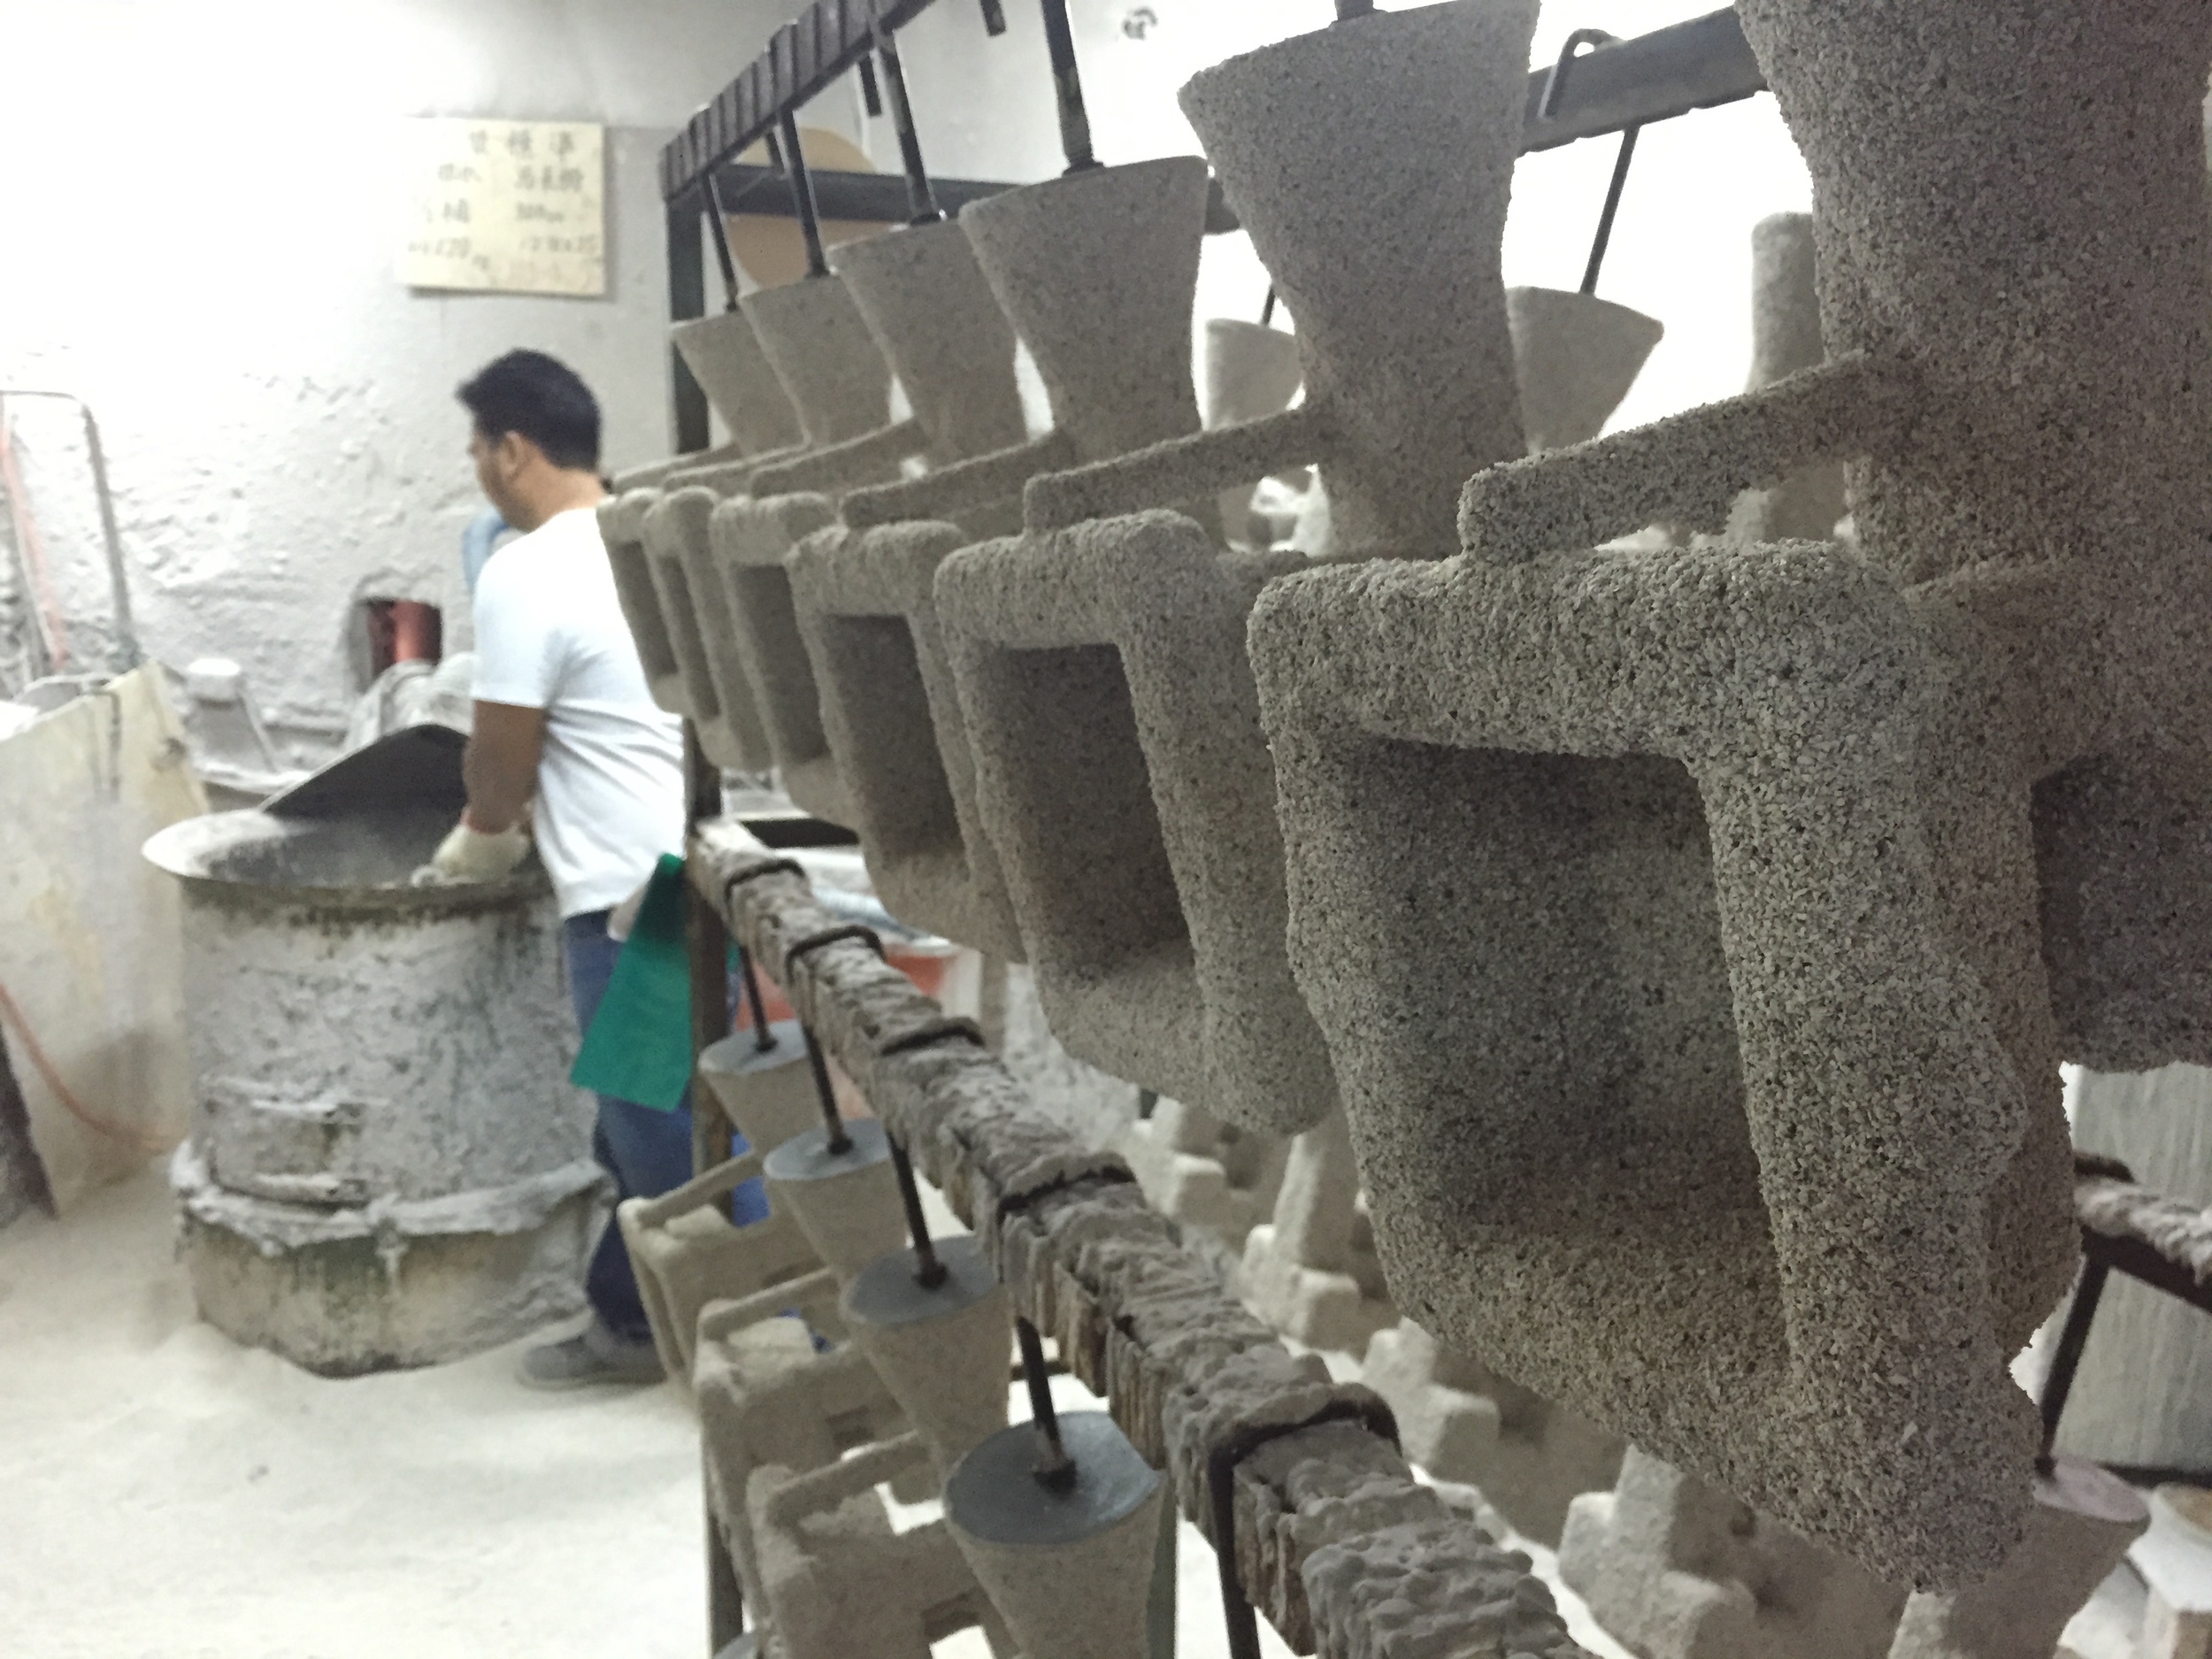
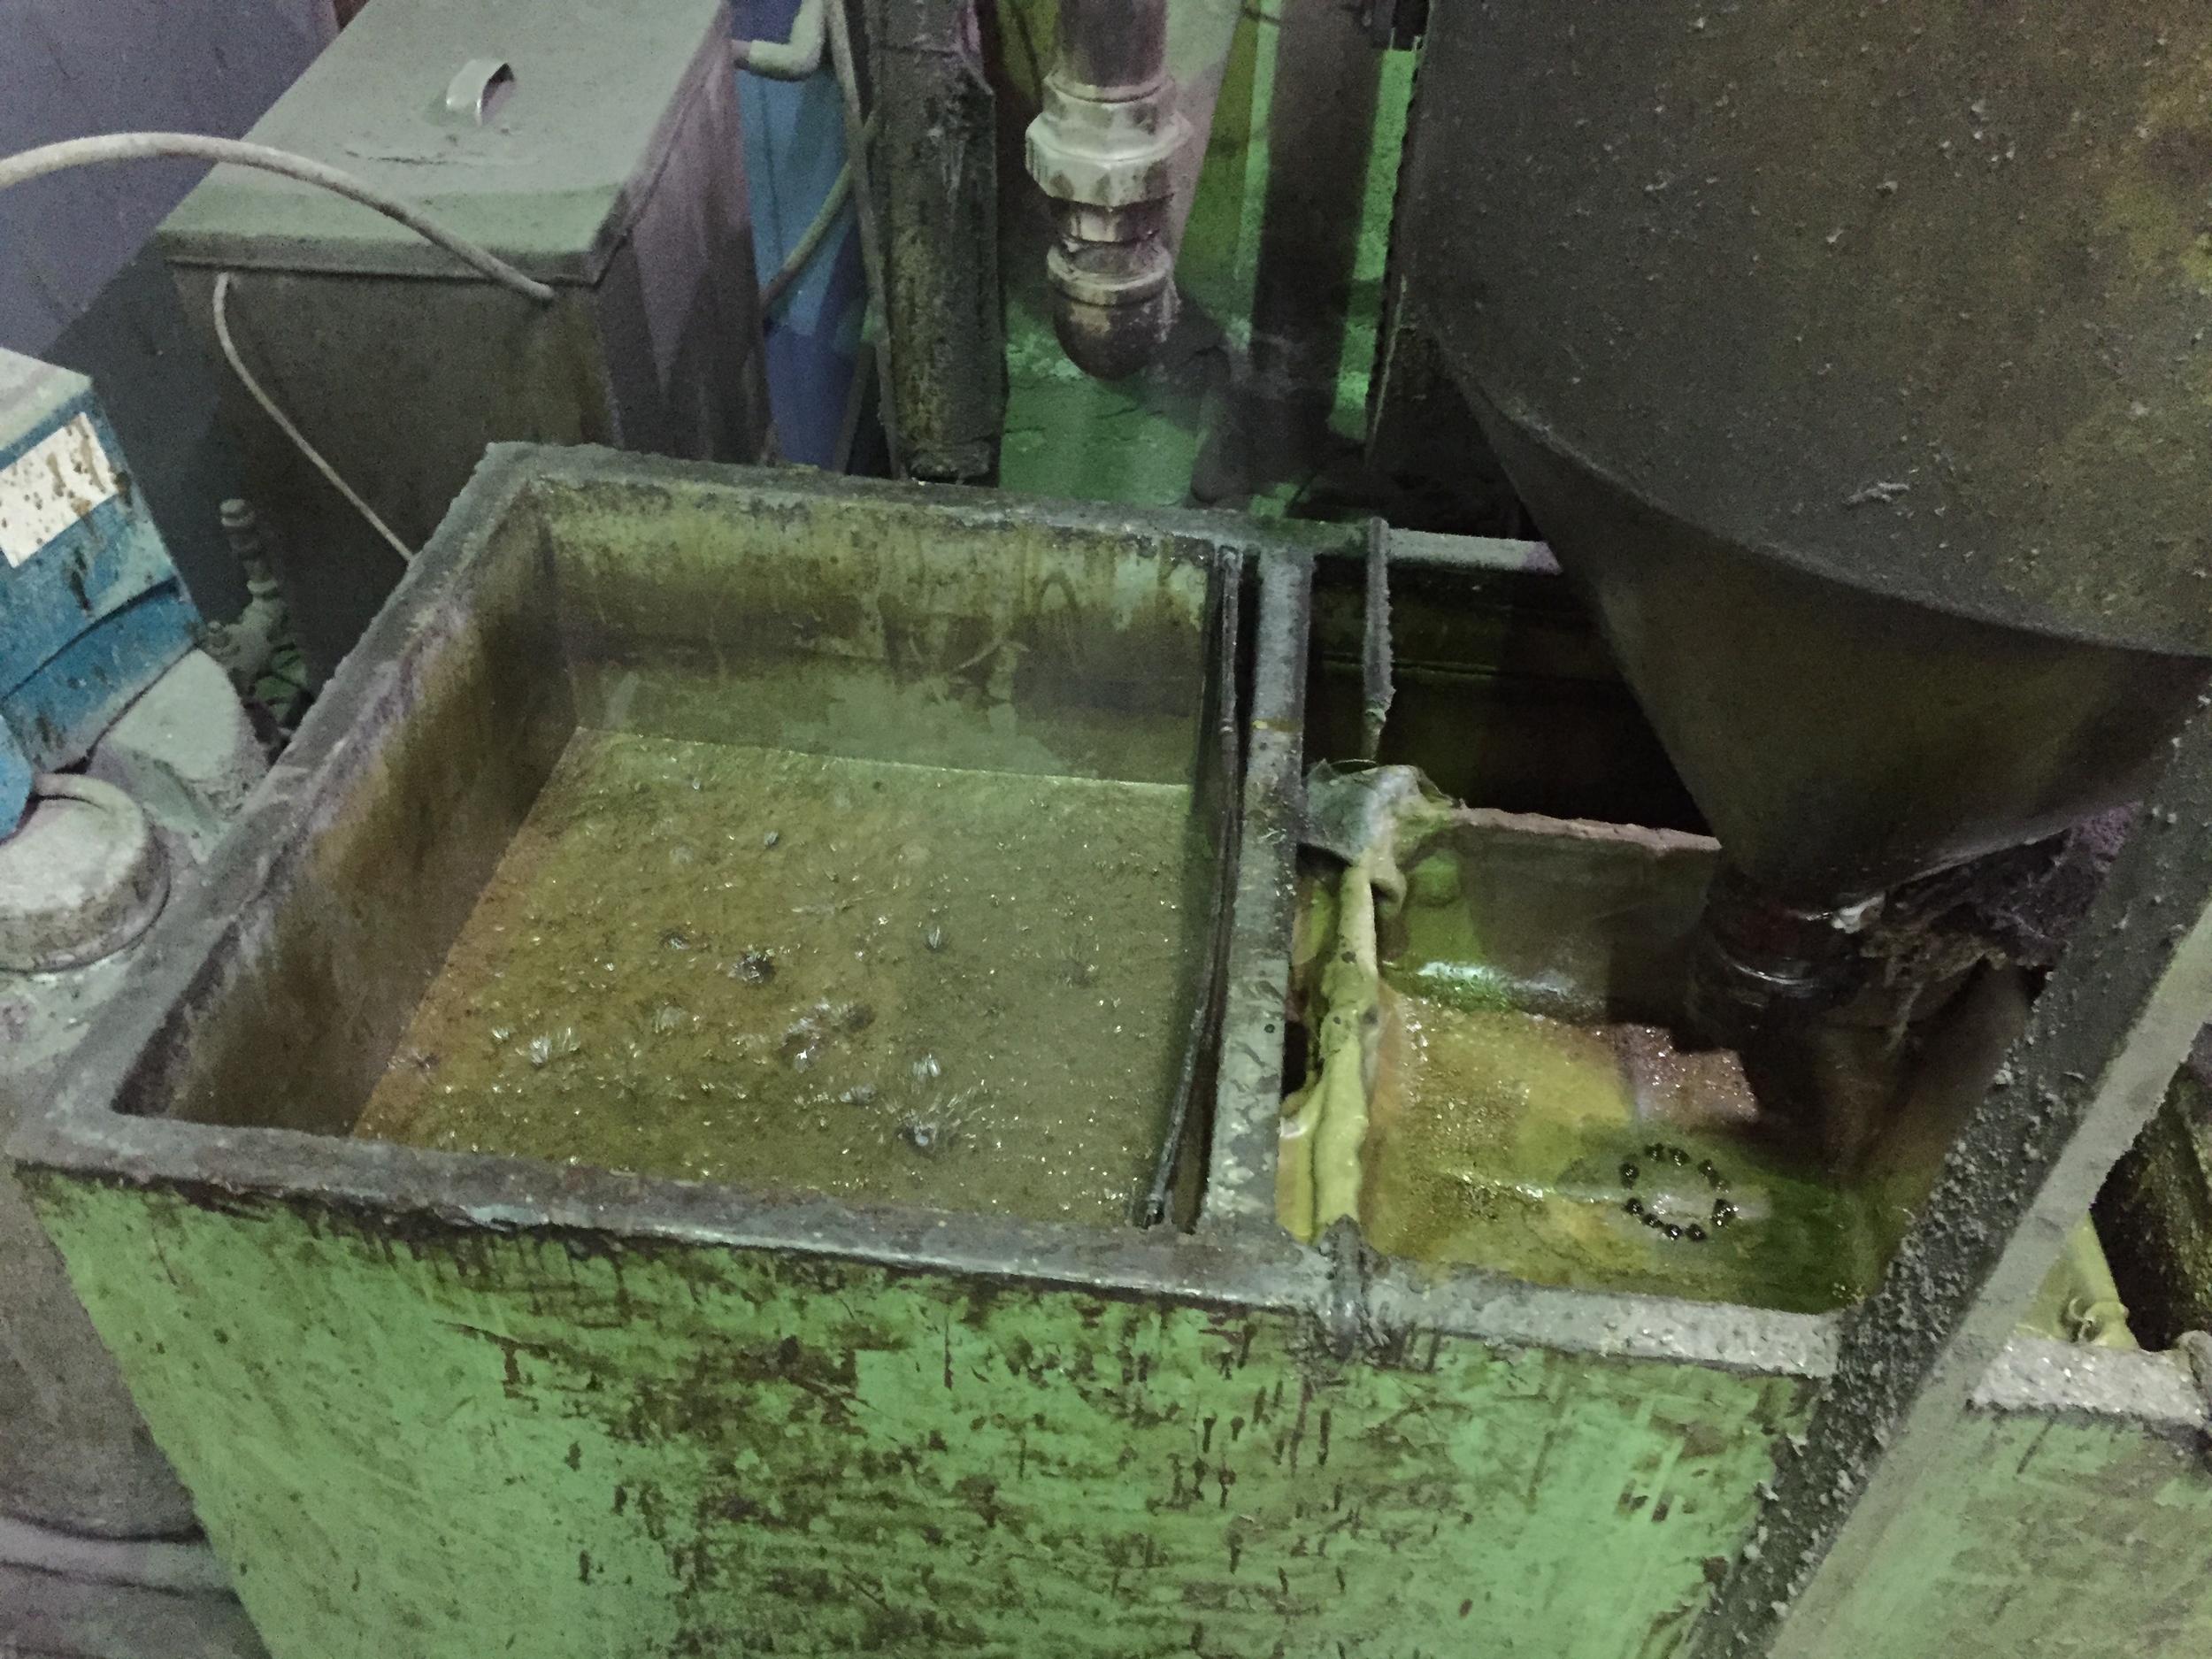
Once the trees were assembled, they're dipped in clay and sand. There are a number of dipping stages, and the aggregate goes from fine to coarse. First comes a liquid dip:

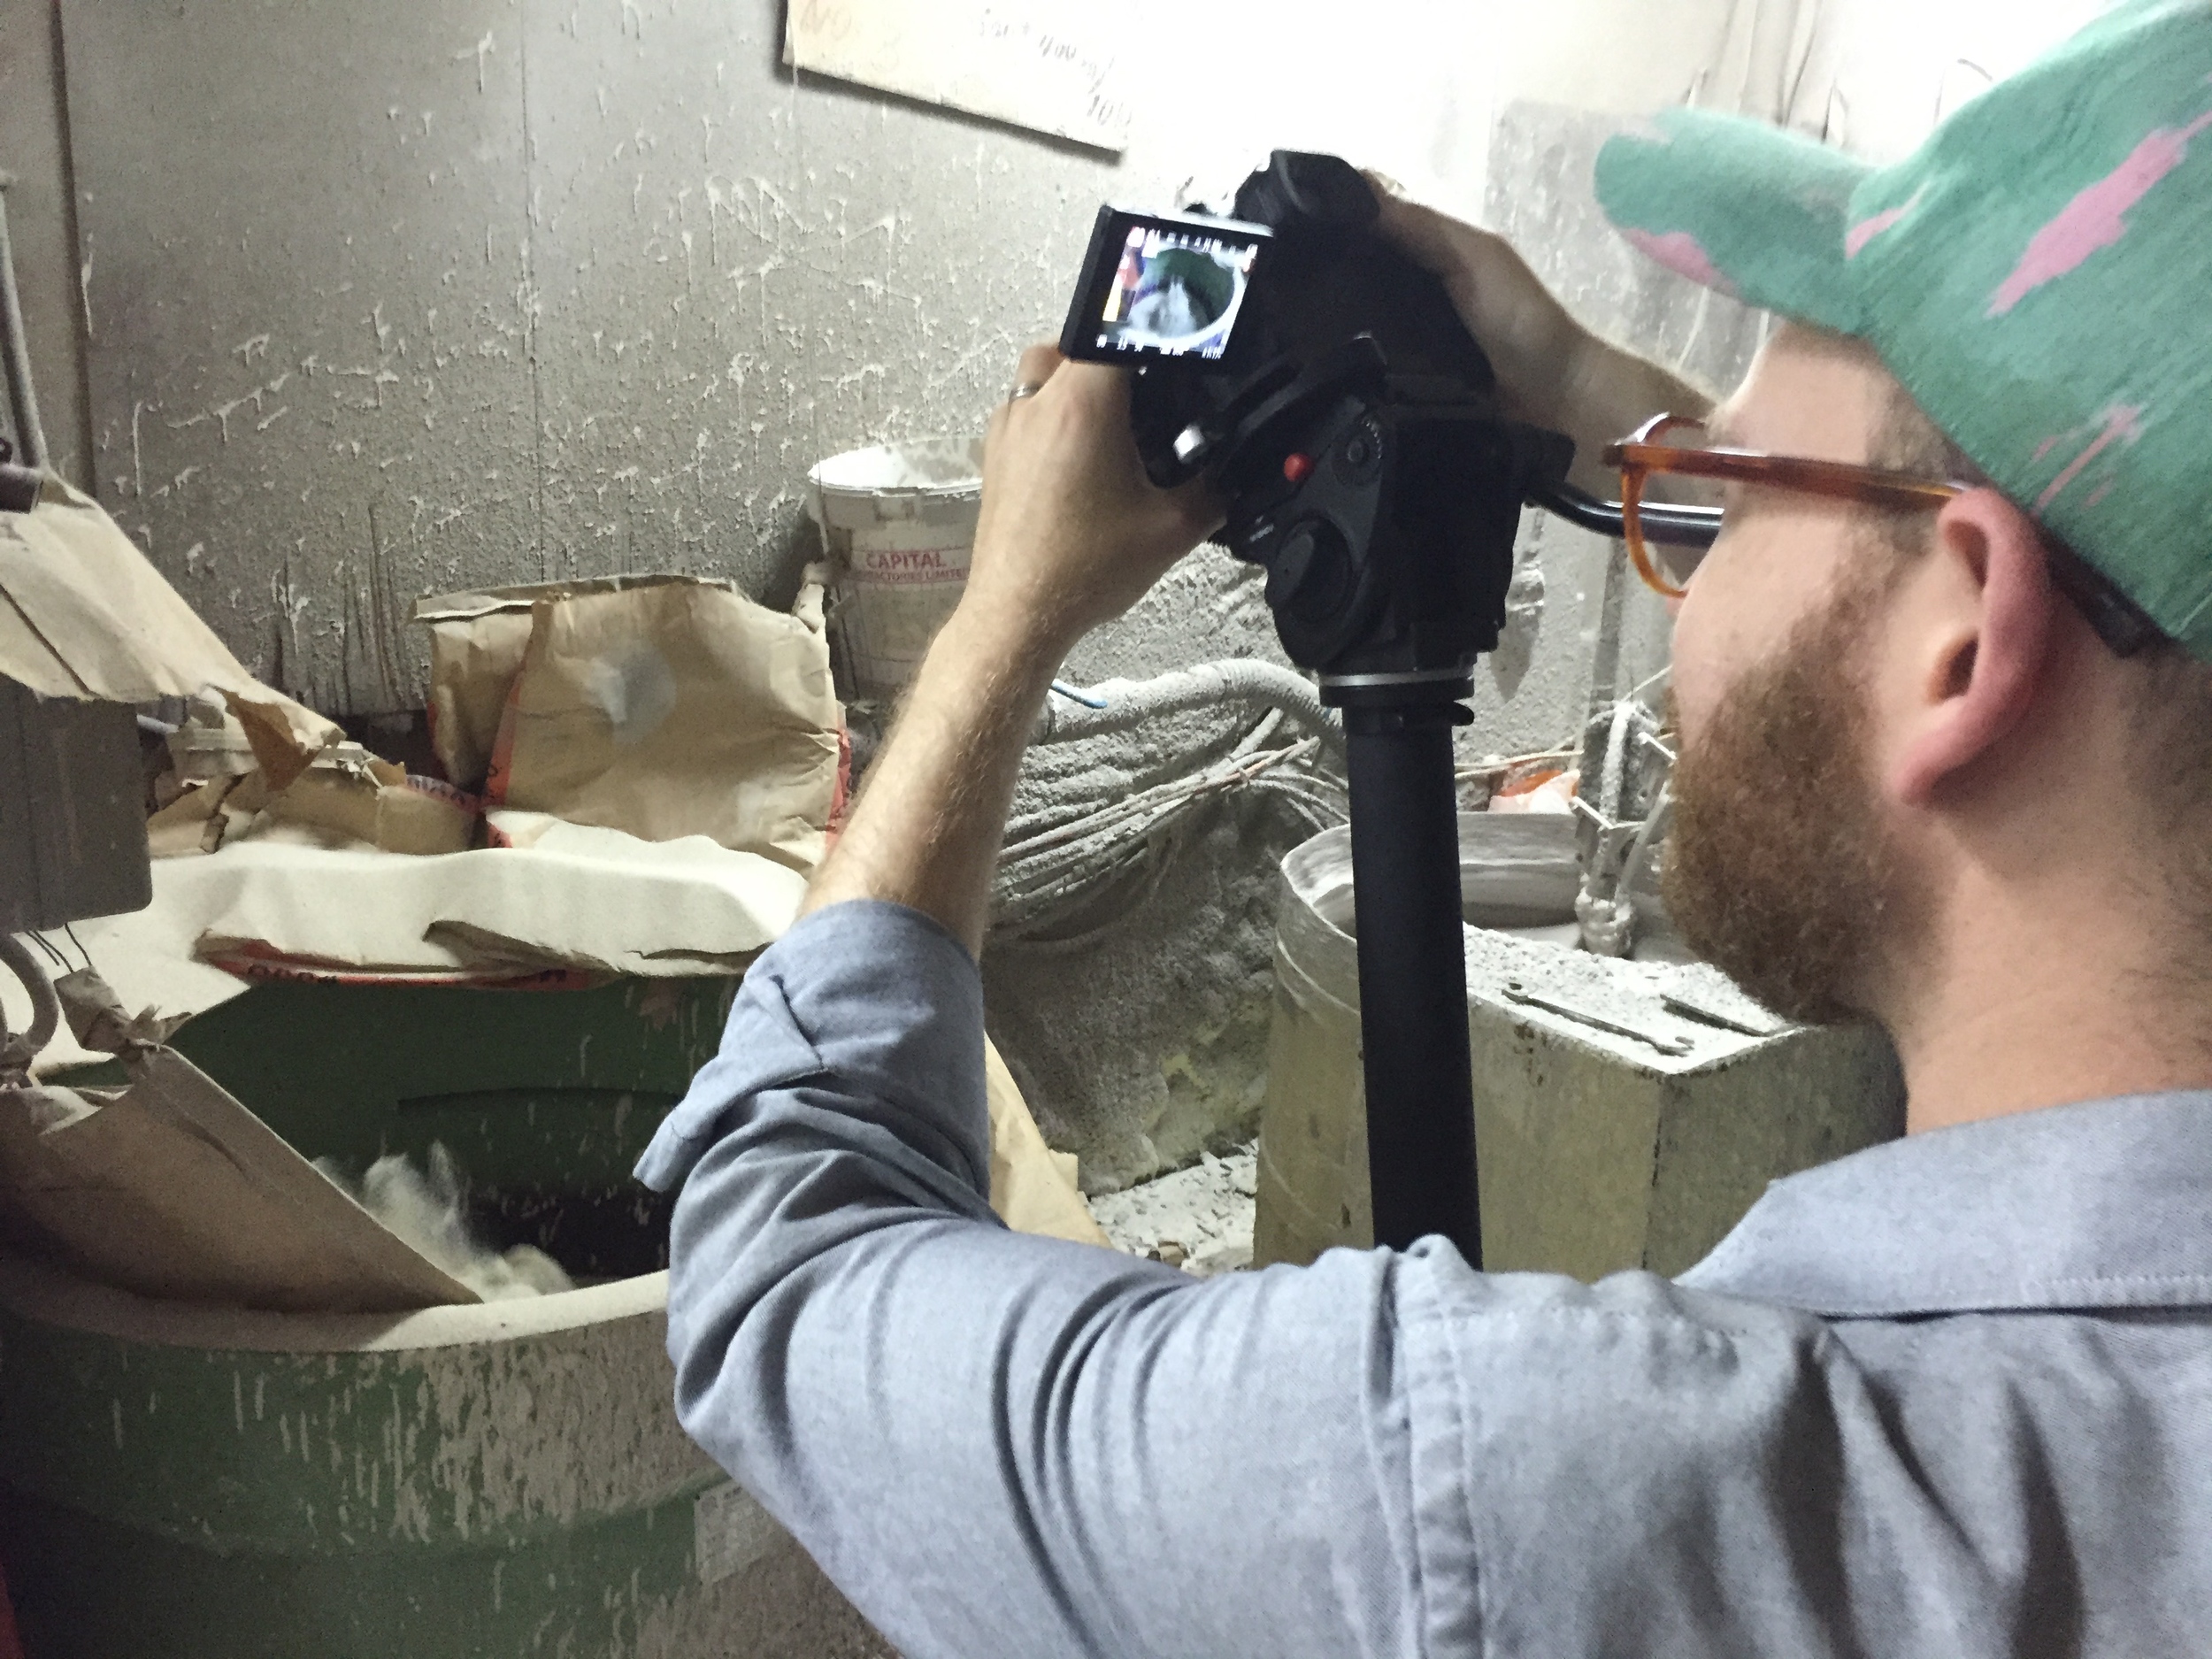
Then a dry aggregate, which is continuously shaken to make the process easier:

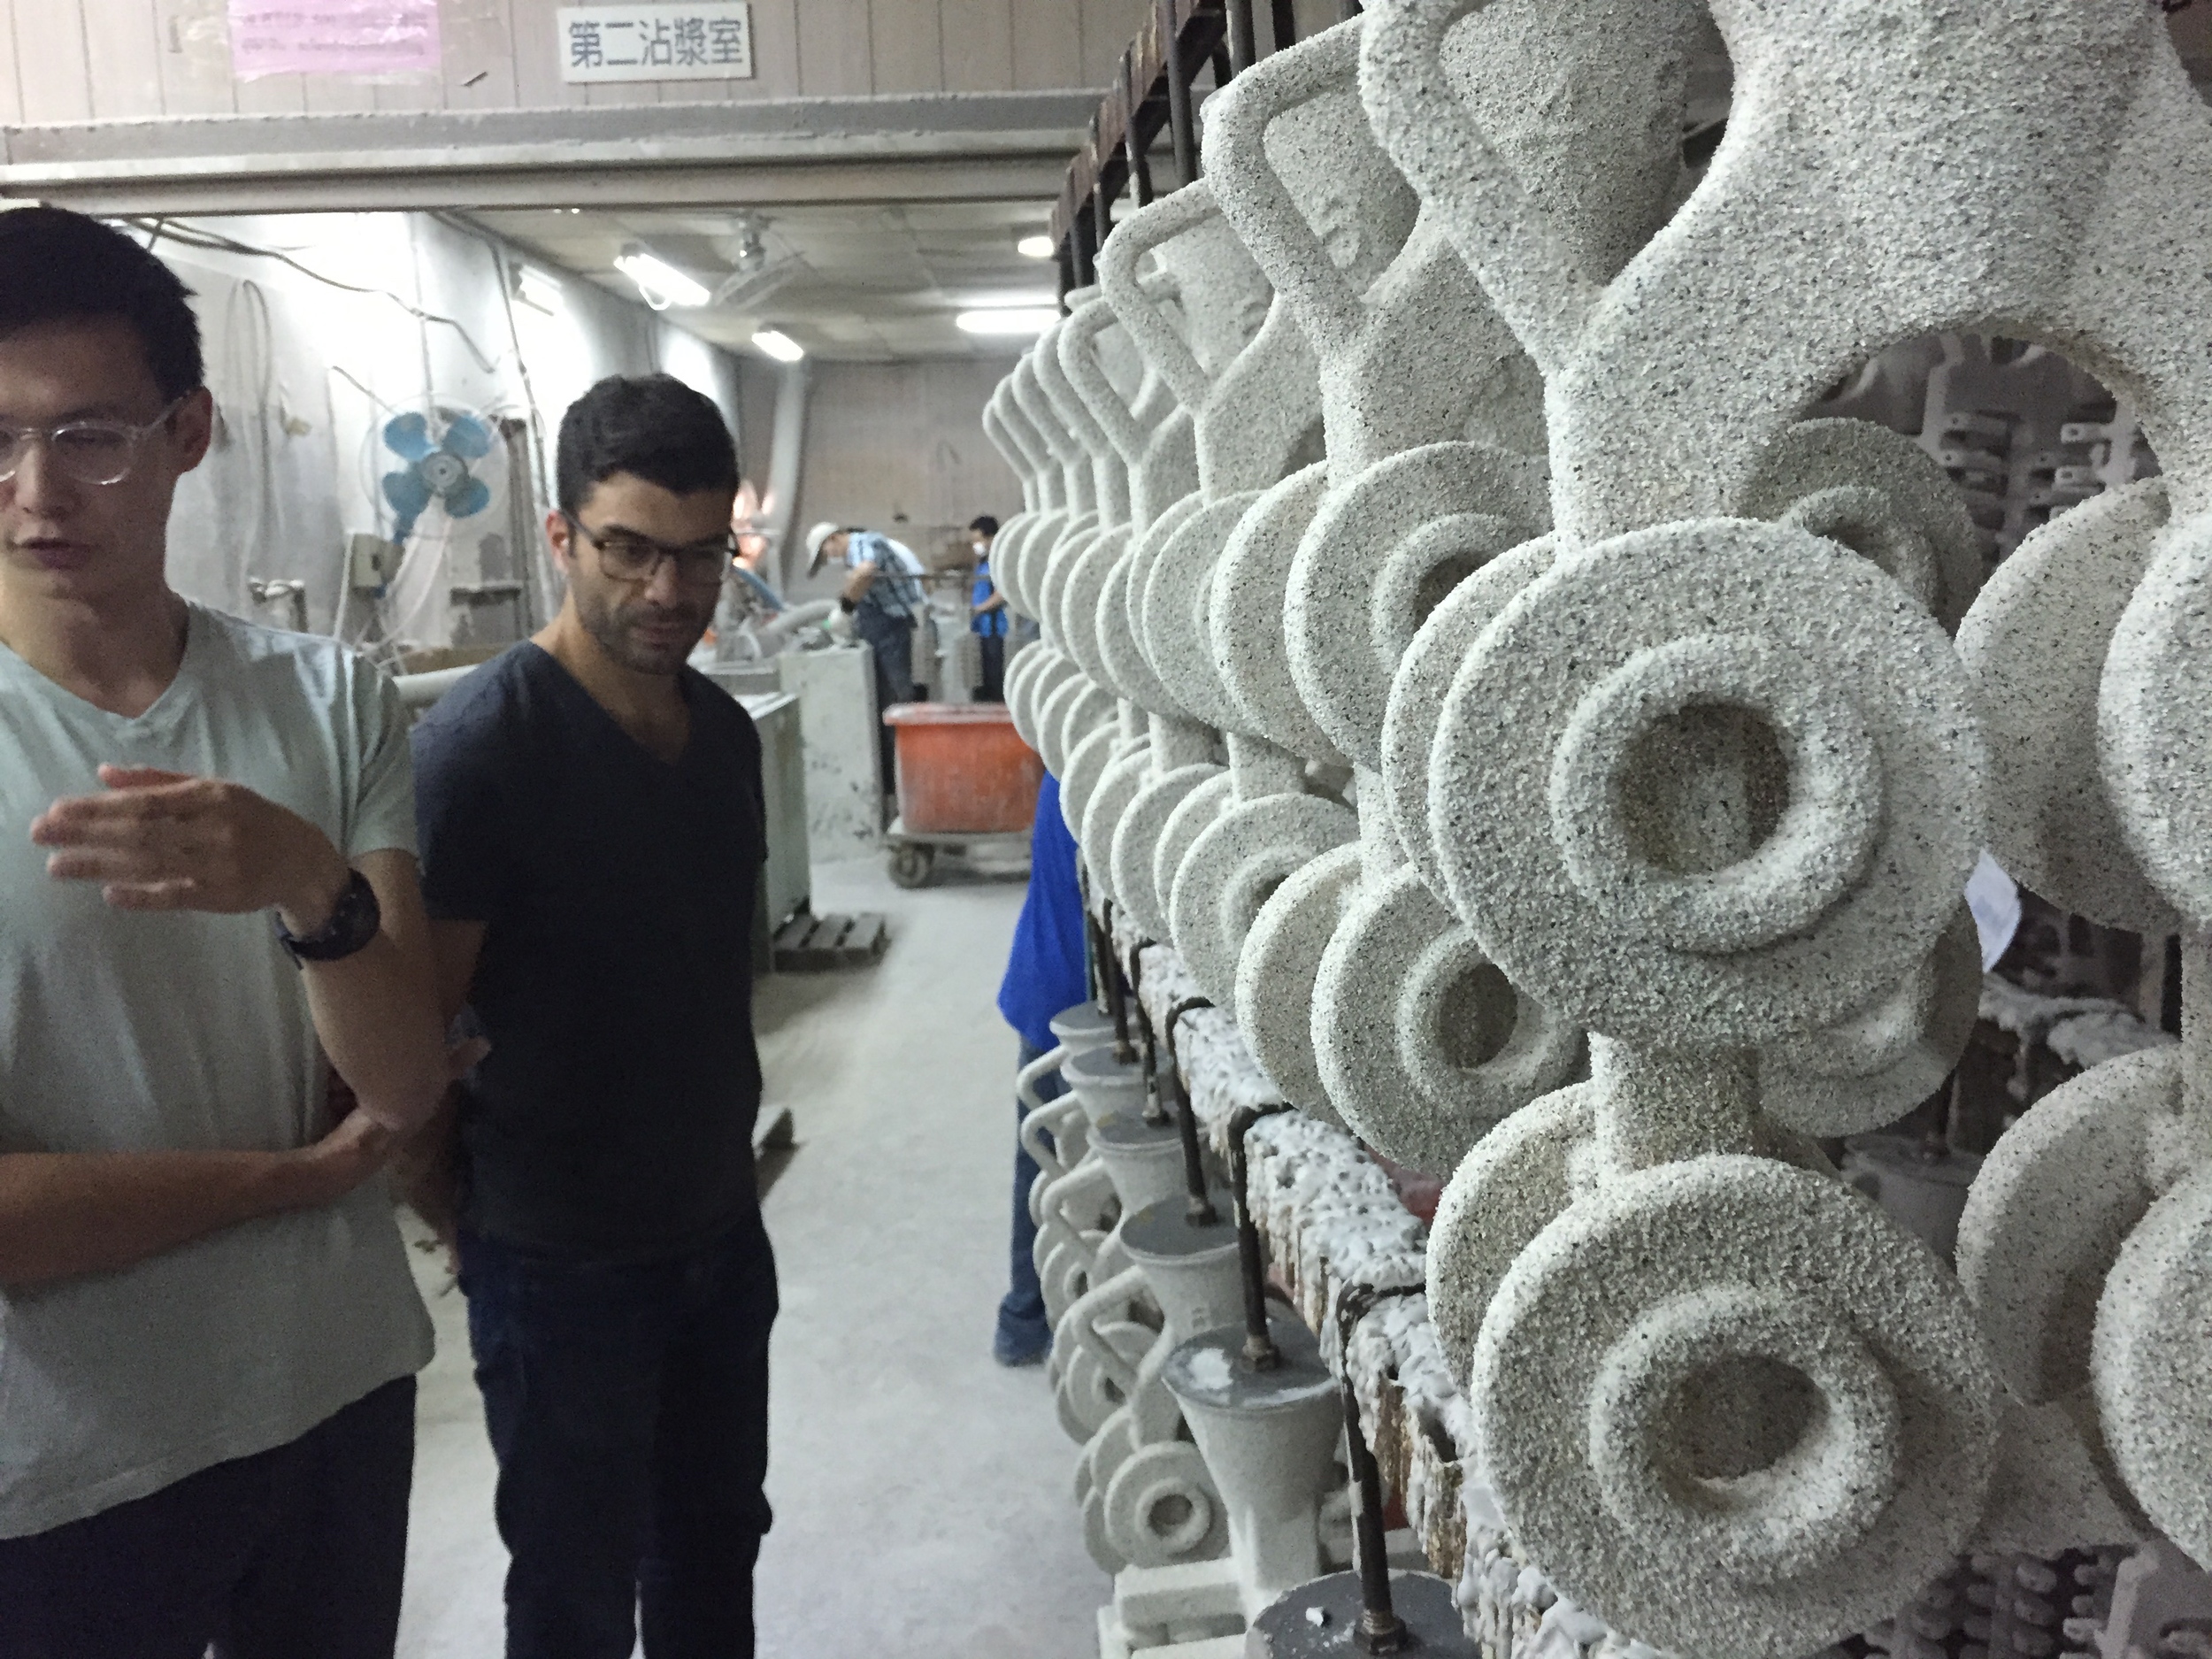
This is one of maybe three areas where dipping was happening:

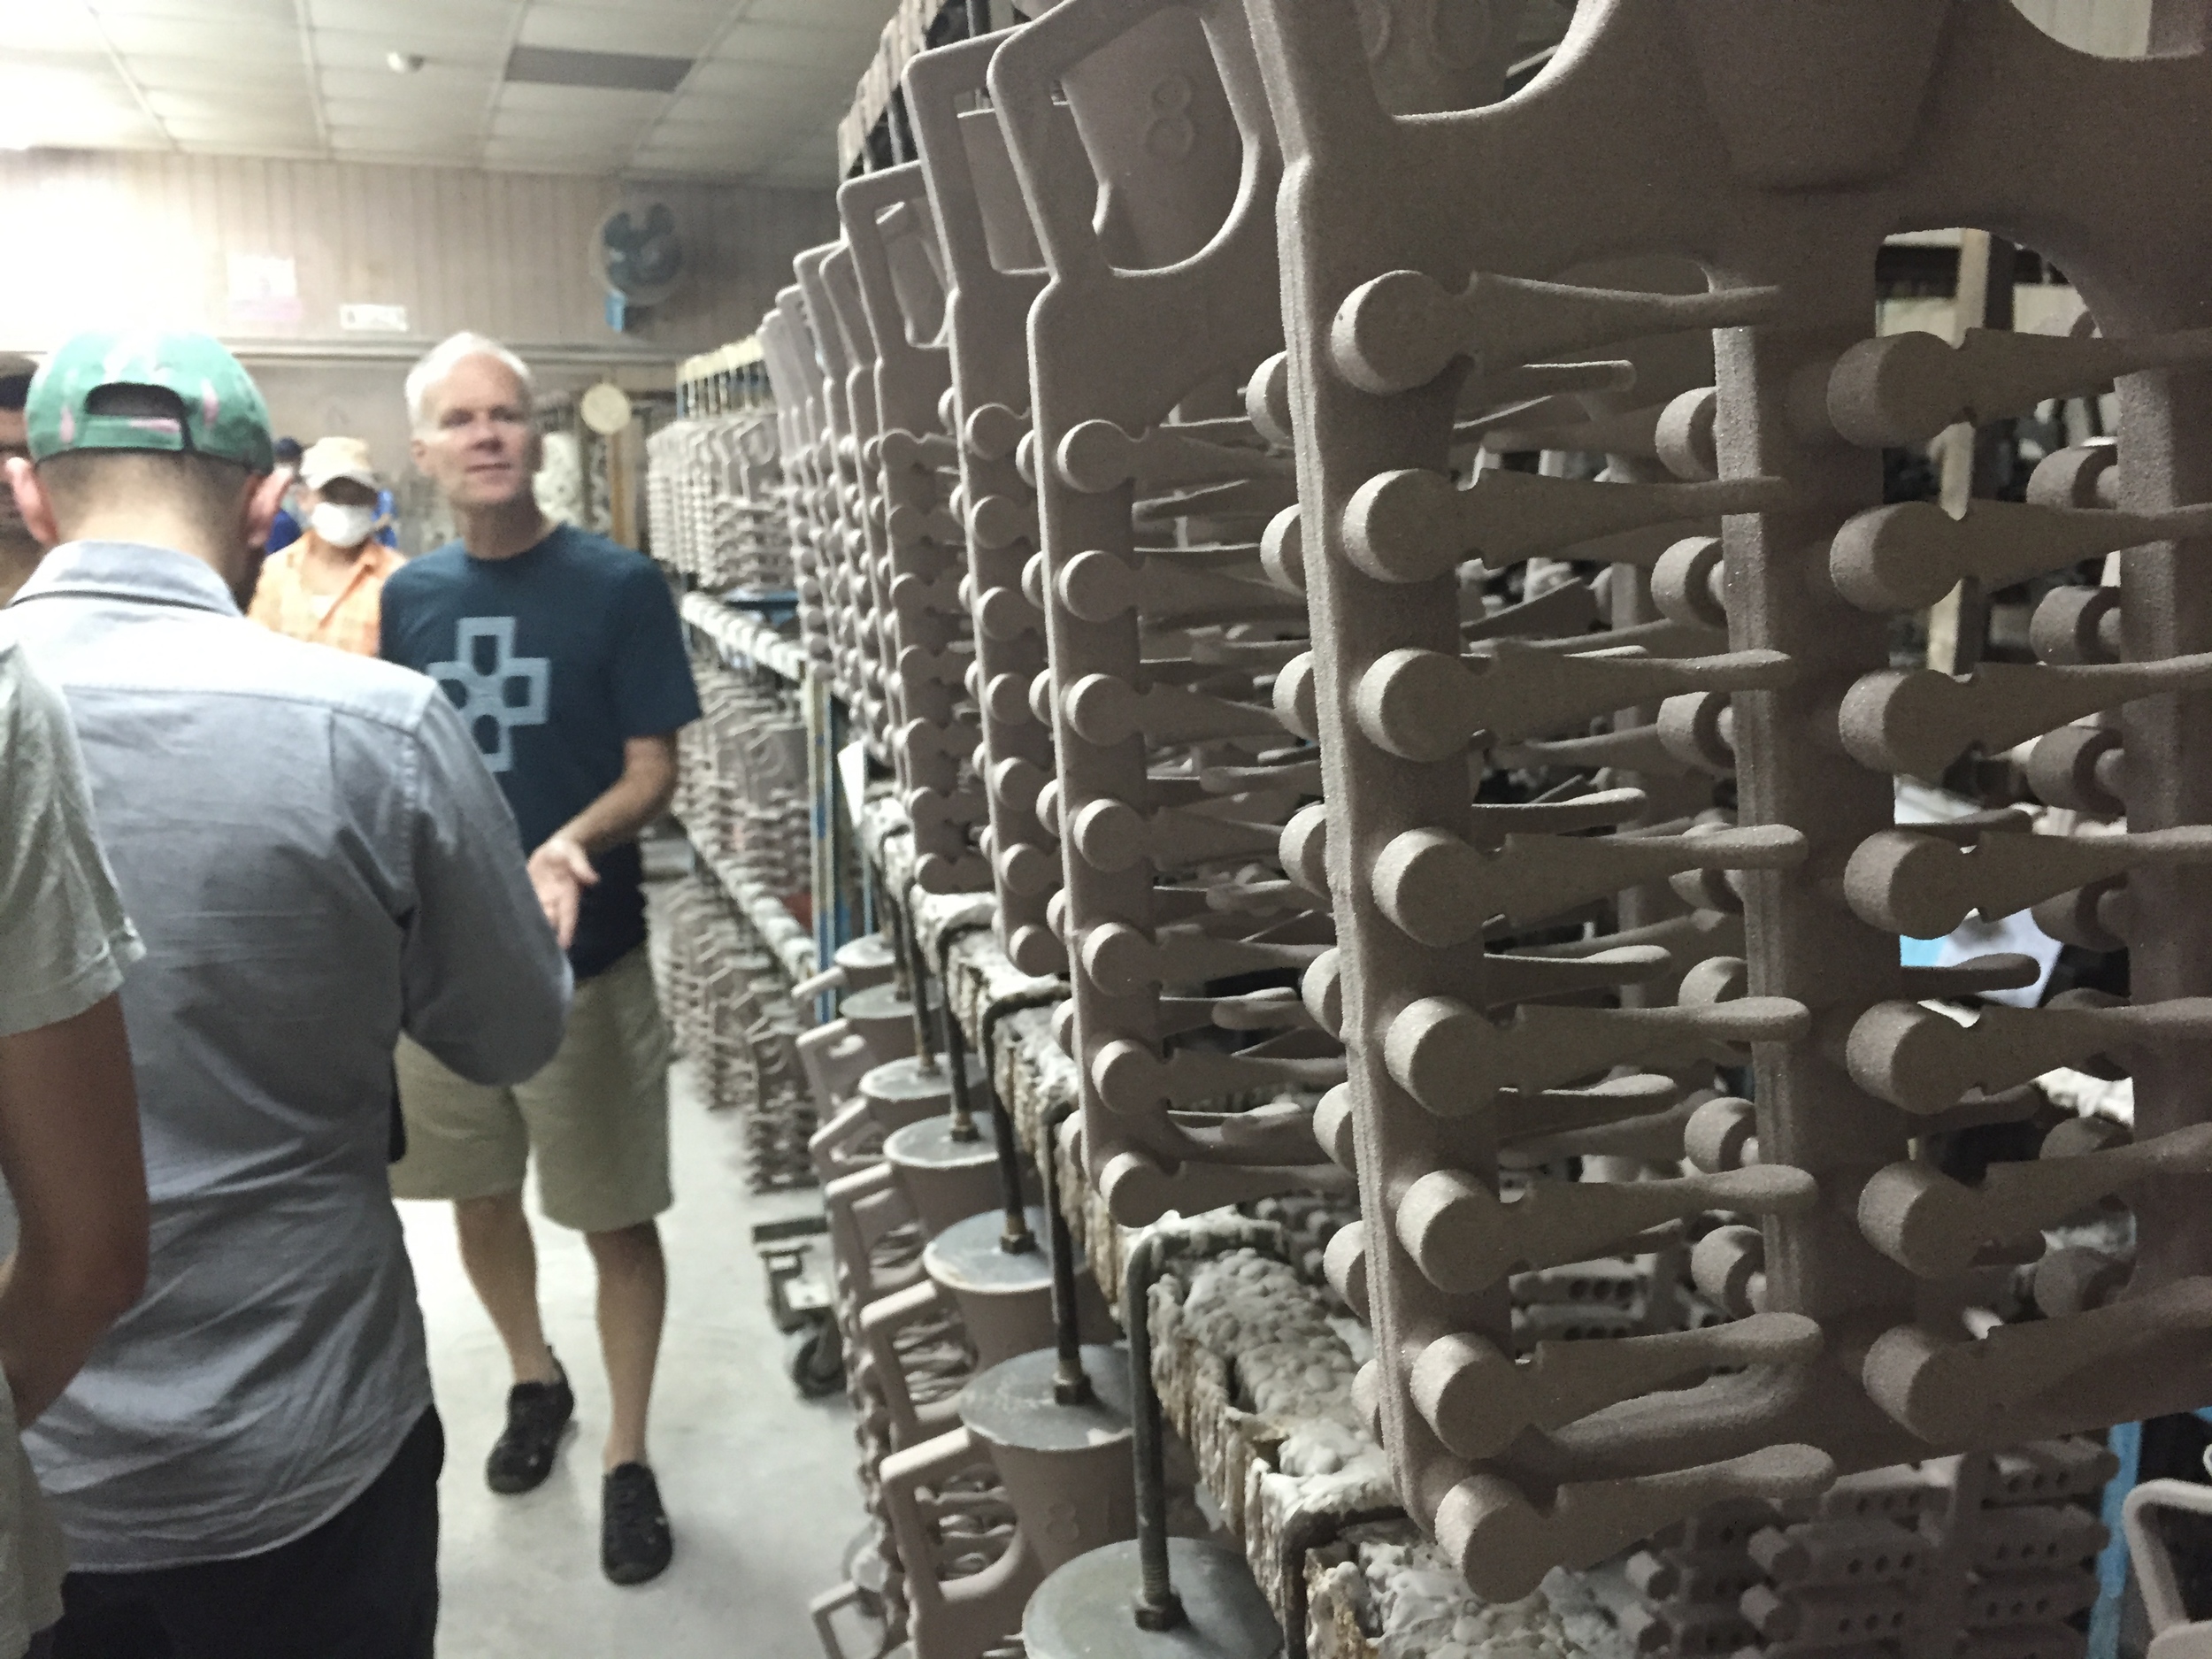
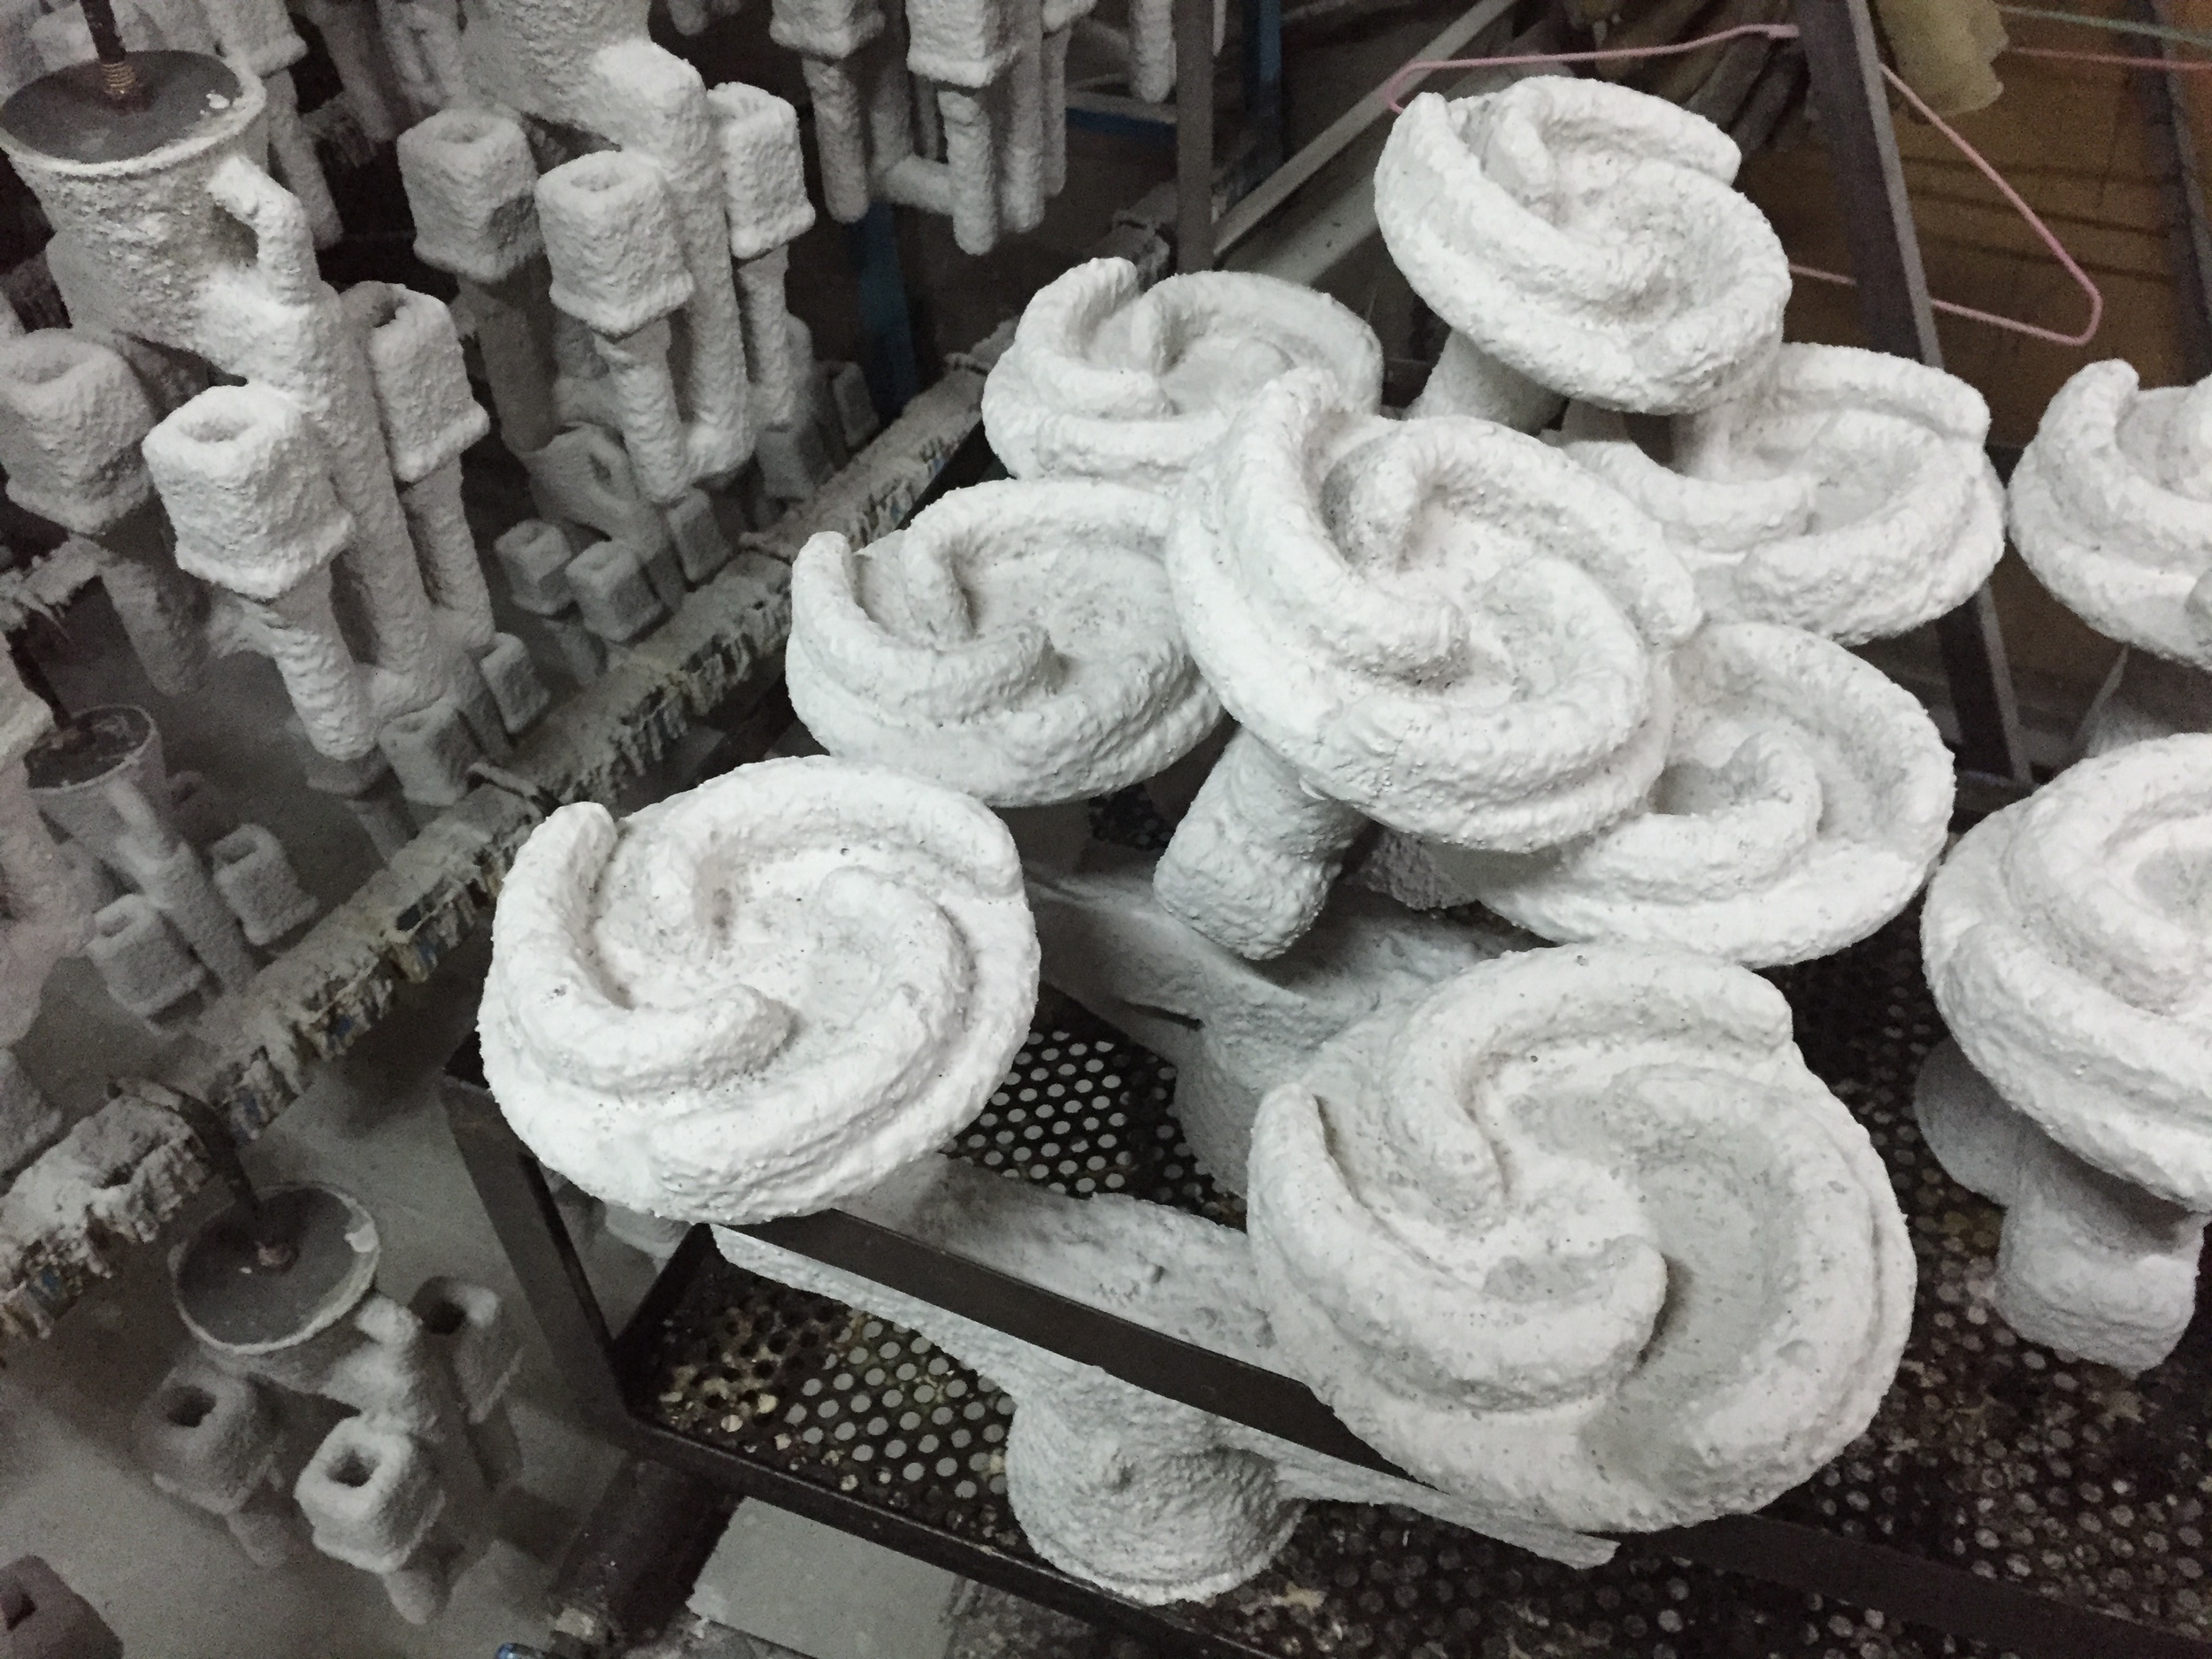
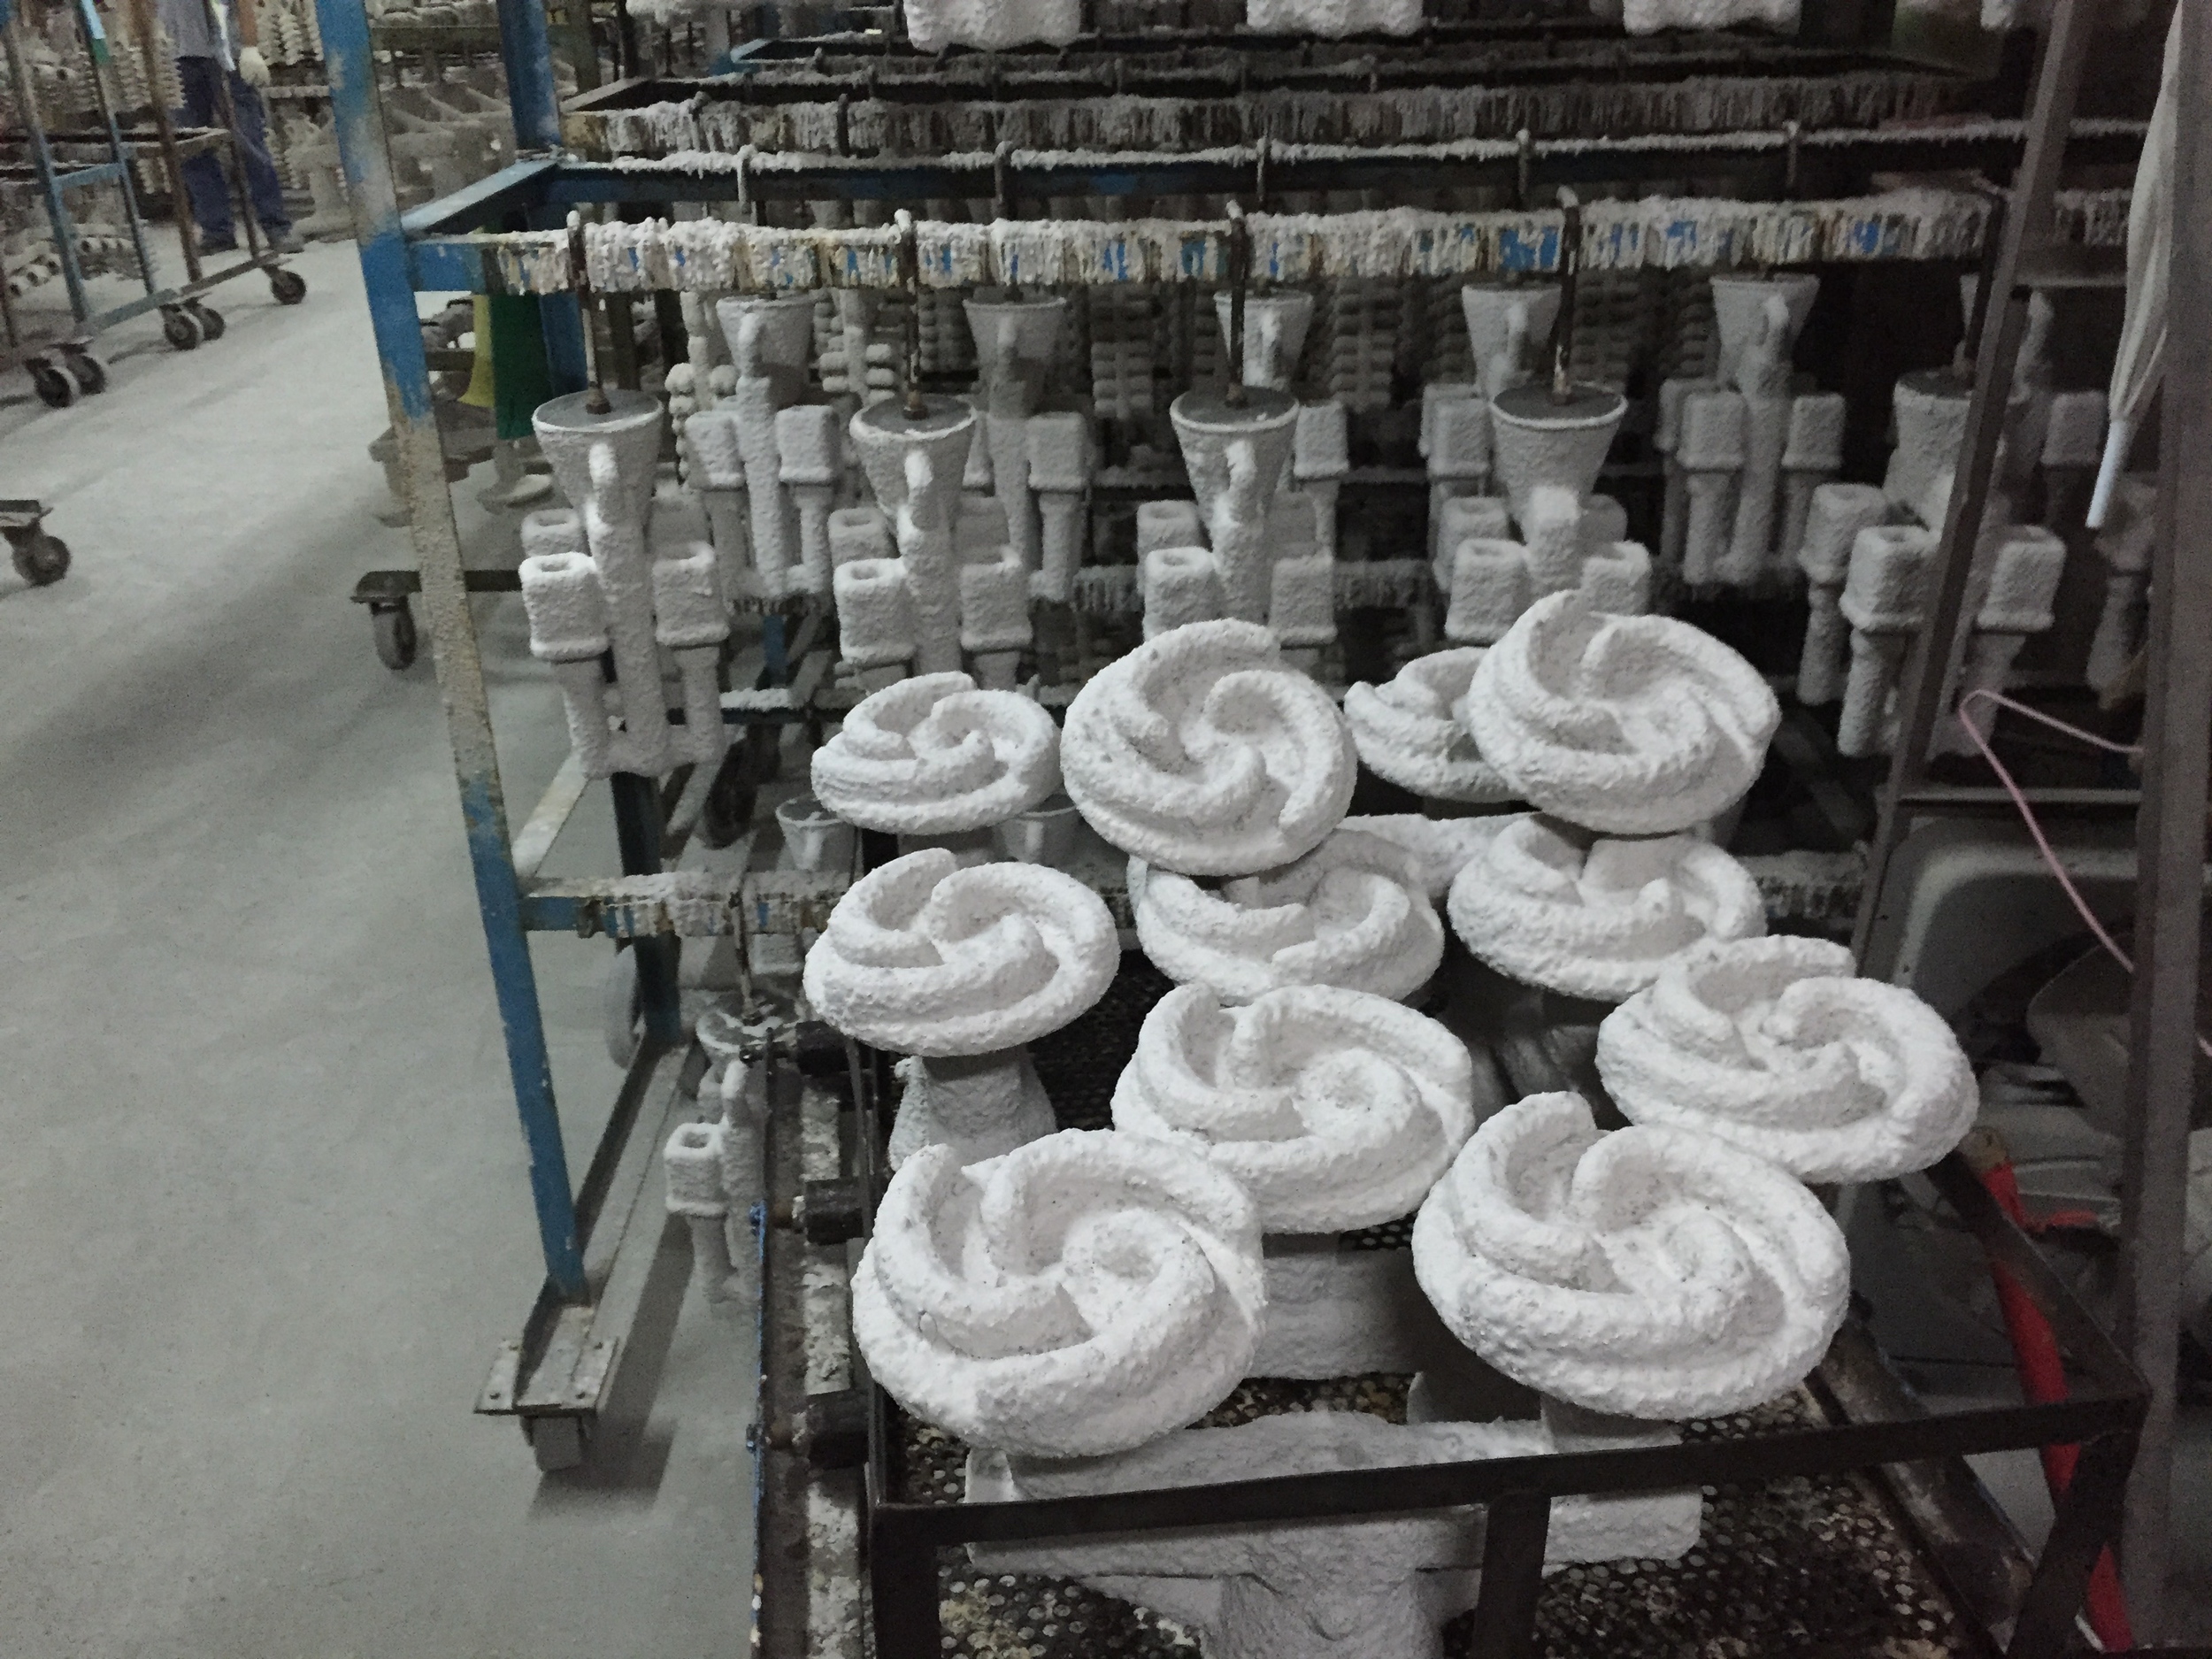
Then there were a bunch of dipped tree drying racks. The dipped trees need to dry before they can move forward in the process.

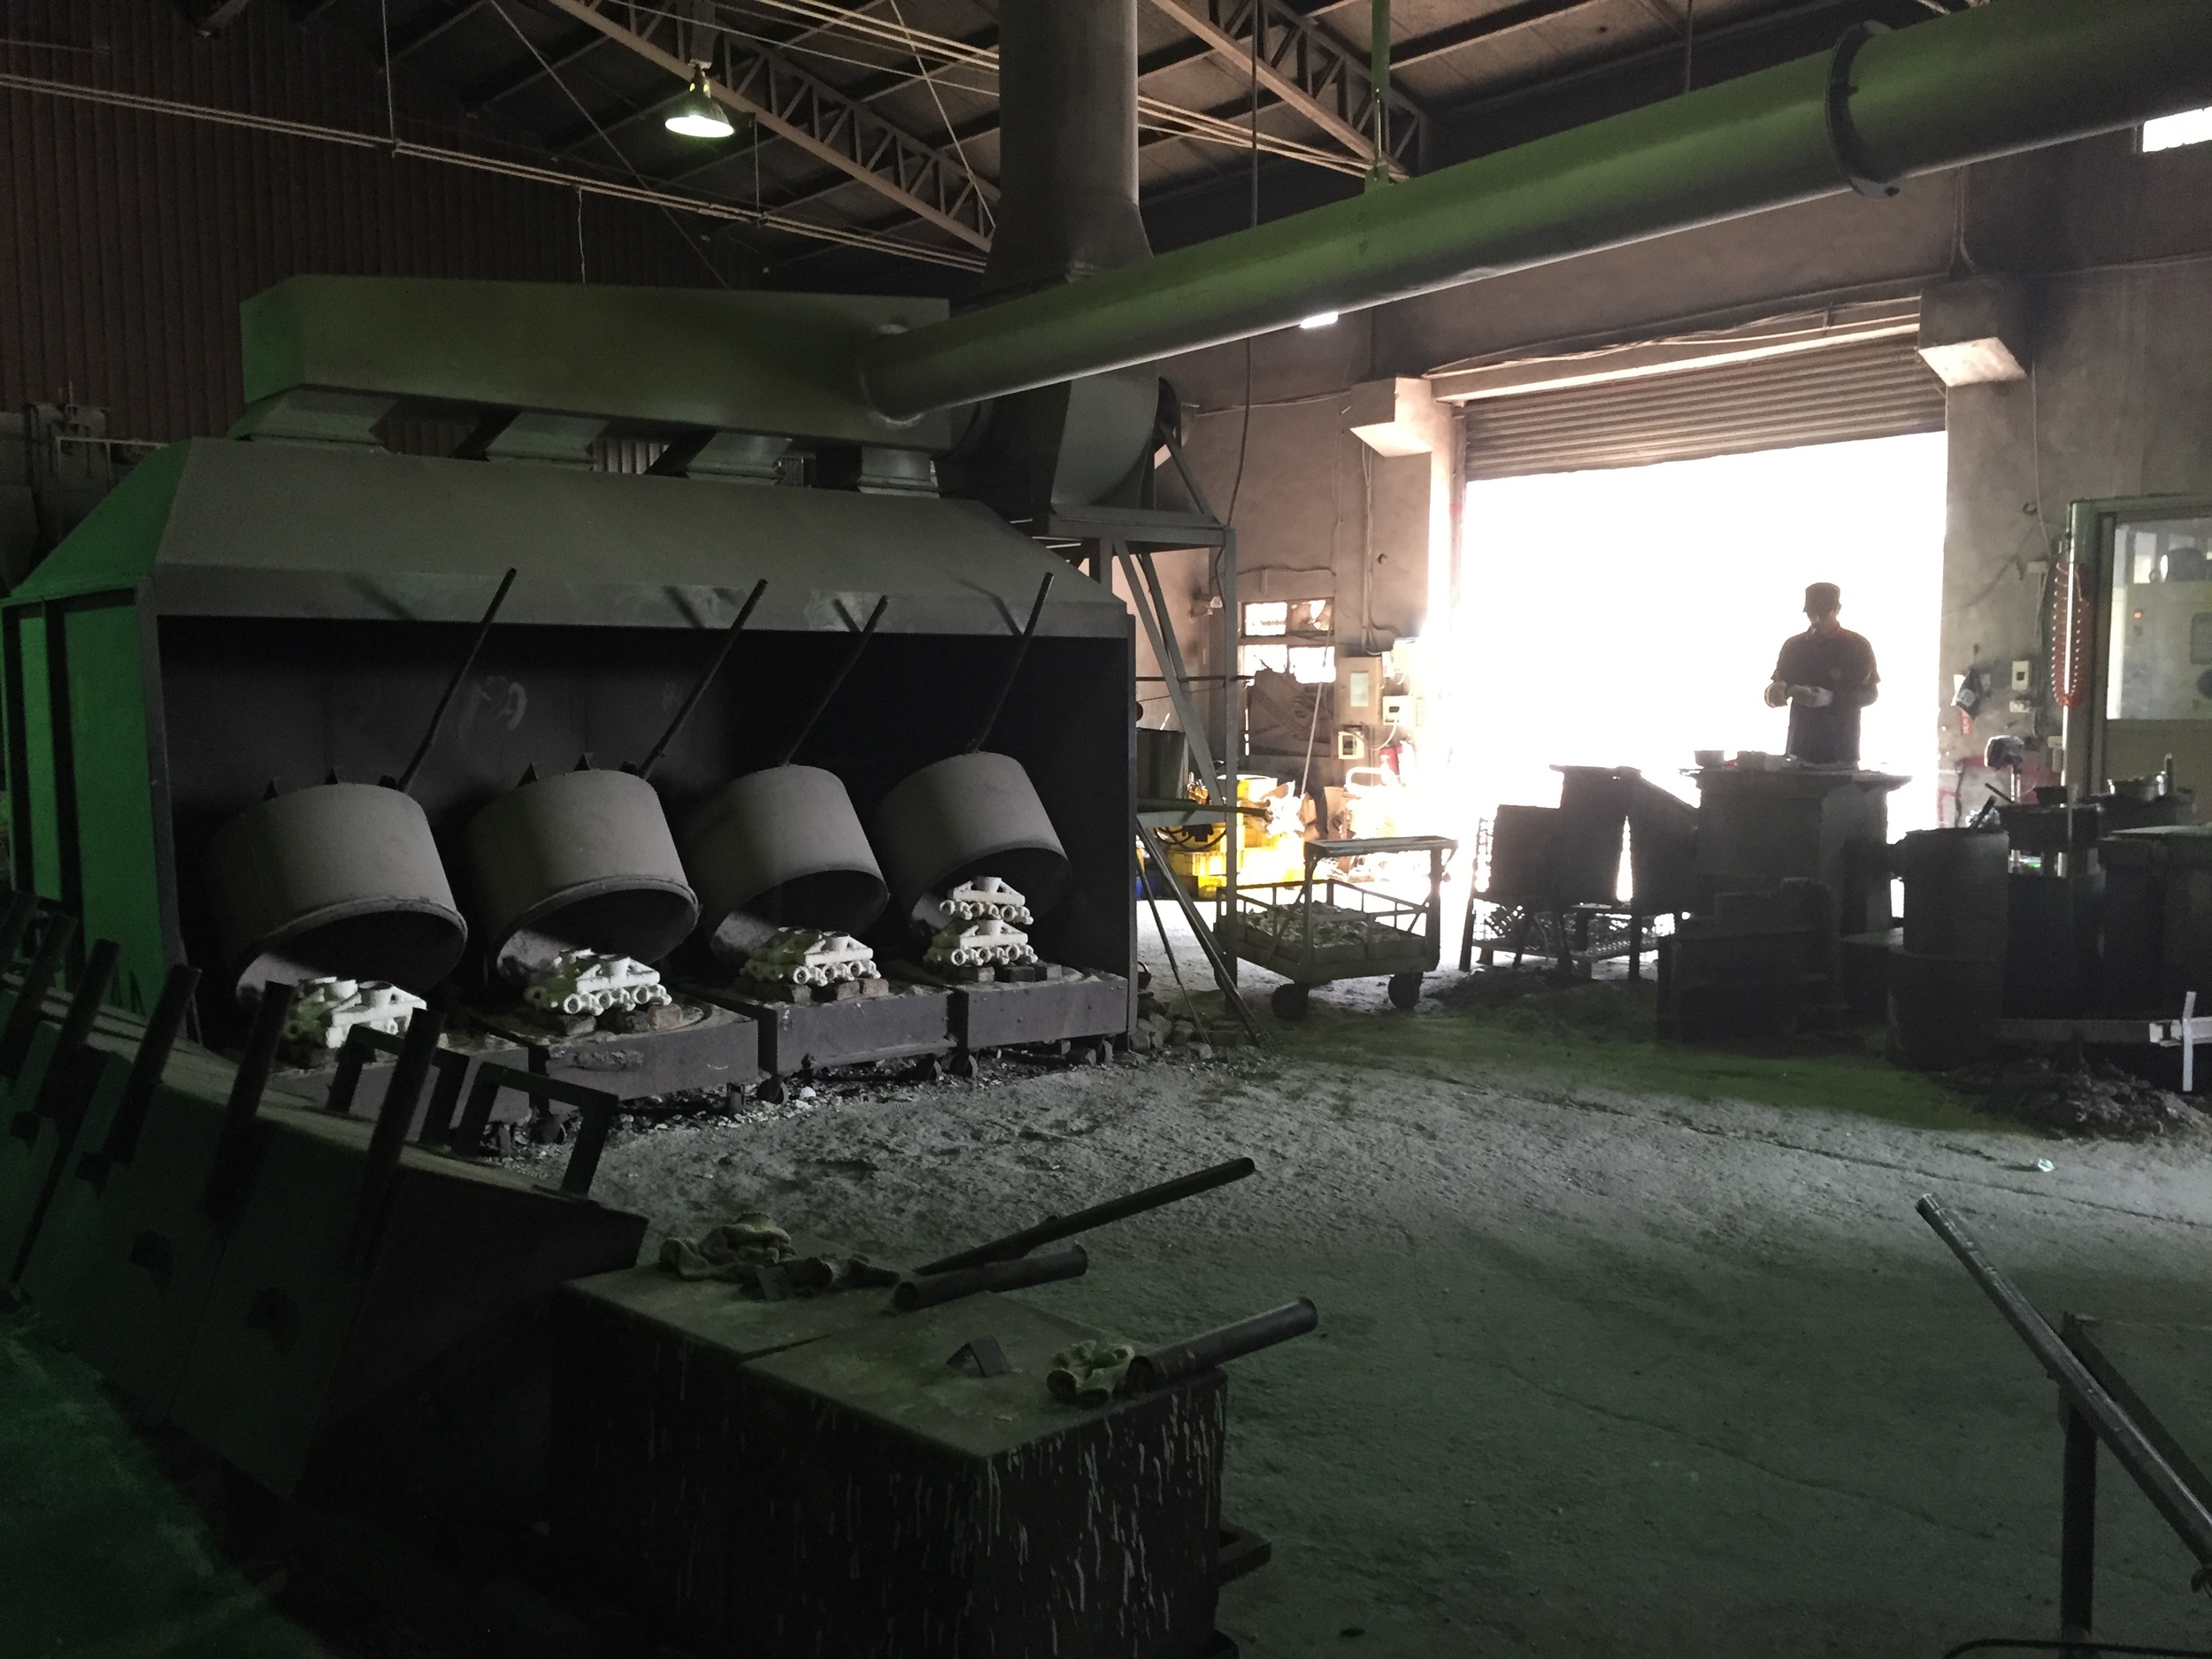
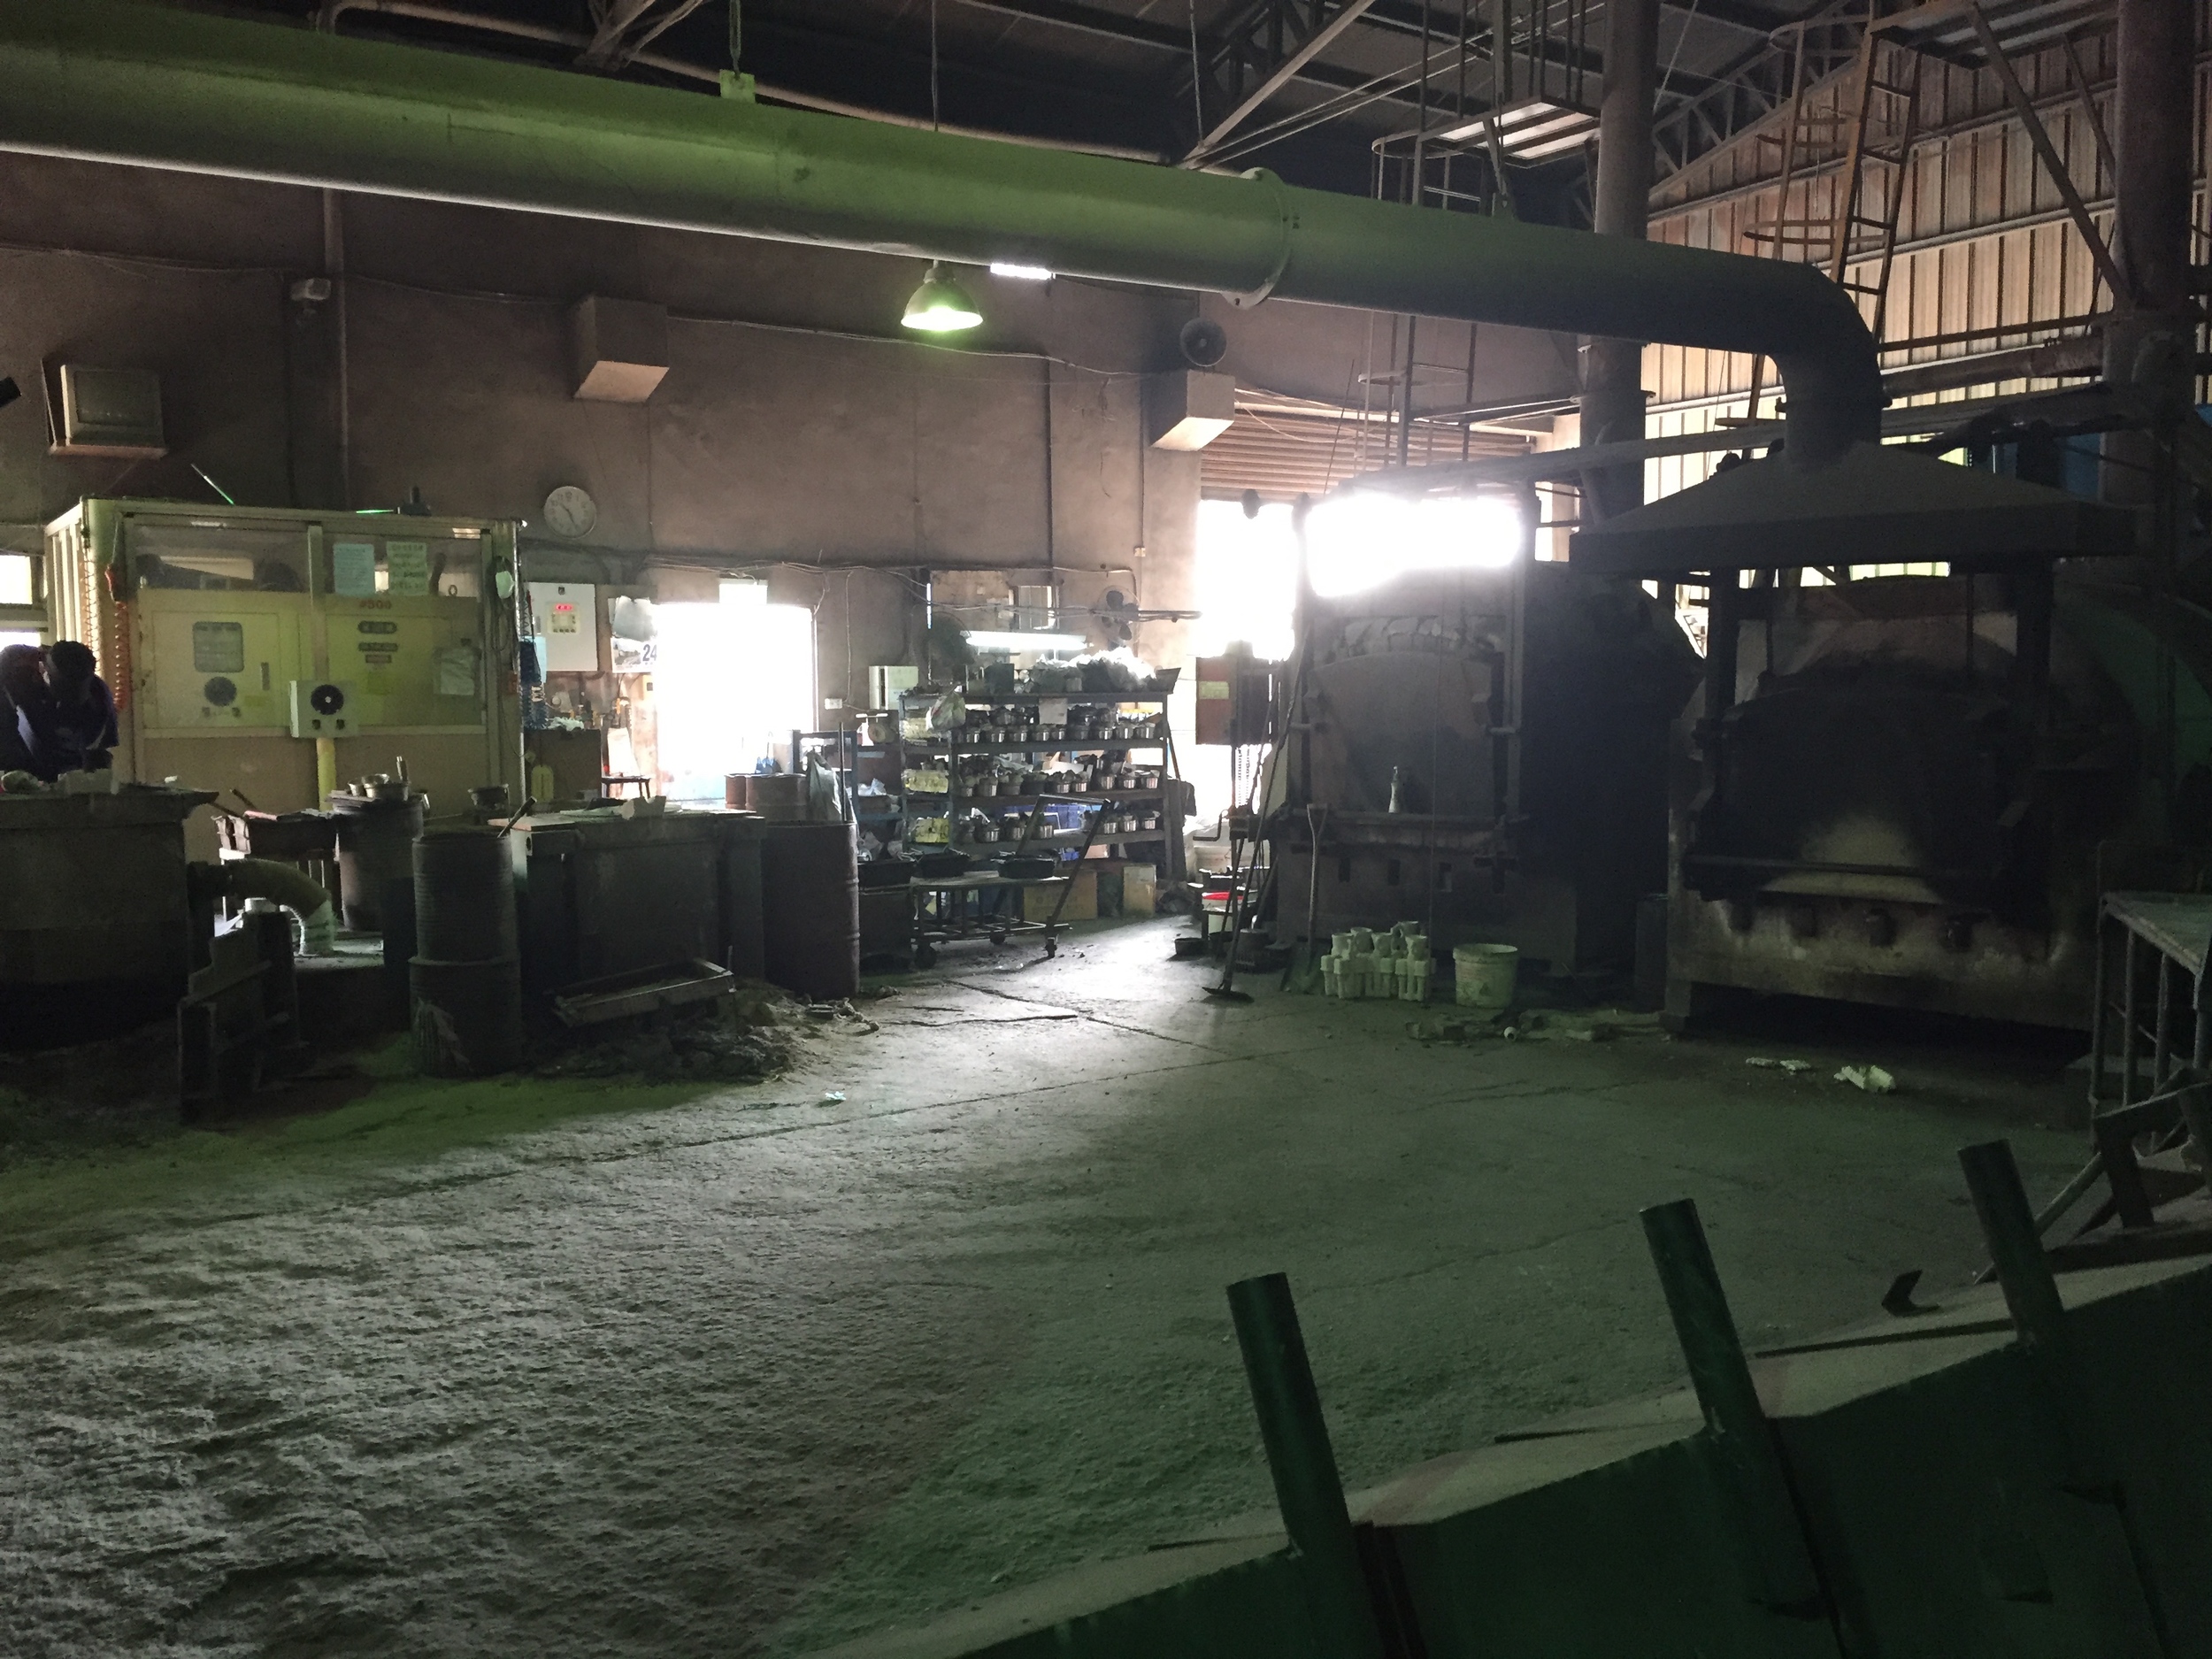
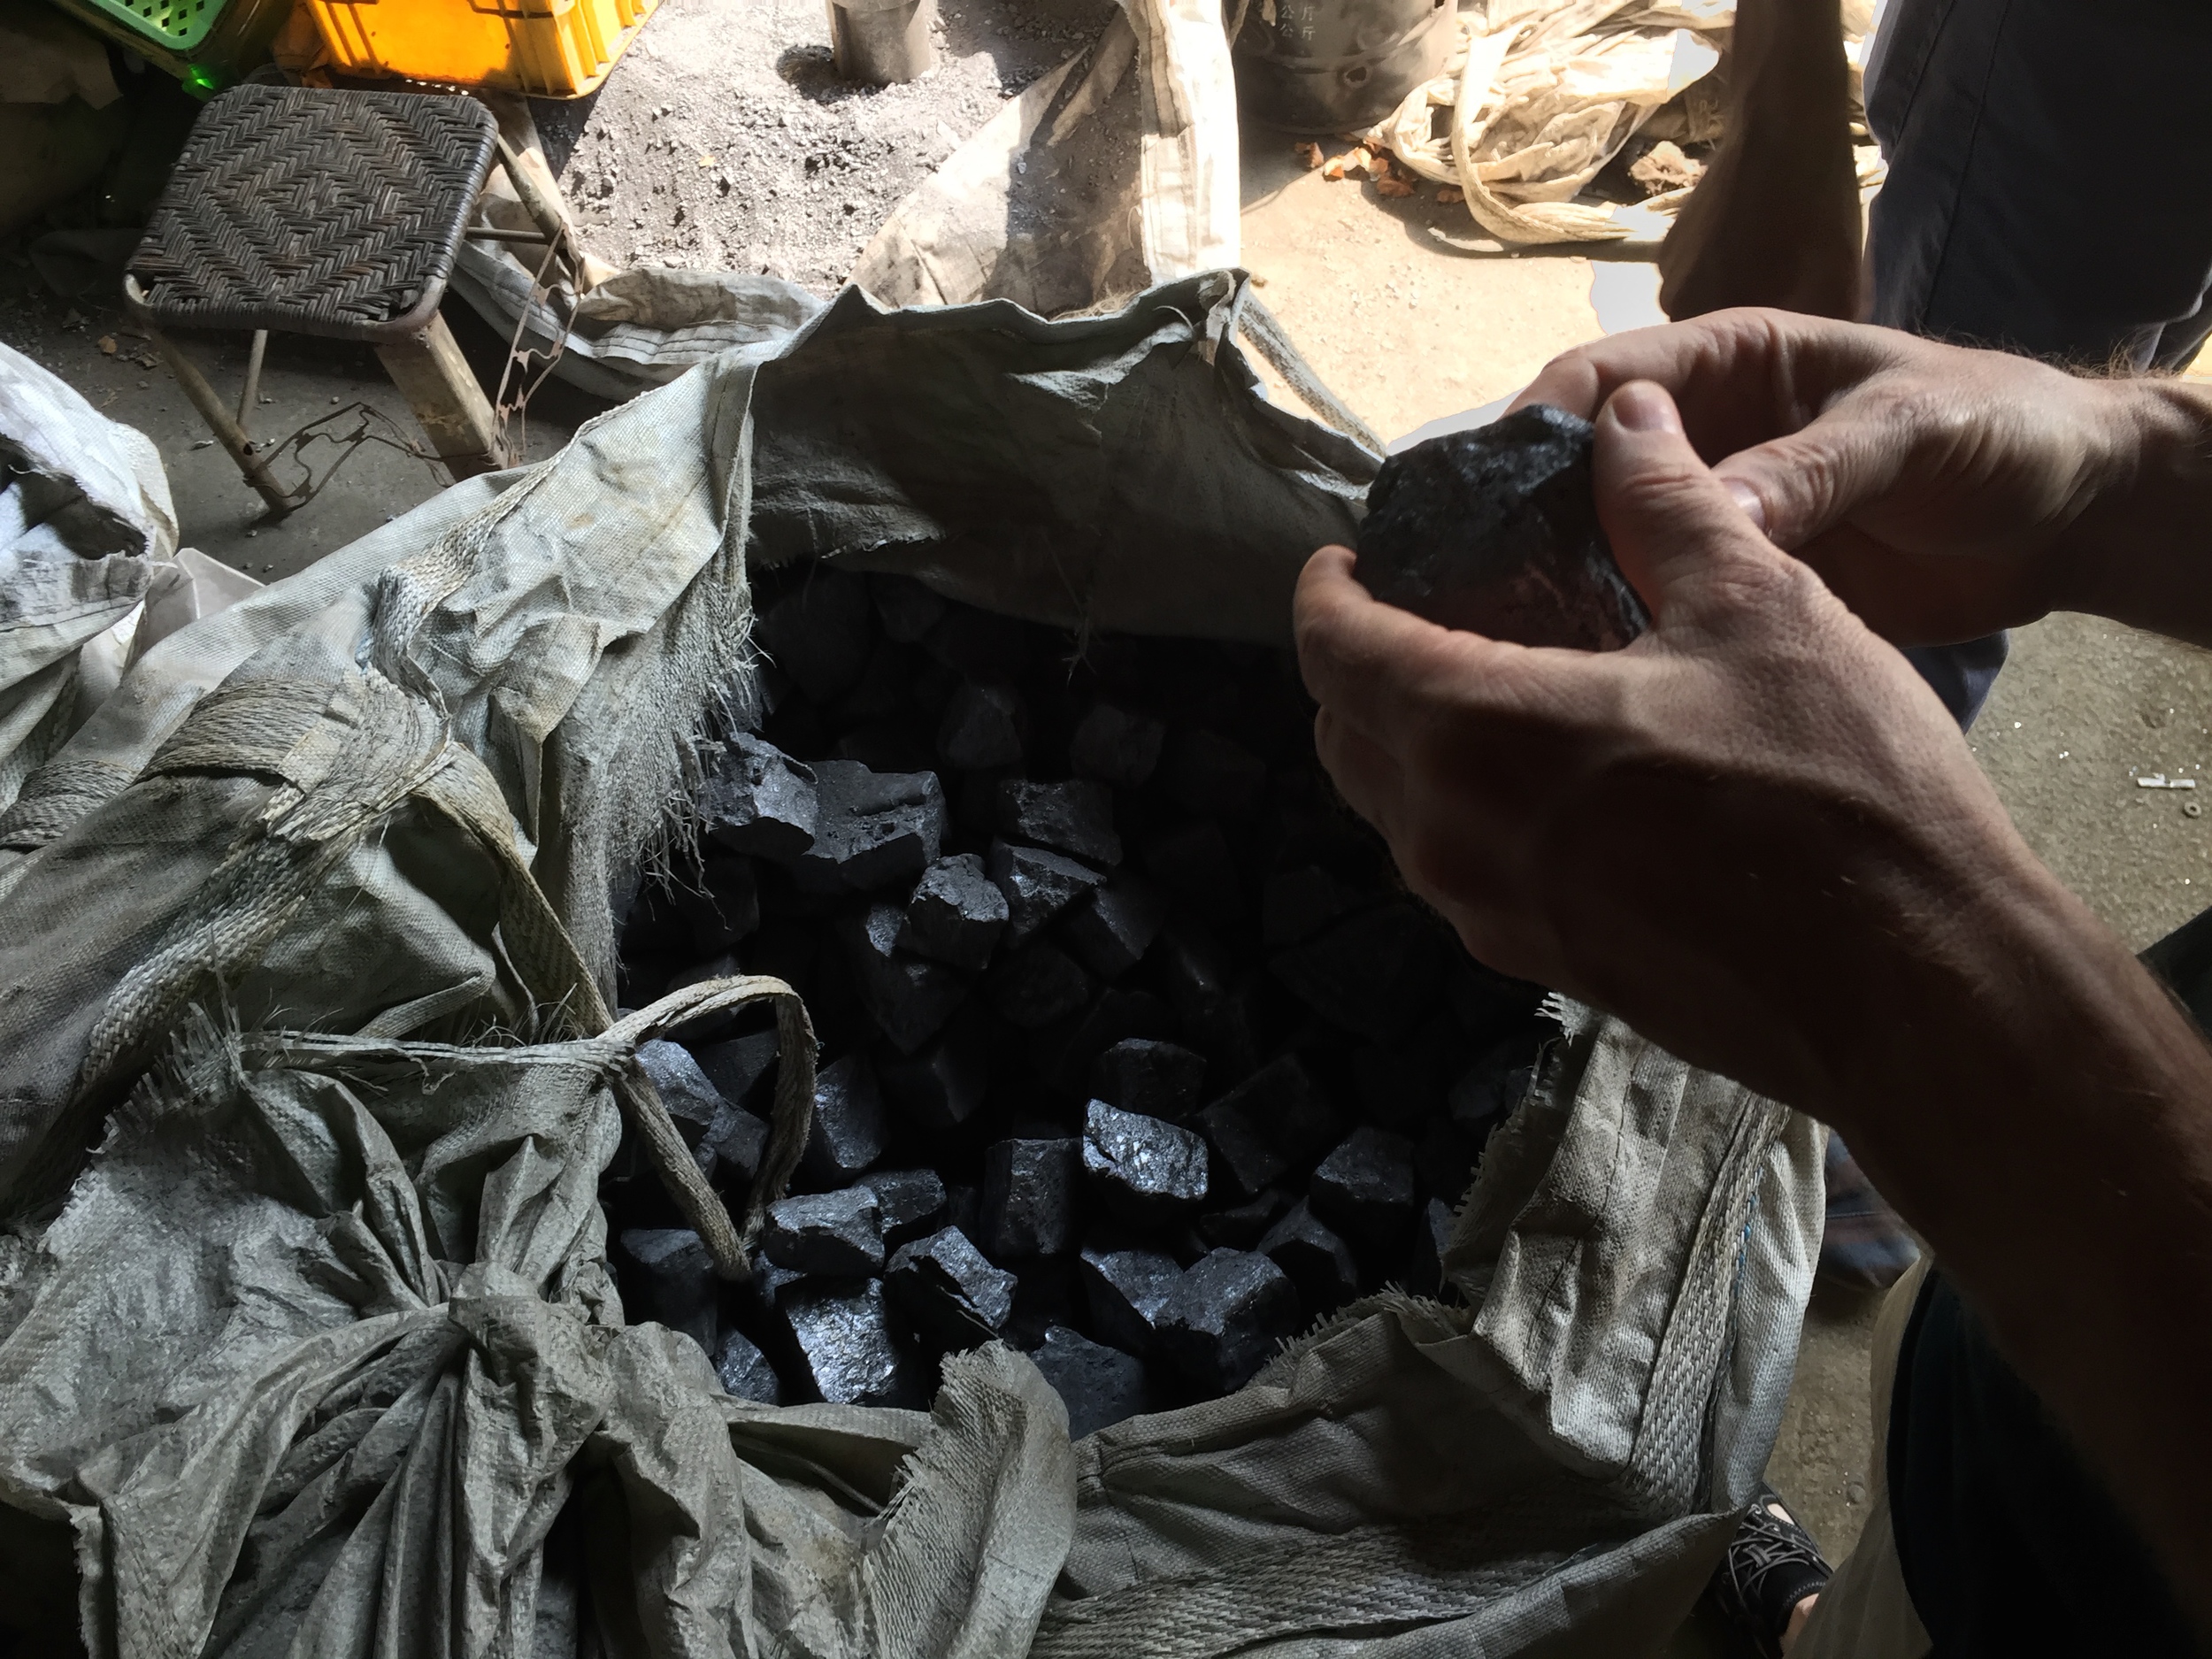
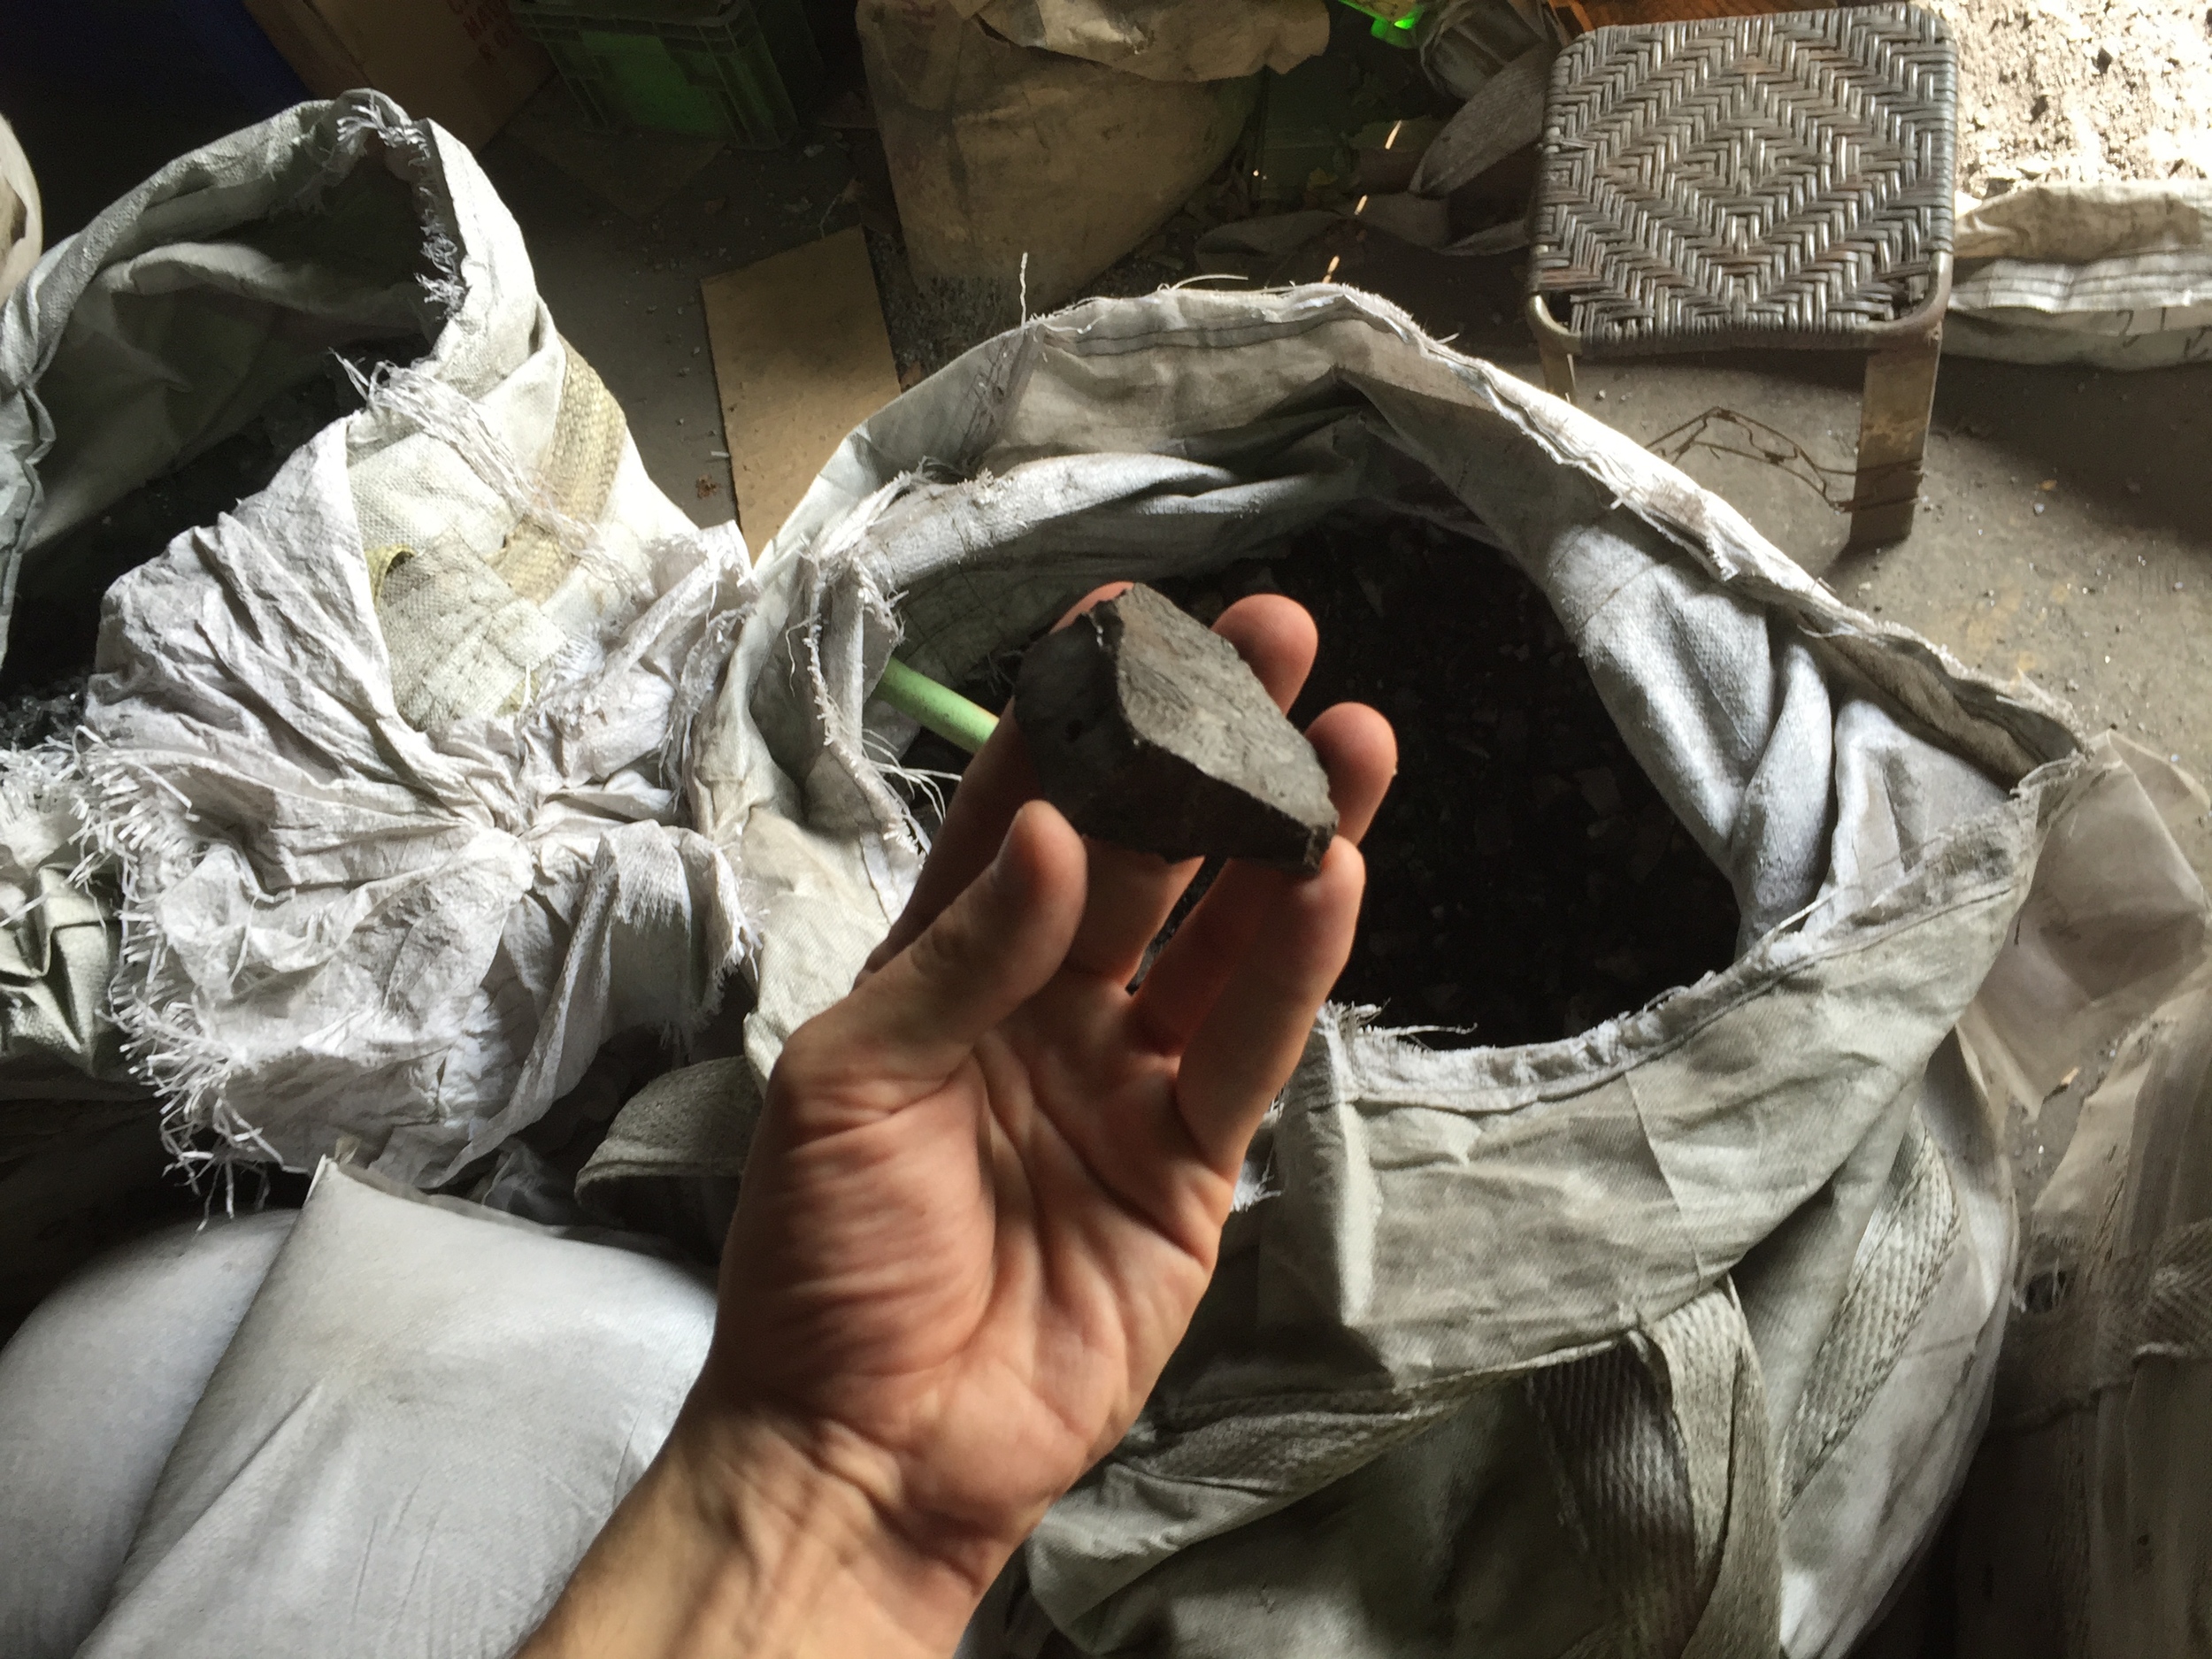
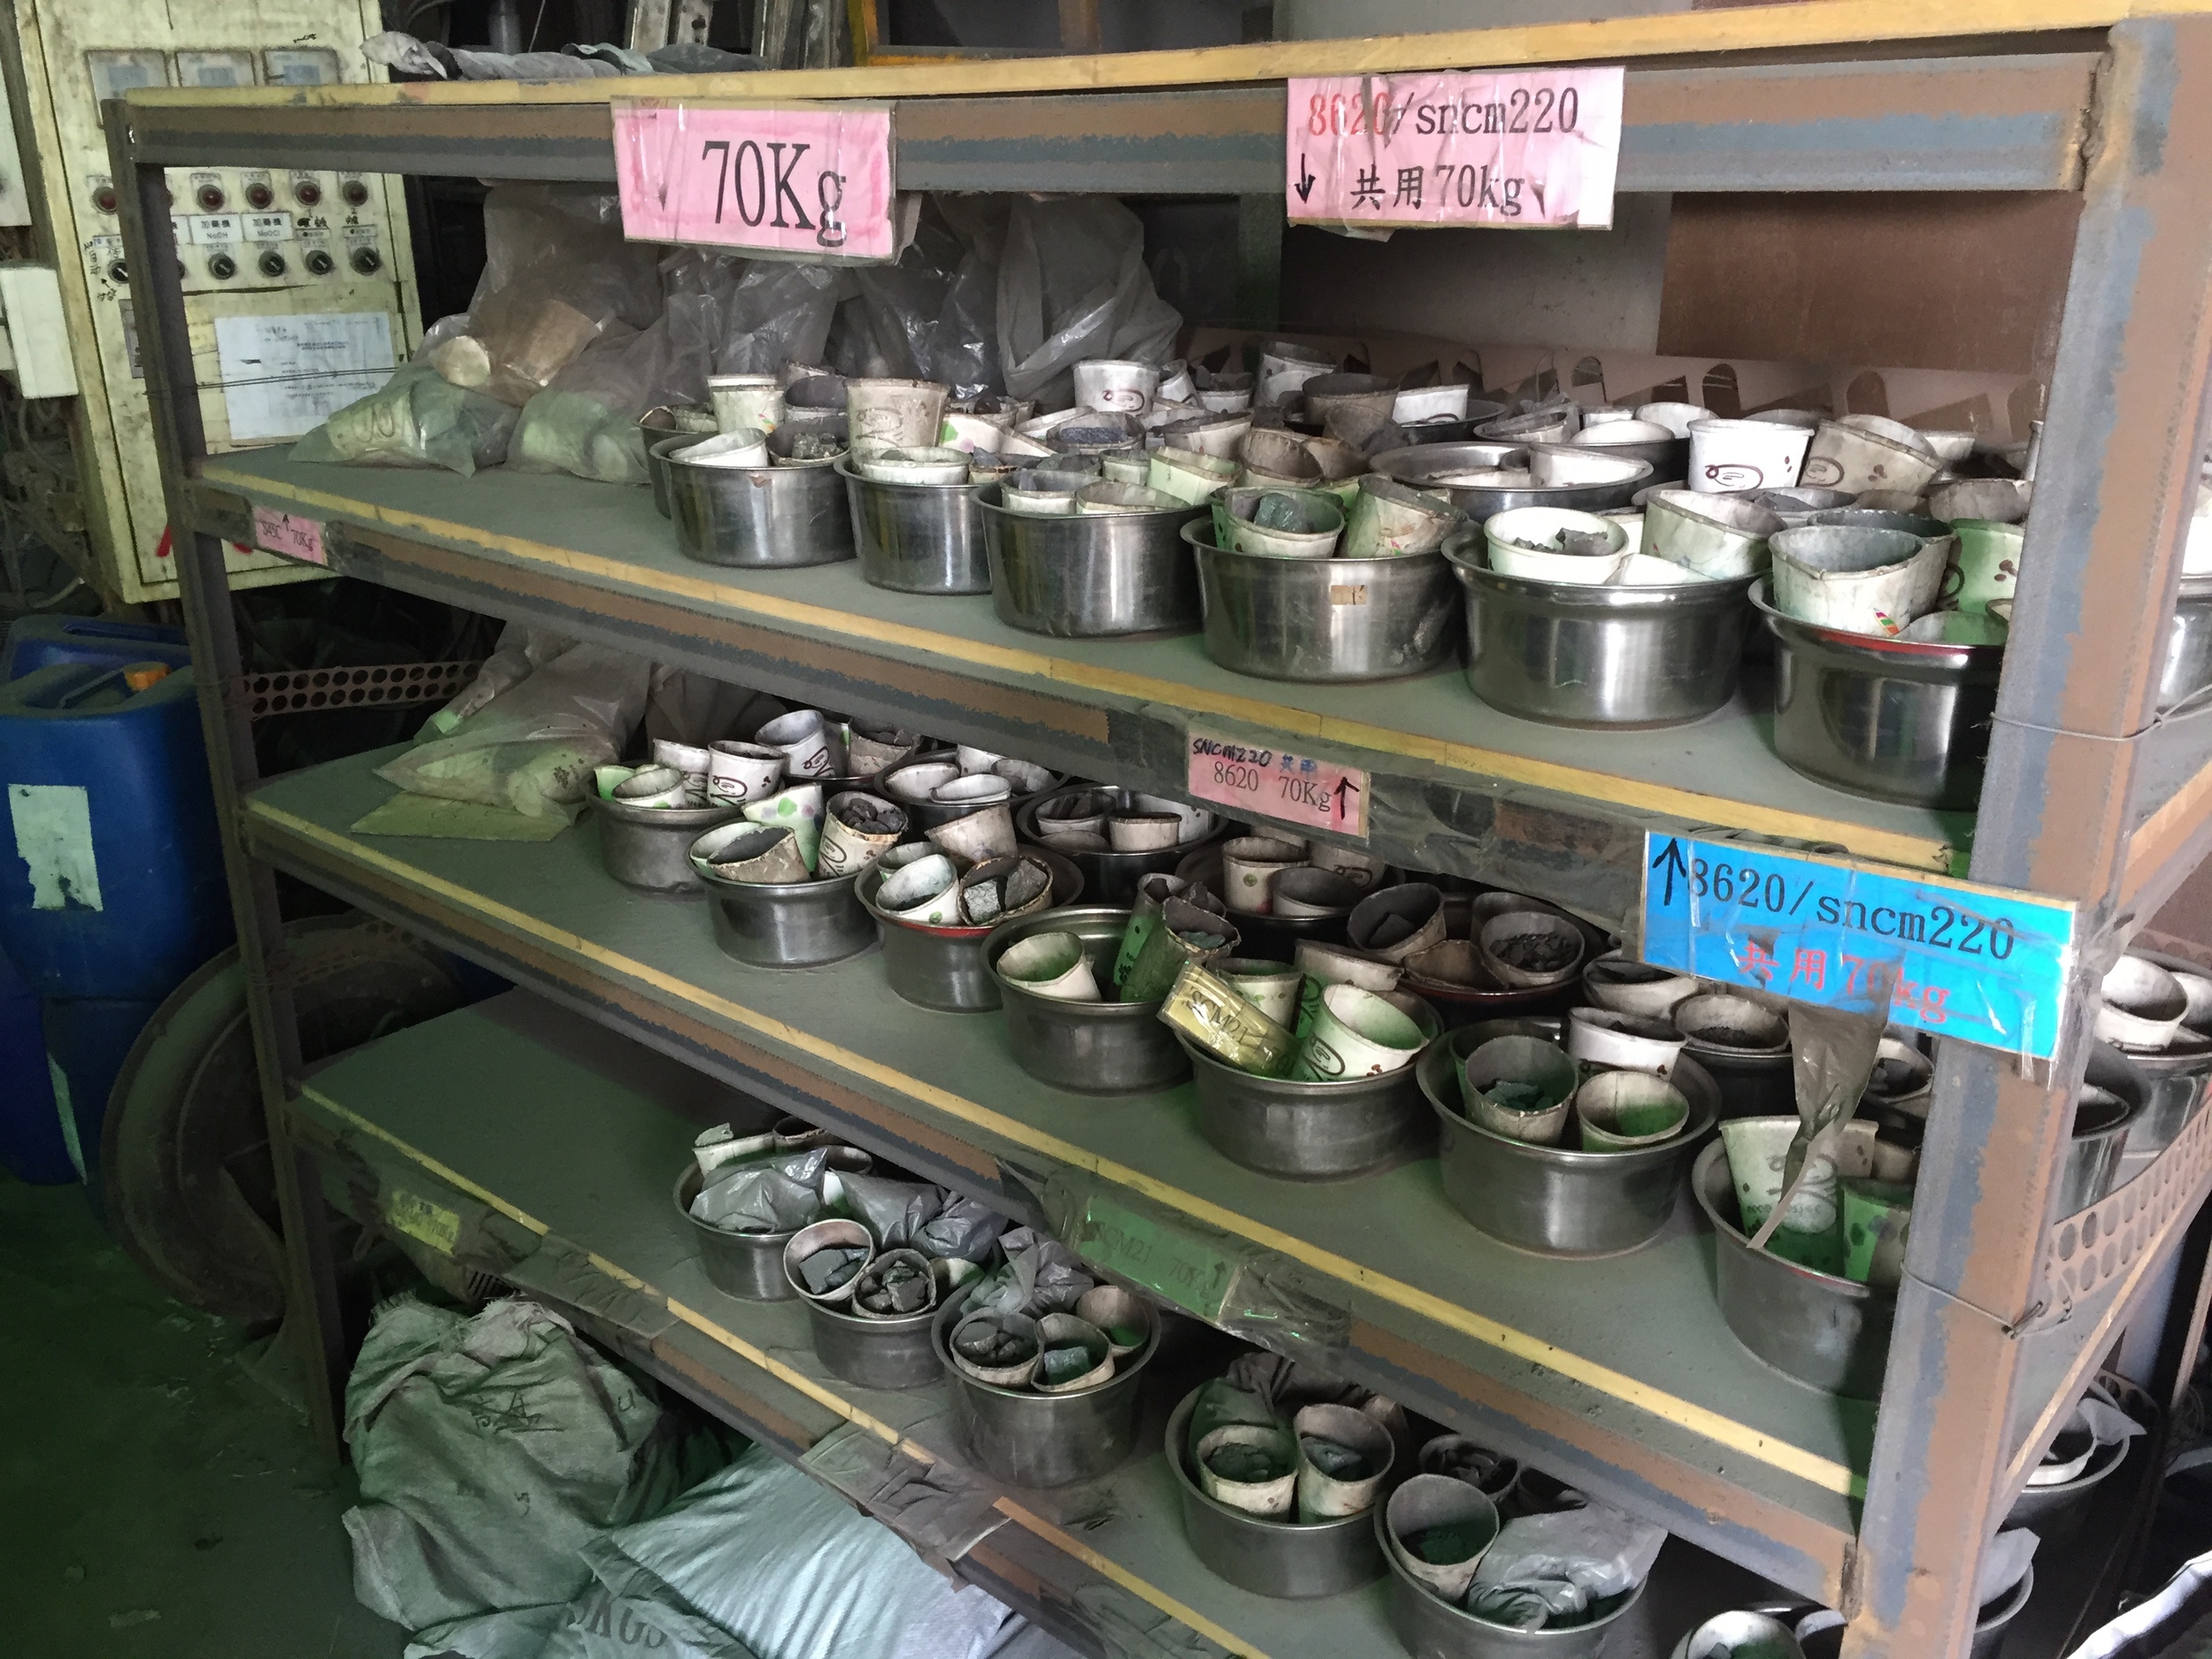
Then there was a big room full of kilns, where the trees were fired and cast. Nearby were big bags of raw material - iron and alloying elements - that would be melted down to cast whatever alloy was necessary.

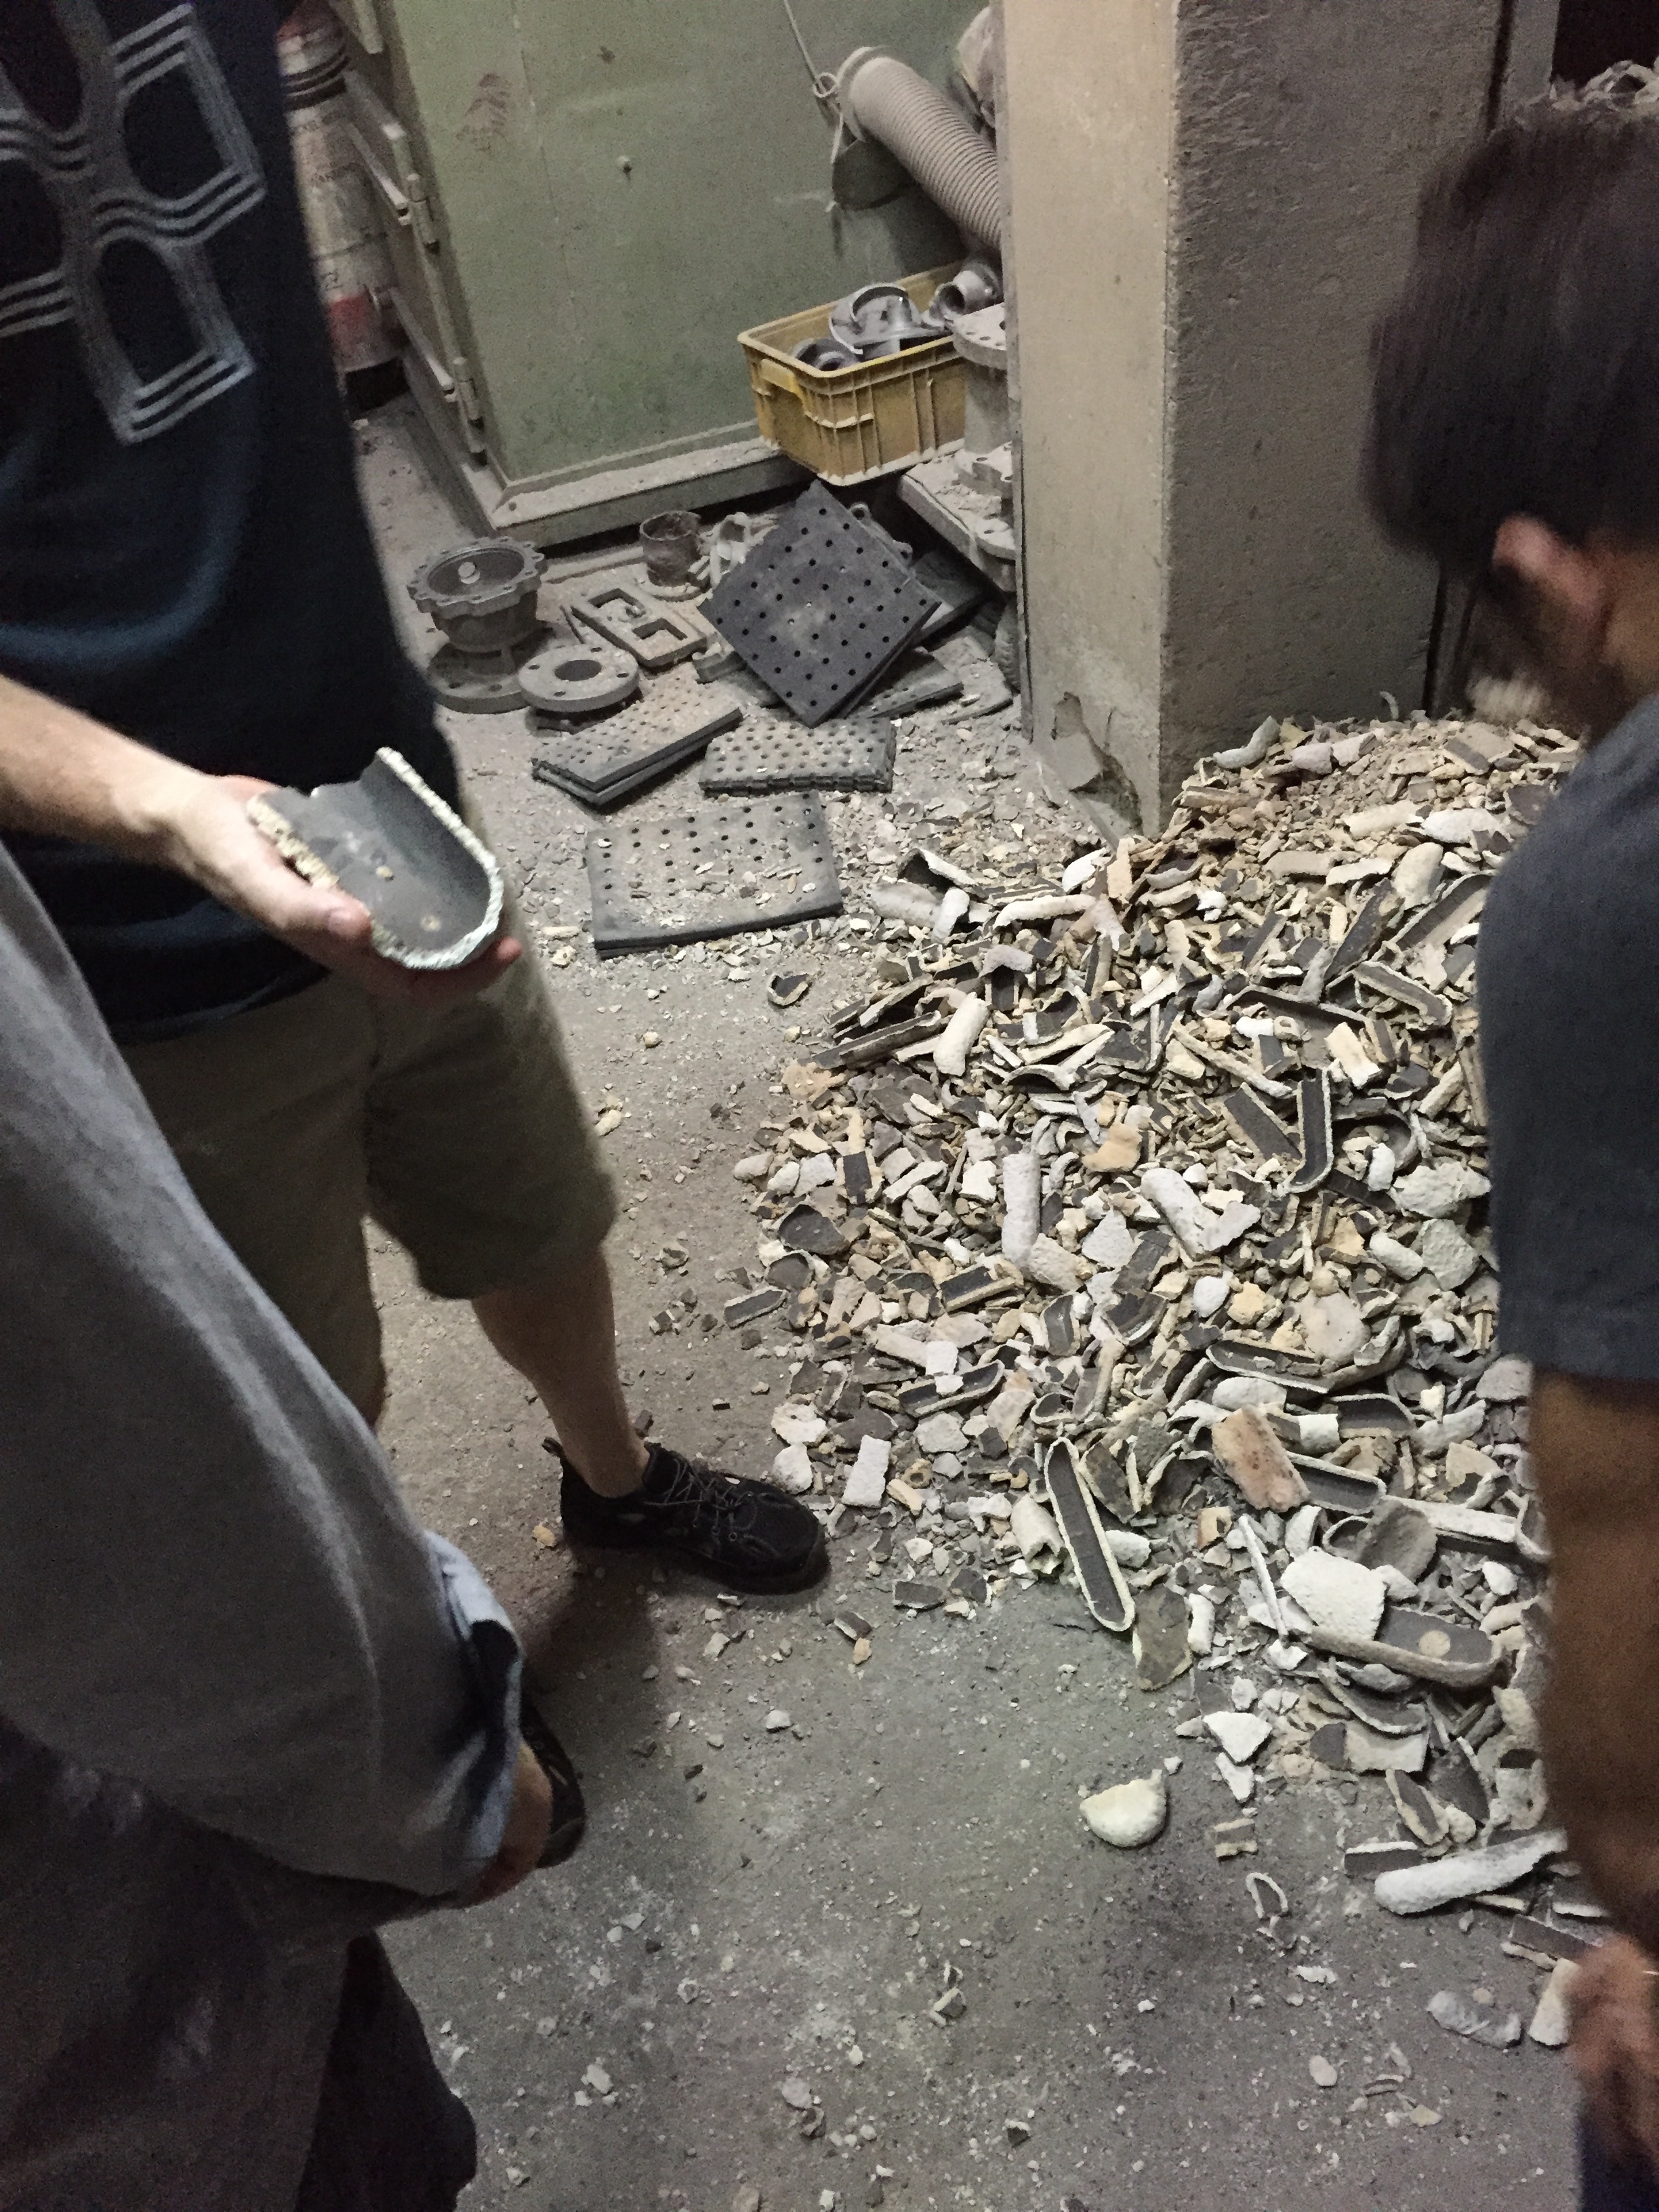
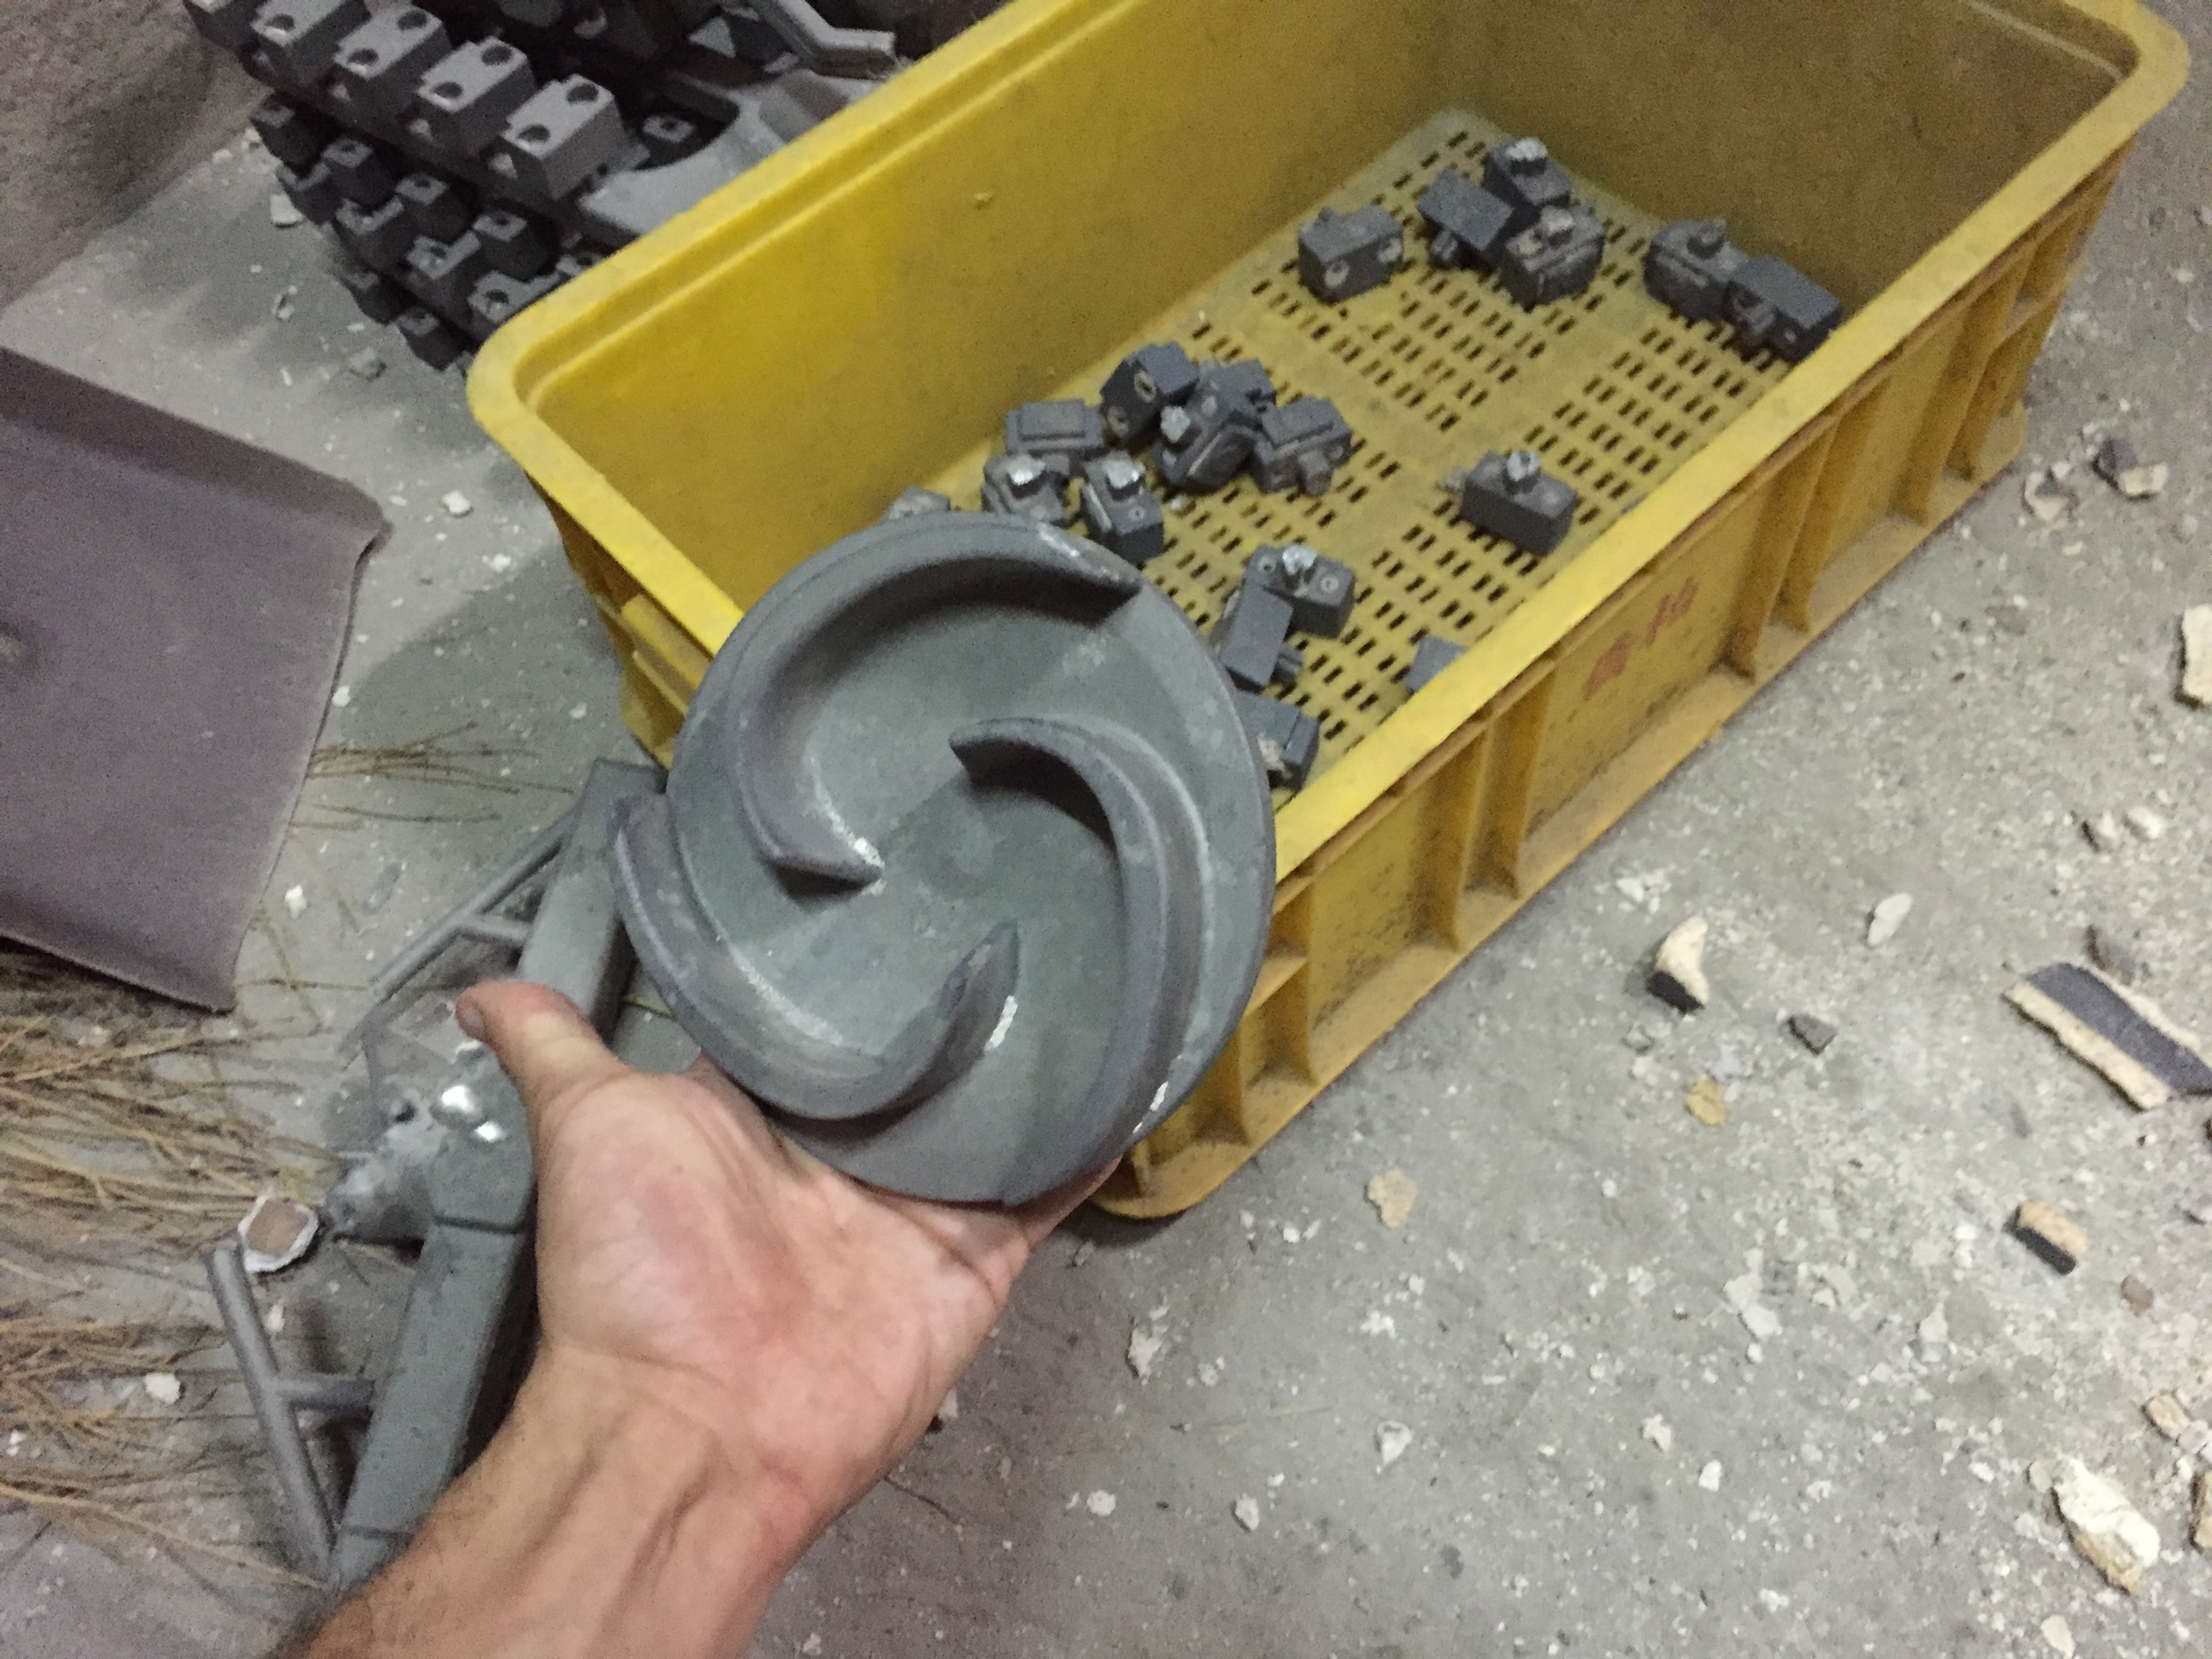
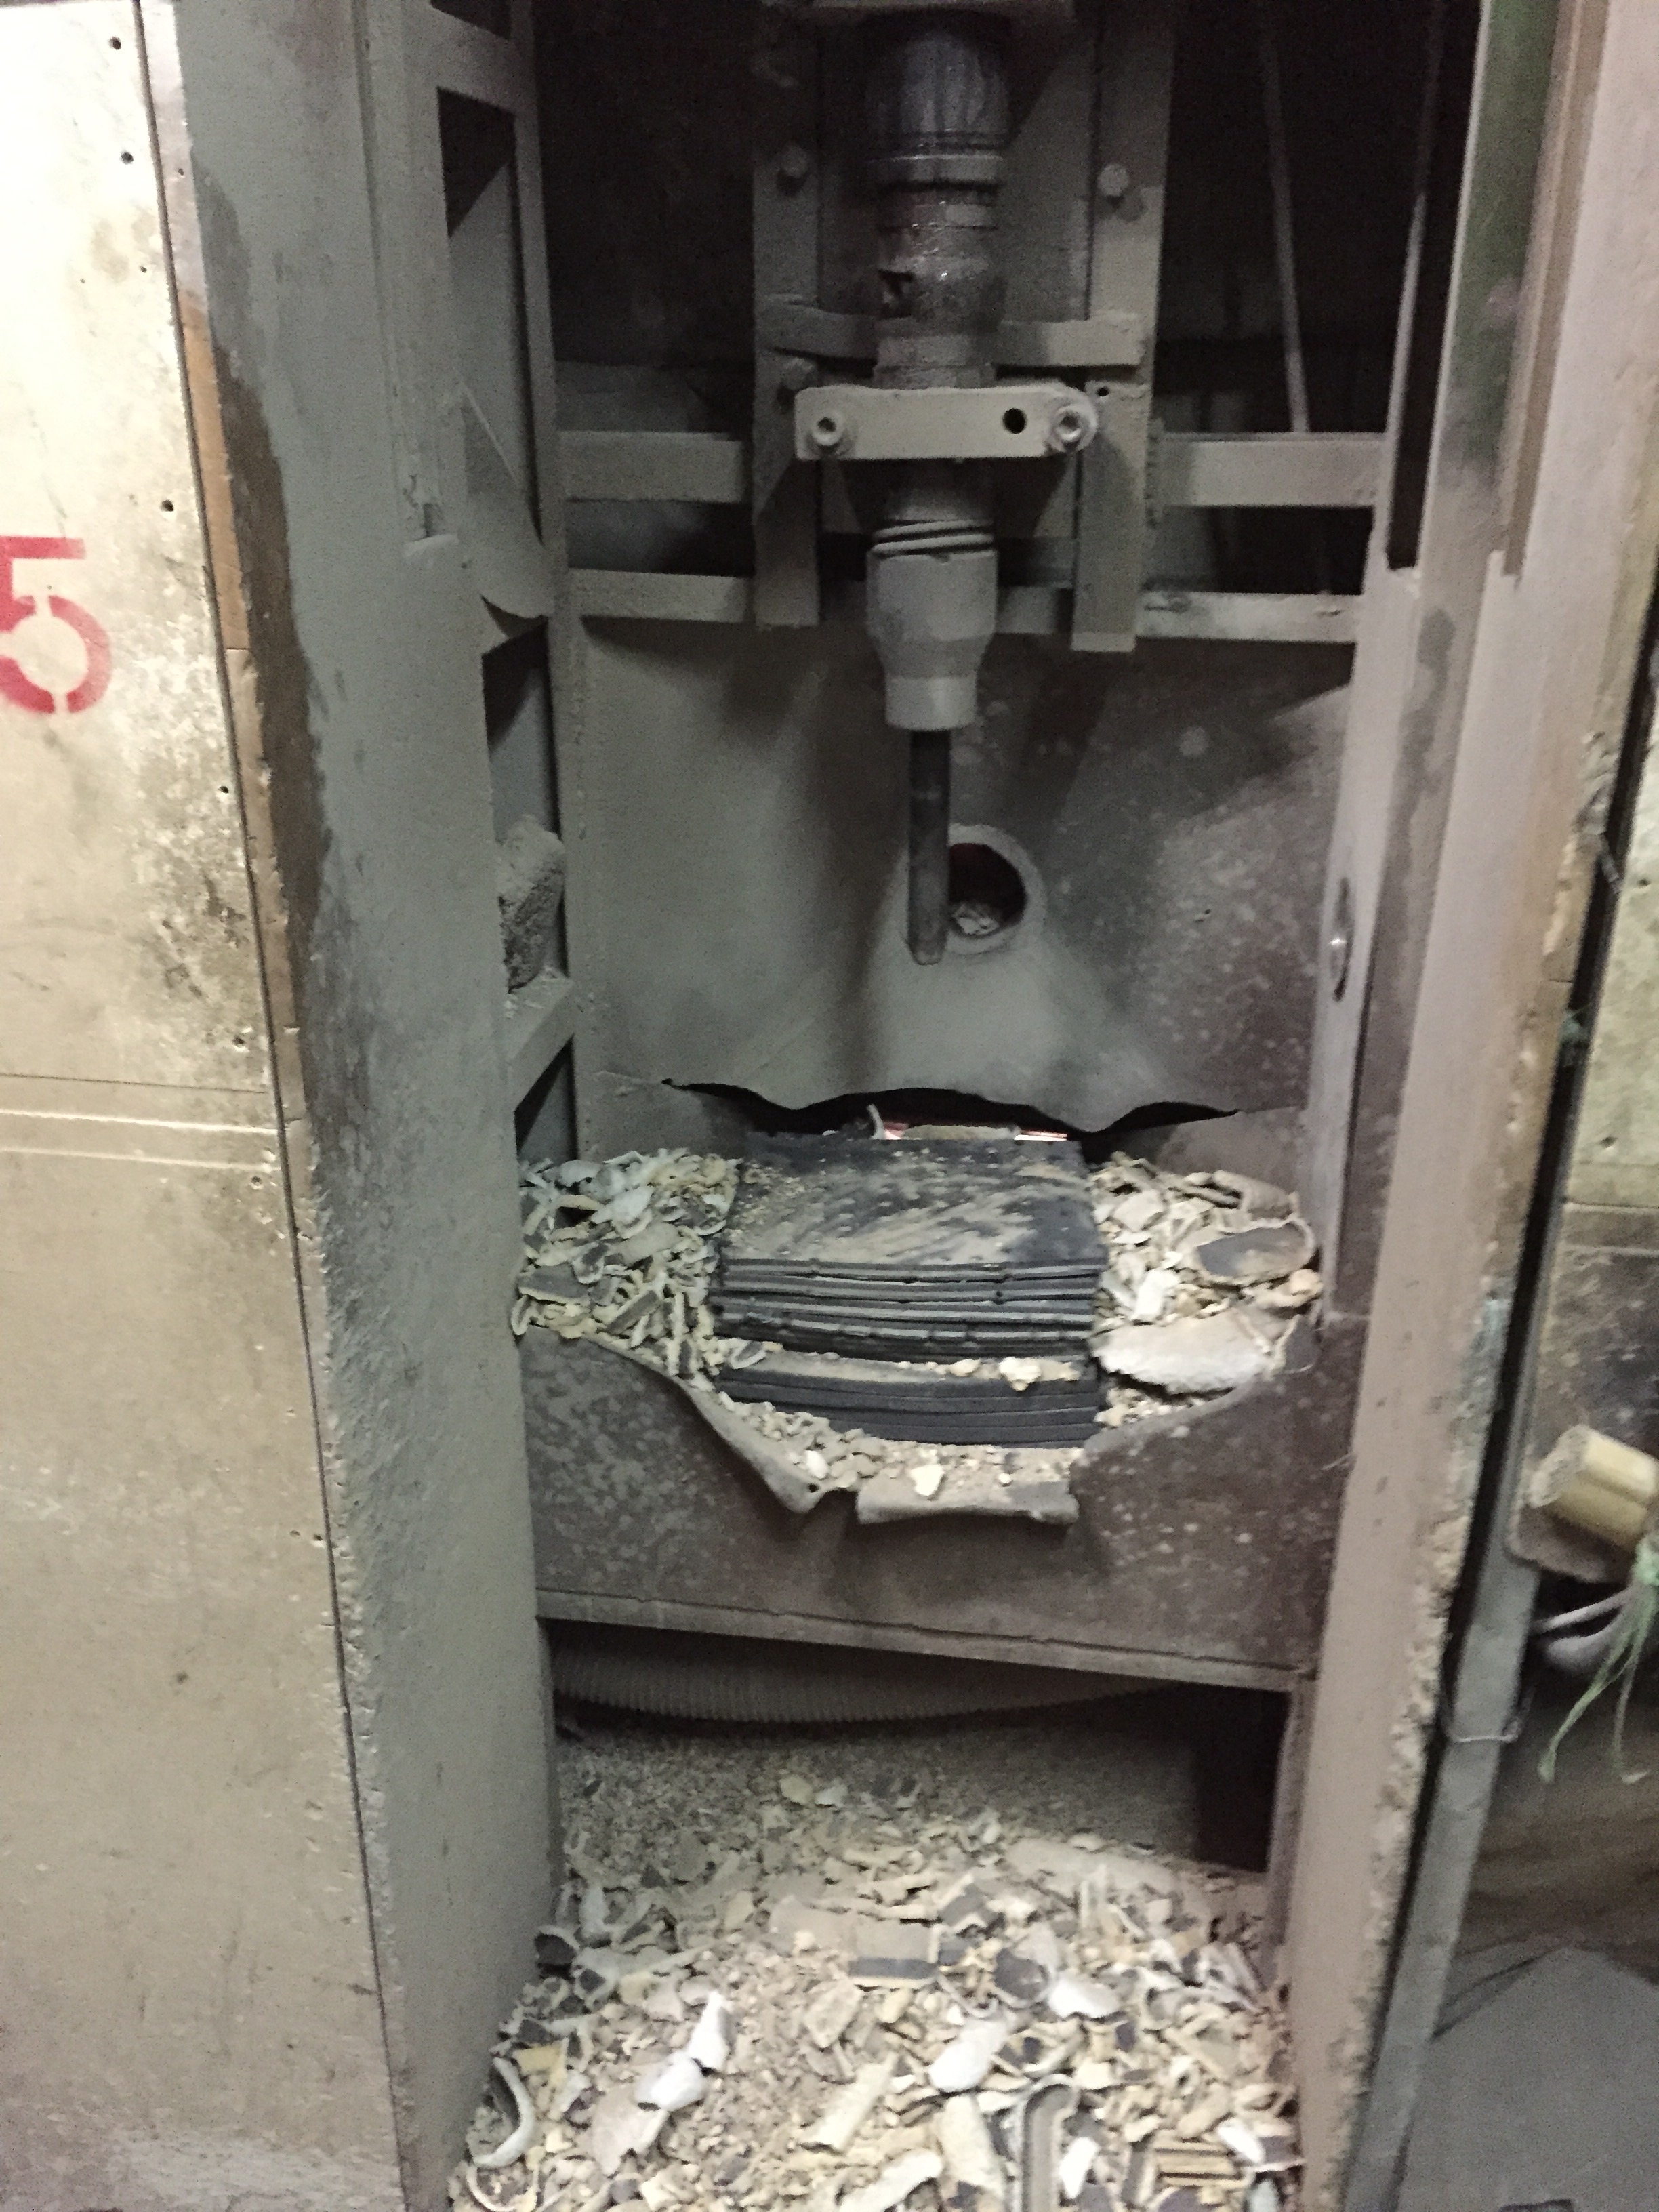
After the trees are baked and cast in steel, the resulting steel trees need to be cut apart:

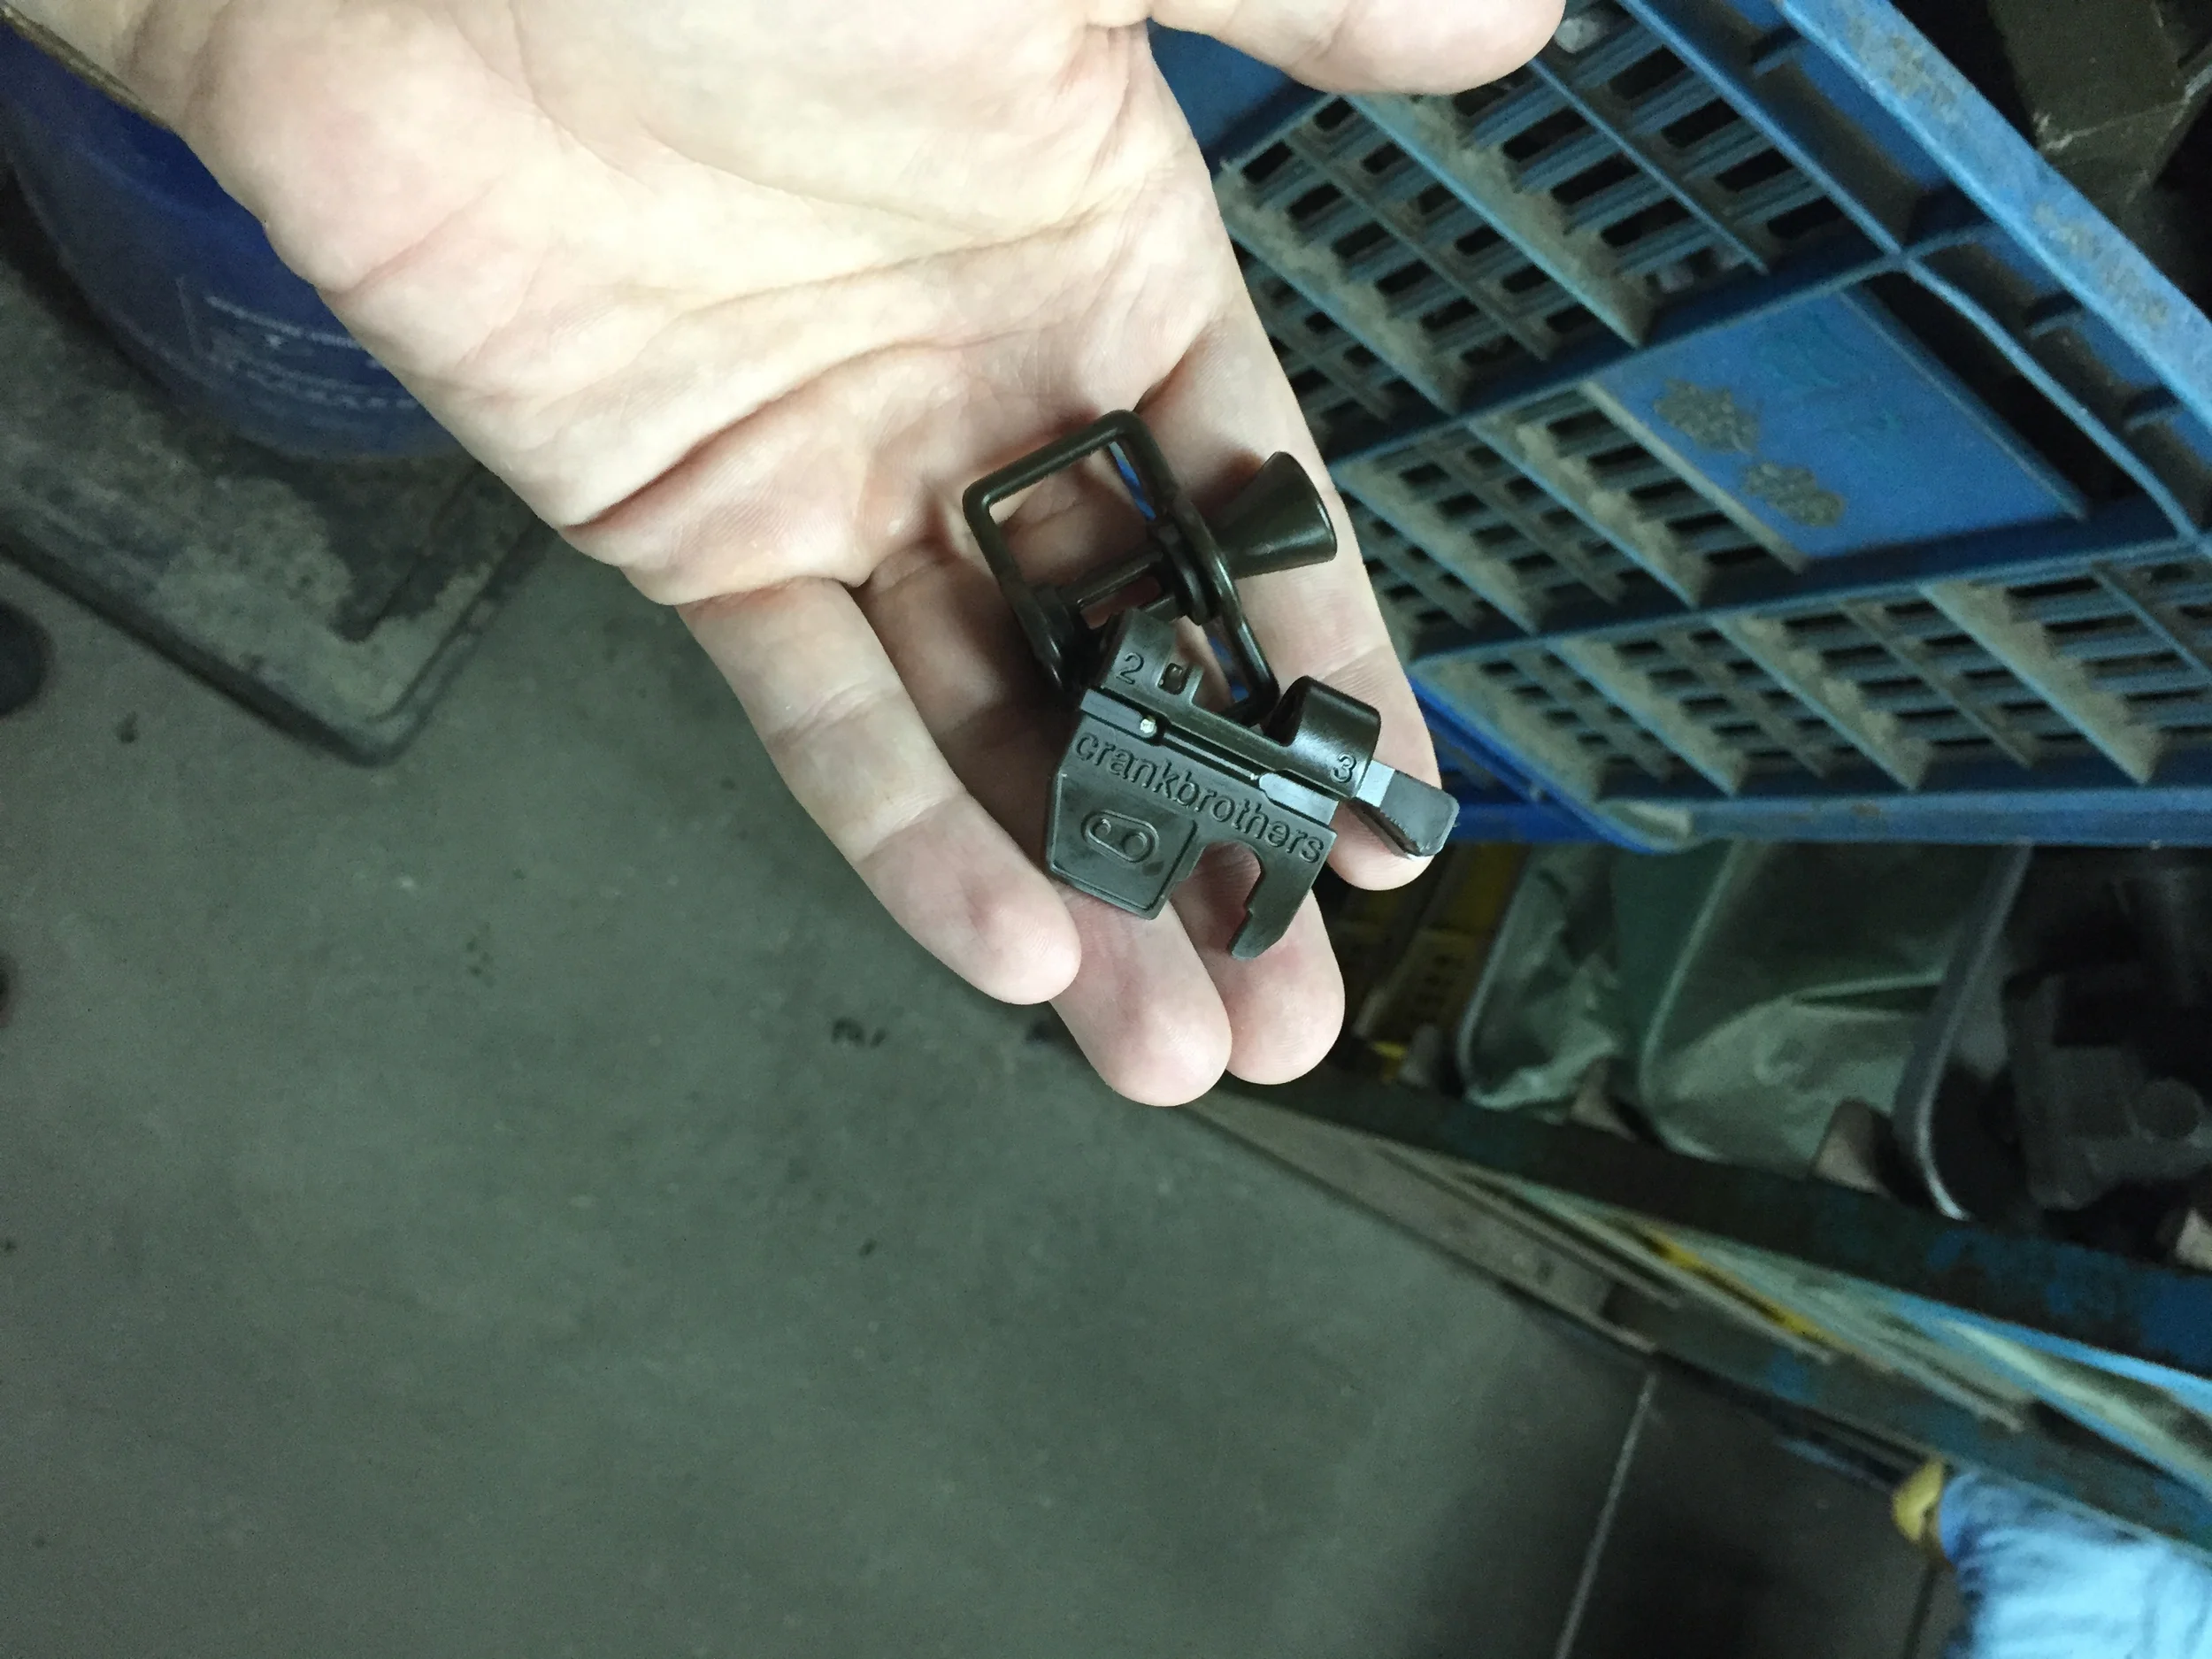
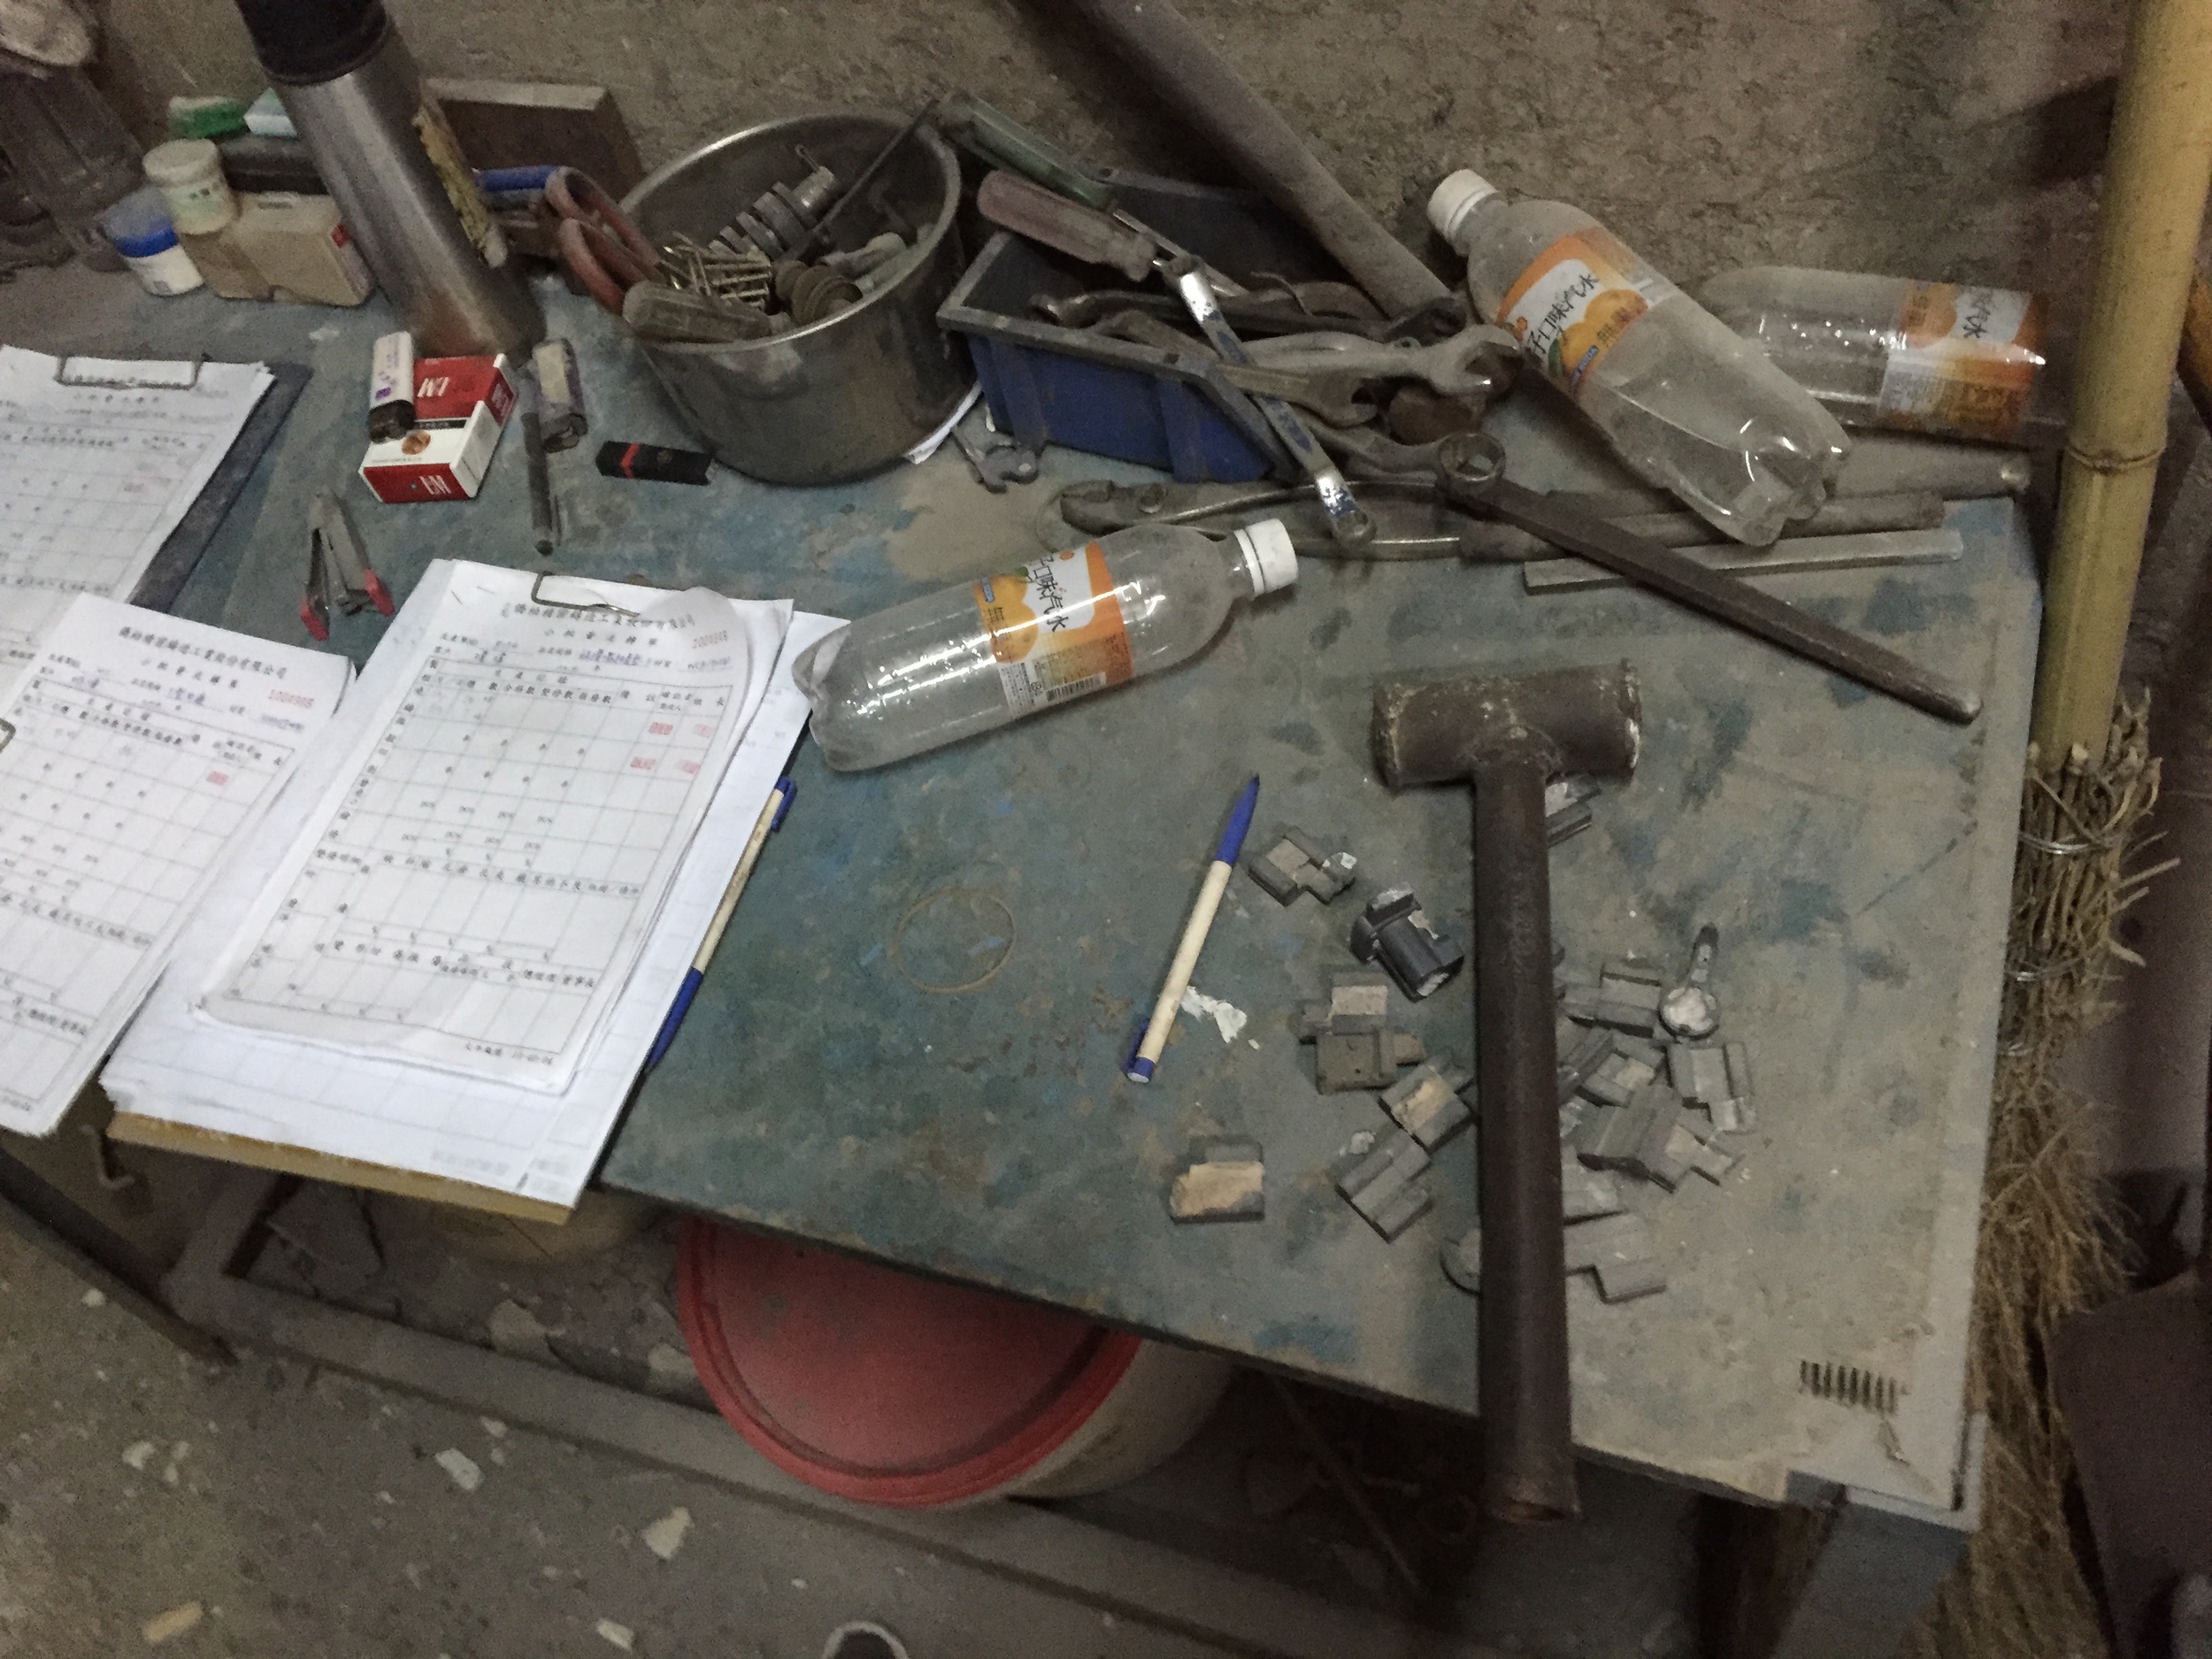
And then the individual parts are checked in QC and cold-set into place where they've distorted:

Okay, photos:

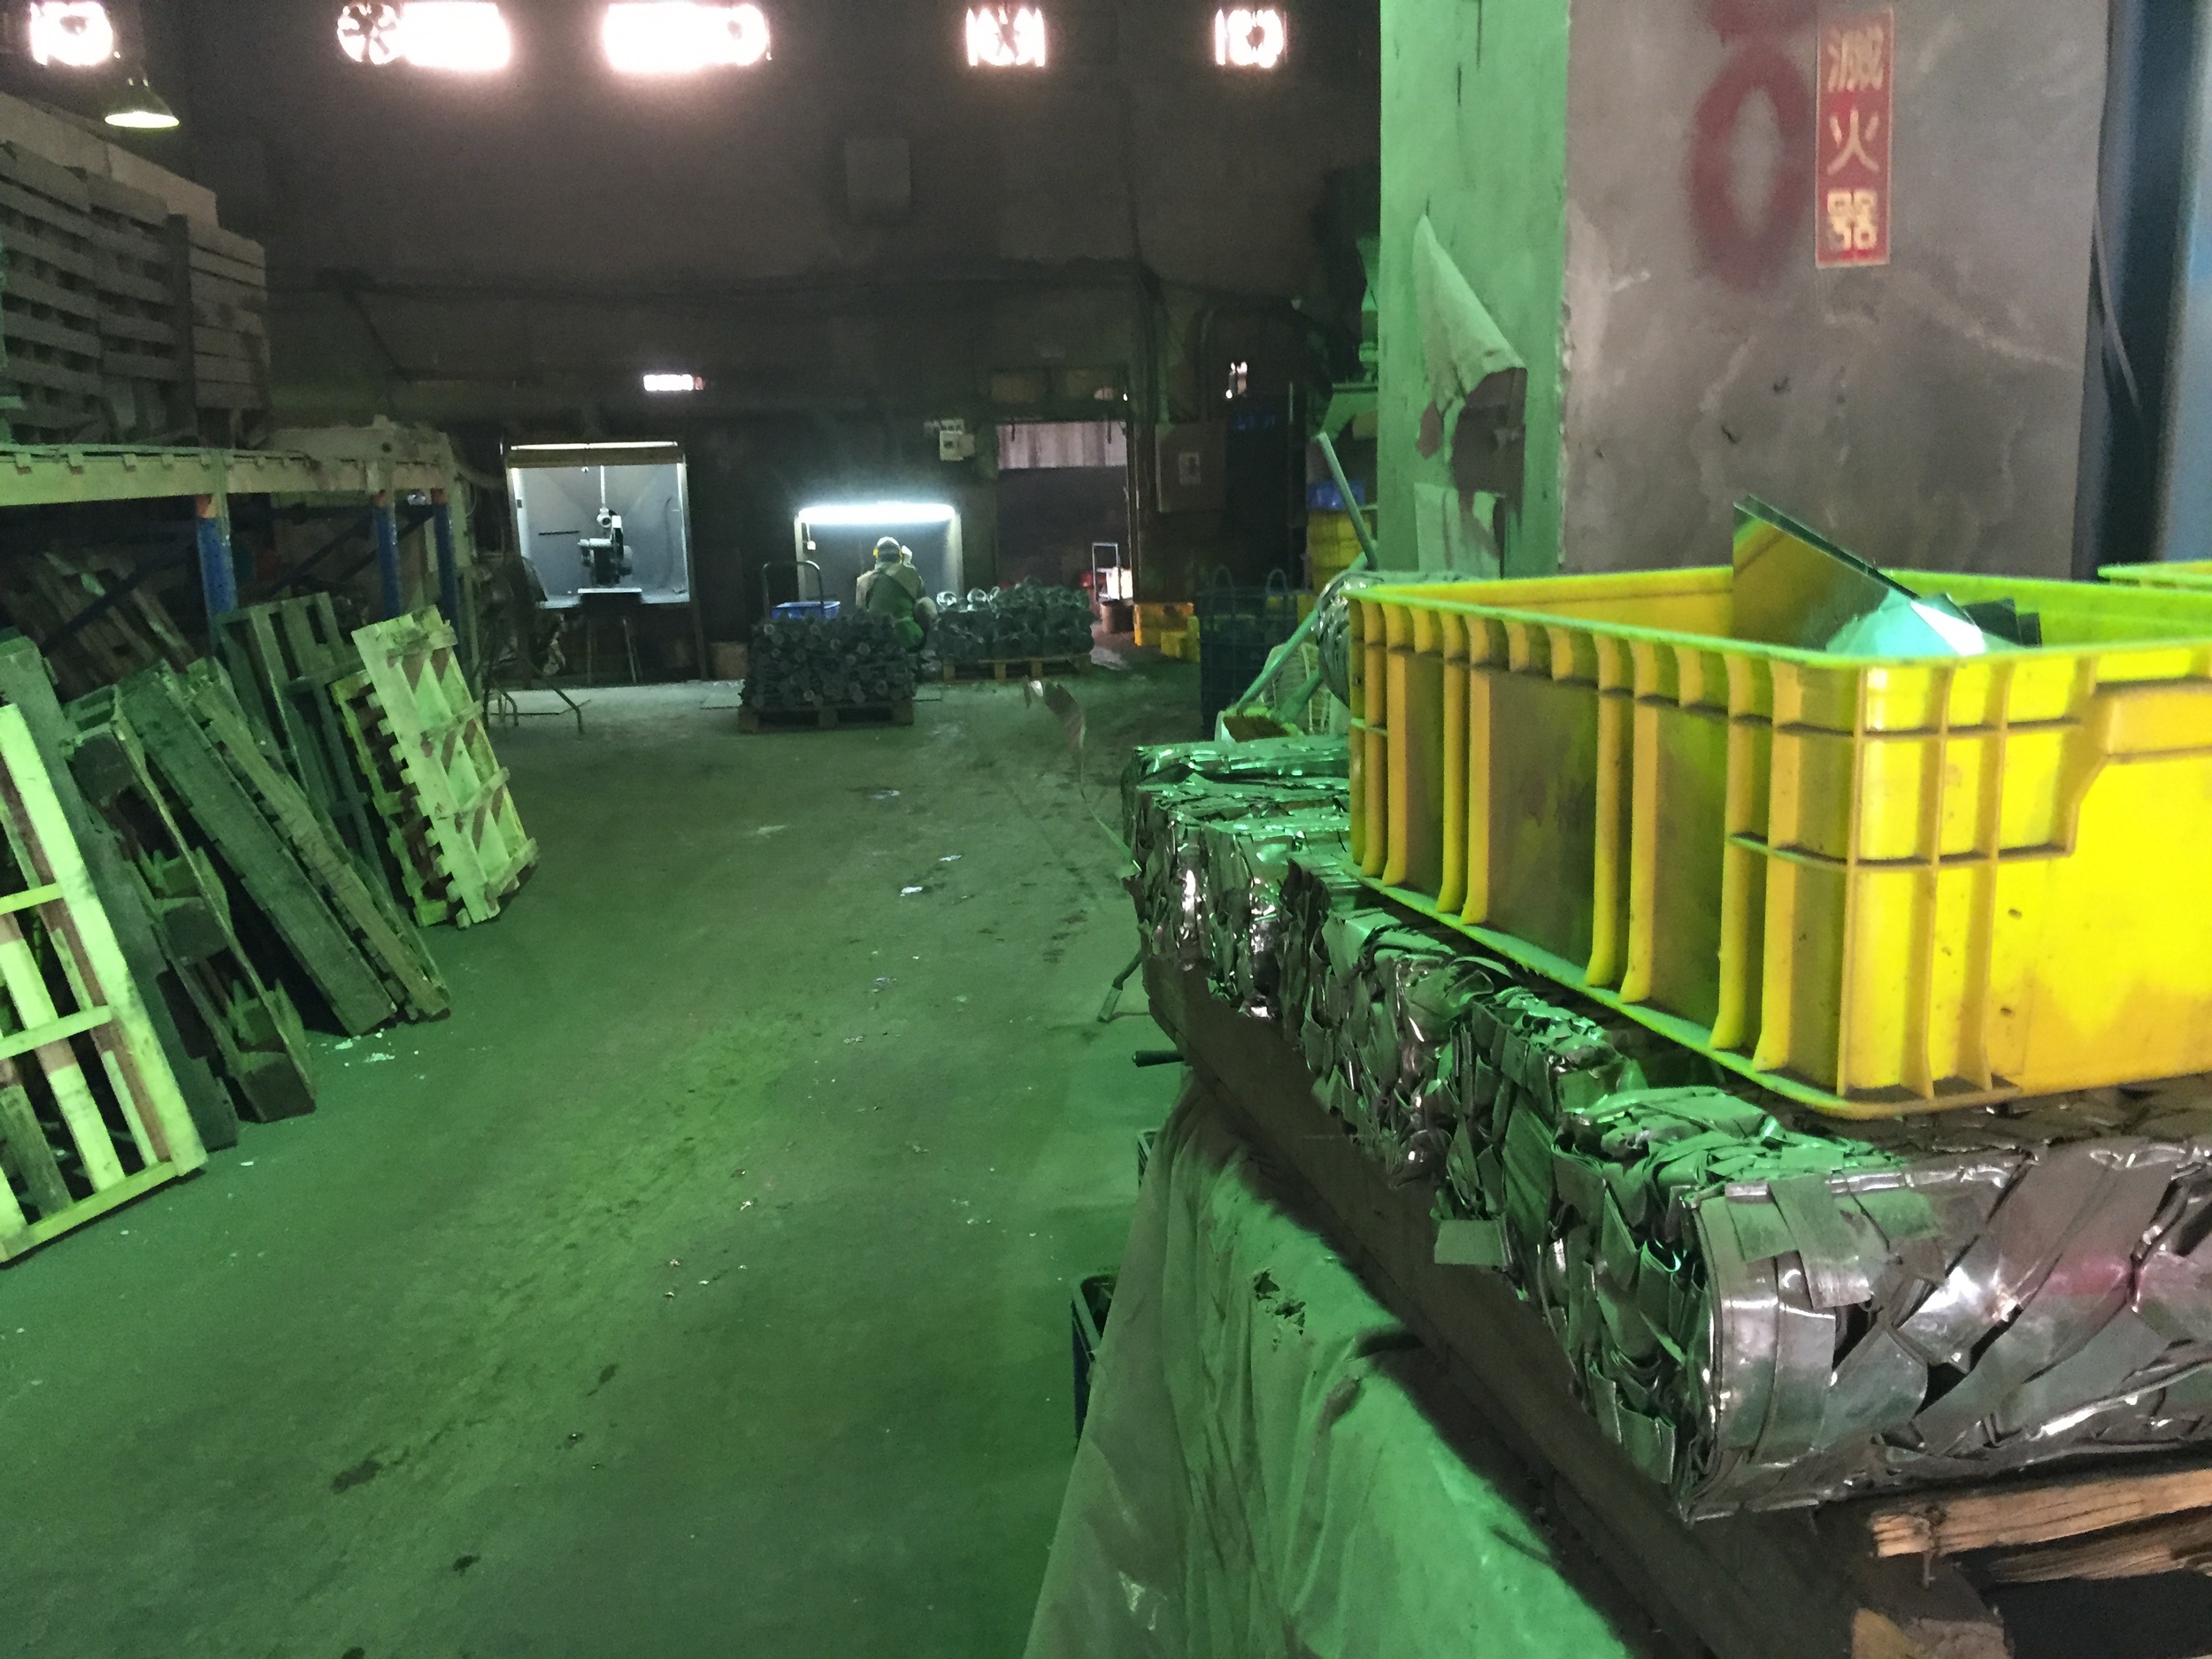
This factory was one of the coolest shops I've ever seen. Being able to see so many steps of the process coming together sequentially was really great. So many manufacturing processes happen in a distributed, disjointed manner; it was fun walking through this shop and seeing parts be transformed from wax to steel as we went.

Notes from a bicycle assembly shop in Taiwan

Added on by Spencer Wright.

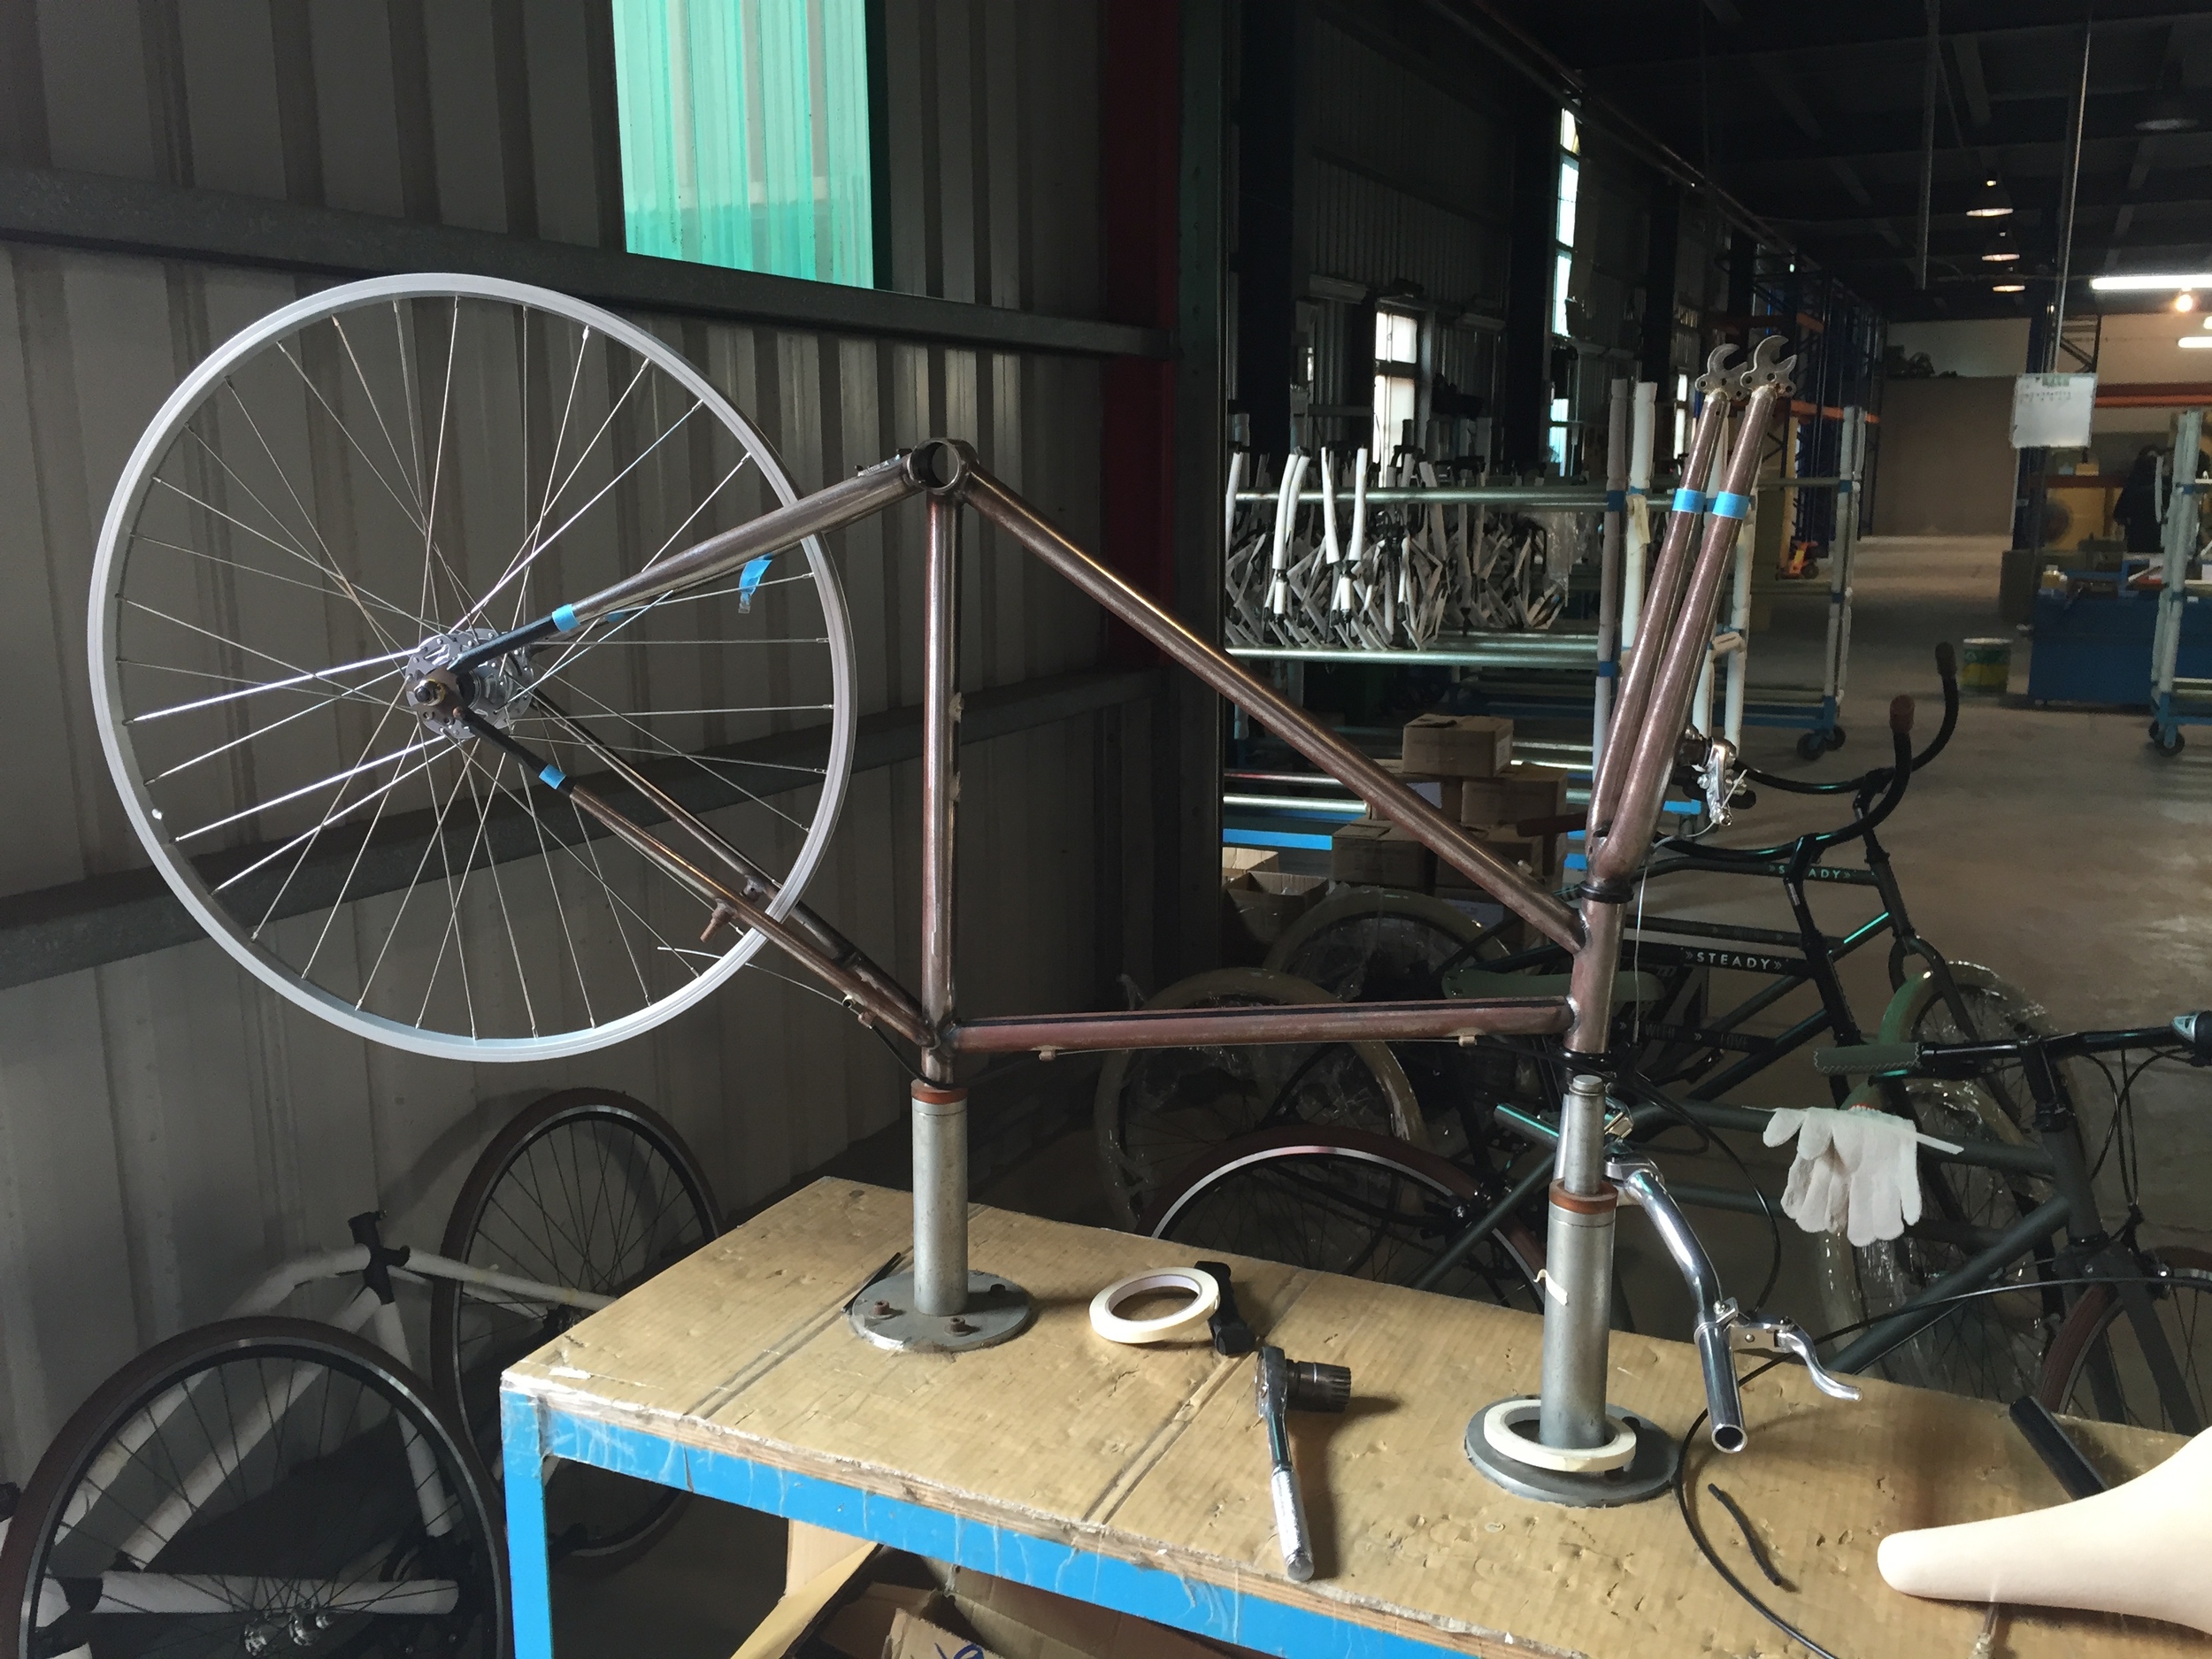
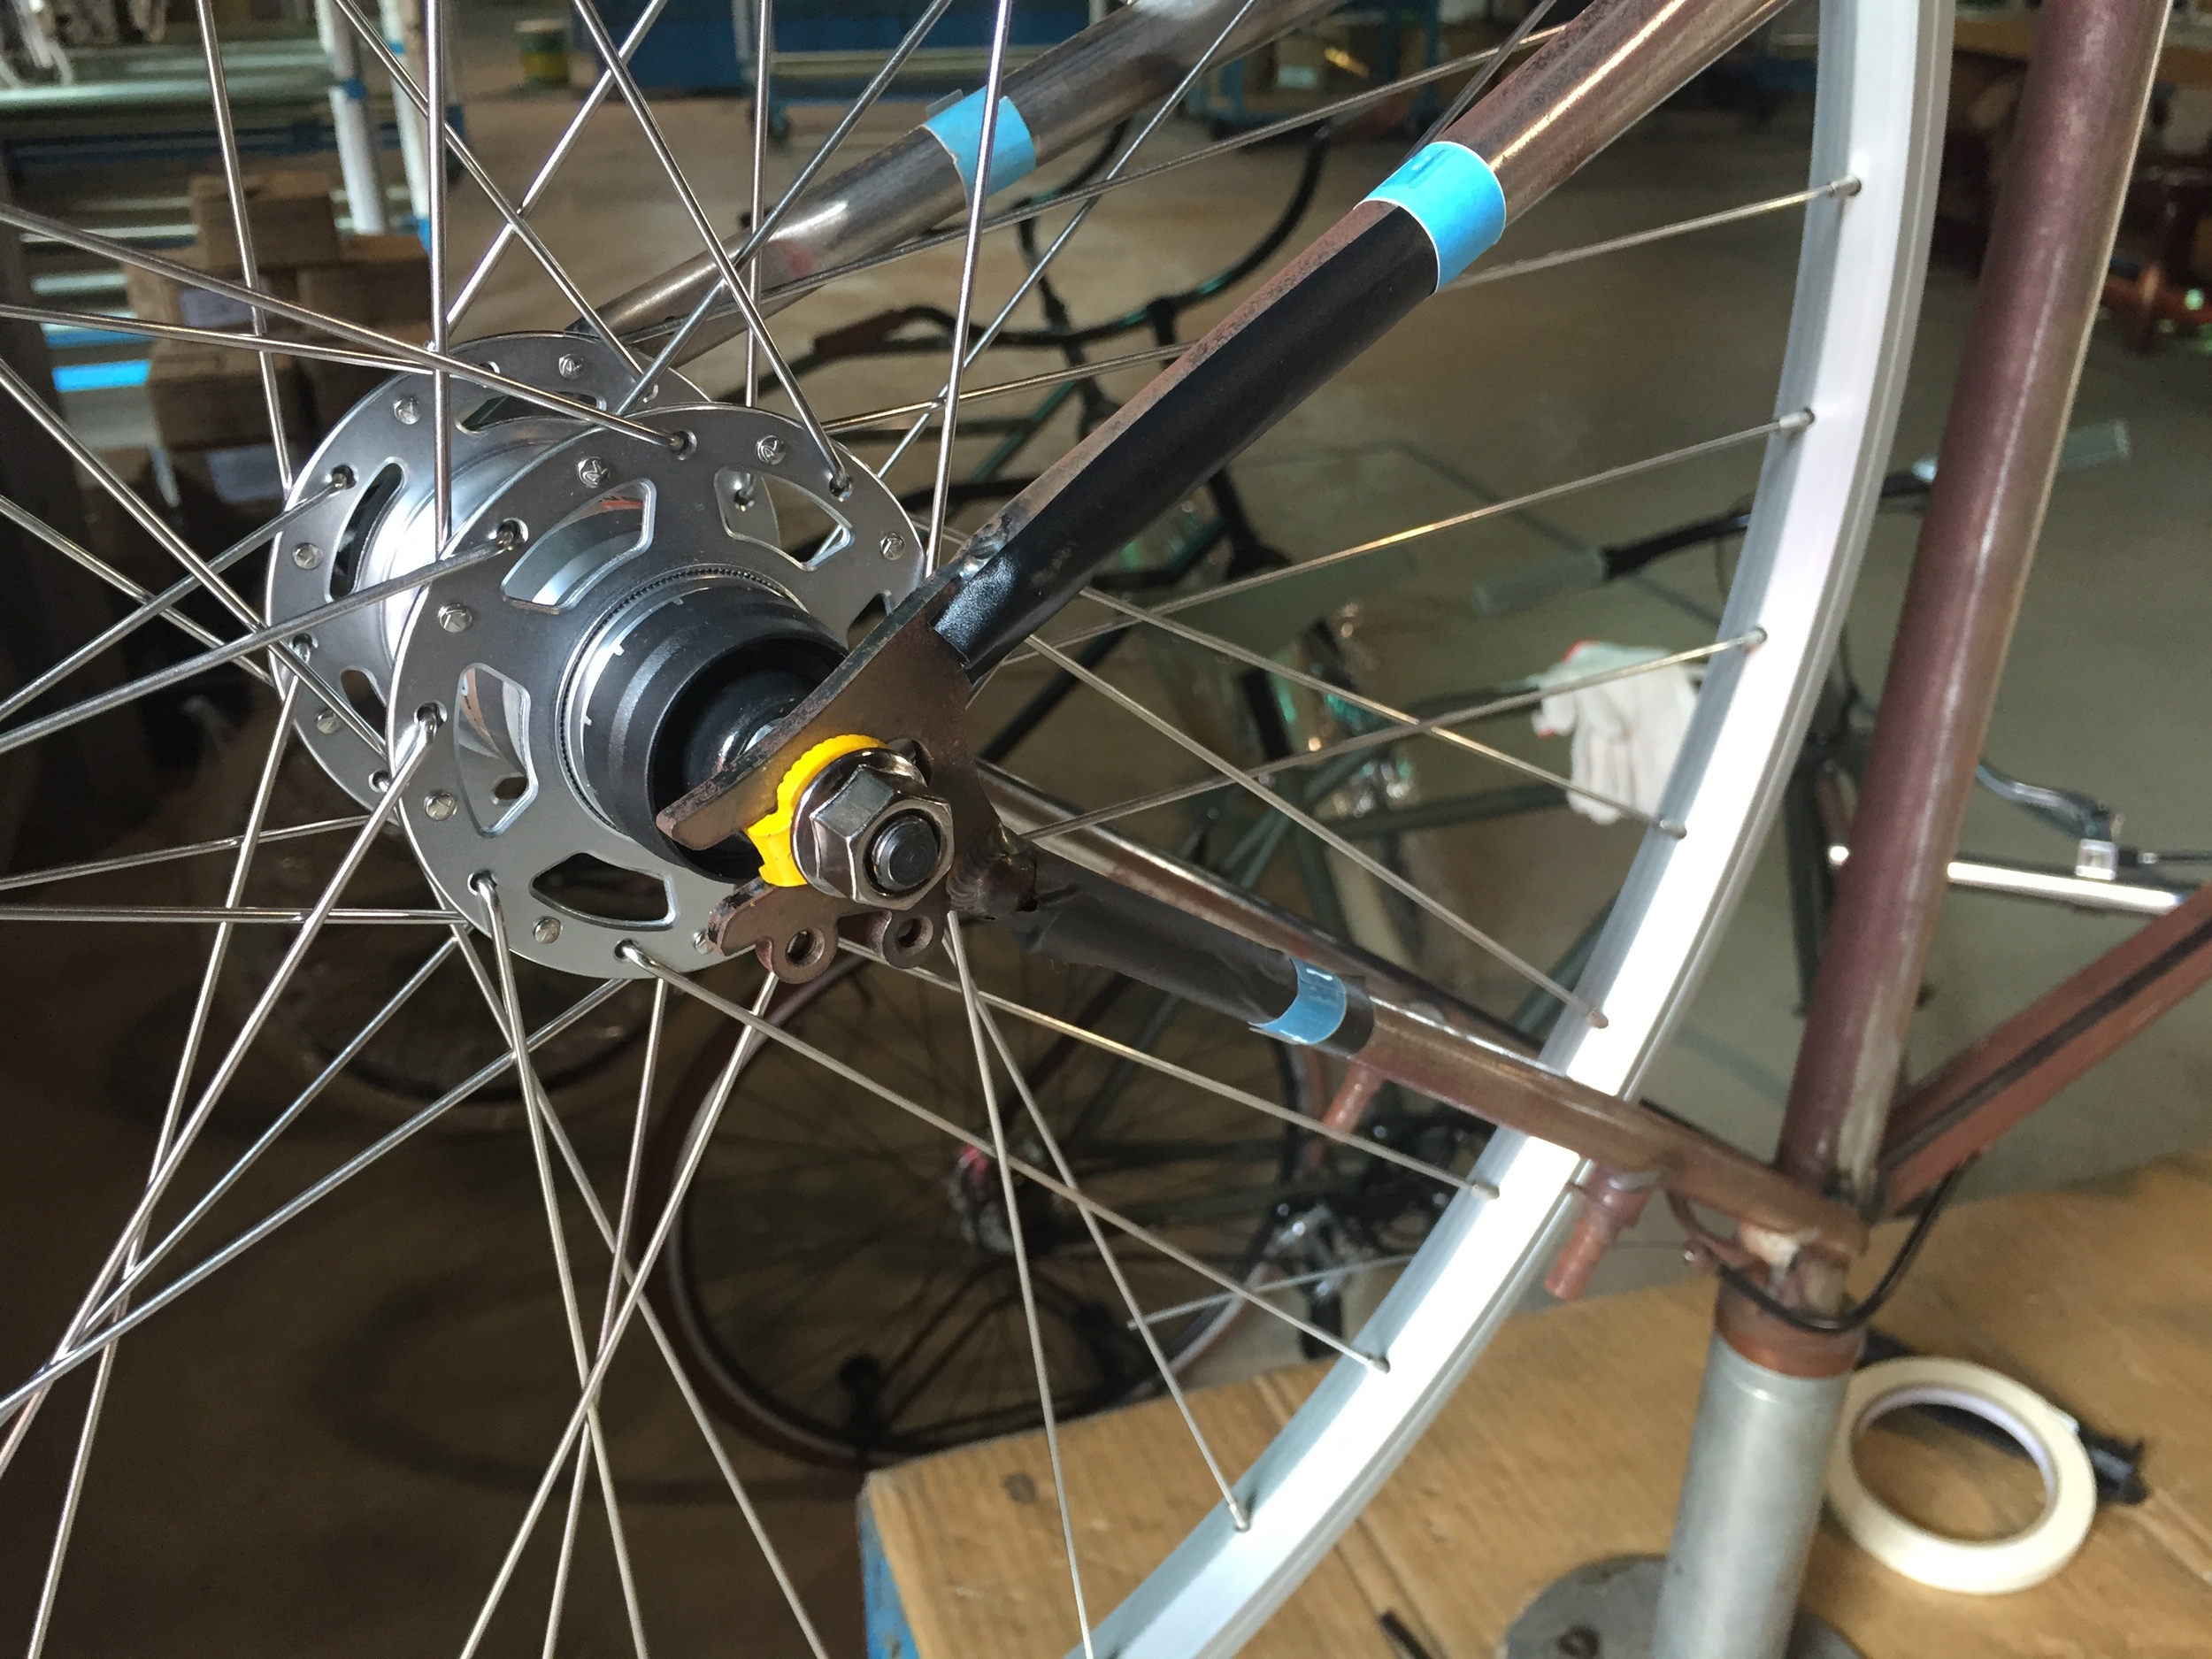
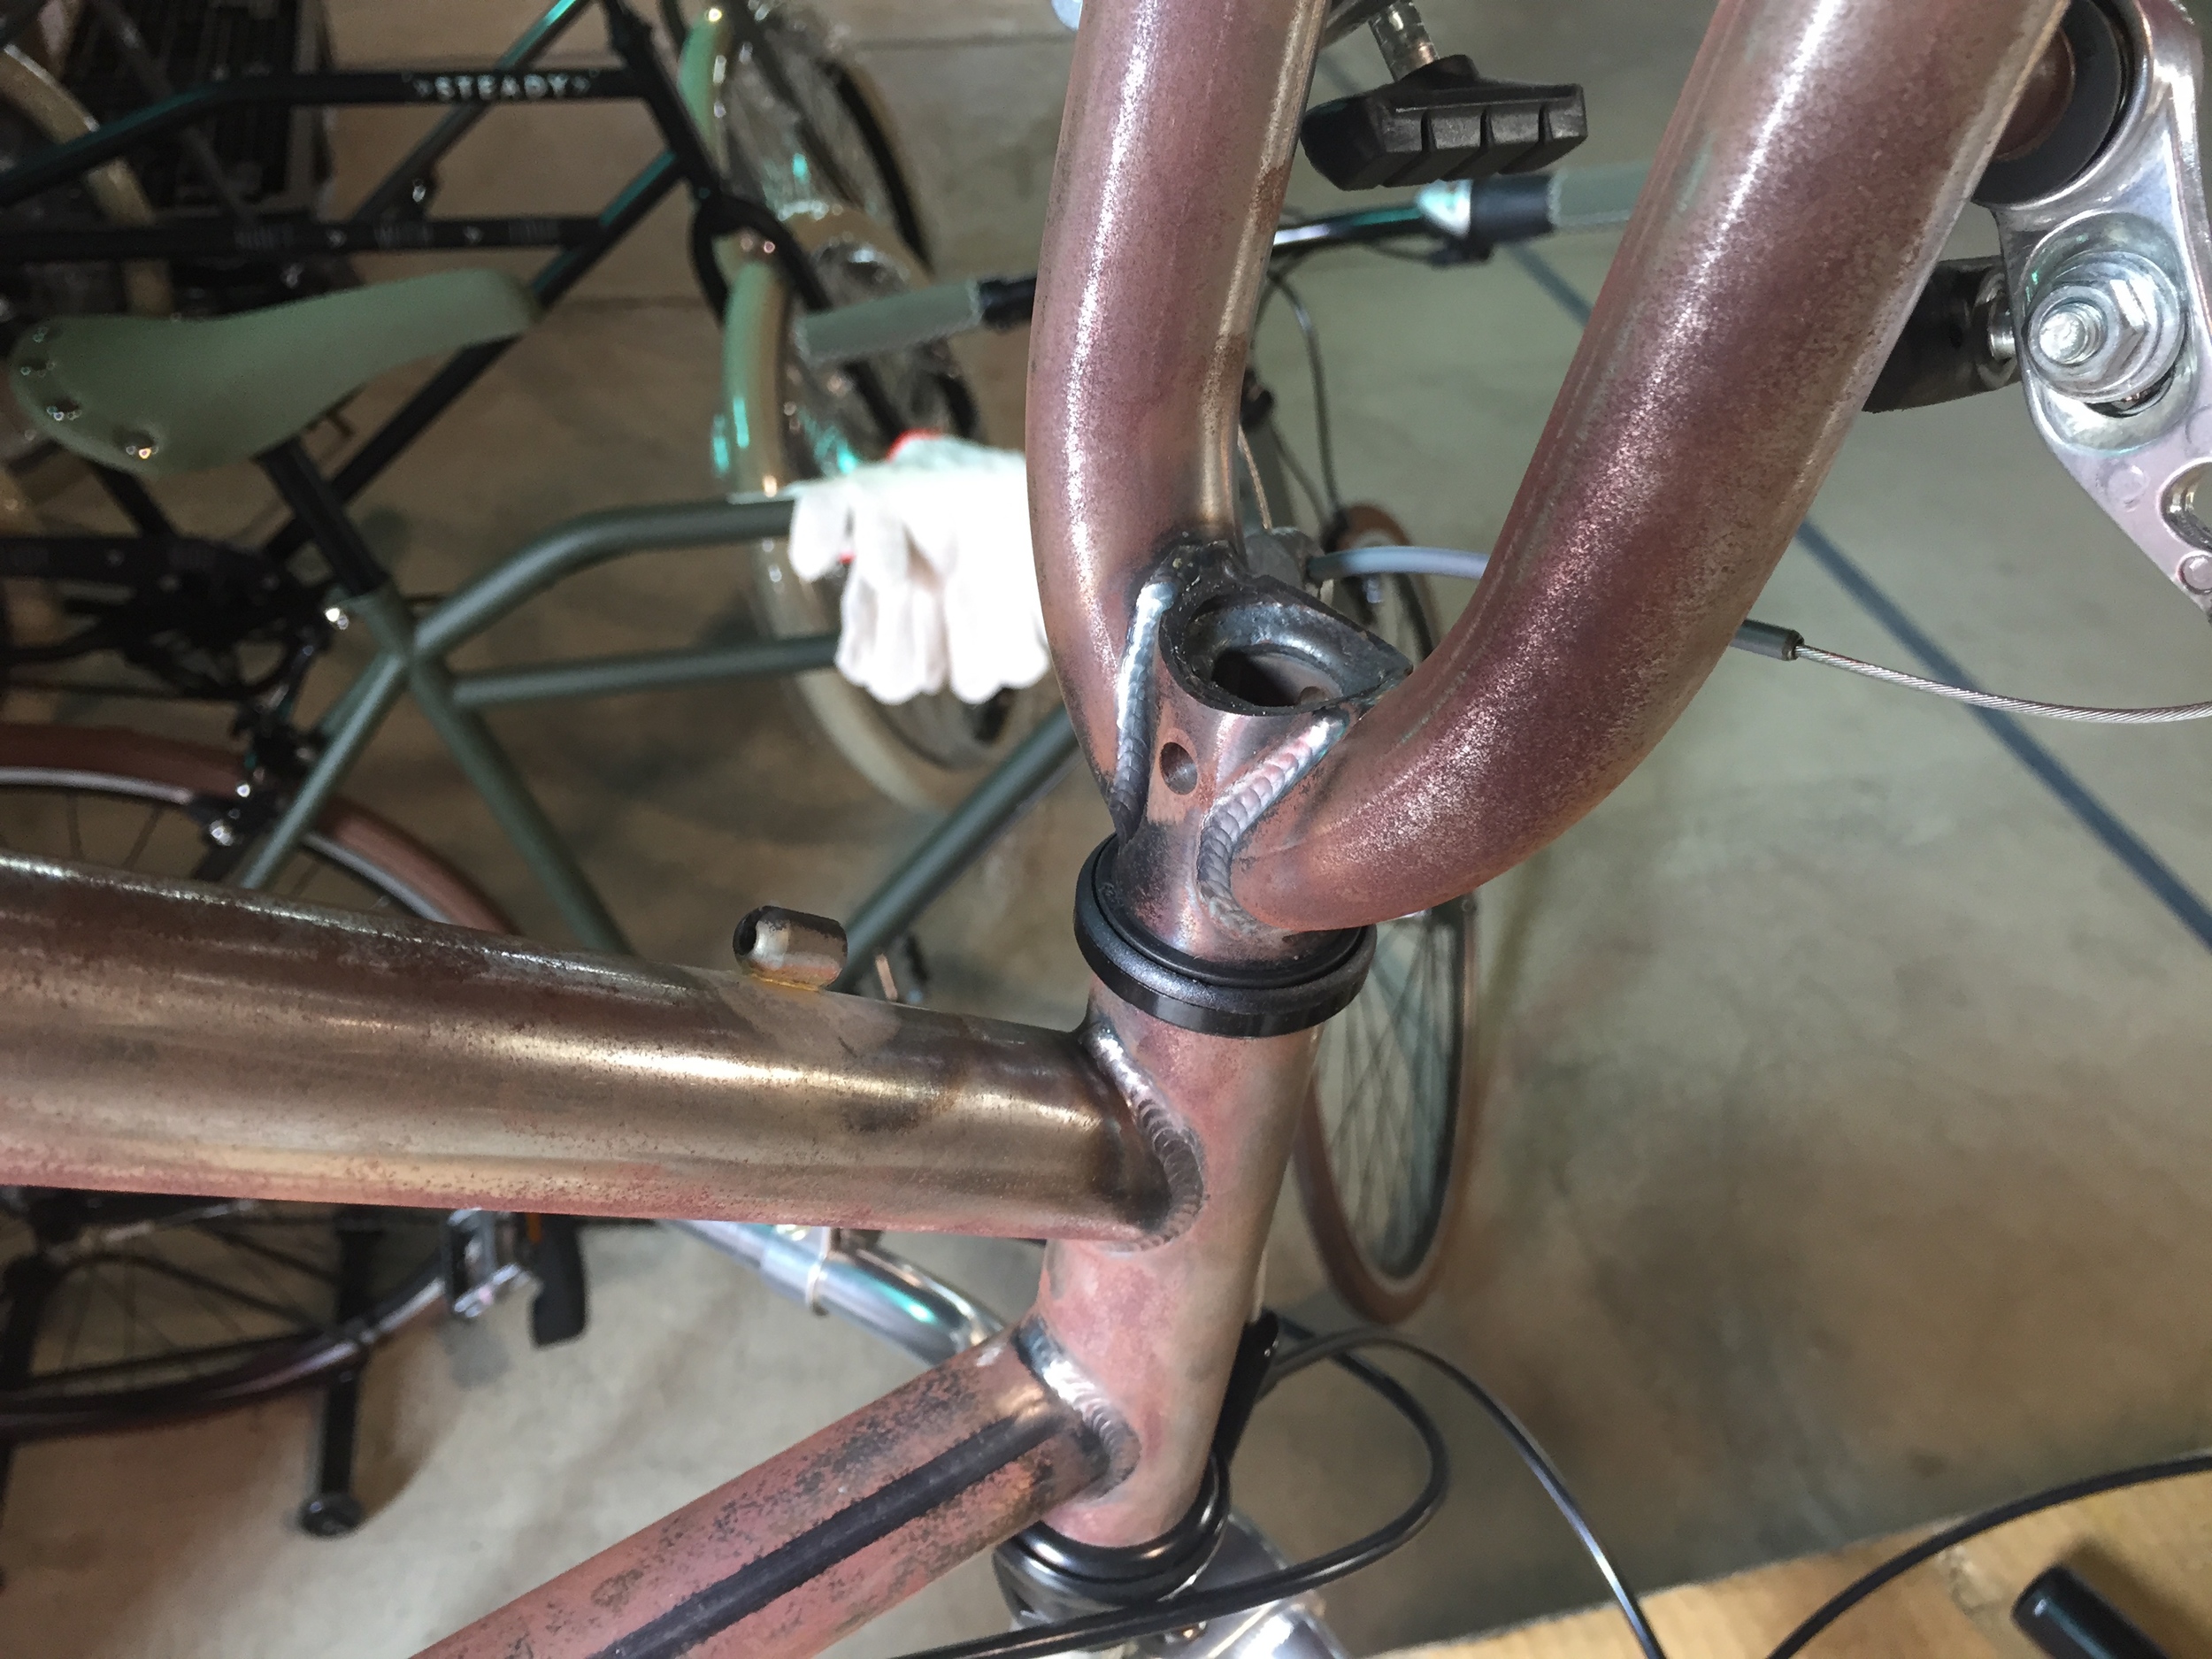
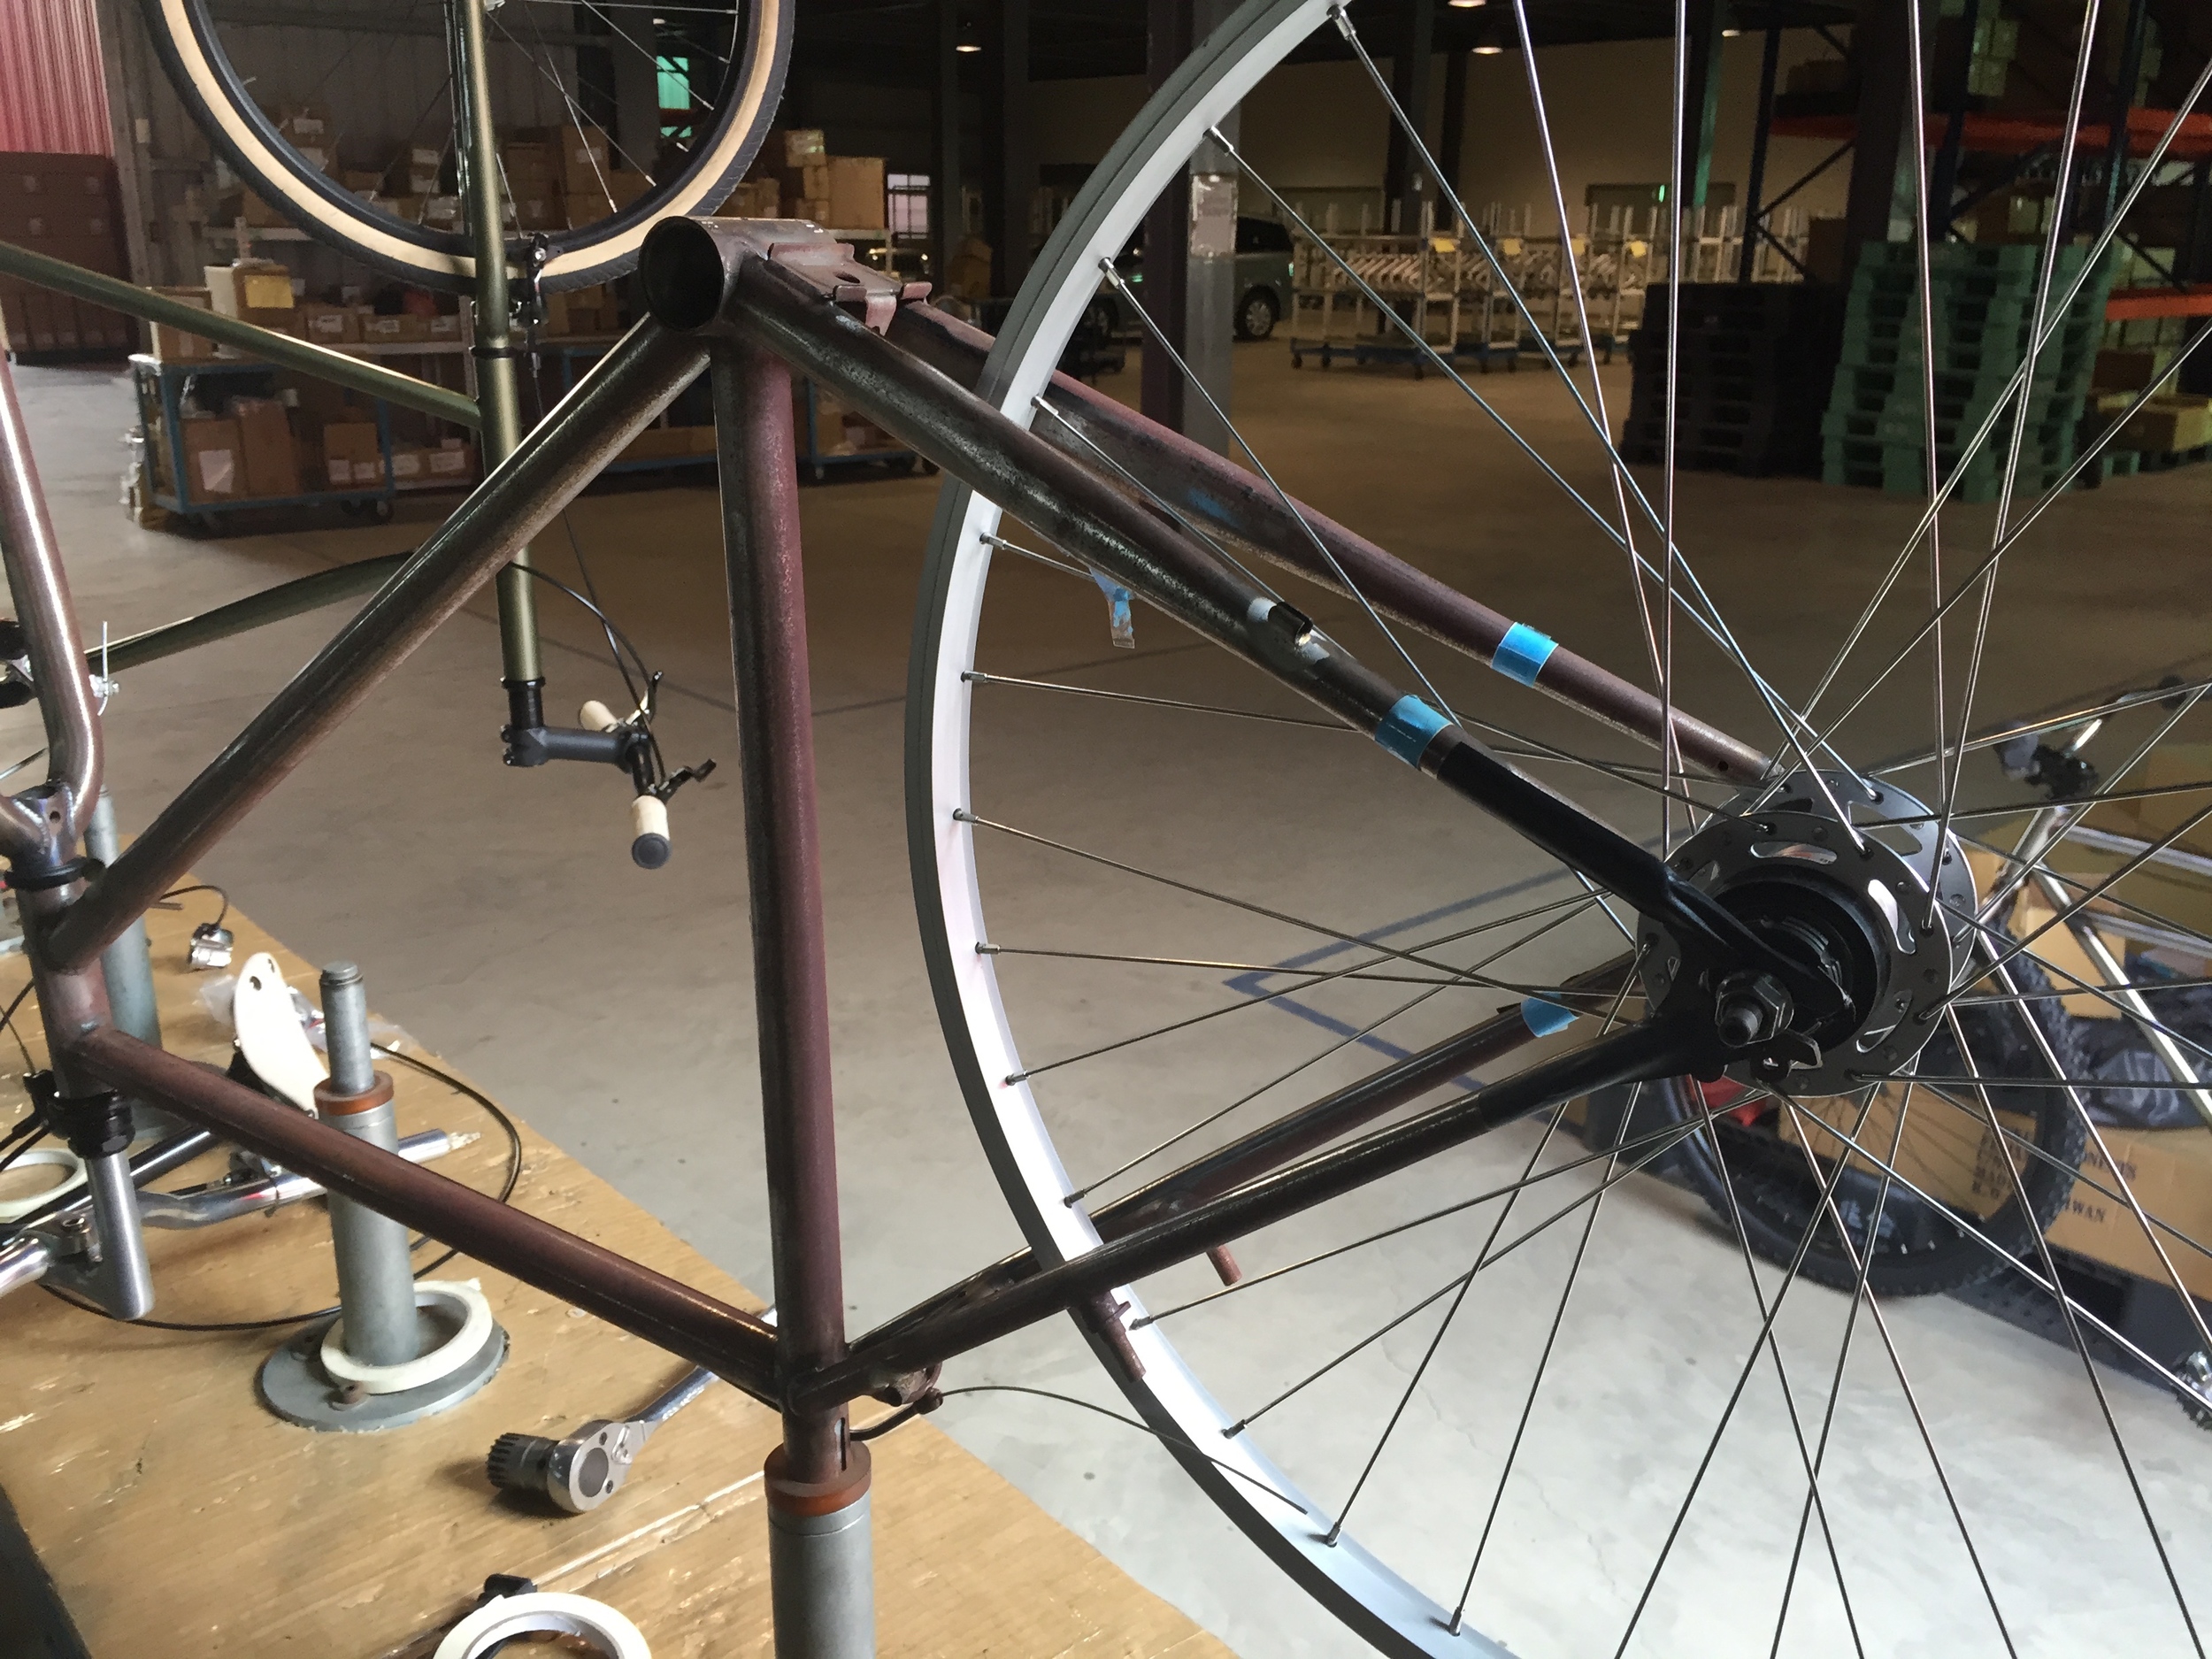
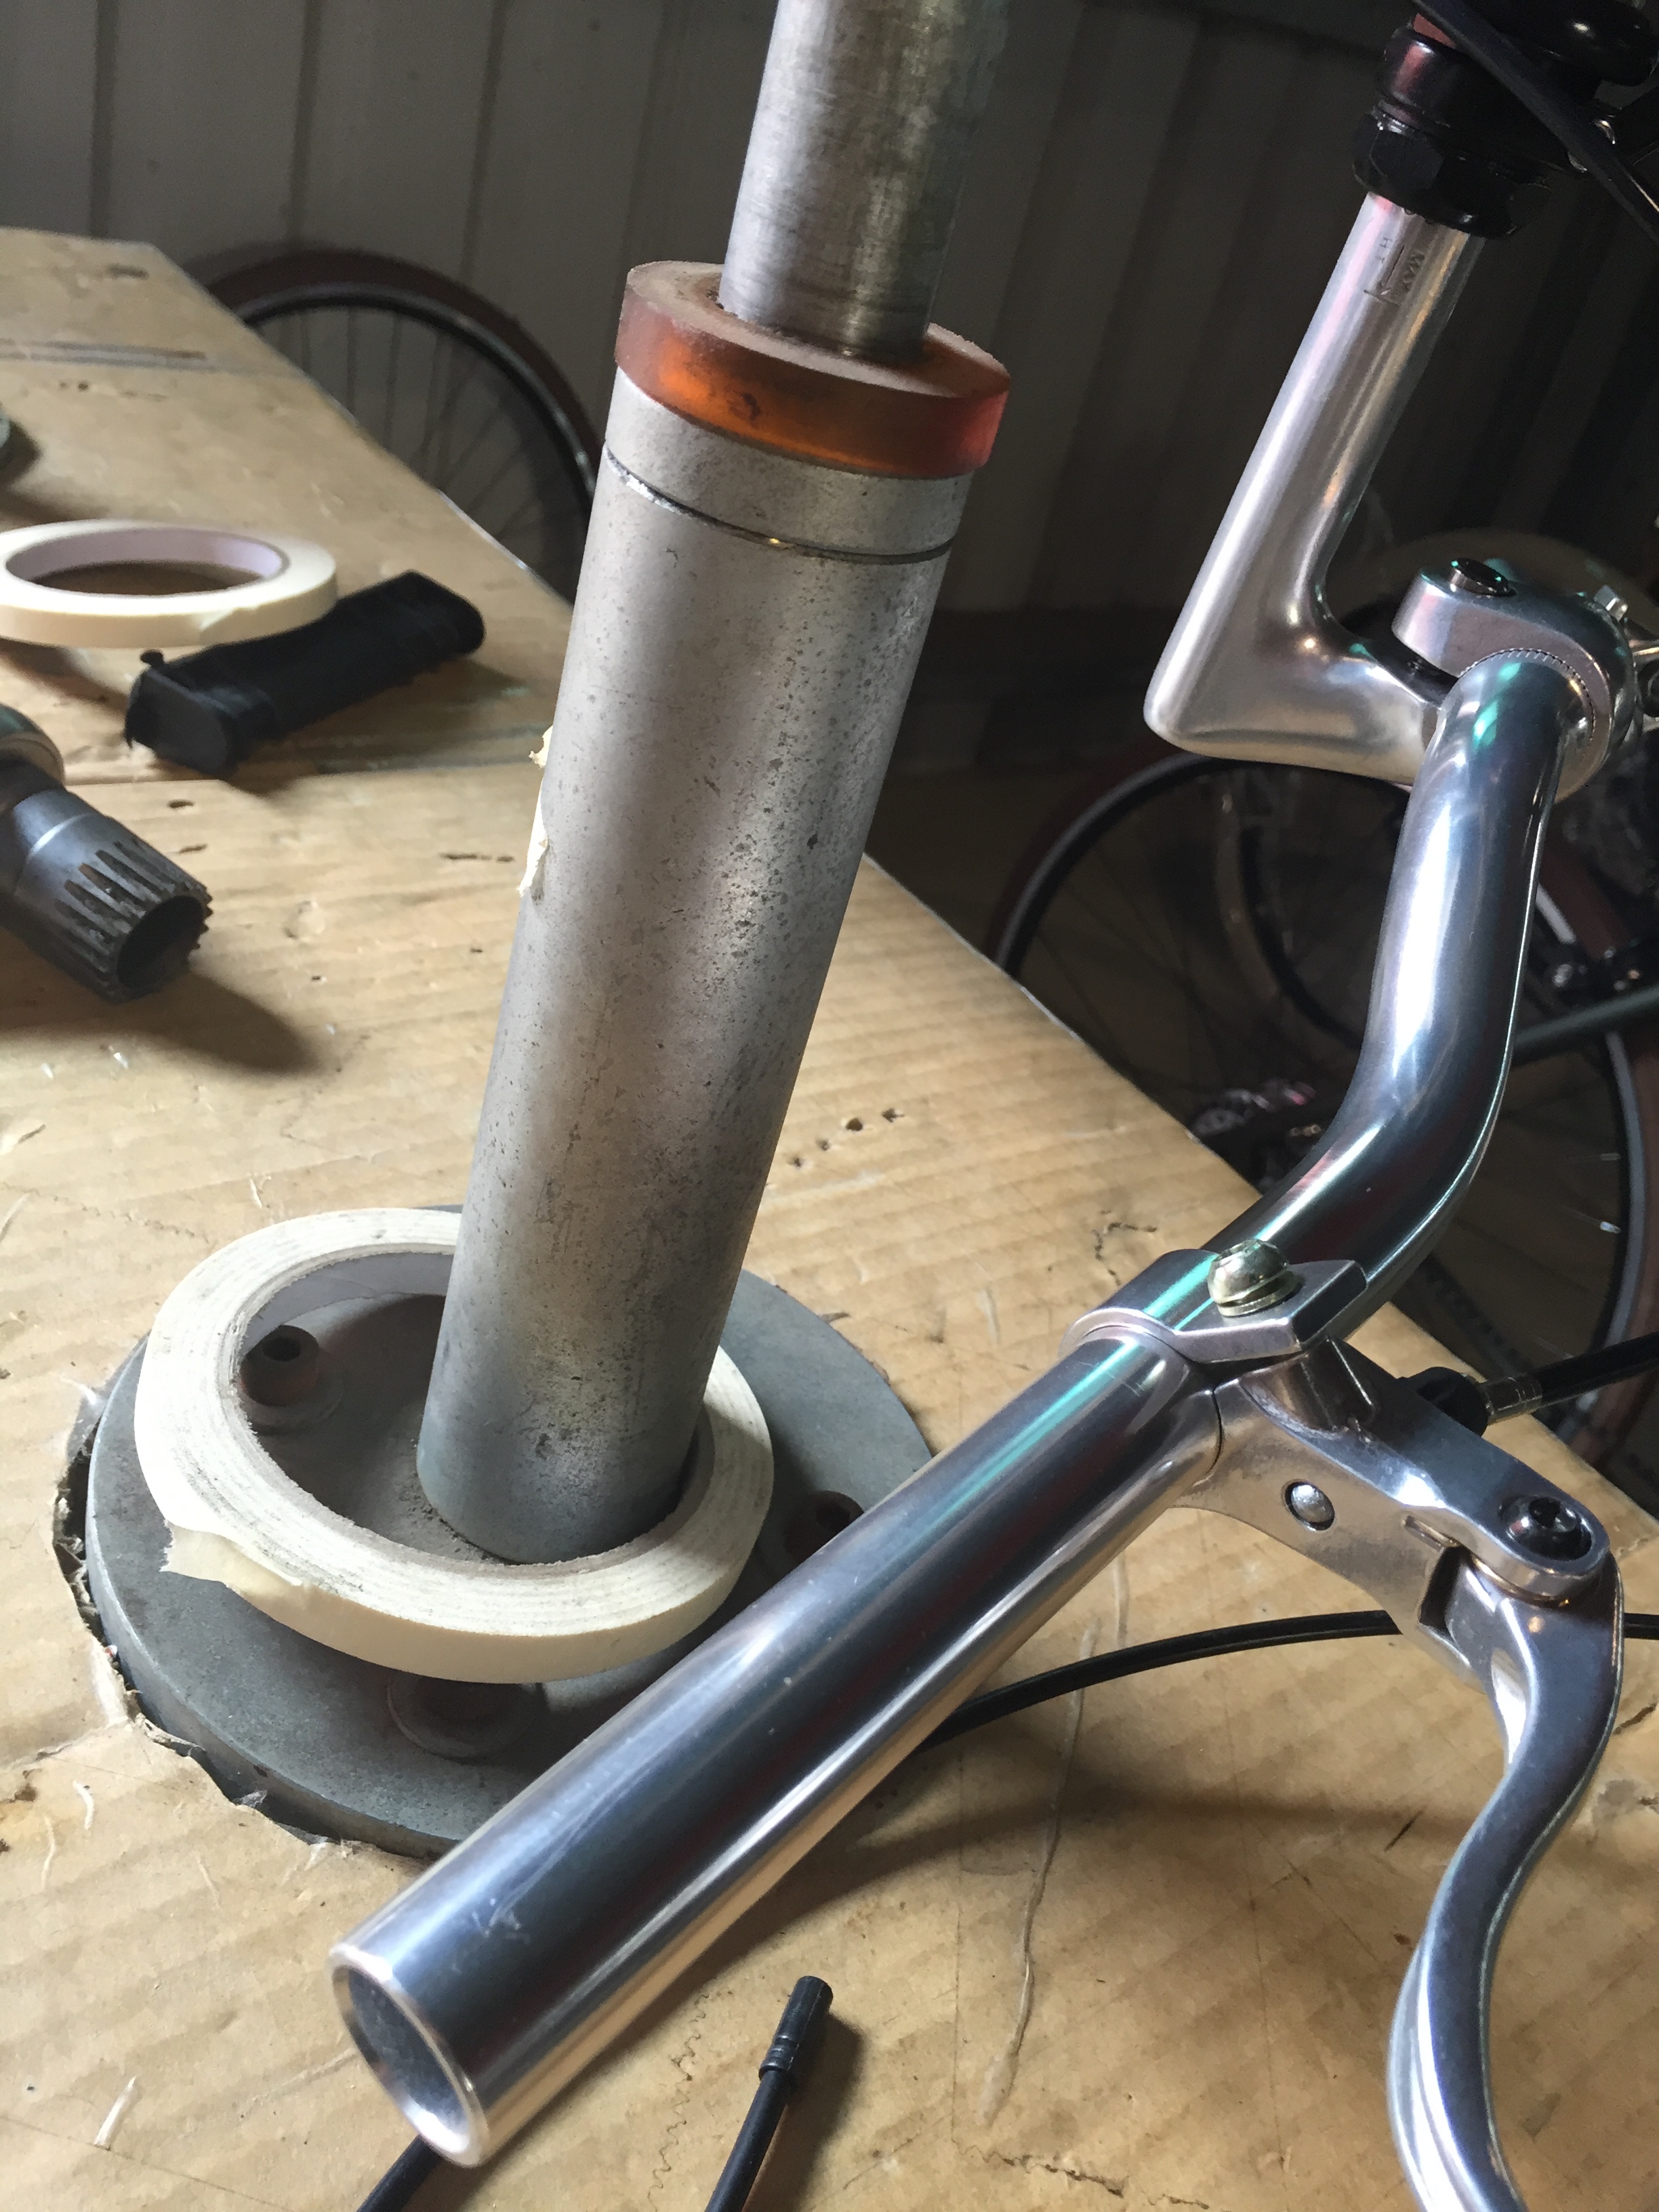
Last October I visited Universal Speed, the assembly shop that Brilliant Bicycles are built by. A few notes:

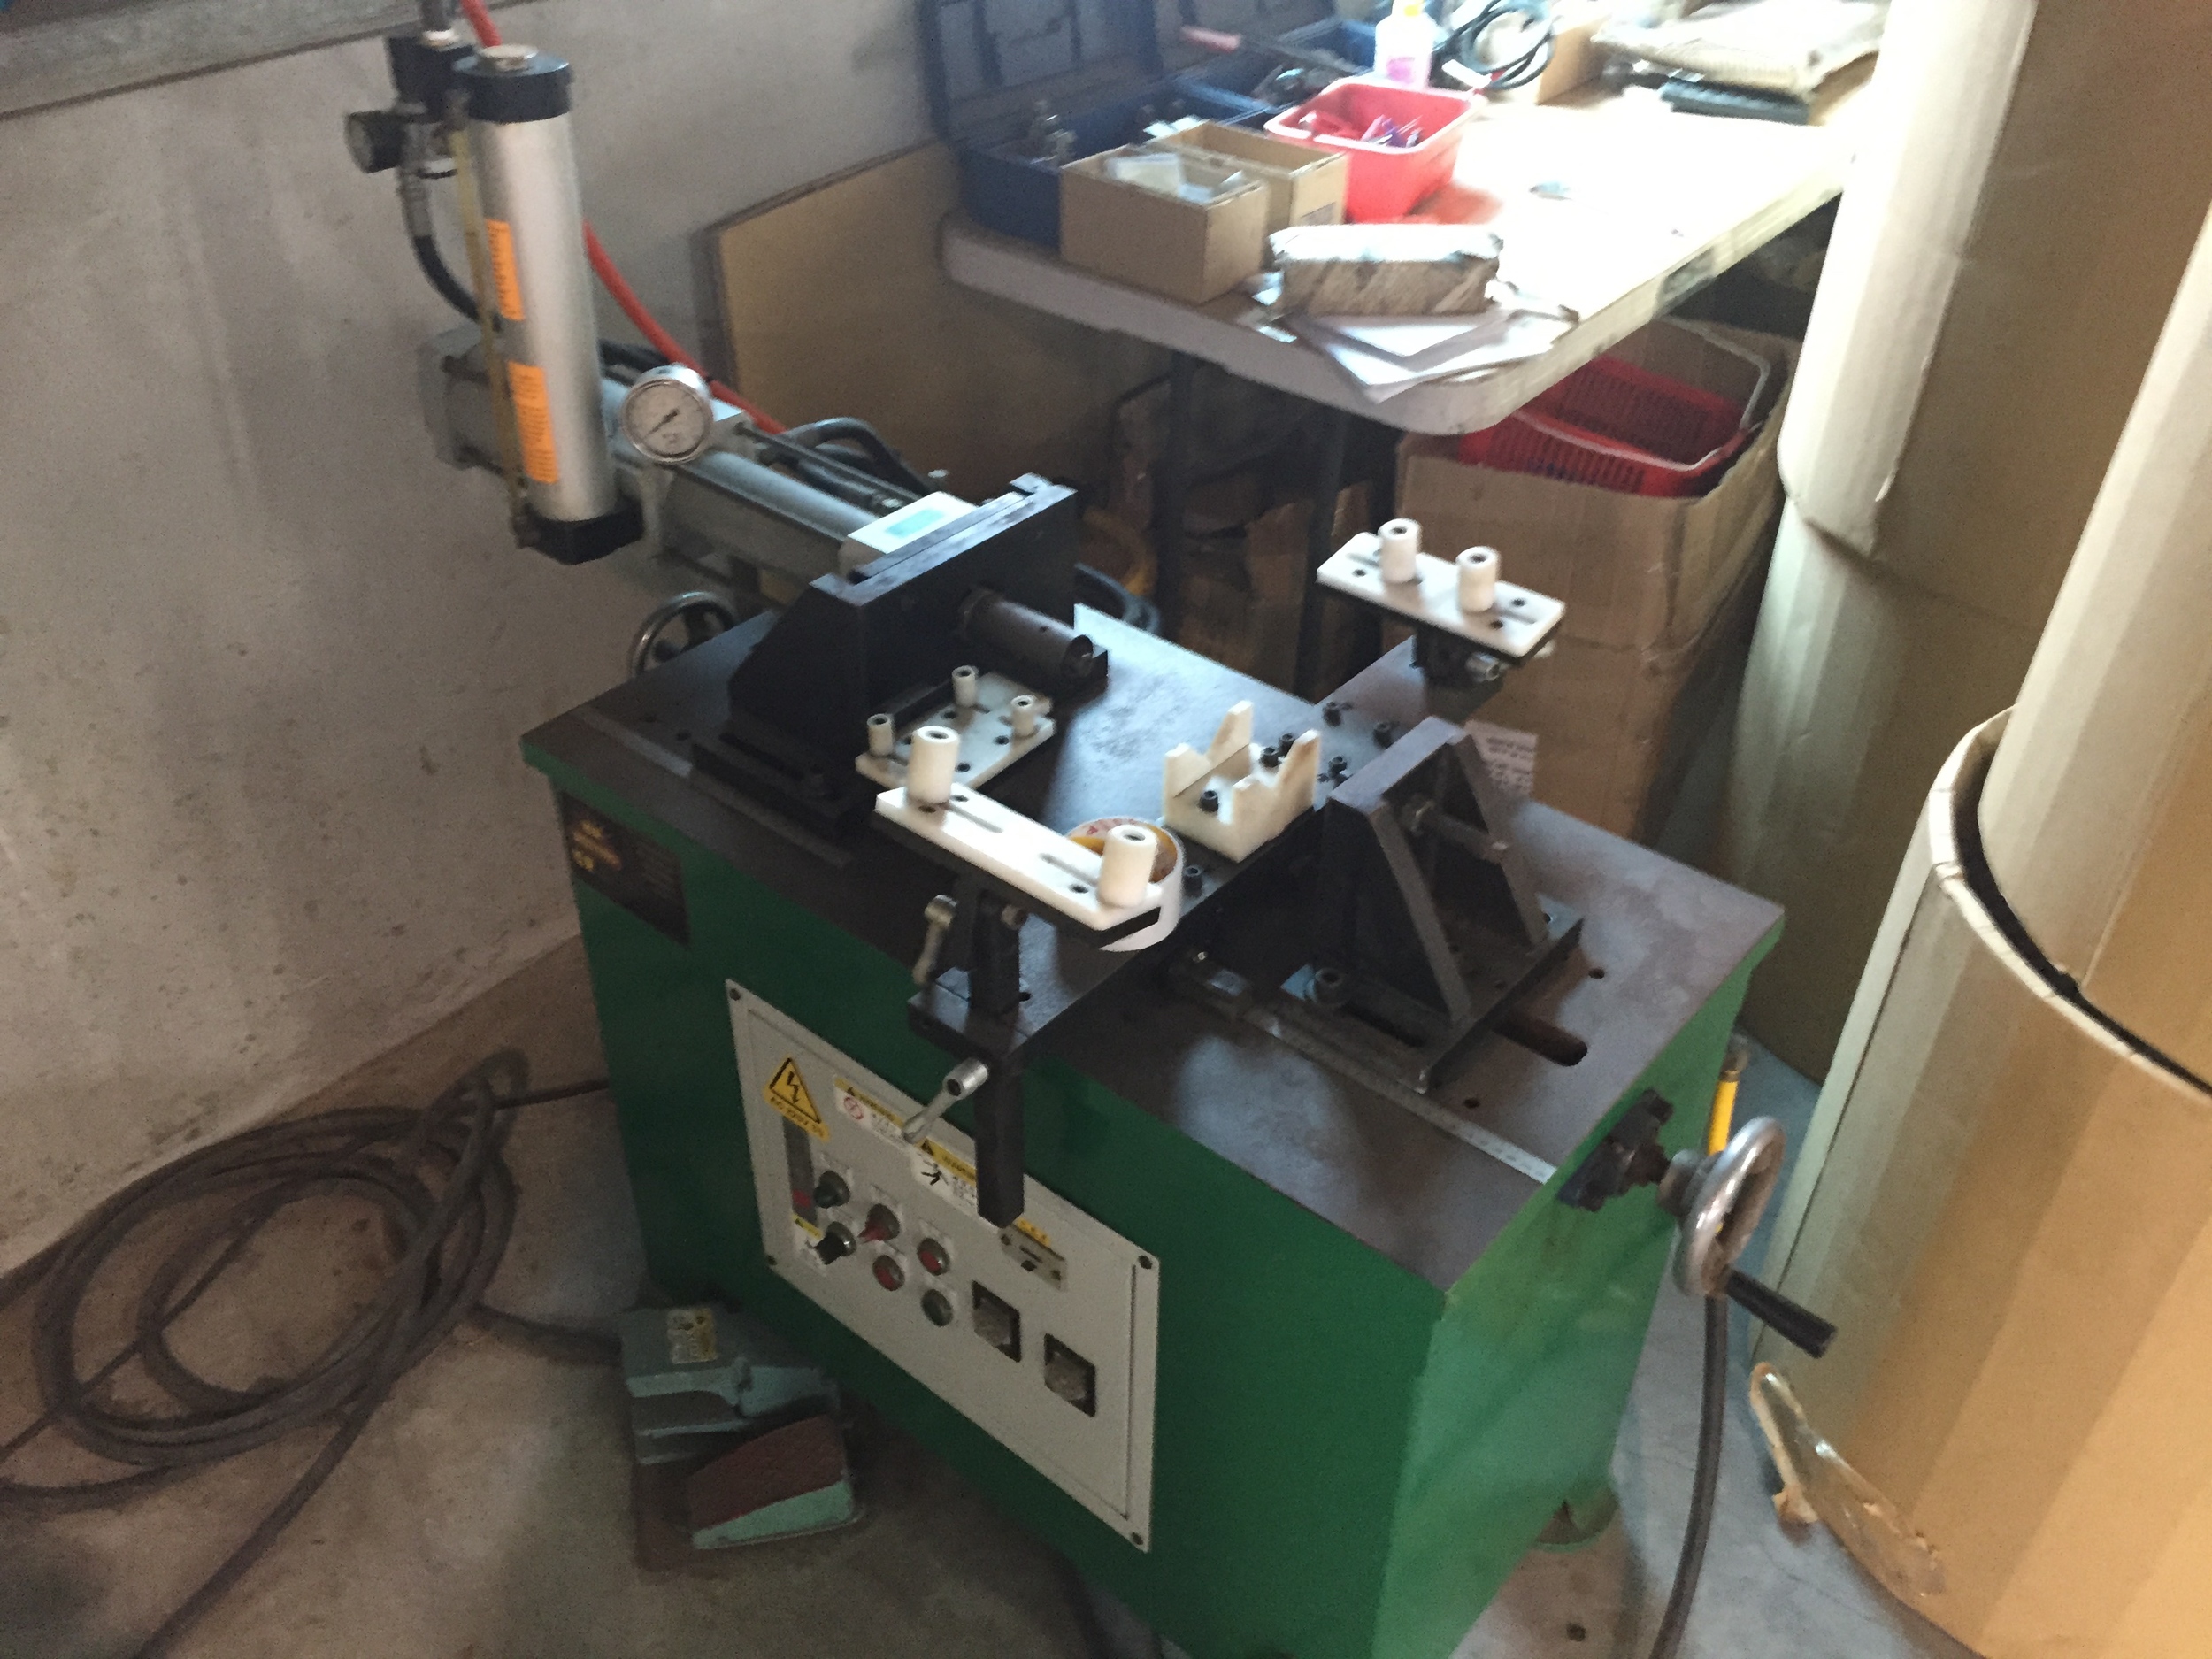
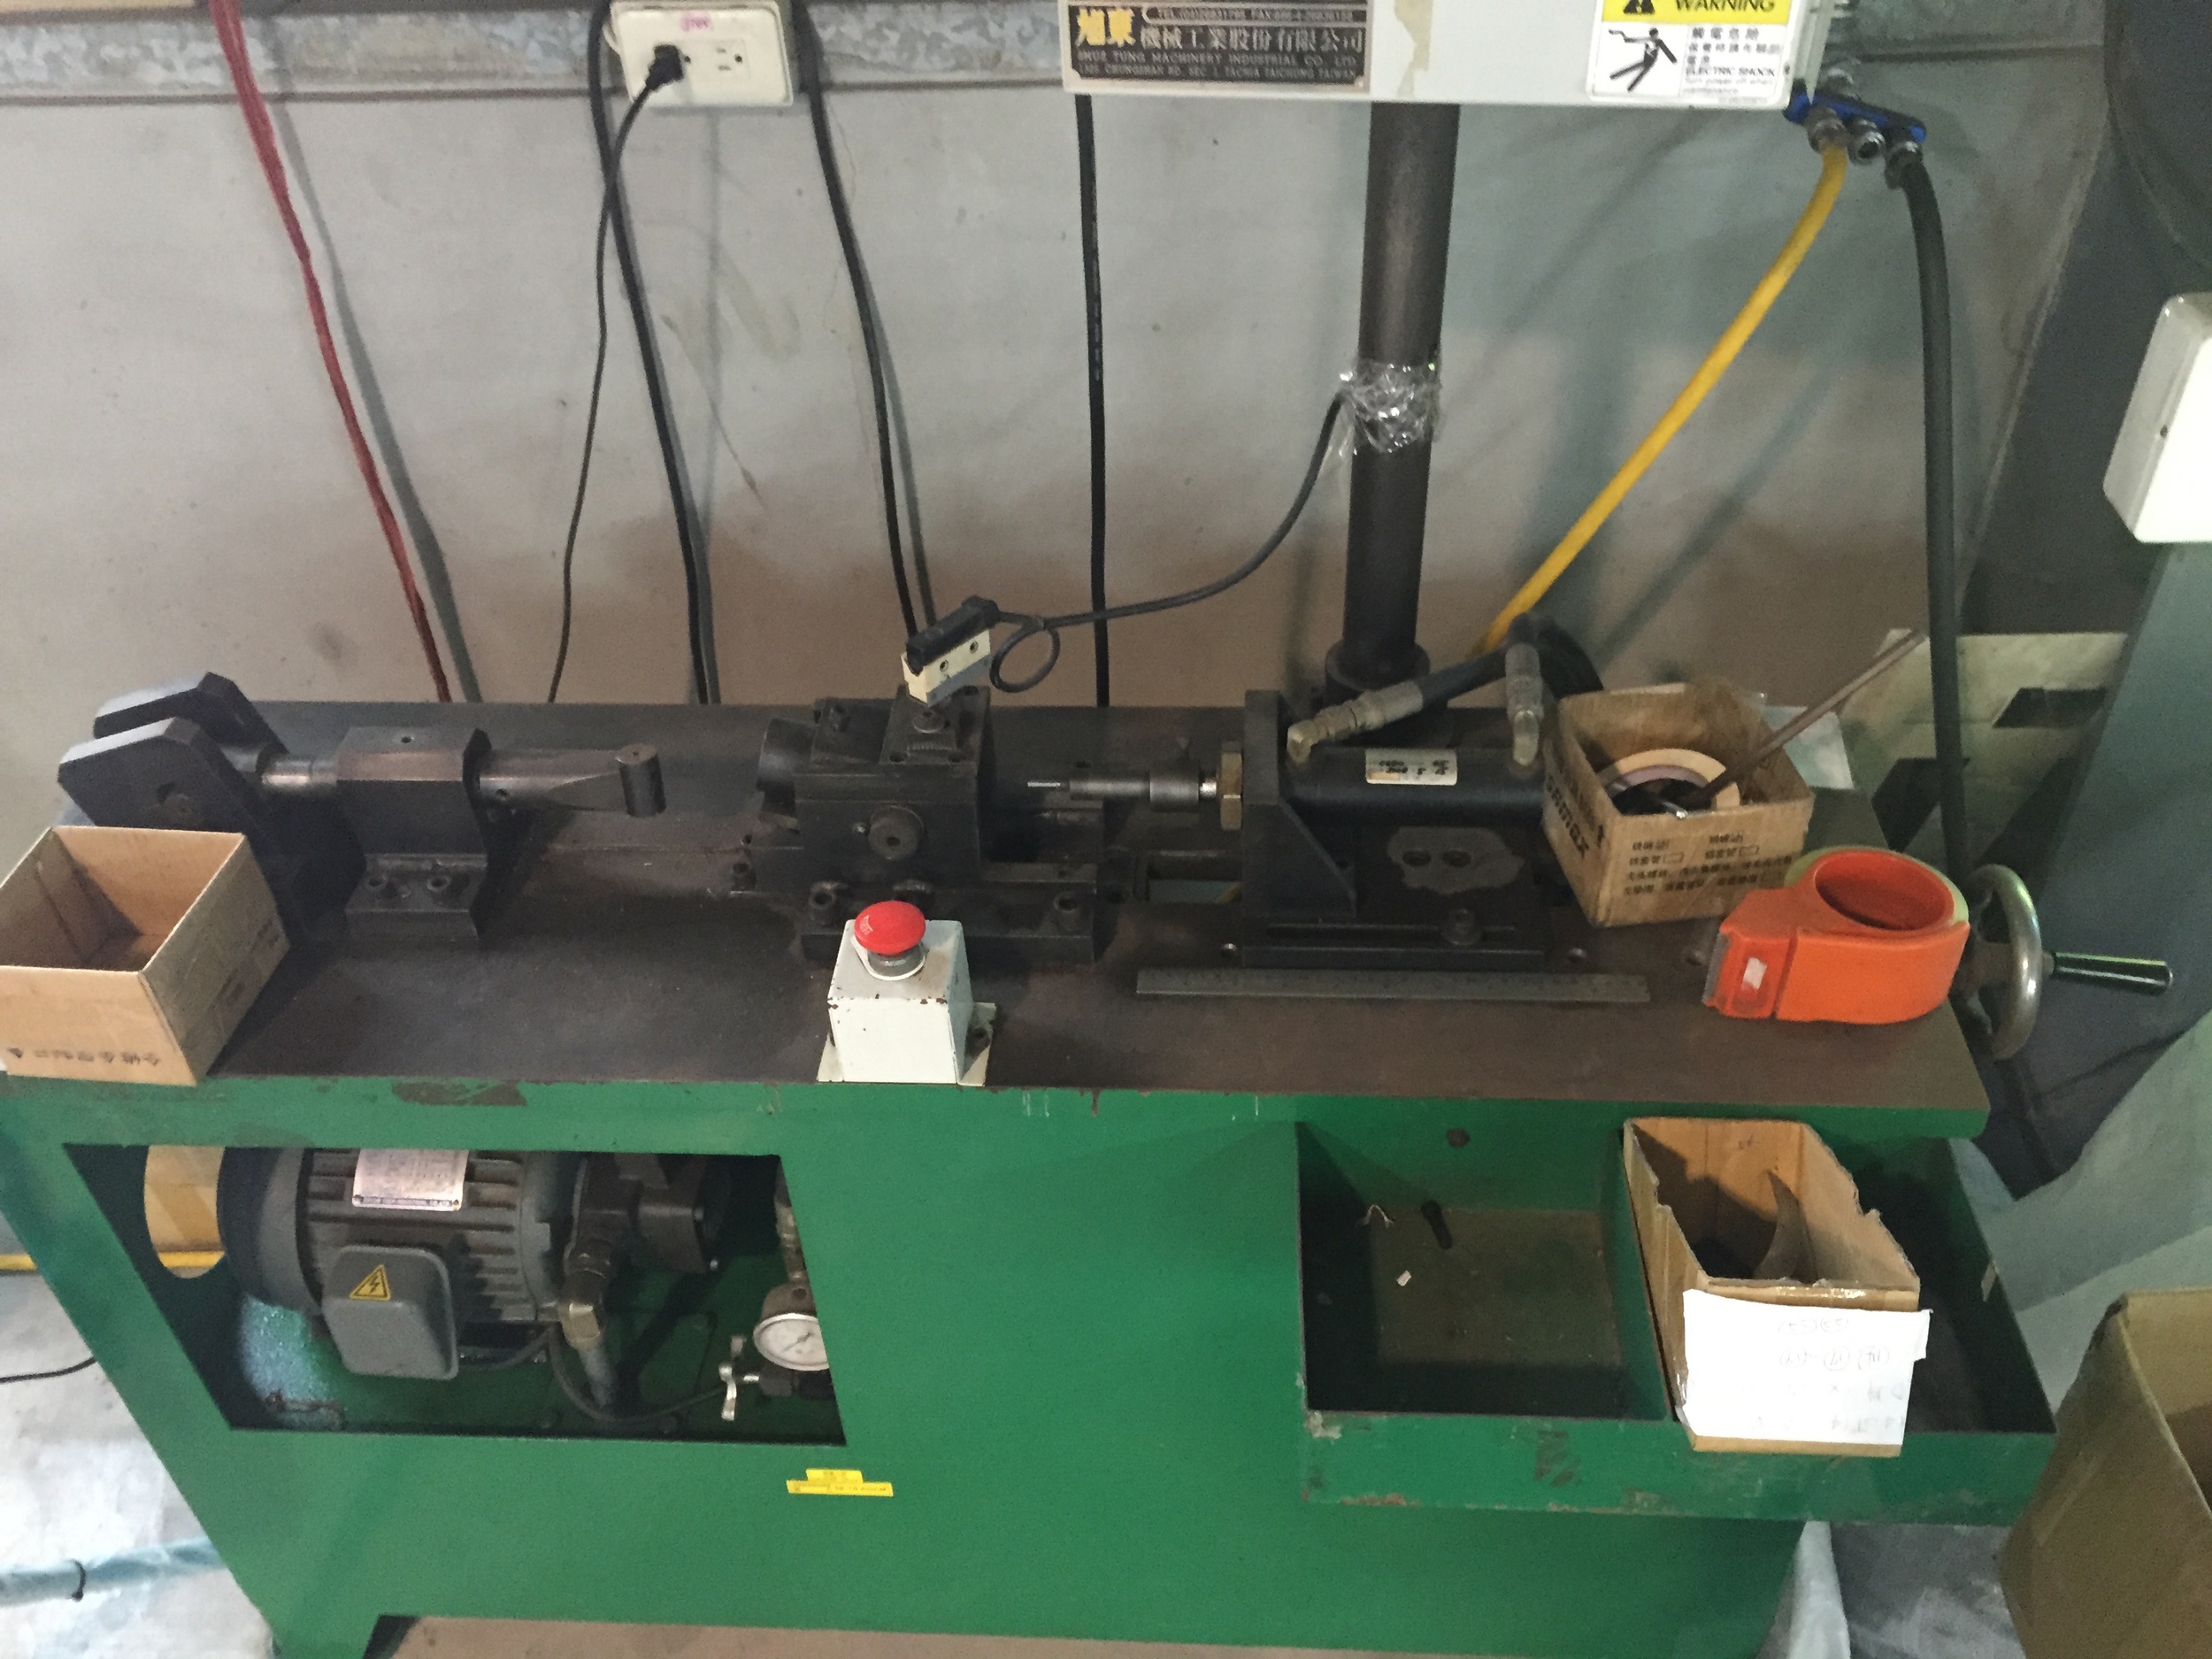
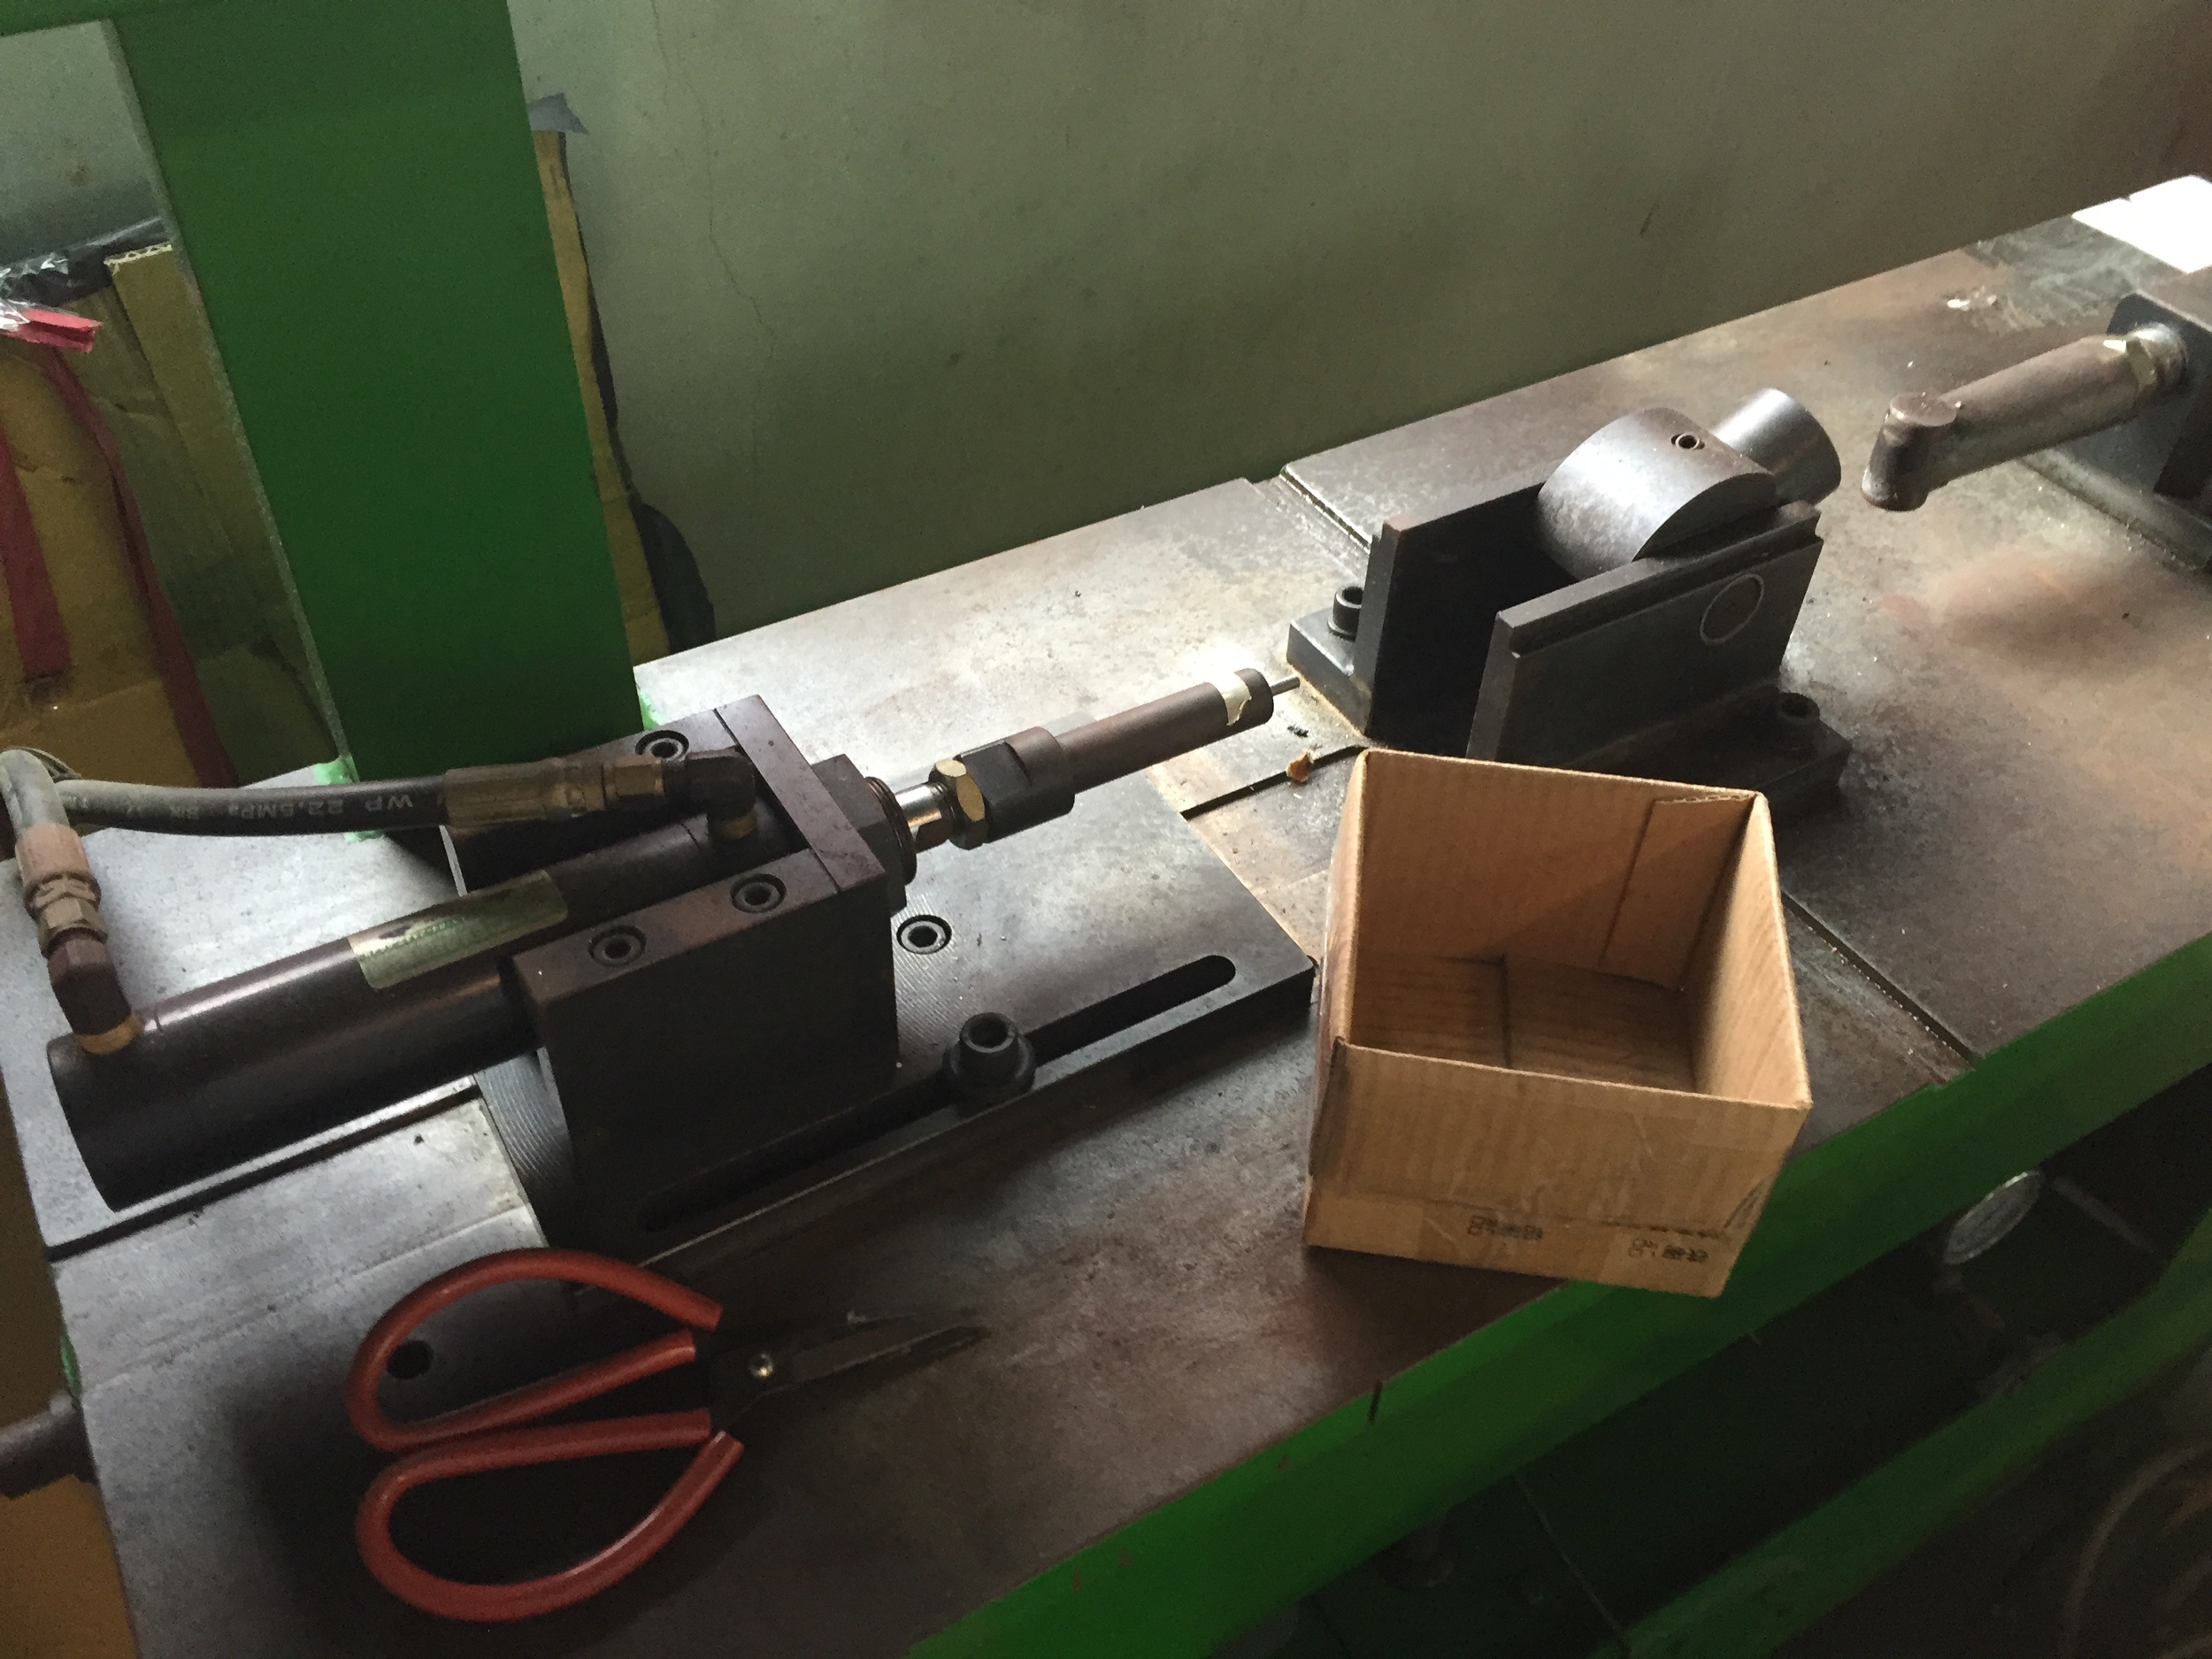
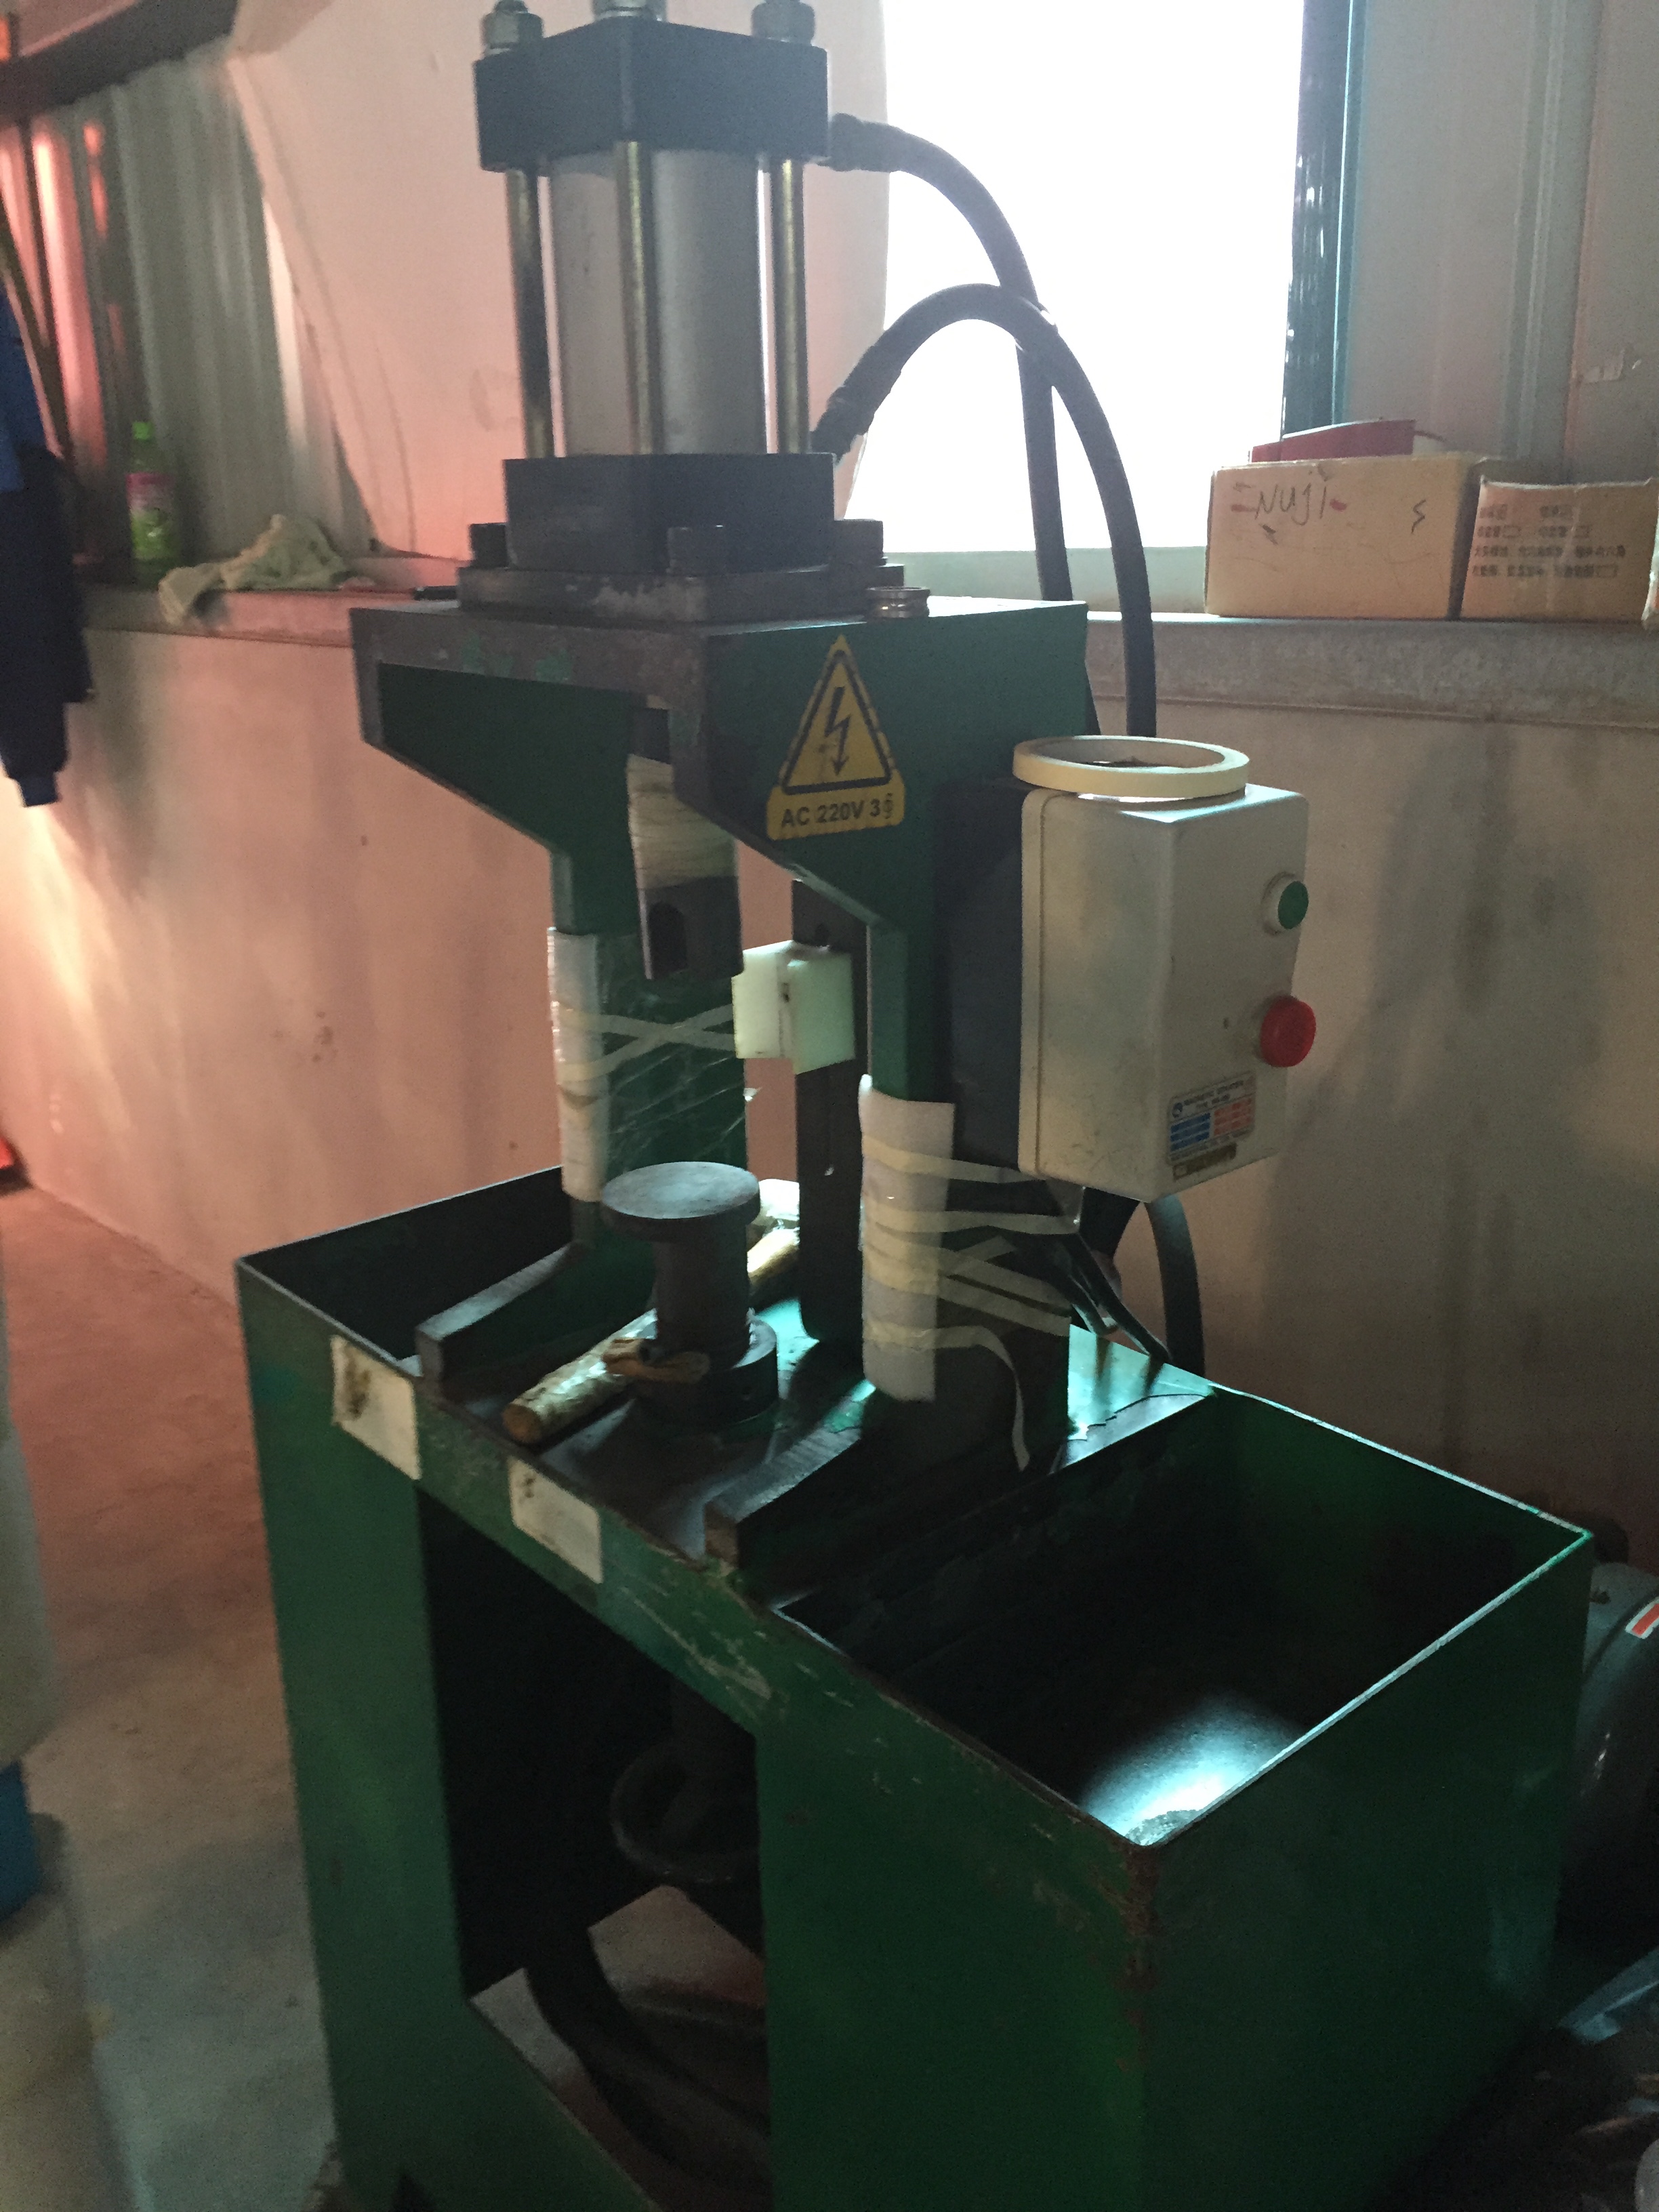
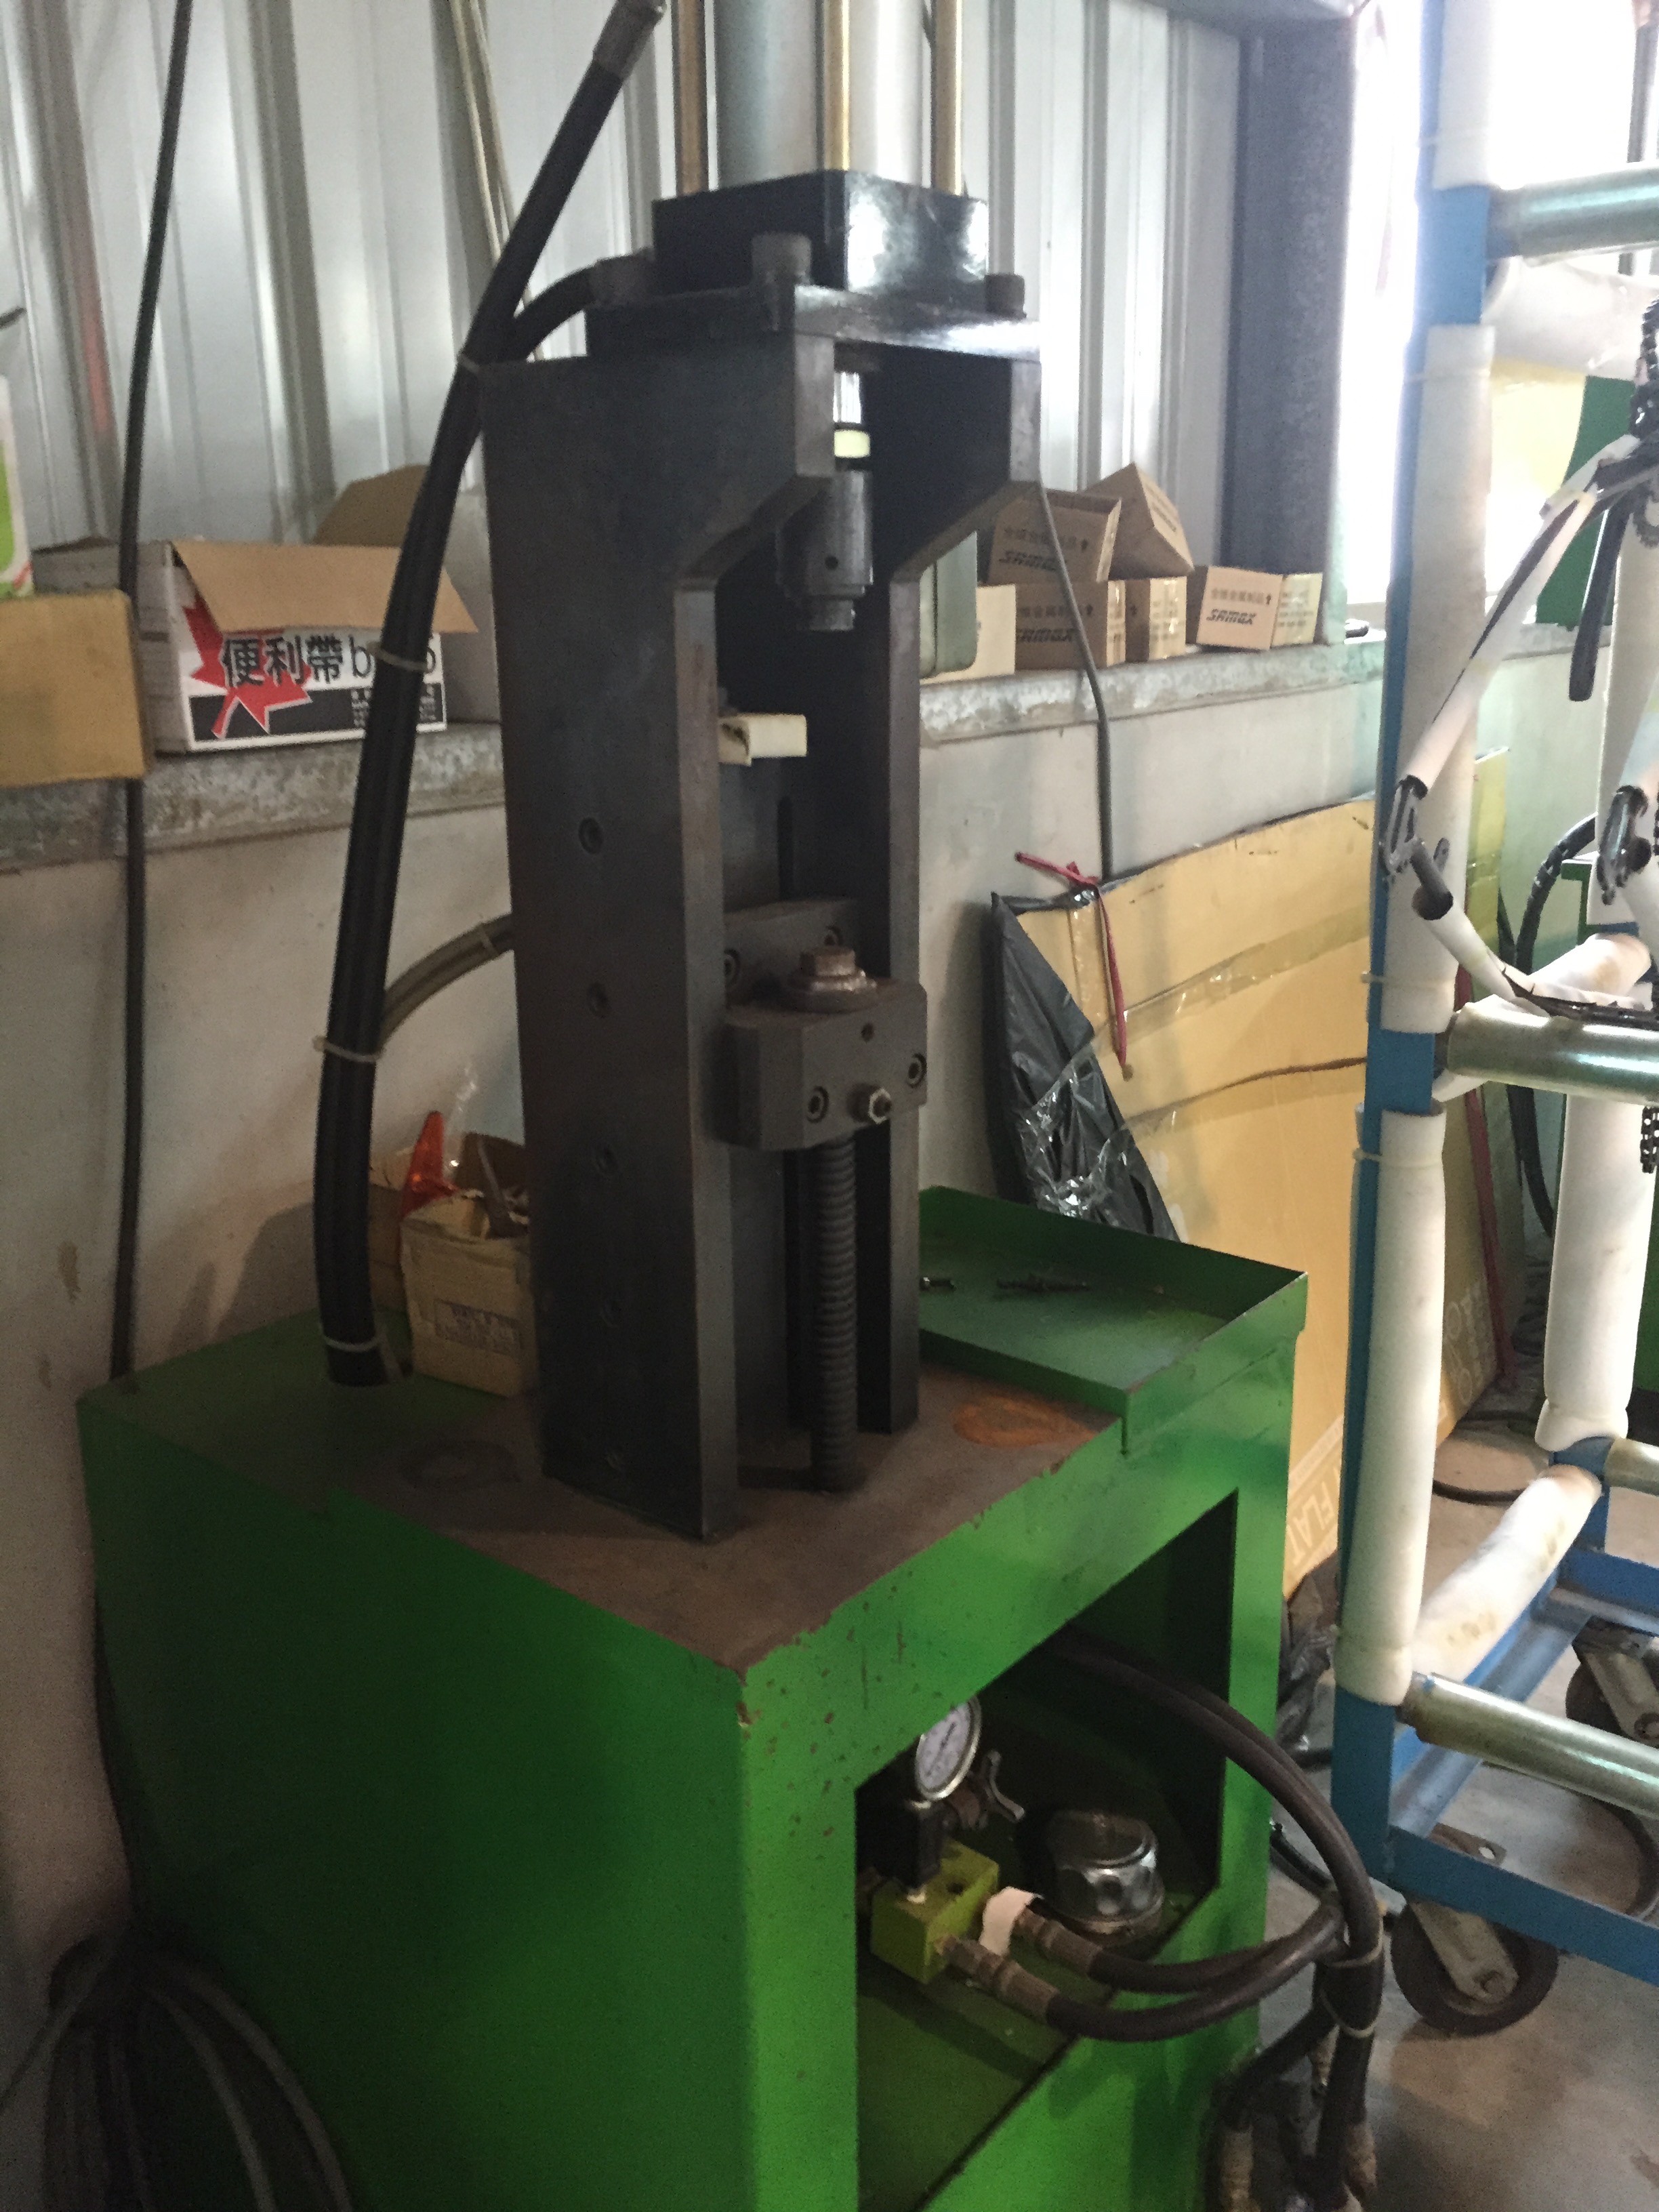
  • The dedicated tooling to do frame prep operations (bearing pressing, etc) was *cool.* Most of it was made by Shuz Tung, a Taiwanese company.
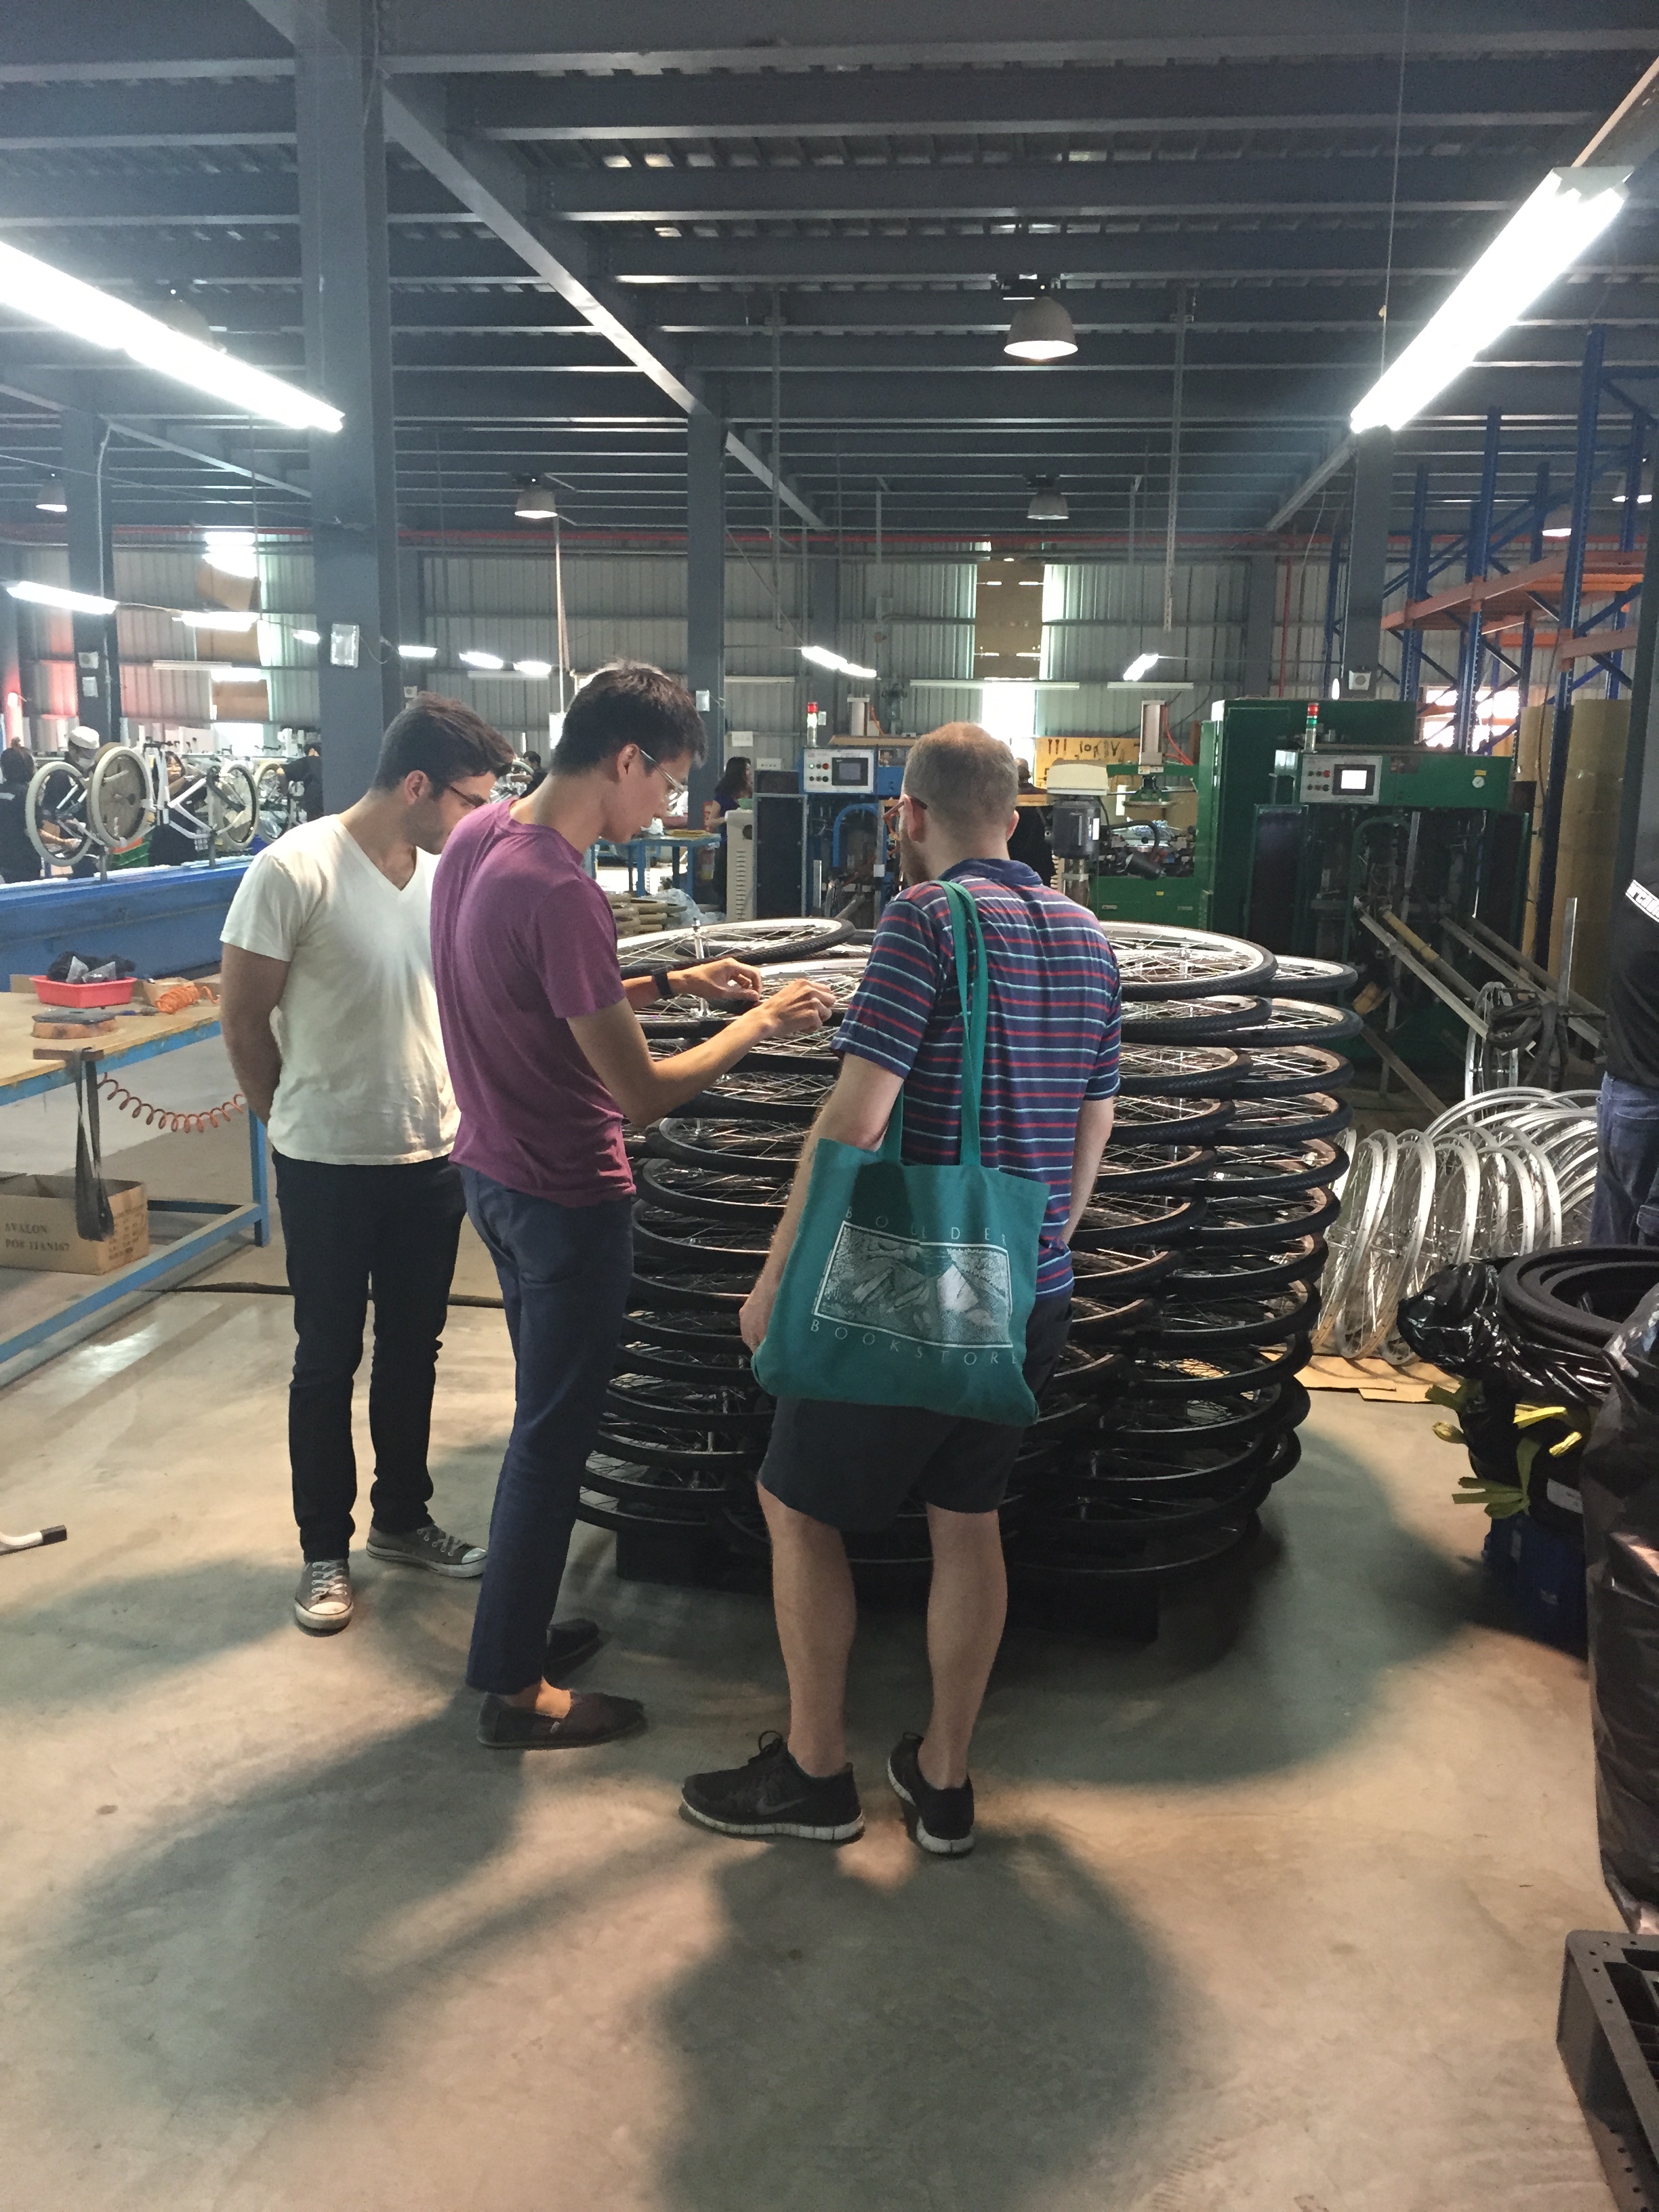
  • The wheelbuilding line was the single biggest part of the operation. The truing machine especially was impressive (videos below).
  • They build everything upside down! I can't imagine doing this, but the advantages re: not touching the paint are really big.
  • It was a really big facility - tens of thousands of square feet. 
  • The moving assembly line was fun.

Here are the wheels being built:

And here's the wheel truing machine in more detail:

Here's the whole shop (ish):

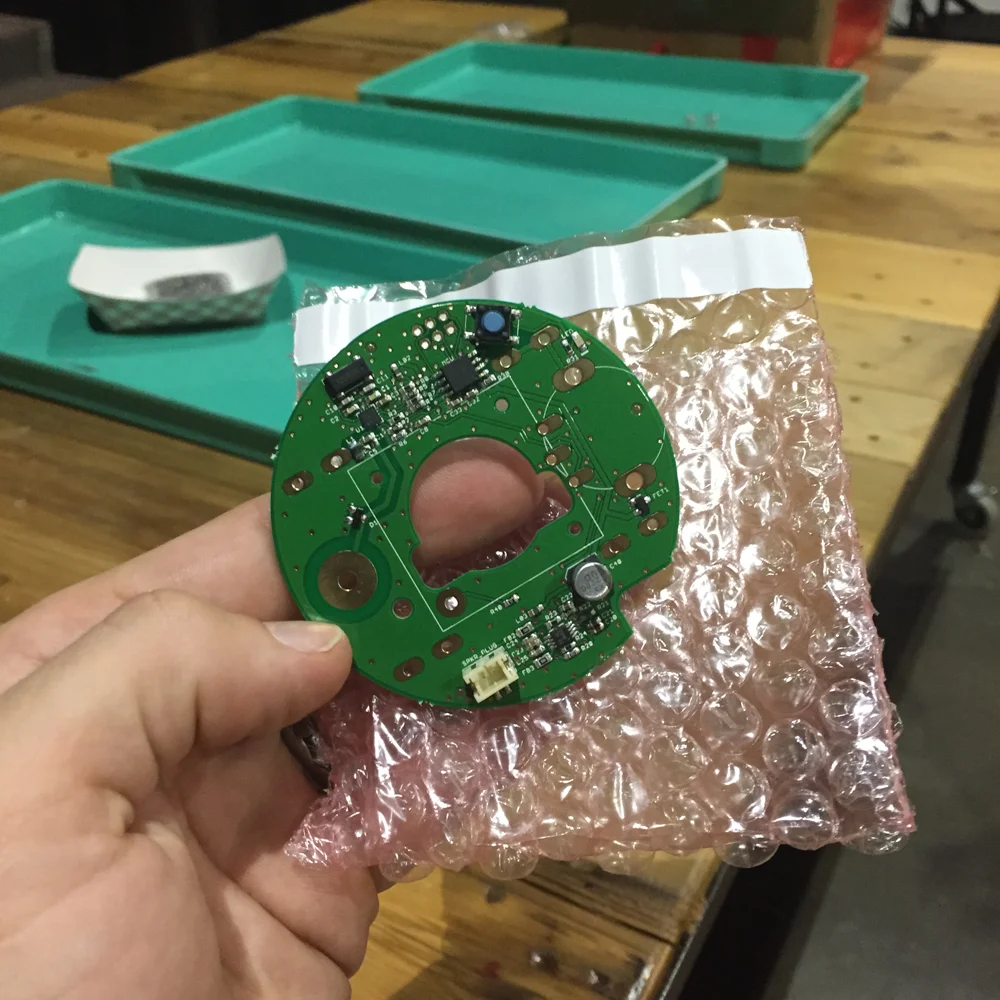
The Public Radio dev boards

Added on by Spencer Wright.

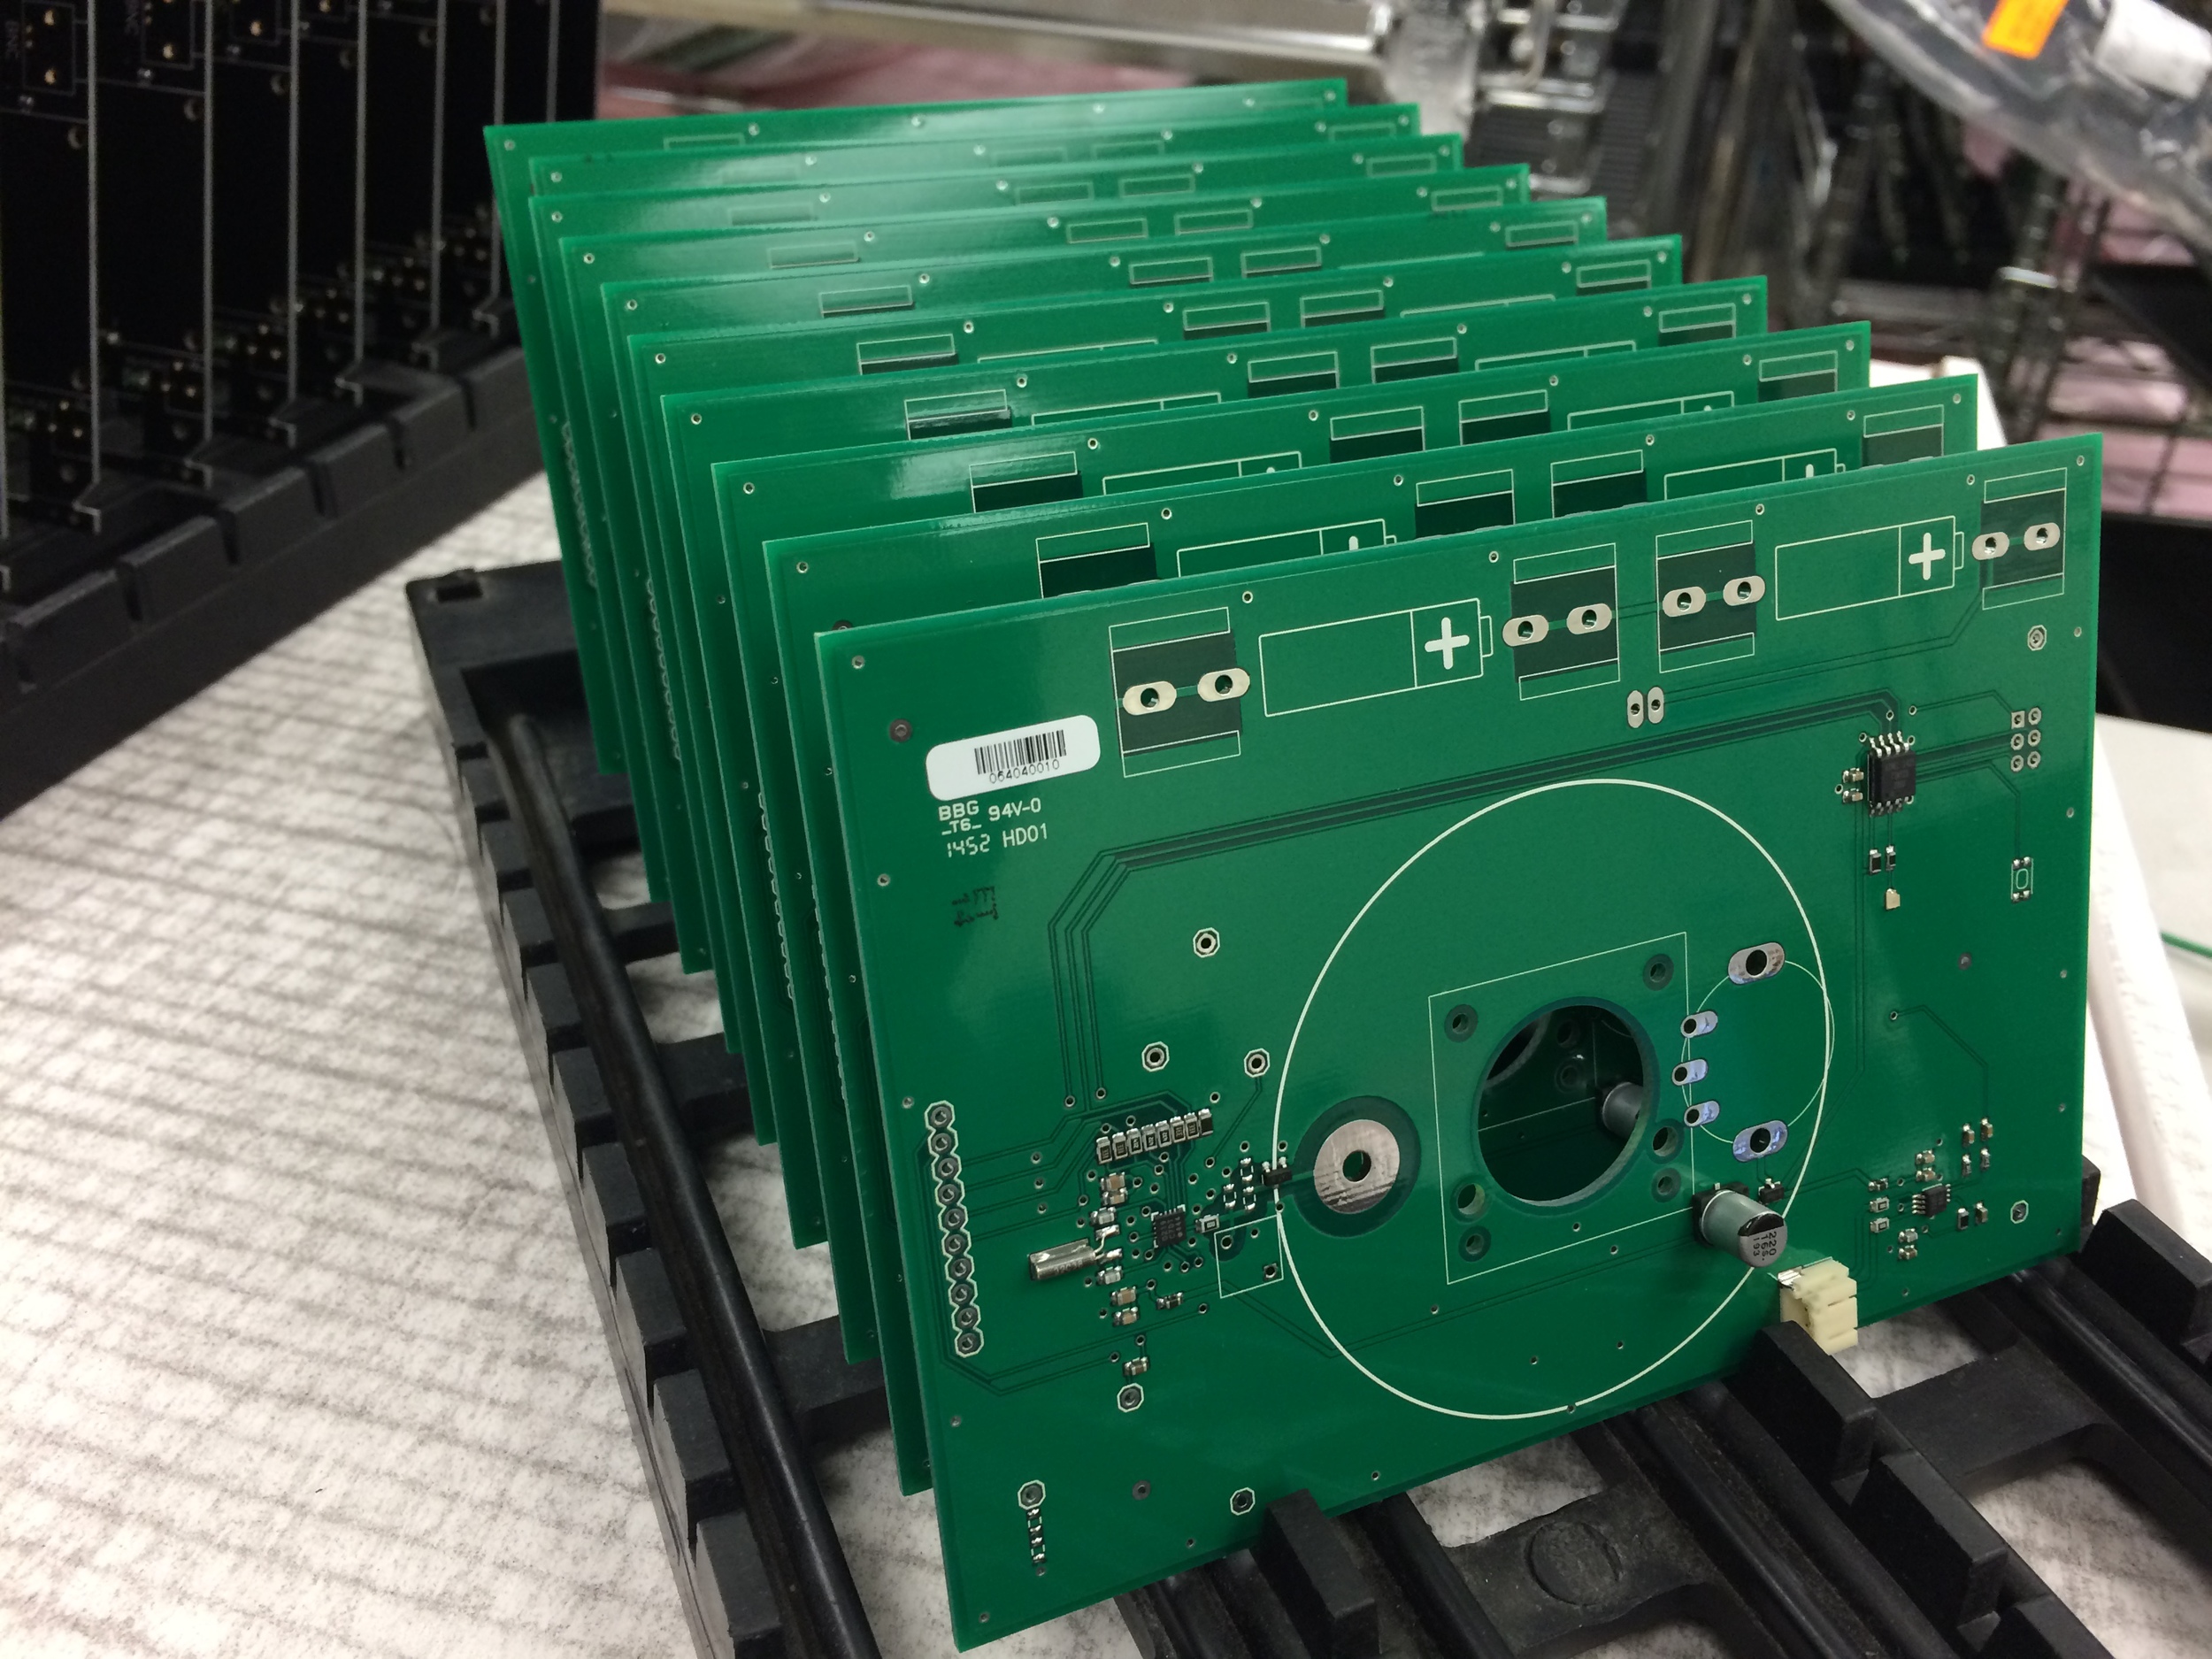
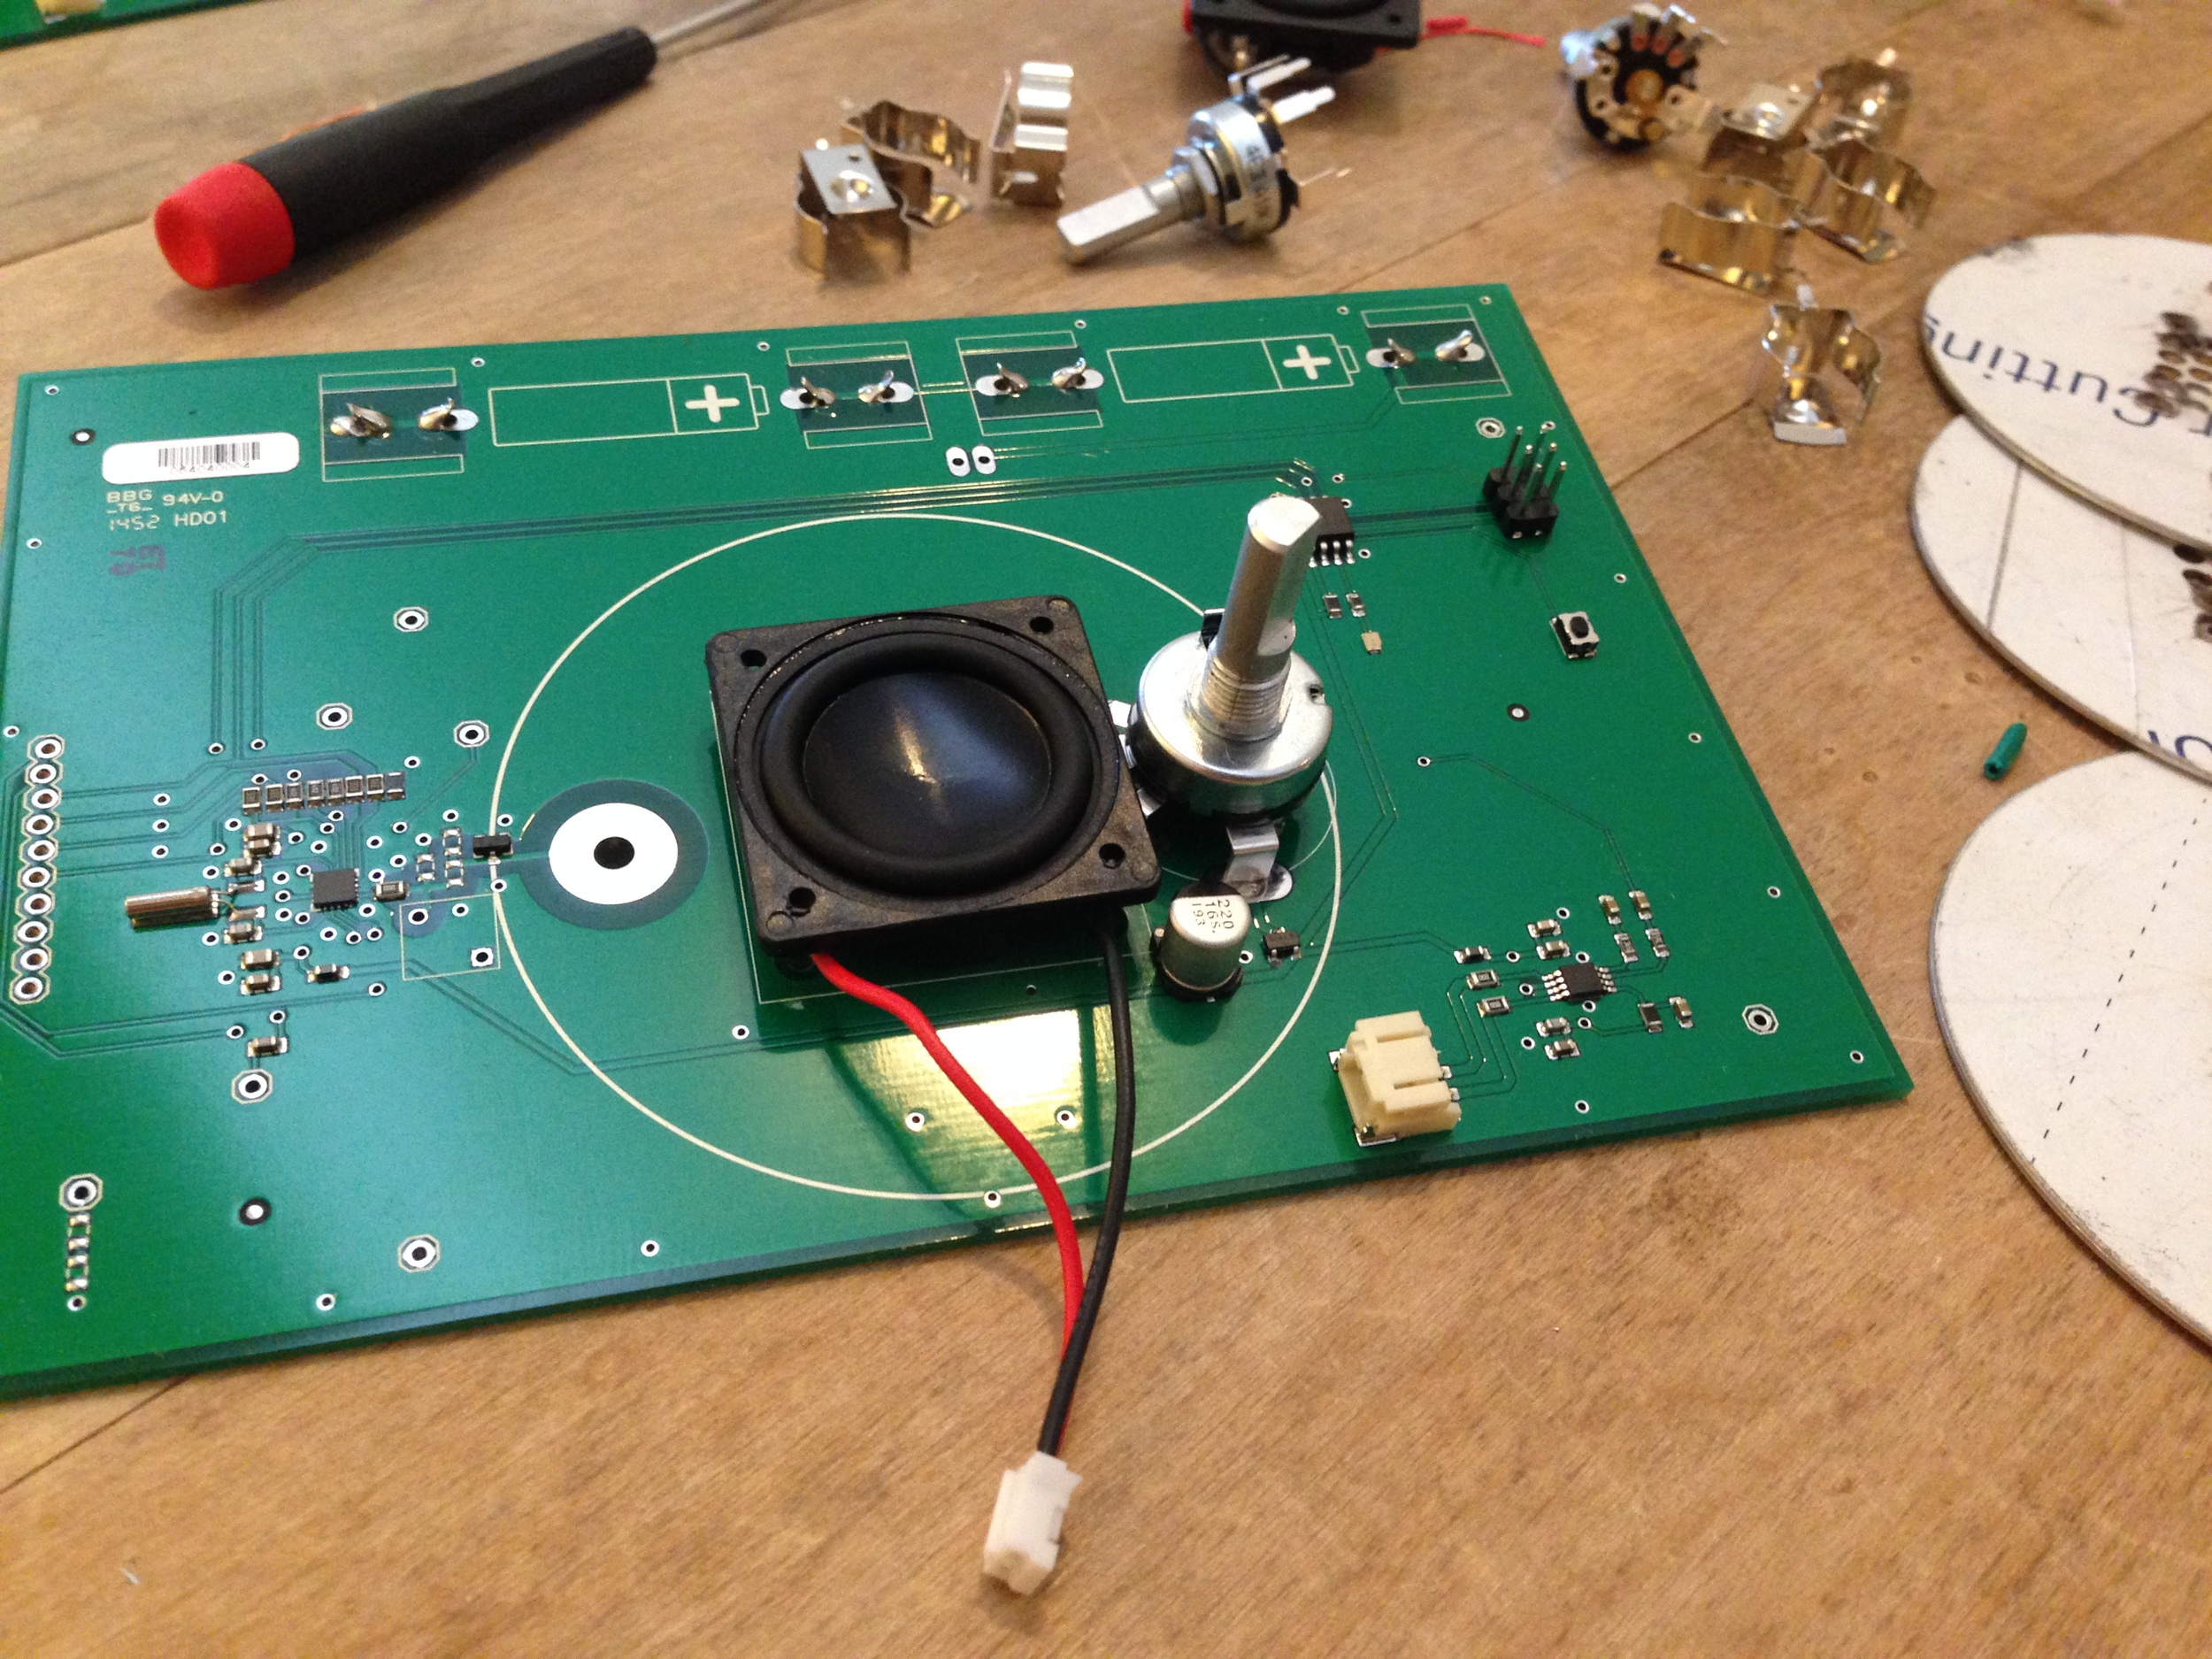
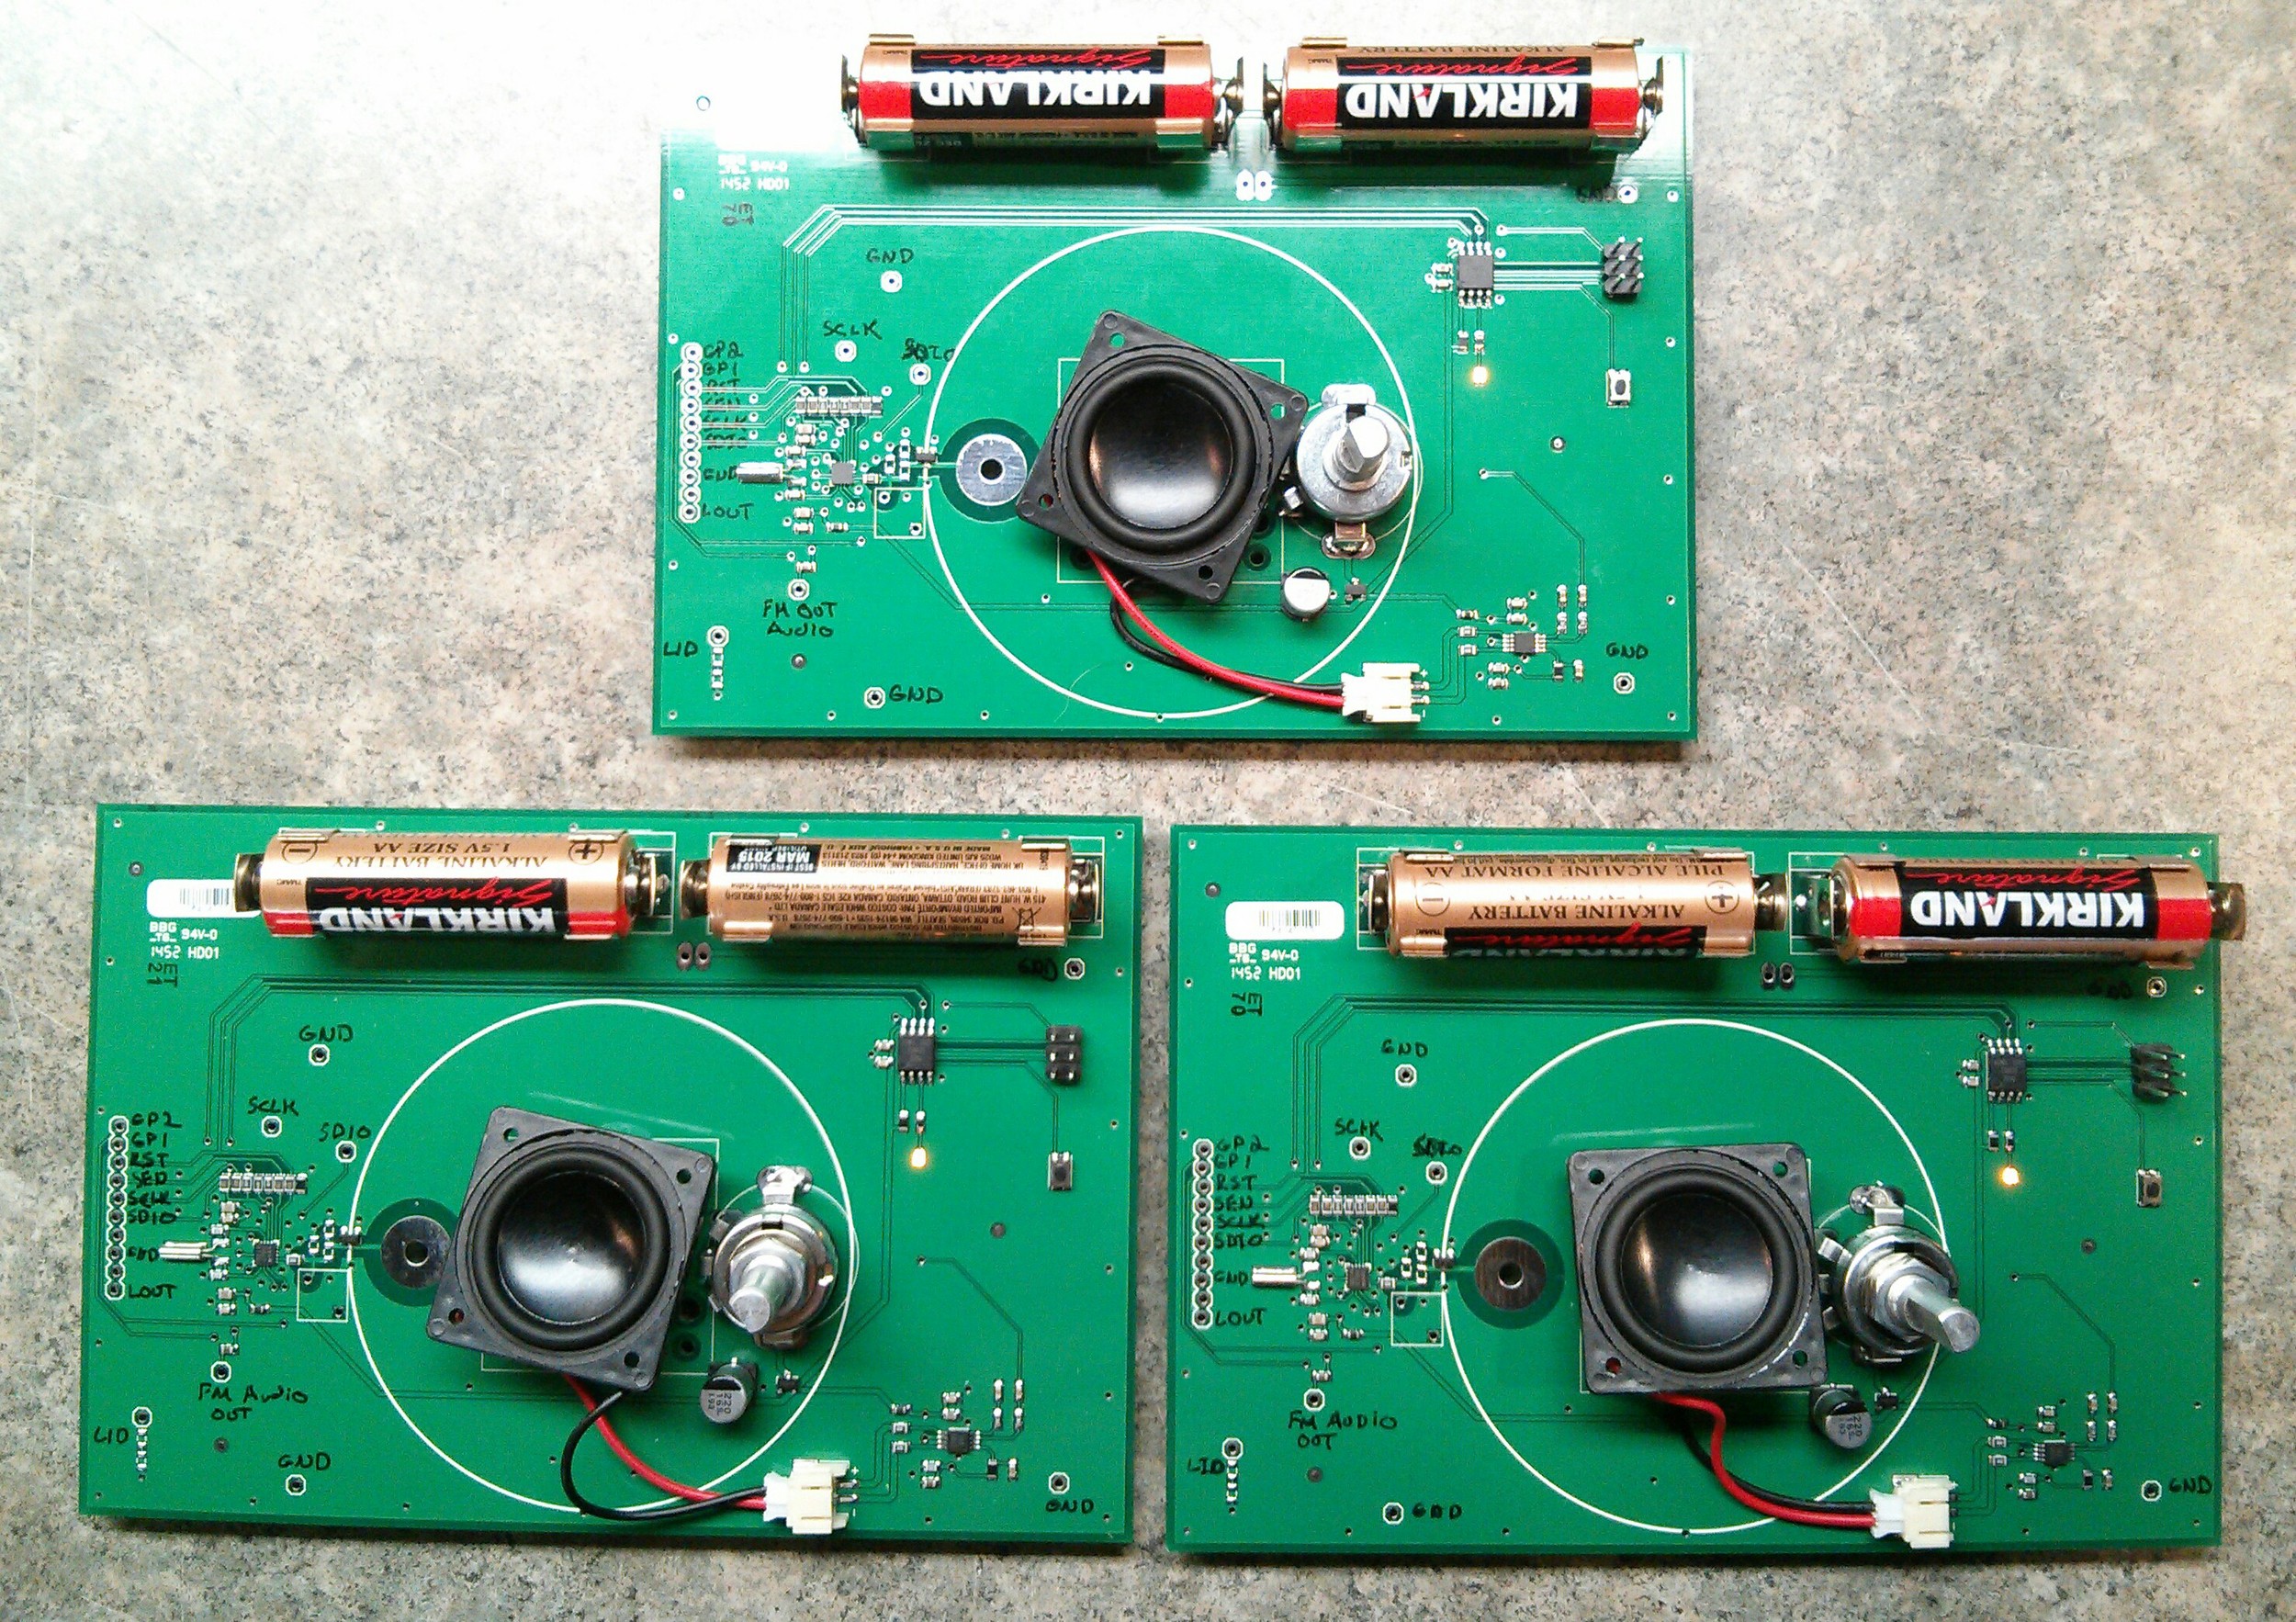
Over the past month, we've been hustling *hard* to re-engineer The Public Radio's circuit design. We knew we needed to do this in order to transition to a digitally tuned FM IC, and budgeted enough time to go through two or three final prototyping rounds. The first round was the hardest - we wanted to be making as few changes as possible on the second, so balancing speed and accuracy this past few weeks has been a real challenge.

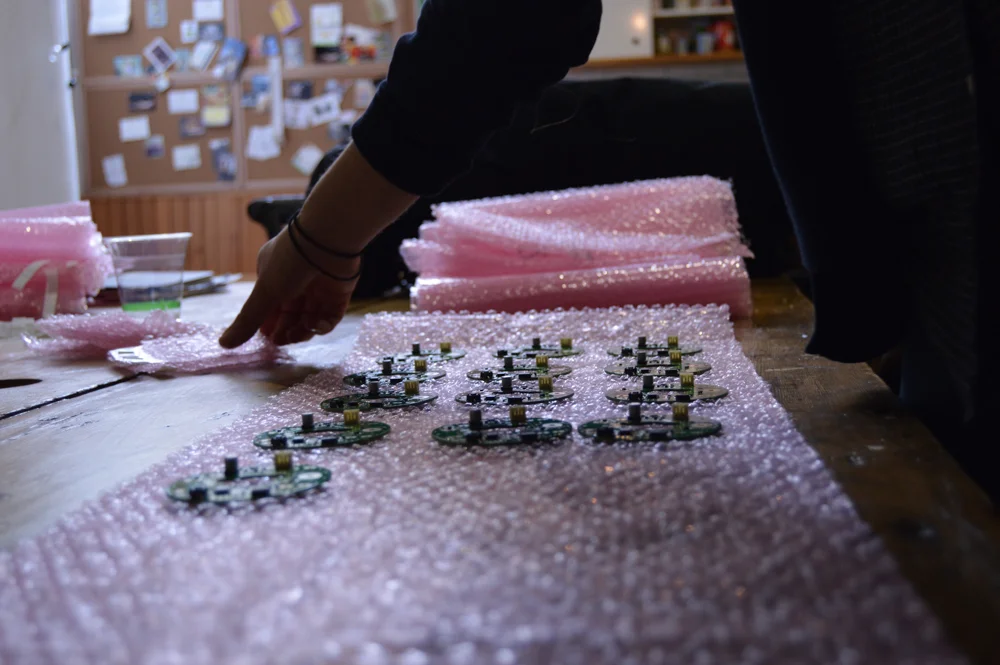
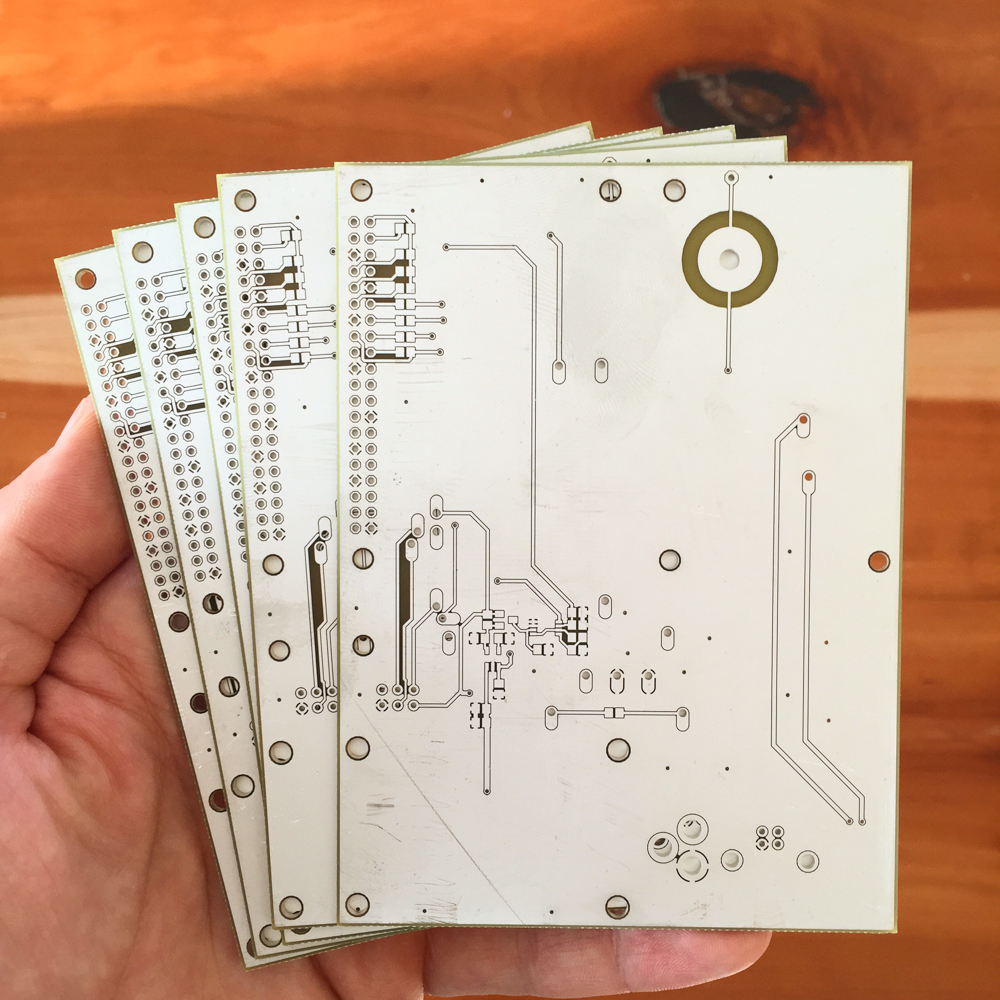
But it's coming together well, and we received our first development PCBs the other day. Our prototyping partner, Worthington Assembly, did all of the SMT components, and Zach added the thru-hole parts on Thursday.

We already found a few minor errors - two of our part footprints were a bit off - but they're all easily fixable and not an issue for working on the development boards. 

Over the next week we'll be putting these through the ringer, and making any small changes we need to make the circuit fully optimized. Then we'll shrink the board back down to production size and will get one more prototype run built before placing our final orders.

More updates soon!

Notes from a bicycle frame factory in Taiwan

Added on by Spencer Wright.

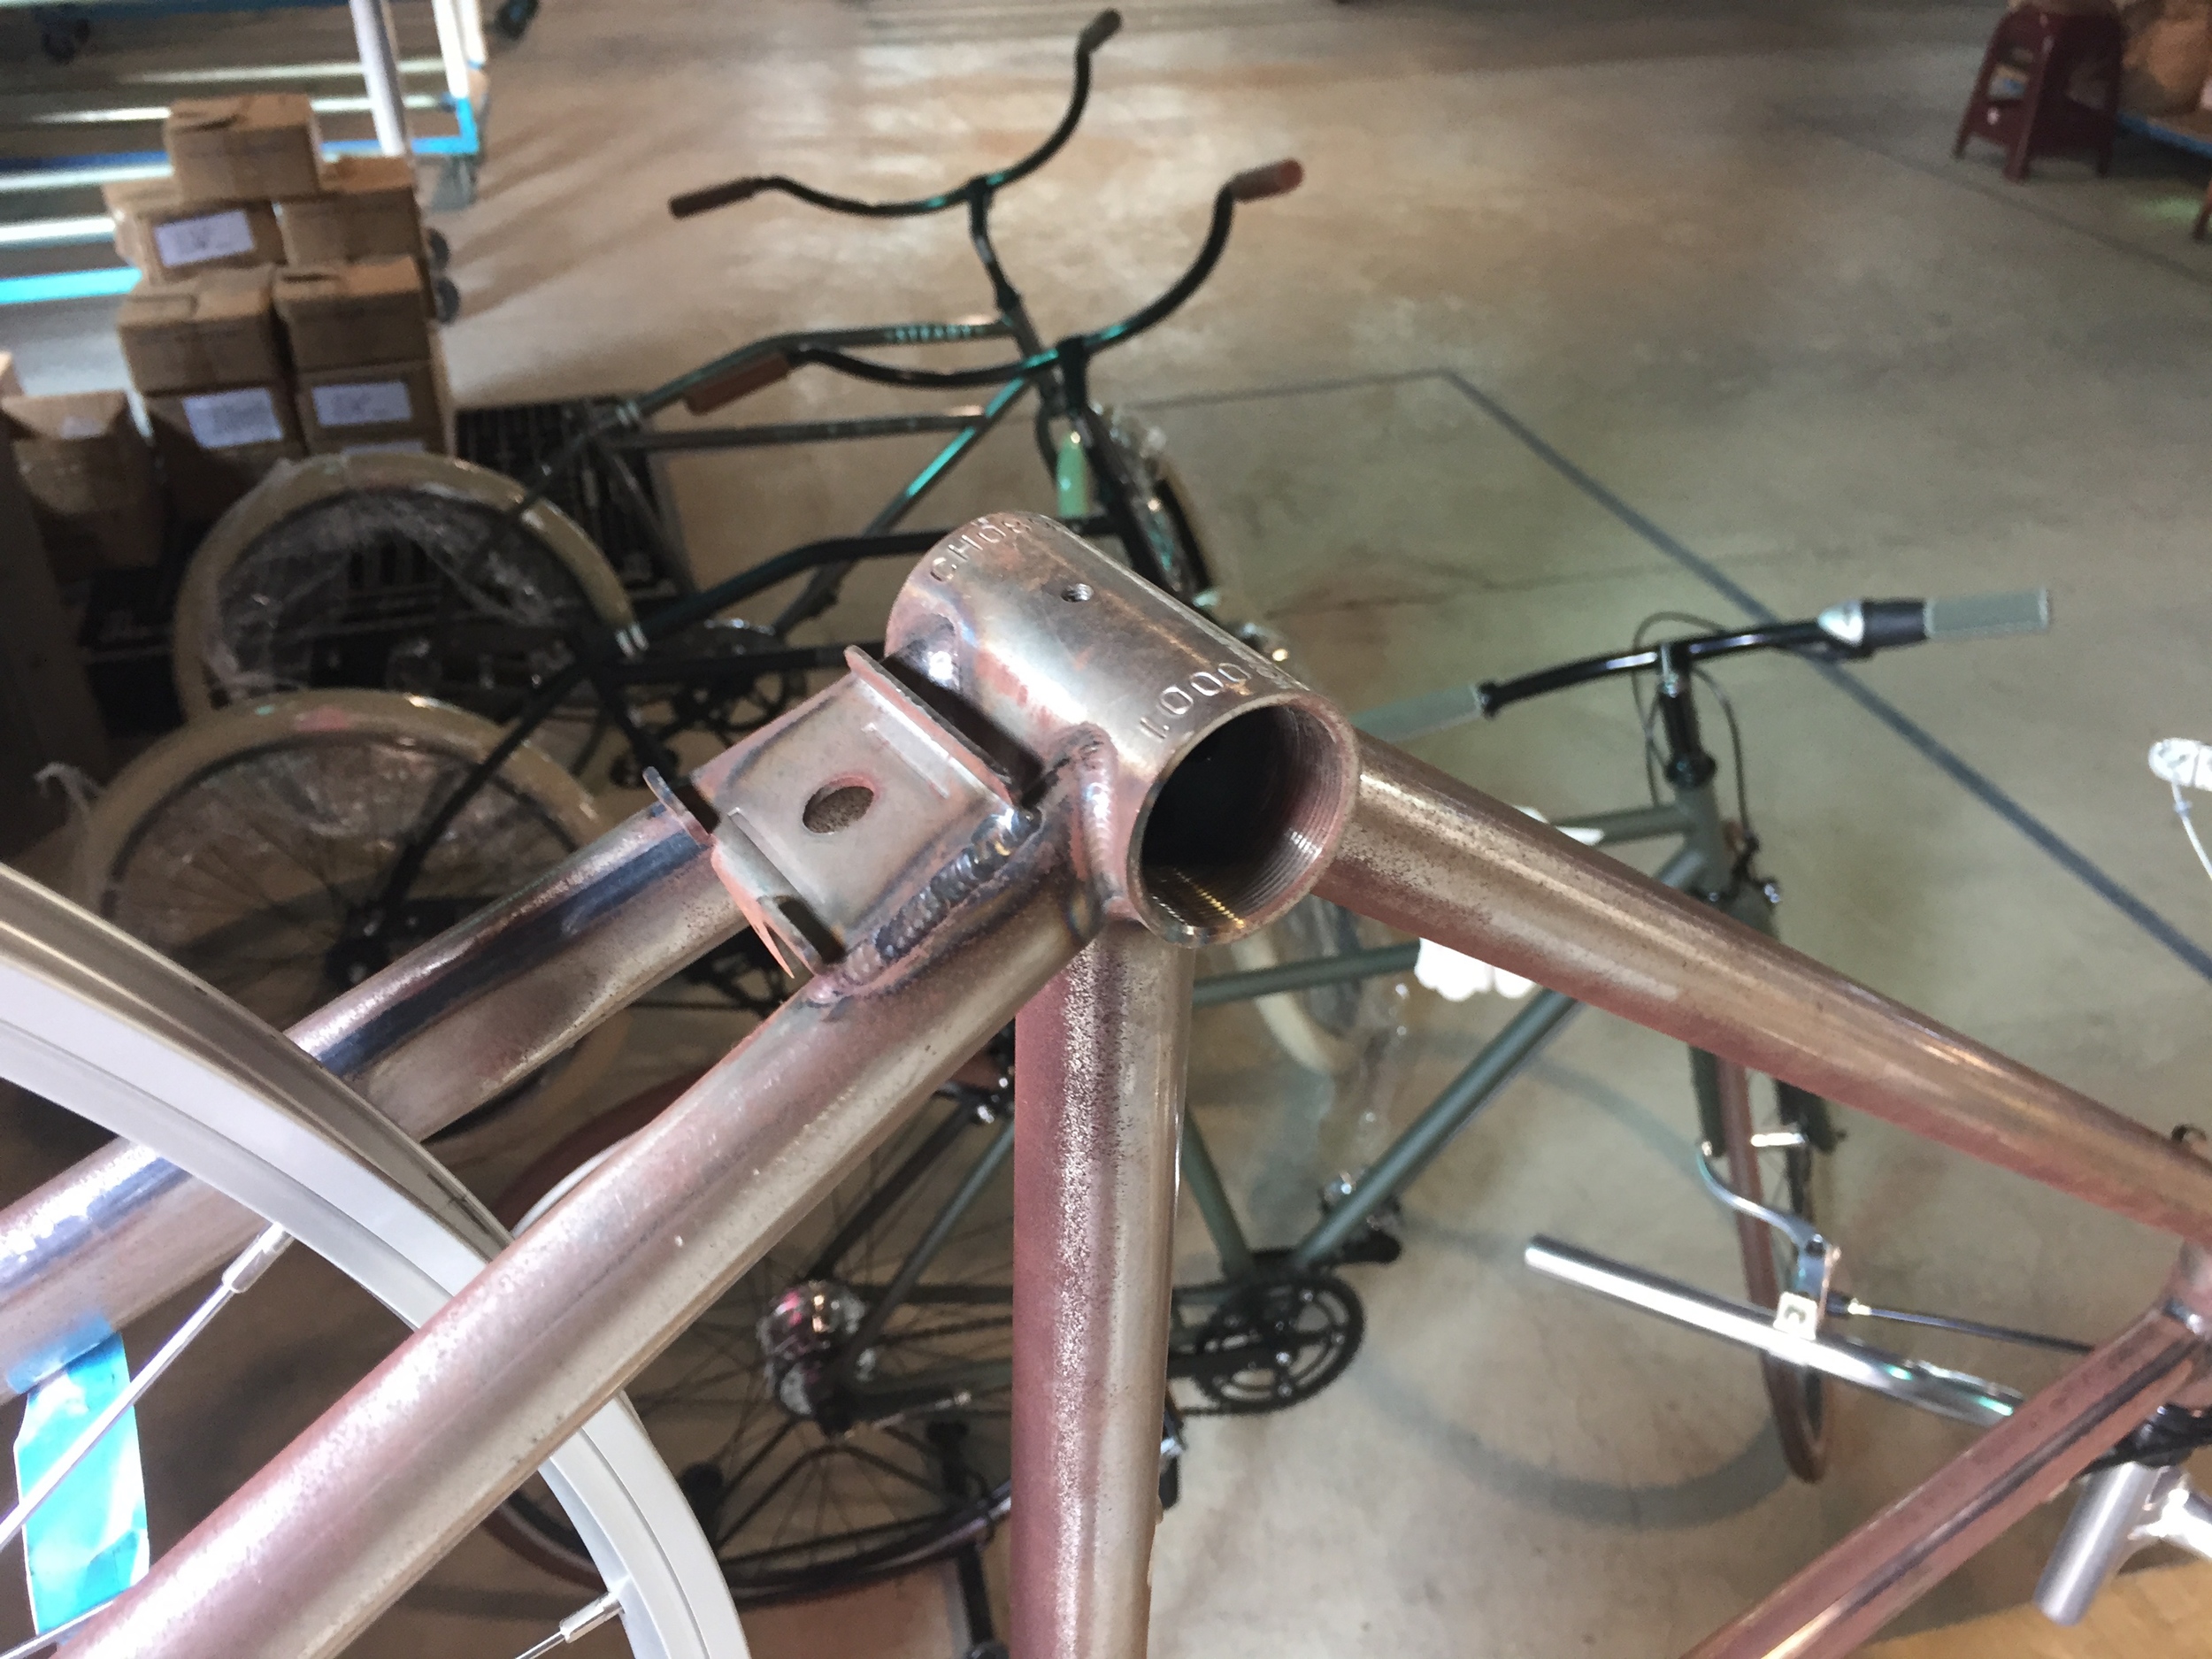
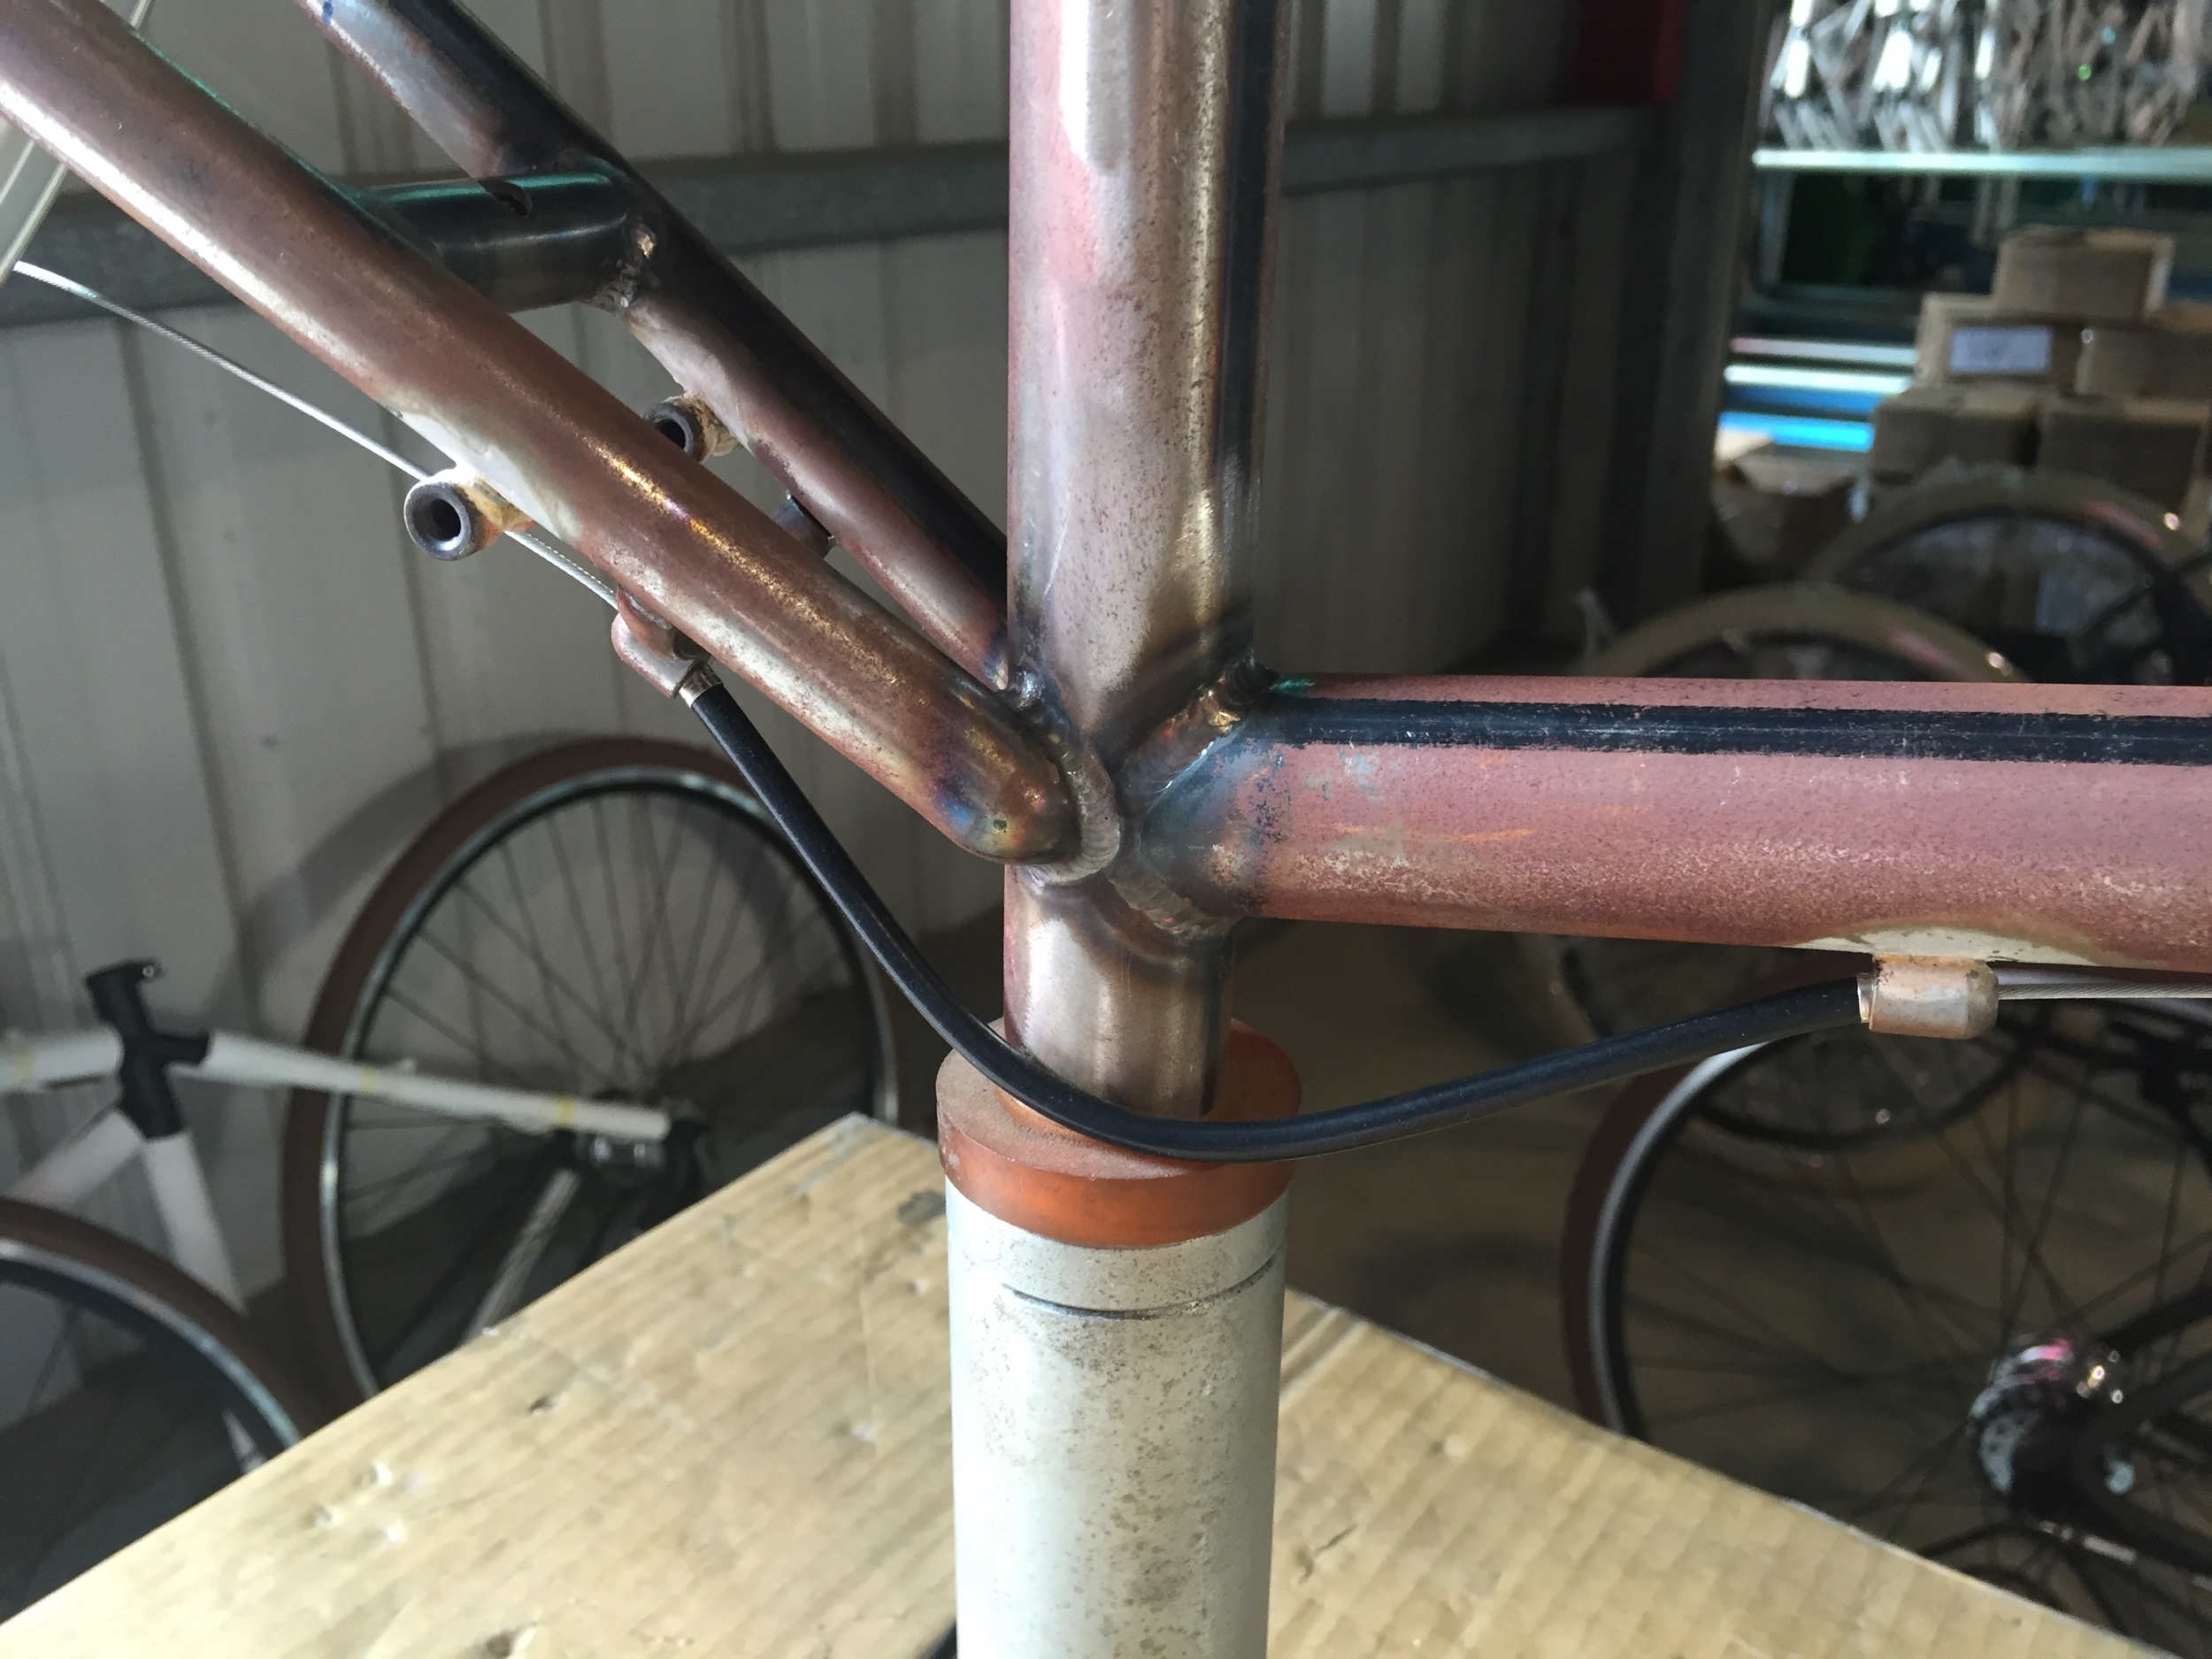
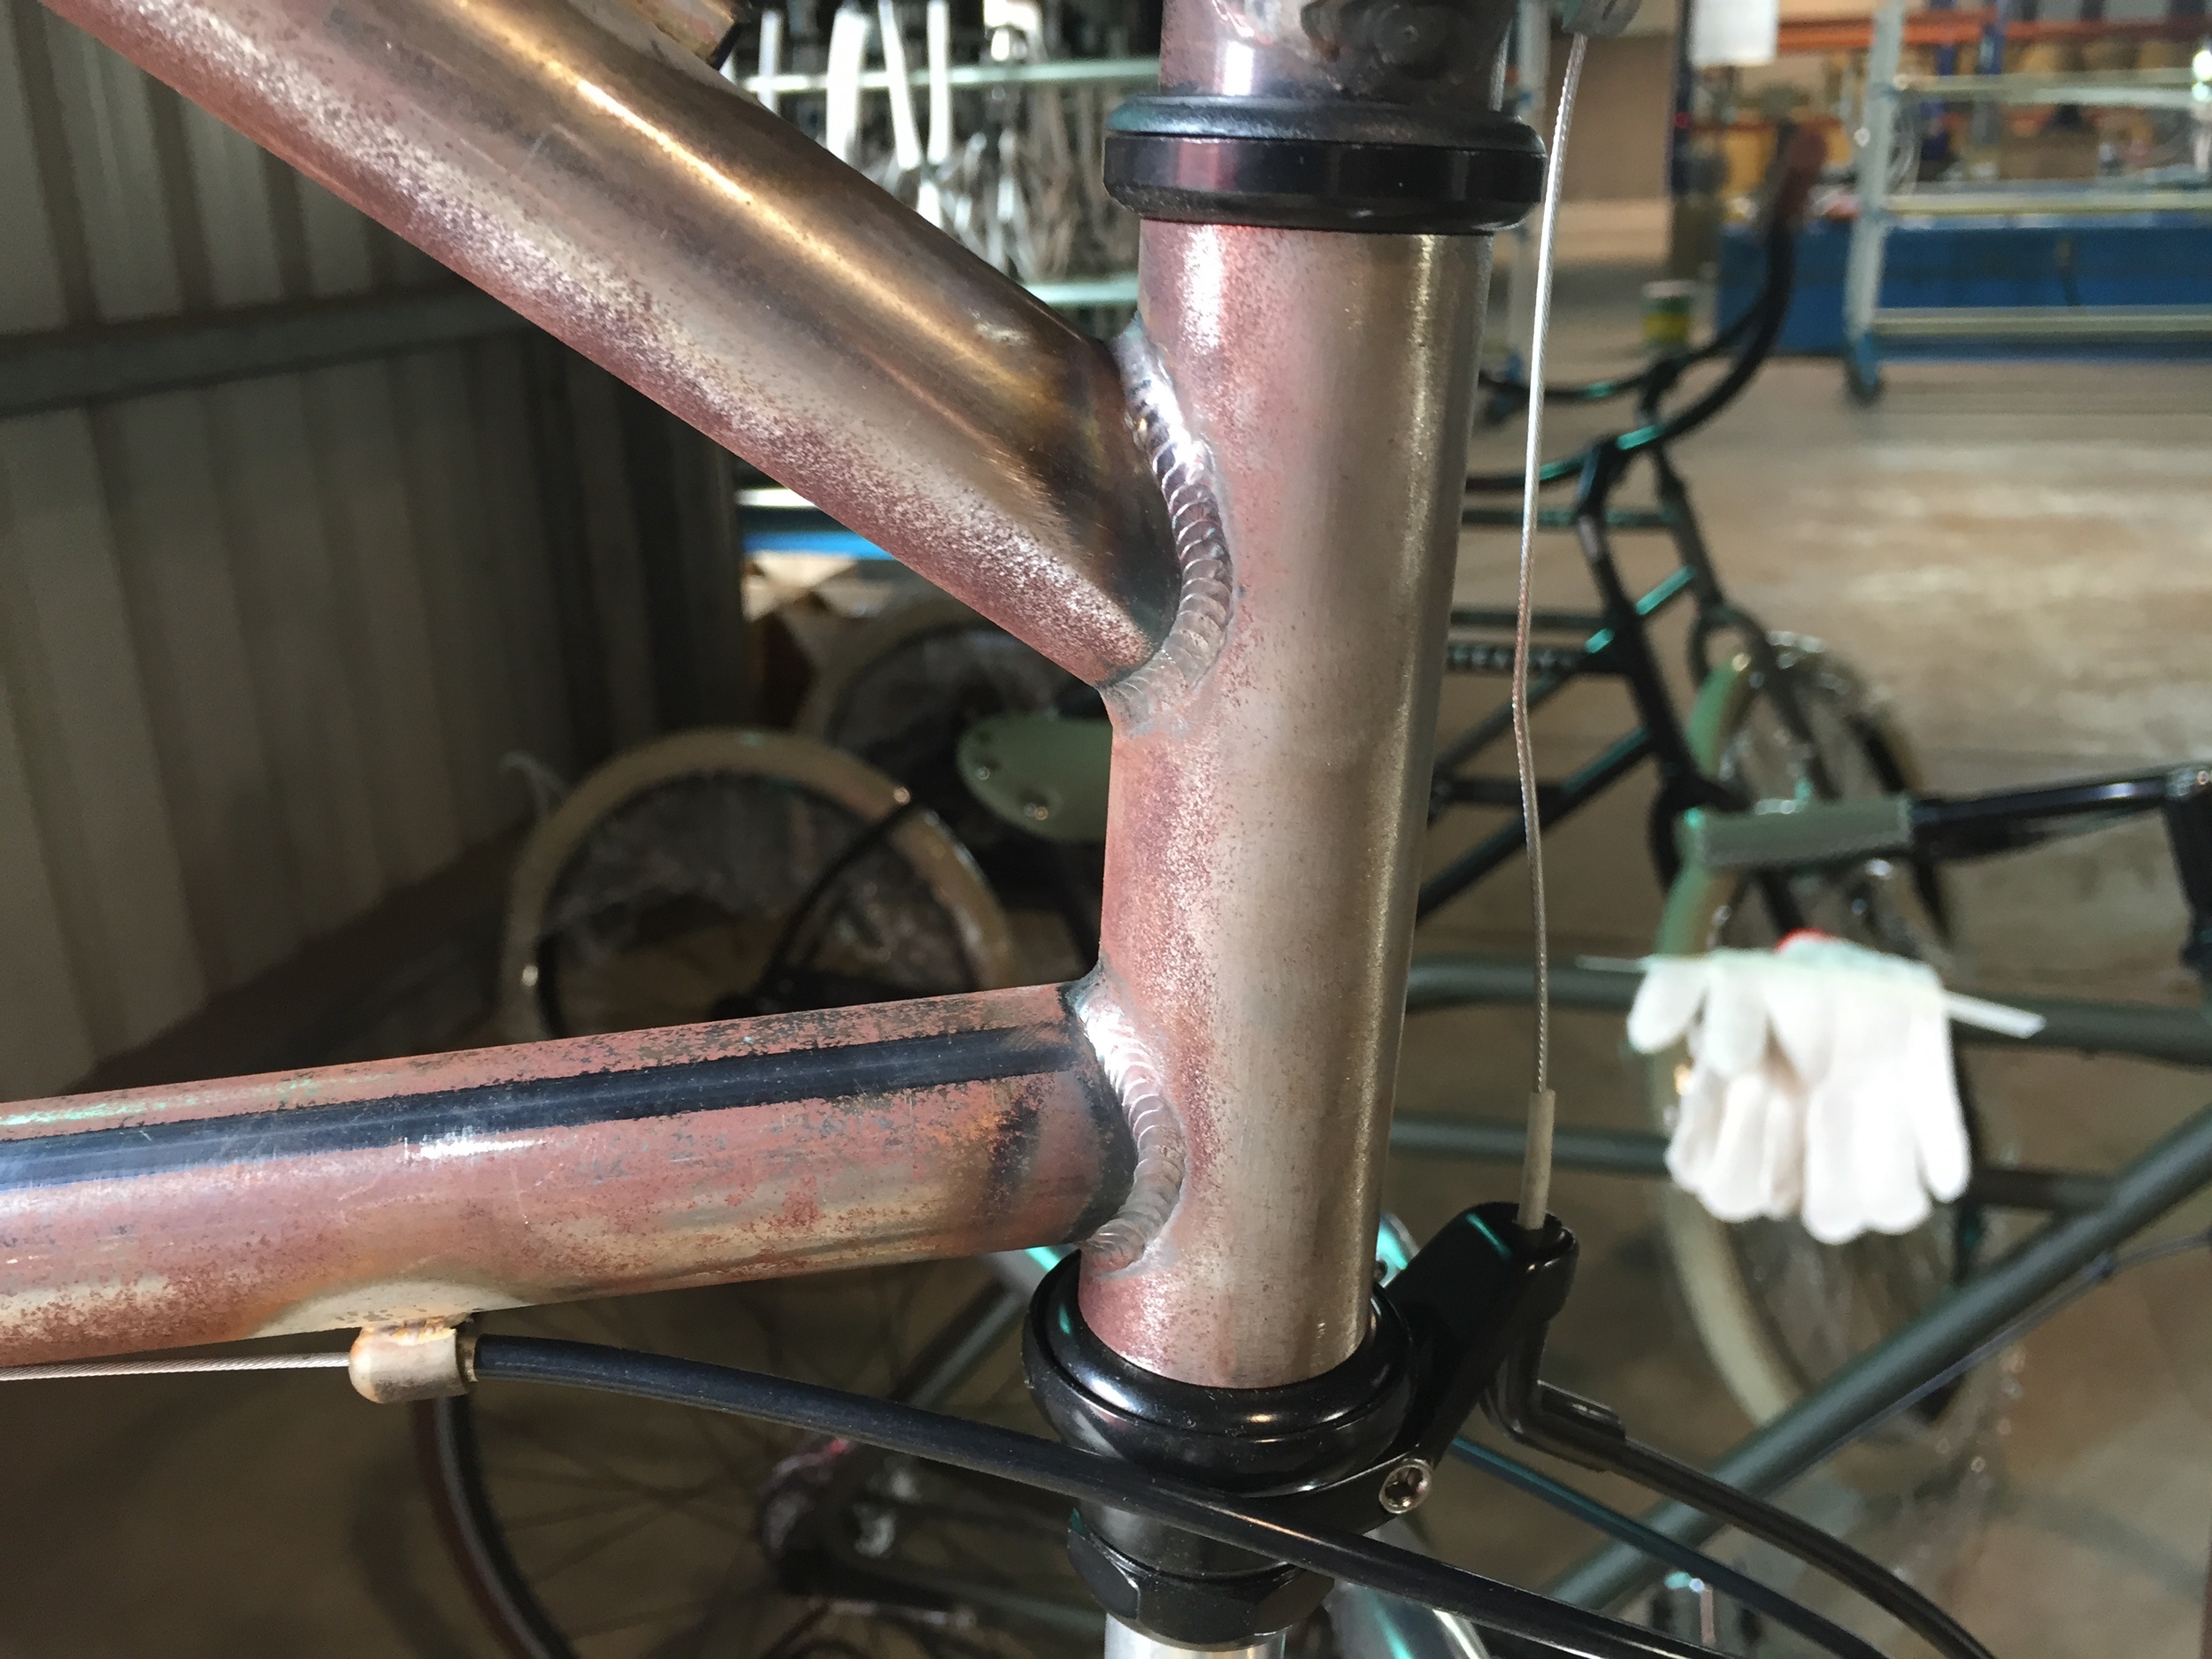
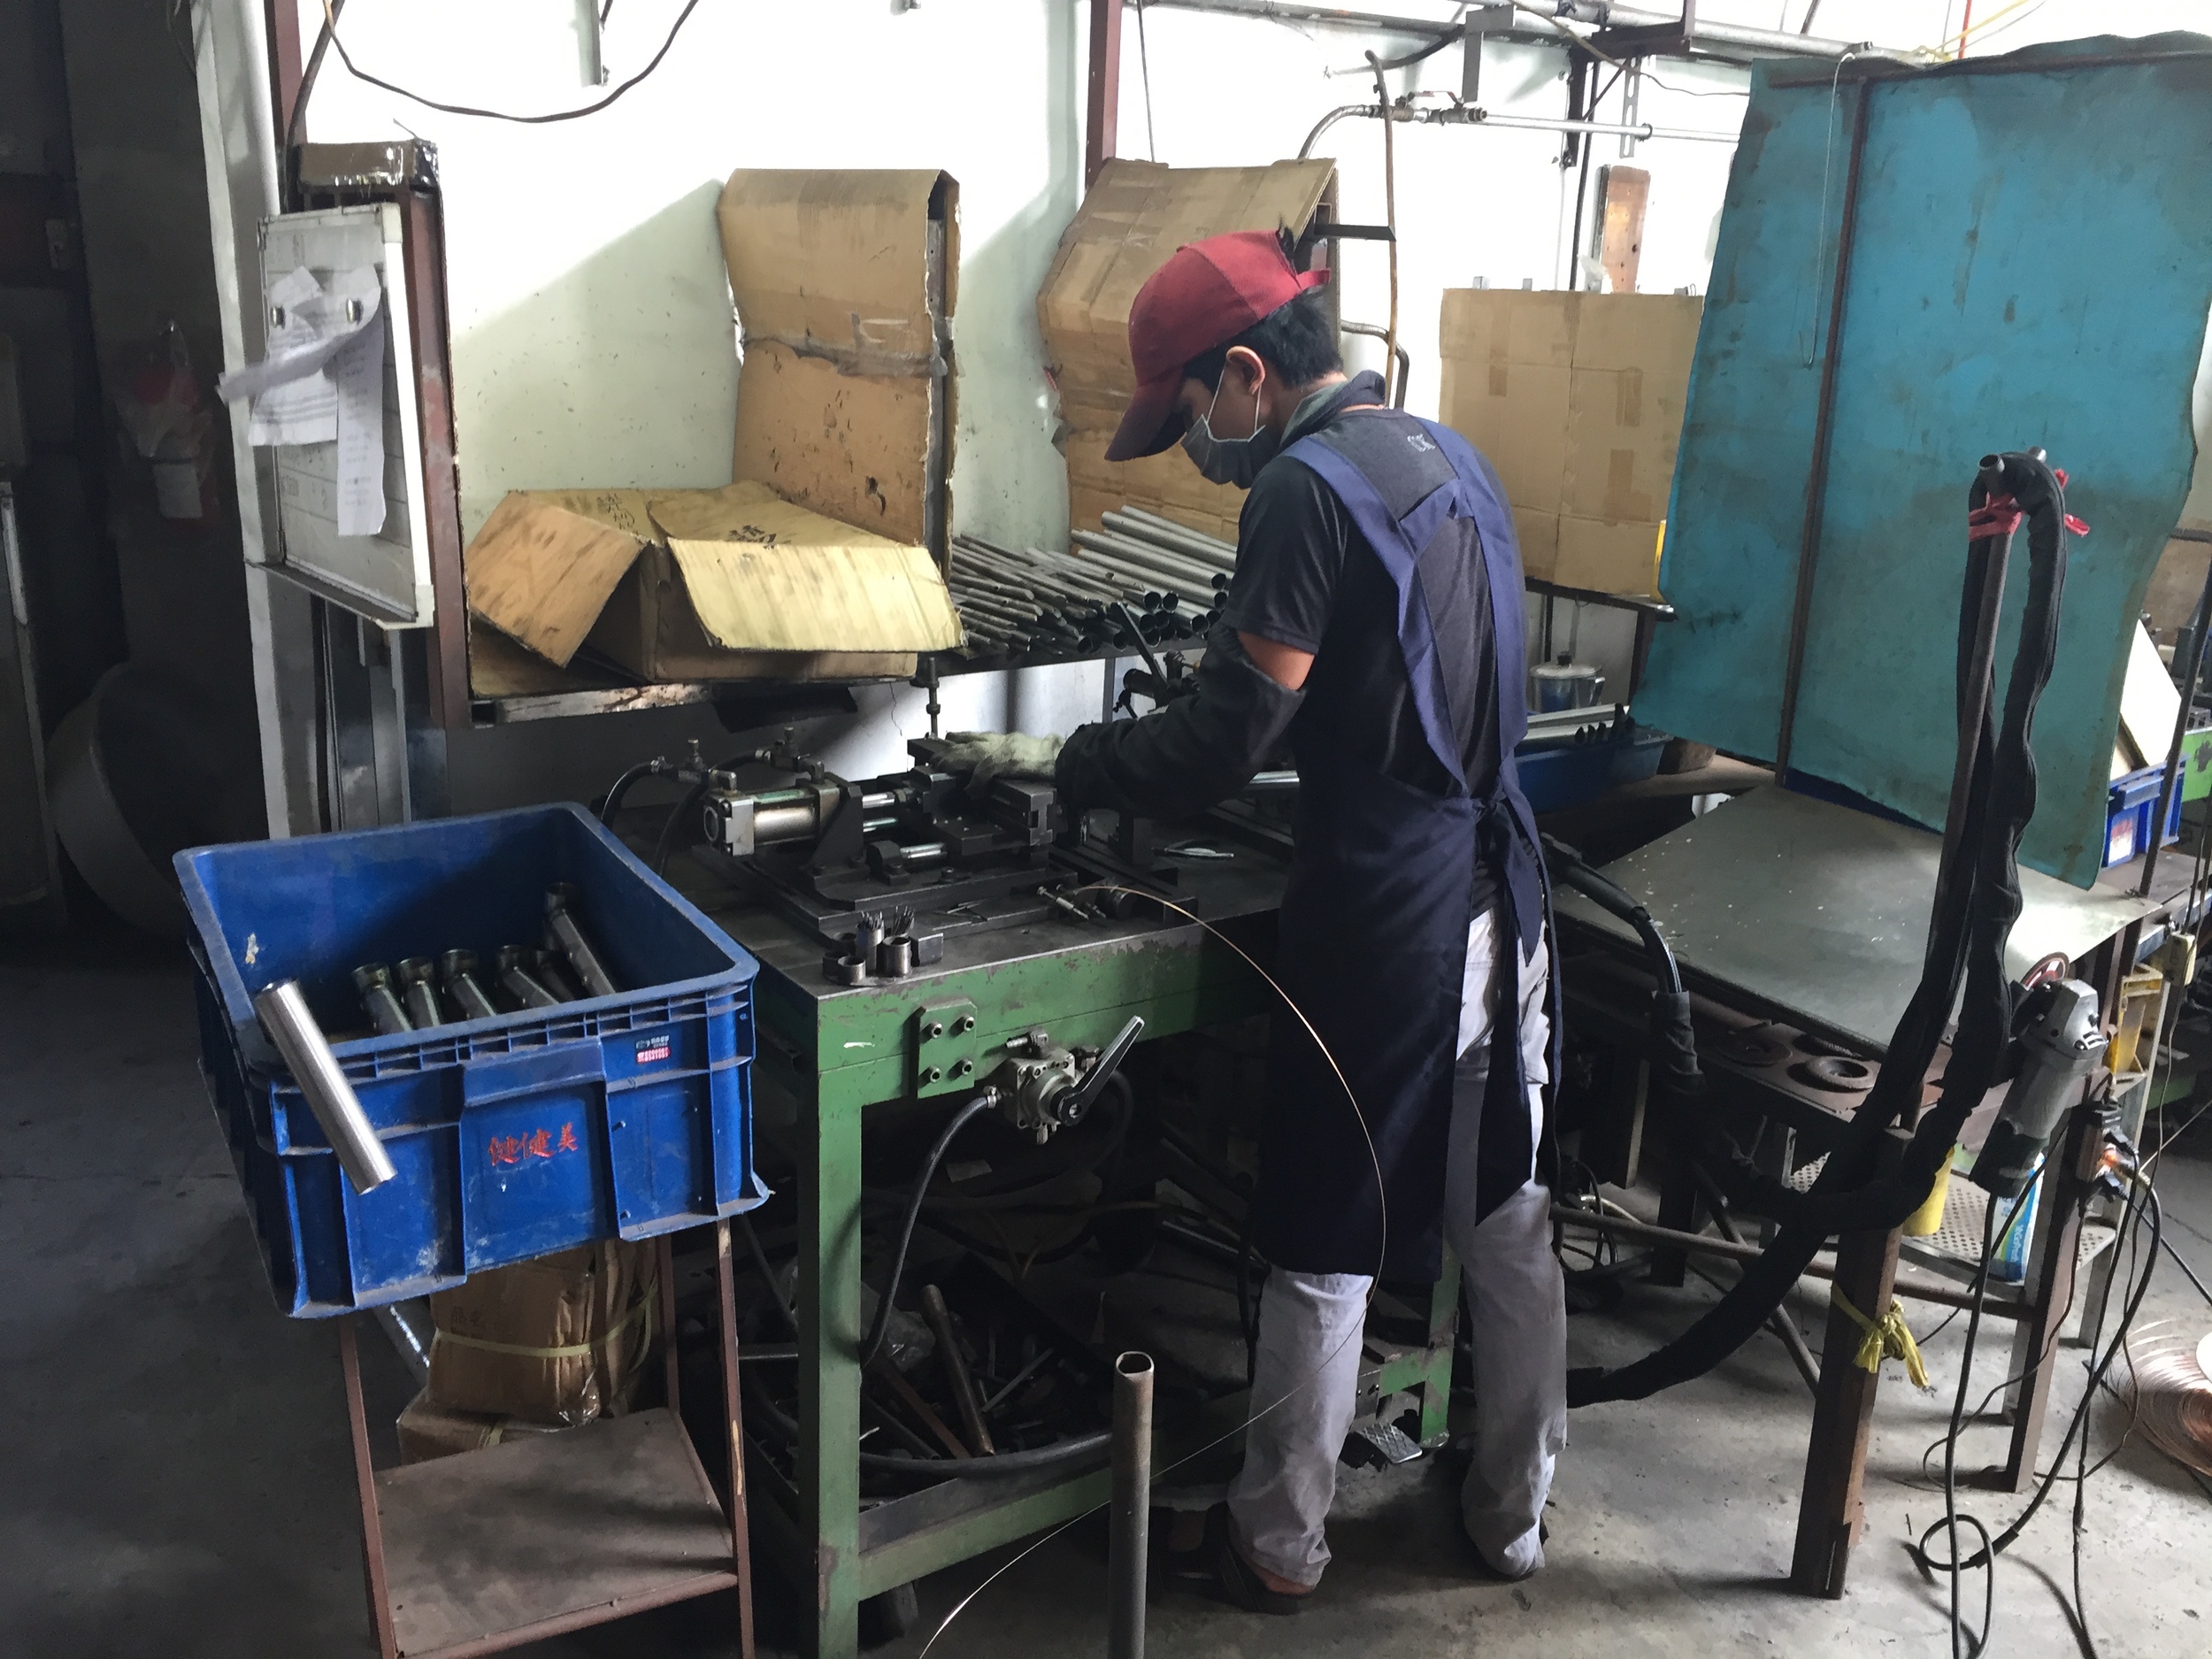
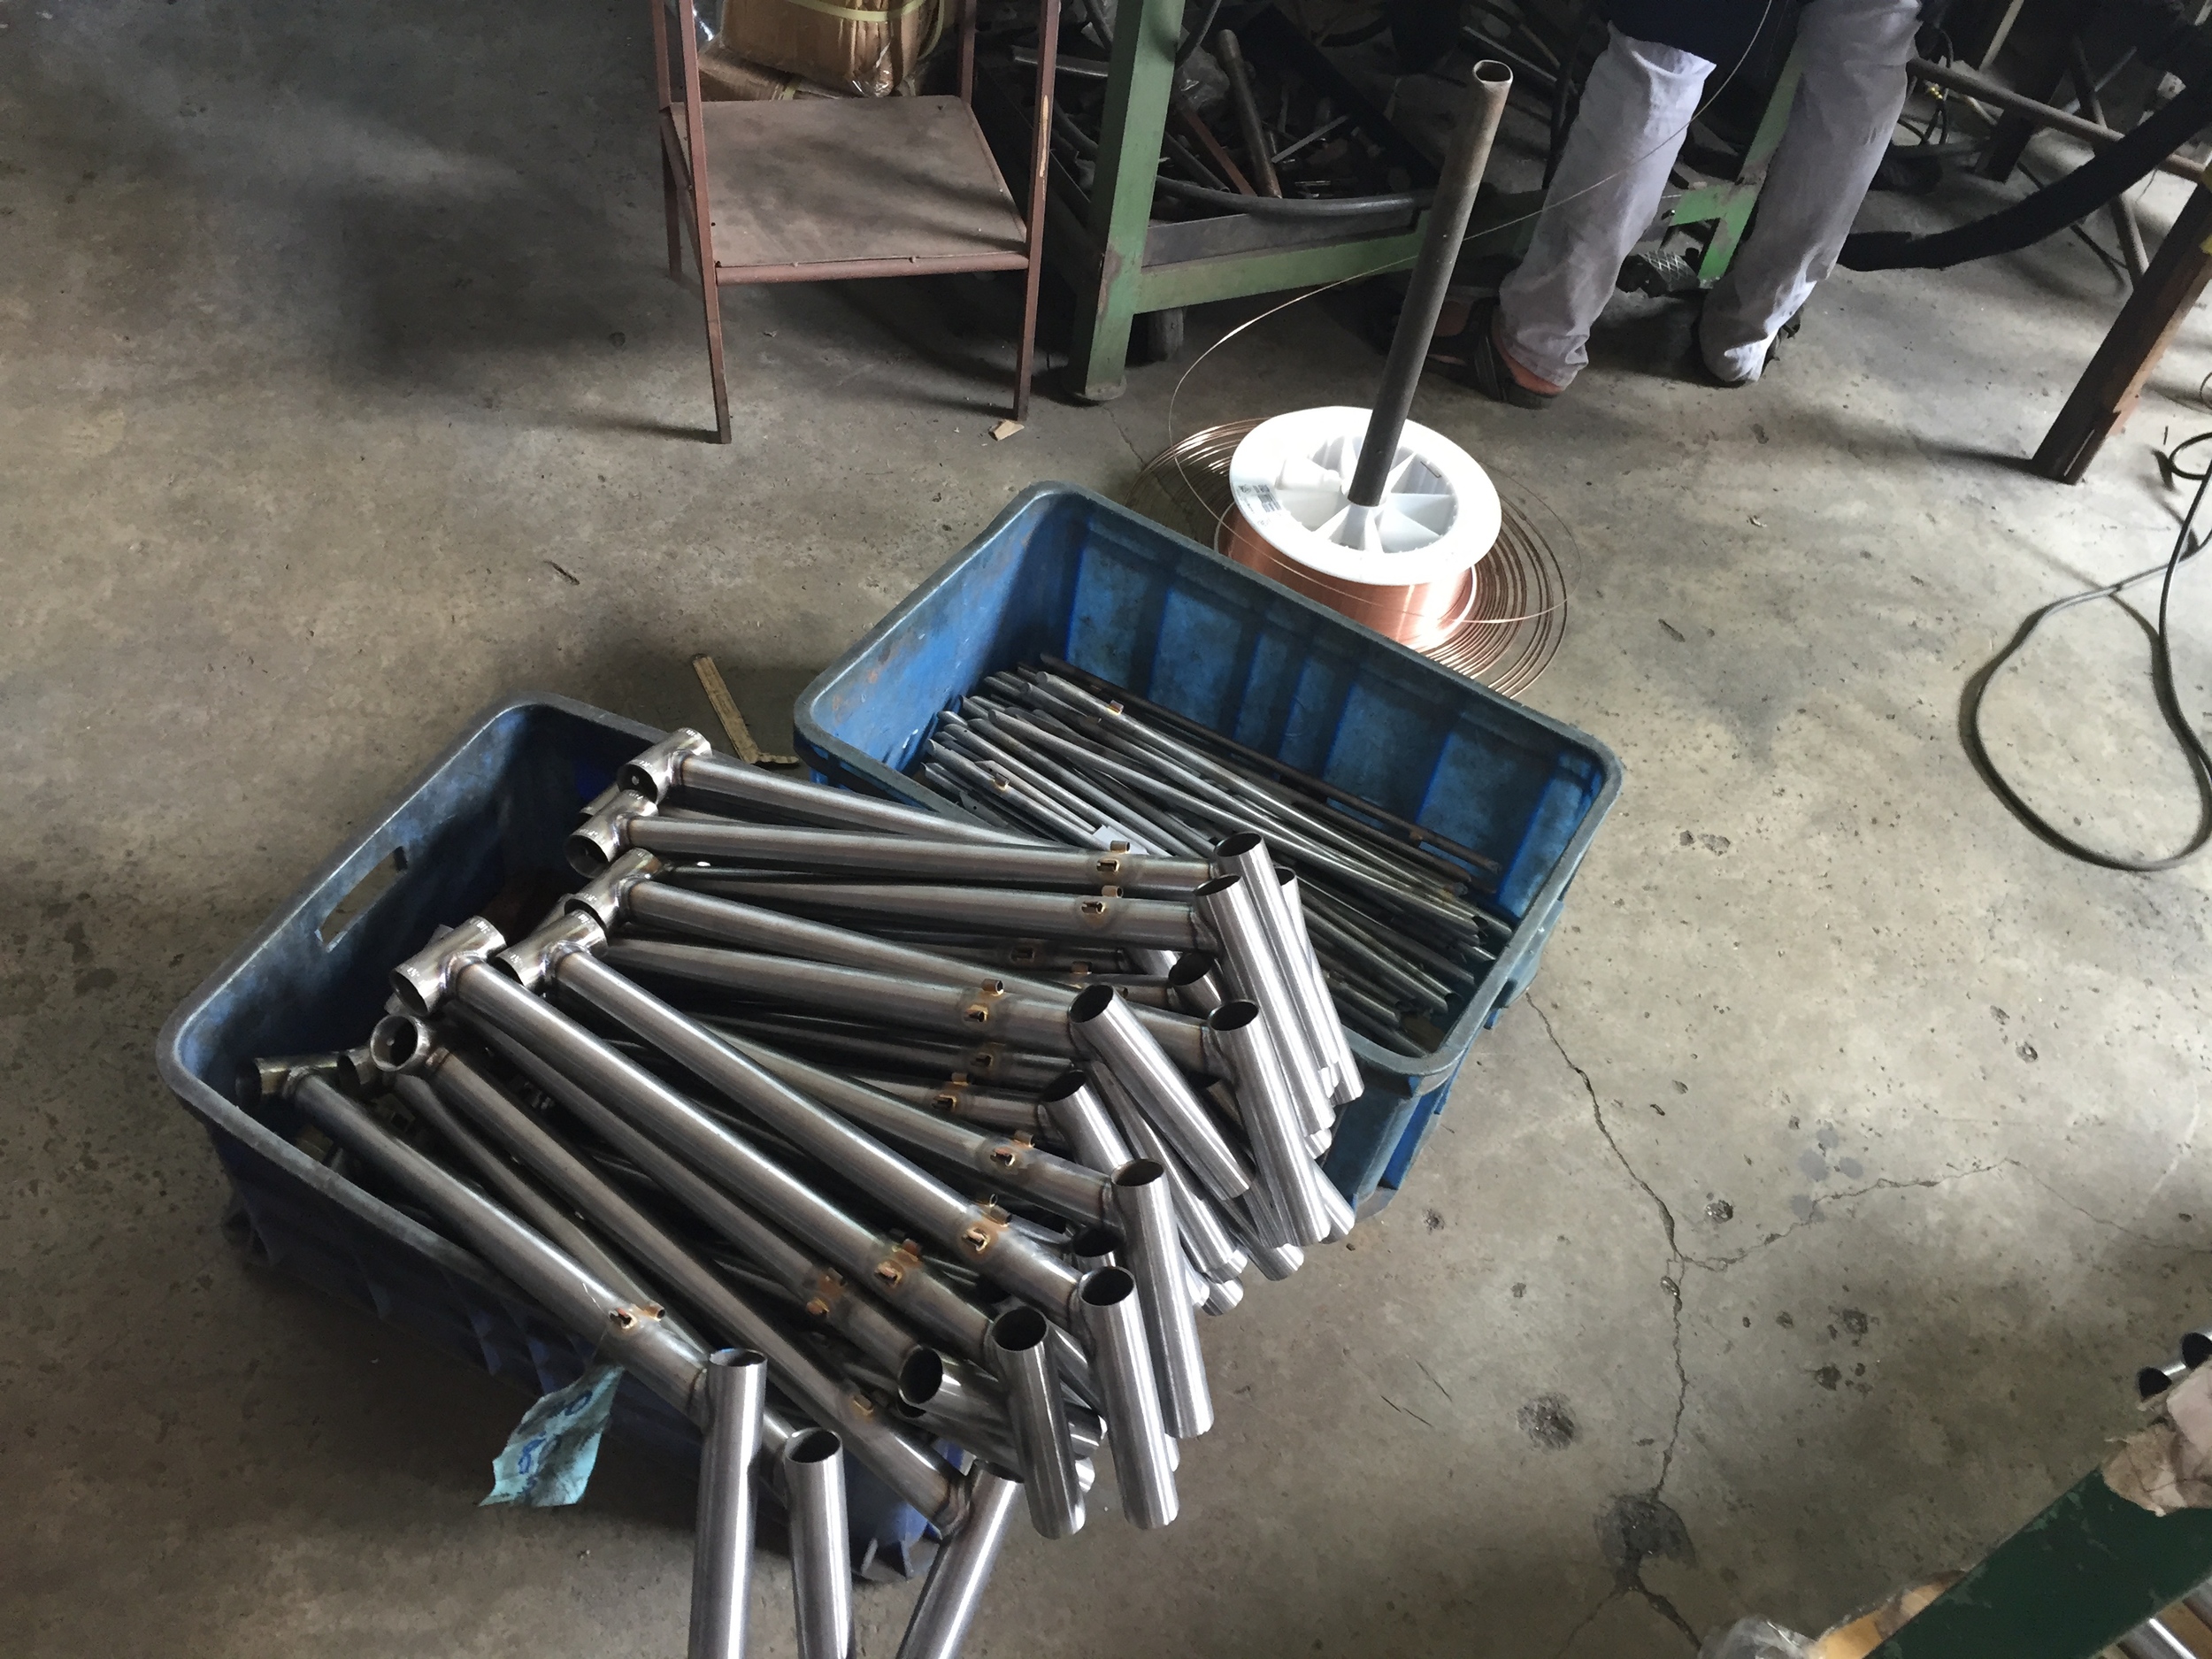
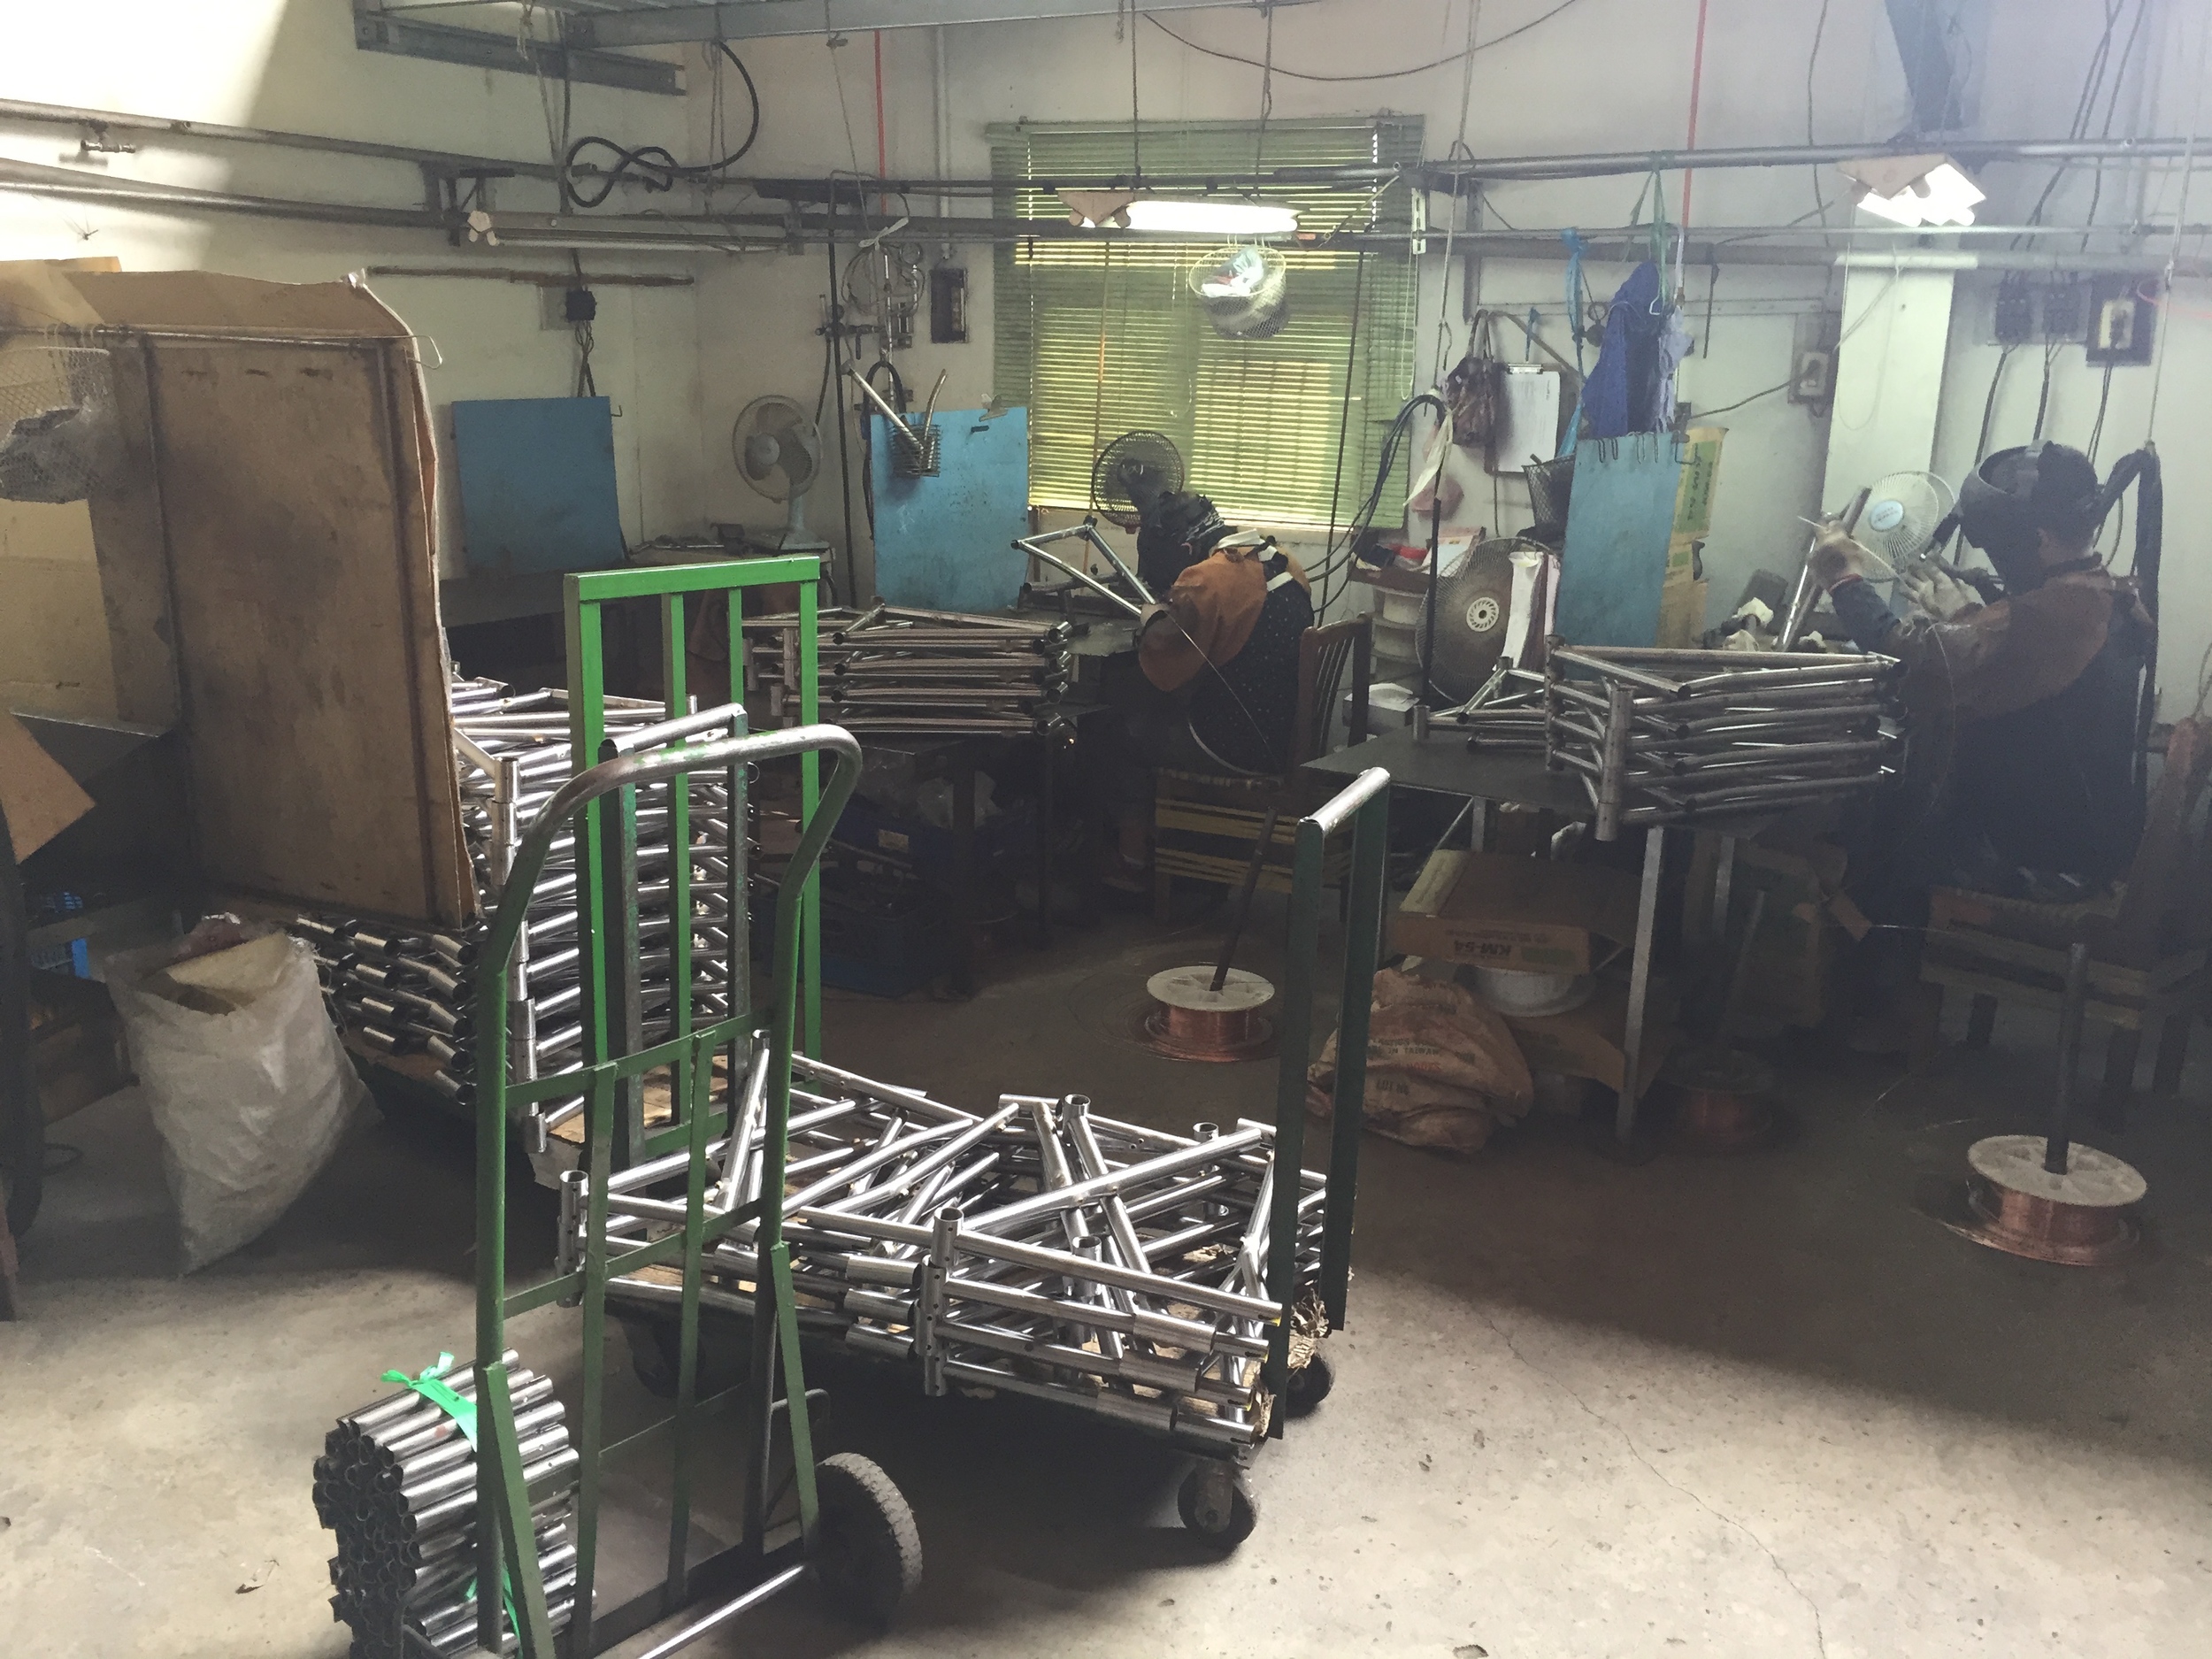
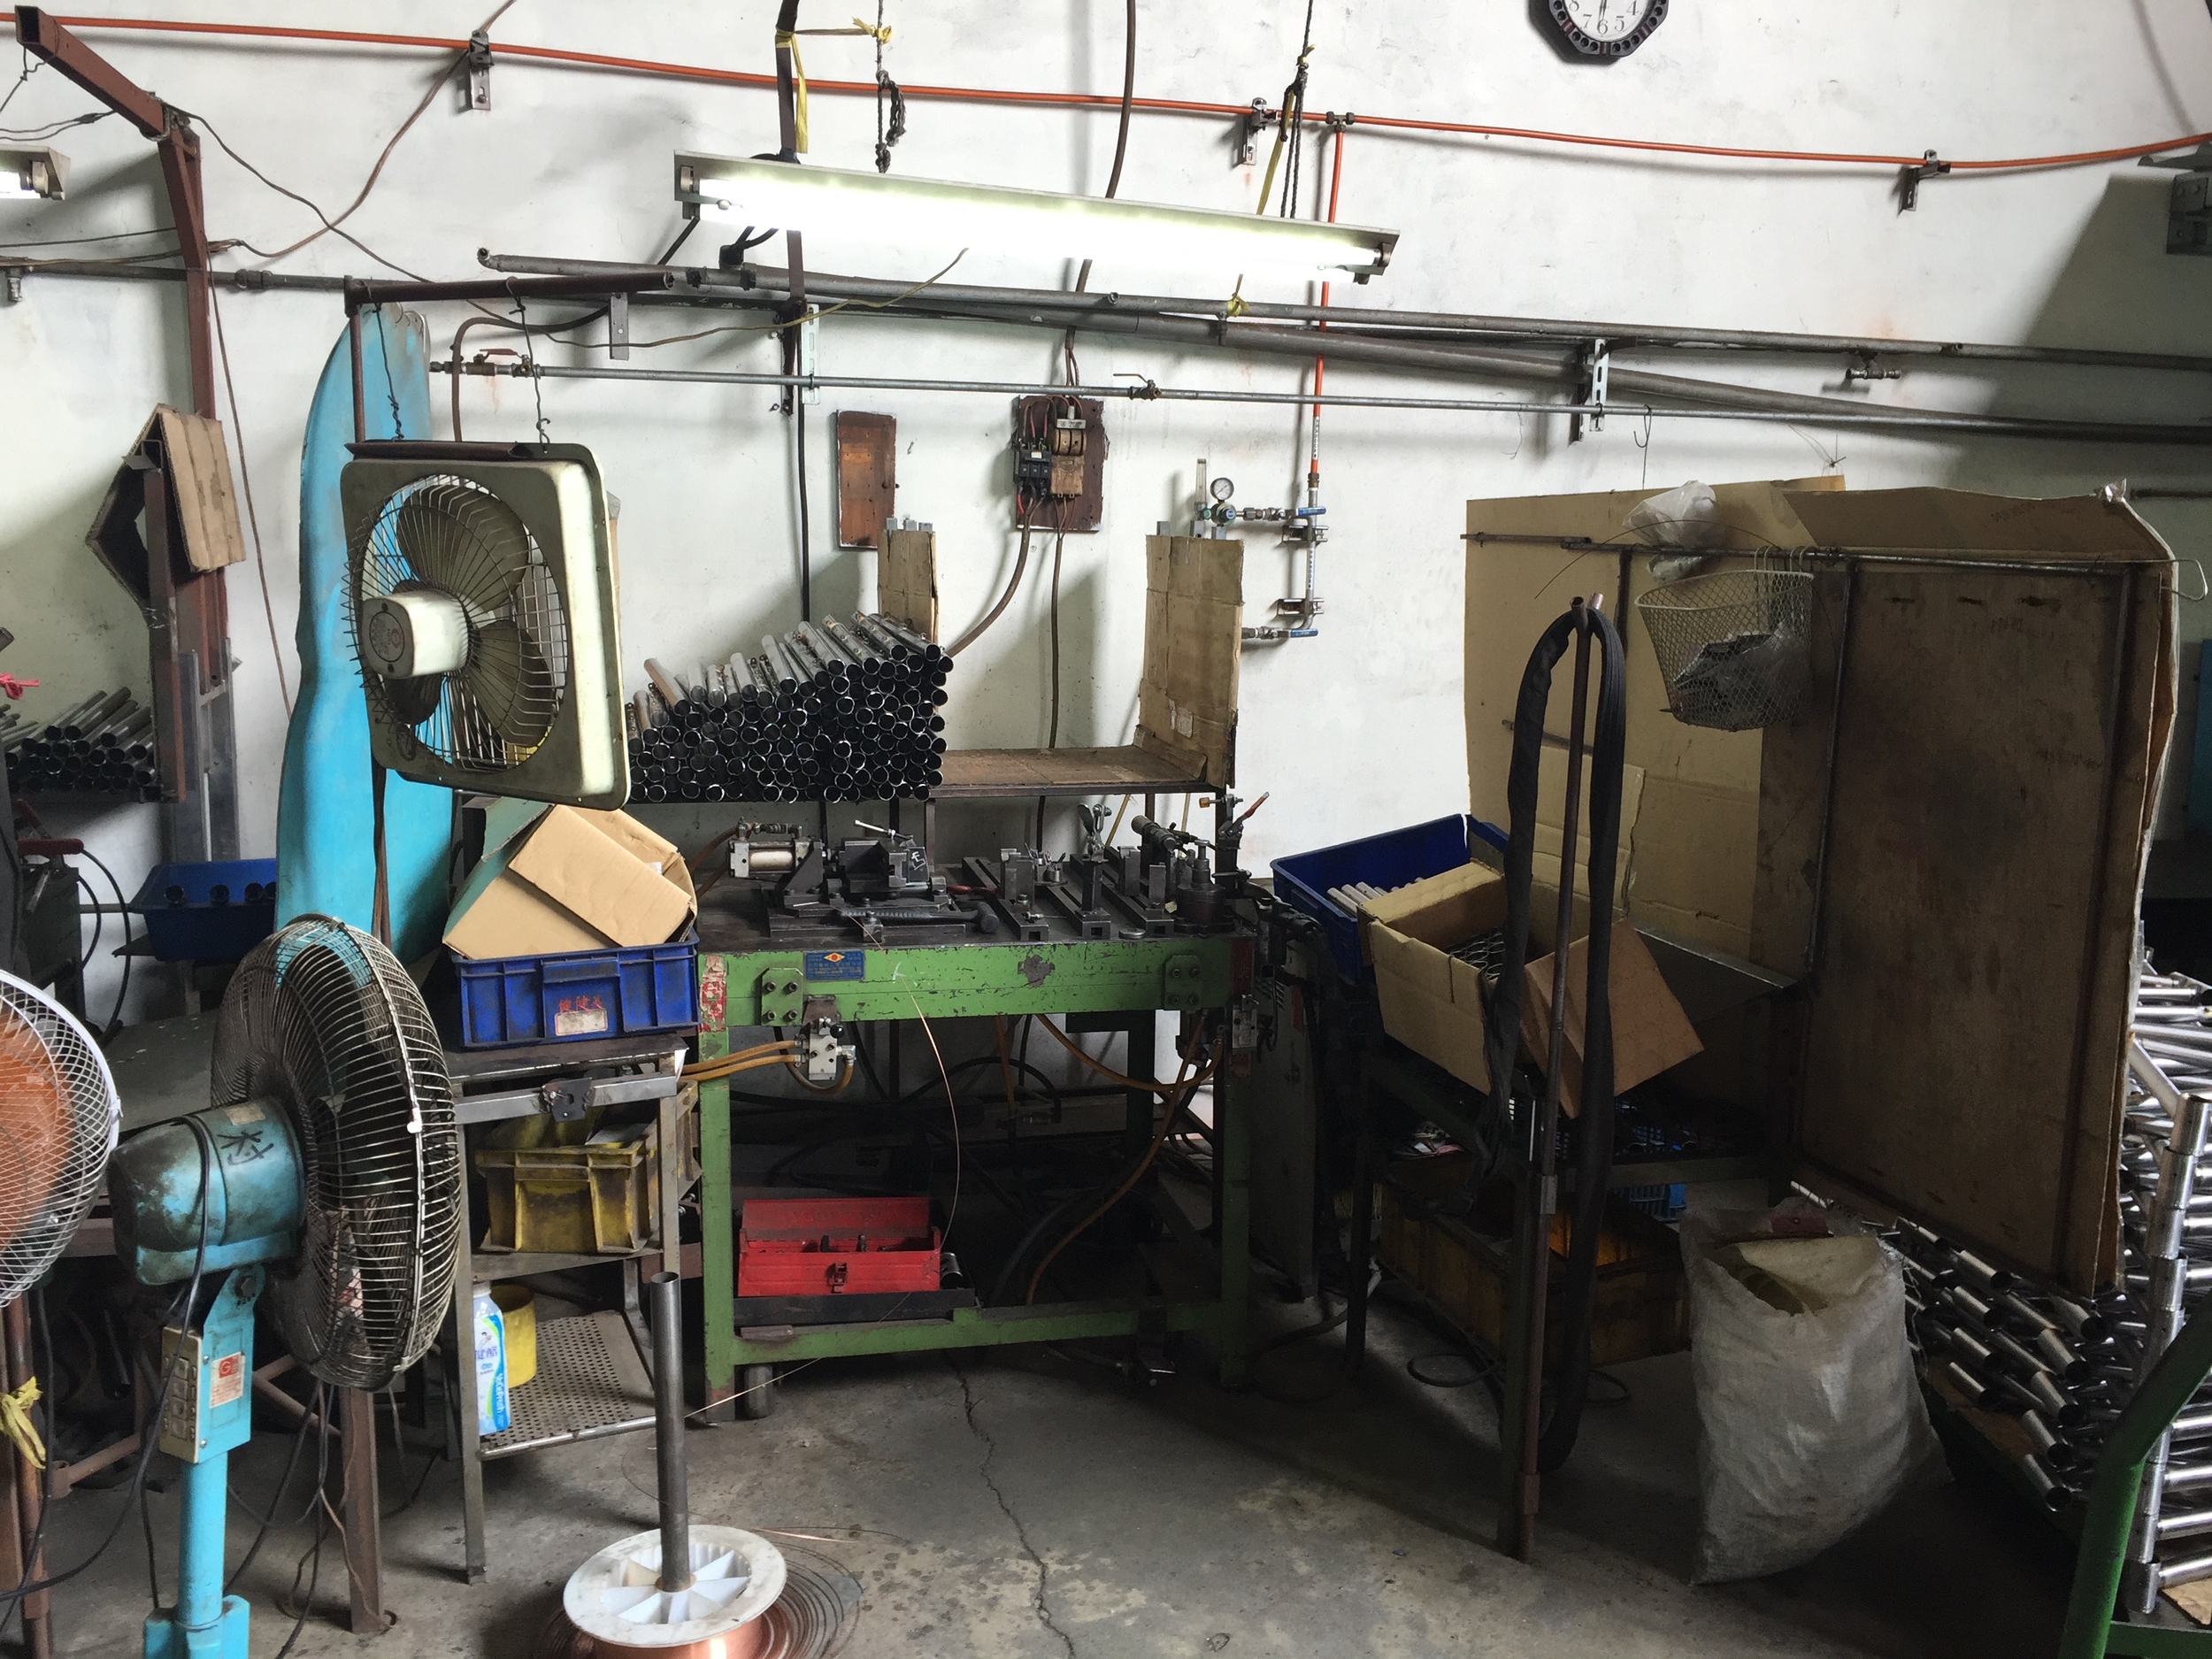
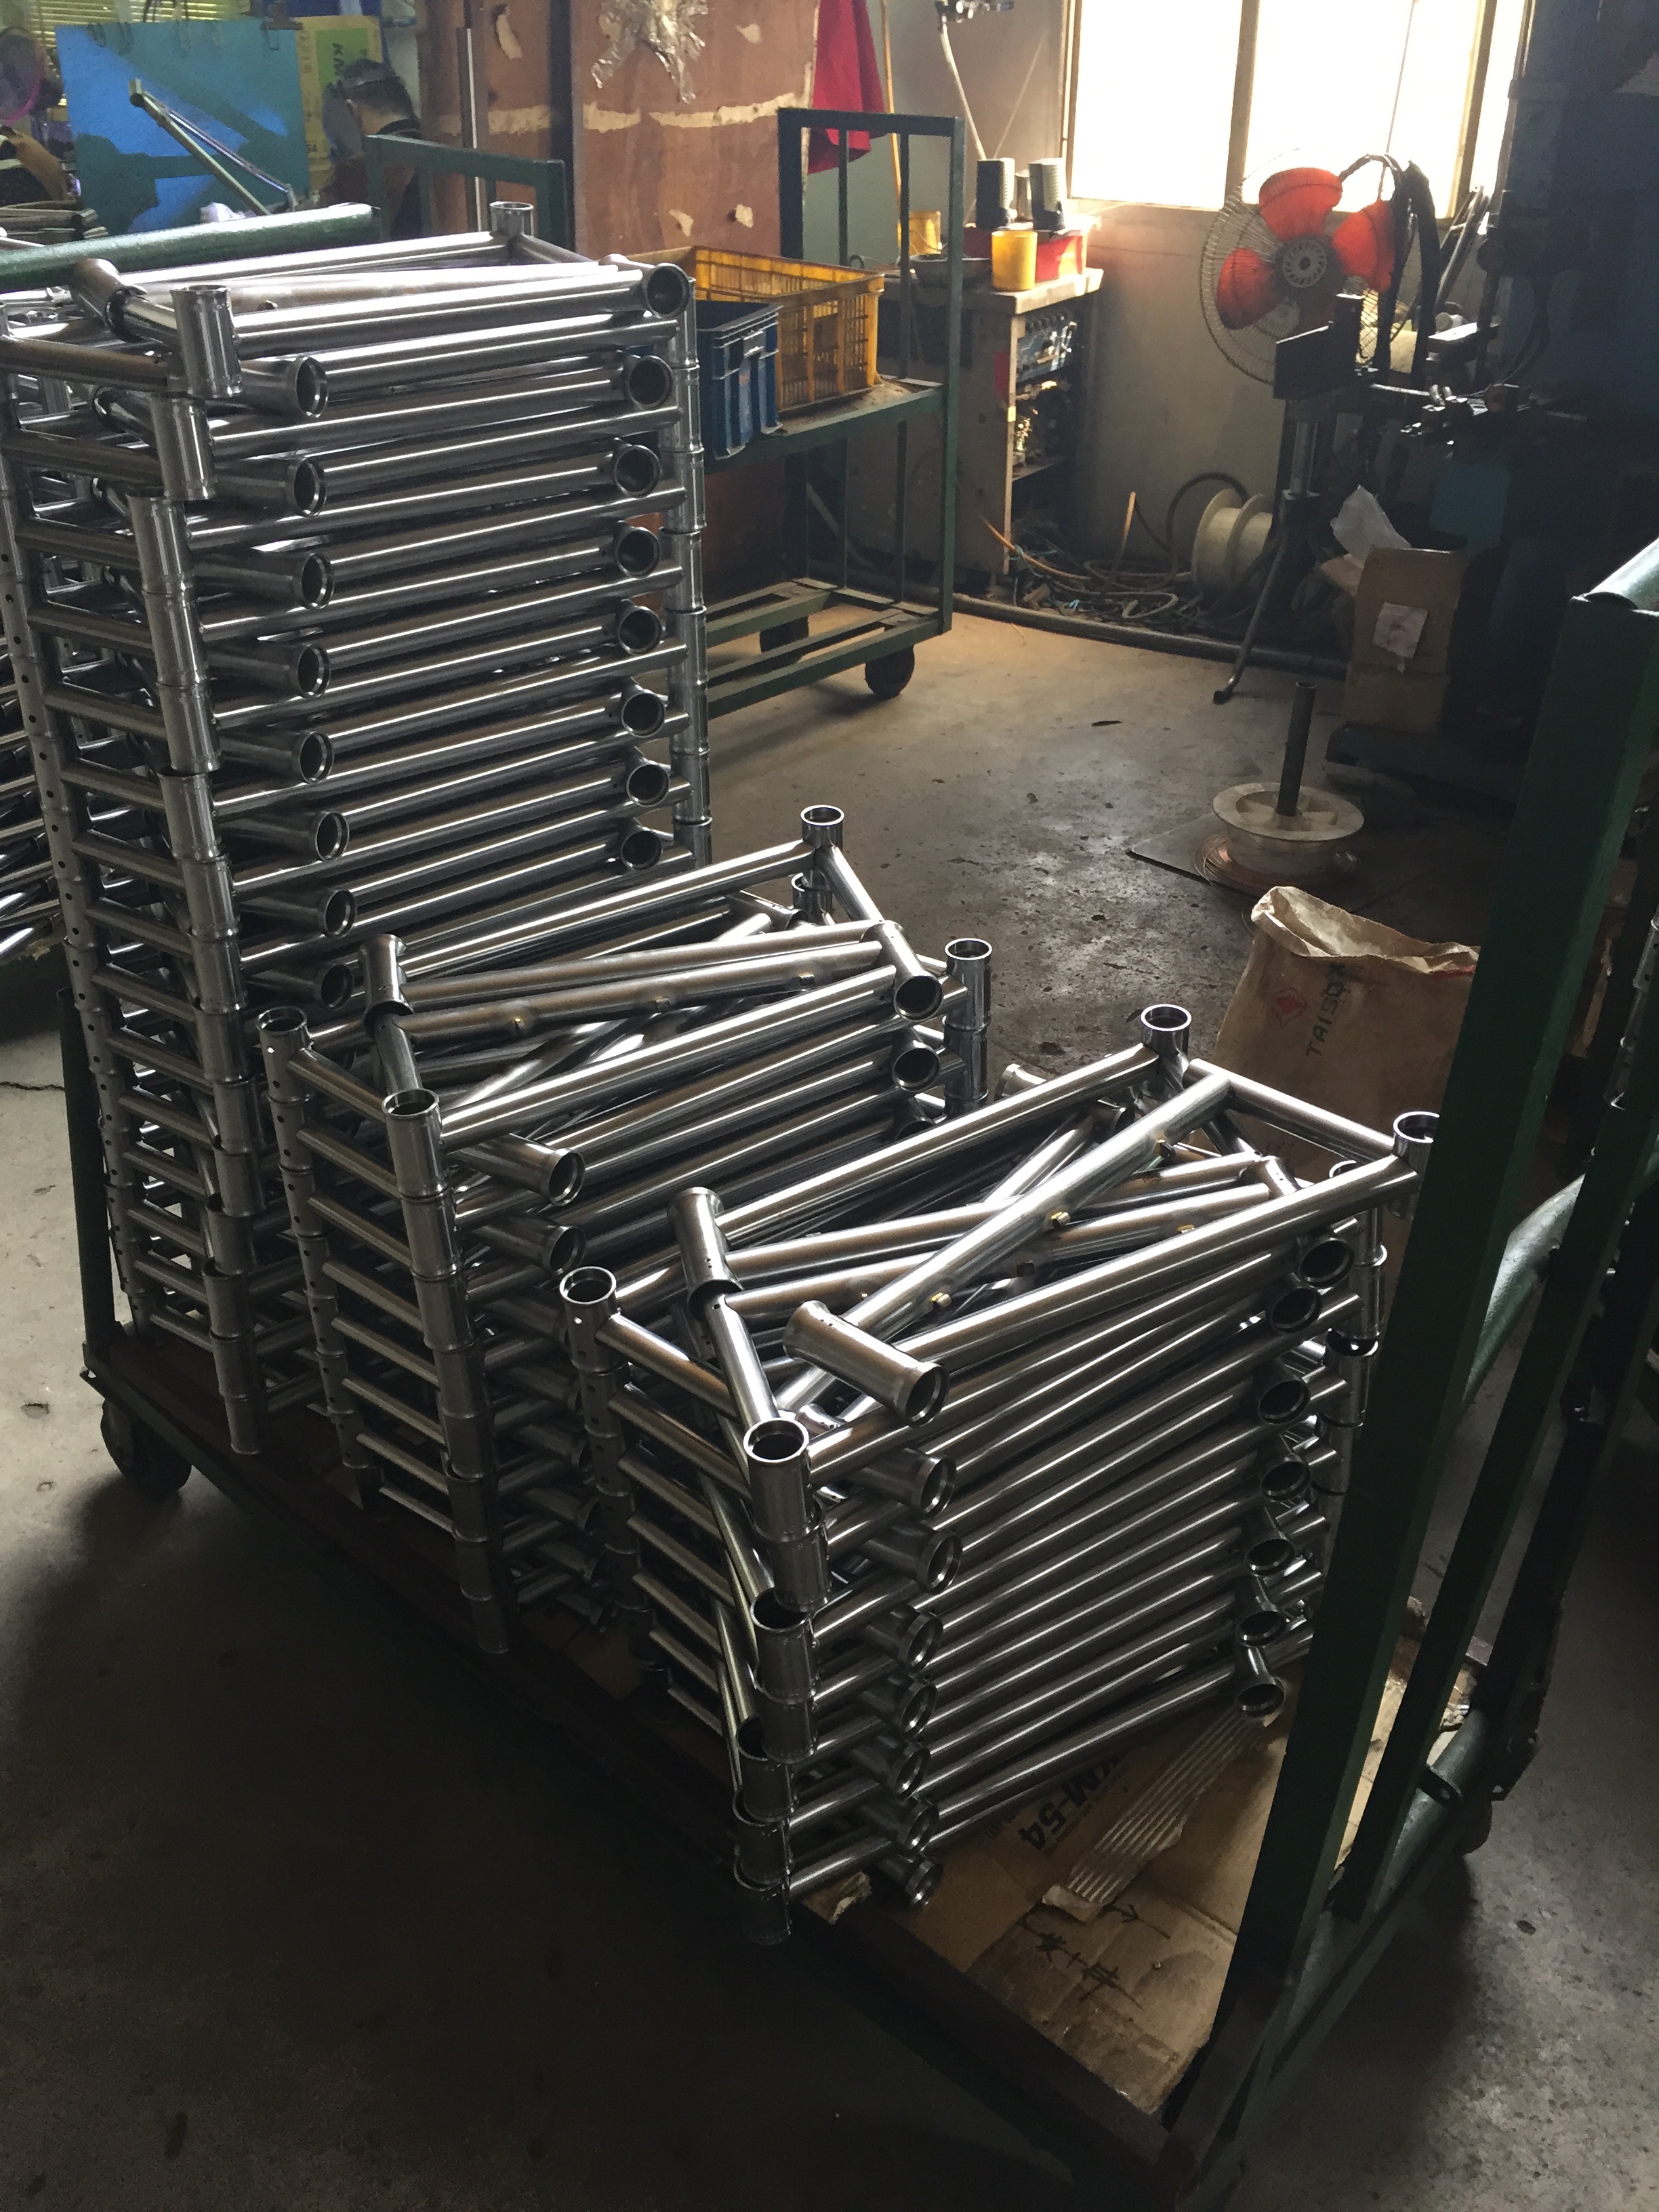
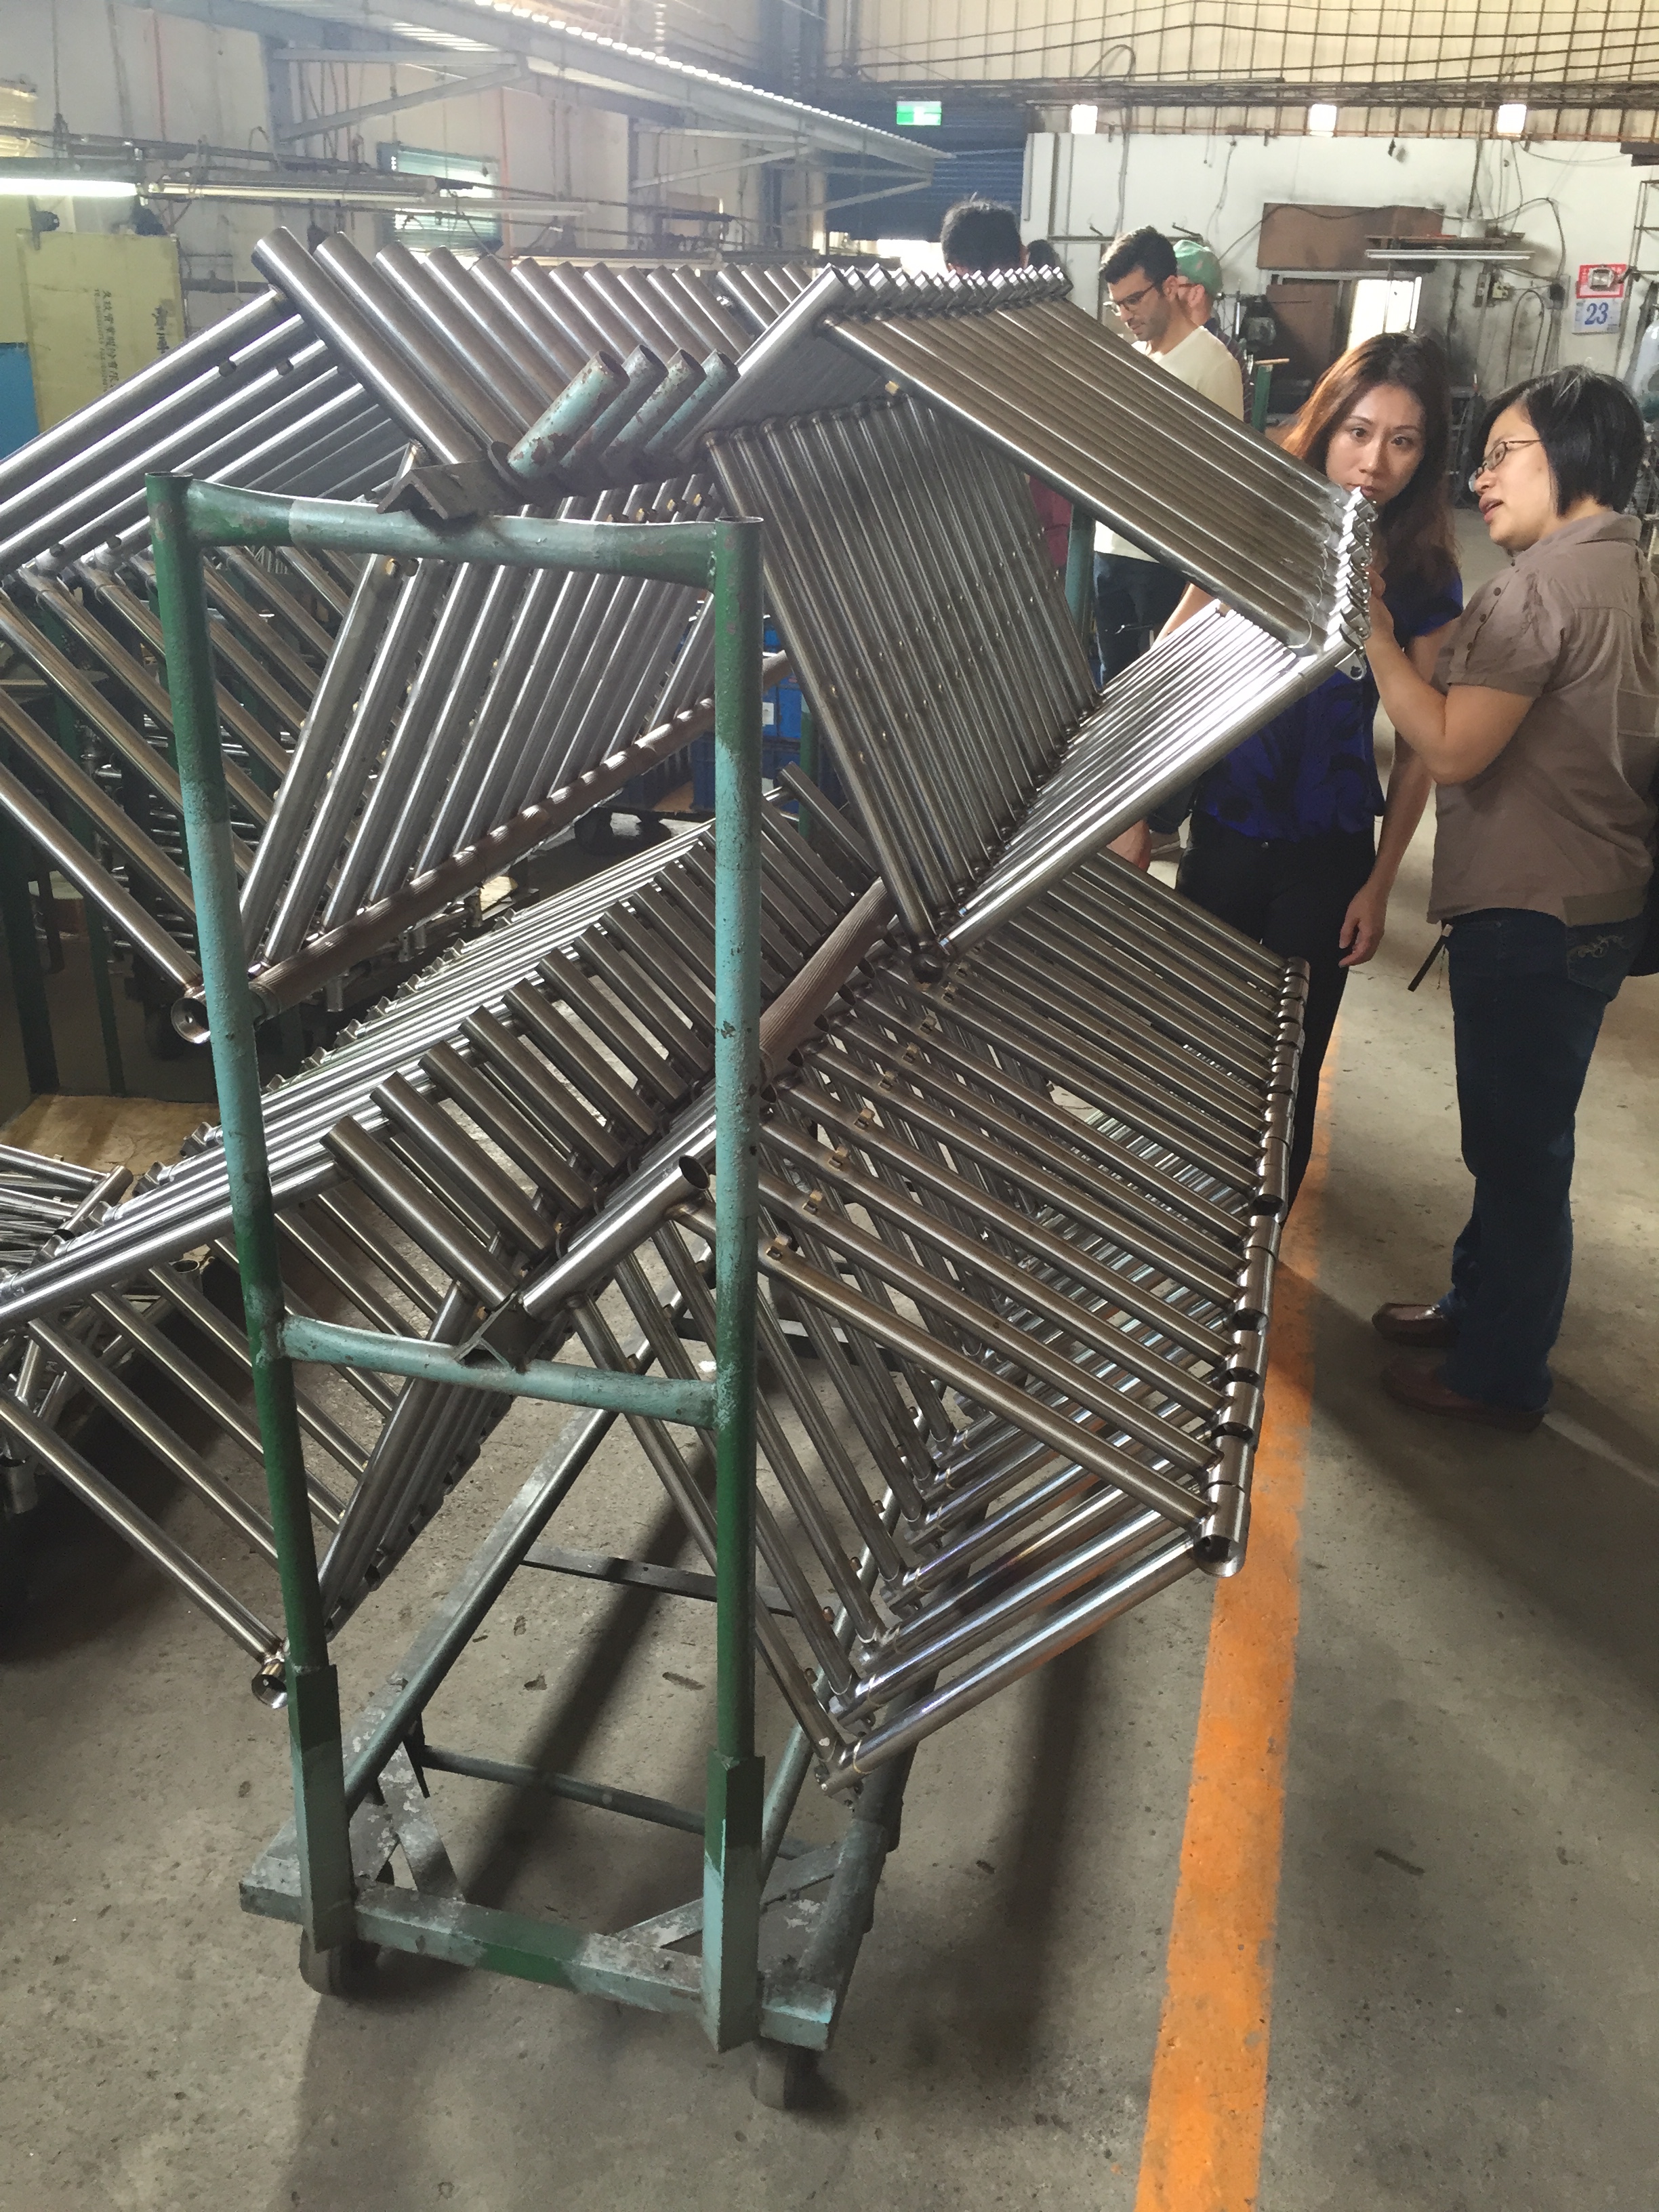
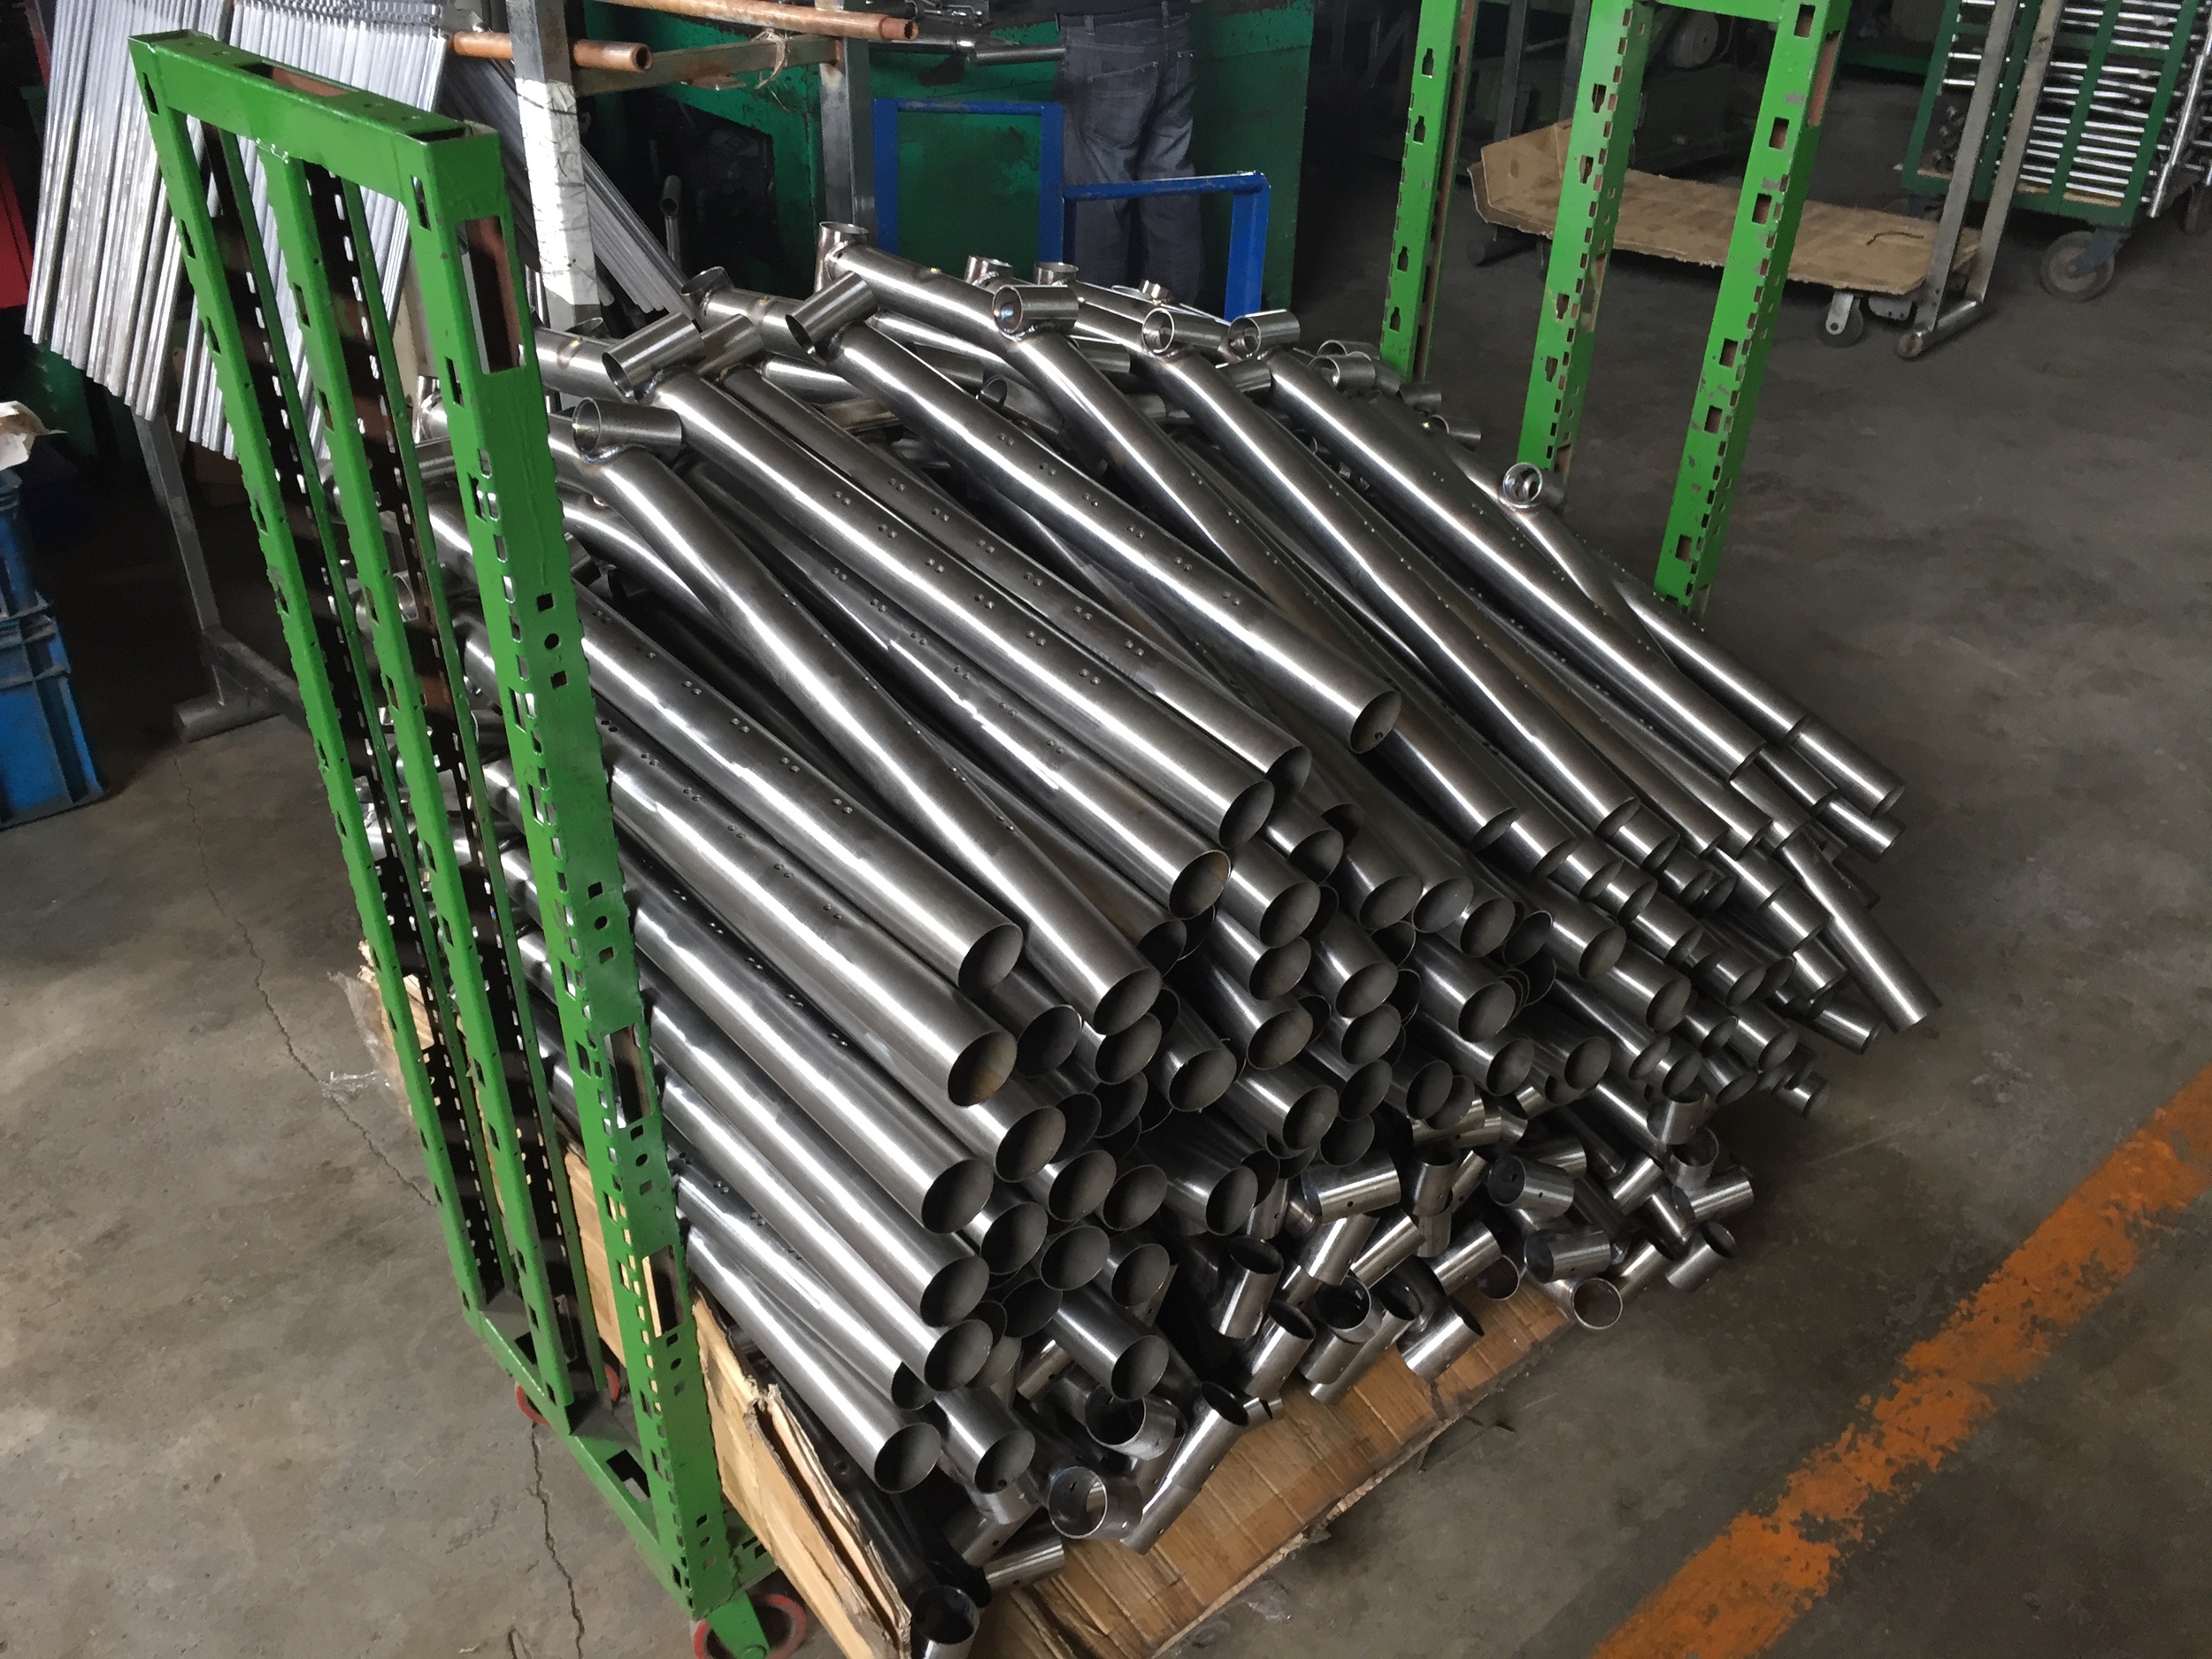
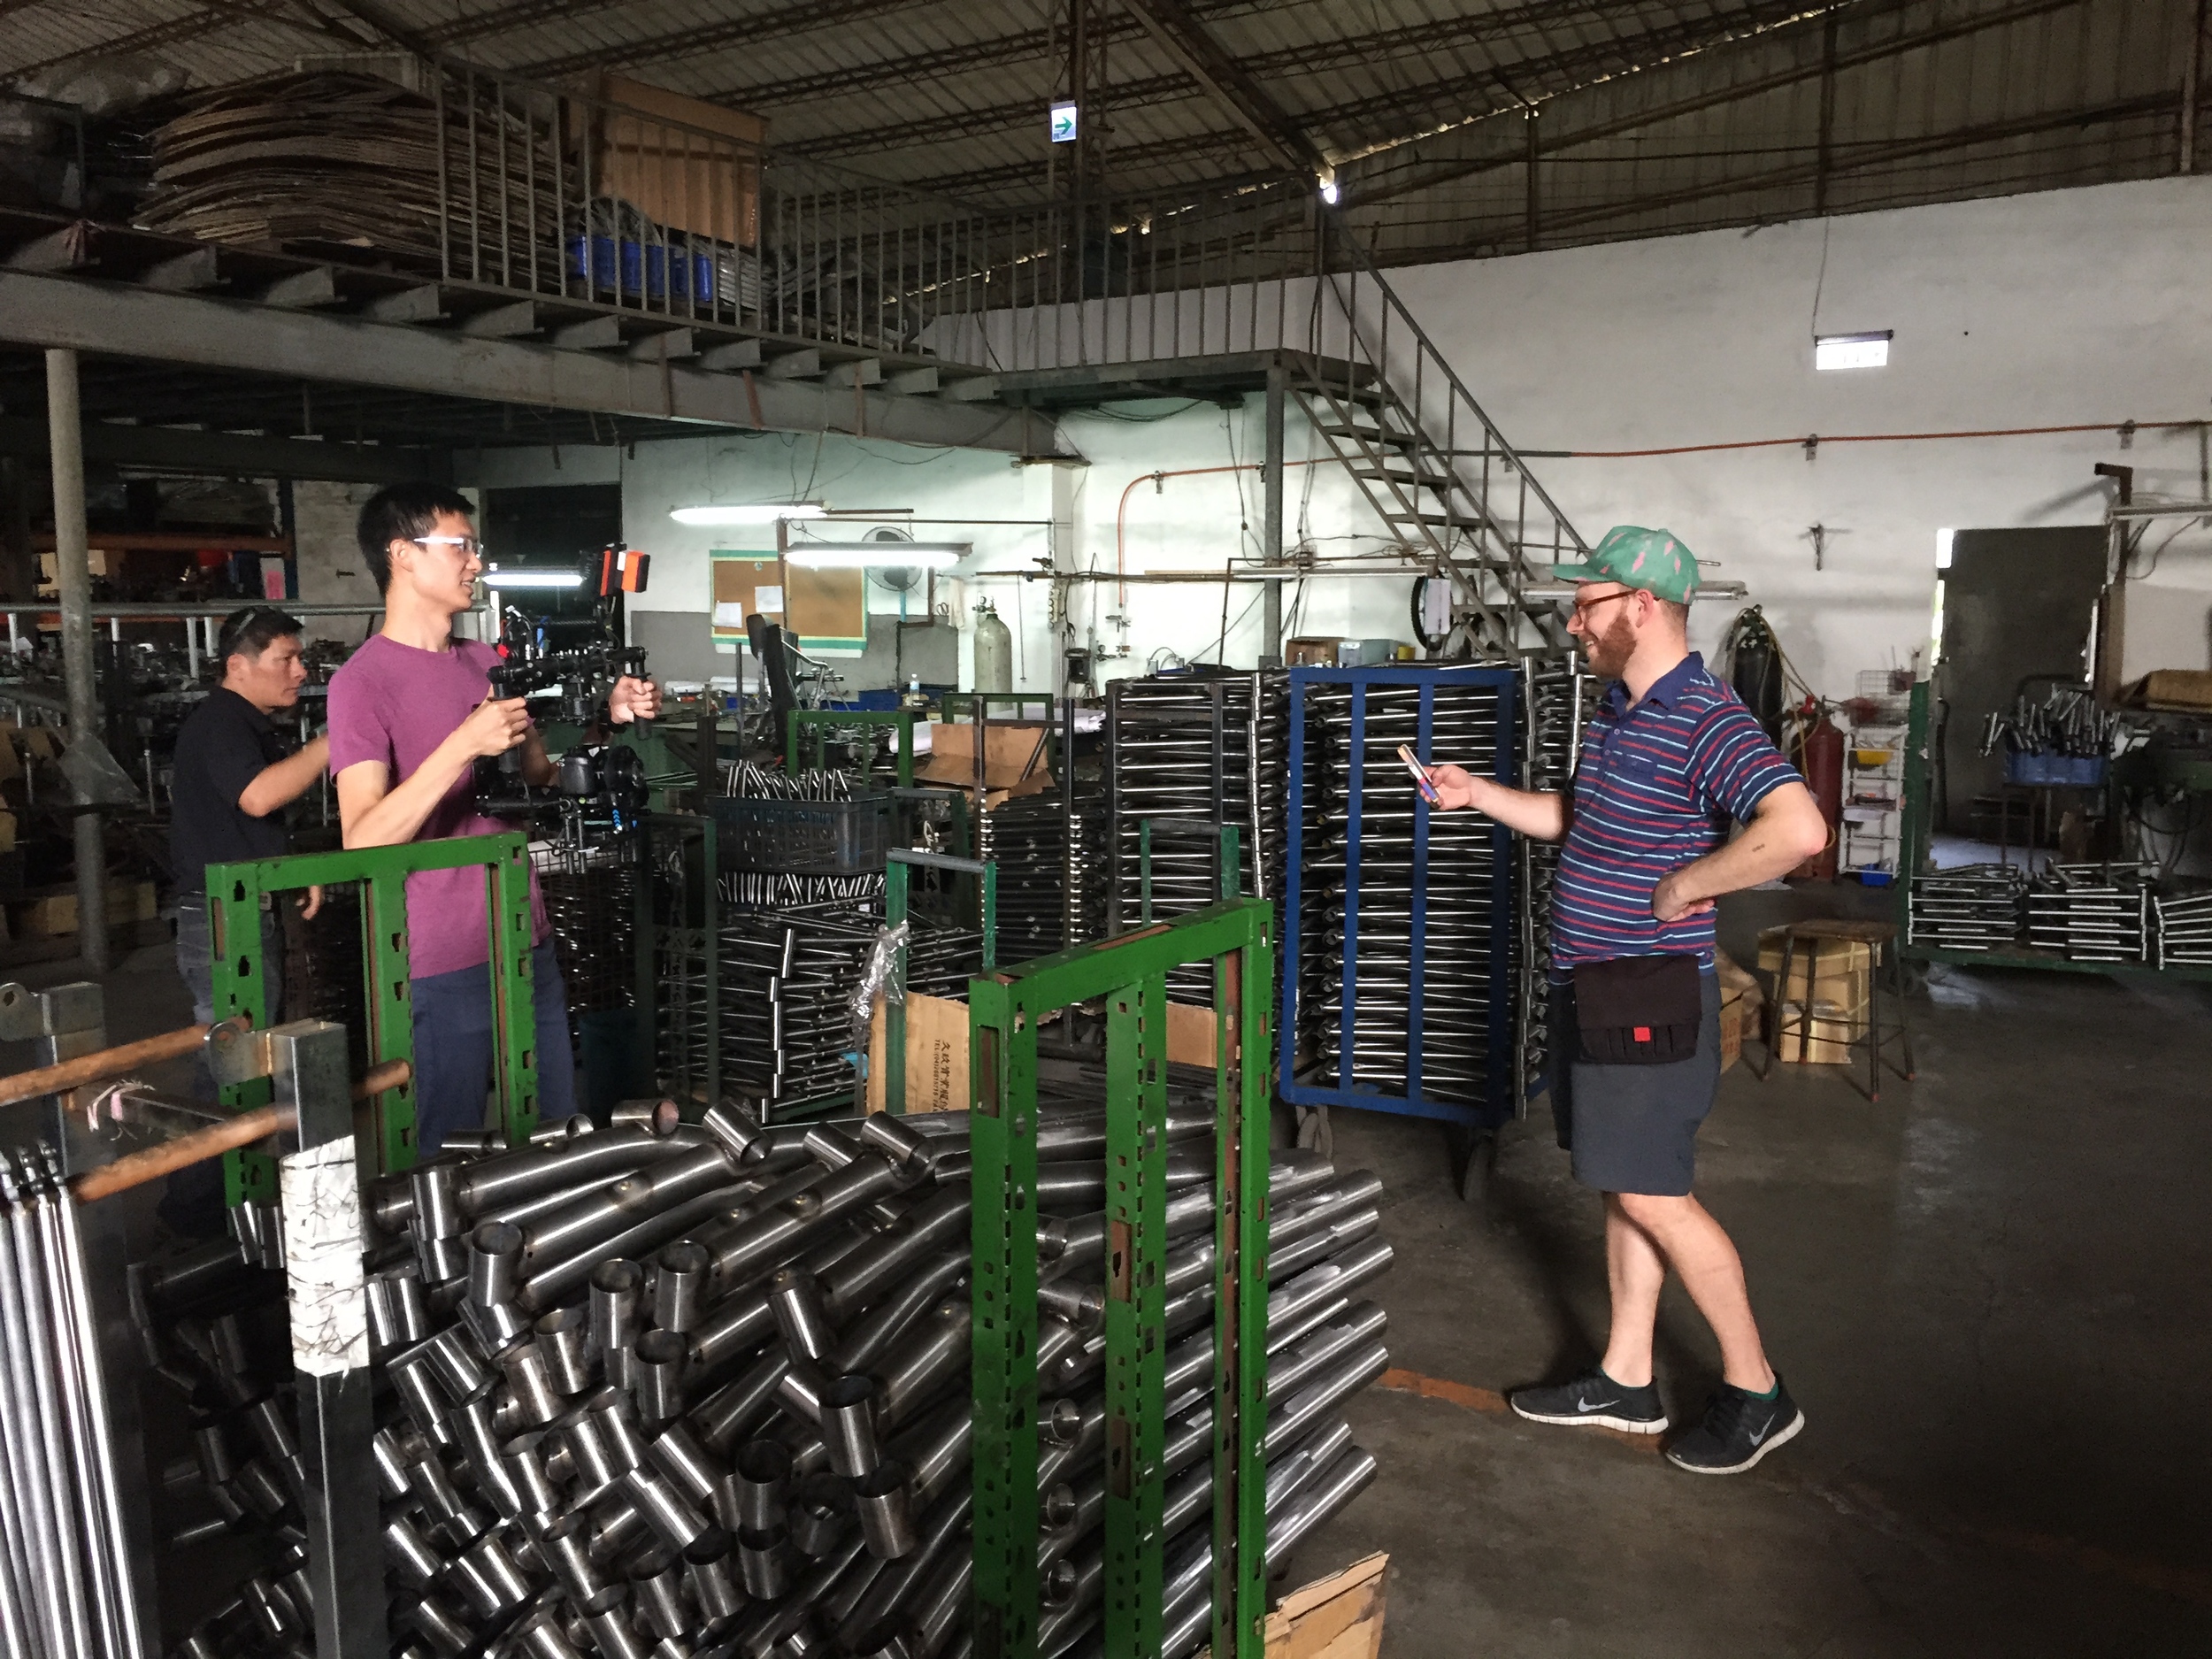
In October, I visited a Taiwanese bicycle frame factory with Brilliant Bicycles

Photos!

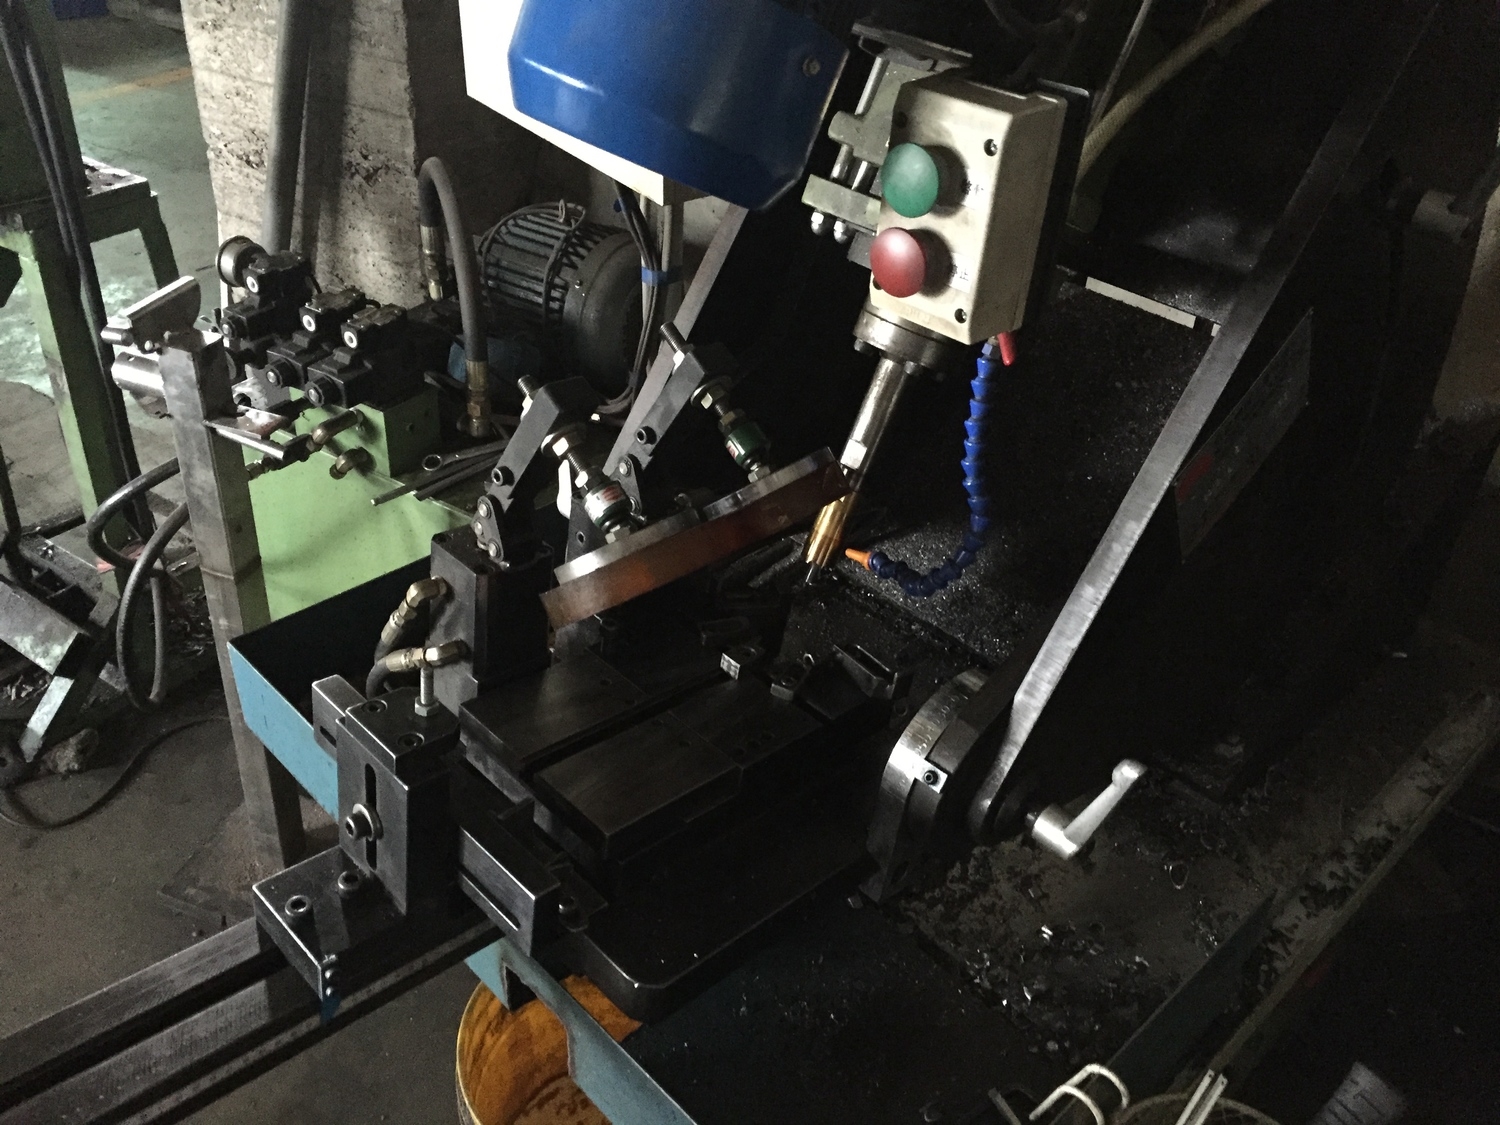
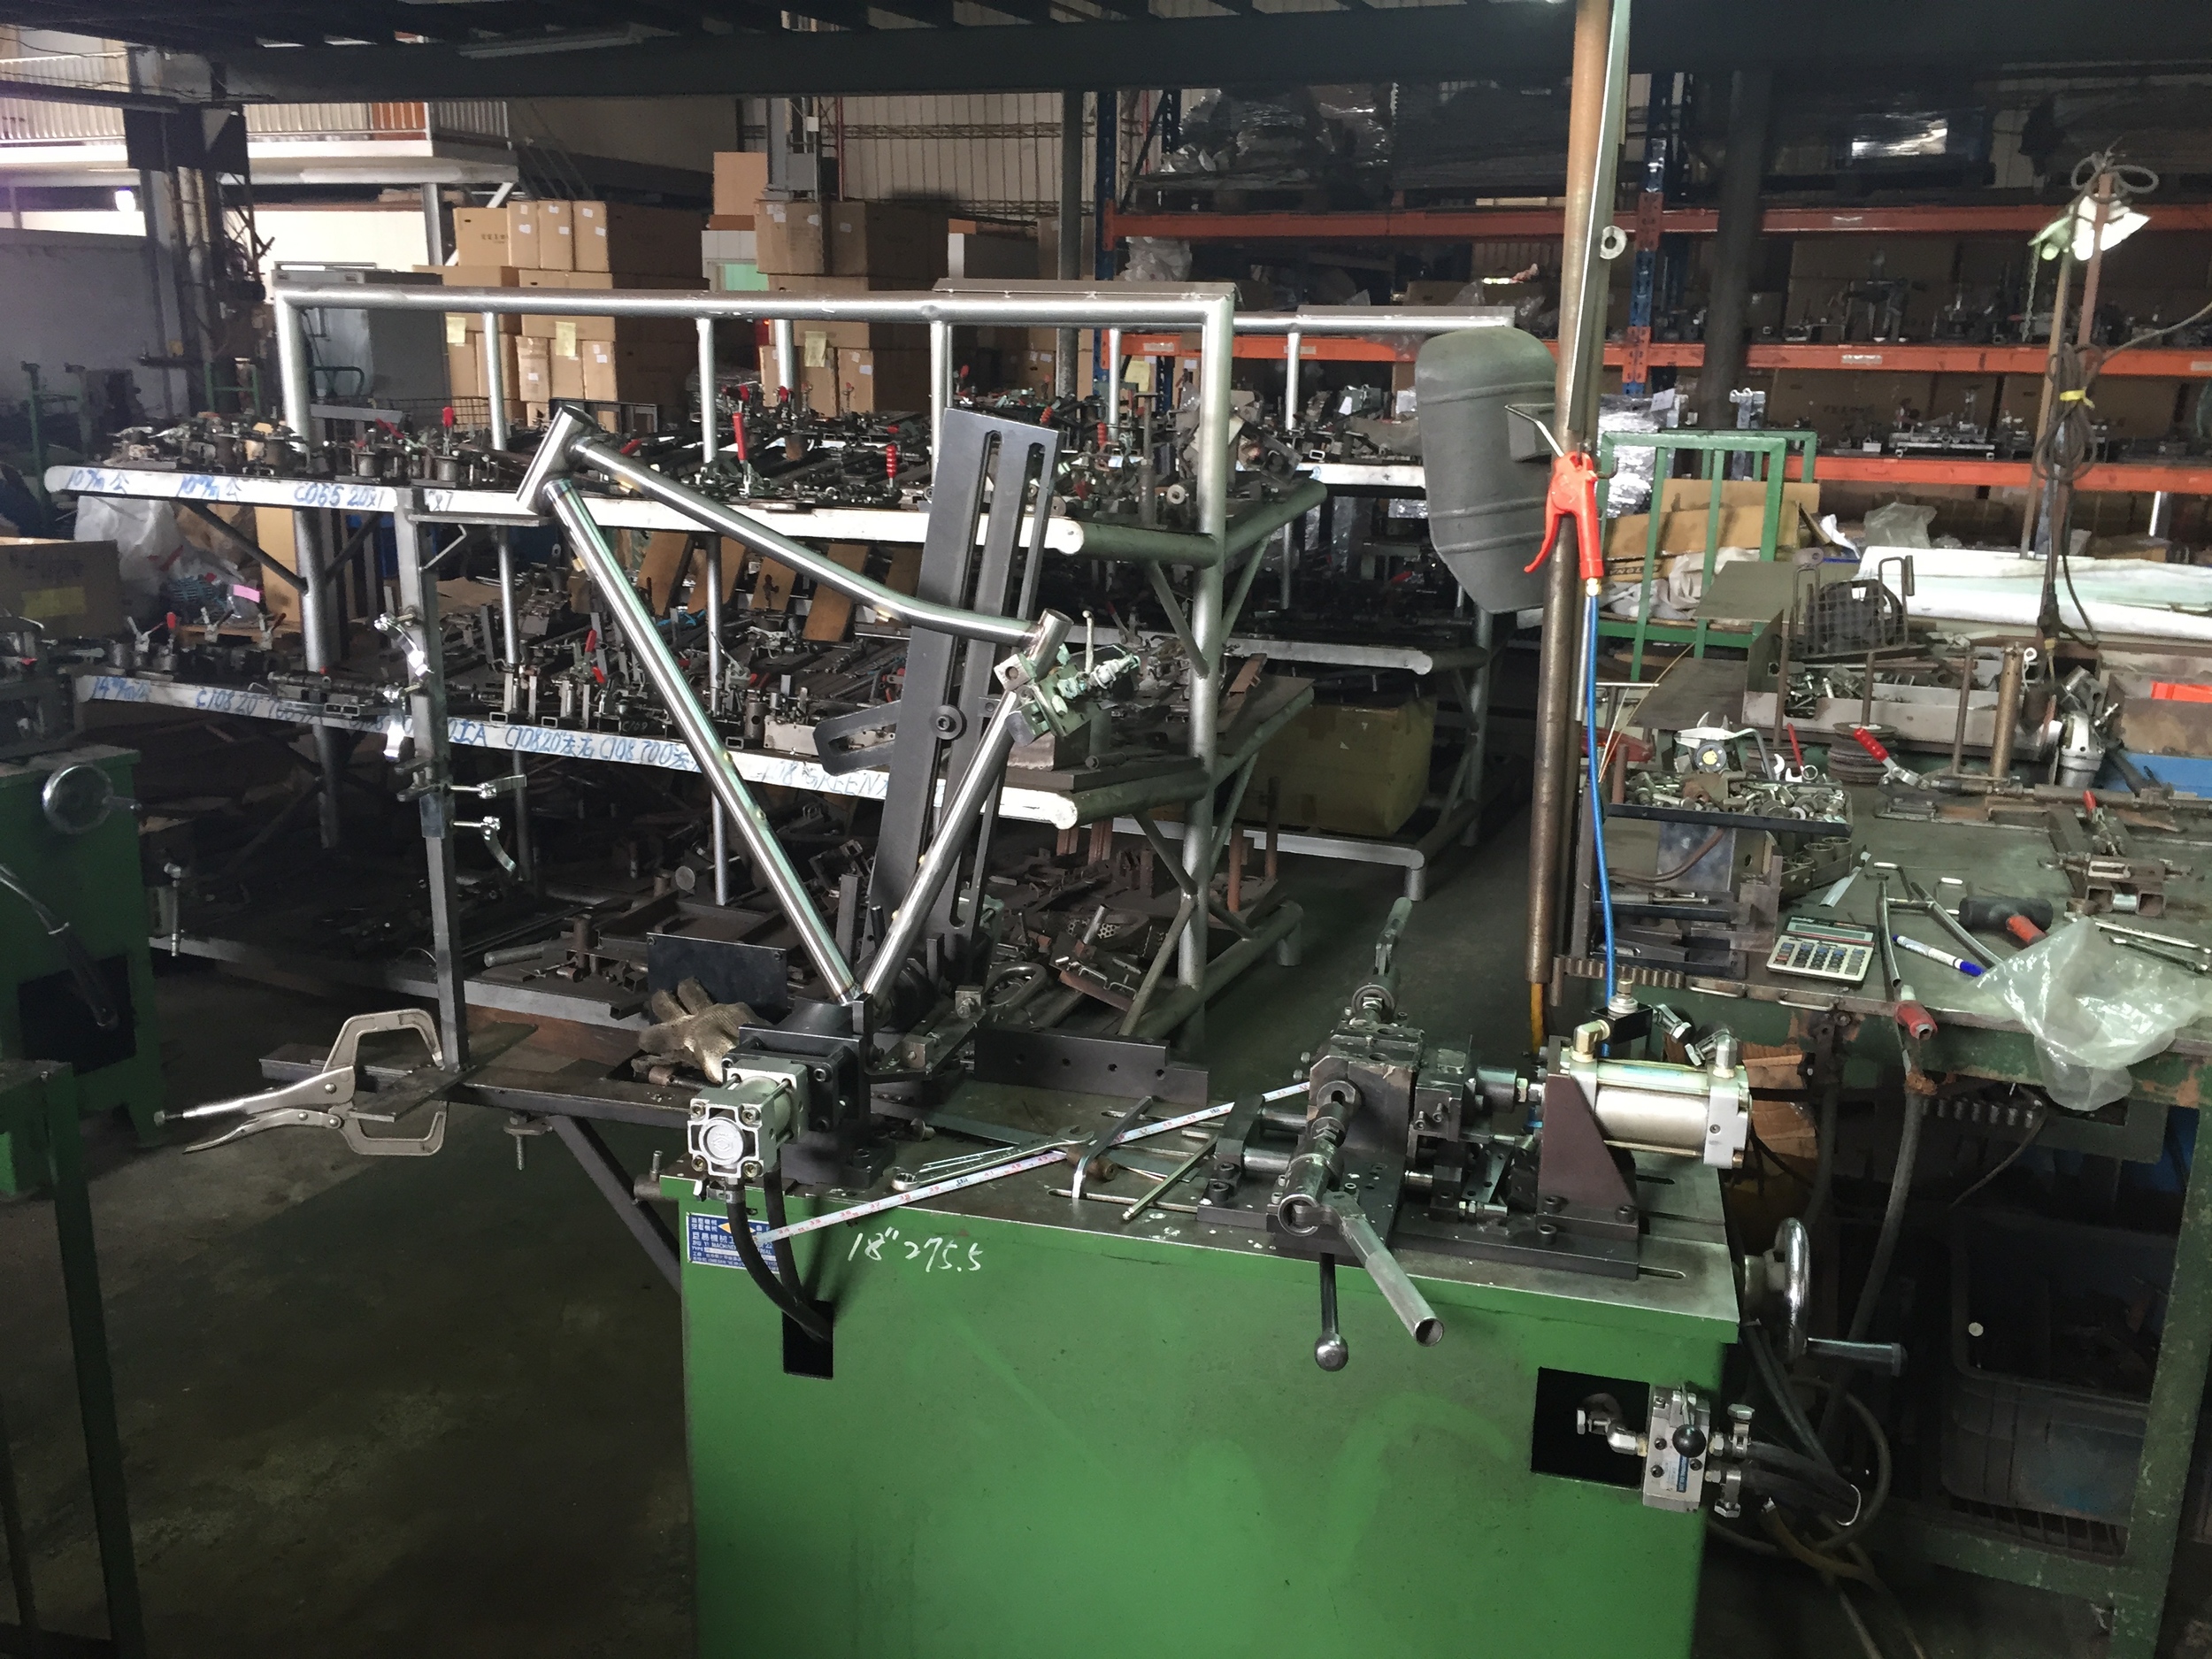
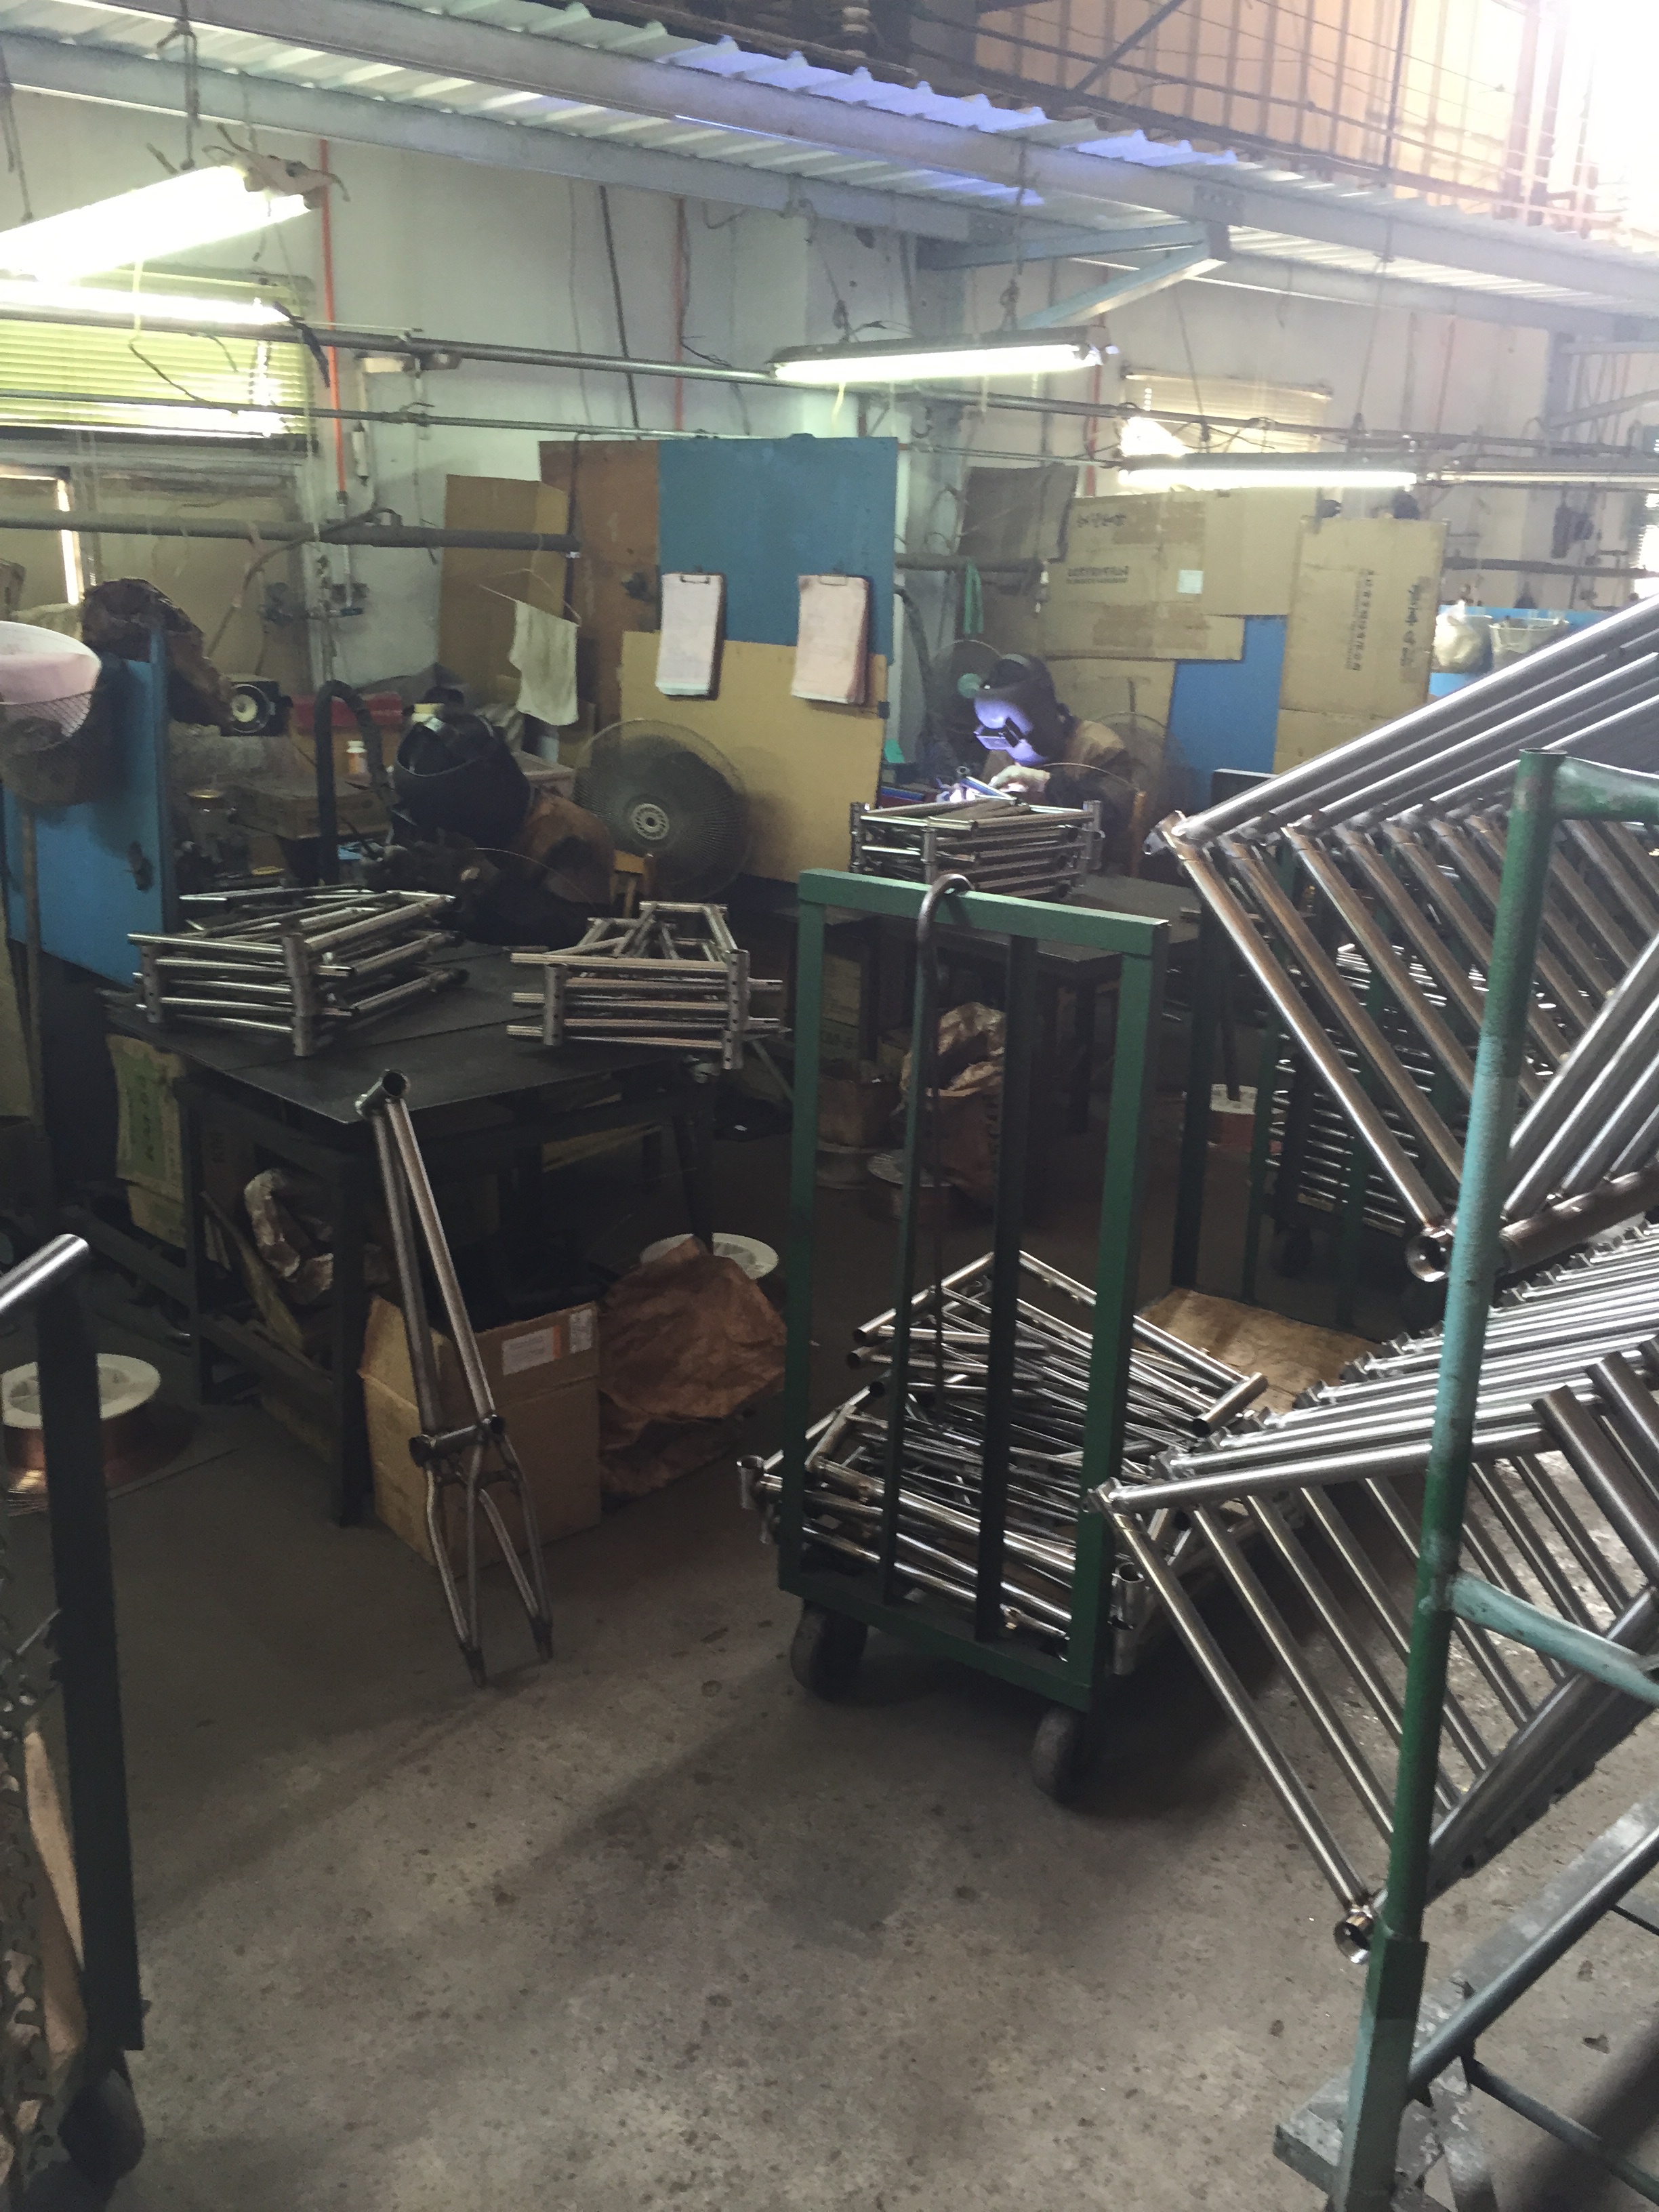
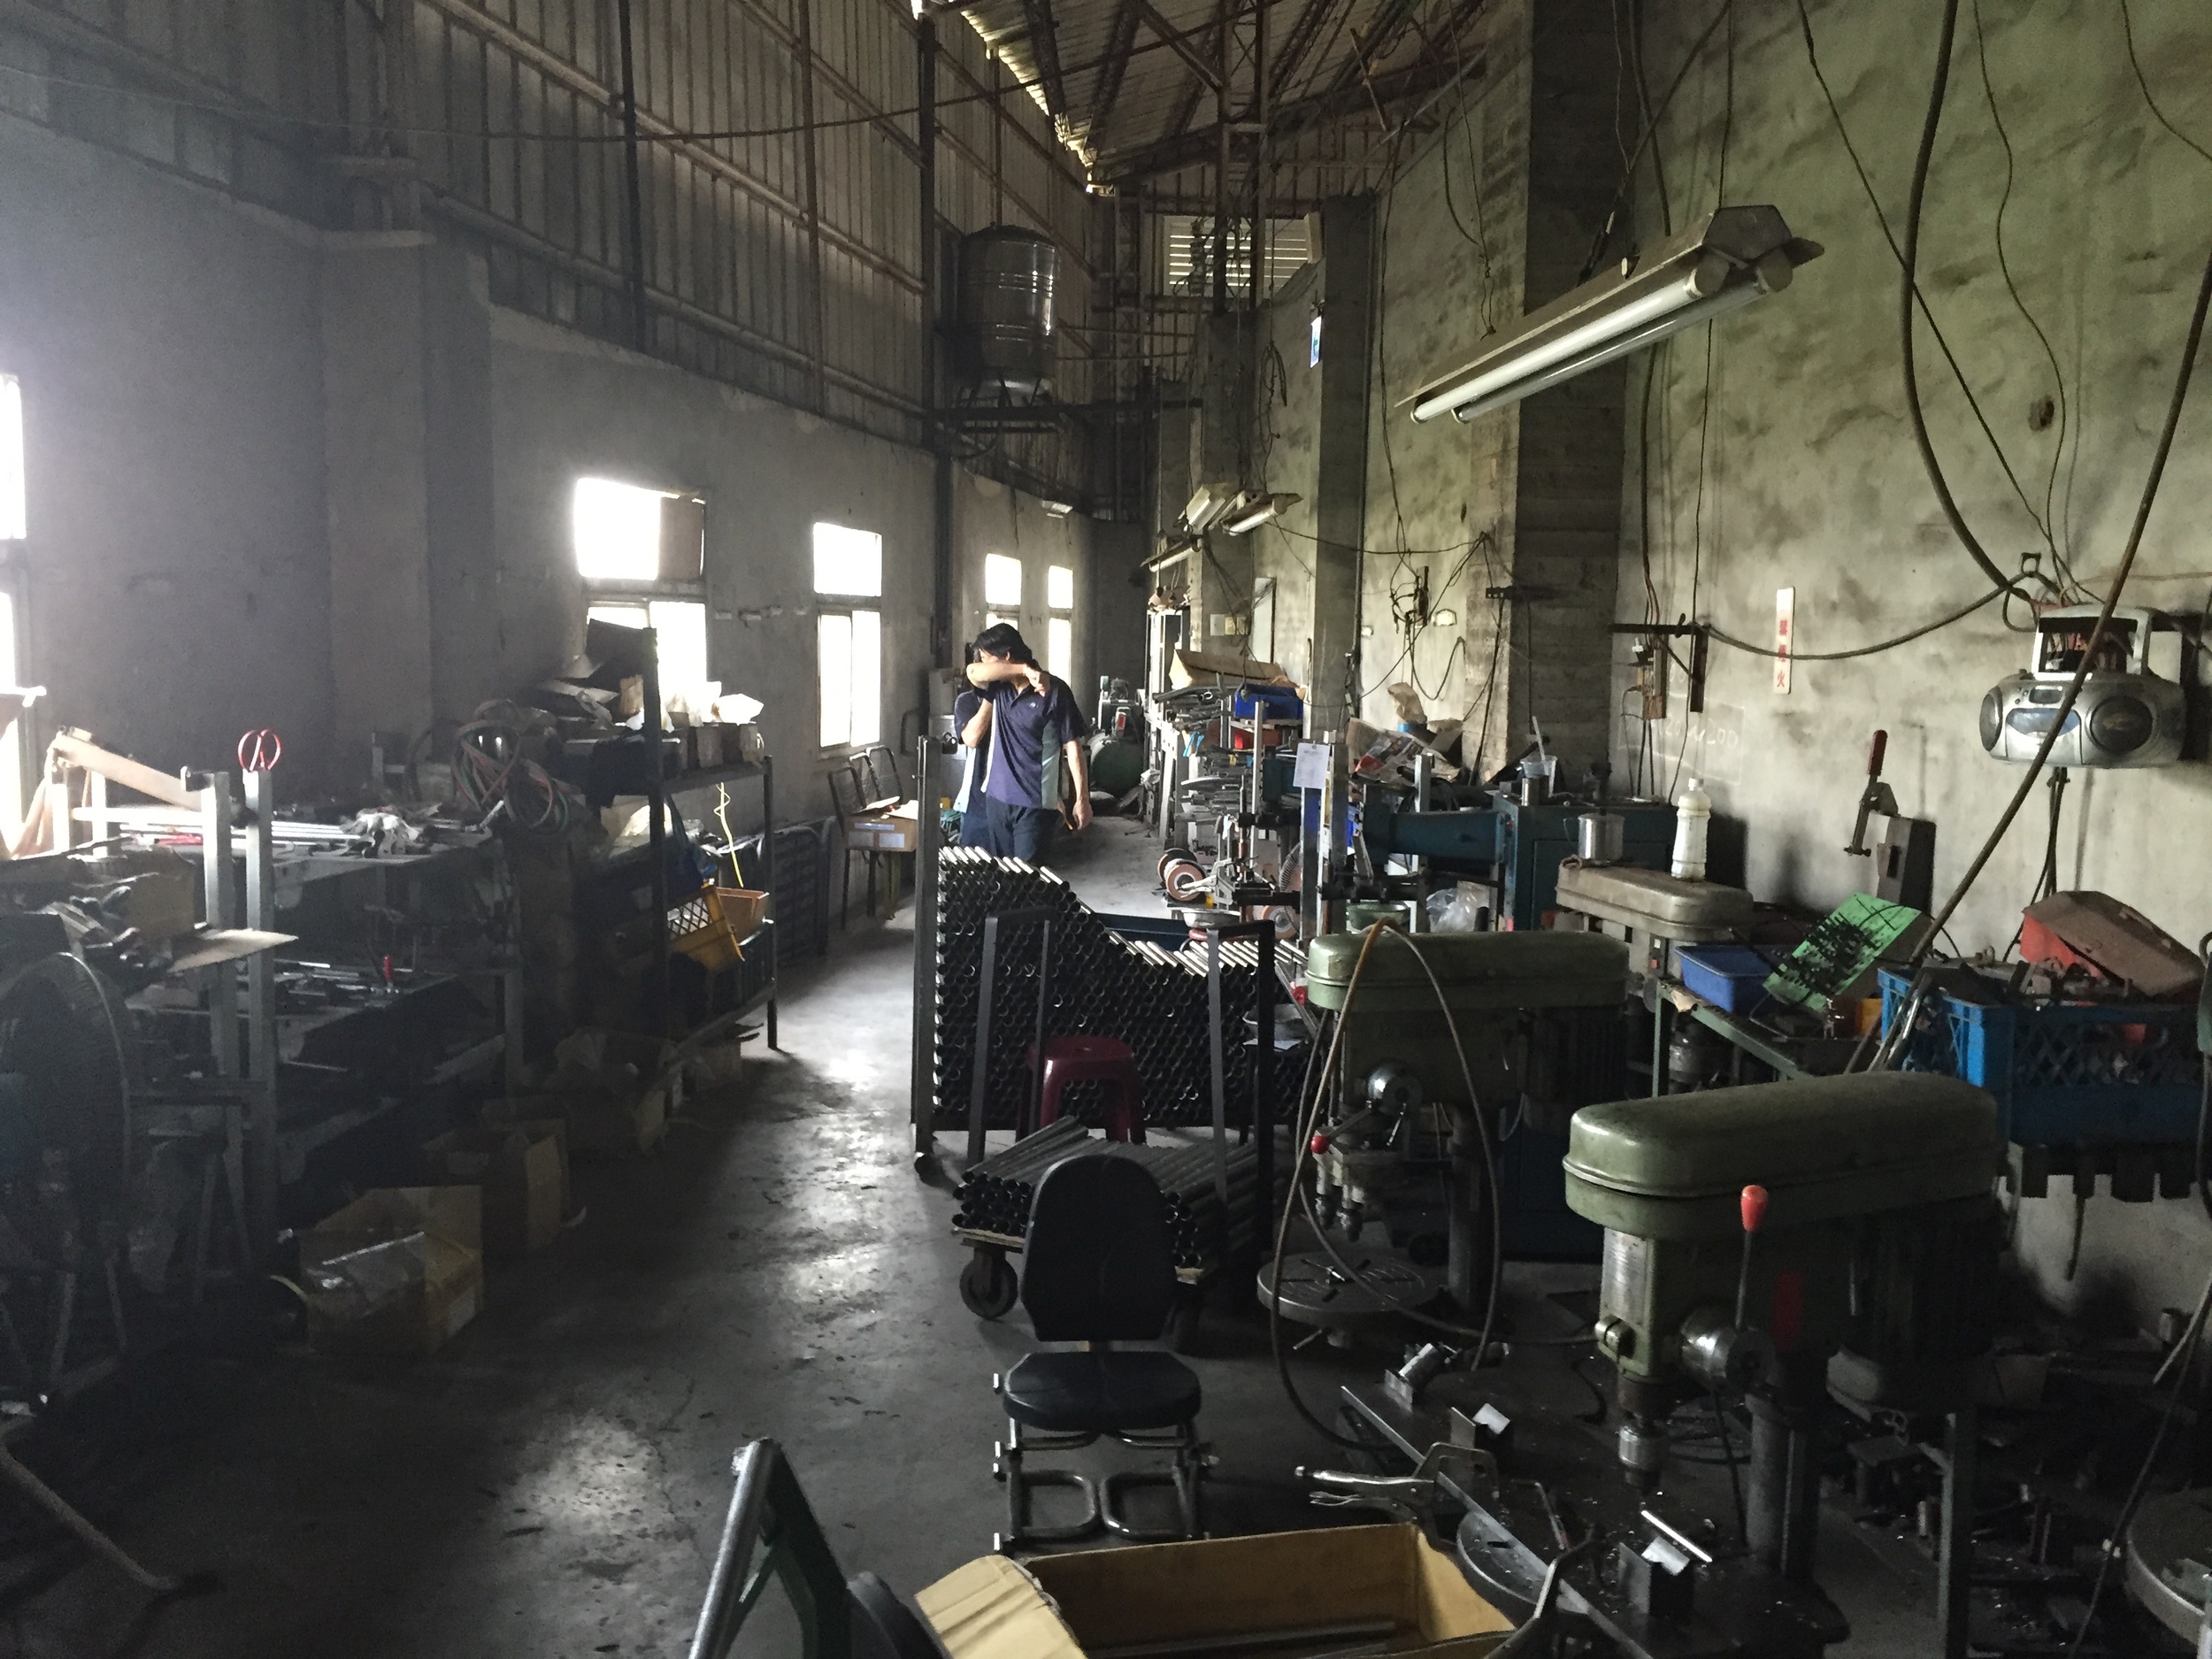
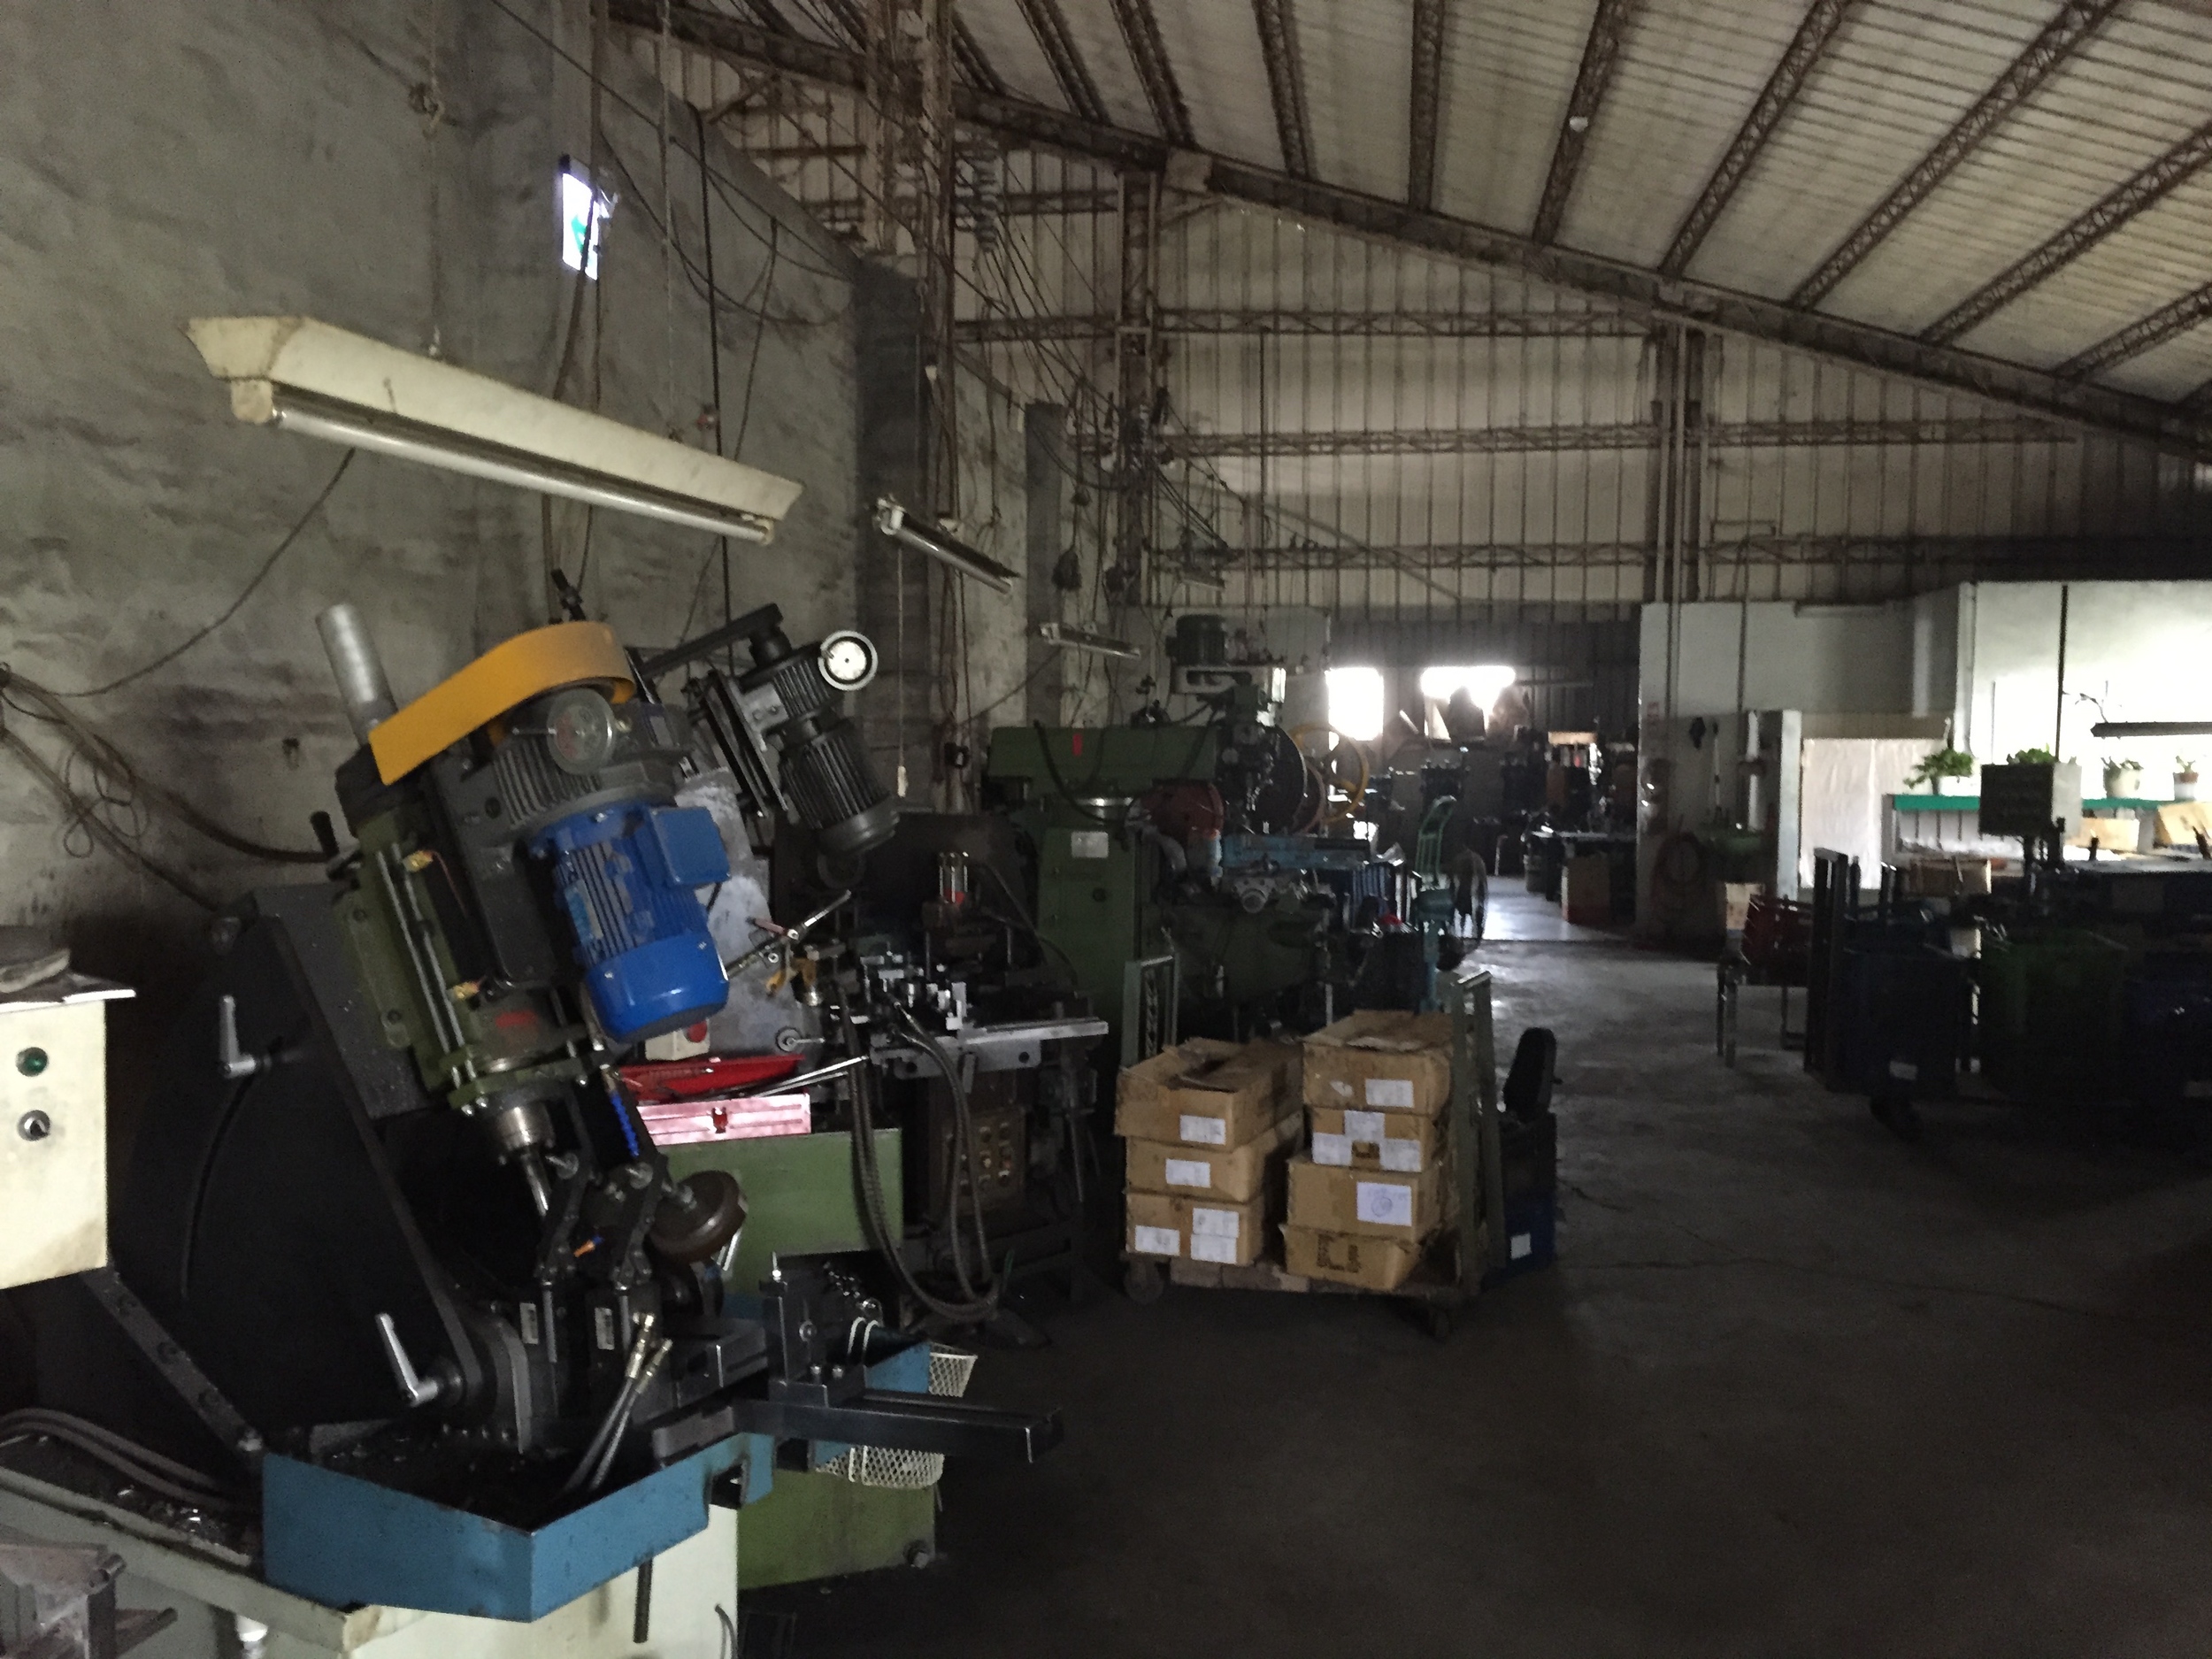
The shop was 10 or 20 thousand feet. A significant portion of it was storage, and there was a smallish office area near the front door. We met the owners and had lunch upstairs above the office, which provided a nice place to take a pan of the whole shop.

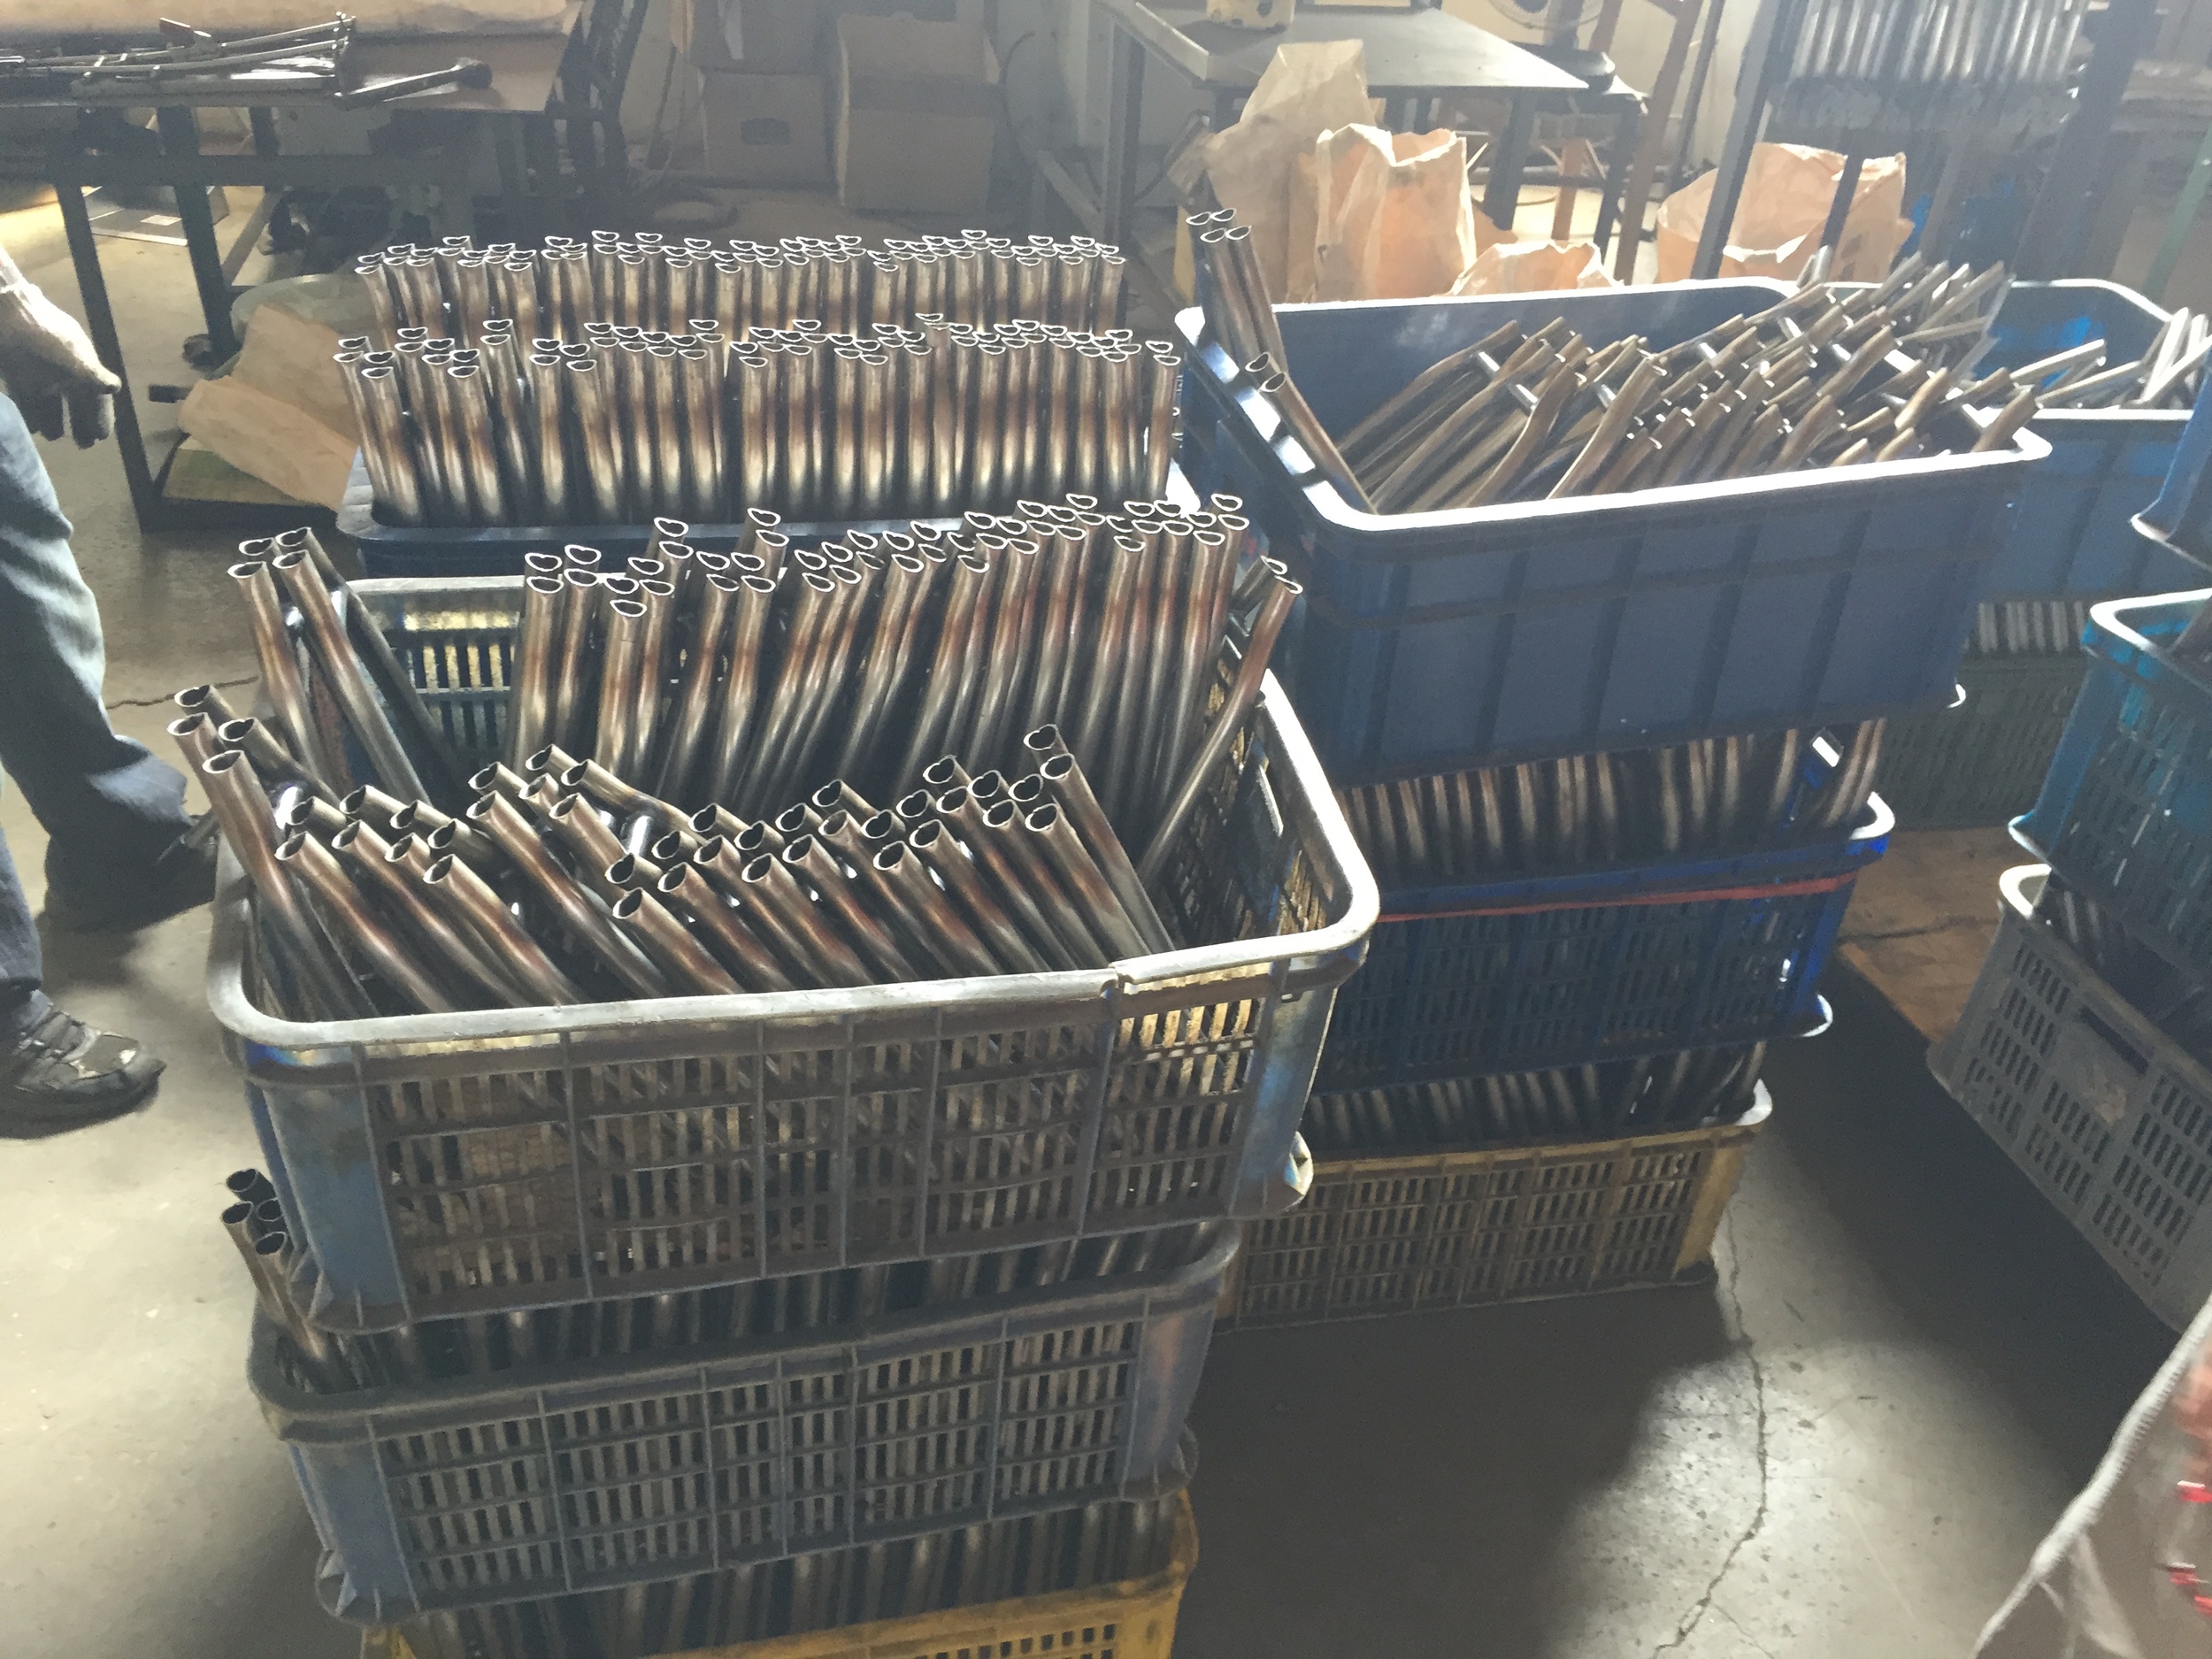
The sheer quantity of dedicated fixtures here was kind of staggering. I couldn't tell (and didn't ask) but it seemed like they probably made fixtures for a lot of frame subassemblies, each of which would be dedicated to a certain frame model and size. This video shows about half of the fixtures that I saw in storage.

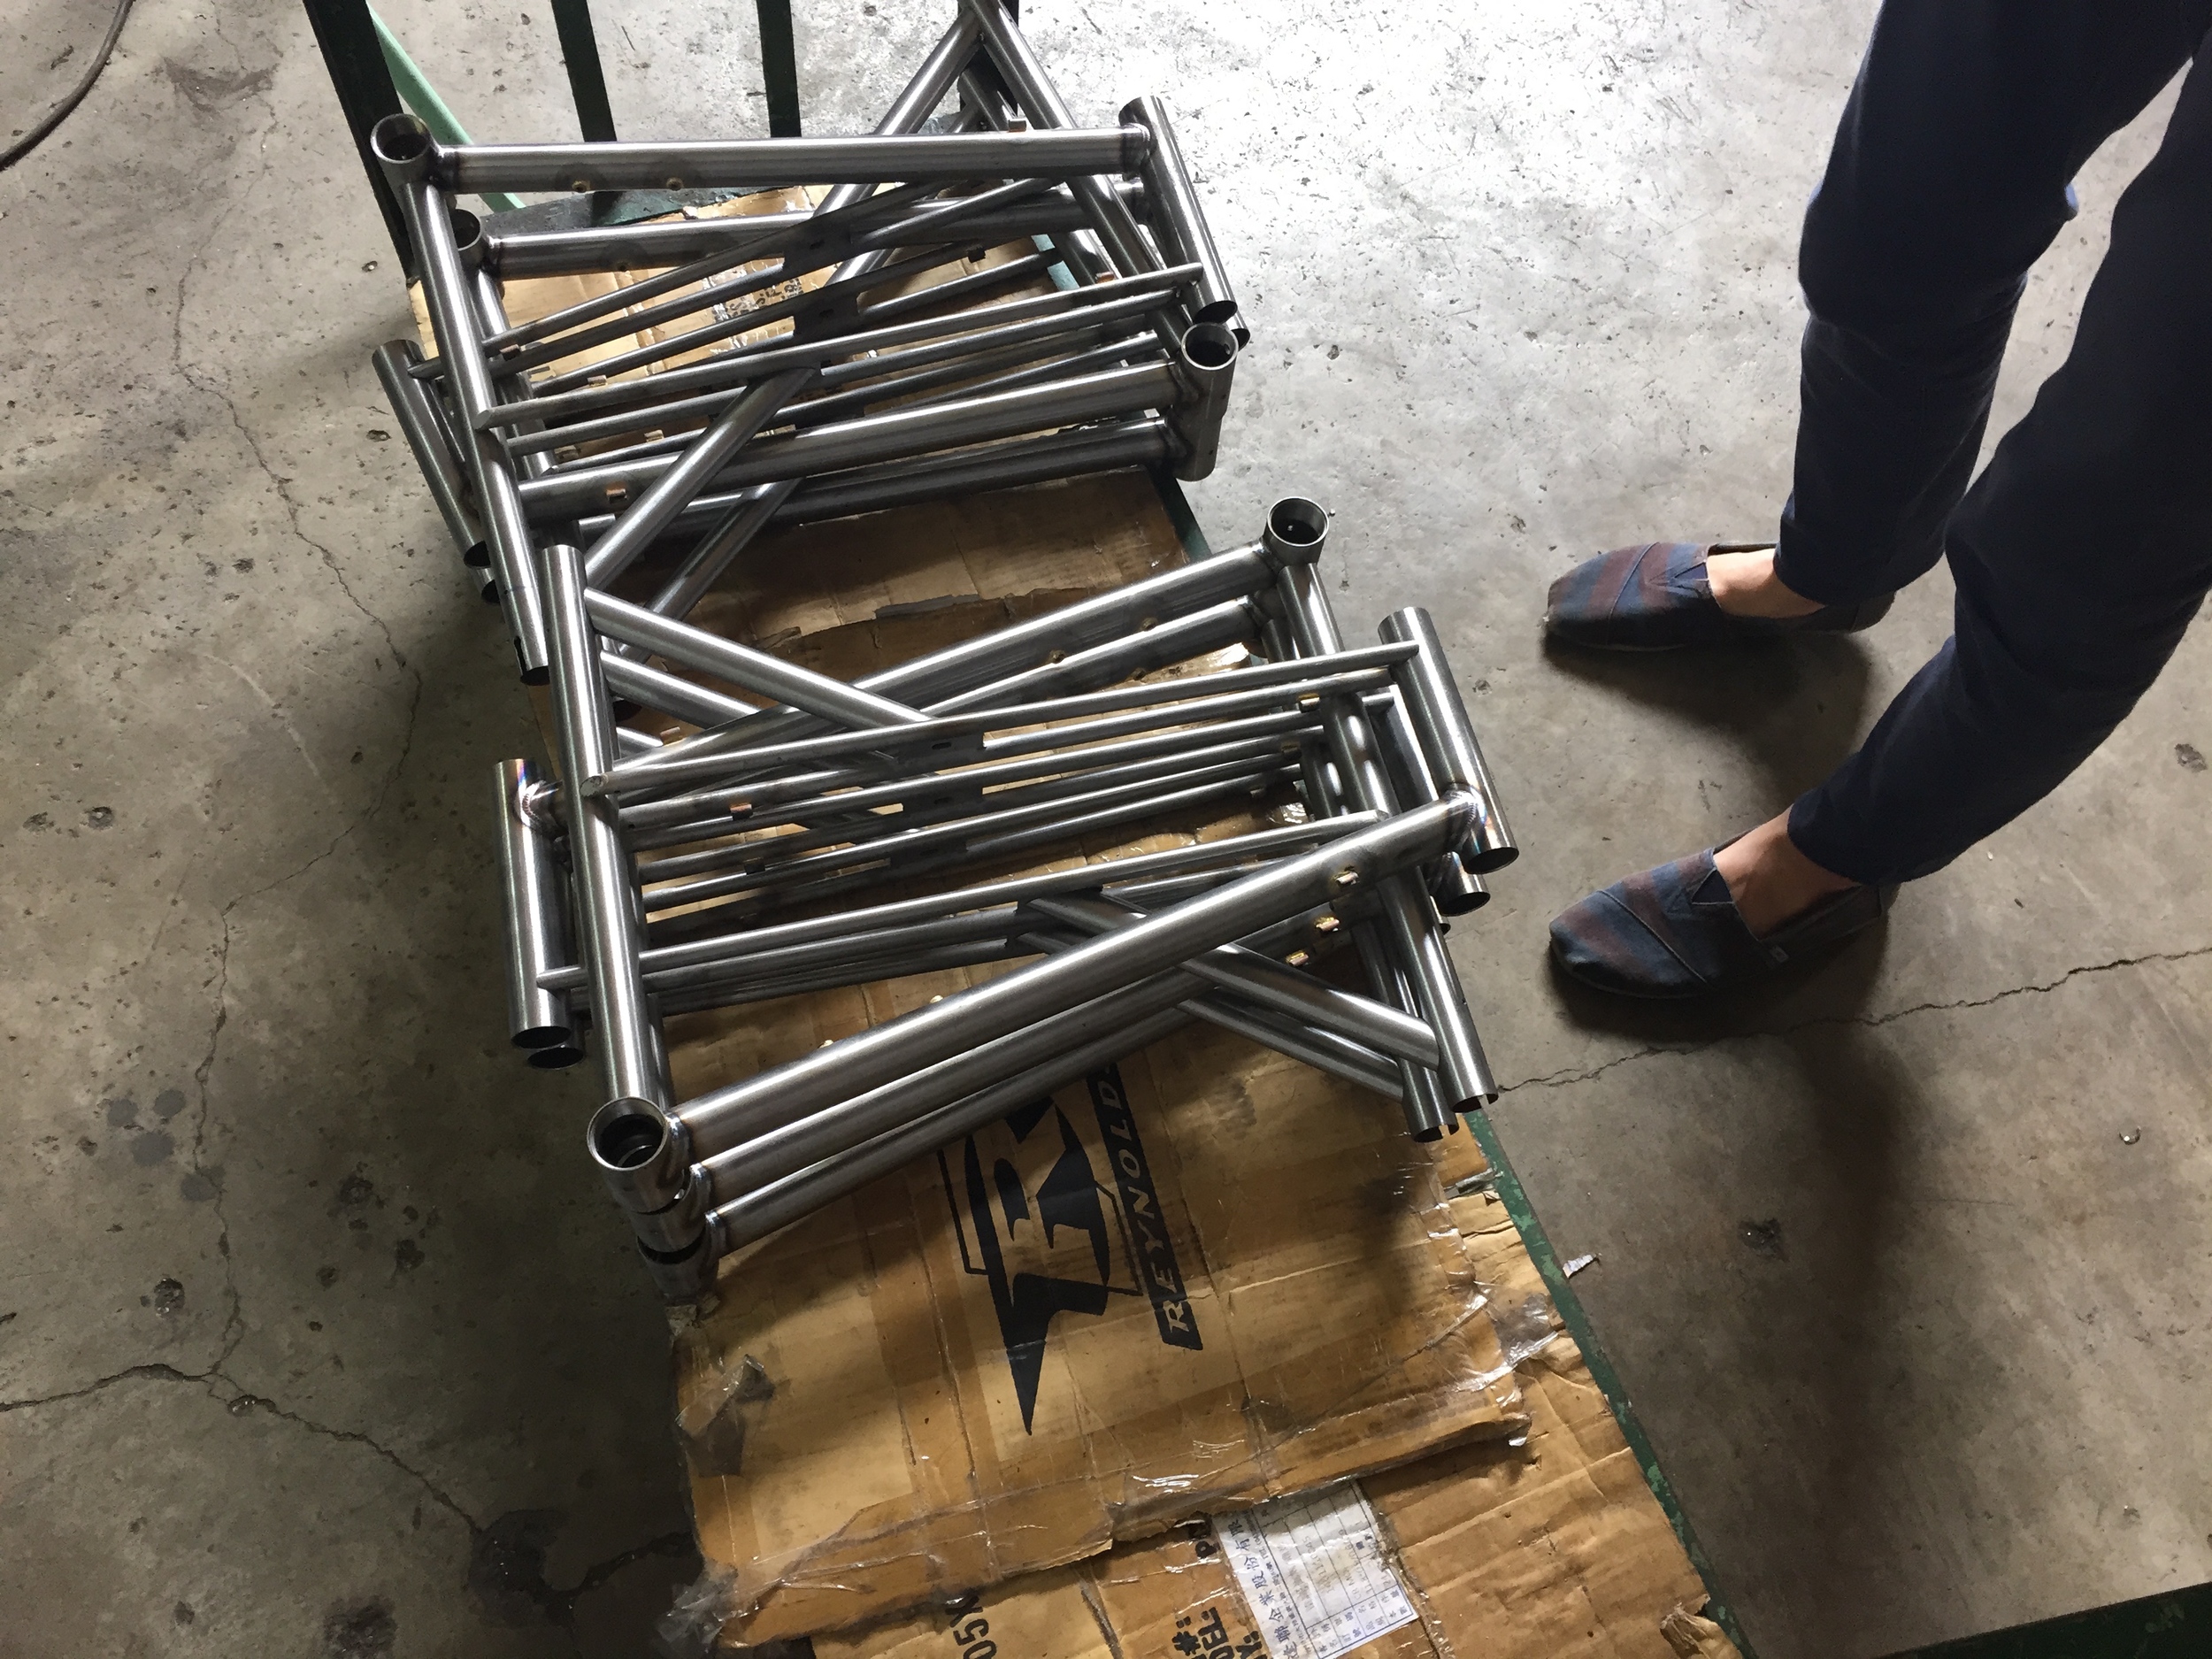
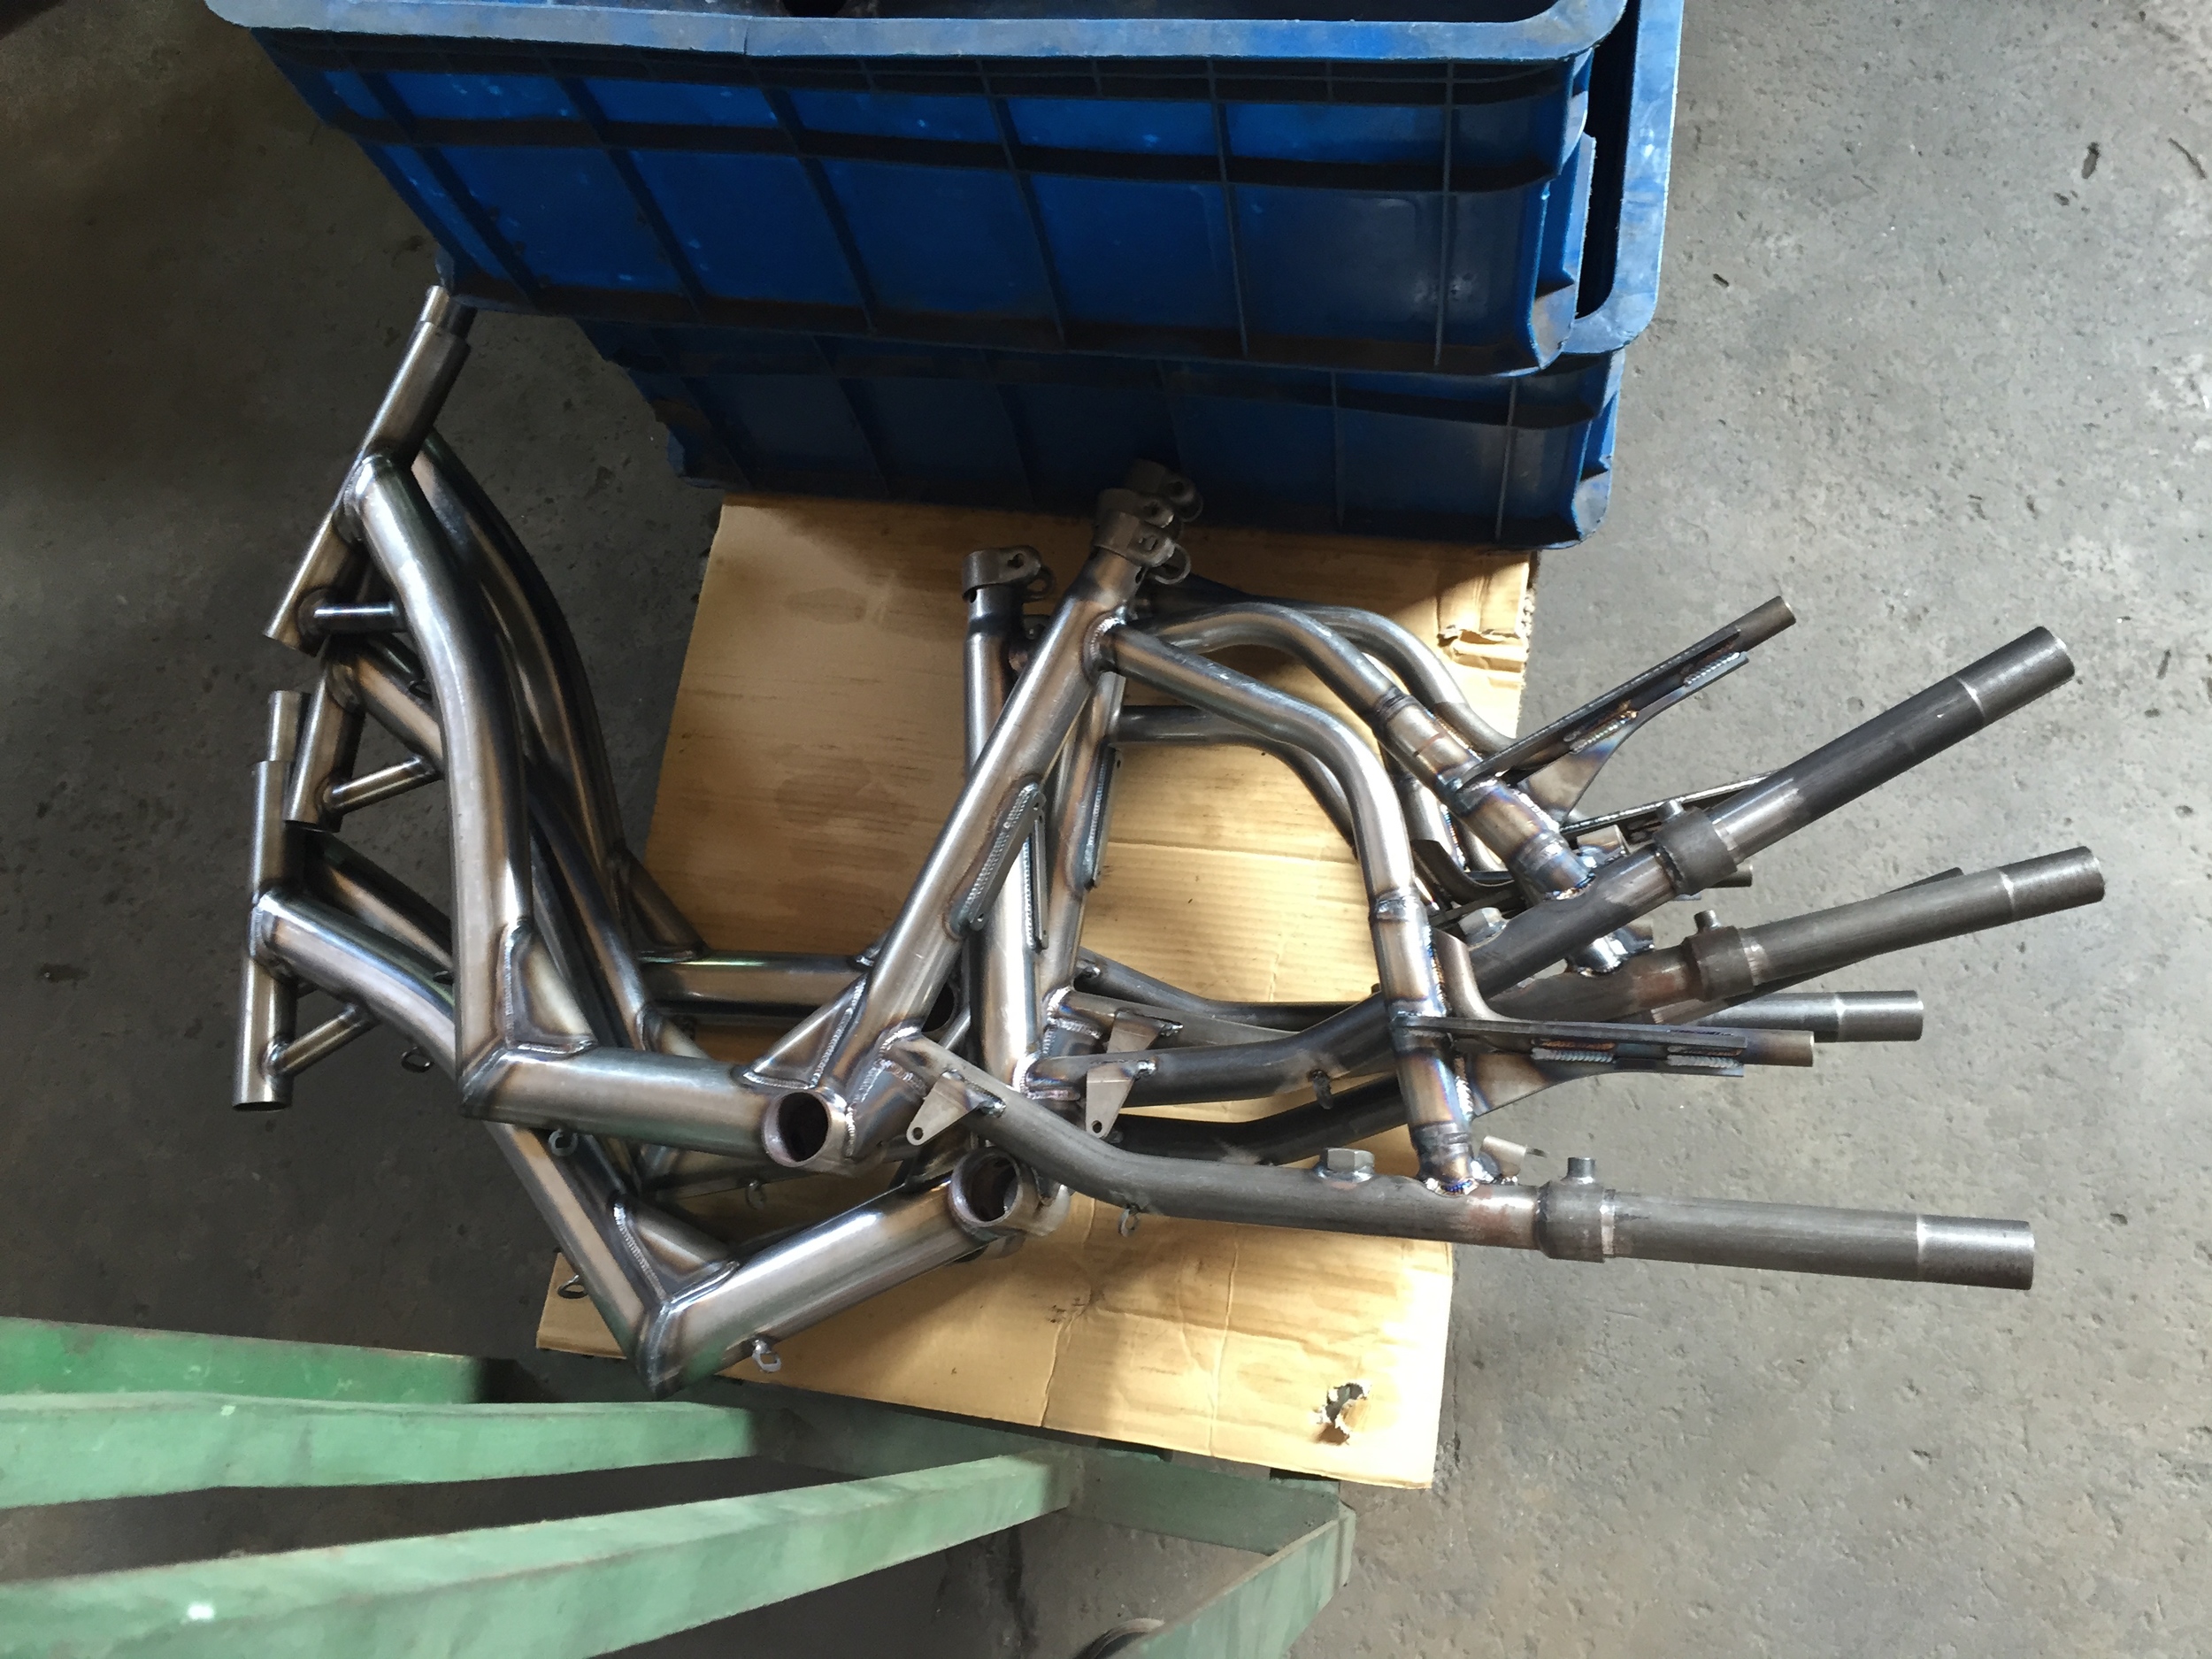
Frame subassemblies were tacked and stacked in tall piles. I'd guess that the main frame fixture took an hour or two to set up, but at that point the tacking would go quickly. The subassemblies would then be moved down the welding line, comme ci:

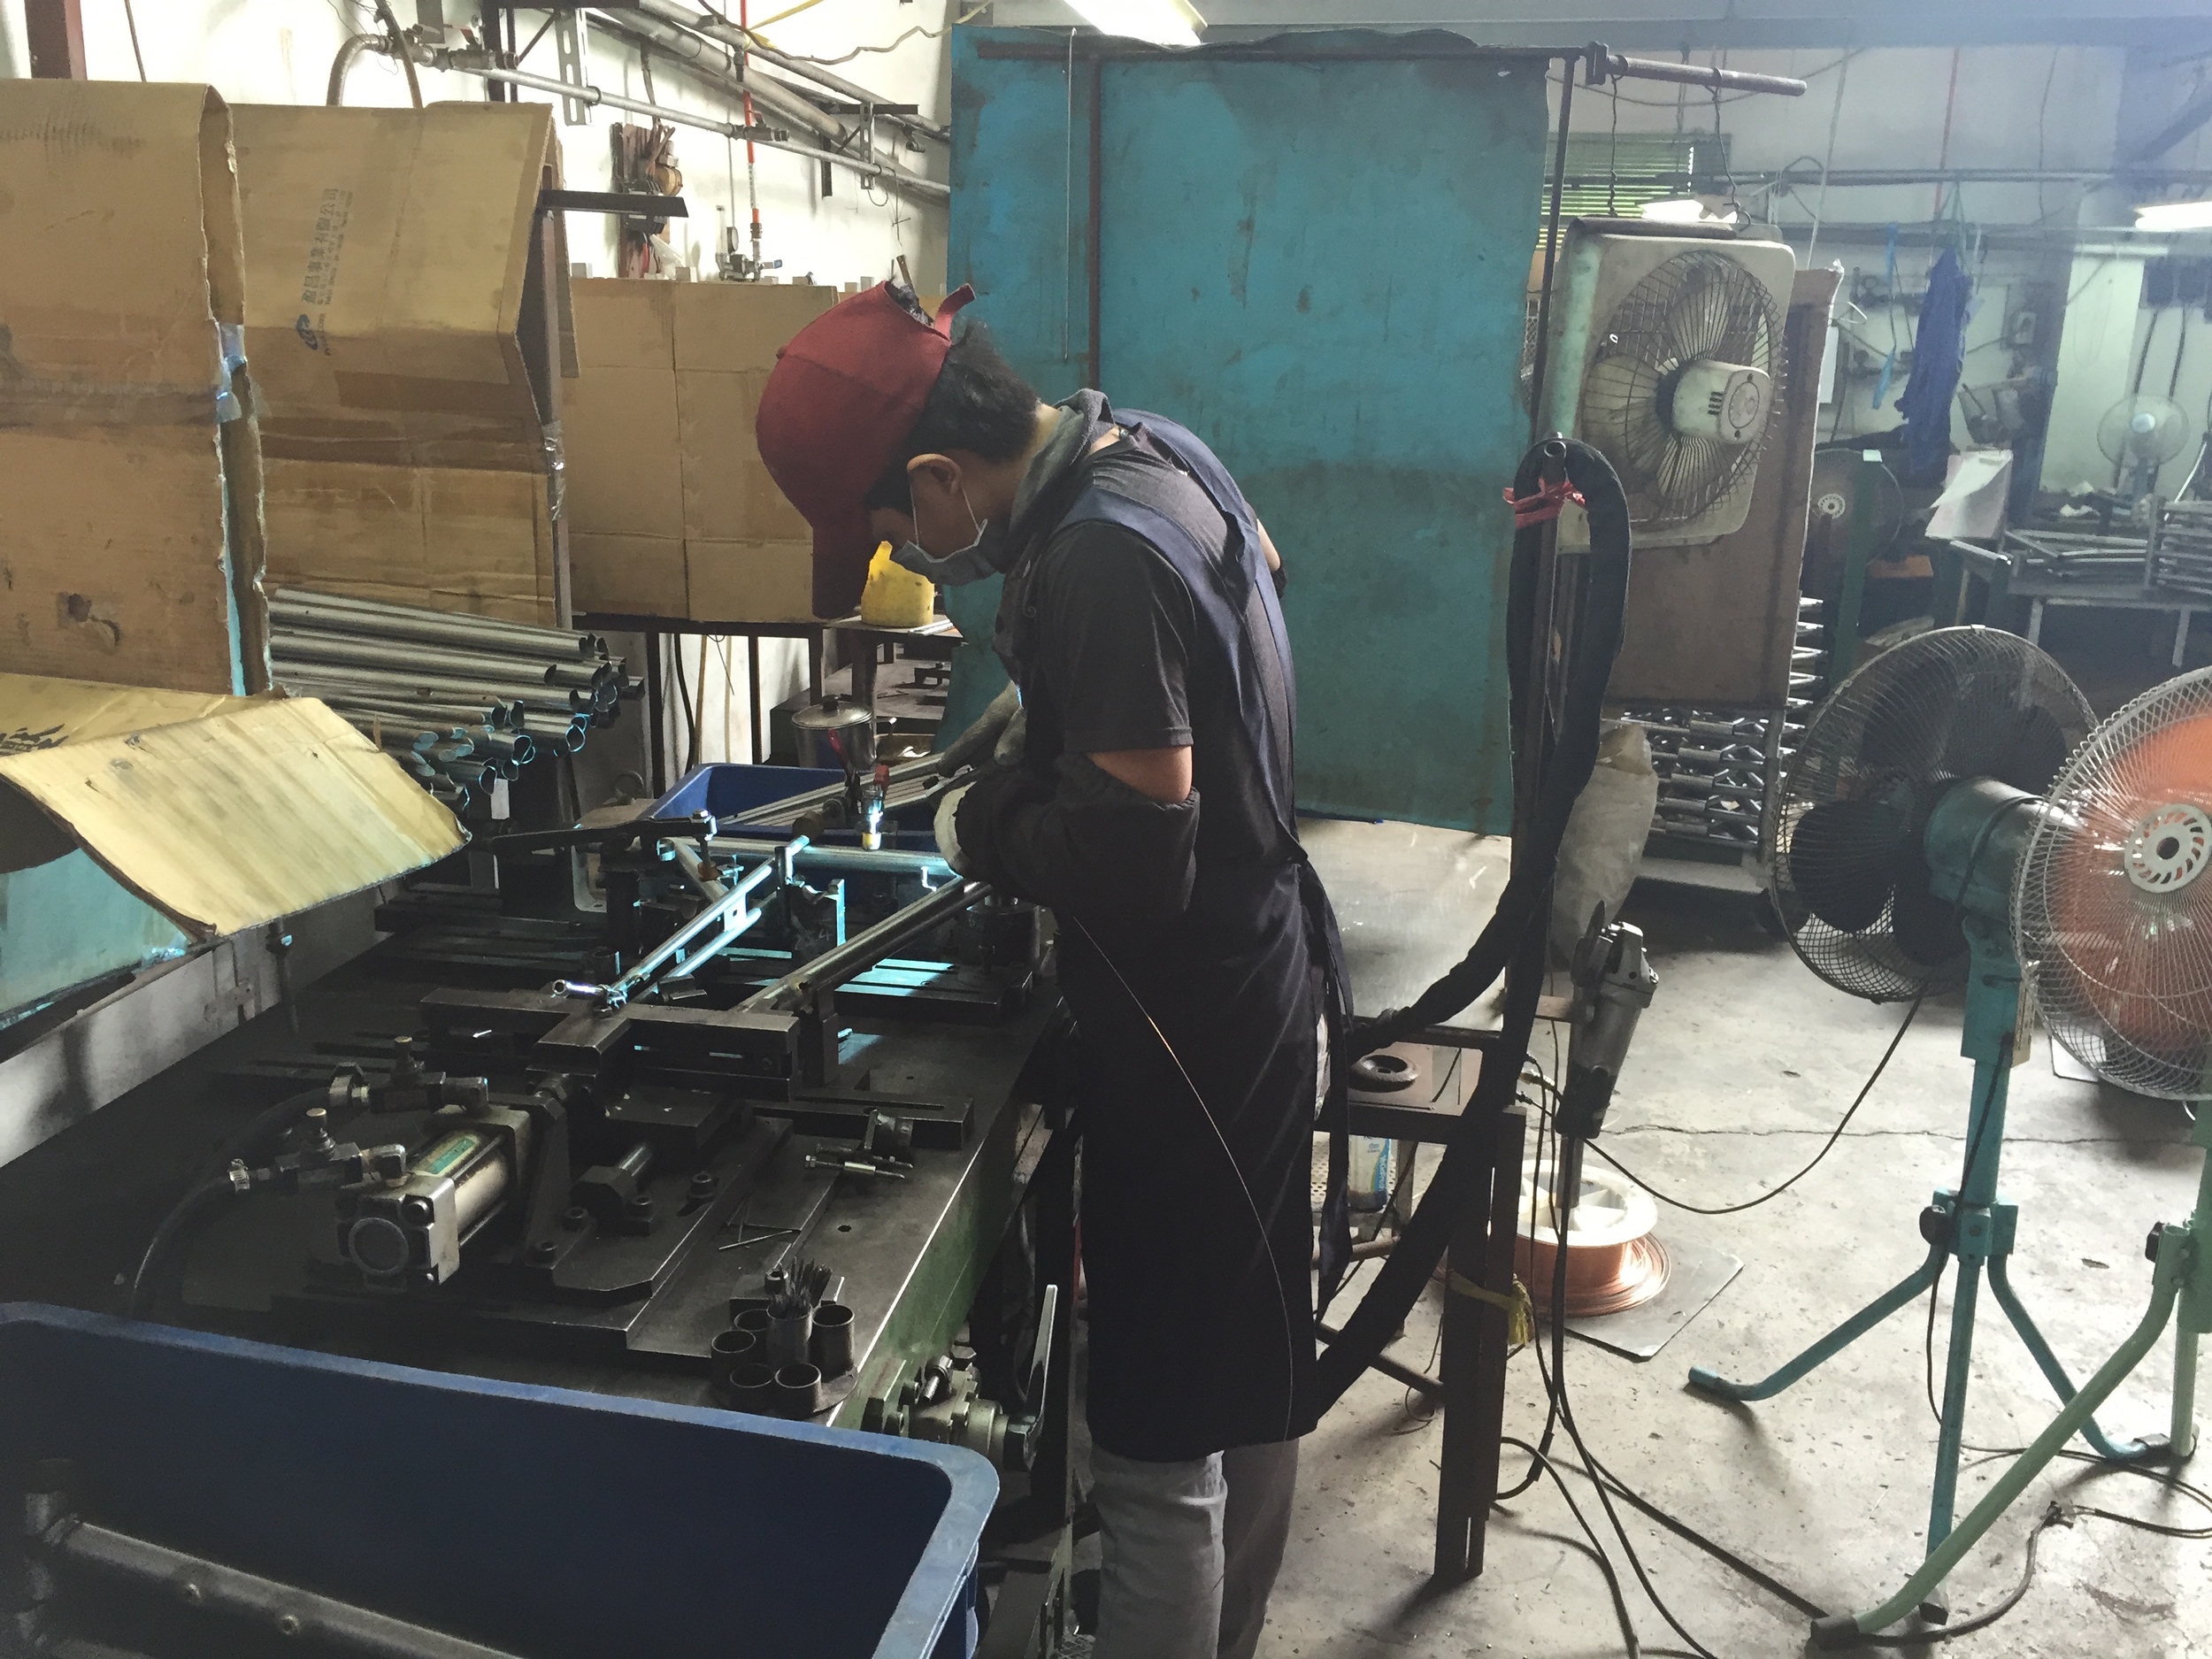
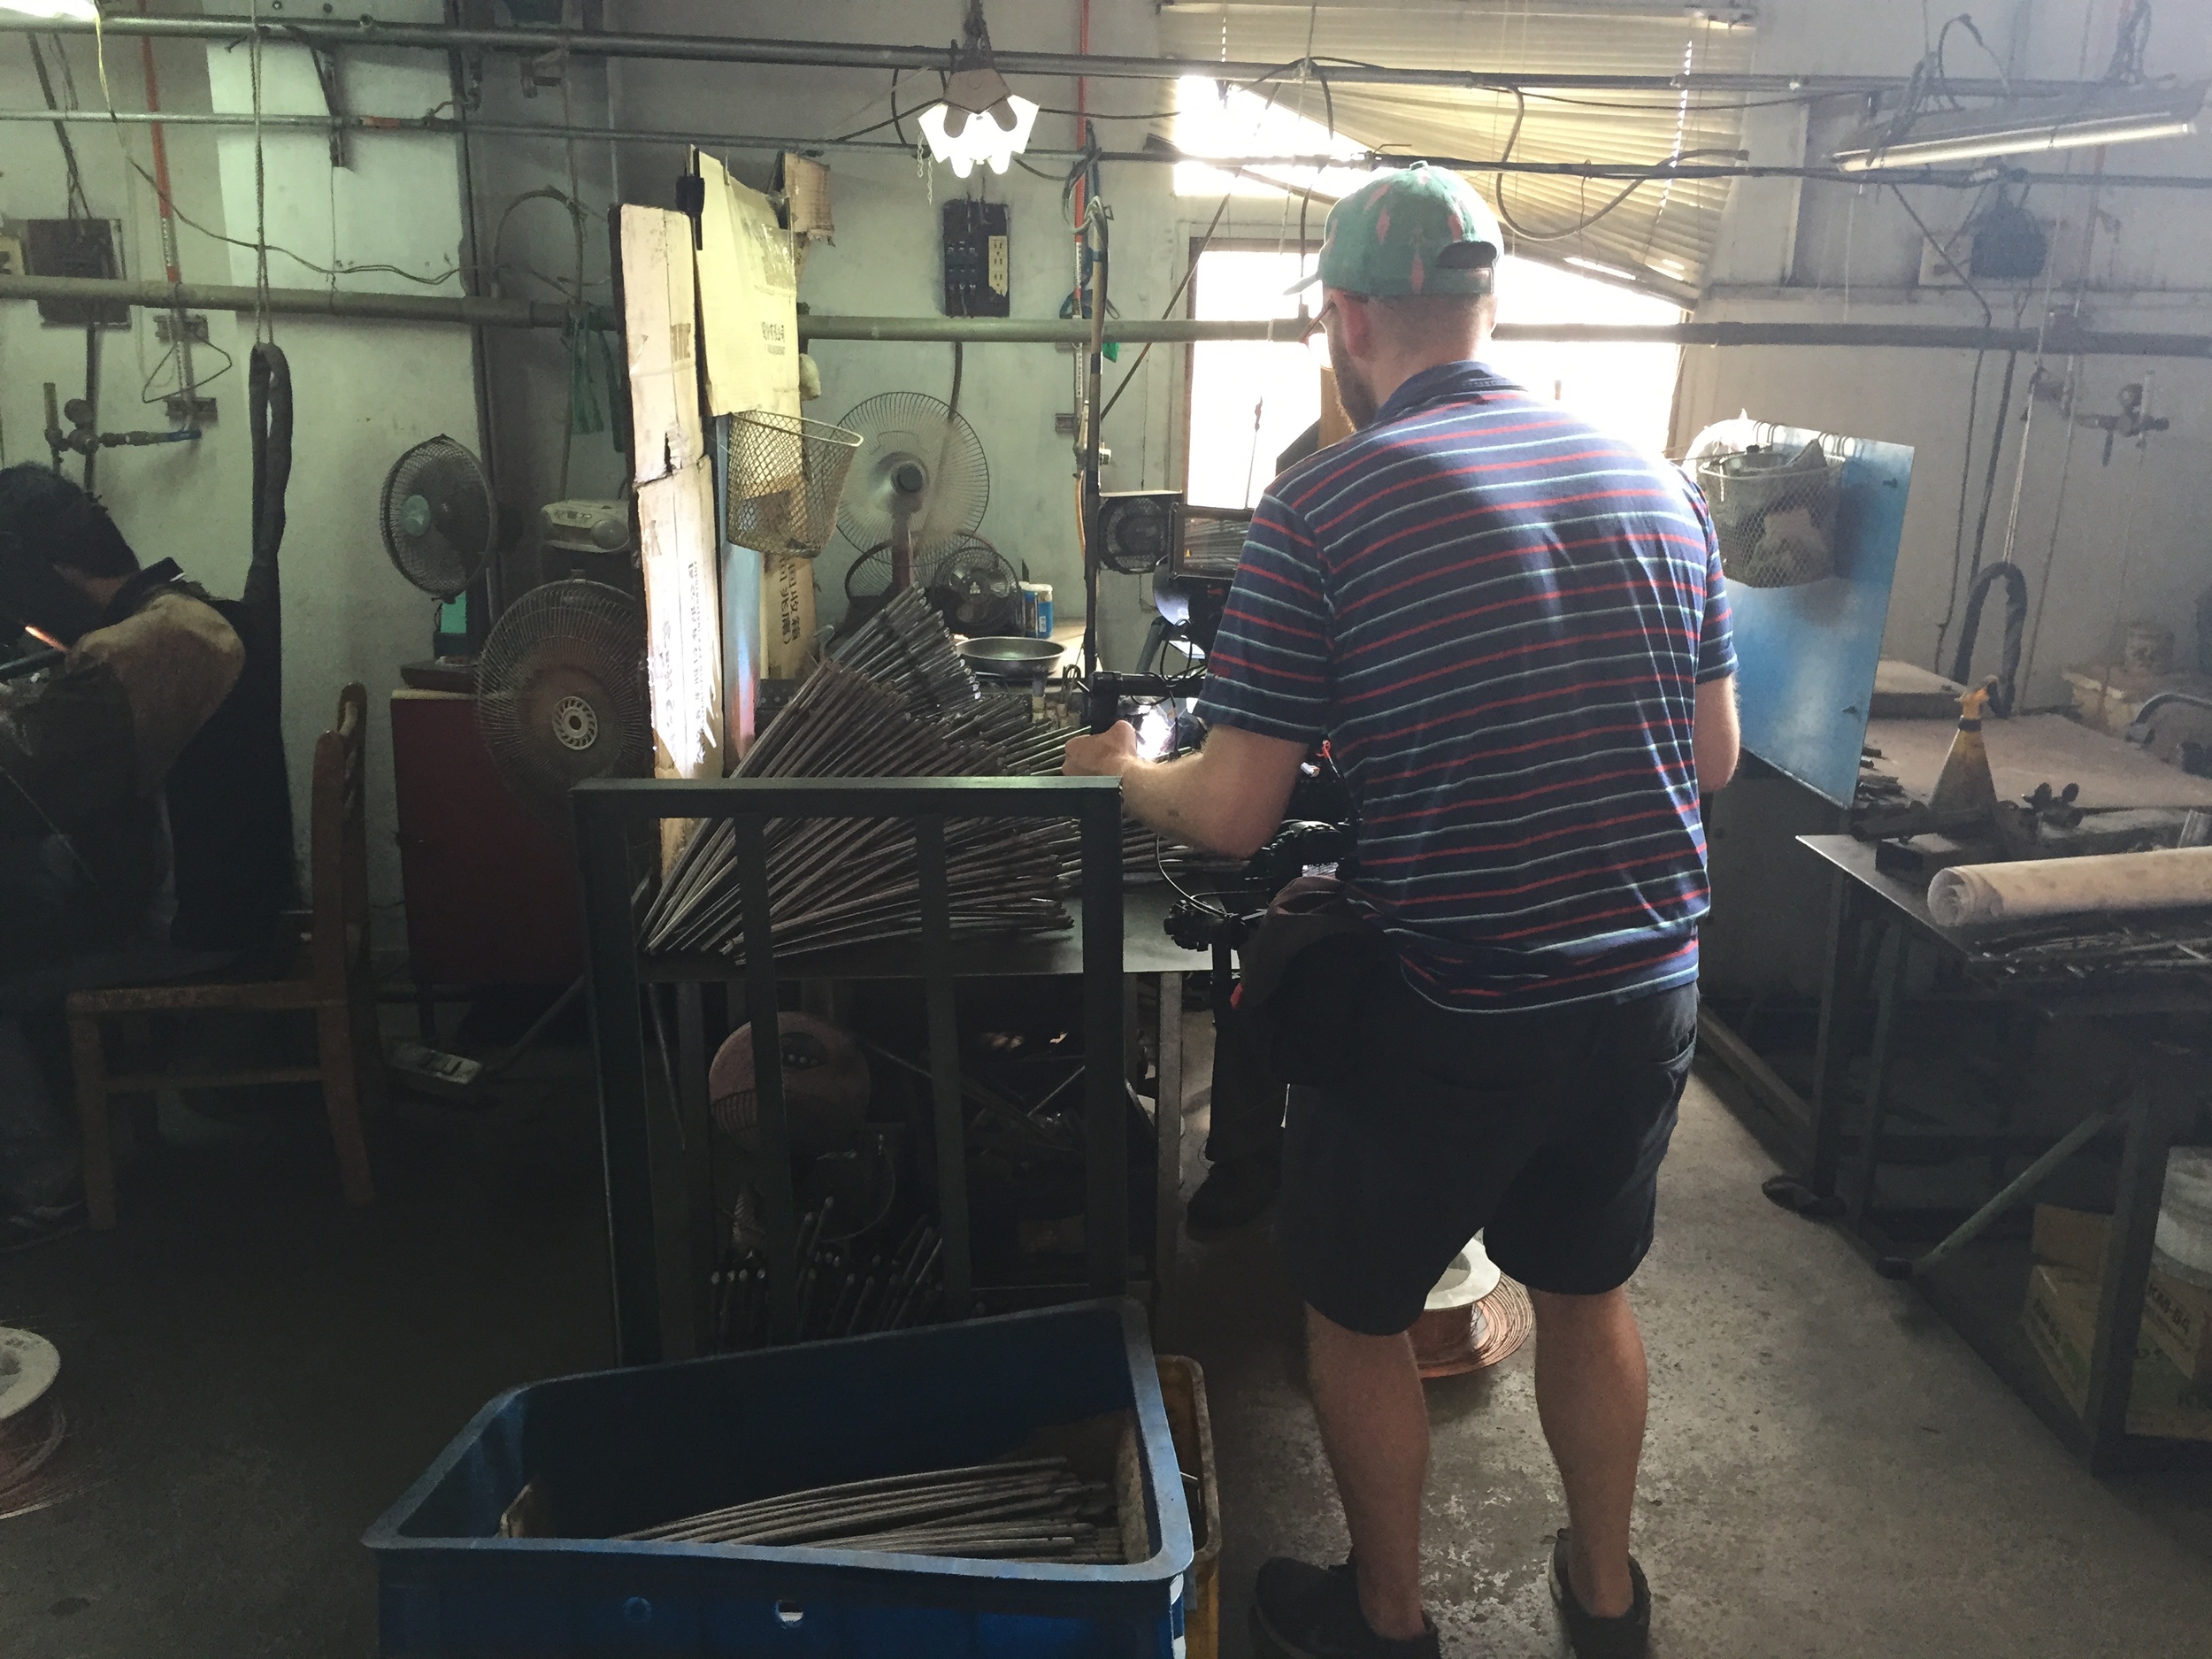
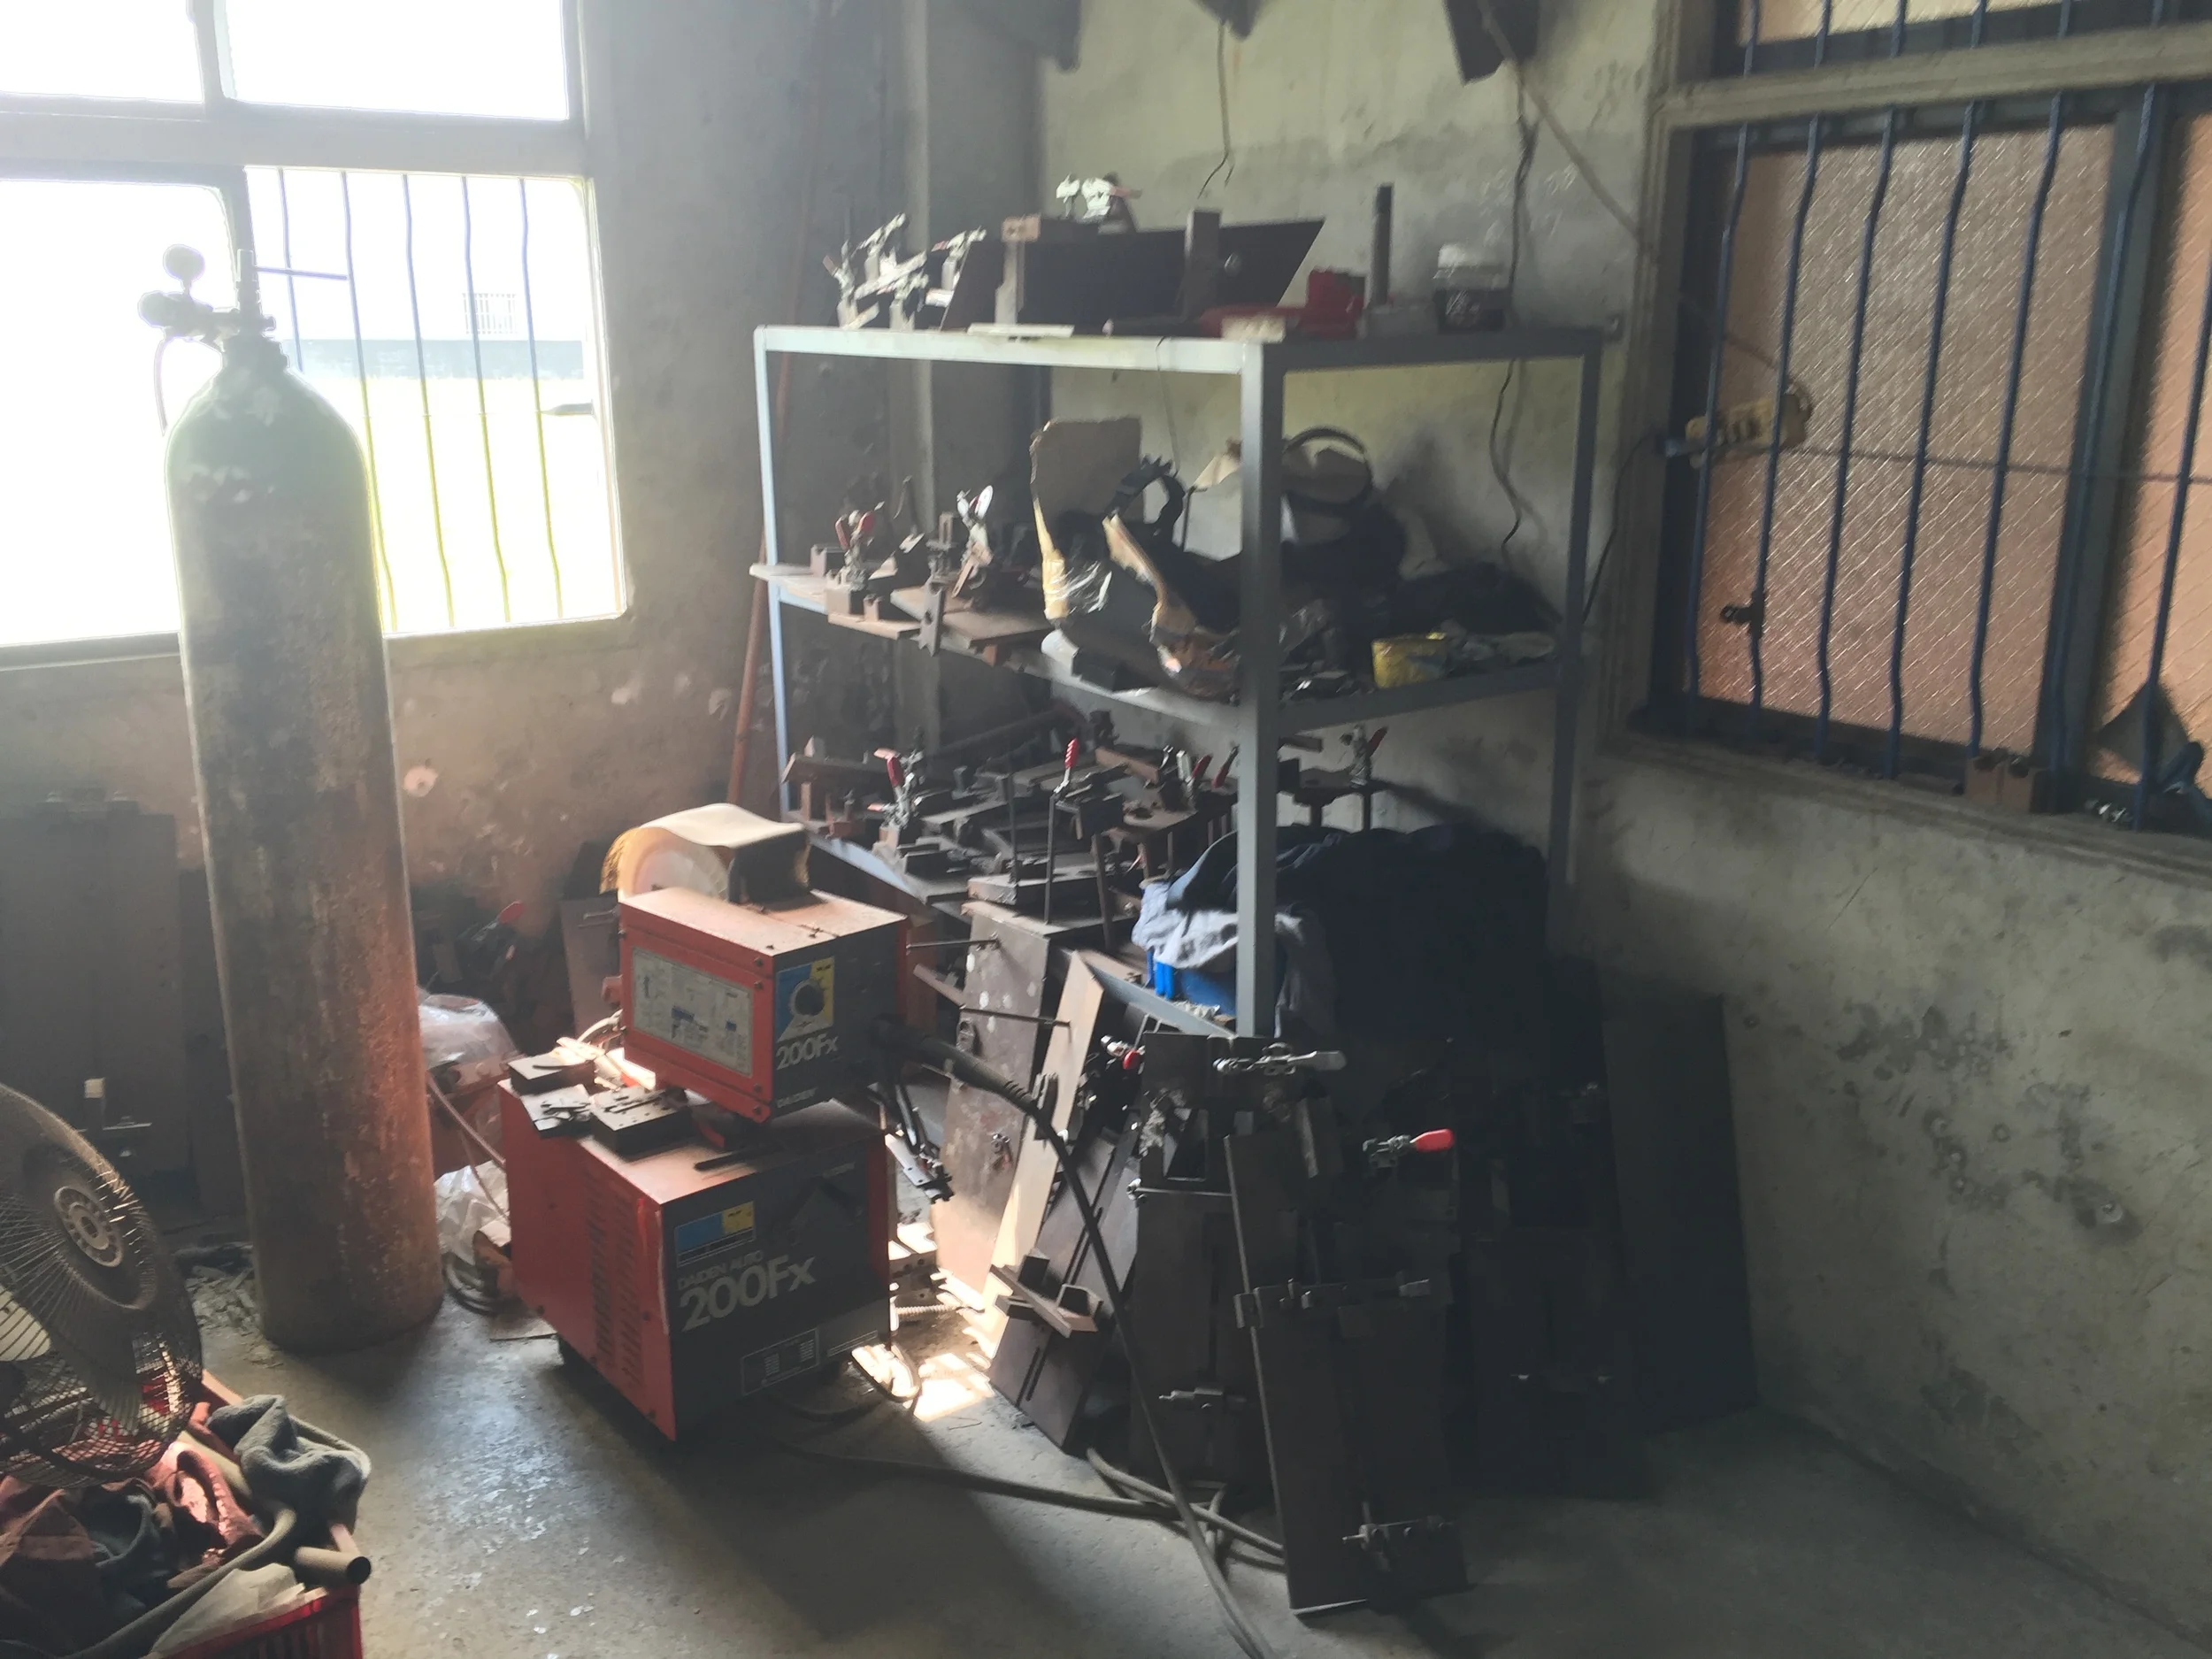
The quality of the welding here was very good. There were a bunch of guys doing TIG and a few brazing dropouts. They all had big fans running, but it was still hot. We were around right as their lunch break began:

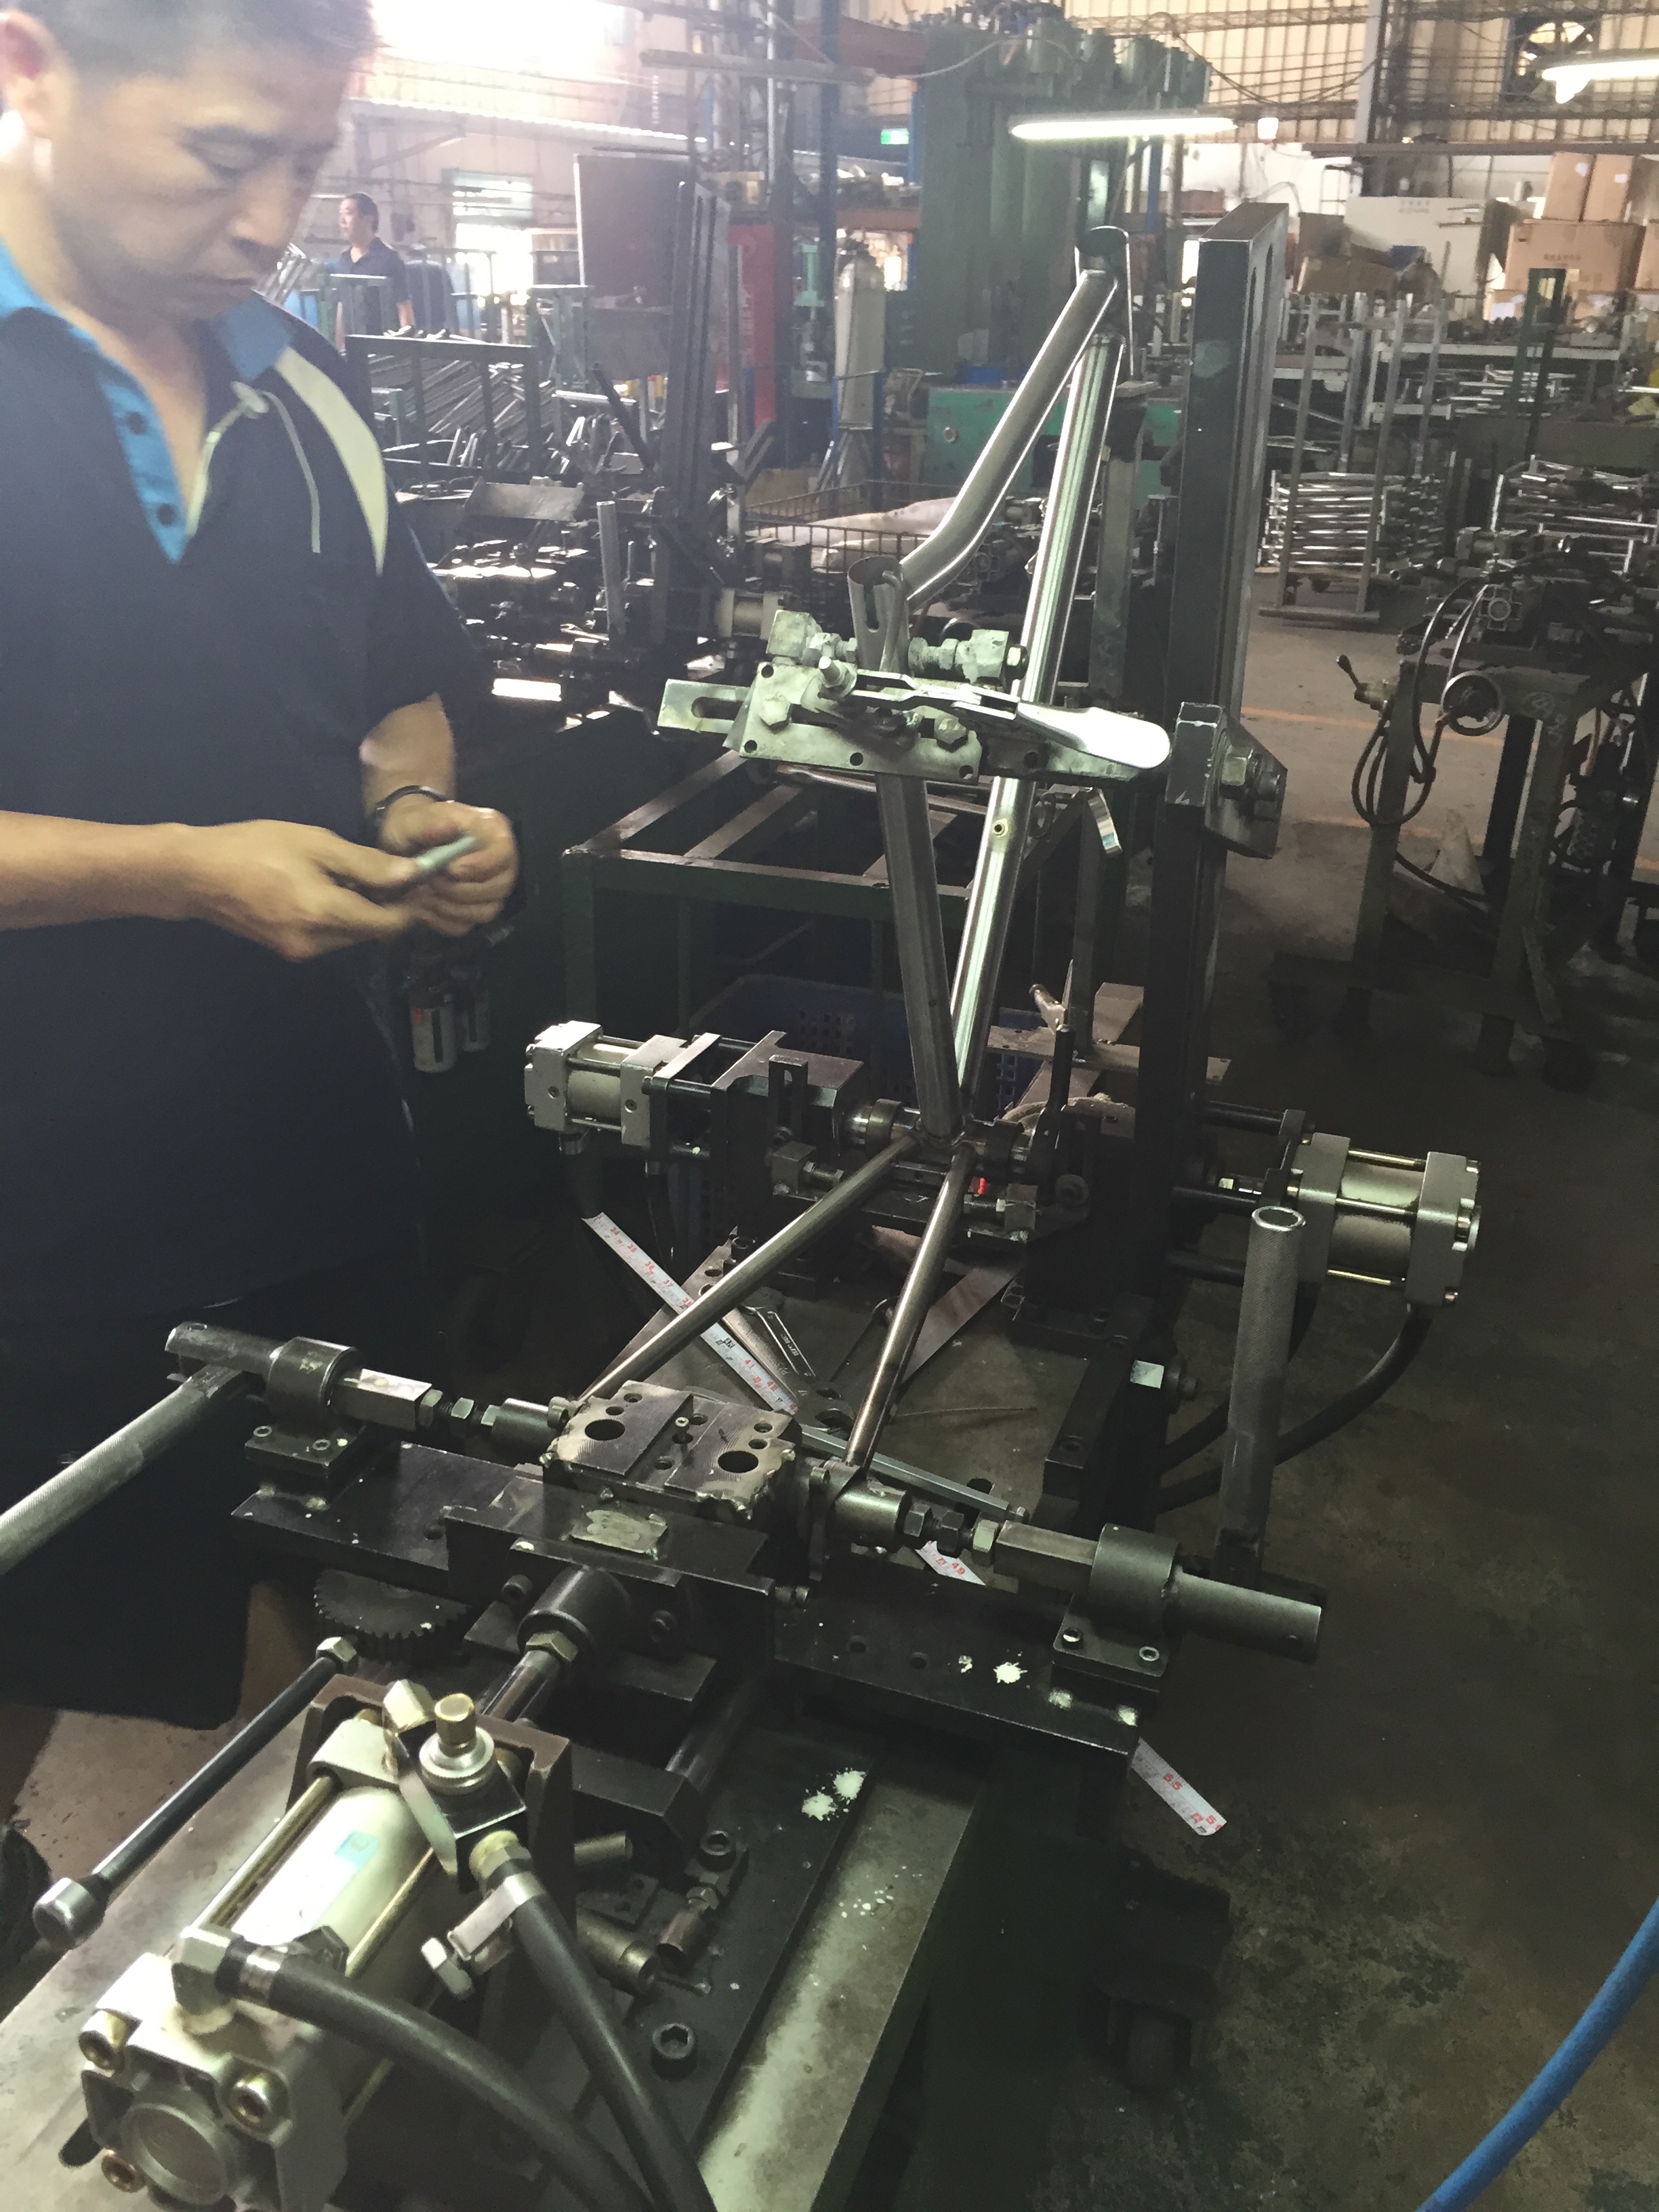
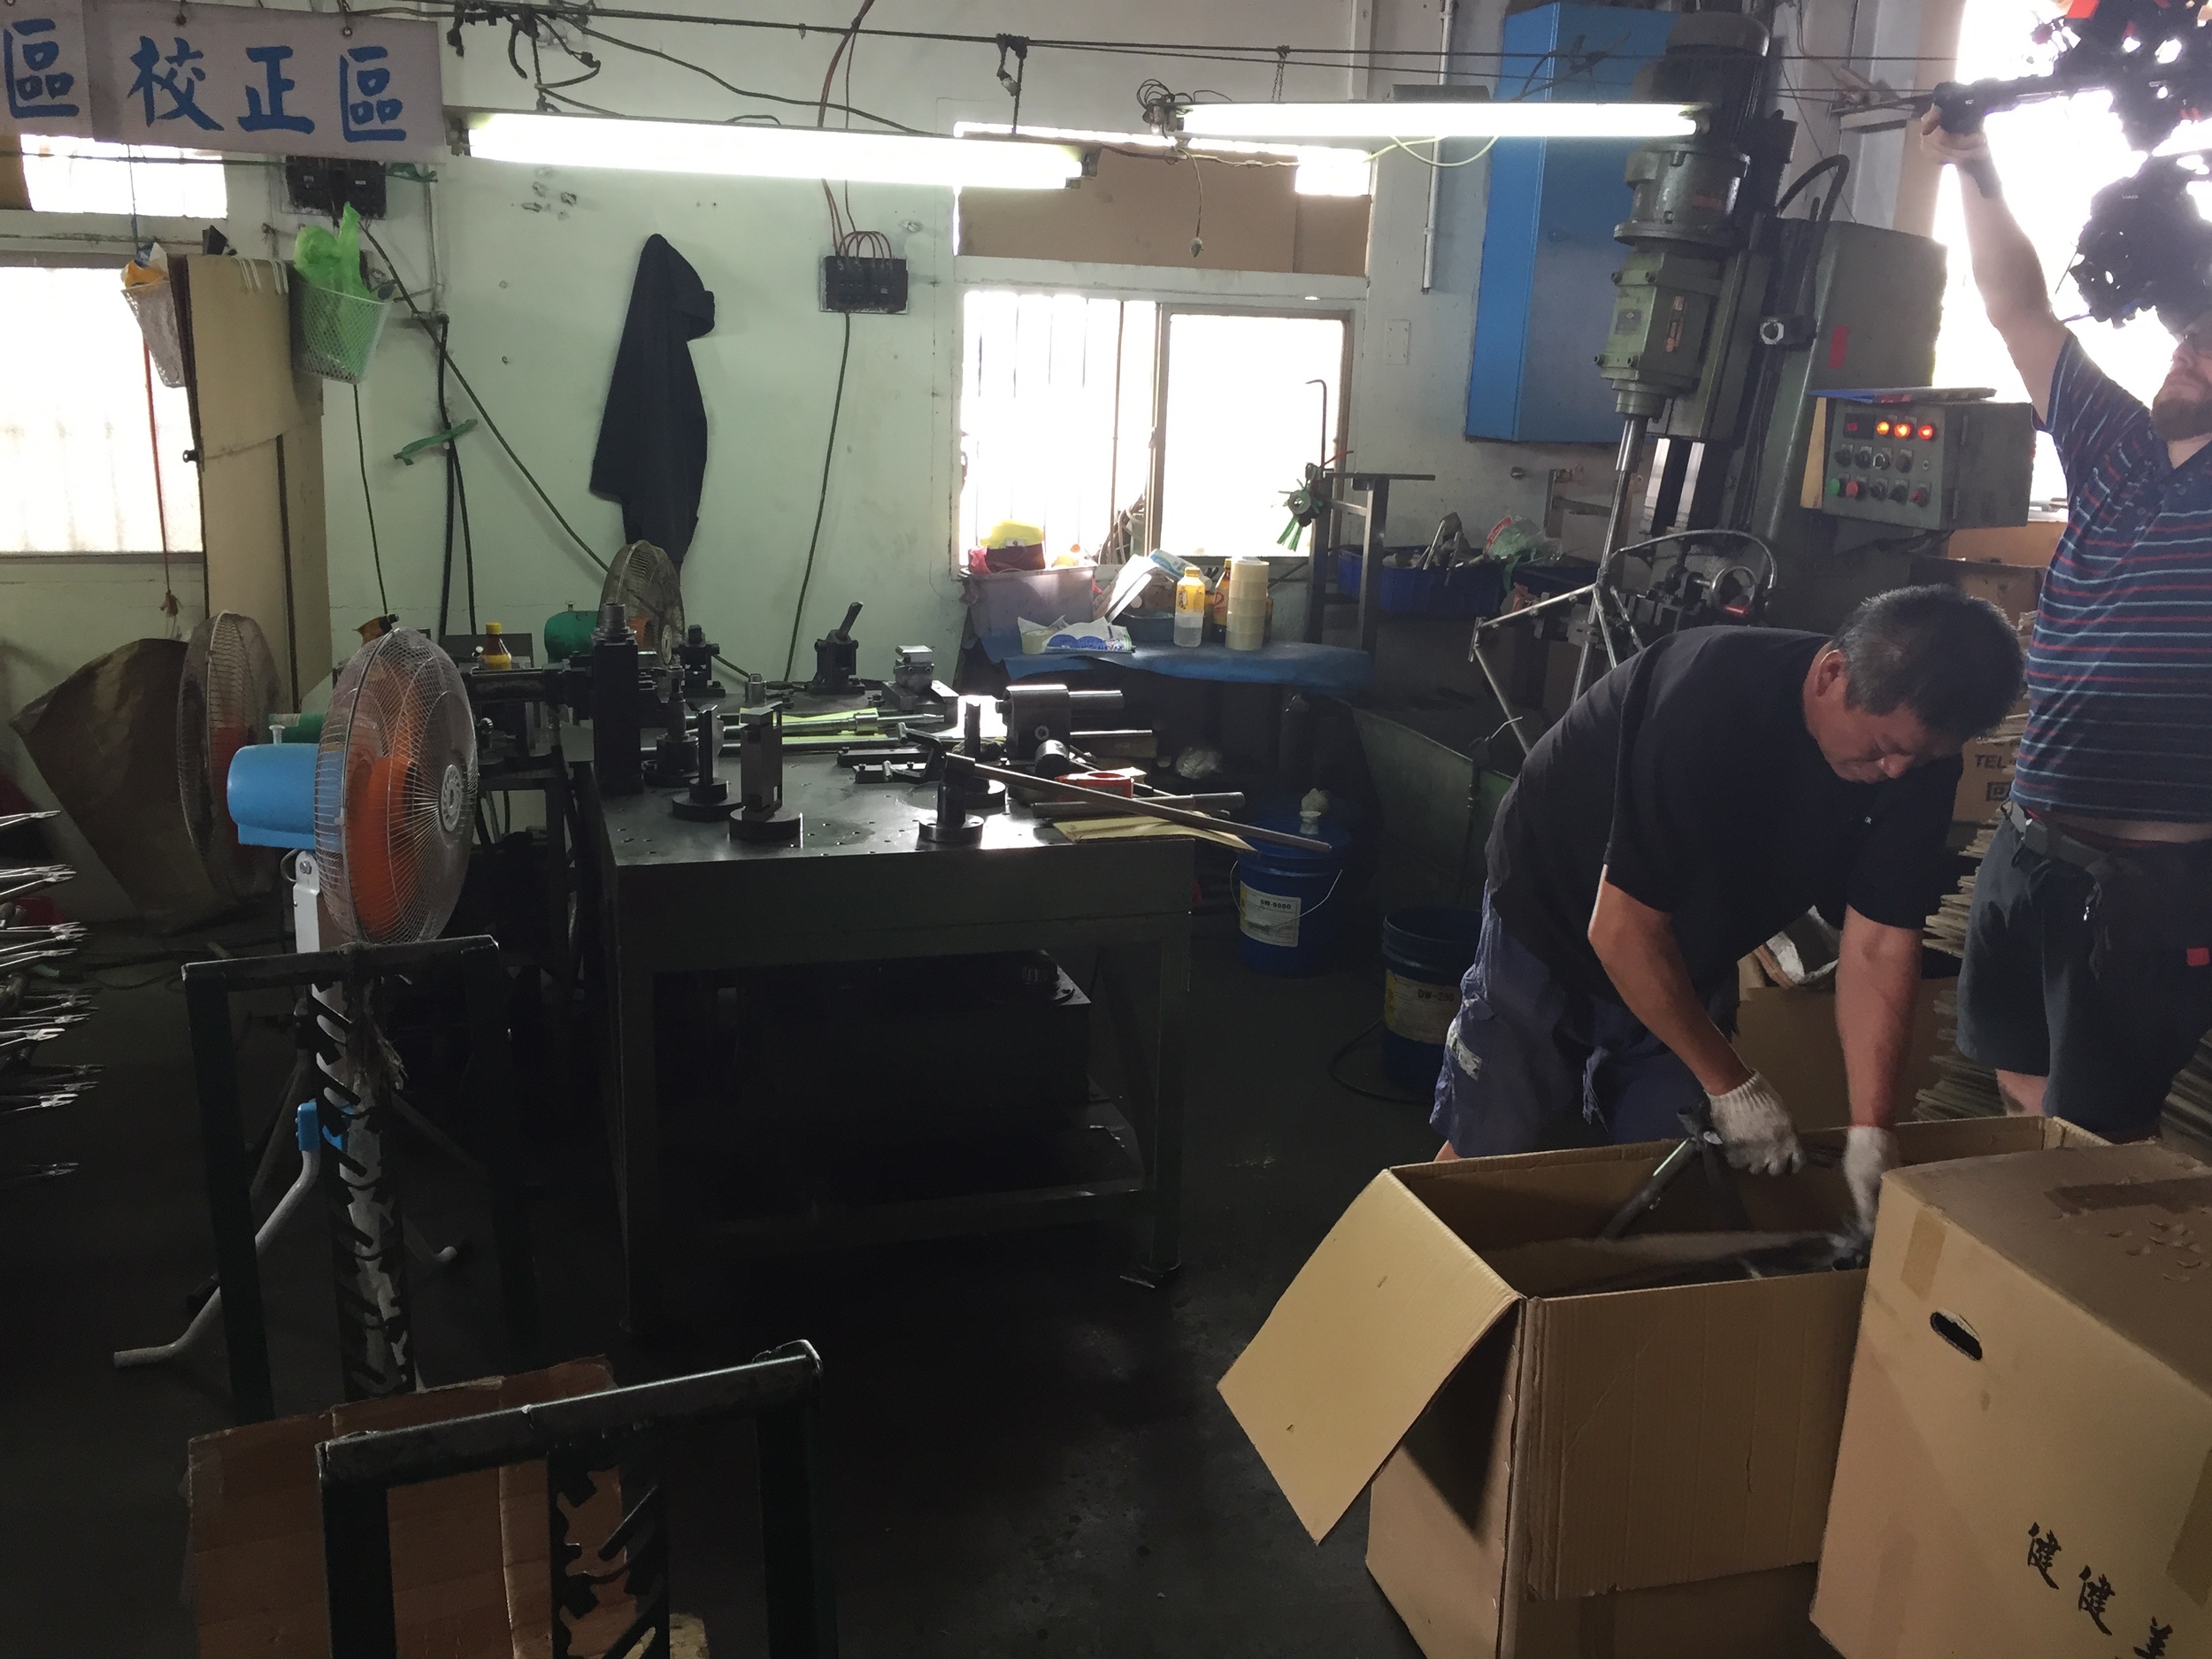
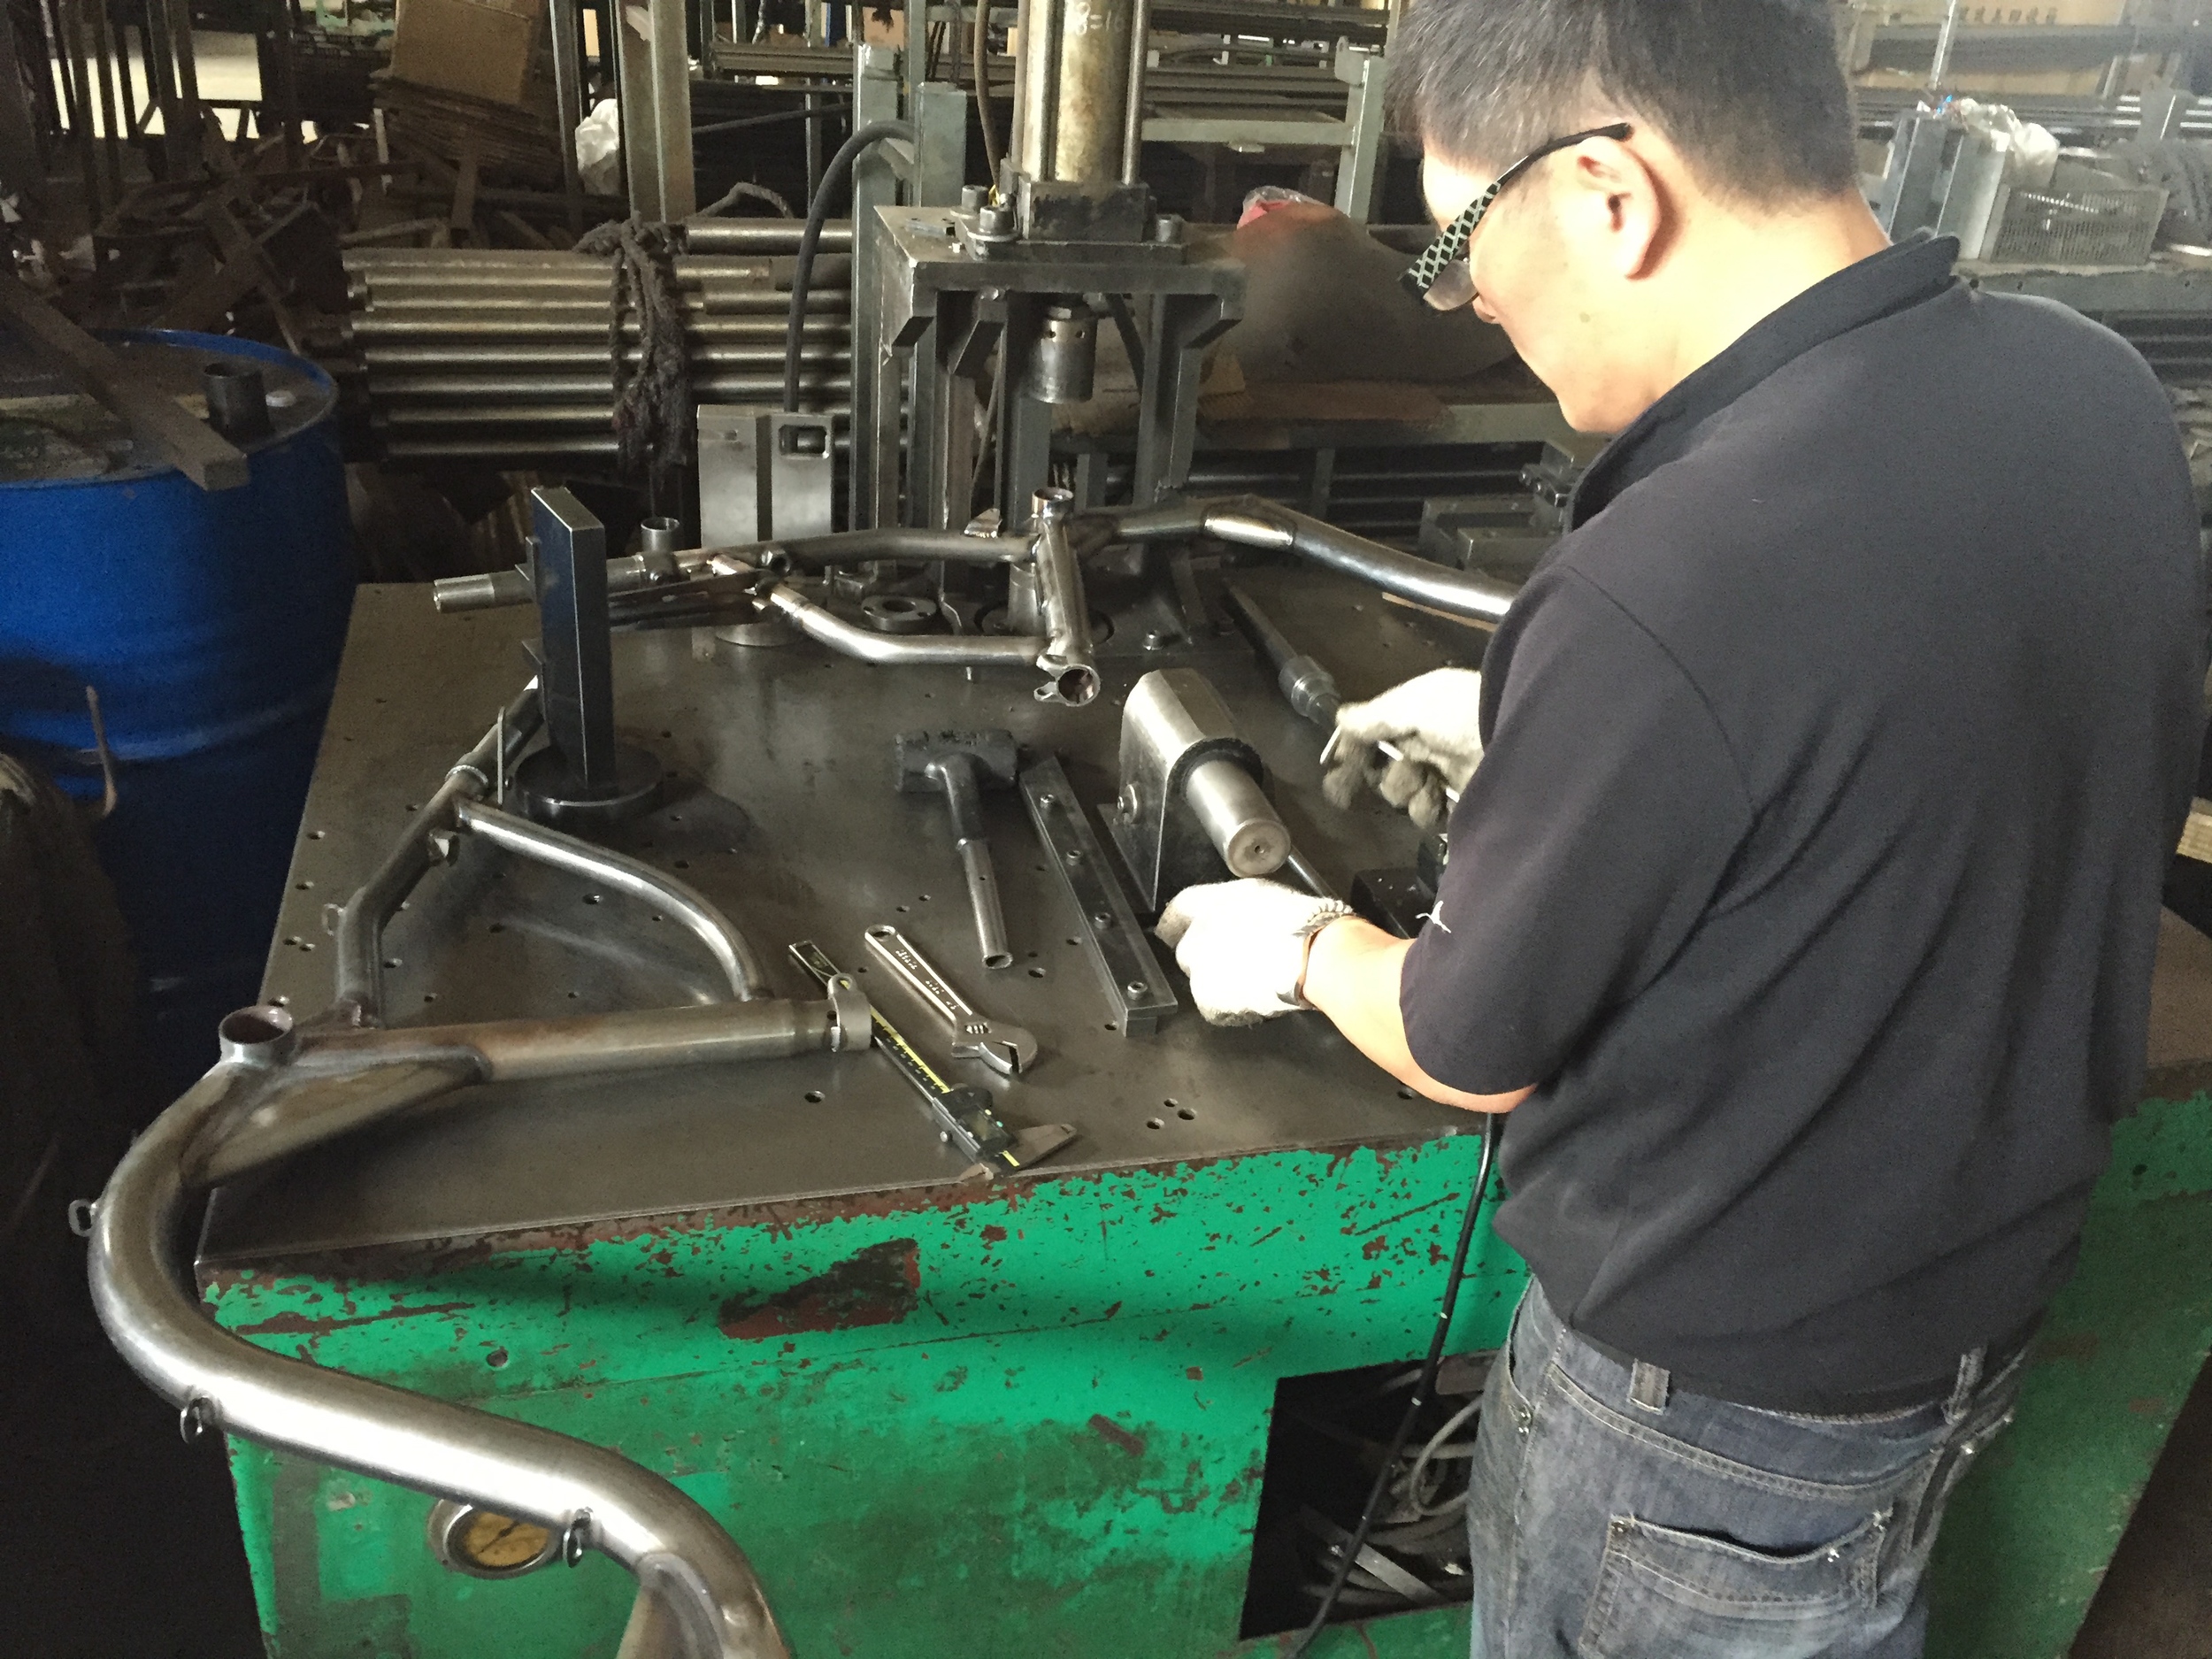
As with the fork factory we visited, the alignment process was *so* cool; unlike the fork factory, I didn't take a video of it :( As I watched the one alignment guy go through his routine, I couldn't help but compare it to my old Traffic Cycle Design alignment setup. This guy was doing a full, thorough frame alignment, *and* reaming seat tubes, all in something like 2 minutes. I would have been hard pressed to do the same in a half hour.

All in all, this factory was *really* fun to visit. Its super interesting seeing someone else perform tasks that are similar to ones you've done. In all honesty, I was always really attracted to the idea of having a much larger shop setup - and one that could perform tasks much more efficiently than I was ever able to. It was fun seeing that kind of operation running in real life.

Notes from a bicycle fork factory in Taiwan

Added on by Spencer Wright.

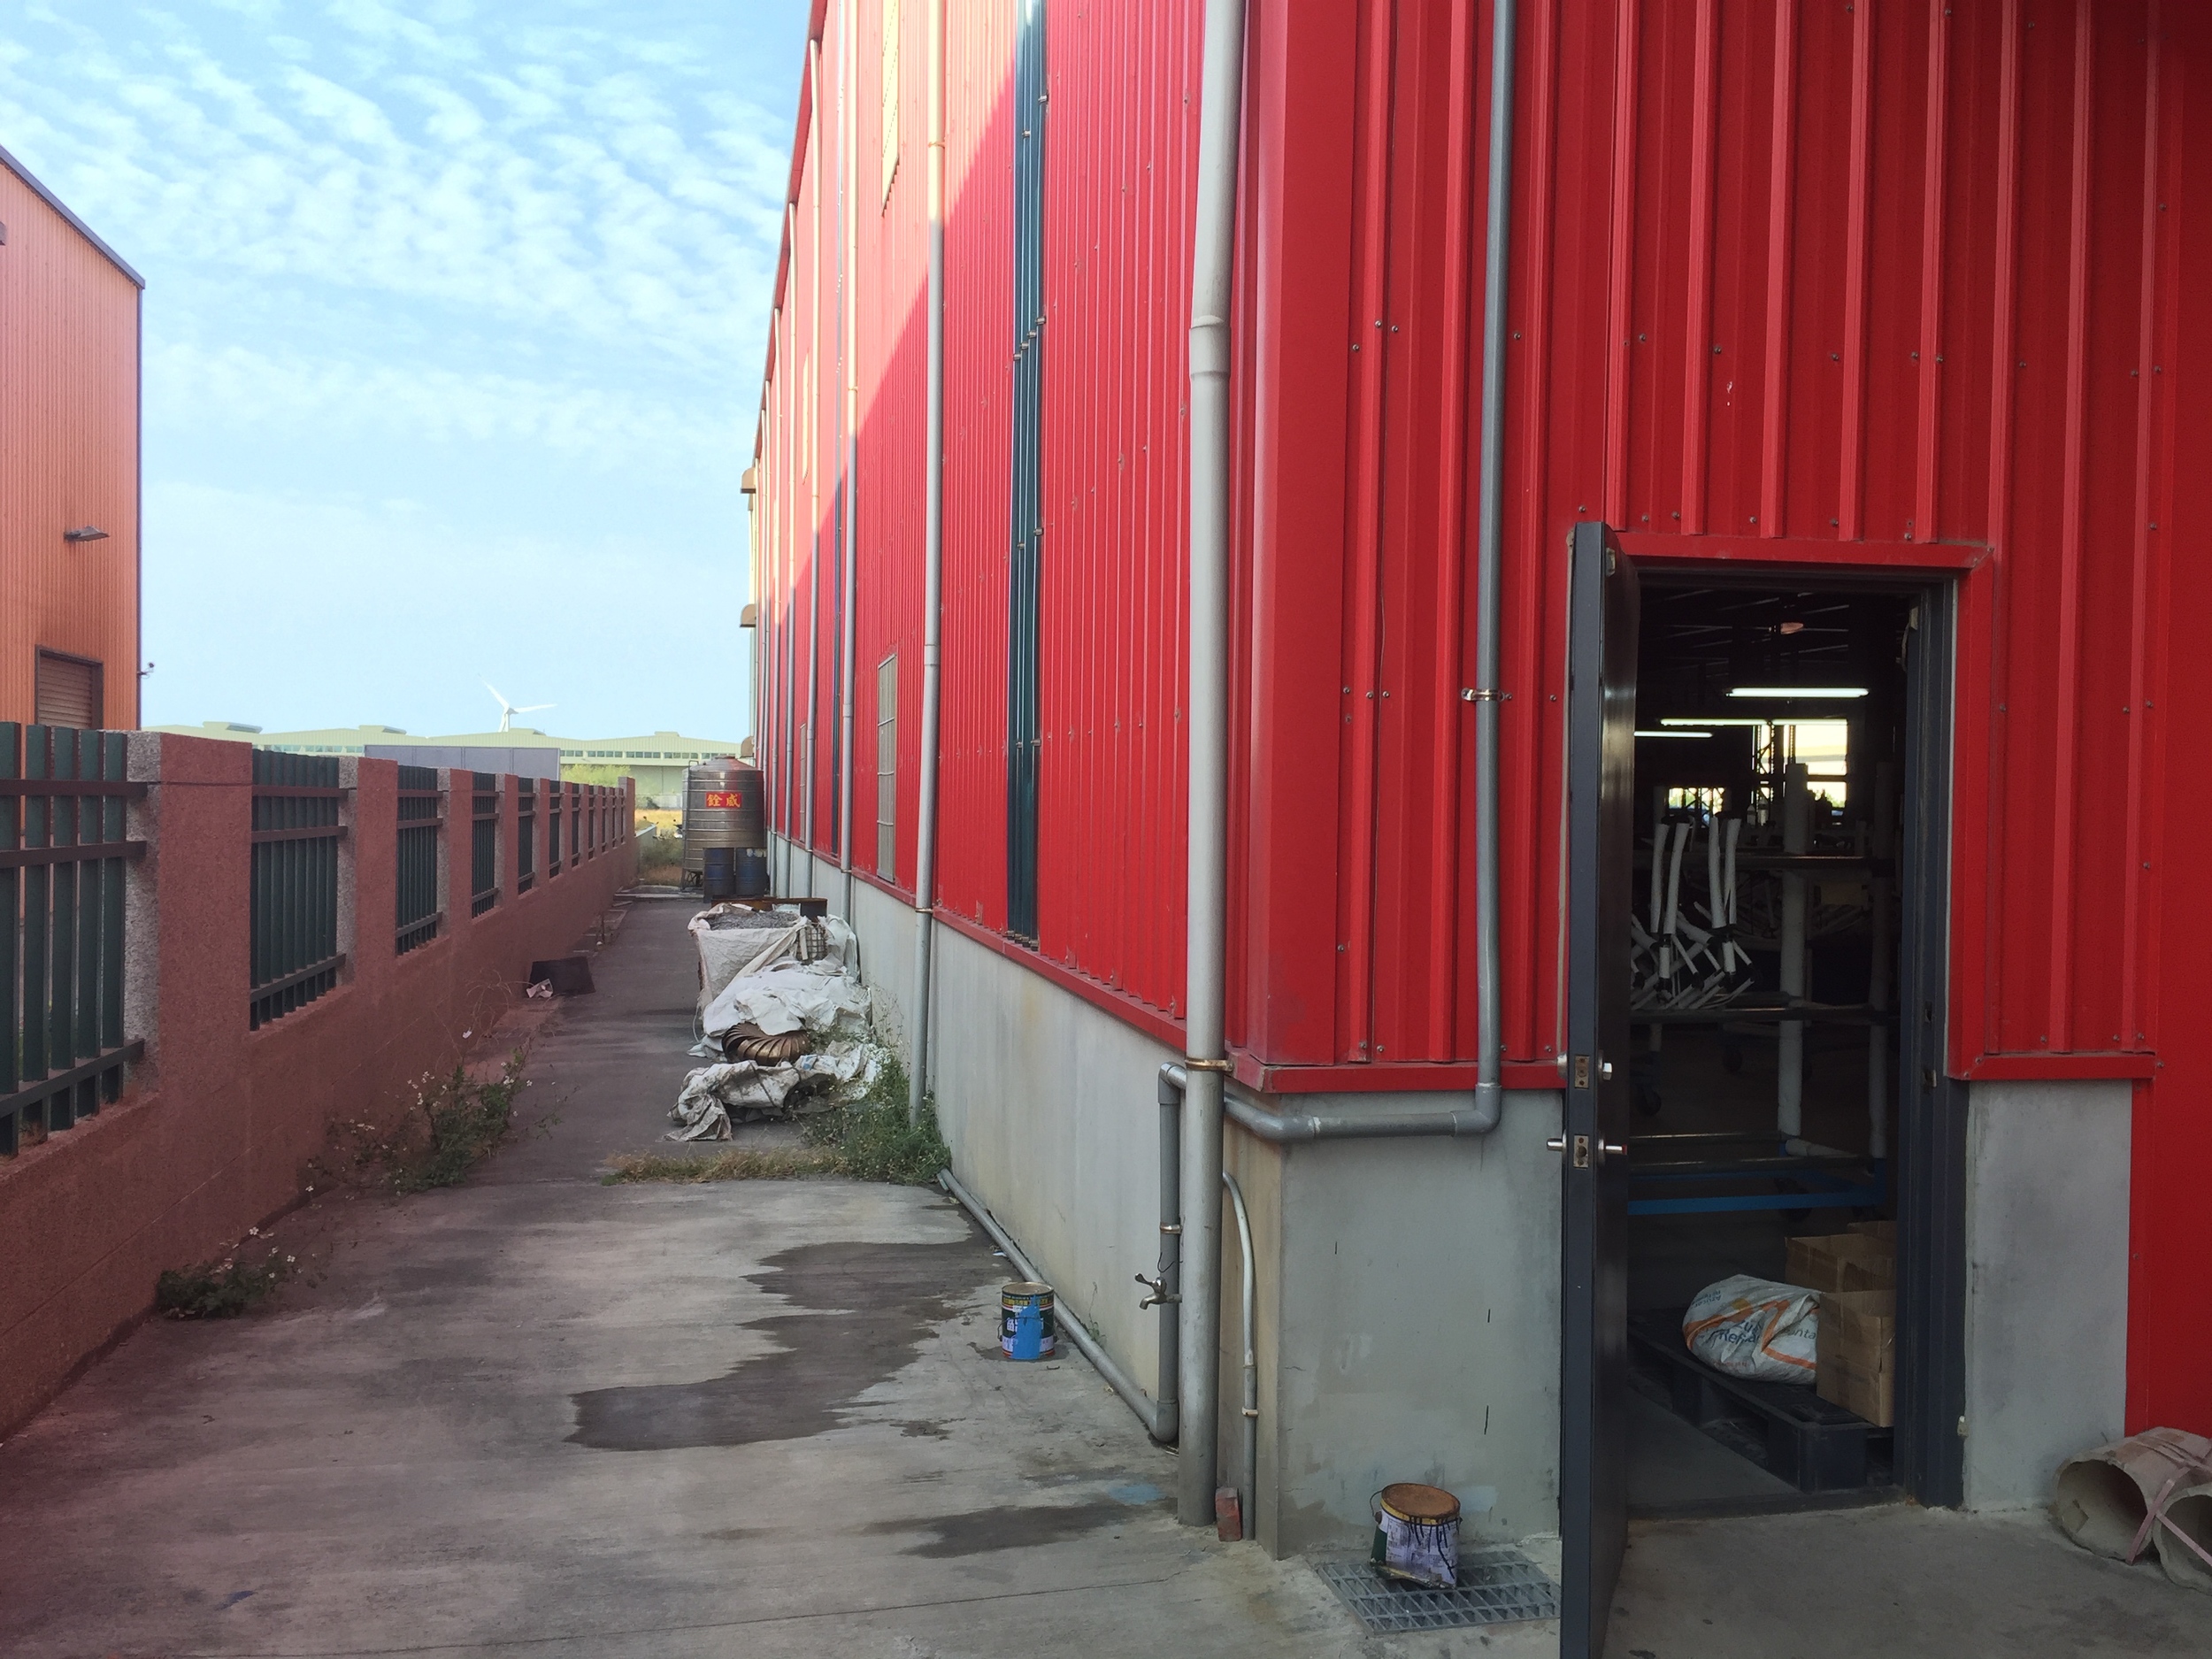
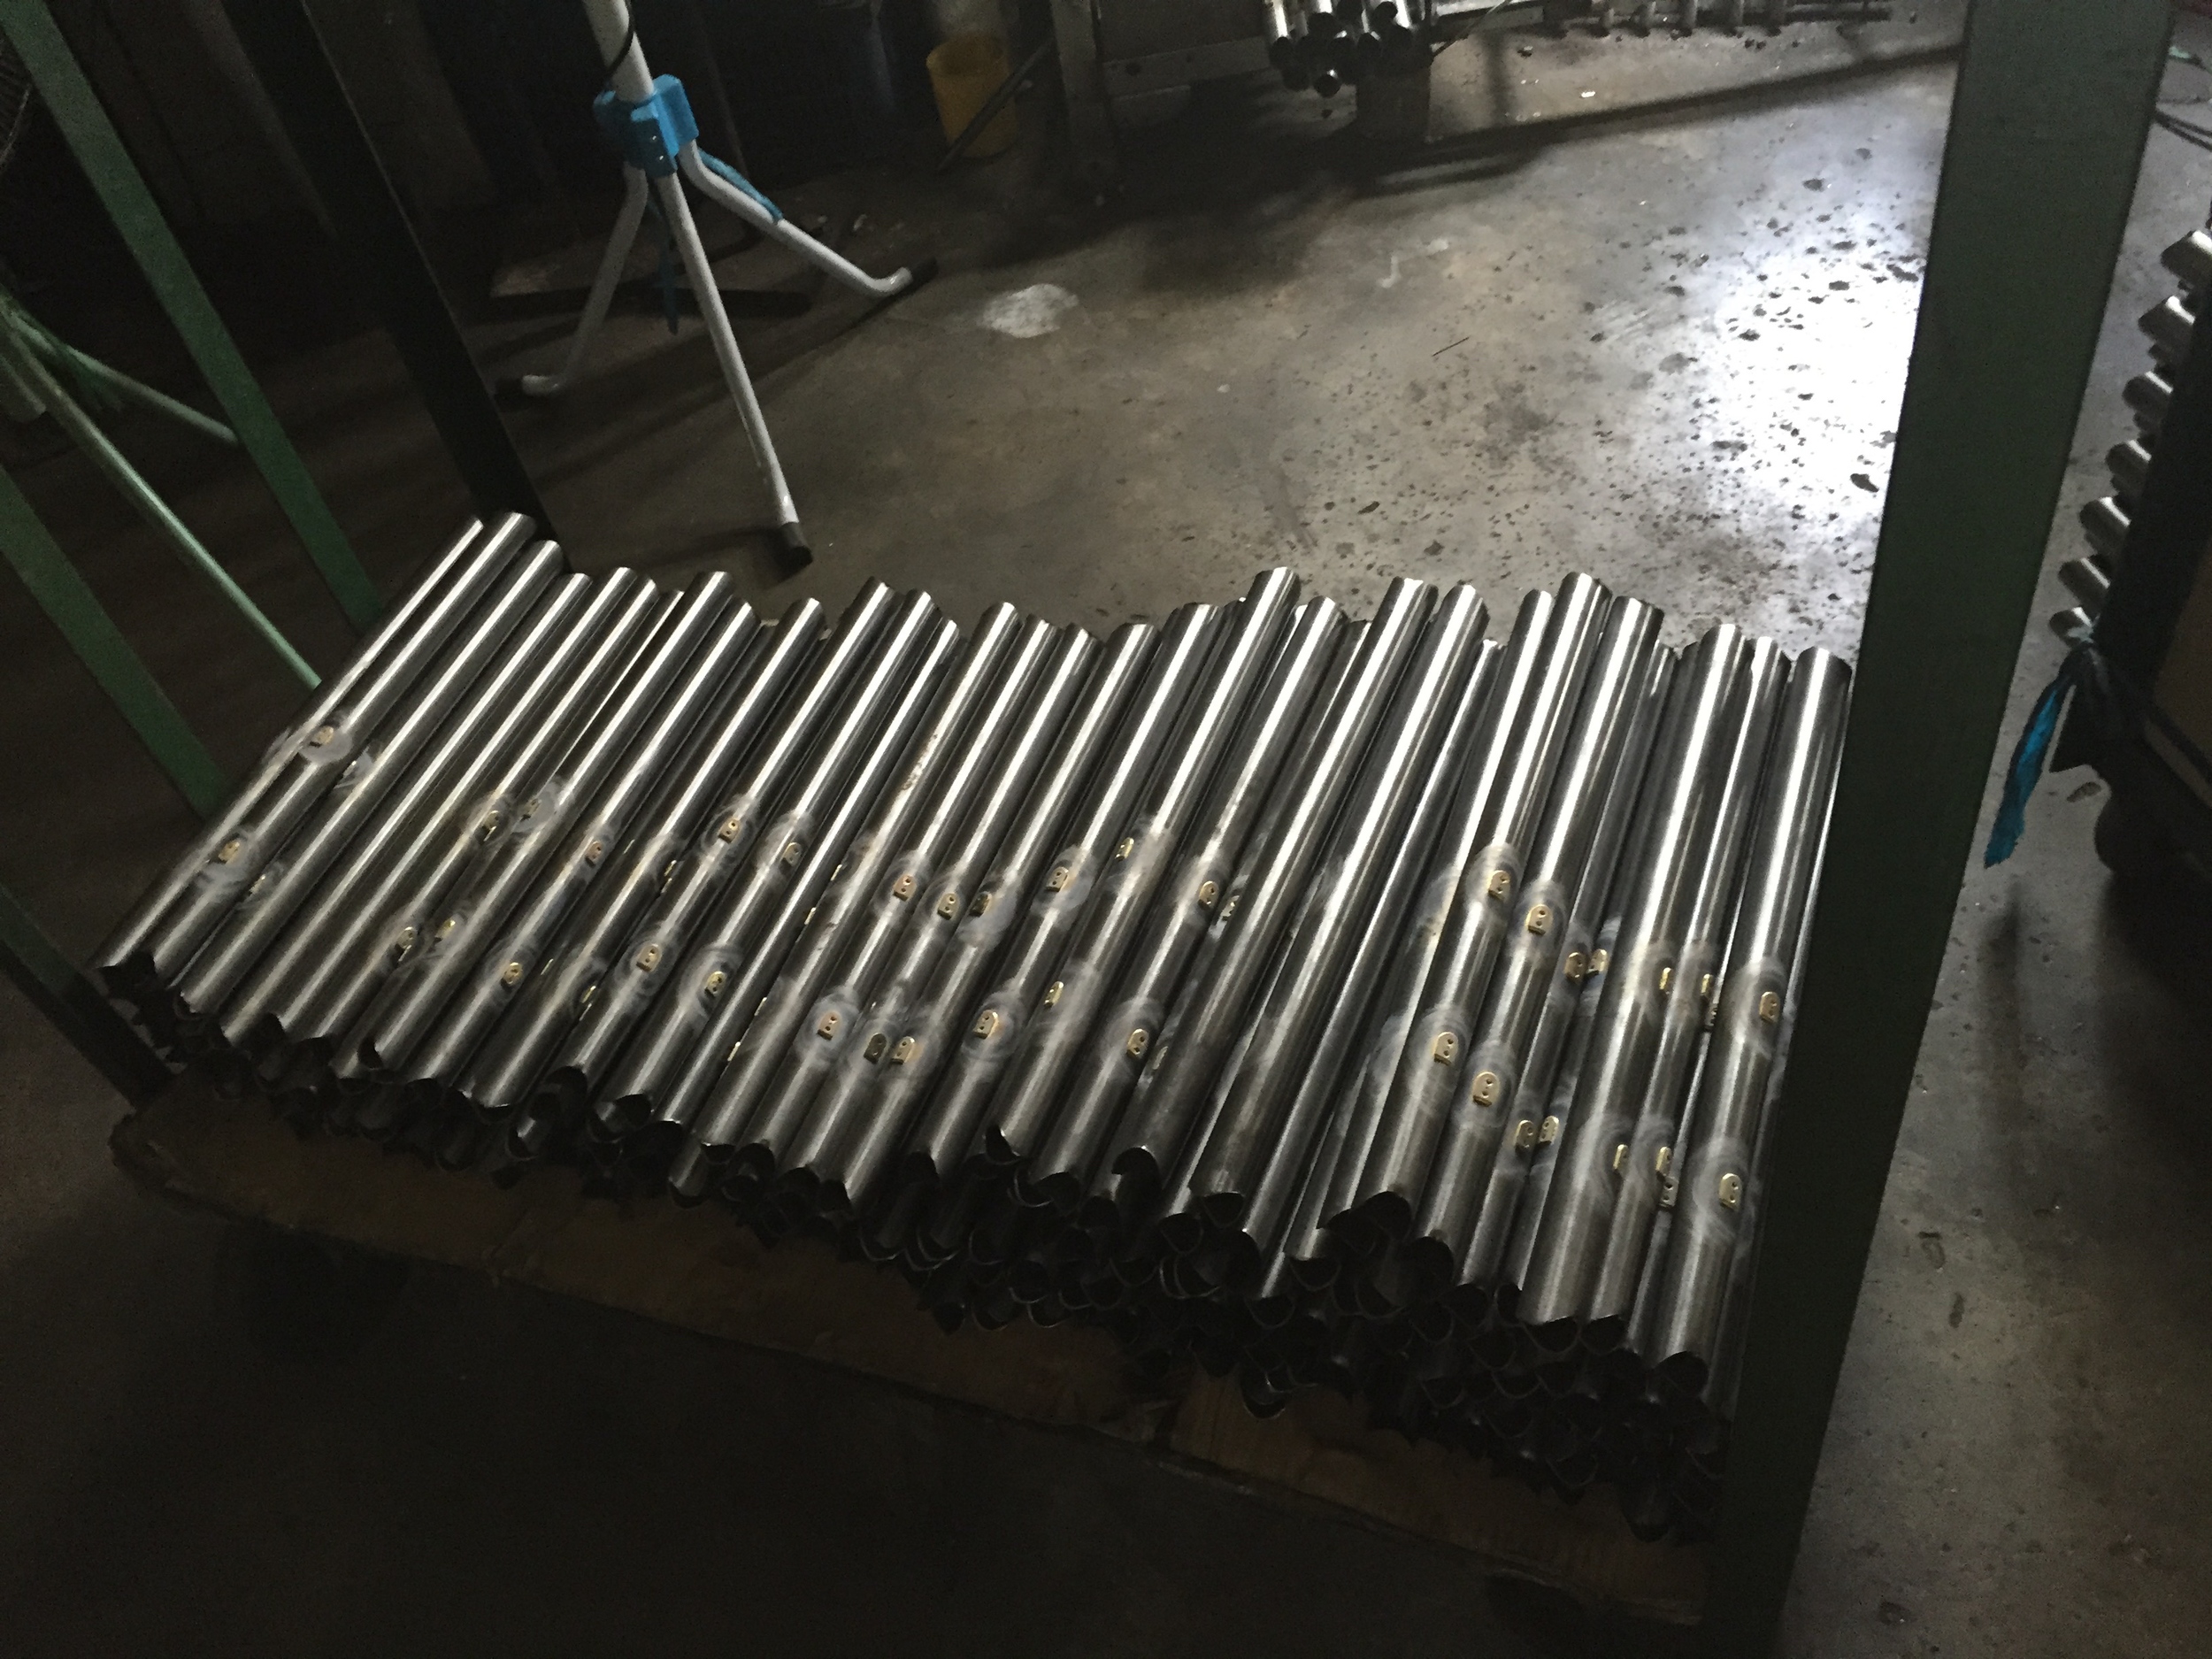
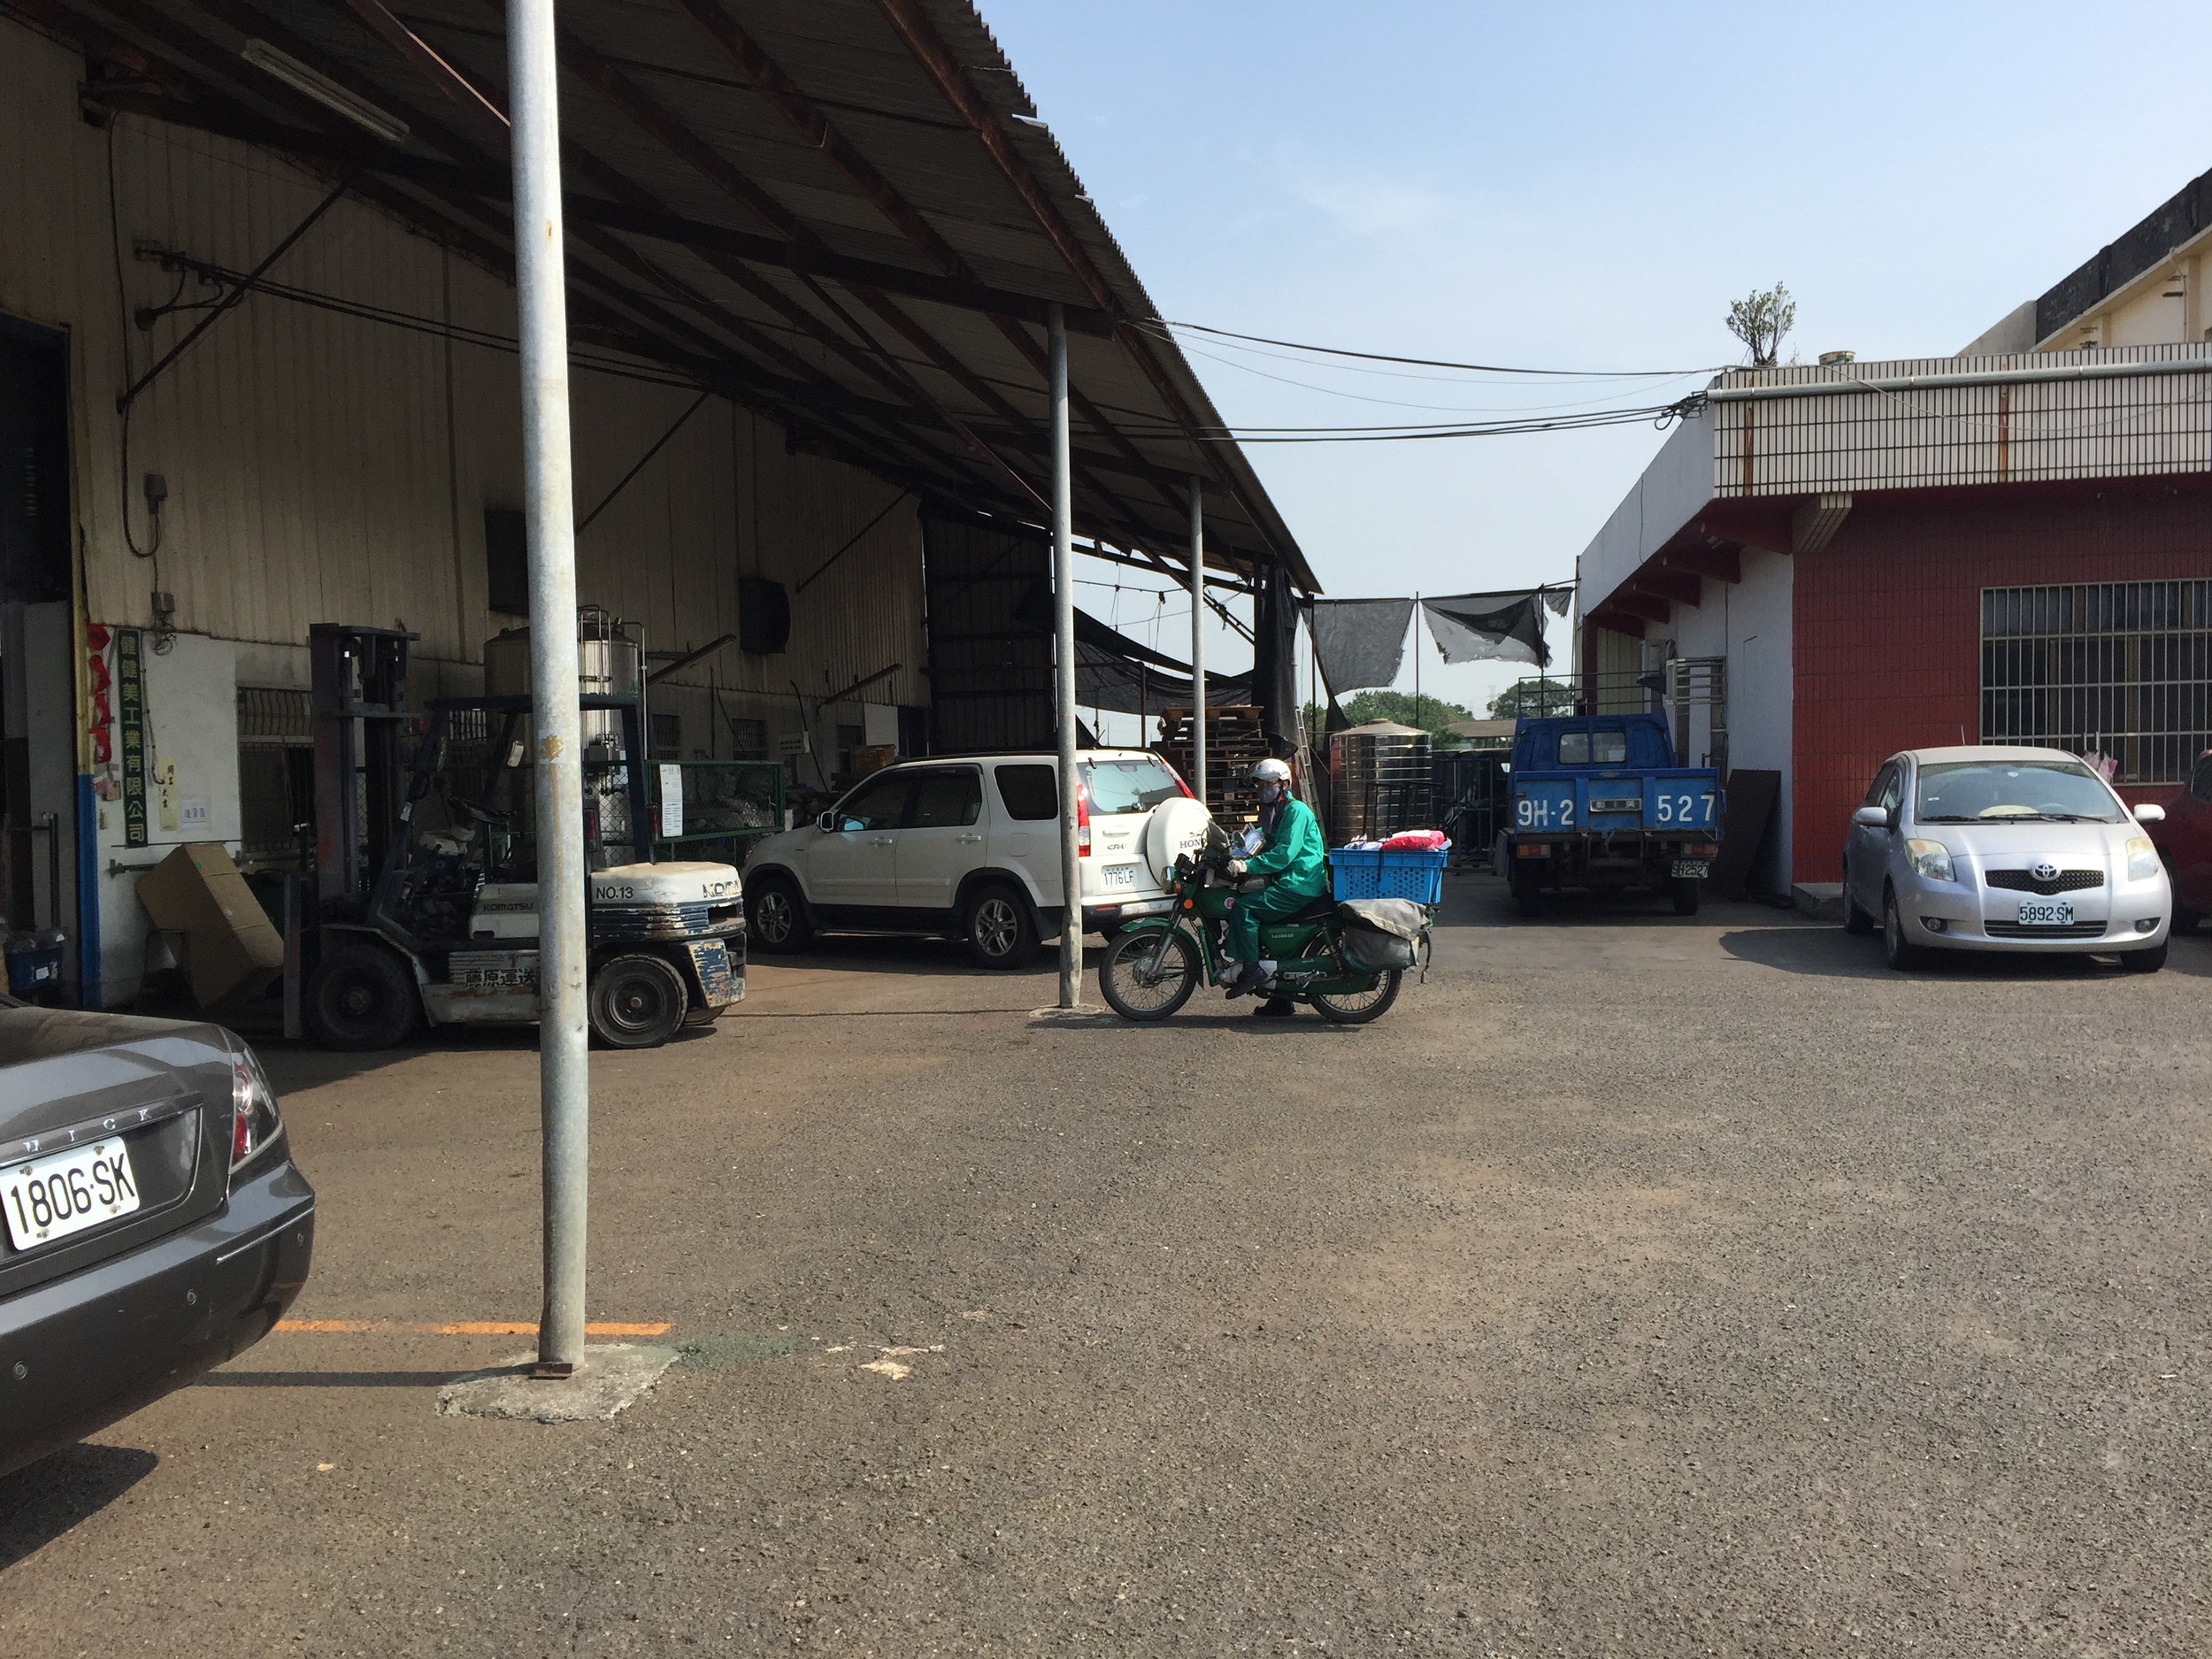
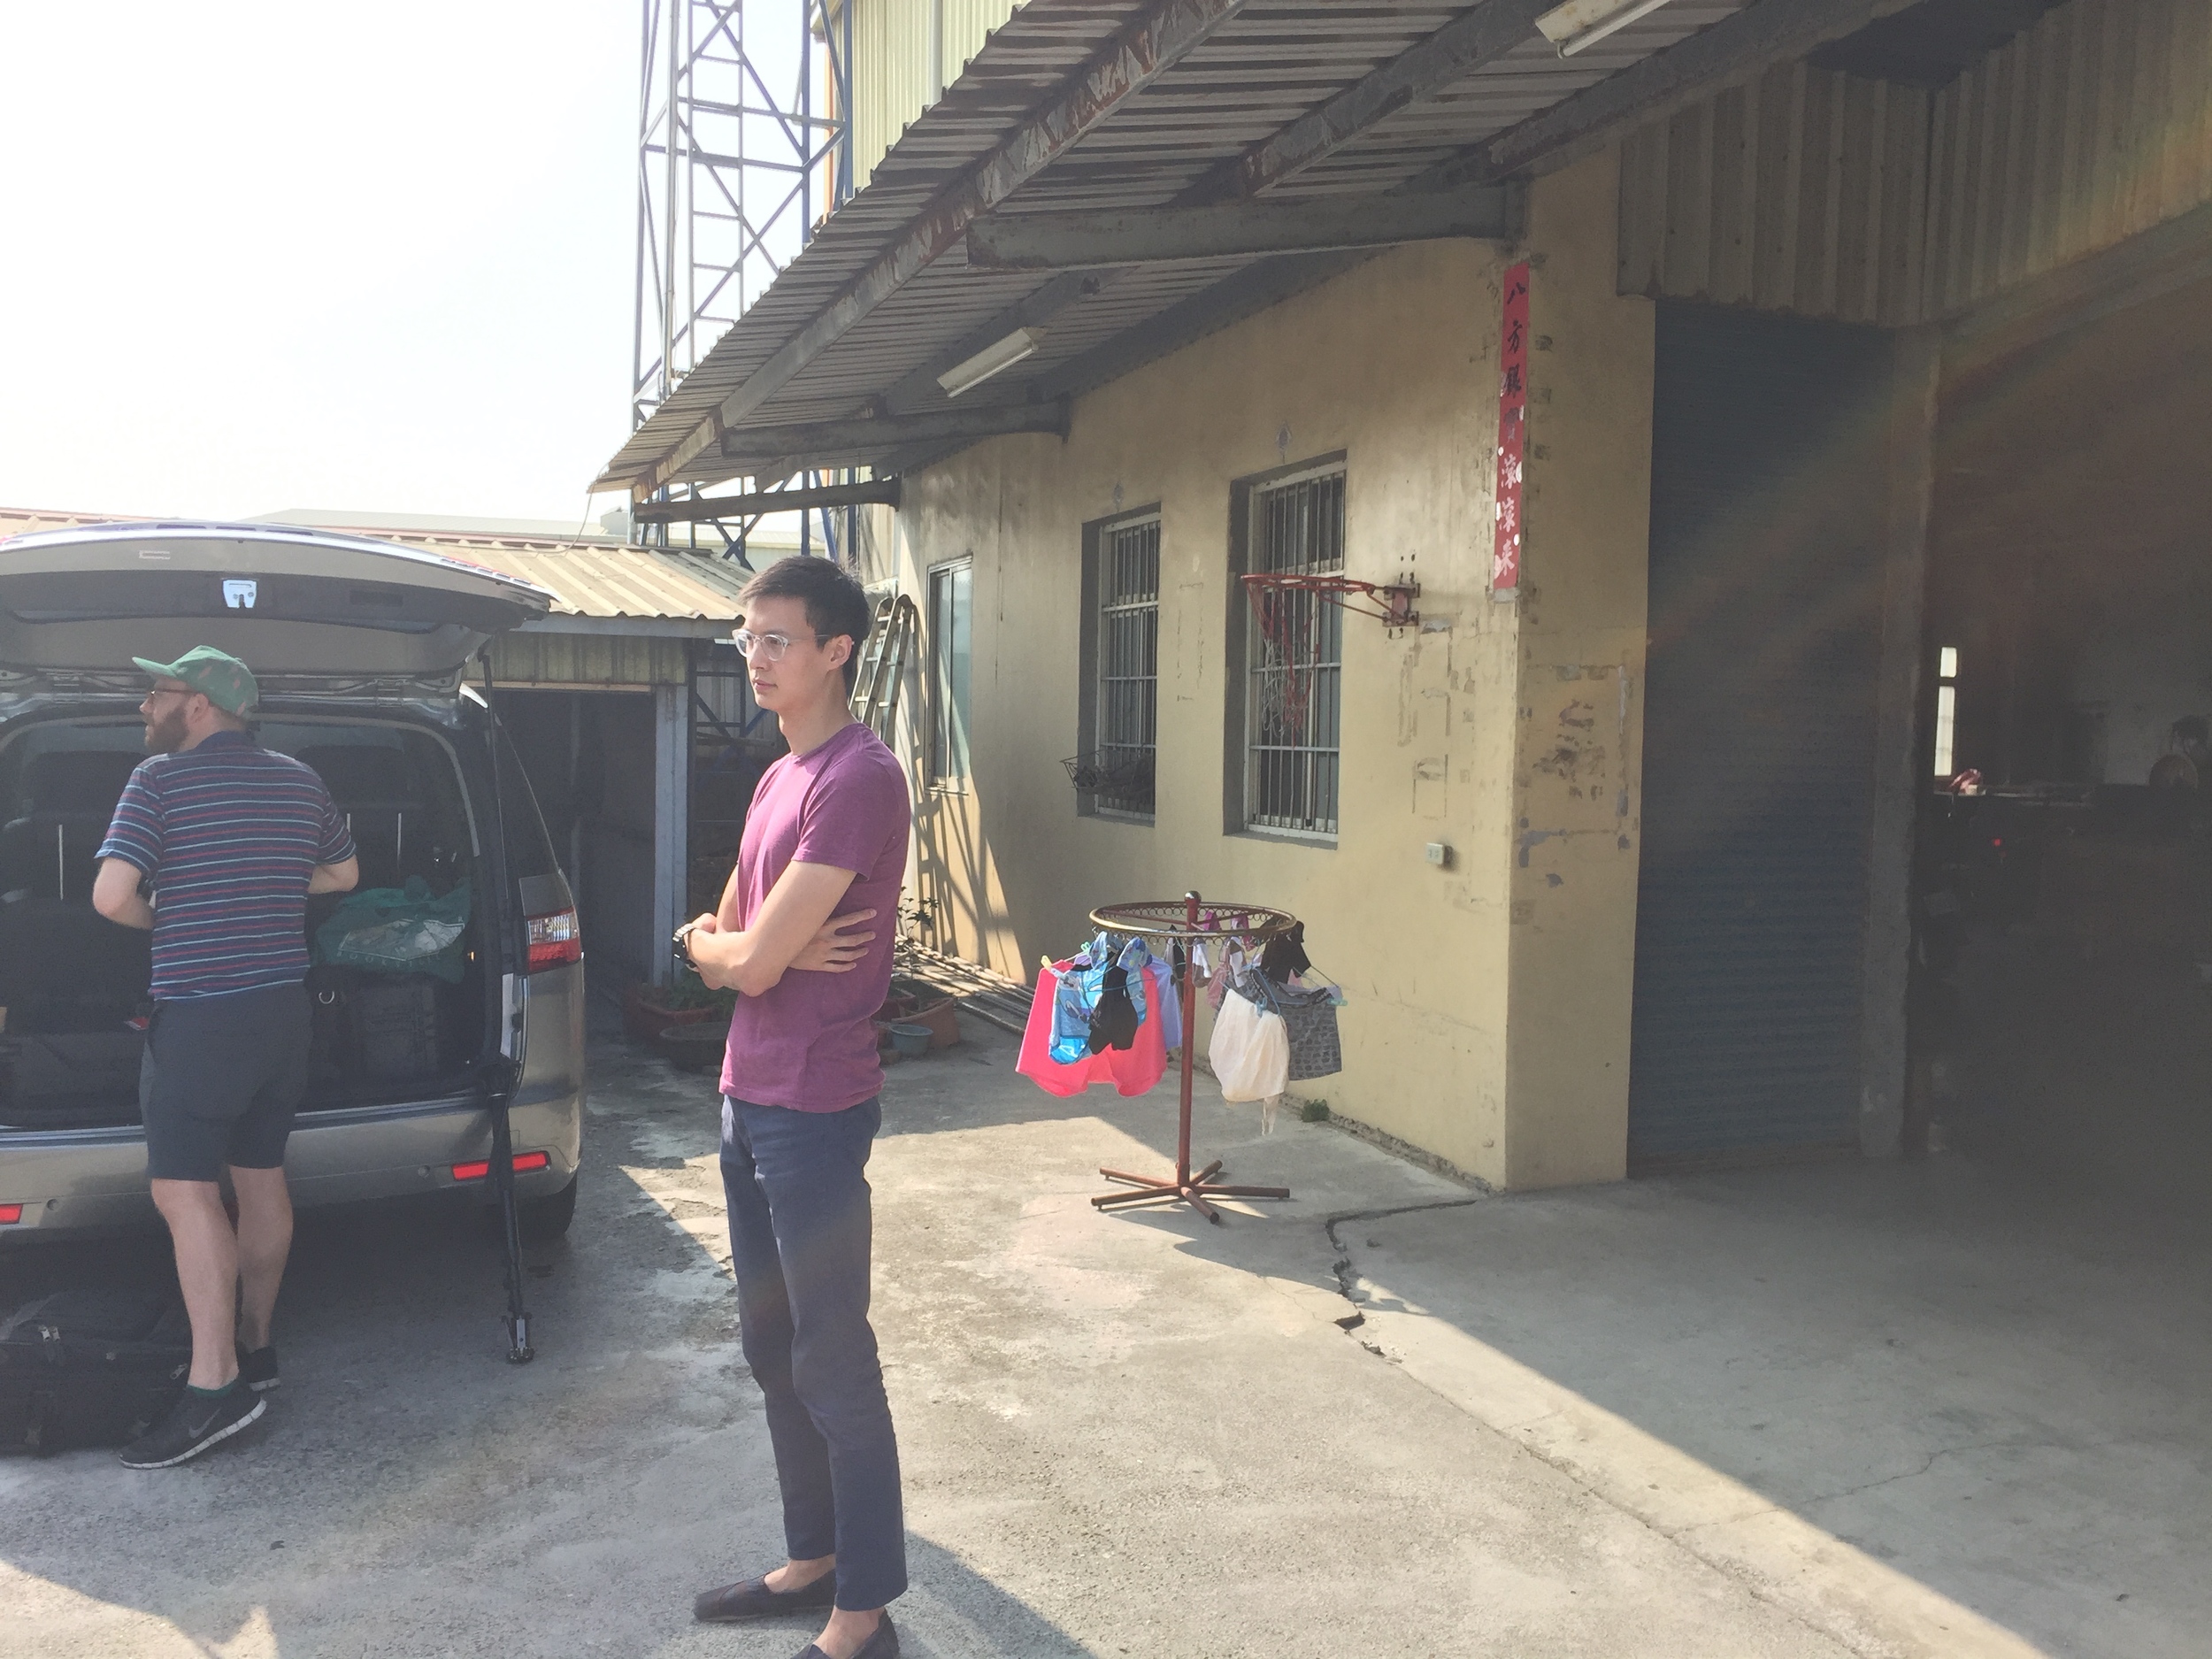
In October, I visited a Taiwanese bicycle fork builder with Brilliant Bicycles. The shop was in a totally rural area; the vast majority of land usage was rice paddies. These photos are taken from directly in front of the shop:

The building on the far left is the fork shop's storage area.

That's the fork shop on the far right.

The shop itself was a couple thousand square feet. It was rectangular, and had a single gable roof. The gable end to the east had a huge open door, and there were fans everywhere to maintain airflow; it was hot inside nonetheless. On the other end the shop adjoined to what I presume were office and a small apartment area. 

A few notes:

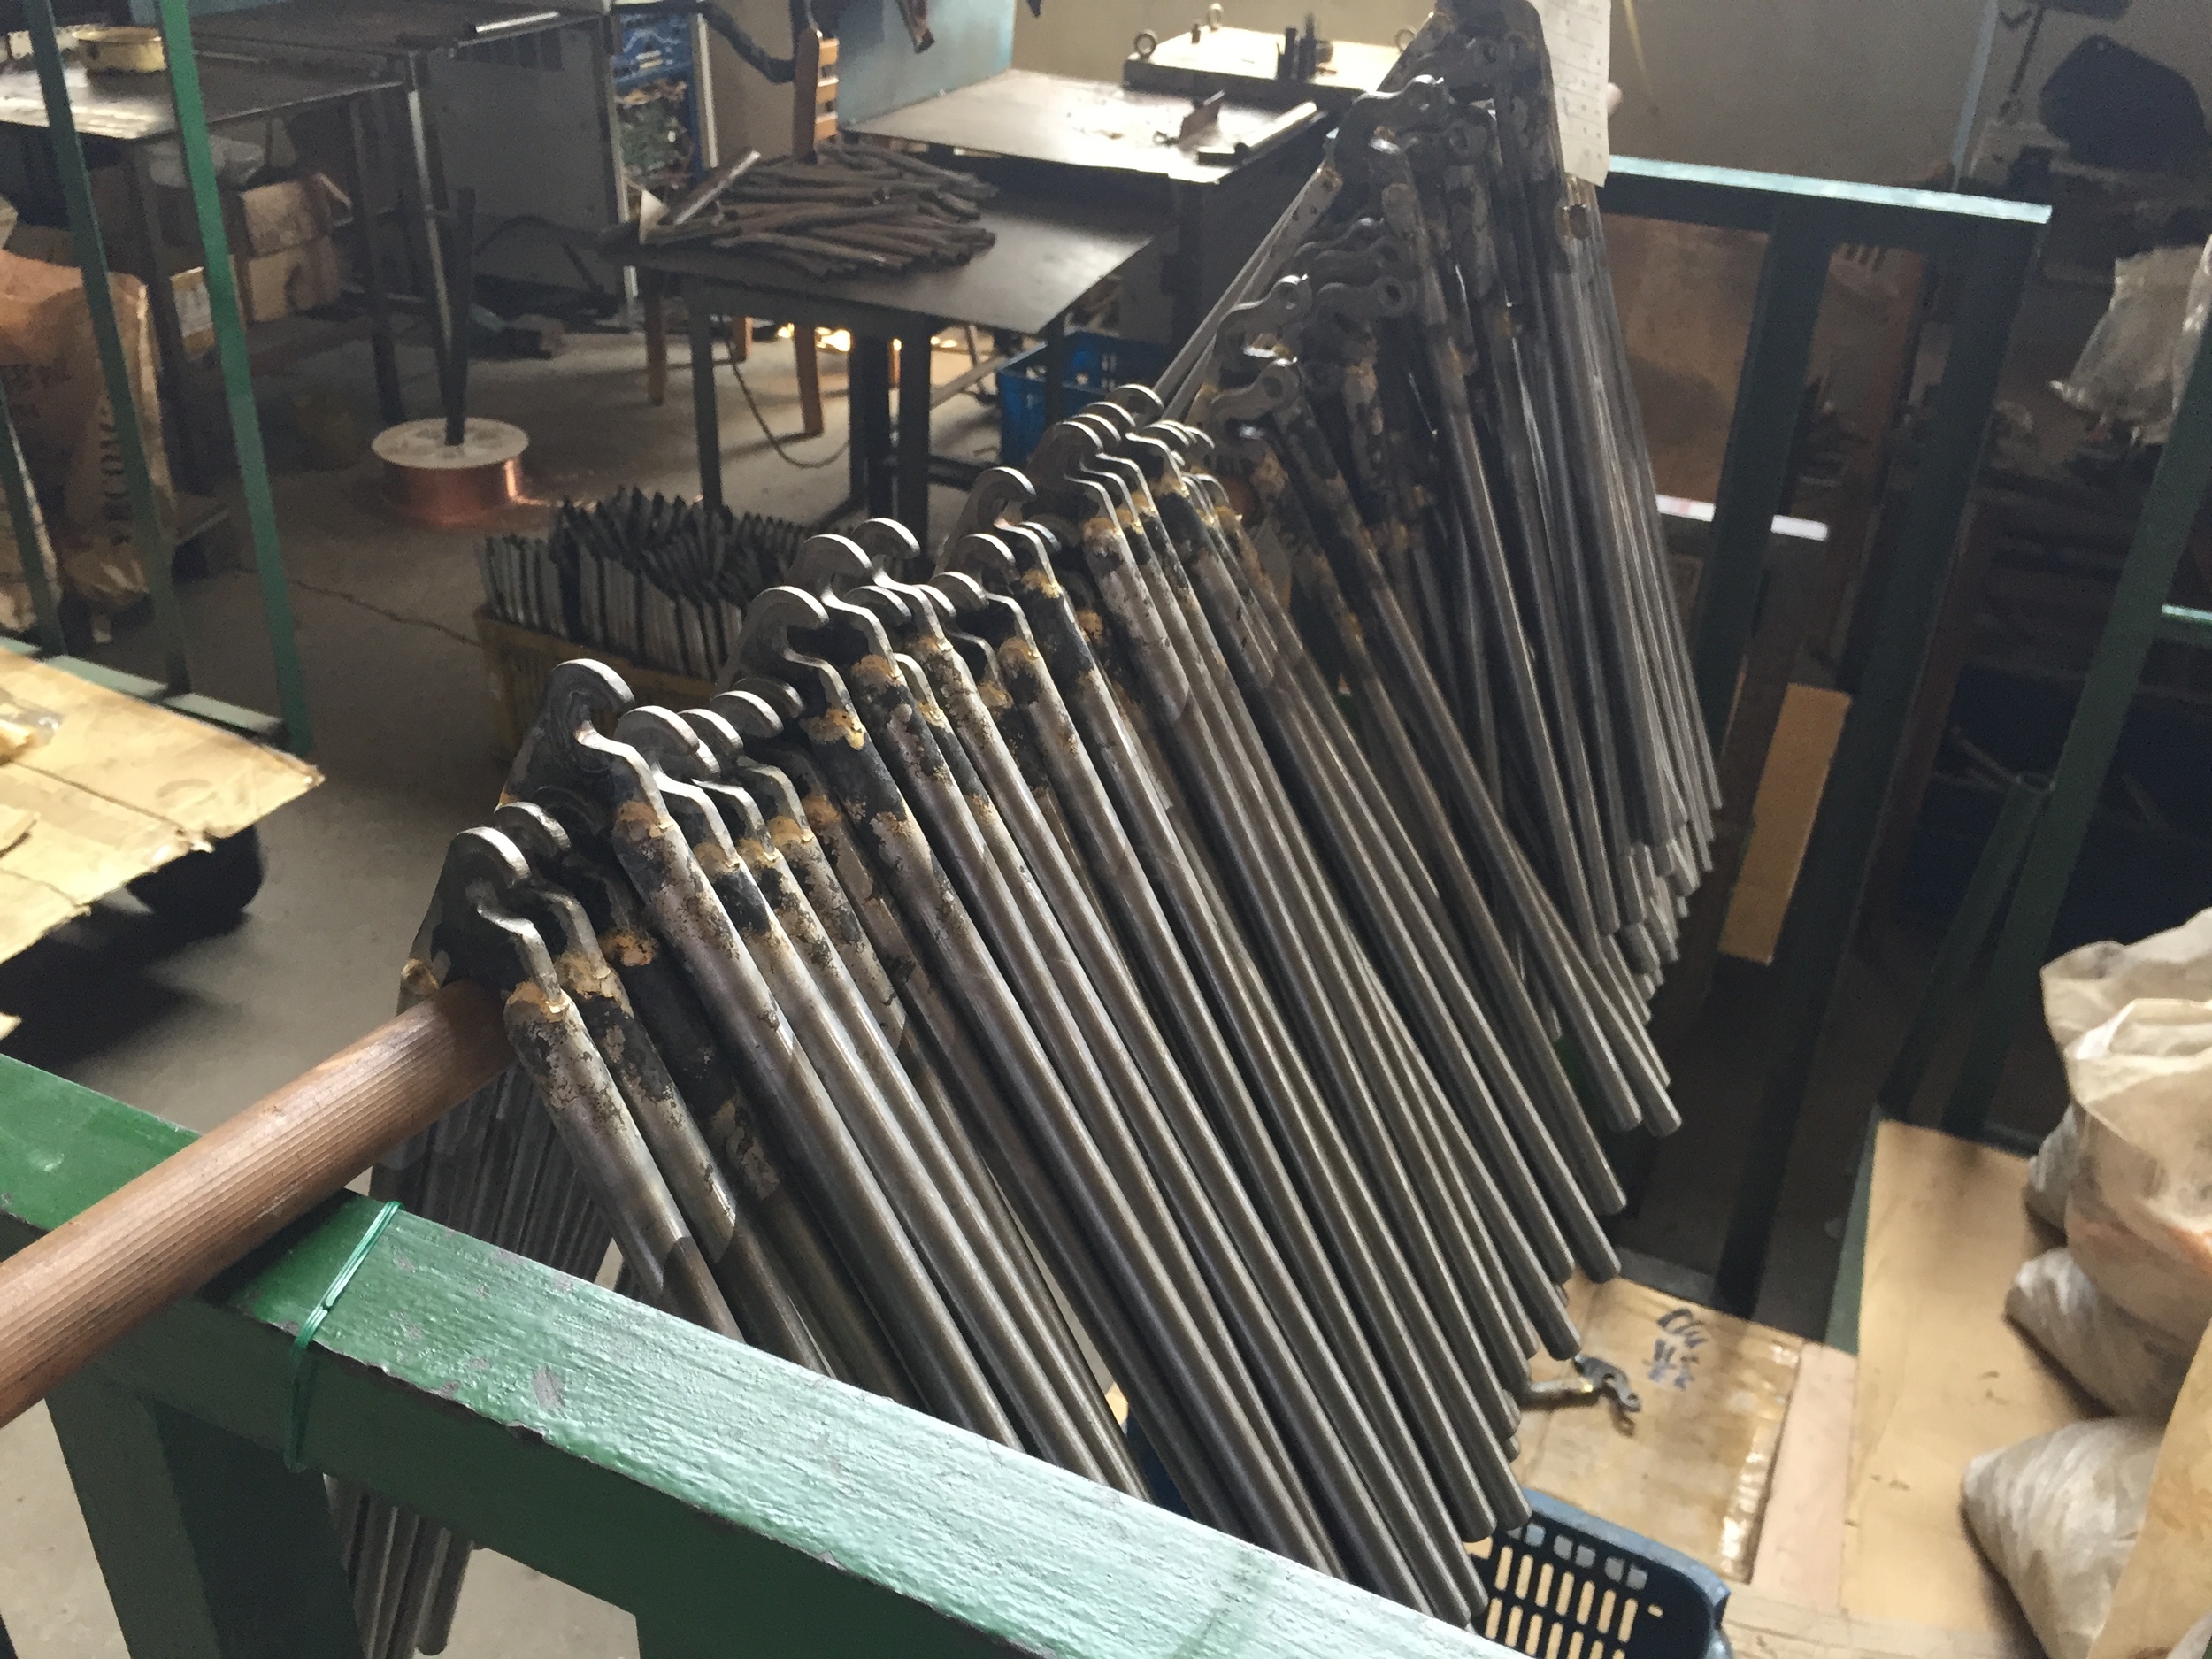
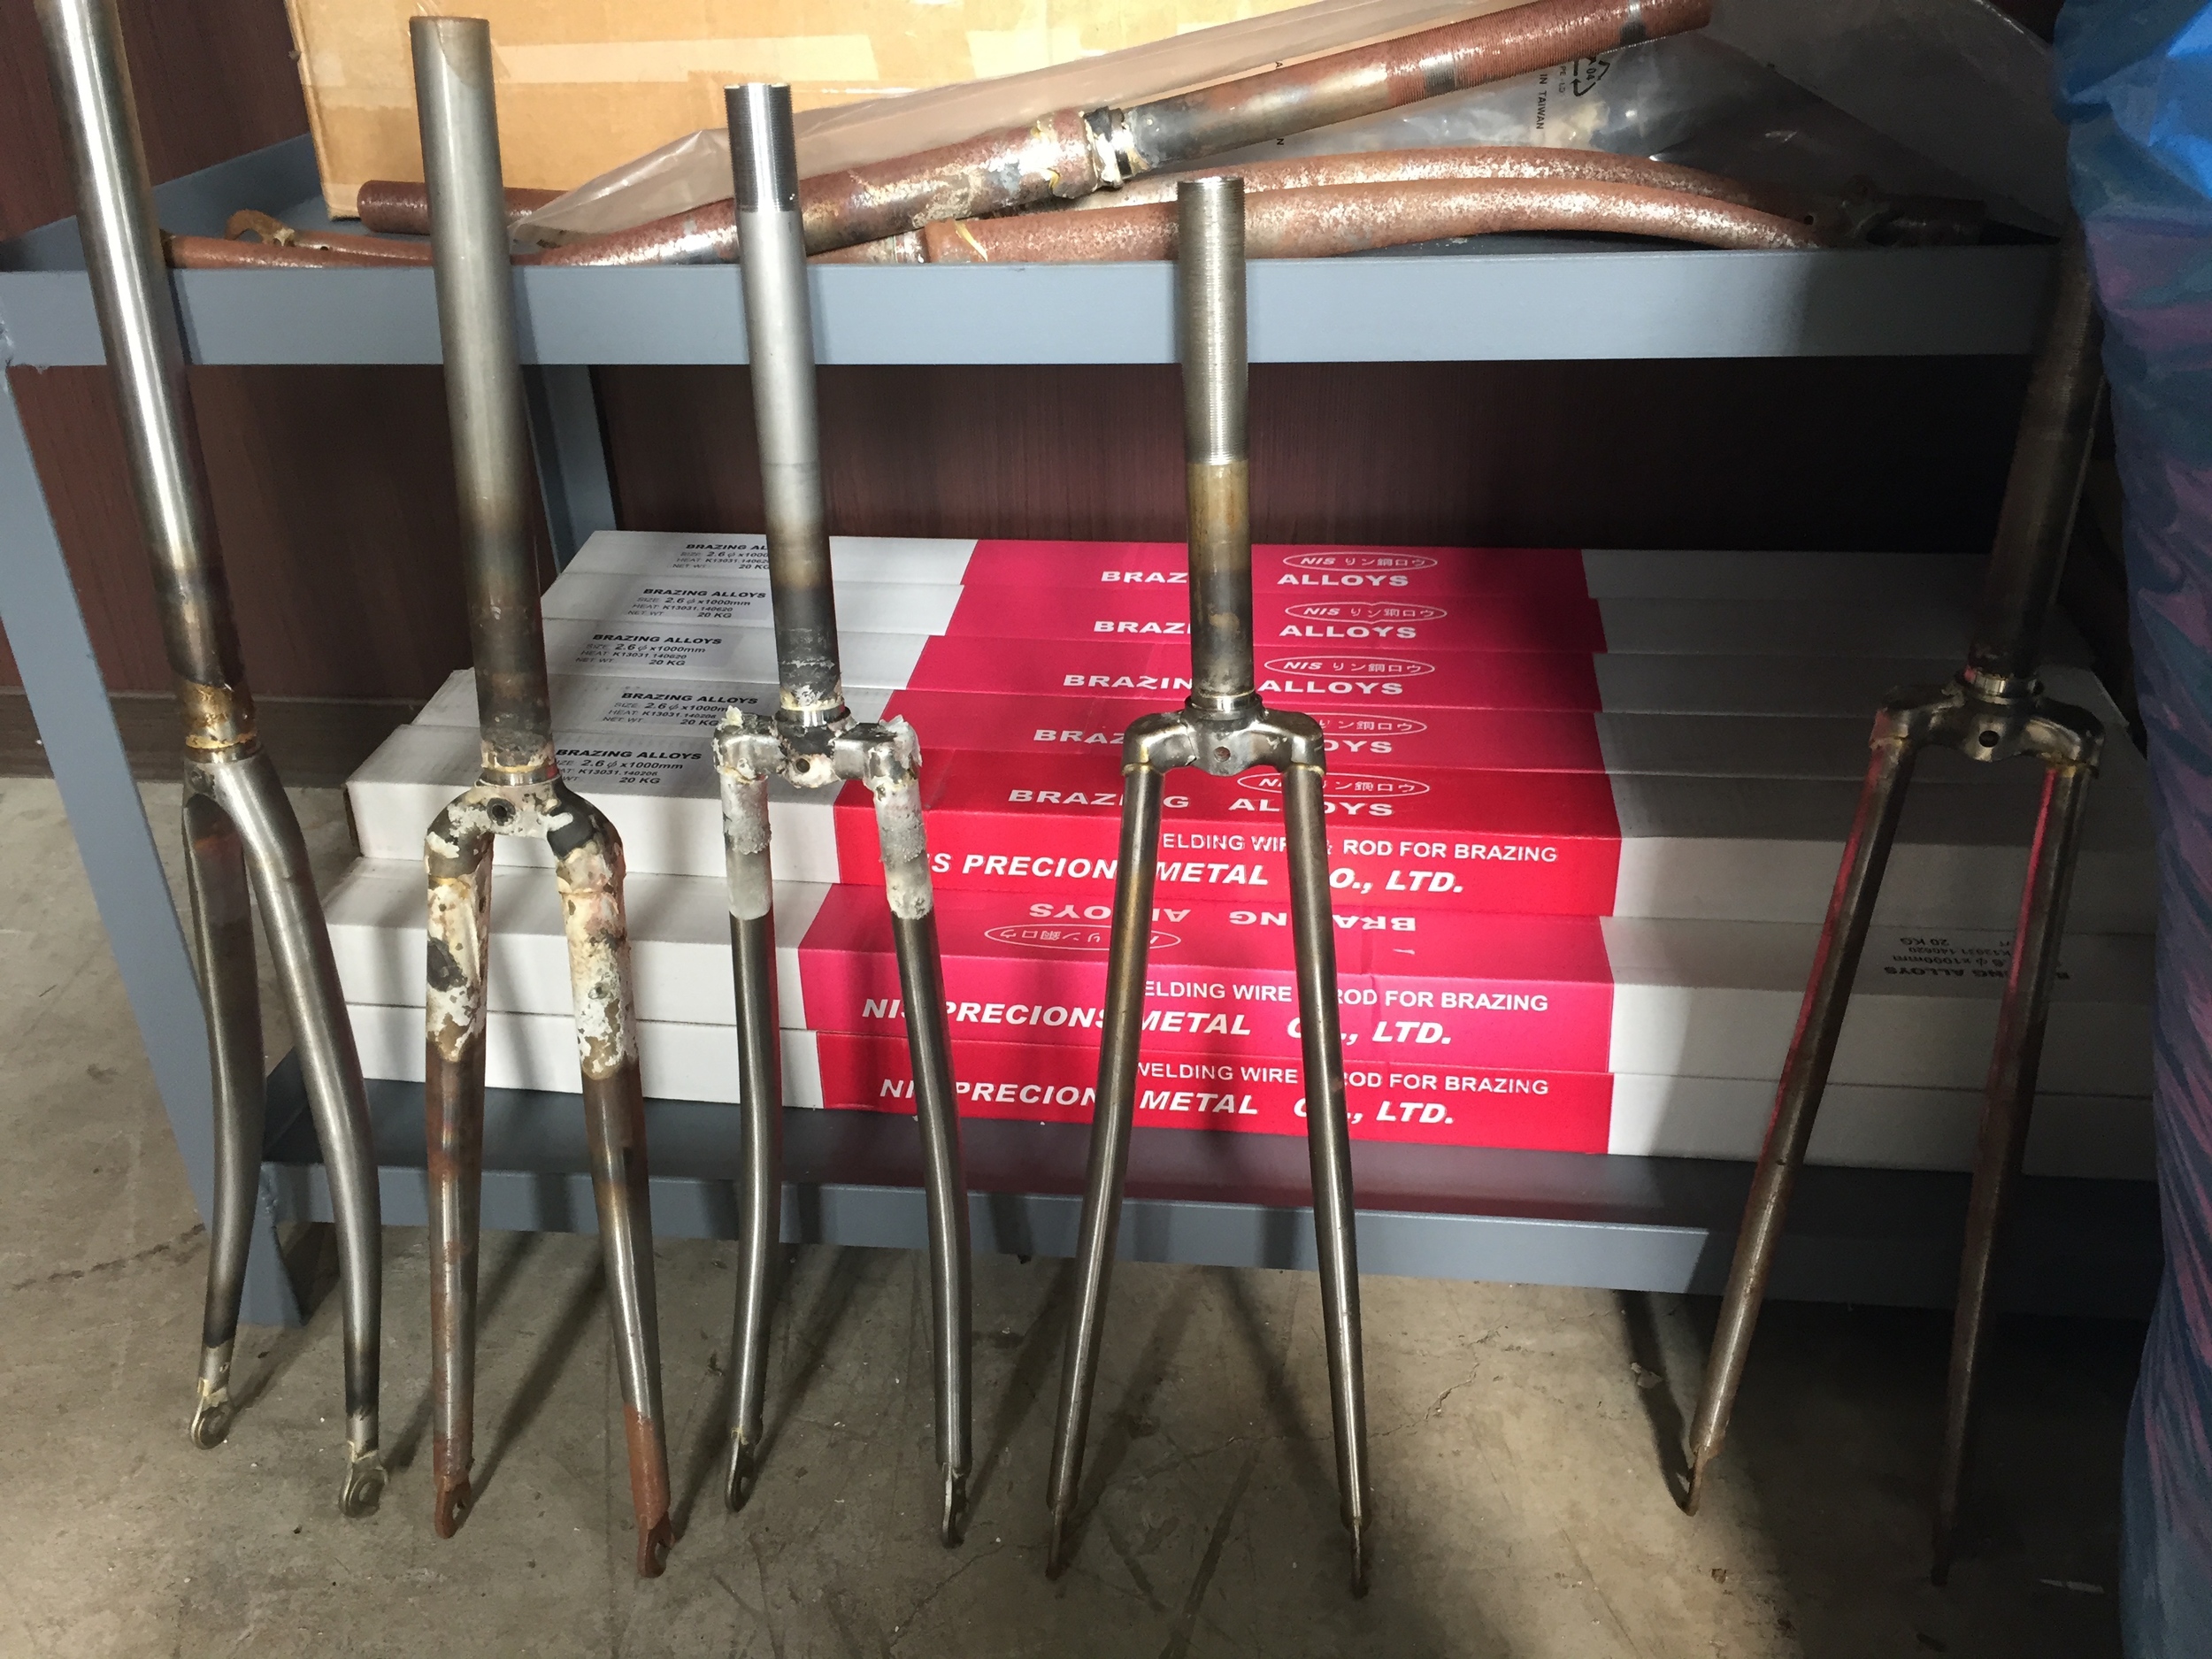
  • Fork legs came in straight. Unicrown fork blades were bent in house from straight legs.
  • The dropout end of the fork blades were swaged, slotted & brazed first. I don't have any pictures of the process but it was pretty cool - the brazing especially. They had a big turntable, maybe 6 feet in diameter and with a few dozen fixtures around the perimeter. Each fork blade had powdered flux + brass filler shoved down from the top, and the dropouts were fluxed with paste. The whole assemblies snapped into the machine and sat on an incline, so that the dropouts were on the perimeter and the blades angled up and to the center of the turntable. Then the whole thing was spun very slowly, and a single flame at the perimeter would heat one of the dropouts up until the brass melted and flowed, and then the turntable would advance to the next dropout. 
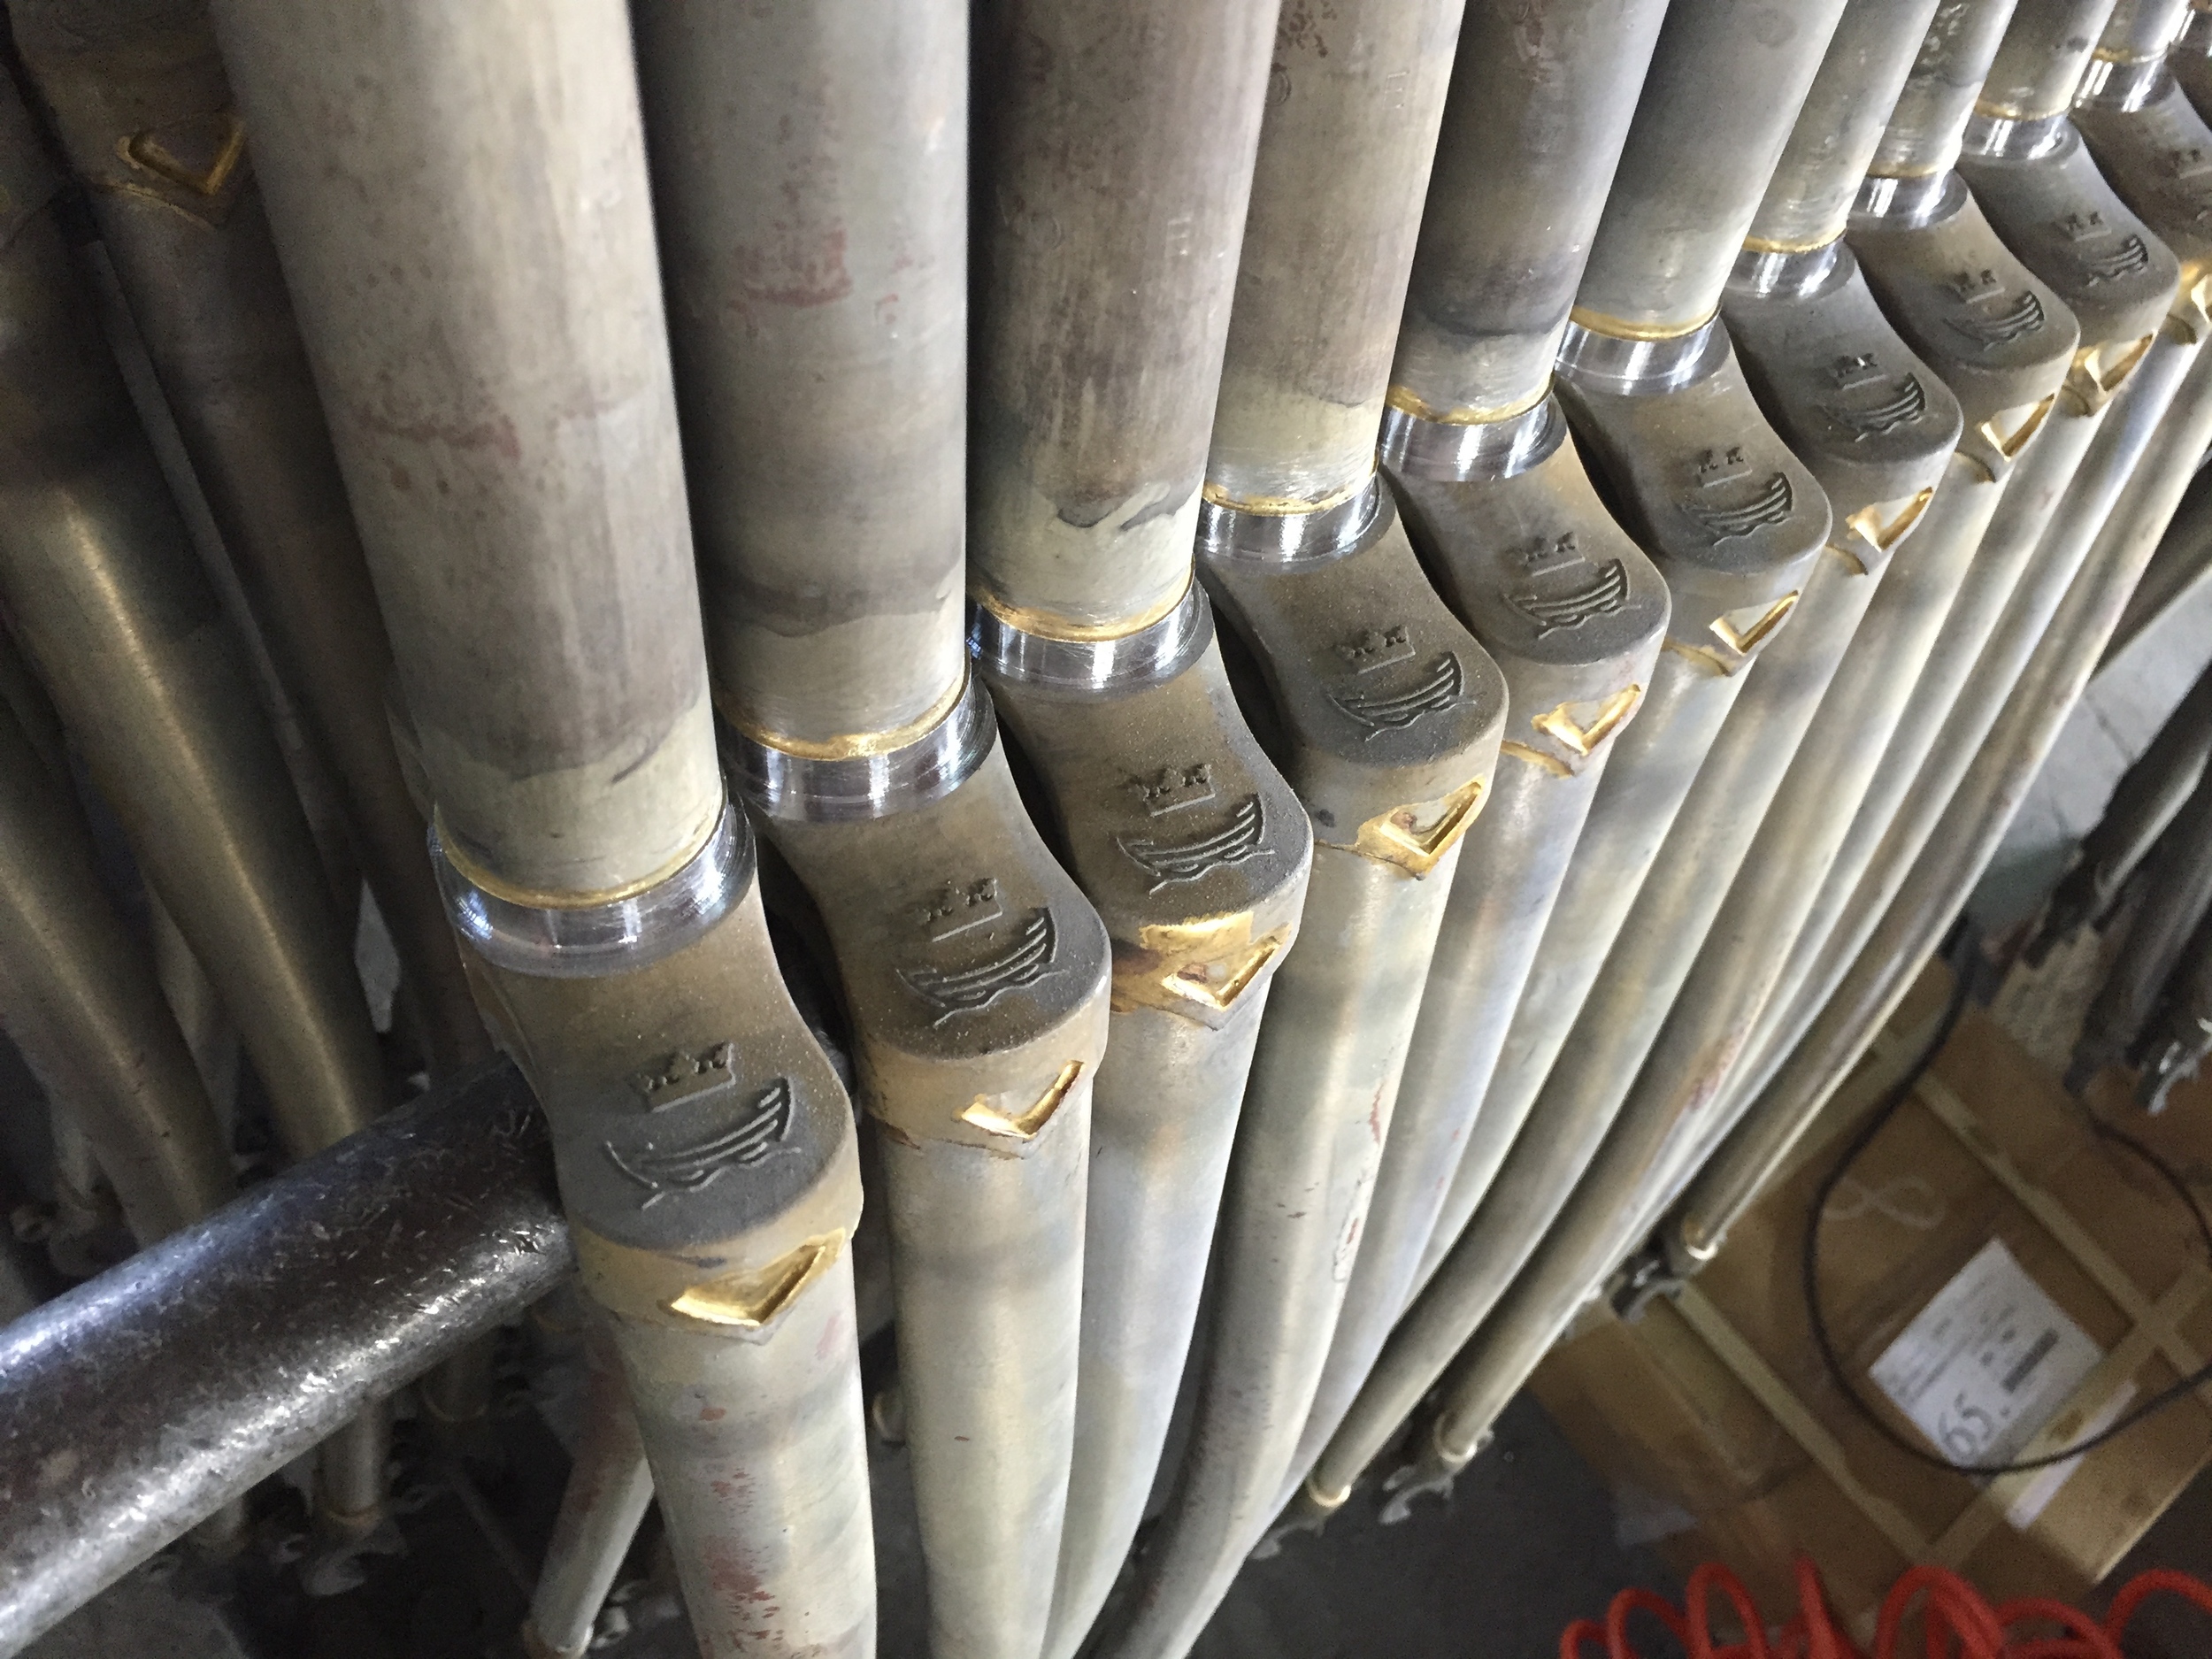
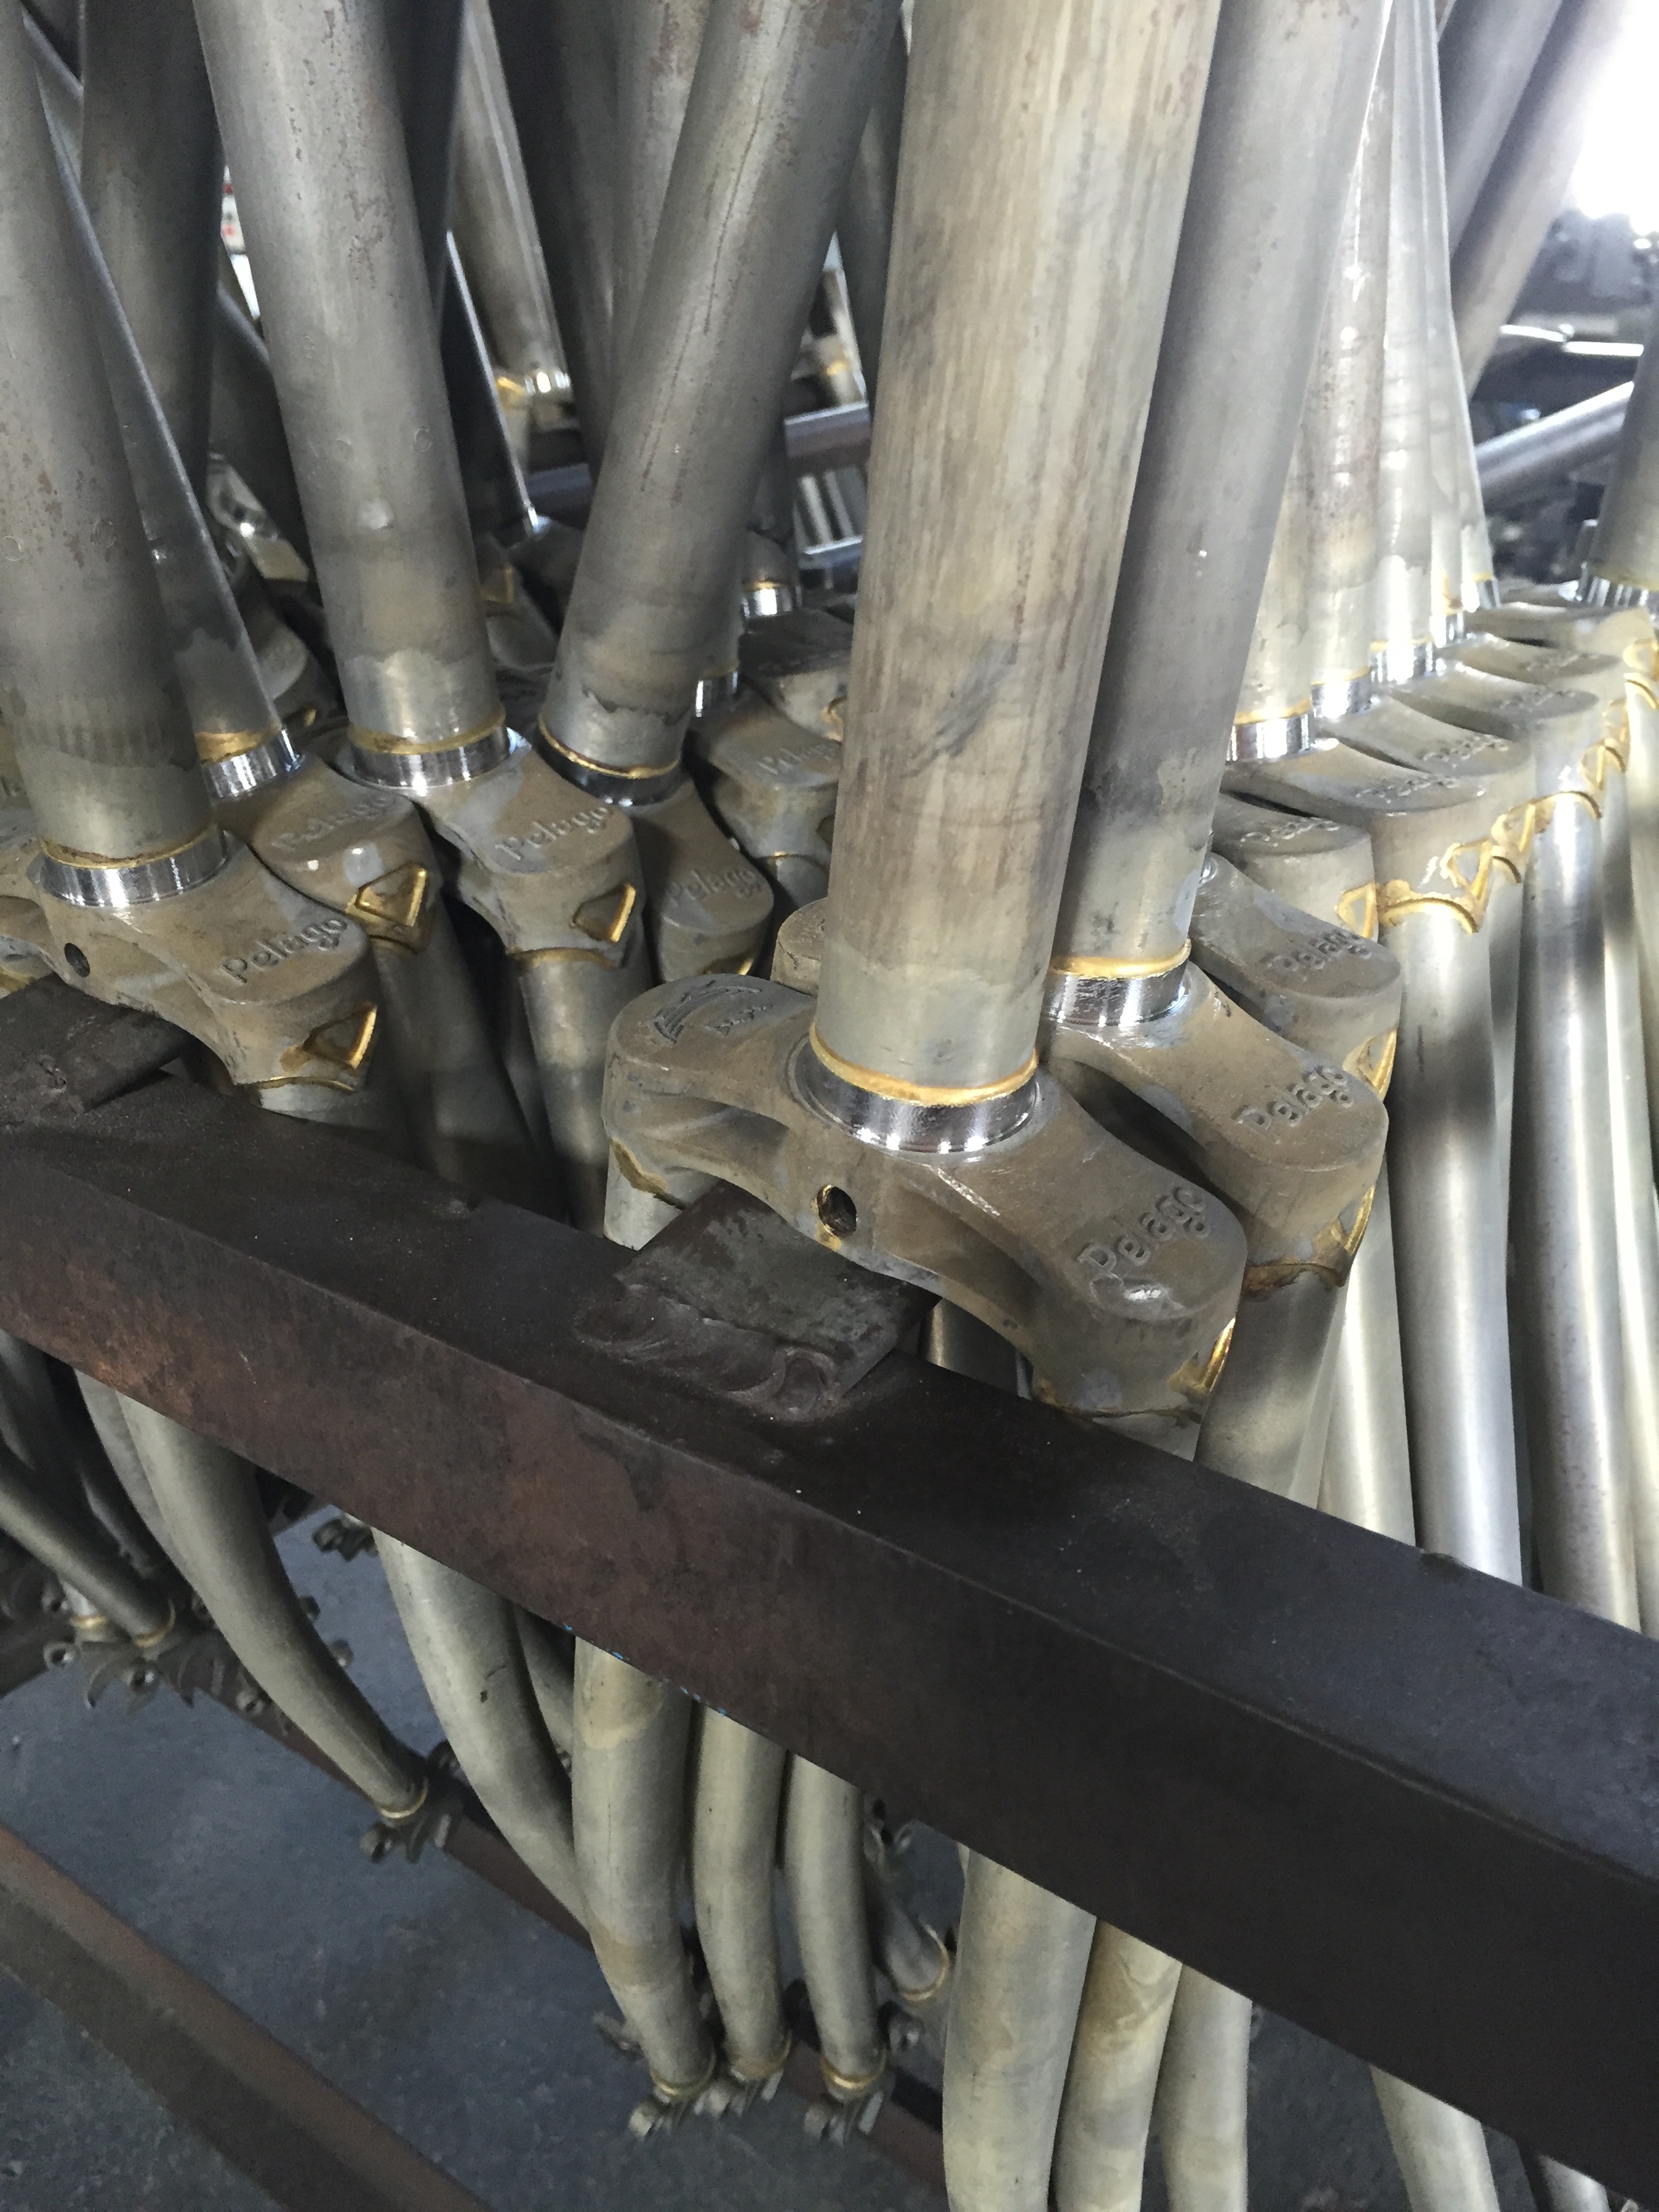
  • Then the blades would be assembled into crowns. The whole crown was brazed at once with the tips pointing up (video below).
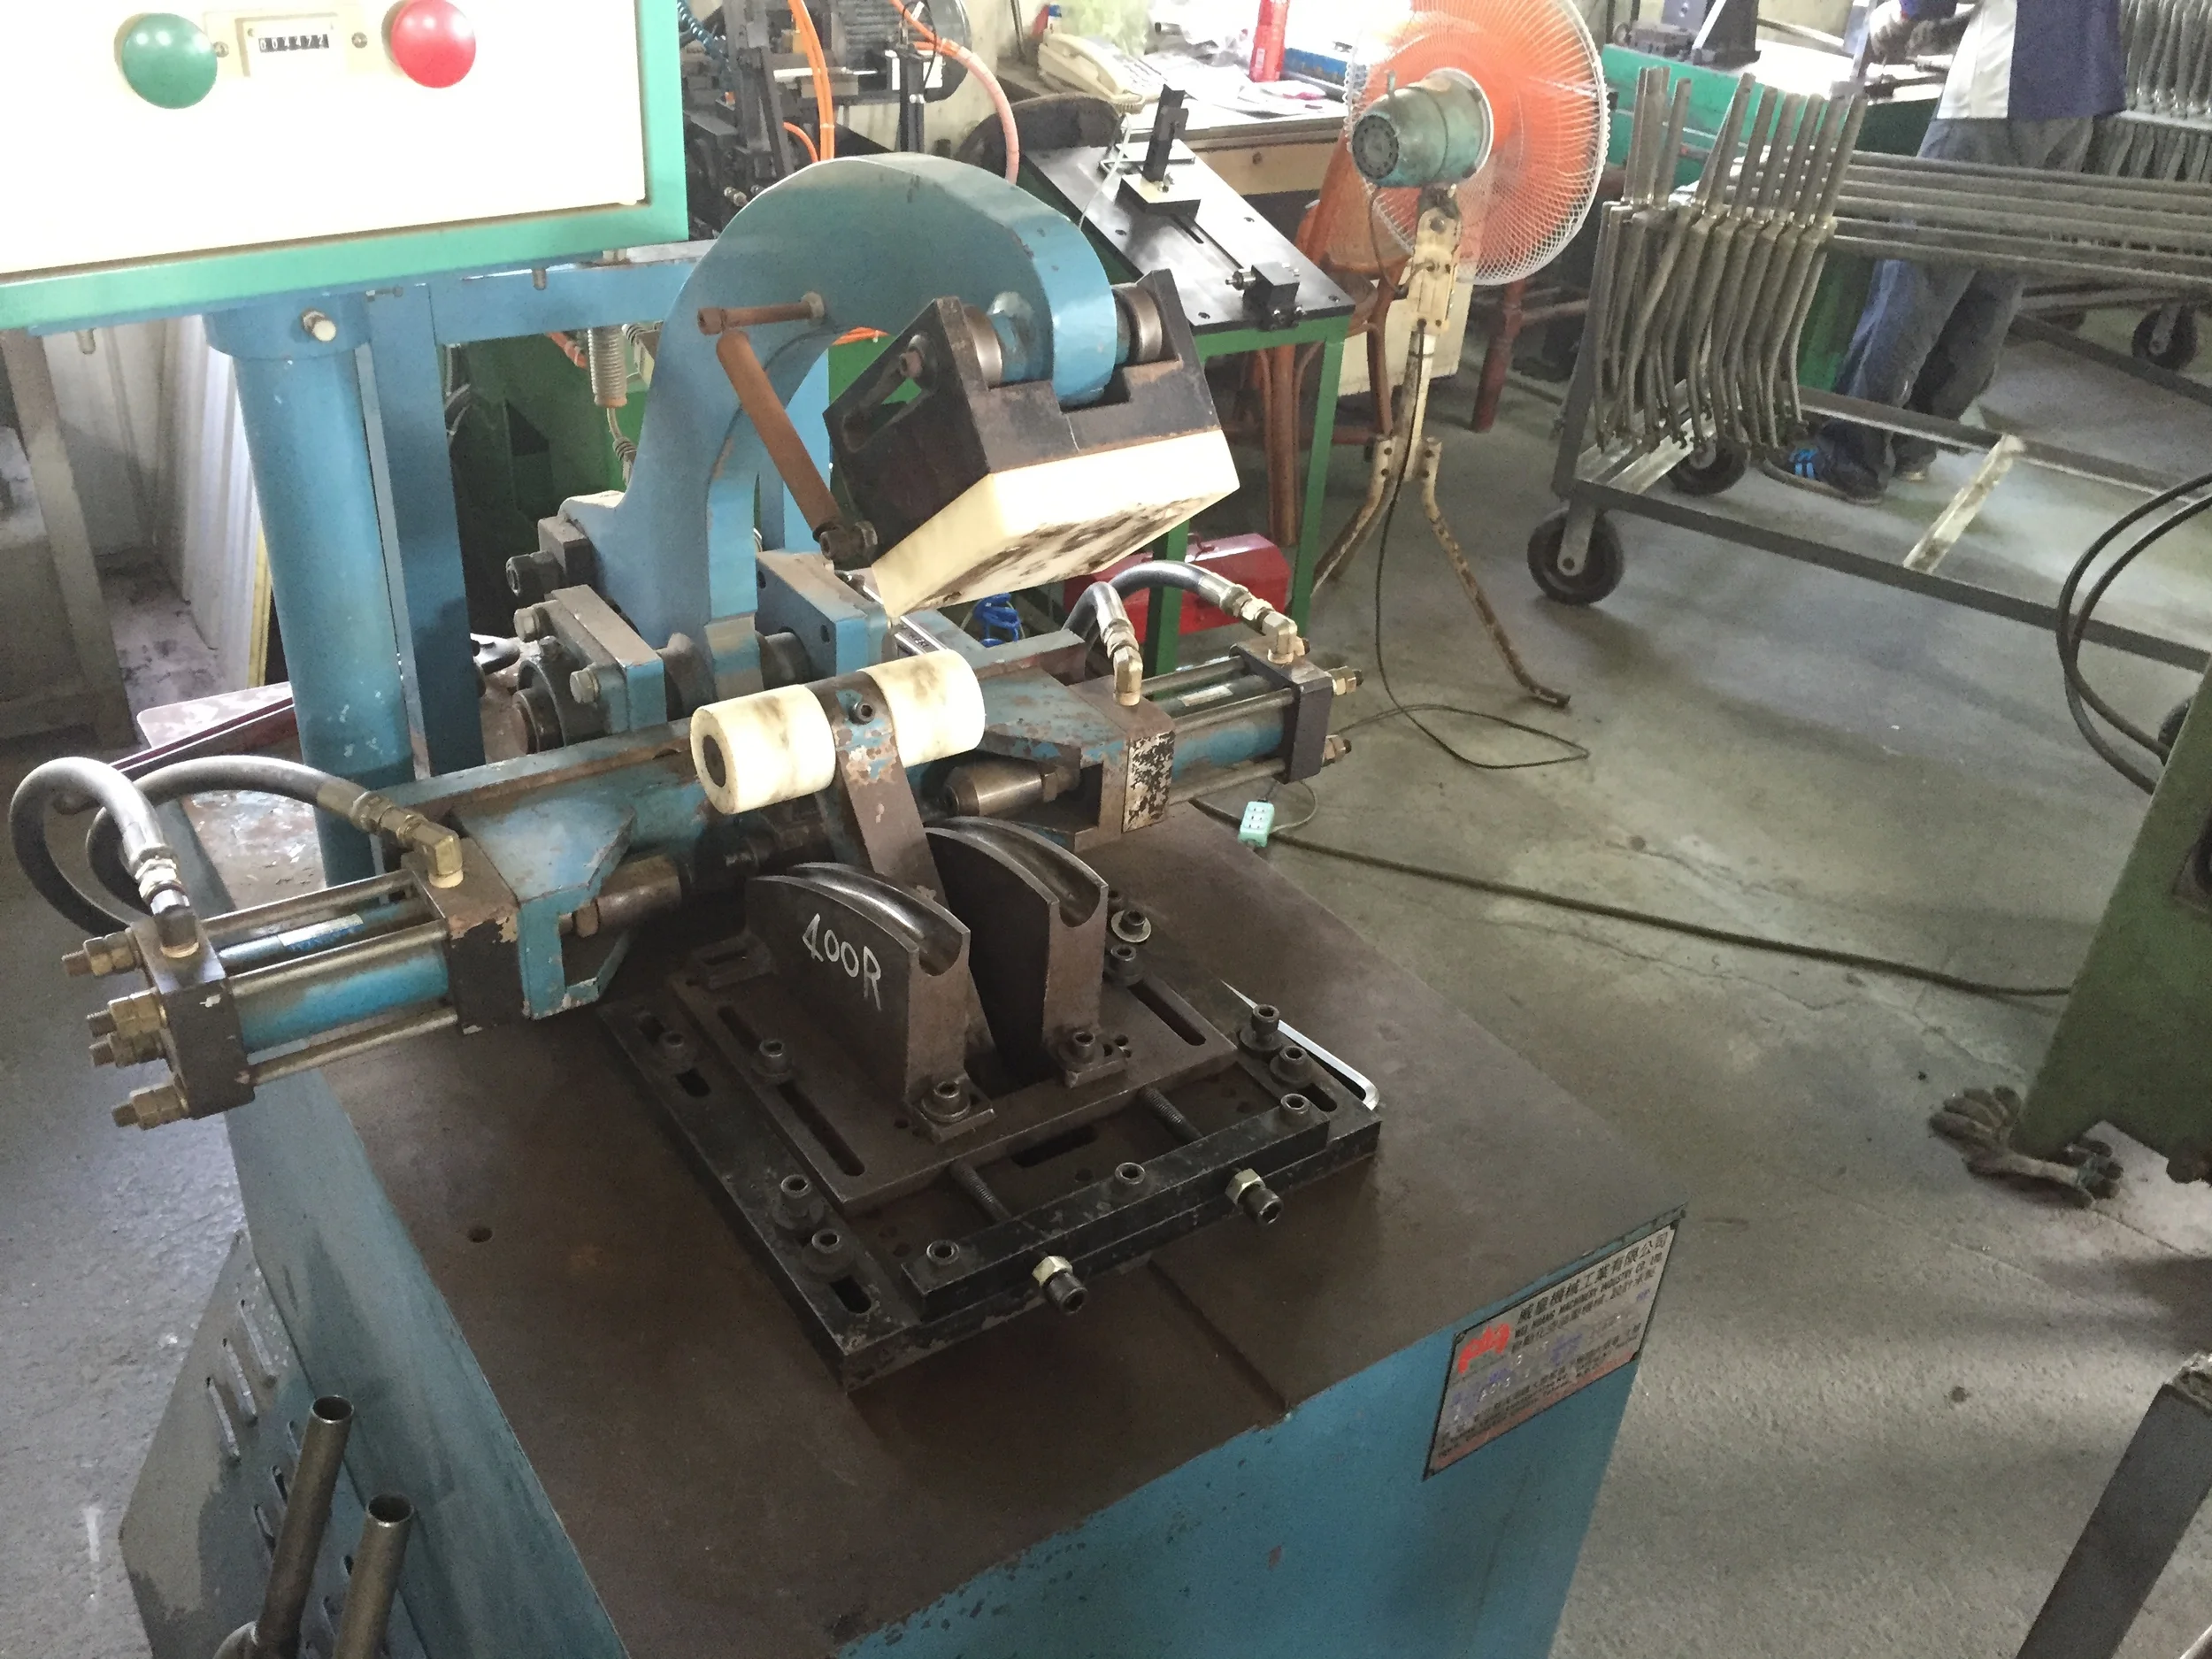
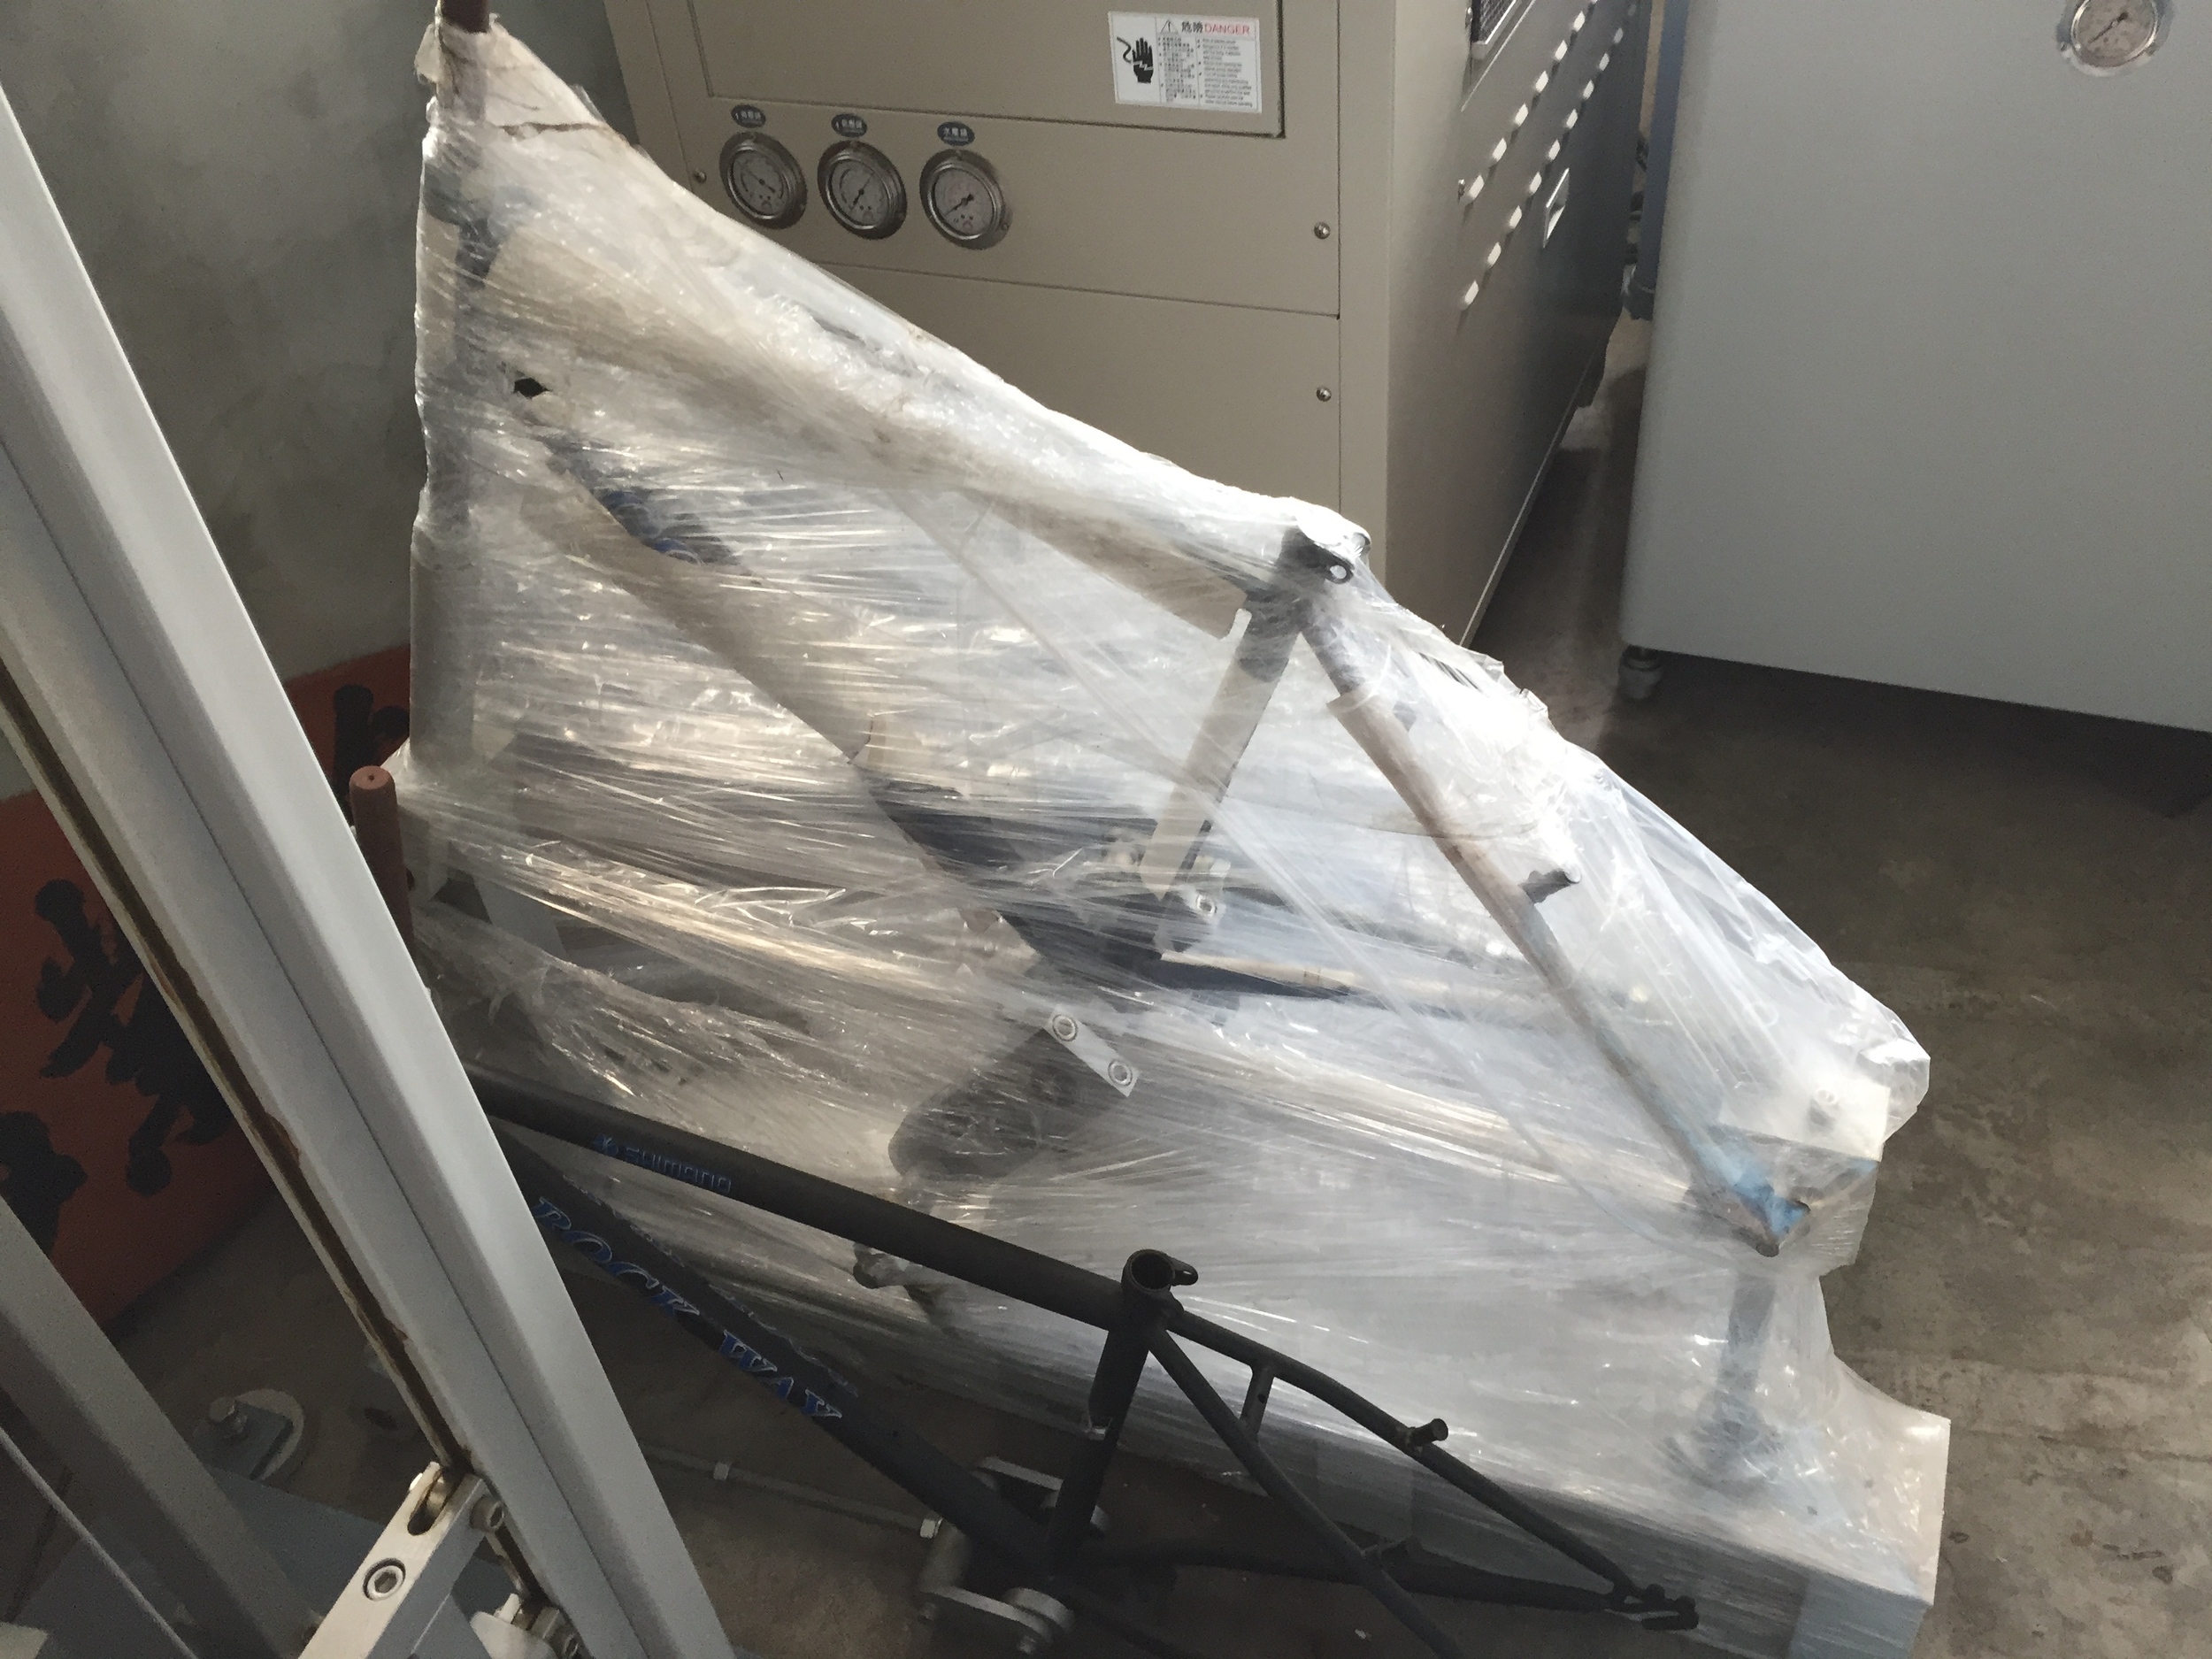
  • Then the forks would be raked. That machine was really cool too - there's a photo below.
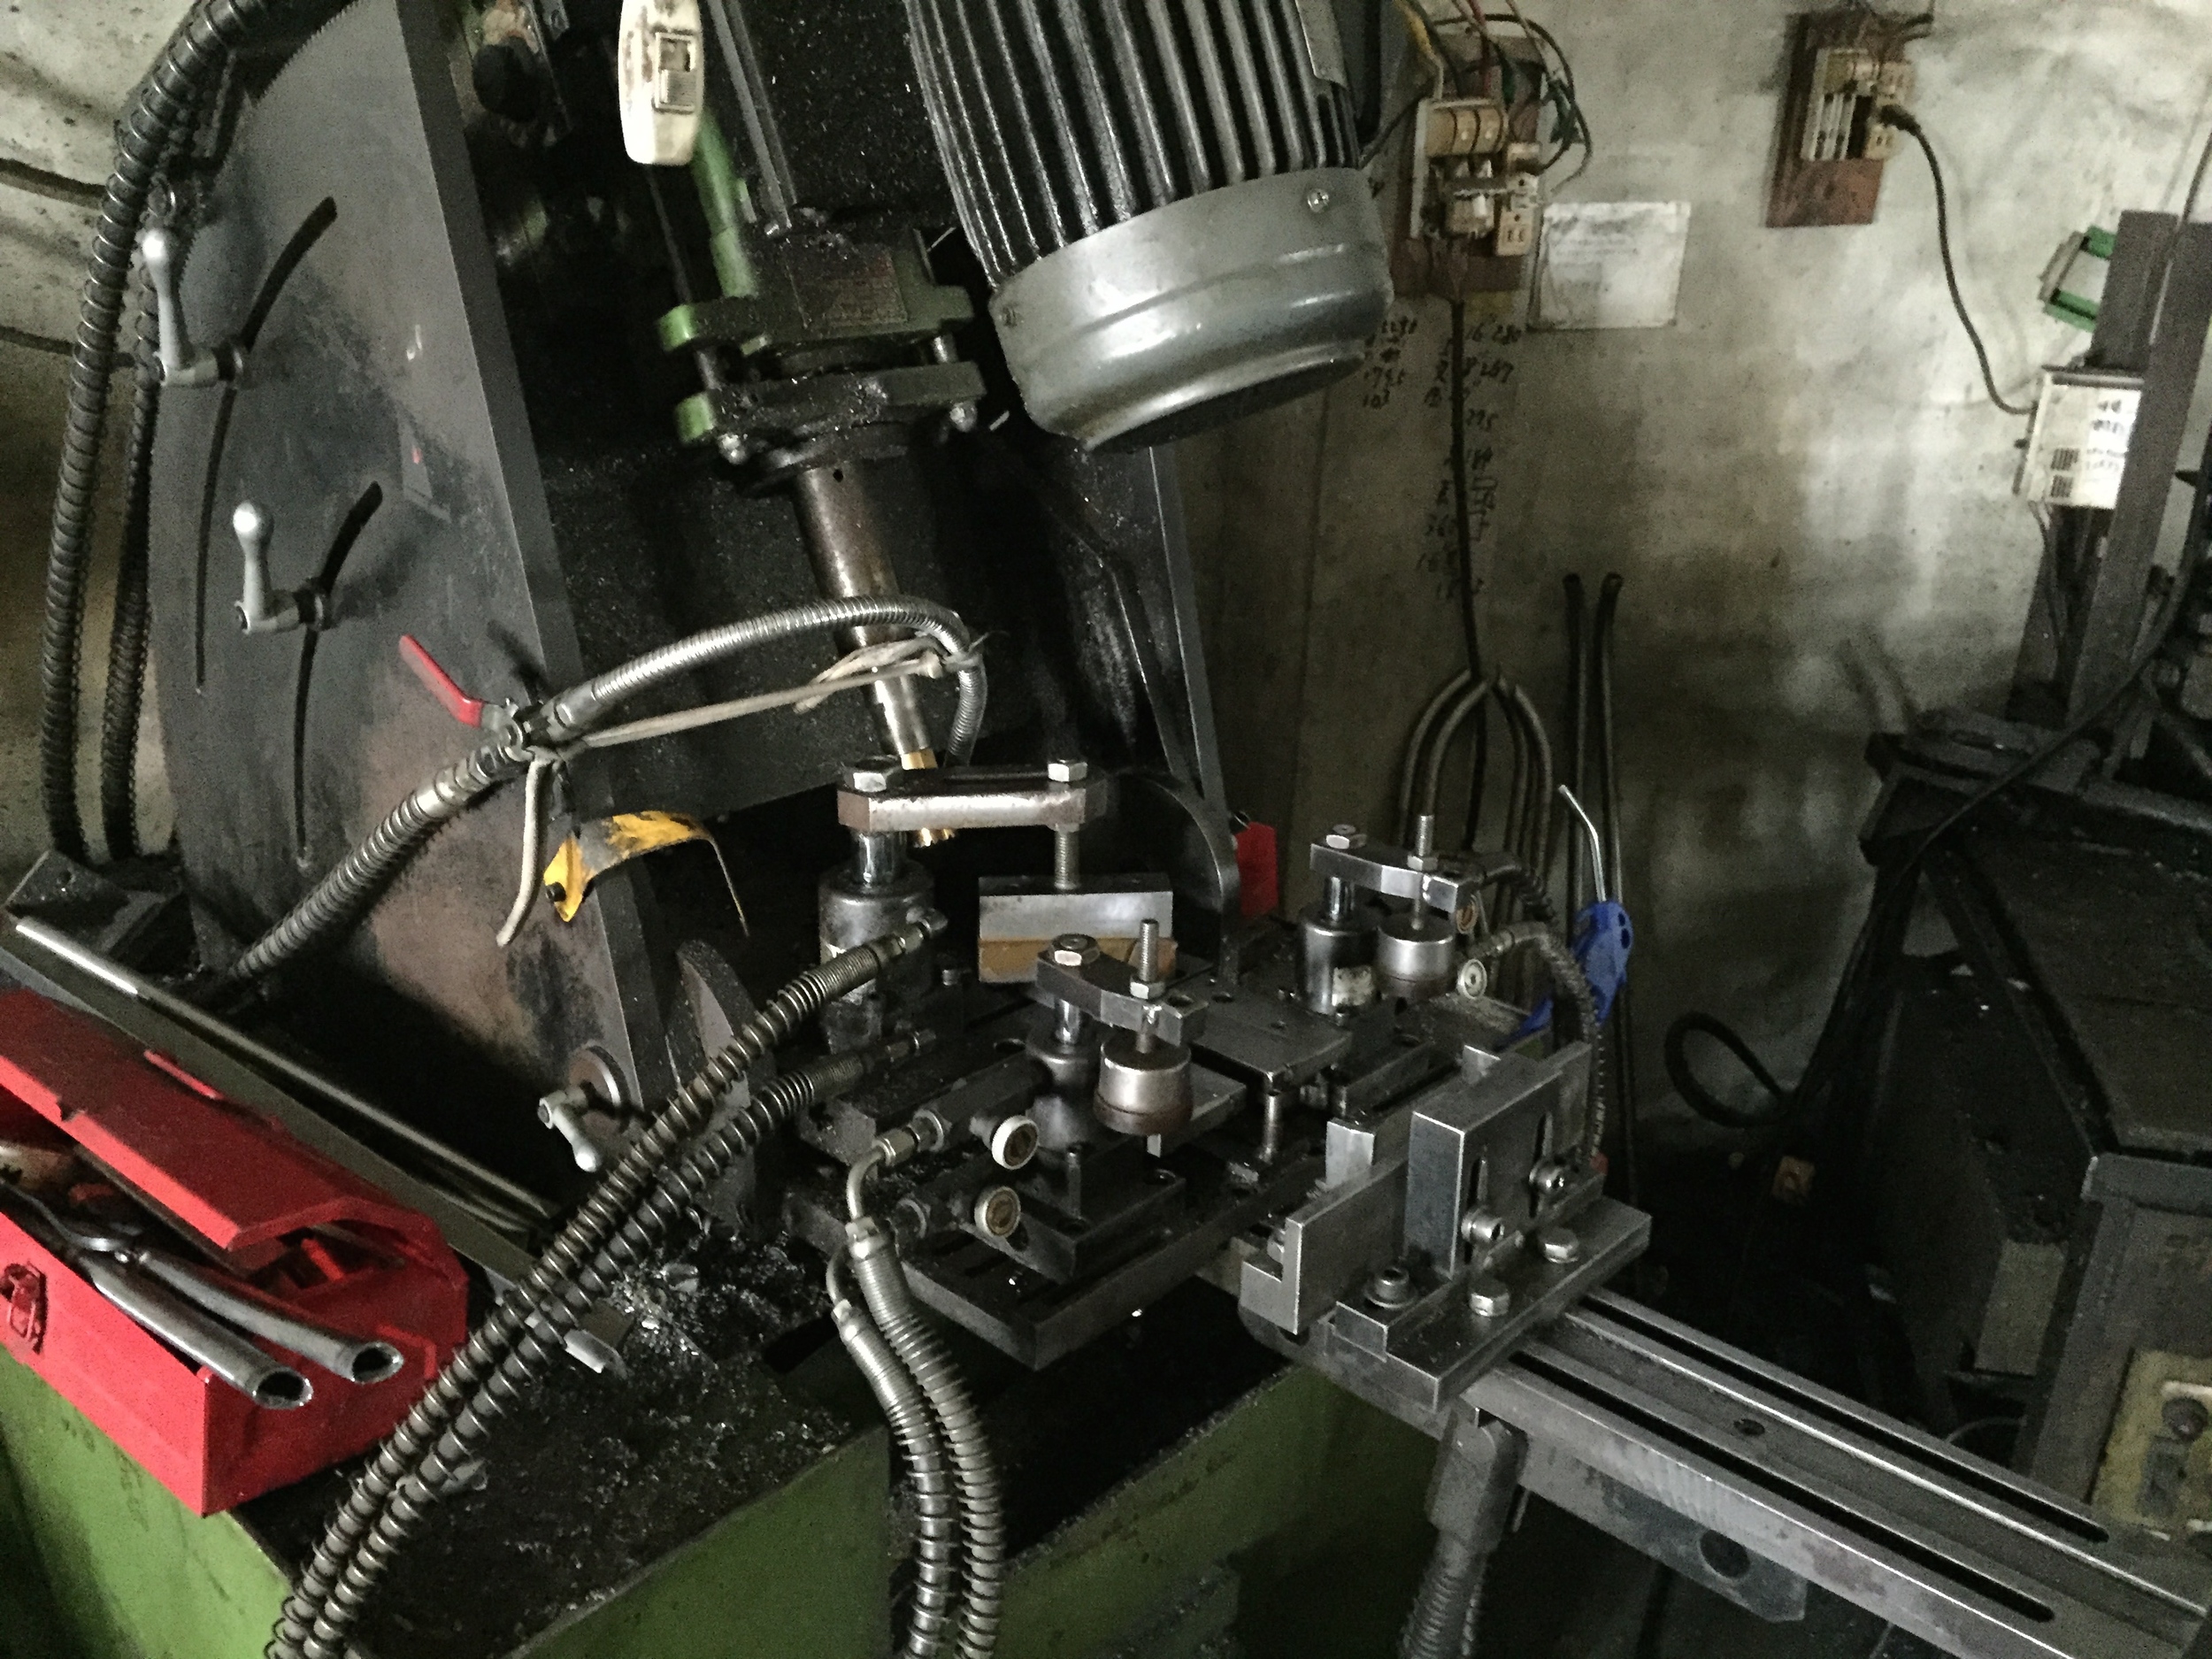
  • Then the crowns would be drilled & counterbored on dedicated fixtures. They had two or three small drill presses set up to do this, and they were running full time while we were at the shop.
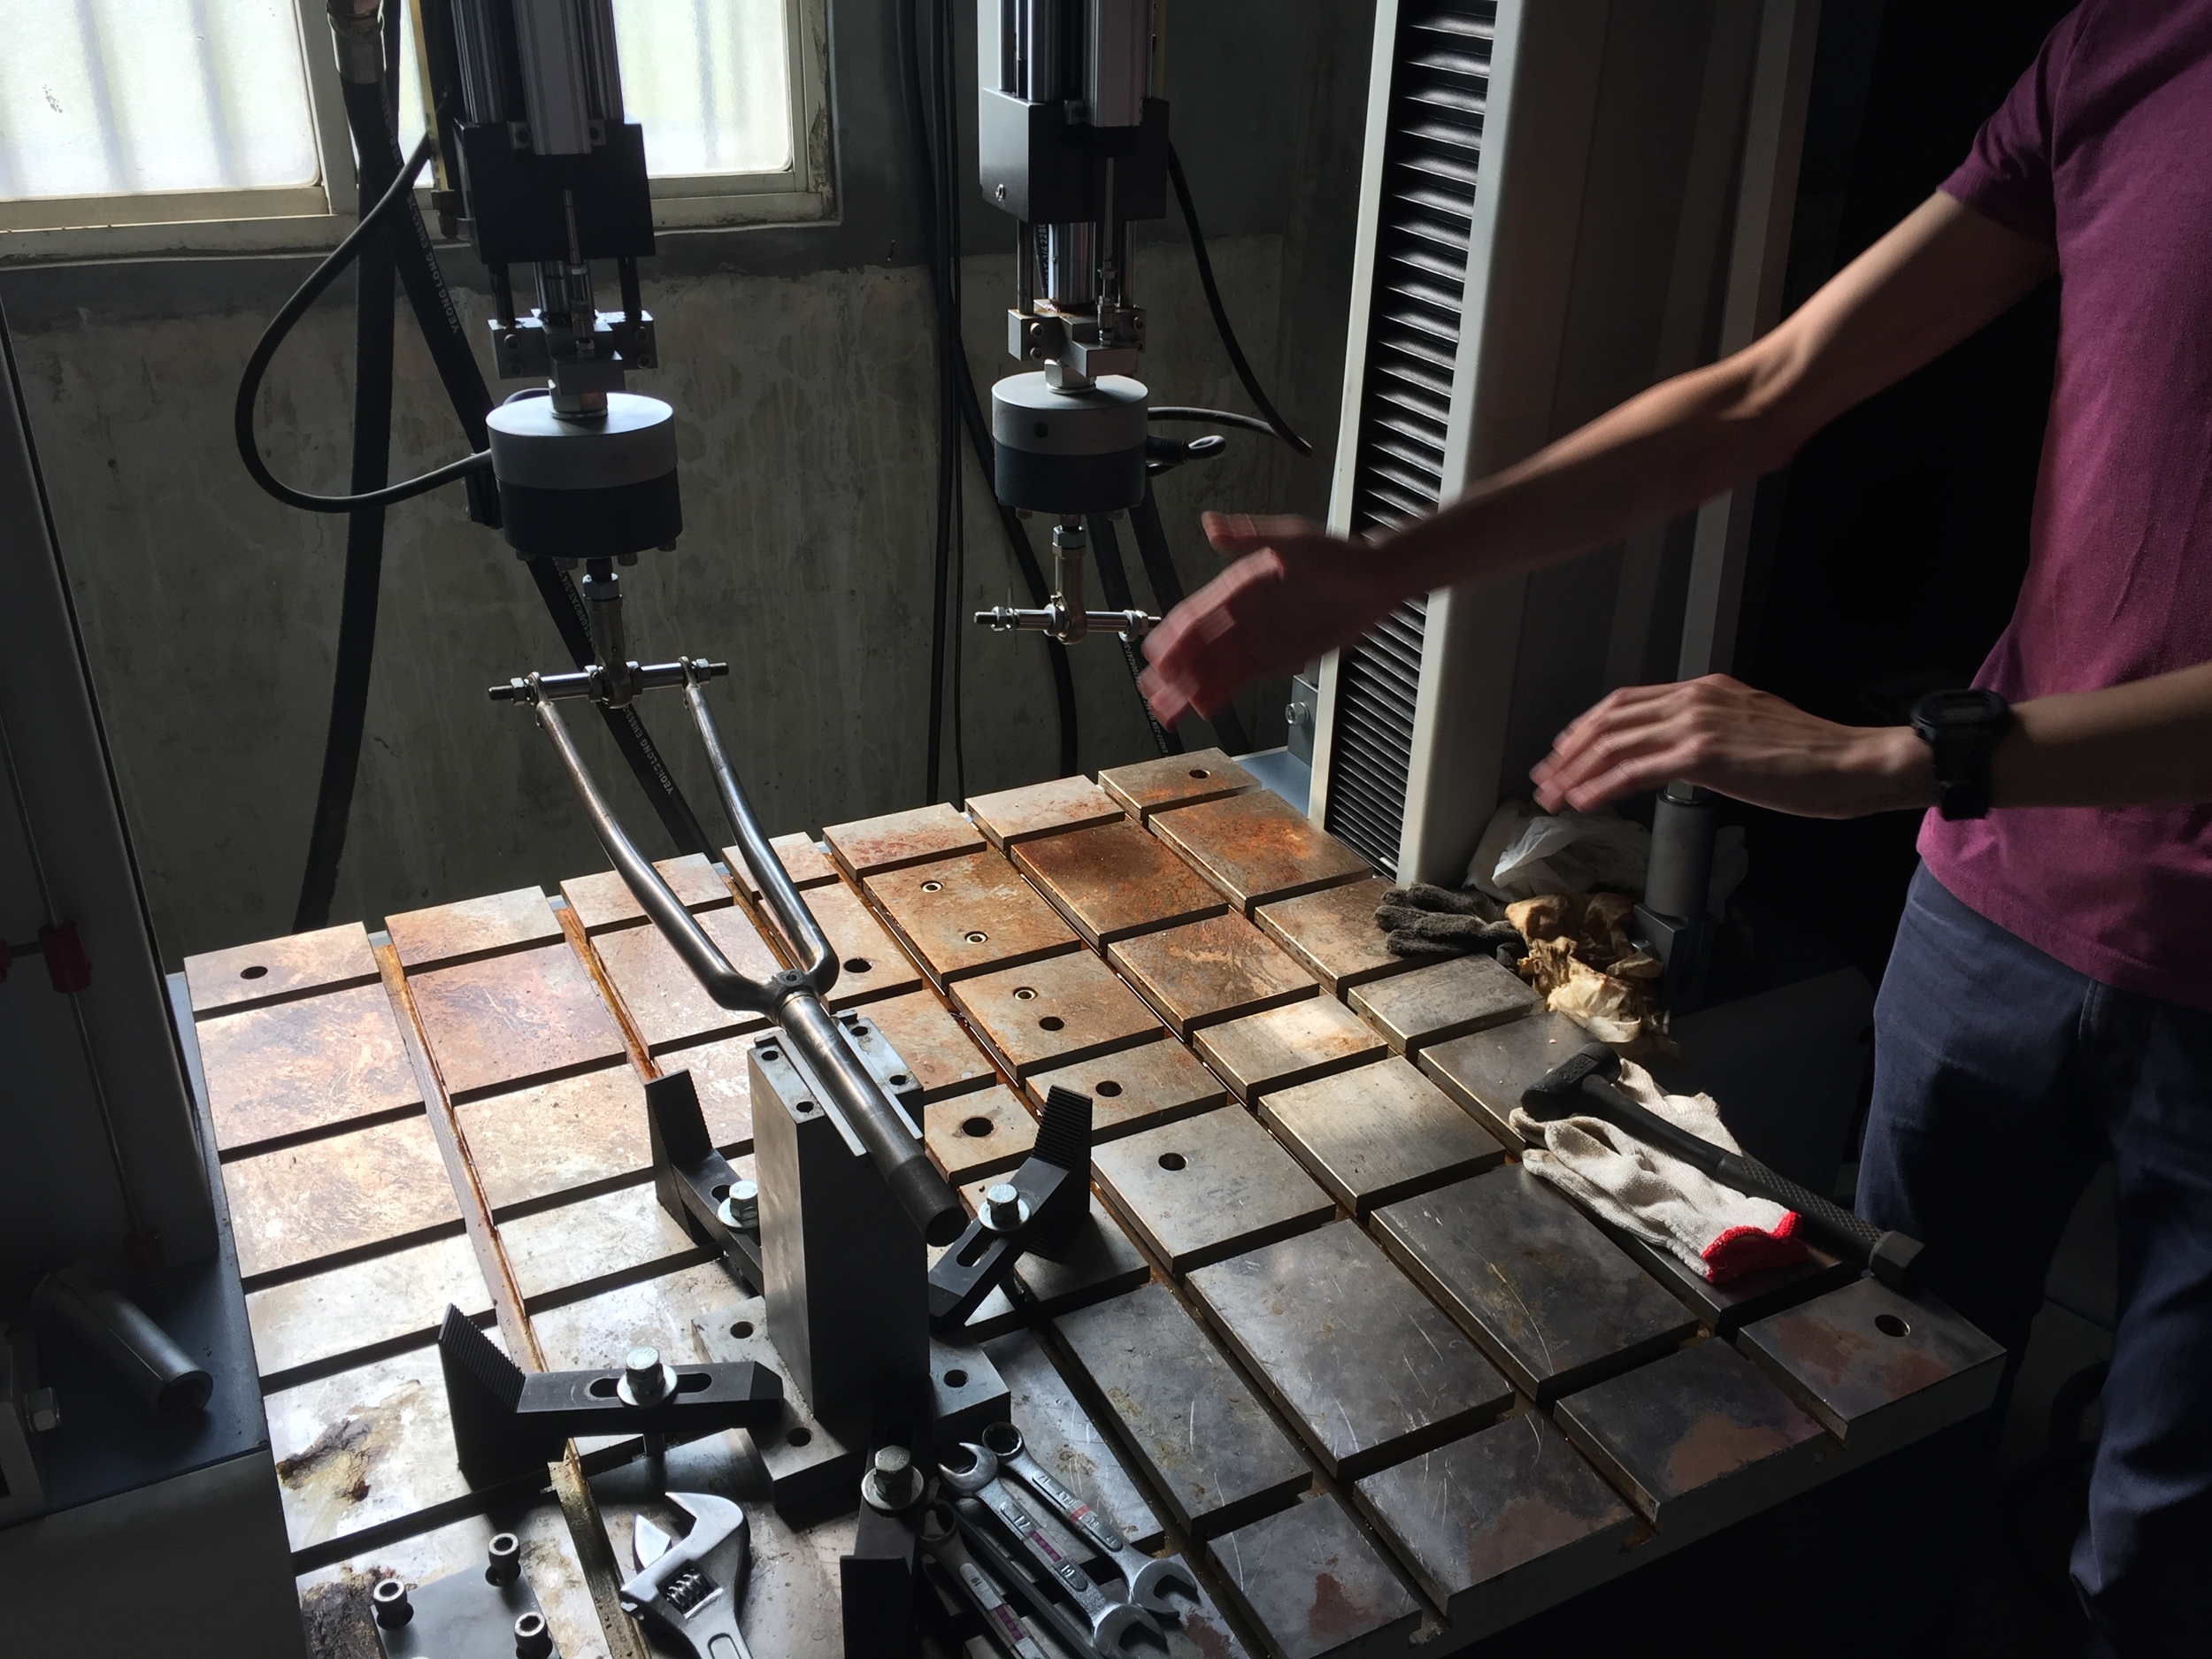
  • Alignment was awesome. The guy was really quick with the whole process, and it was a fluid and rhythmic operation. Video below.
  • It looked like they did mostly lugged forks, but that could have been just the time we visited - there was a TIG setup there, but it wasn't being used while we were there.

The shop manager was enthusiastic about showing his brazing skills. I was surprised that they brazed them before bending, but the process actually makes a ton of sense in their environment.

The fork alignment process was *awesome.* 

Here's a pan of the whole shop:

I liked this shop a *lot.* As we were leaving, the owner commiserated with April that though he had worked there his whole life, he didn't think his children would want to do the same. Building bike forks isn't the dirtiest job in the world, but it isn't the cleanest either. Furthermore, these are good quality but relatively inexpensive steel forks; the product is essentially a commodity, and it isn't exactly prestigious work. I wondered aloud if they could make more money, and have slightly nicer working conditions, if they moved to carbon fiber products. The problem with that is that although the product is a substitute, the skills and equipment needed are quite different. In the end, it might be more fruitful and no less difficult for the next generation to change industries altogether. But anyway the owner was relatively young himself, so it could be decades before it changes at all.