Manufacturing guy-at-large.

Filtering by Tag: desk

Desk right now

Added on by Spencer Wright.

A brief calm between many storms: 

IMG_3876.JPG

I've spent a lot of time here over the past few months. Much of my work at nTopology  happens here; probably half of The Prepared's management and composition; a *lot* of reengineering & planning for The Public Radio. Plus the odd proverbial cat video, etc. 

I'm very lucky to have such a great work space; I'm looking forward to the next few (hectic) months.

My ideal, practical, engineer's desk

Added on by Spencer Wright.

Note: I'm considering making a small run of these desks available for sale. If you're interested, let me know!


Last week I finished assembling the new desk I've been working. It's been a big upgrade to my home office, and I'm really happy with how it turned out. 

To recap:

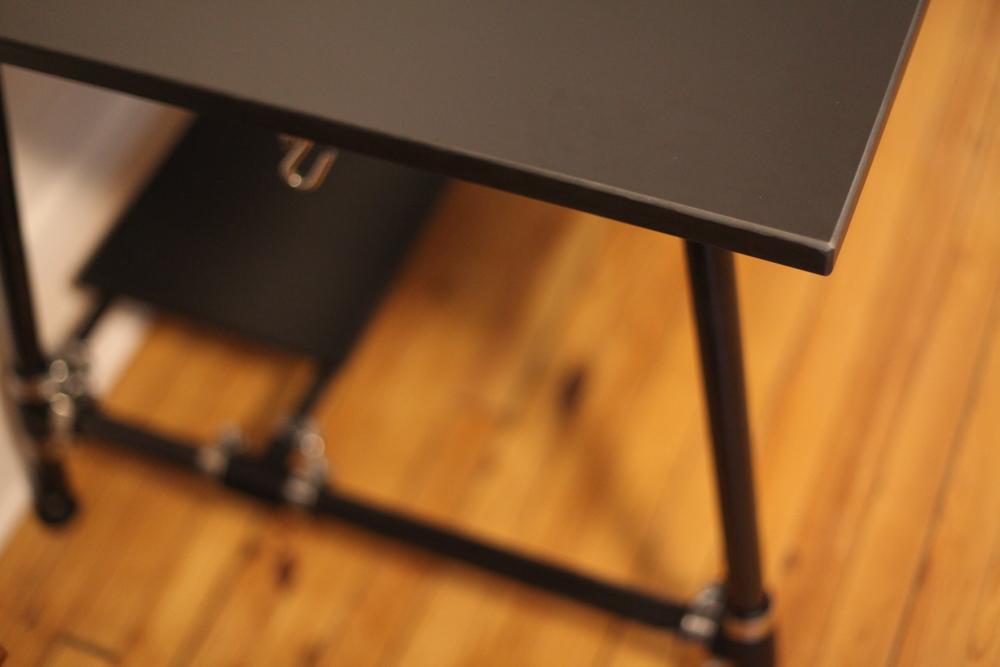
The goal was to create a functional workstation that could be assembled (and disassembled) easily. It should have a distinctive aesthetic, use durable materials, and be sturdy as all get out. Its primary use will be as a computer terminal; but as it's designed for engineering work it'll also serve as a de facto hub for parts inspection, reverse engineering, and the occasional wrenching. 

Initially, I had wanted to get a slab of live edge walnut and make something classic. But after some consideration I realized that wasn't really appropriate. Wood's fantastic, but it offers zero modularity (making the desk difficult to move - bad for expanding workshops) and is rather messy to work with (bad for making changes down the line). In addition, the aesthetic of live edge desks tends towards cast iron and welded steel: beautiful materials in their own right, but not ones that are convenient for me to work on.

Unidirectionally wound carbon fiber tubing is subtle, but when it catches the light it looks *great.*

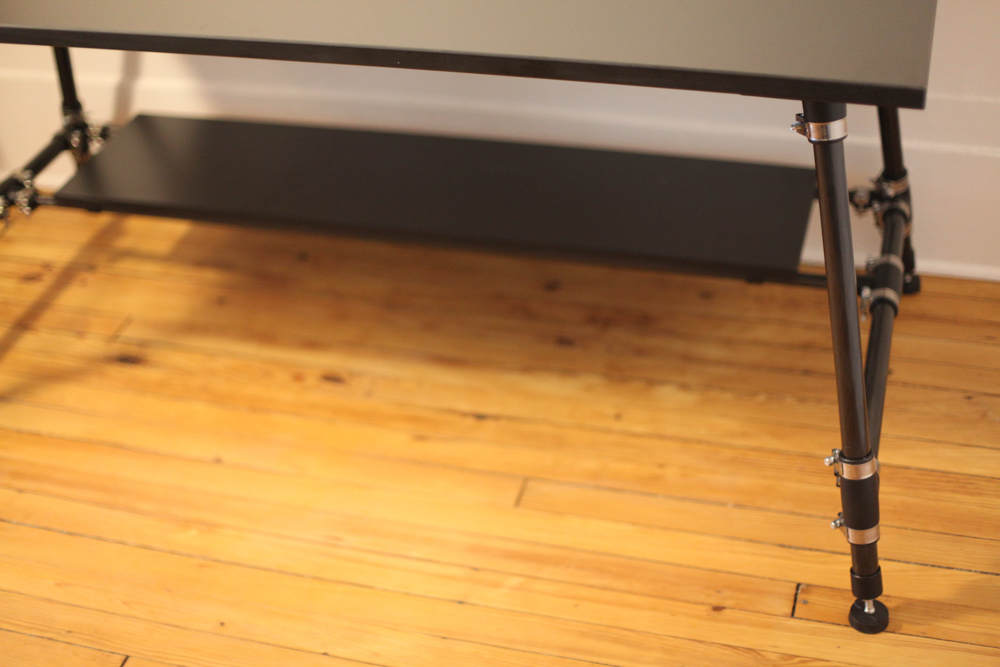
So: Carbon fiber legs. I've worked with composites since my bike days, and found that it offers some nice benefits over metalwork. Carbon tubing is light (not critical when you're using the desk, but sure is nice for shipping/moving), stiff, aesthetically distinctive, and easy to cut to length. 

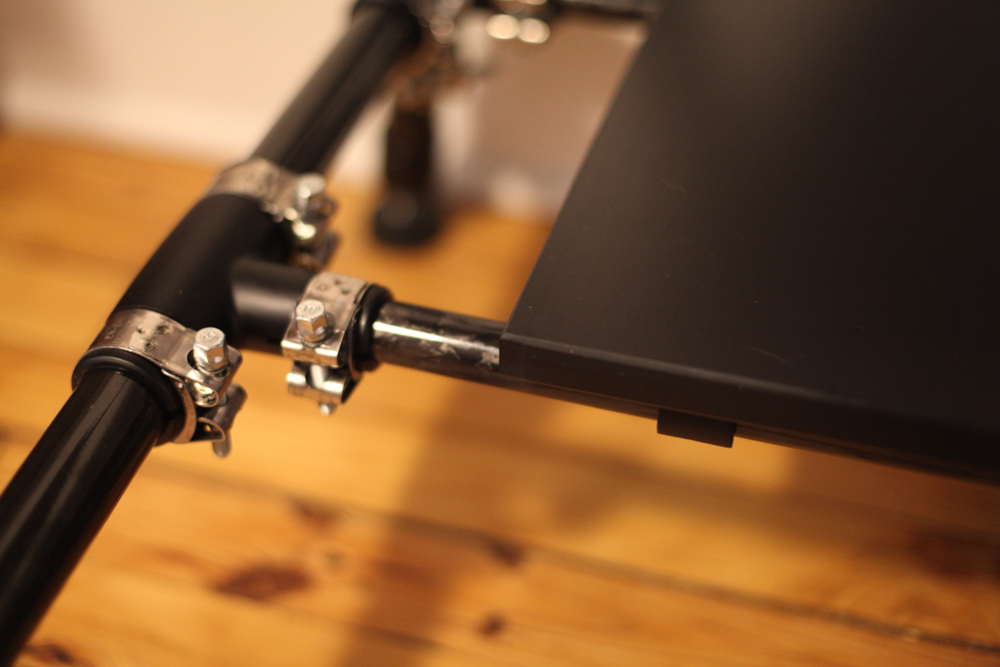
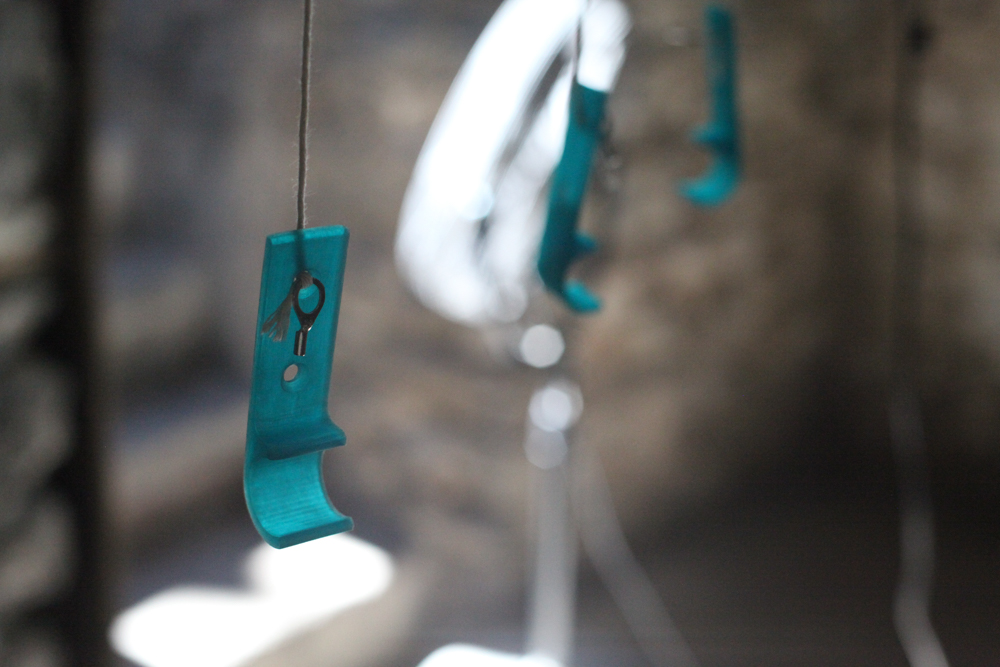
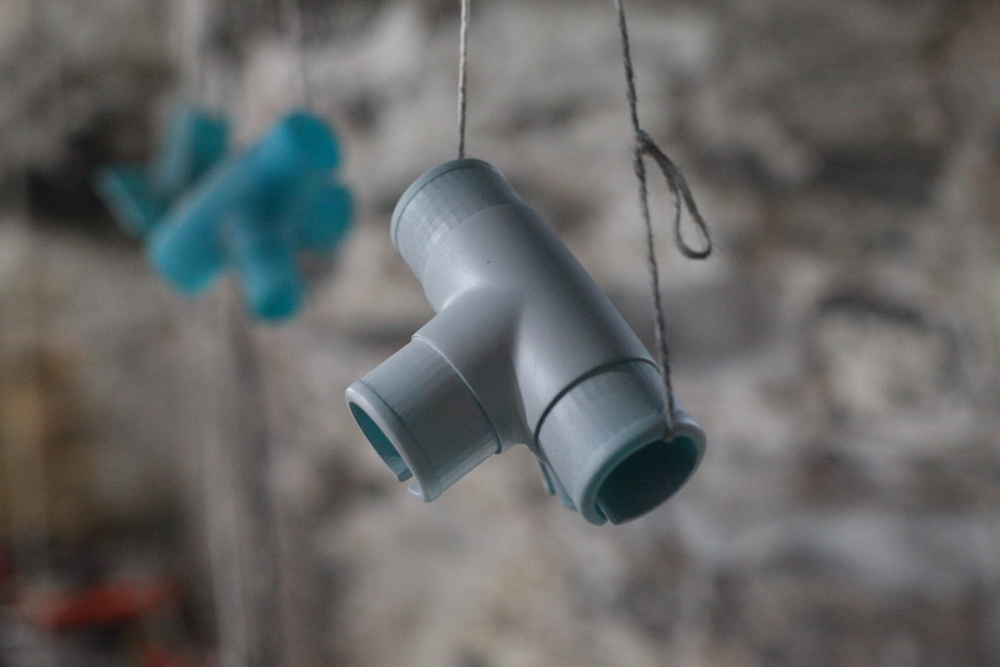
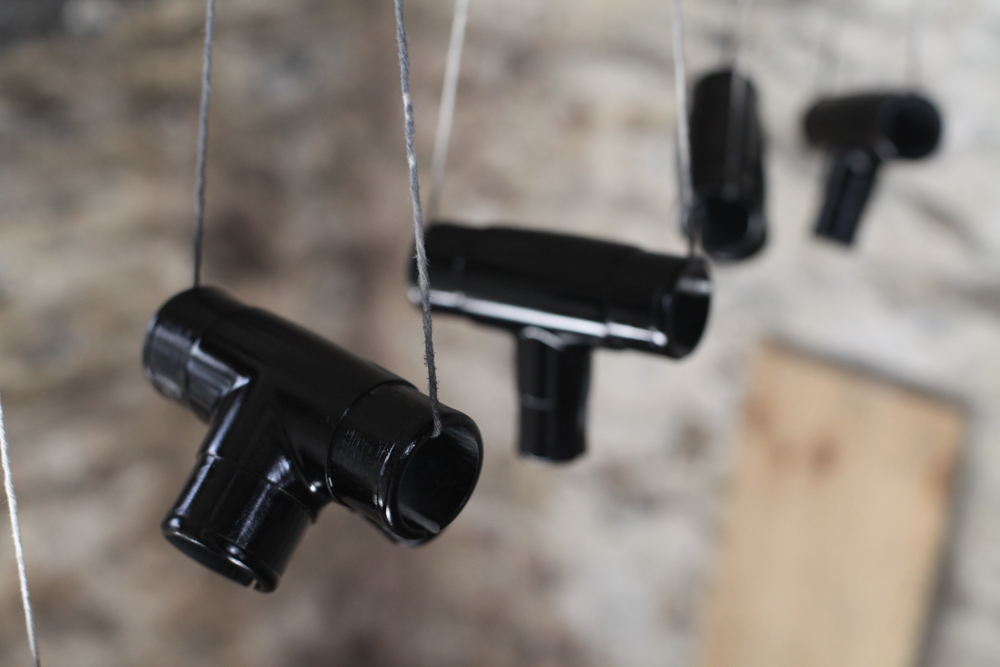
To finish the legs' structure, I used 3D printed resin nodes. I wanted something that had good surface finish and high tensile strength, and I wanted good elongation so that nothing would break if I *really* hammered on something on the desk. Formlabs came through on all counts; their Tough resin performed fantastically. 

Formlabs' Tough resin (which I painted a matte black) make excellent connection points for the desk's structure.

Next, I needed a suitable surface to work on. After researching a variety of composite surfaces, I settled on phenolic resin. It's impervious to all sorts of harsh chemicals (including coffee cup rings), is cost effective, and has a nice monolithic feel that laminates just don't. It's also easy to machine and adhere to, which came in handy when attaching the subframe.

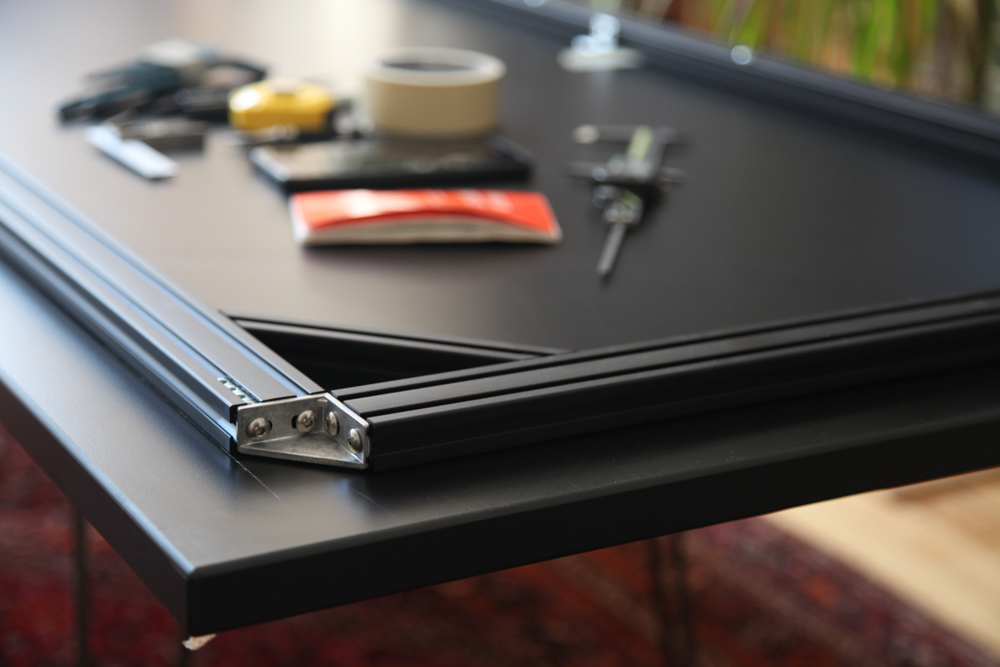
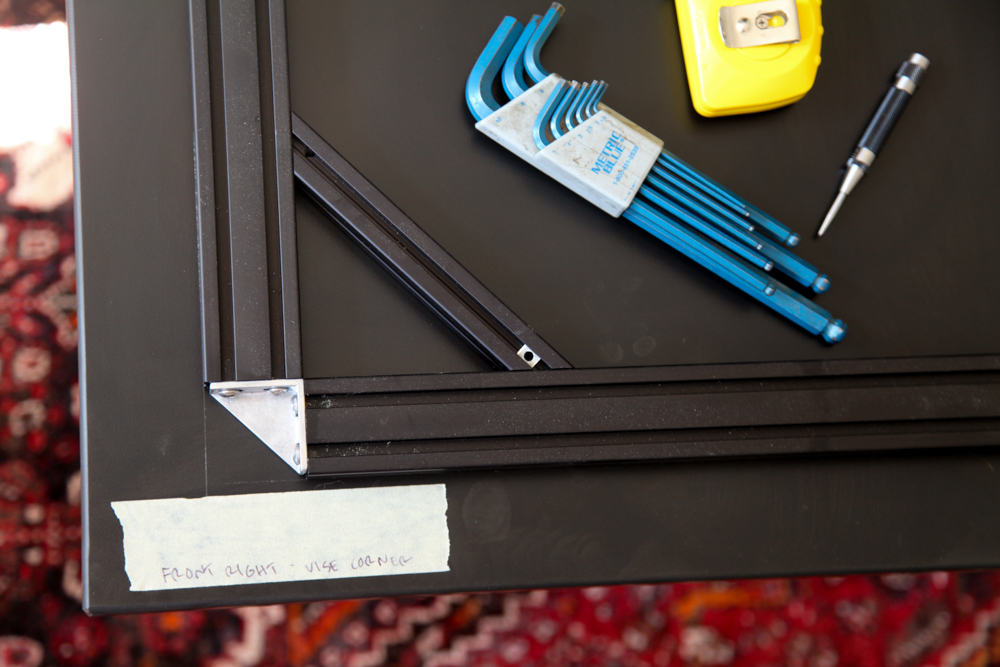
In order to reduce deflection in the work surface - and to allow for continuous attachment points under and on the sides of the desk - I designed an 80/20 aluminum extrusion subframe. Aluminum extrusions are fantastic for this kind of thing; they're light, strong, and easy to fasten to. And 80/20's selection of brackets and attachment options allow me to add accessories and even reconfigure the desk down the road. I attached the subframe with two machine screws and two strips of VHB tape.

Right off the bat, I knew I wanted three accessories attached to my desk:

  • A two-arm monitor stand outfitted with a laptop tray. I swap back and forth between a MacBook and a CAD laptop, and this setup has proven *really* convenient.
  • A serious, 12 outlet power strip. This mounts directly to the 80/20 subframe, and offers plenty of fixed and flex space for whatever I need to plug in.
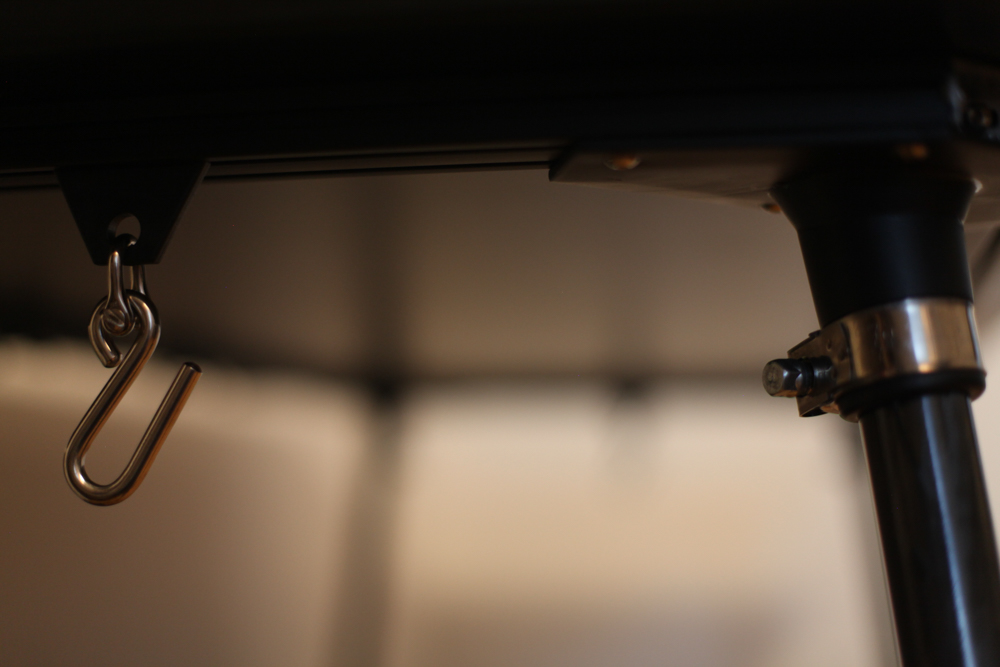
  • Hooks for hanging my briefcase & camera bag. I mounted these to 80/20's sliding hangers using stainless steel twist shackles - an excellent setup.

Since finishing the desk, I've settled into it nicely. I love the feel of the phenolic, and *really* appreciate how stable the whole setup is. I'm continuing to play with my exact layout - my home office is a bit in flux - but having this as a new centerpiece makes me feel much more grounded.

A big thanks to Formlabs for helping out with the node engineering & printing - and for sharing a complete guide on painting SLA parts! 

Desk fab

Added on by Spencer Wright.

This weekend, in addition to setting up an Abaqus beam sizing optimization on my lattice bike stem, I got about 80% of the remaining work on my new desk done. Completing it (which I should get done in the next week) will be a long awaited upgrade to my home office, and I've put a lot of research and care into selecting my materials and designing a system that's functional, lightweight, aesthetically pleasing, and modular. The structure is based on unidirectionally would carbon fiber tubing - the same stuff that I use for my titanium-carbon road bike seatpost

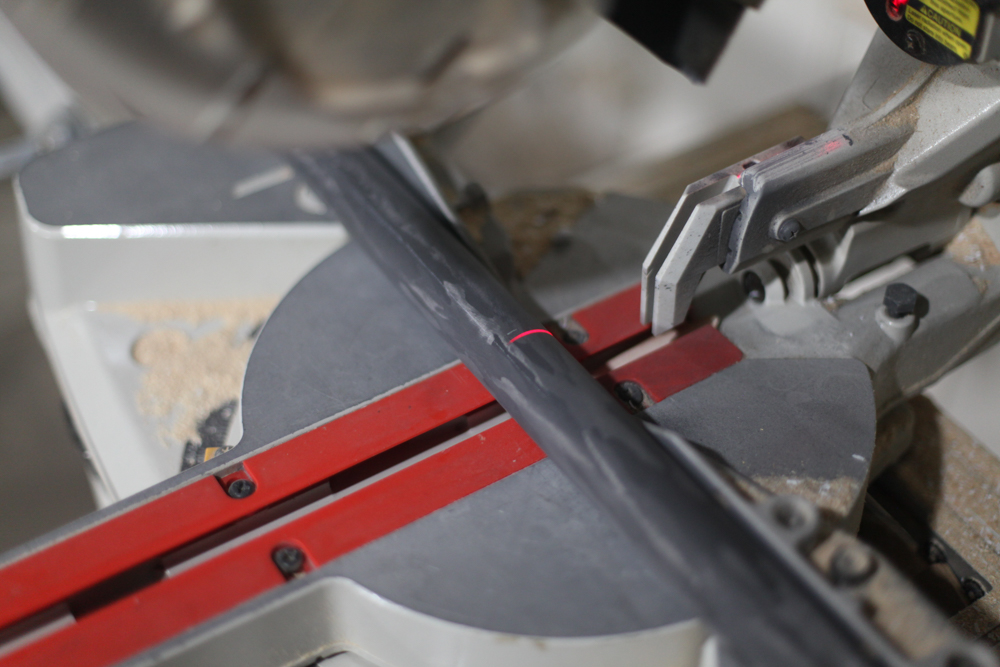
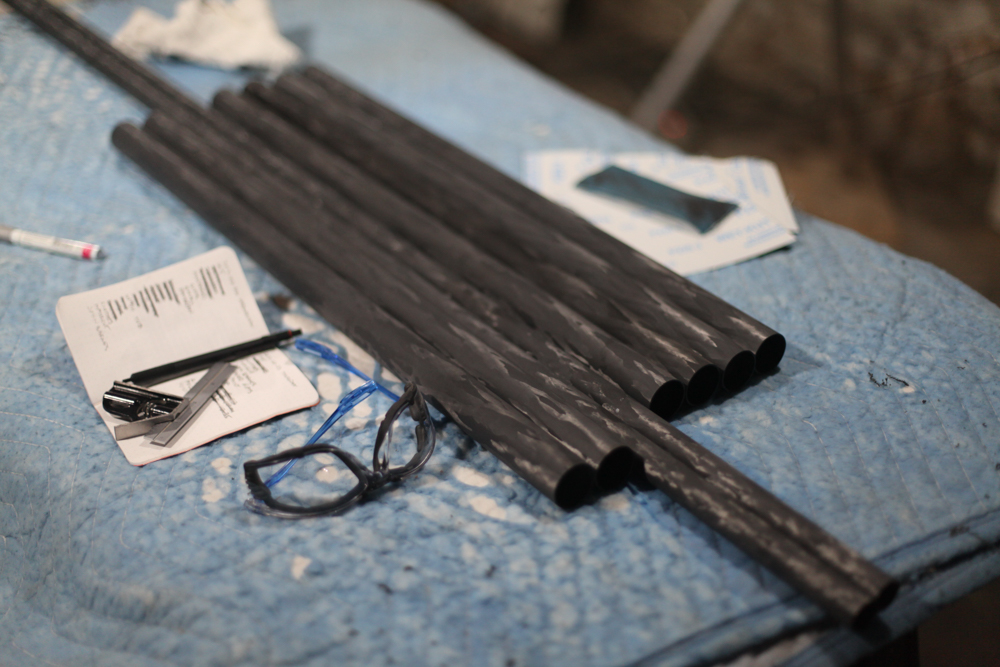
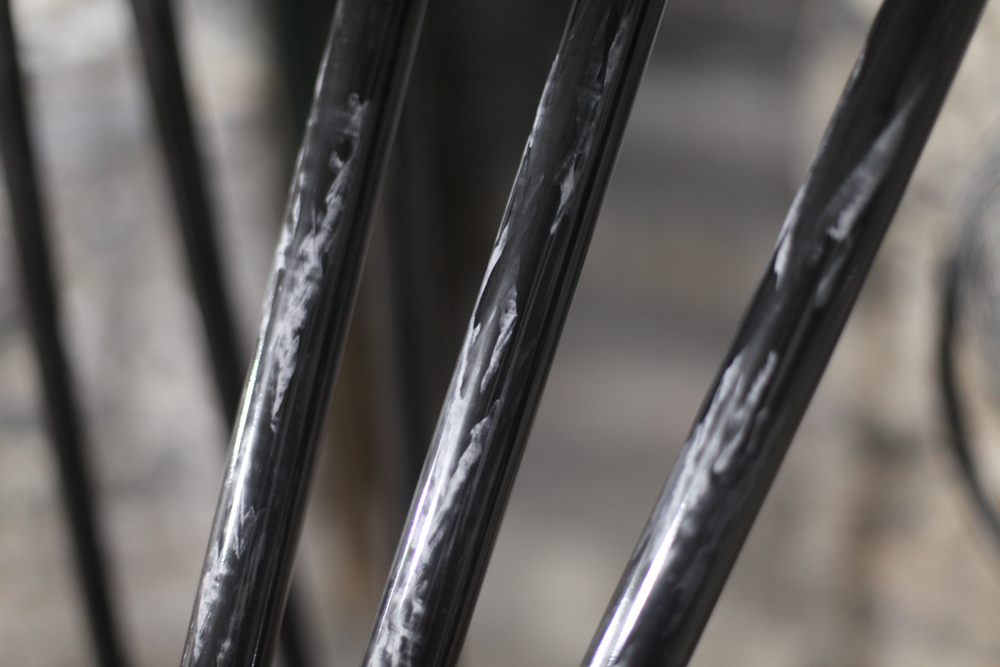
I cut the tubing to length with a 10" diamond grit blade, and use a piece of aluminum oxide wet/dry cloth to knock down any slag (stray, partially cut fibers). I then wiped the tubes down with tack cloth and used a two-part high gloss clear coat to seal and protect the tubes. The result looks great - it's hard, smooth, and allows the fiber to shimmer when it catches the light. 

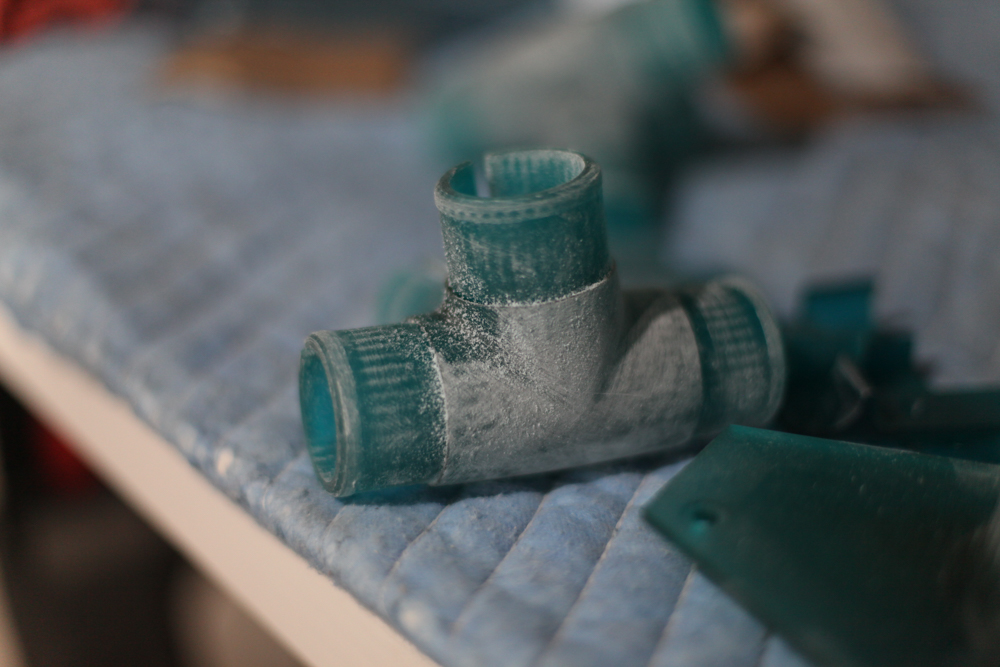
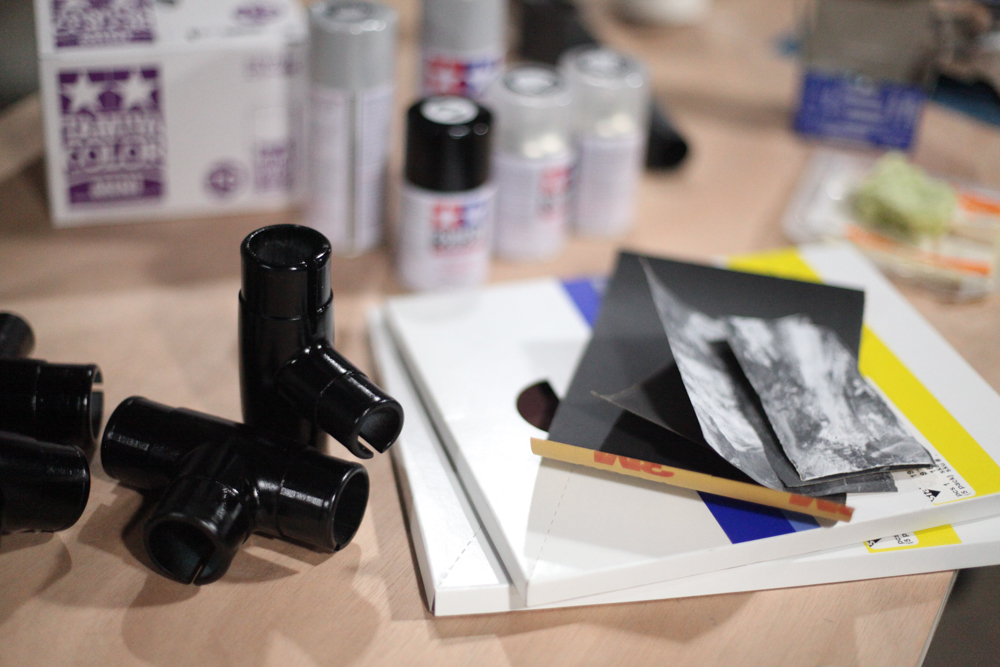
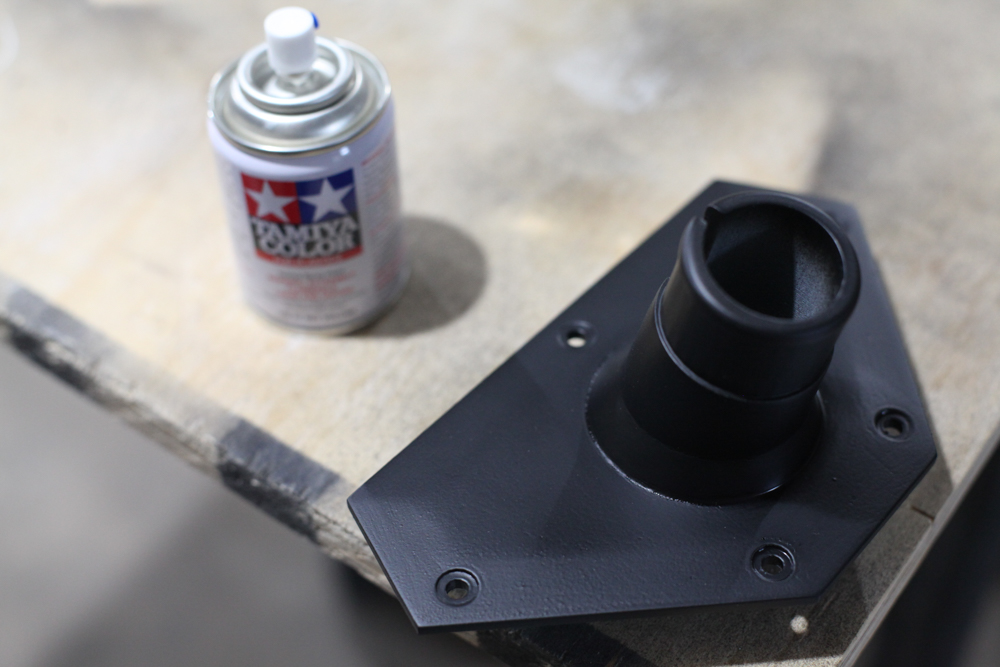
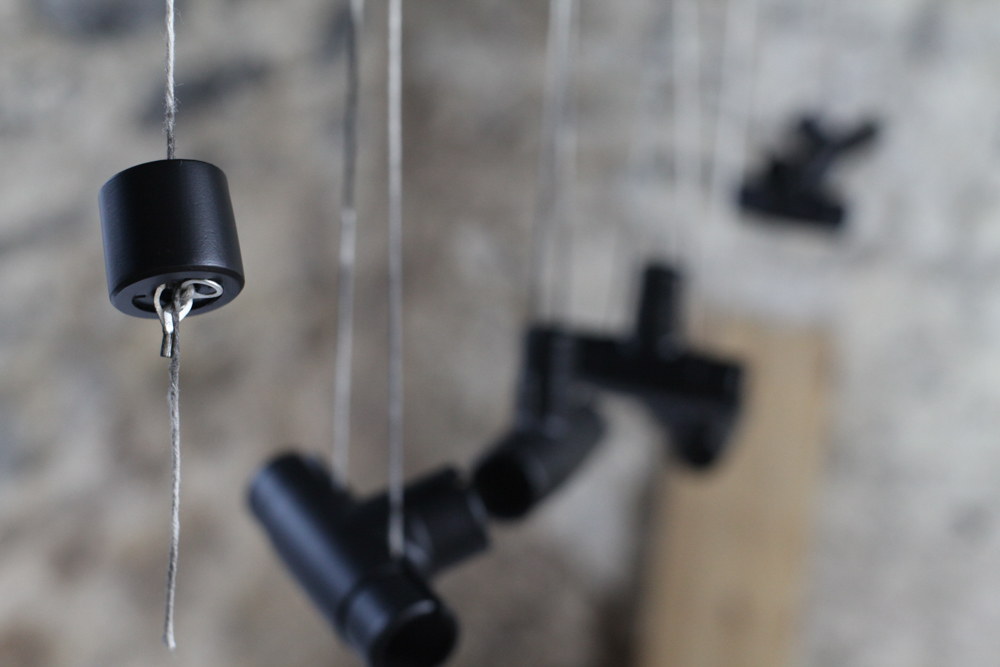
The last pieces to prep before assembly are the frame's nodes. These were printed on a Form 2 in their "Tough" resin, which most people would use for functional prototyping but which I'm planning to use indefinitely. I considered leaving the nodes in their natural blue-green (you'll note that I even changed the color on the parts in my model a few months ago), but ended up deciding to paint them black. 

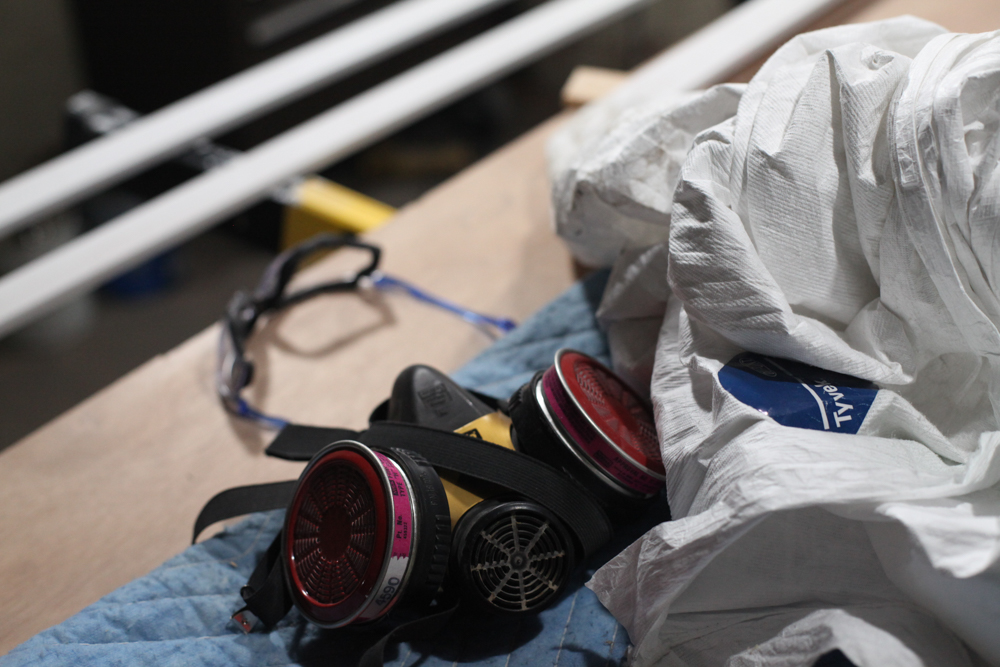
I was a bit hesitant to take on a finish paint job - I've been painting more and more recently, but my spray skills are mostly untested on small, intricate parts - but Formlabs has a good two part (one, two) guide and anyway I didn't have any other options. I used the Tamiya primer and spray paint they suggested (a note on this: Tamiya's bottles are pretty small. I ended up buying three bottles of primer and five bottles each of black topcoat and matte clear.), which goes on soft and easy - much nicer than the big rattle cans that I'm used to.

I've still got to sand, prime and paint three more of the nodes, but once that's done I'll be able to assemble the entire desk and start attaching accessories - which, because I'm particular about my workspace, will be more complicated than maybe most people's setups :) 

More soon!

Desktop fabrication/assembly

Added on by Spencer Wright.

In between bouncing Nora around the past few weeks, I've been able to sneak in a little work on my new desk. I now have both the desktop (a 30" x 60" x 1" phenolic resin surface from JHC Lab Resin) and its subframe (a 20 mm x 40 mm extrusion frame from 8020), and have partially assembled them to each other:

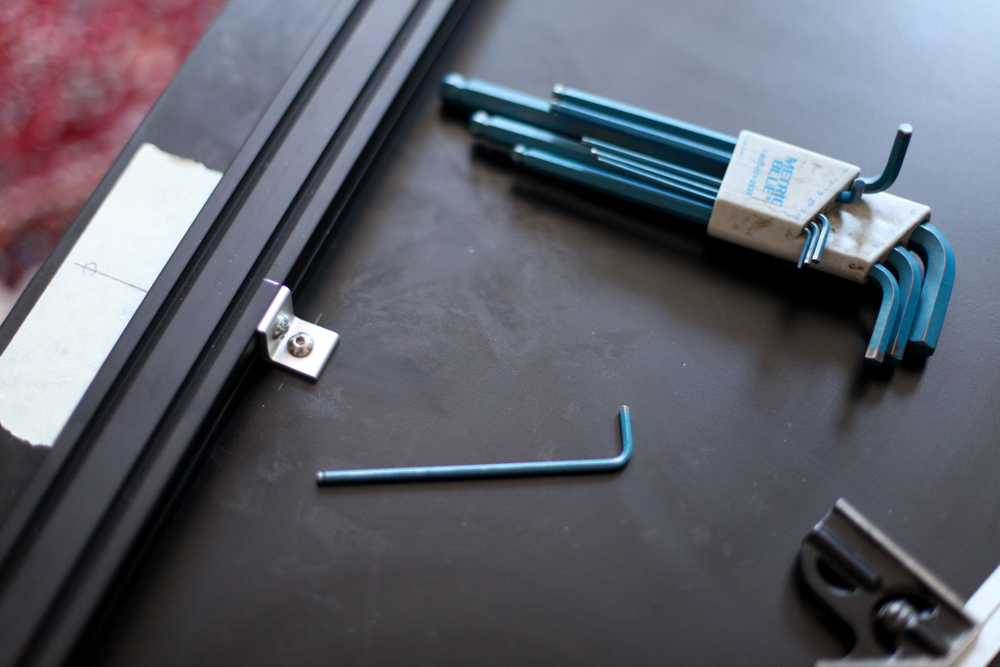
The subframe only attaches mechanically to the desktop in two places - one bolt in the middle of each of the long frame legs. I *think* I'm also going to use VHB tape between the frame and the desktop, but I'm holding off on that until I get a few more of the parts in & prepped.

I also received the shelf (which is 12" x 48" x 3/4") and all of the carbon fiber tubing. I'll be cutting the tubing to length with a diamond grit saw blade, and need to drill & tap a bunch of holes in the shelf still as well. I'm also planning on mounting my old Wilton Bullet vise to the desktop using some nut inserts, but I'll probably hold off on drilling more holes in the desktop until I get the whole thing together and use it for a few days.

I should be getting the printed parts back from Formlabs in the next week or so, and because of the way it assembles I should be able to get the desk put together really quickly once they arrive. Fun :)

Desk update

Added on by Spencer Wright.

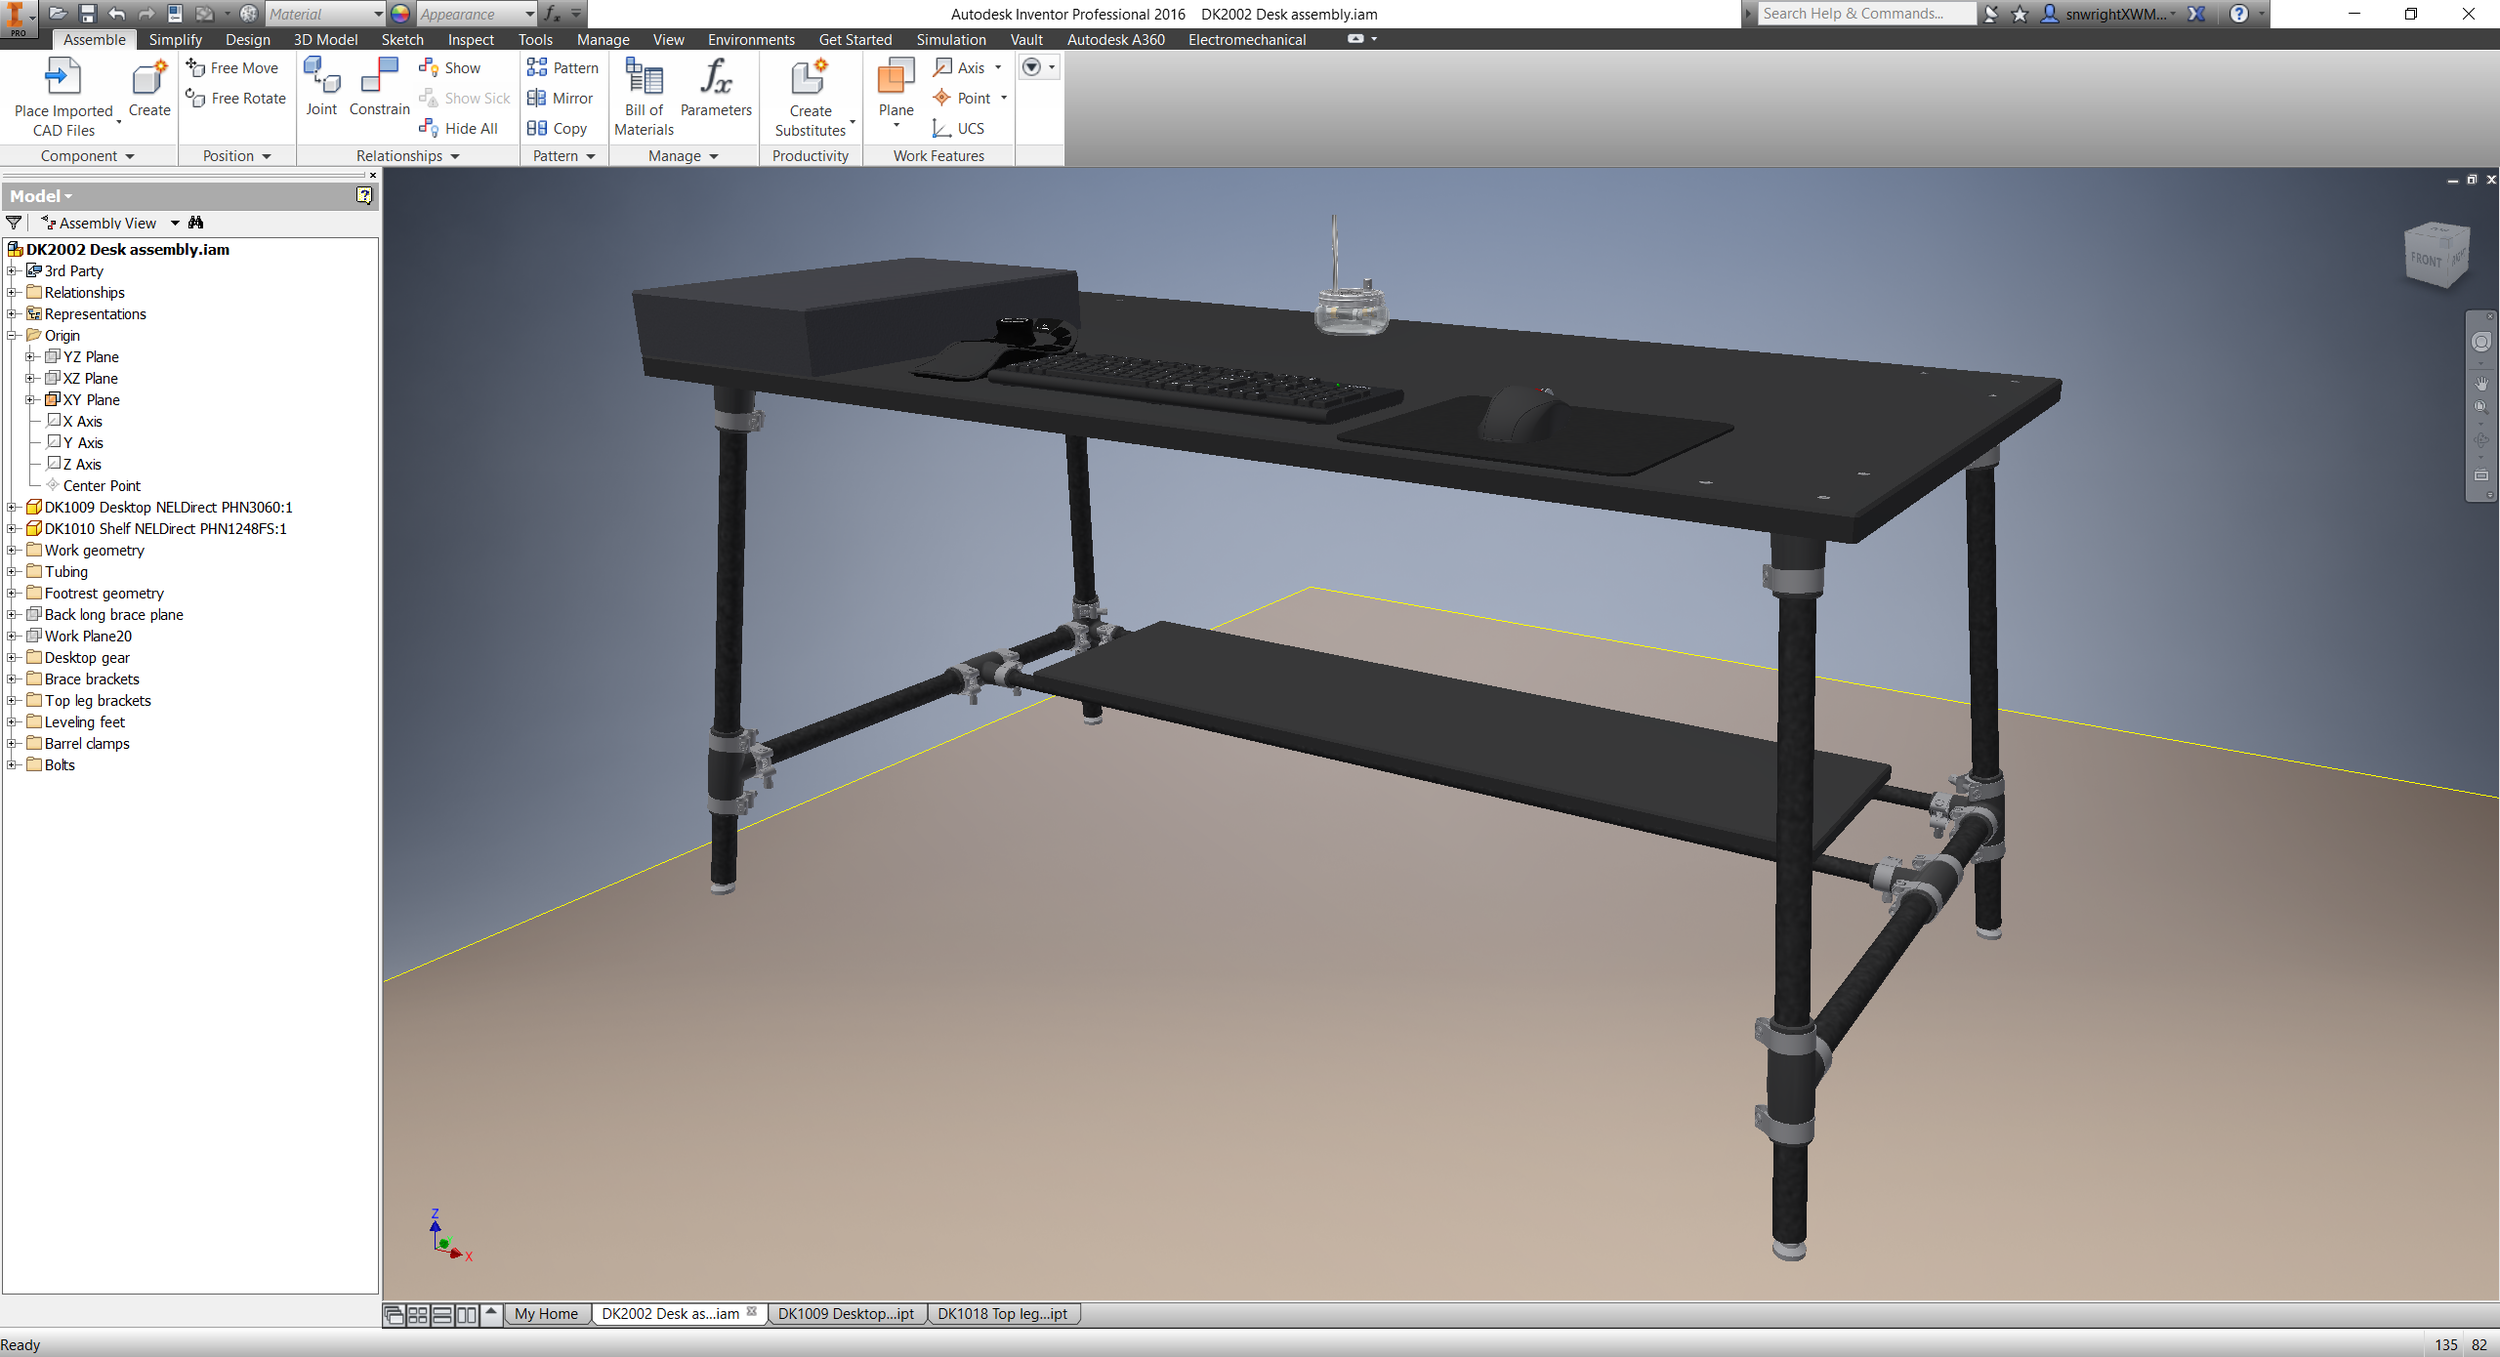
I was able to spend a little more time on my desk this past weekend, and got it nearly done:

A quick changelog:

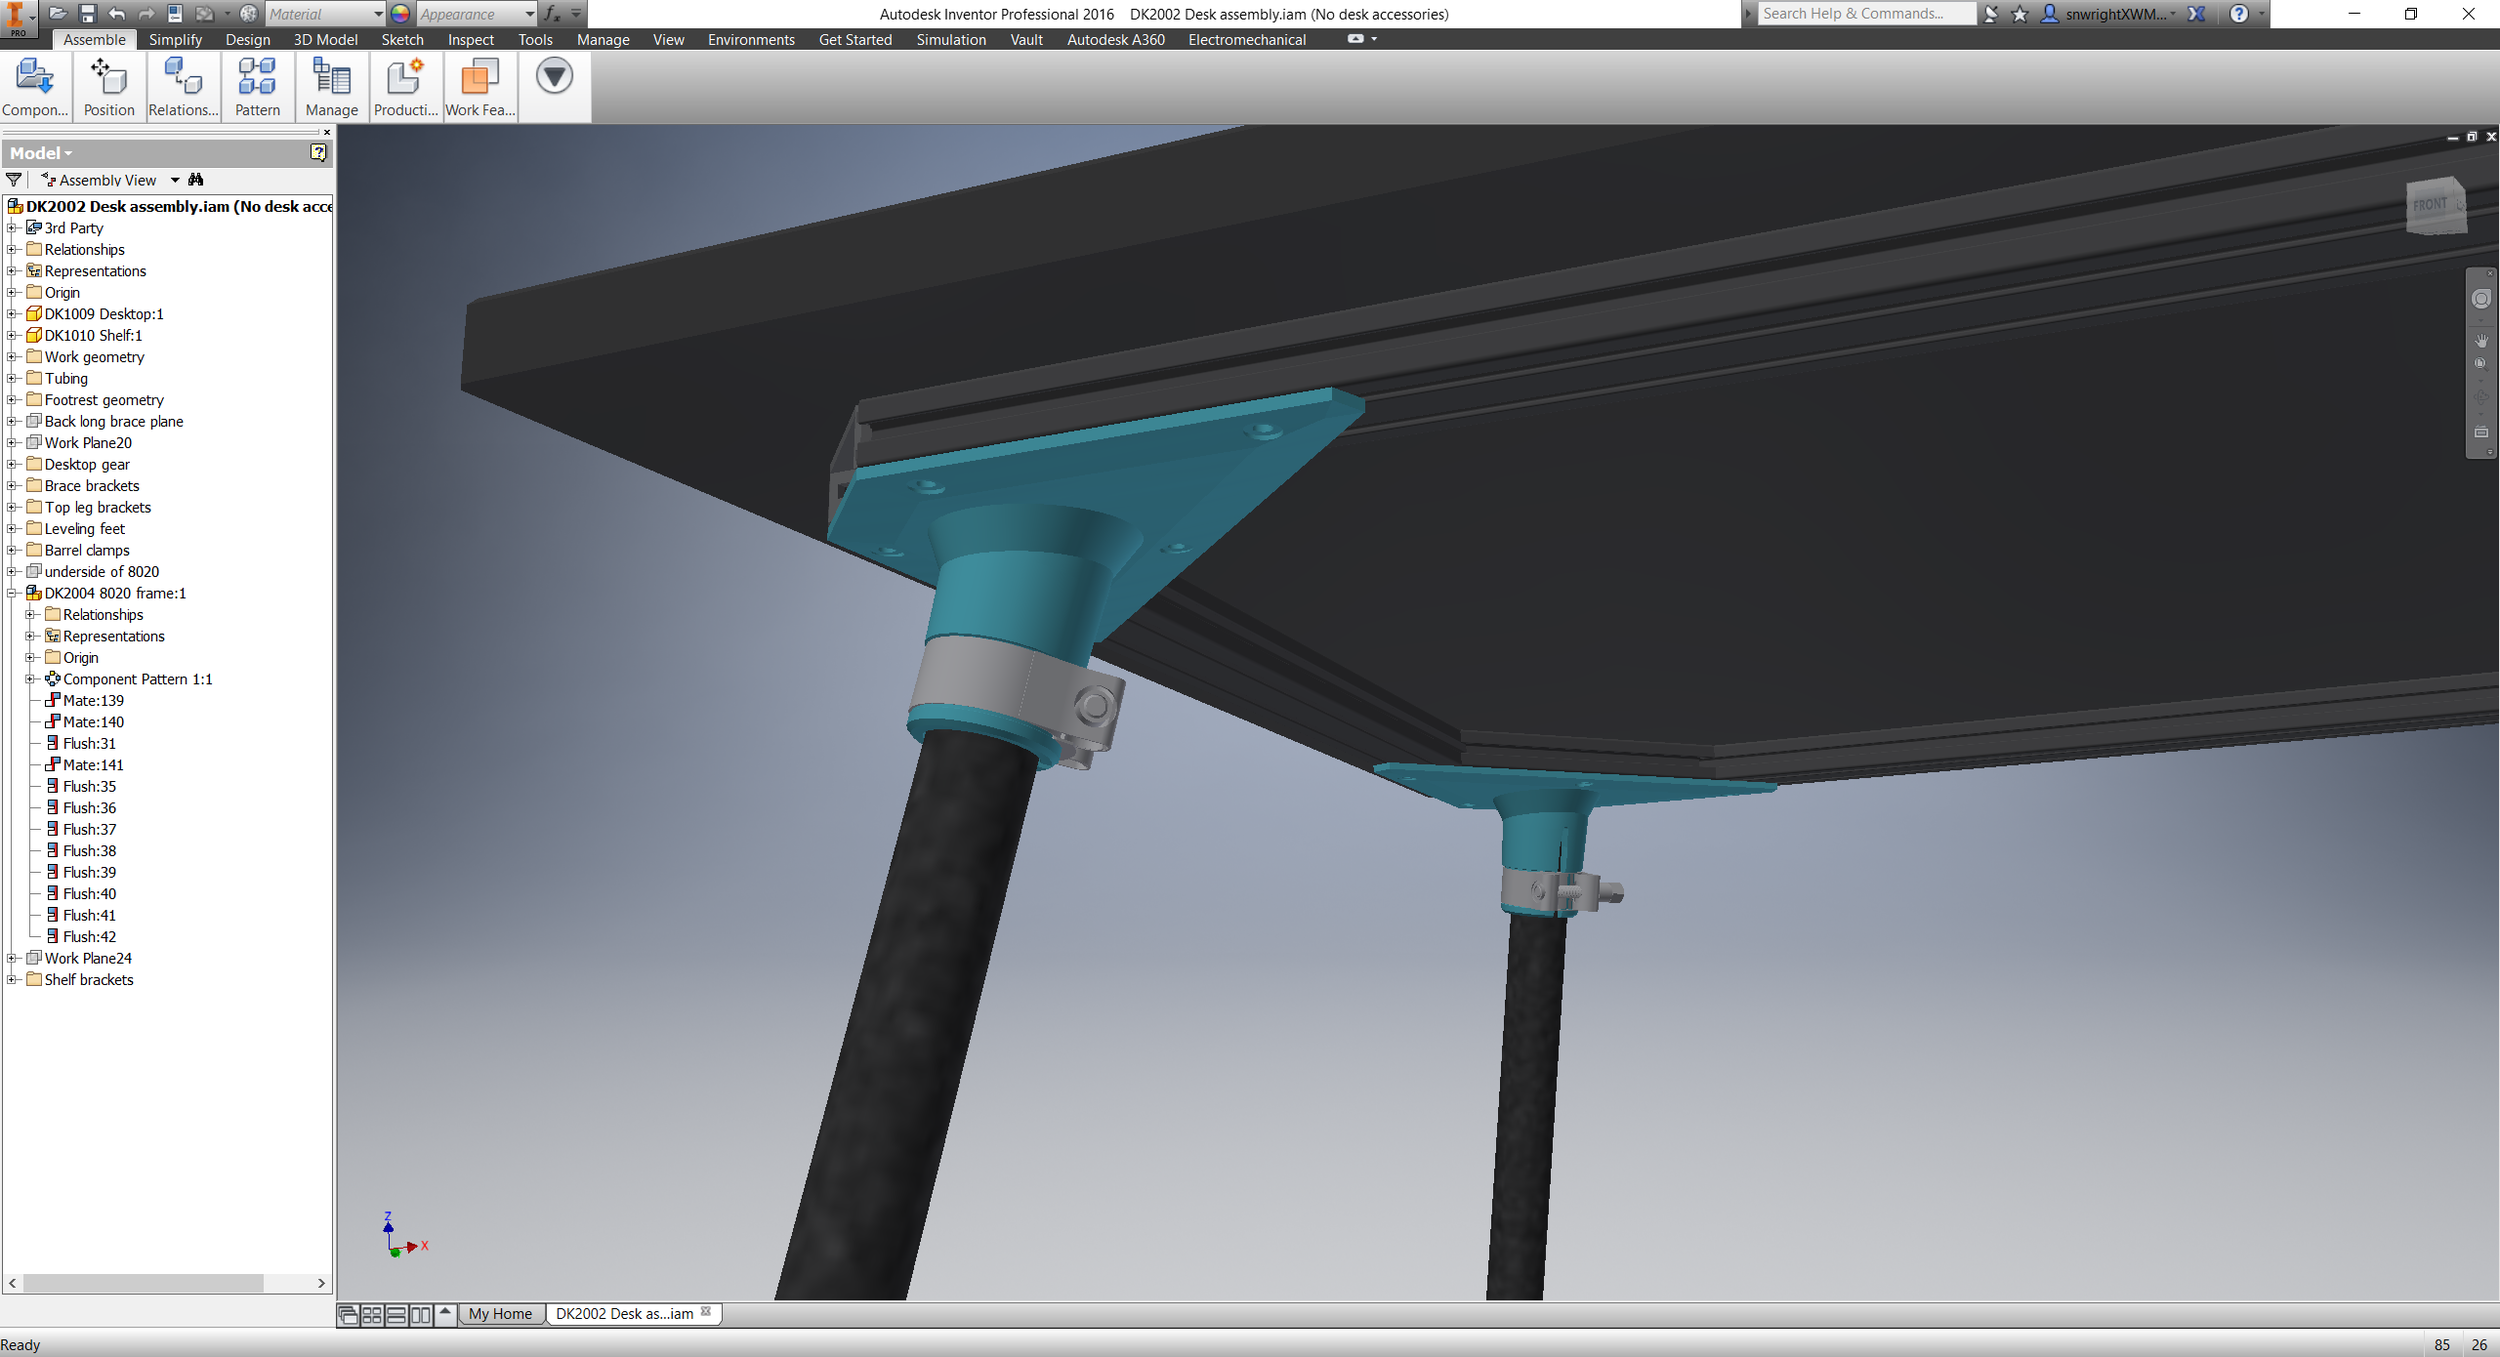
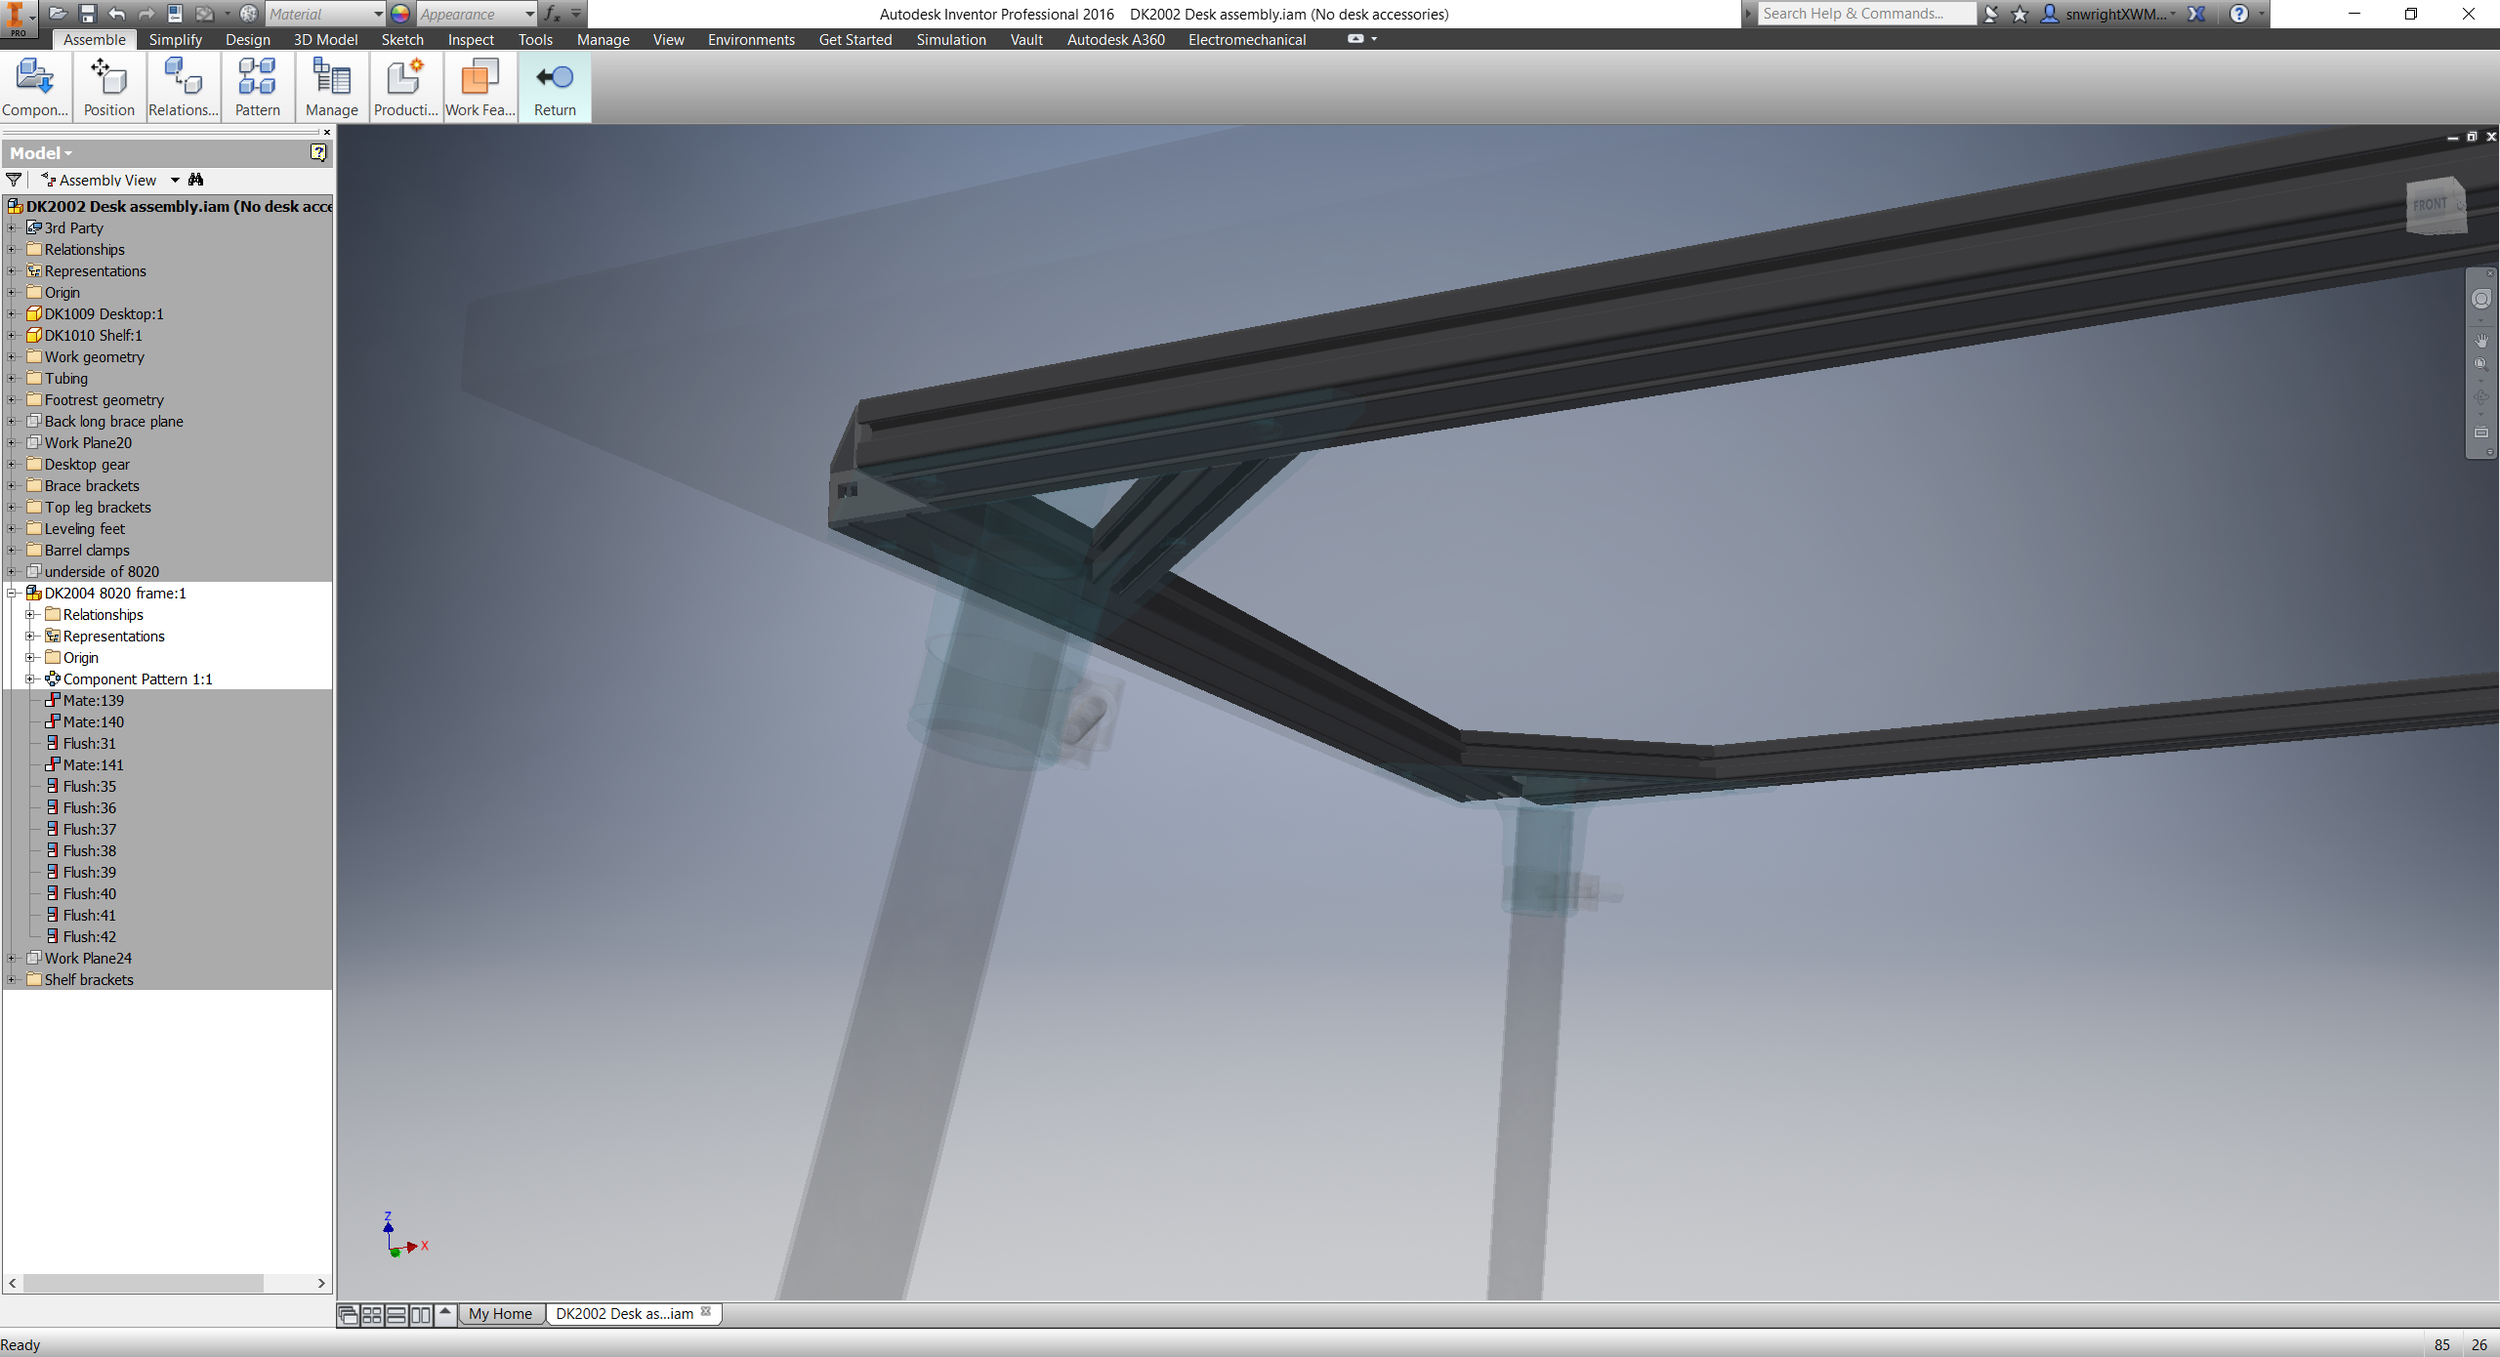
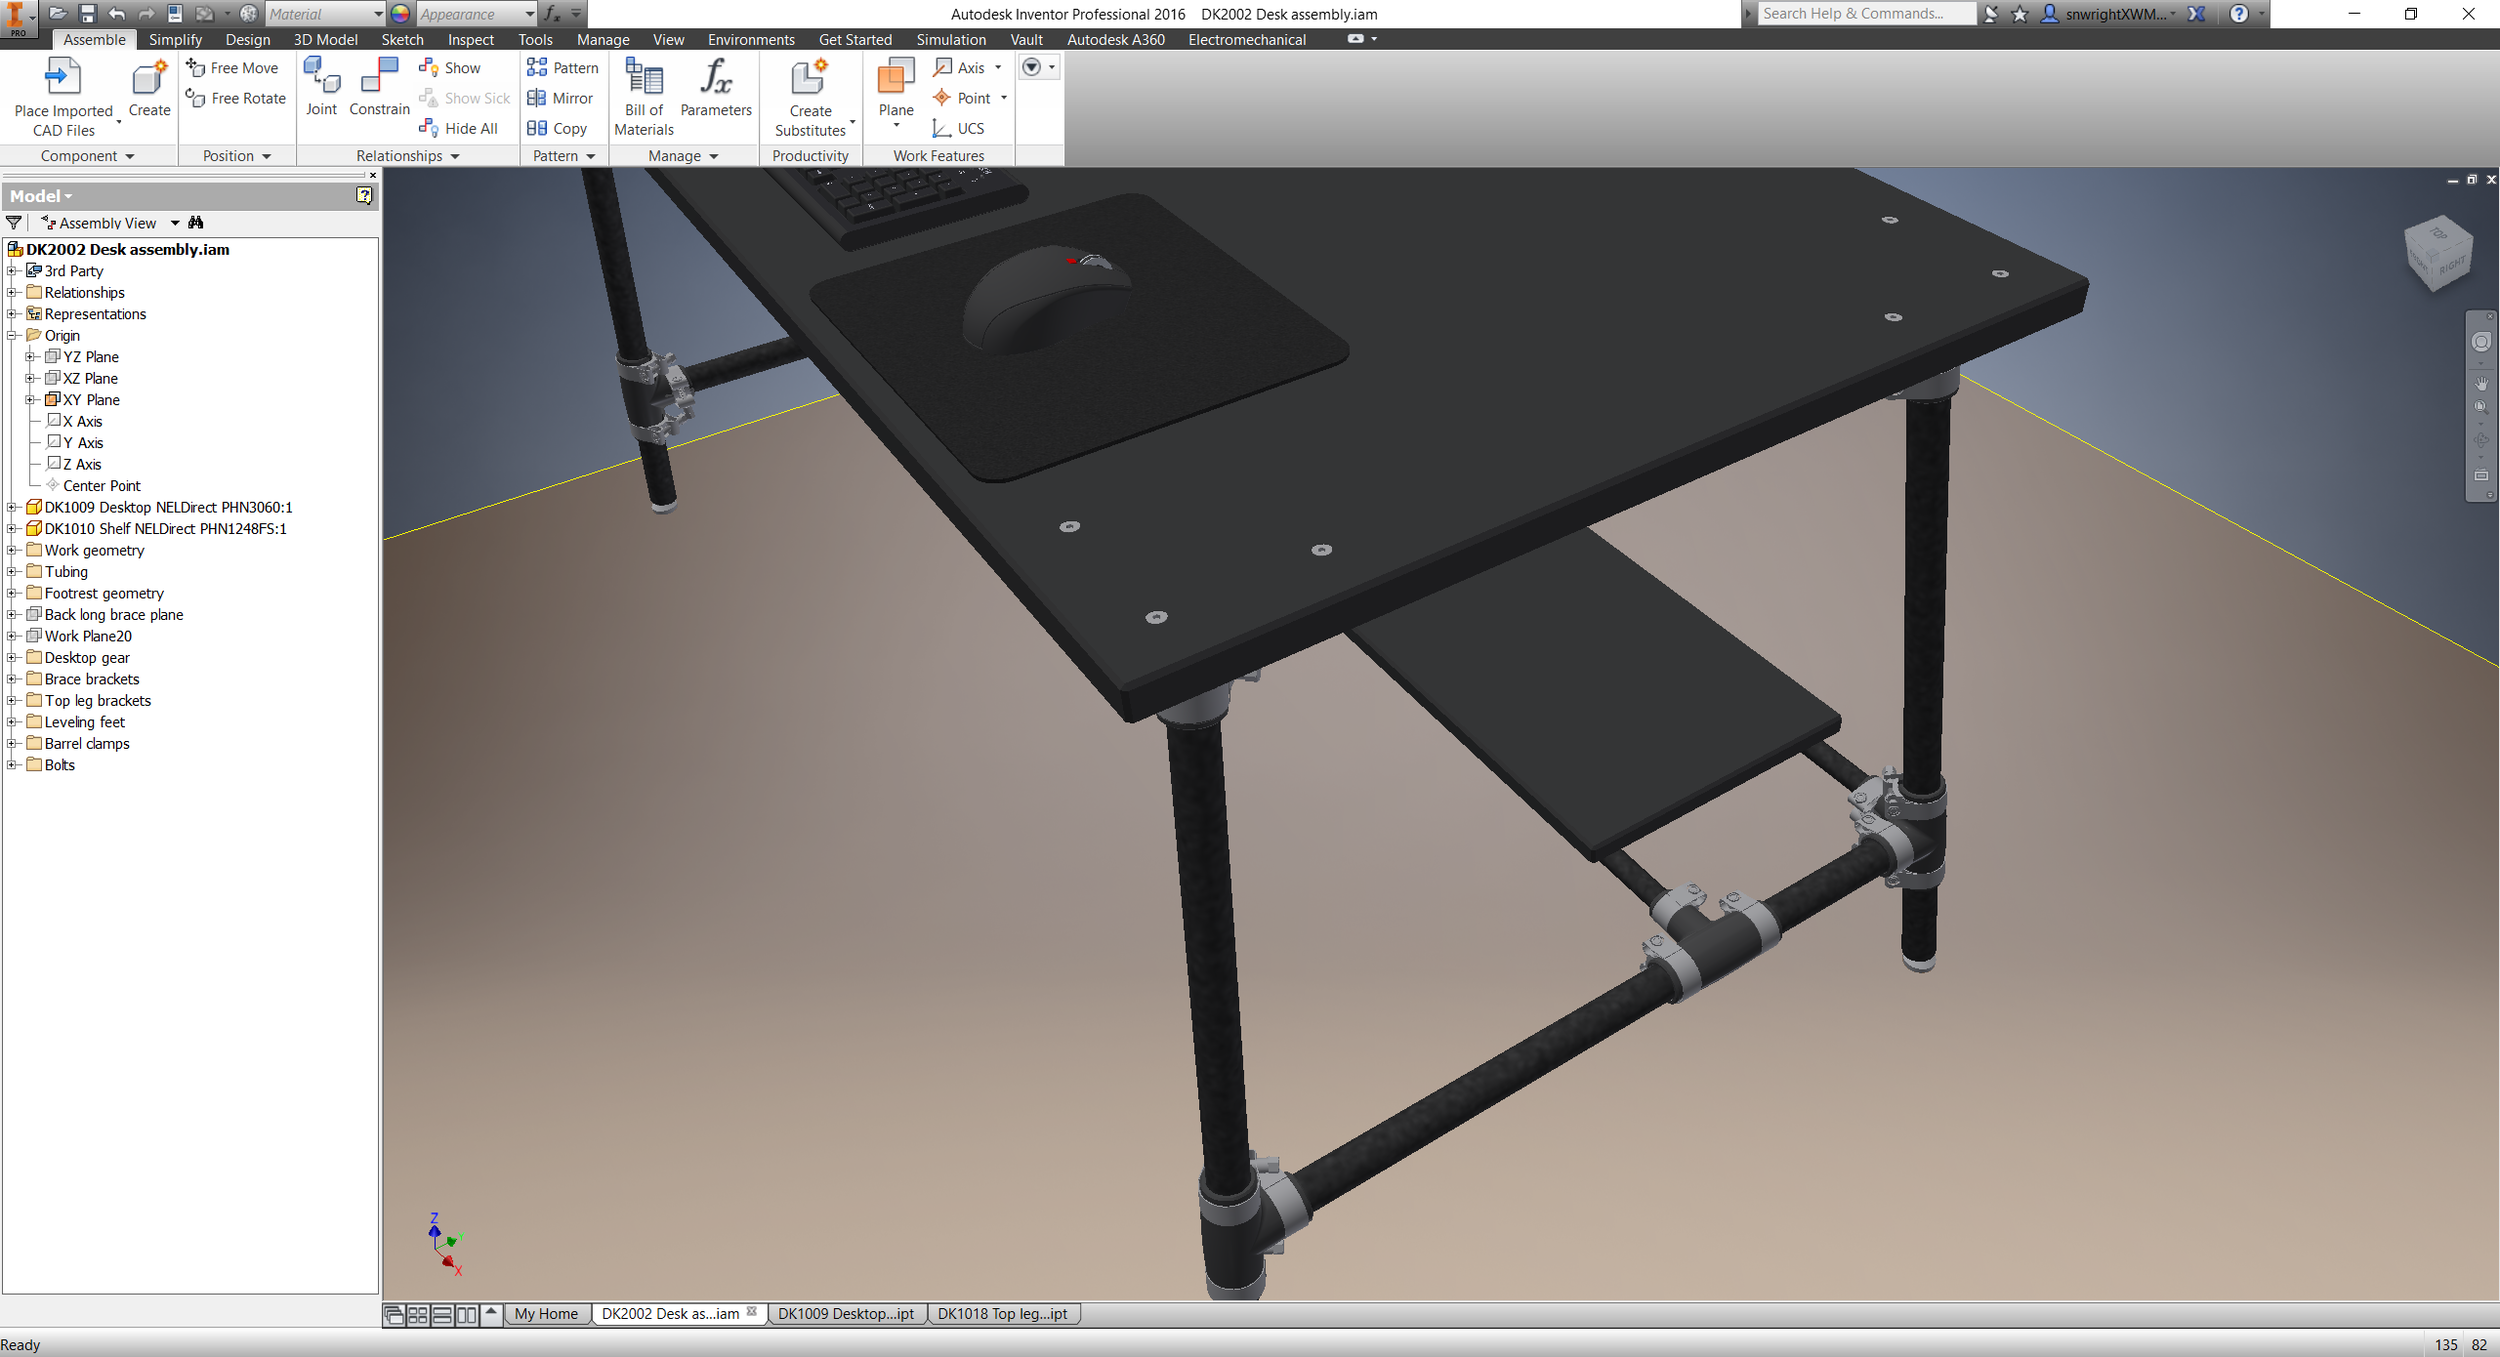
  • Added a frame to the desktop. I'm planning on using 1" phenolic resin (or *maybe* epoxy resin, if I can afford it) for the surface, and it needs to span almost 5'. At that length it seemed like a good idea to support the span, and I'm using an 8020 frame to do so. It's not the cheapest option, but means that attaching the surface will be easy. It also has the advantage of allowing me to attach other accessories (a power strip, my monitor stand, an architect's lamp or two) really securely as well.
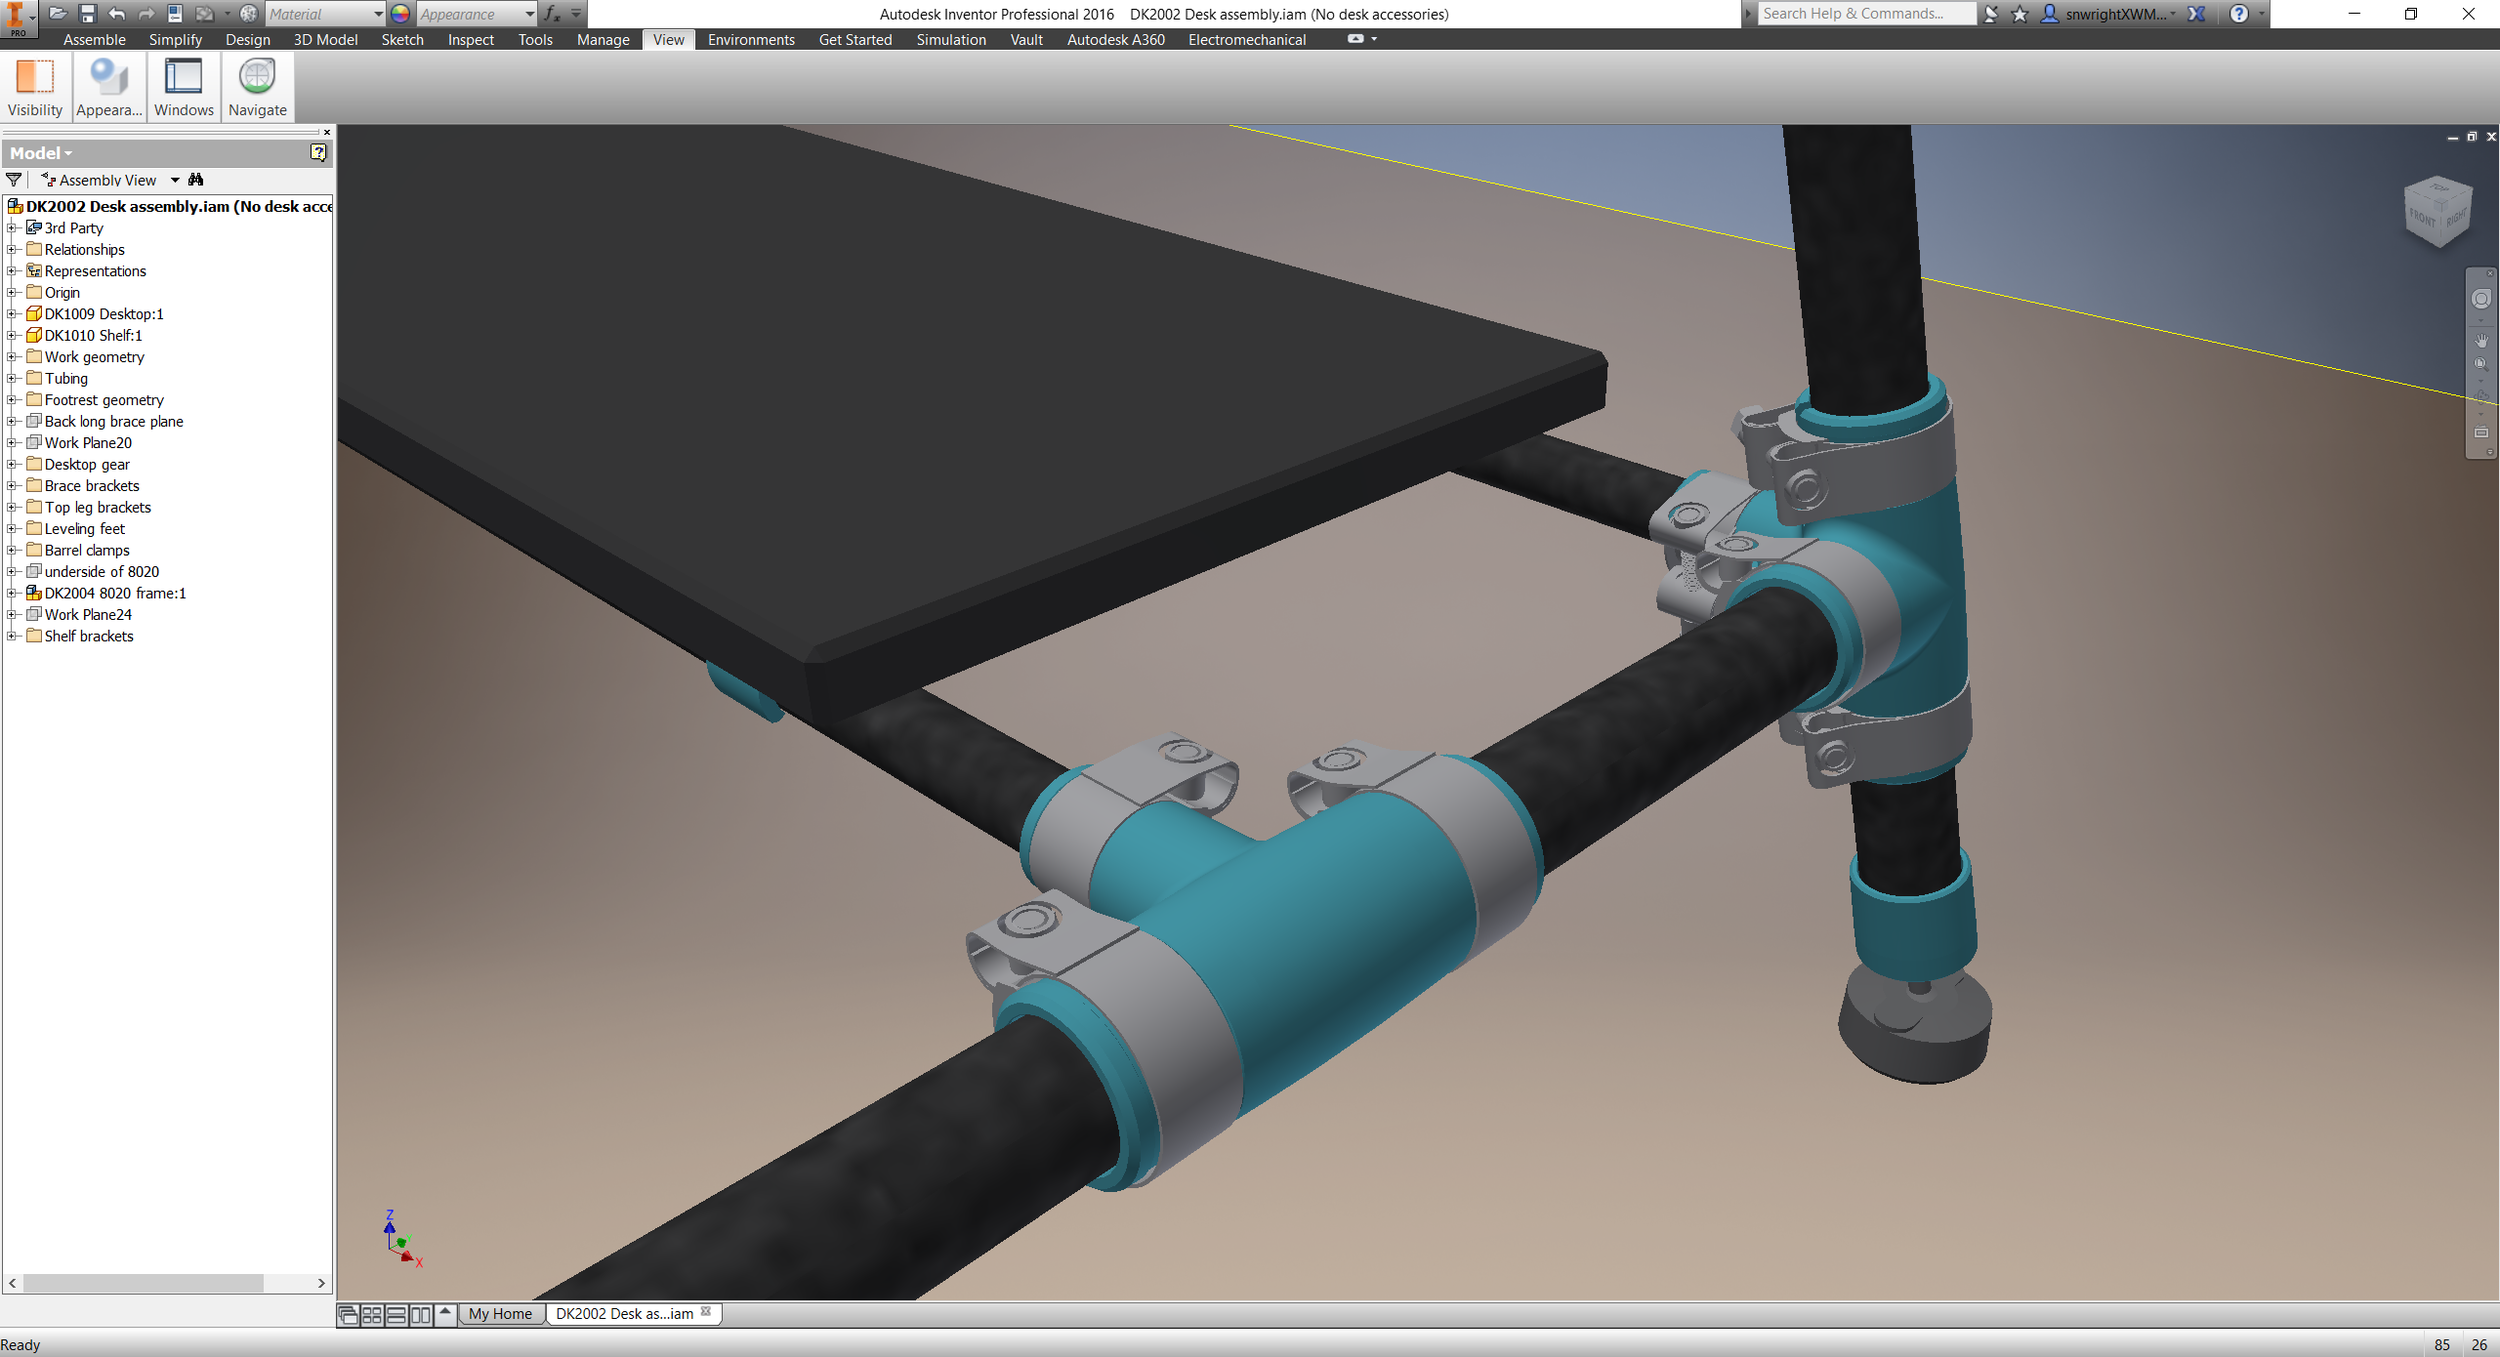
  • Added adjustable feet. These are nylon with a rubber pad, and they thread into nut inserts that'll be installed in the leg caps. 
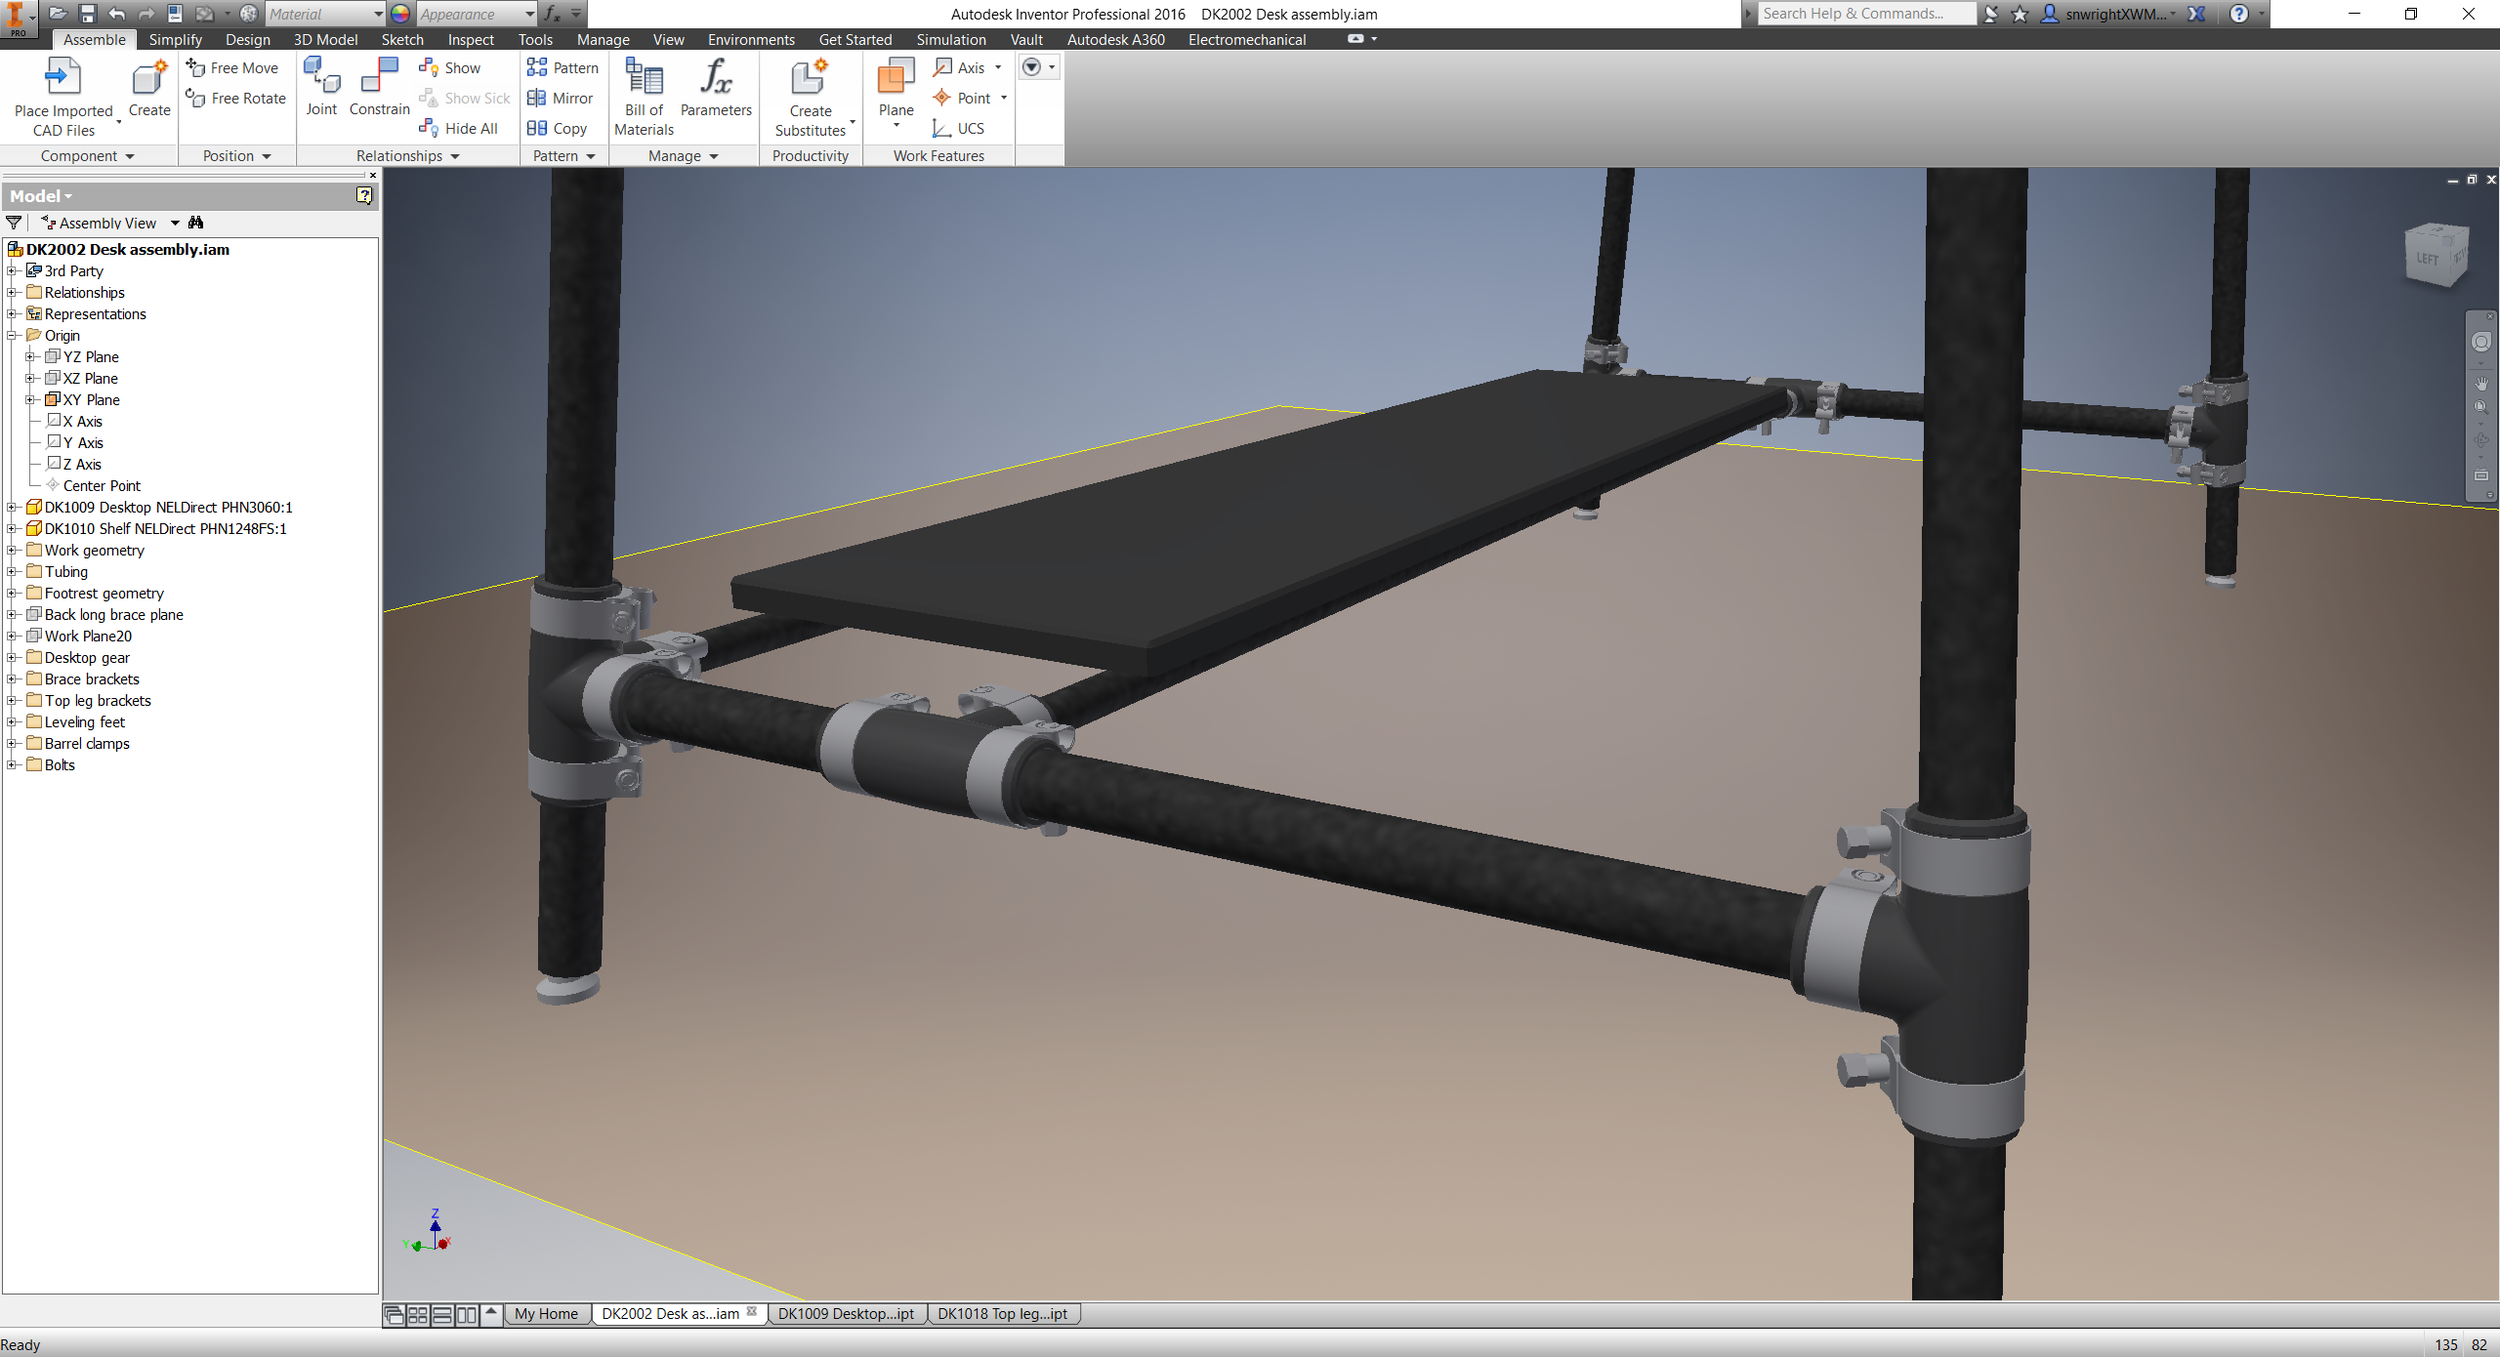
  • Added shelf clips to hold the lower shelf onto its supports. I think that the shelf will just rest there - the clips should snap more or less securely onto the supports, and I don't think I need to attach them any more firmly than that.
  • Other small changes to the leg brackets. I had an early prototype printed by Form Labs in their "Tough" resin, and was pretty impressed with the results; the part came out true to size and clamps onto my carbon fiber tubing really well. I'm having a few more parts printed now, and will rig up a bigger test assembly to confirm - but with the combination of my leg geometry and the Form Tough's high tensile strength and elongation at break, I'm confident that it'll work well.

Time allowing, I'll order the rest of the stock and cut-to-order parts in the next week or so. Pretty excited :)

Desk update

Added on by Spencer Wright.

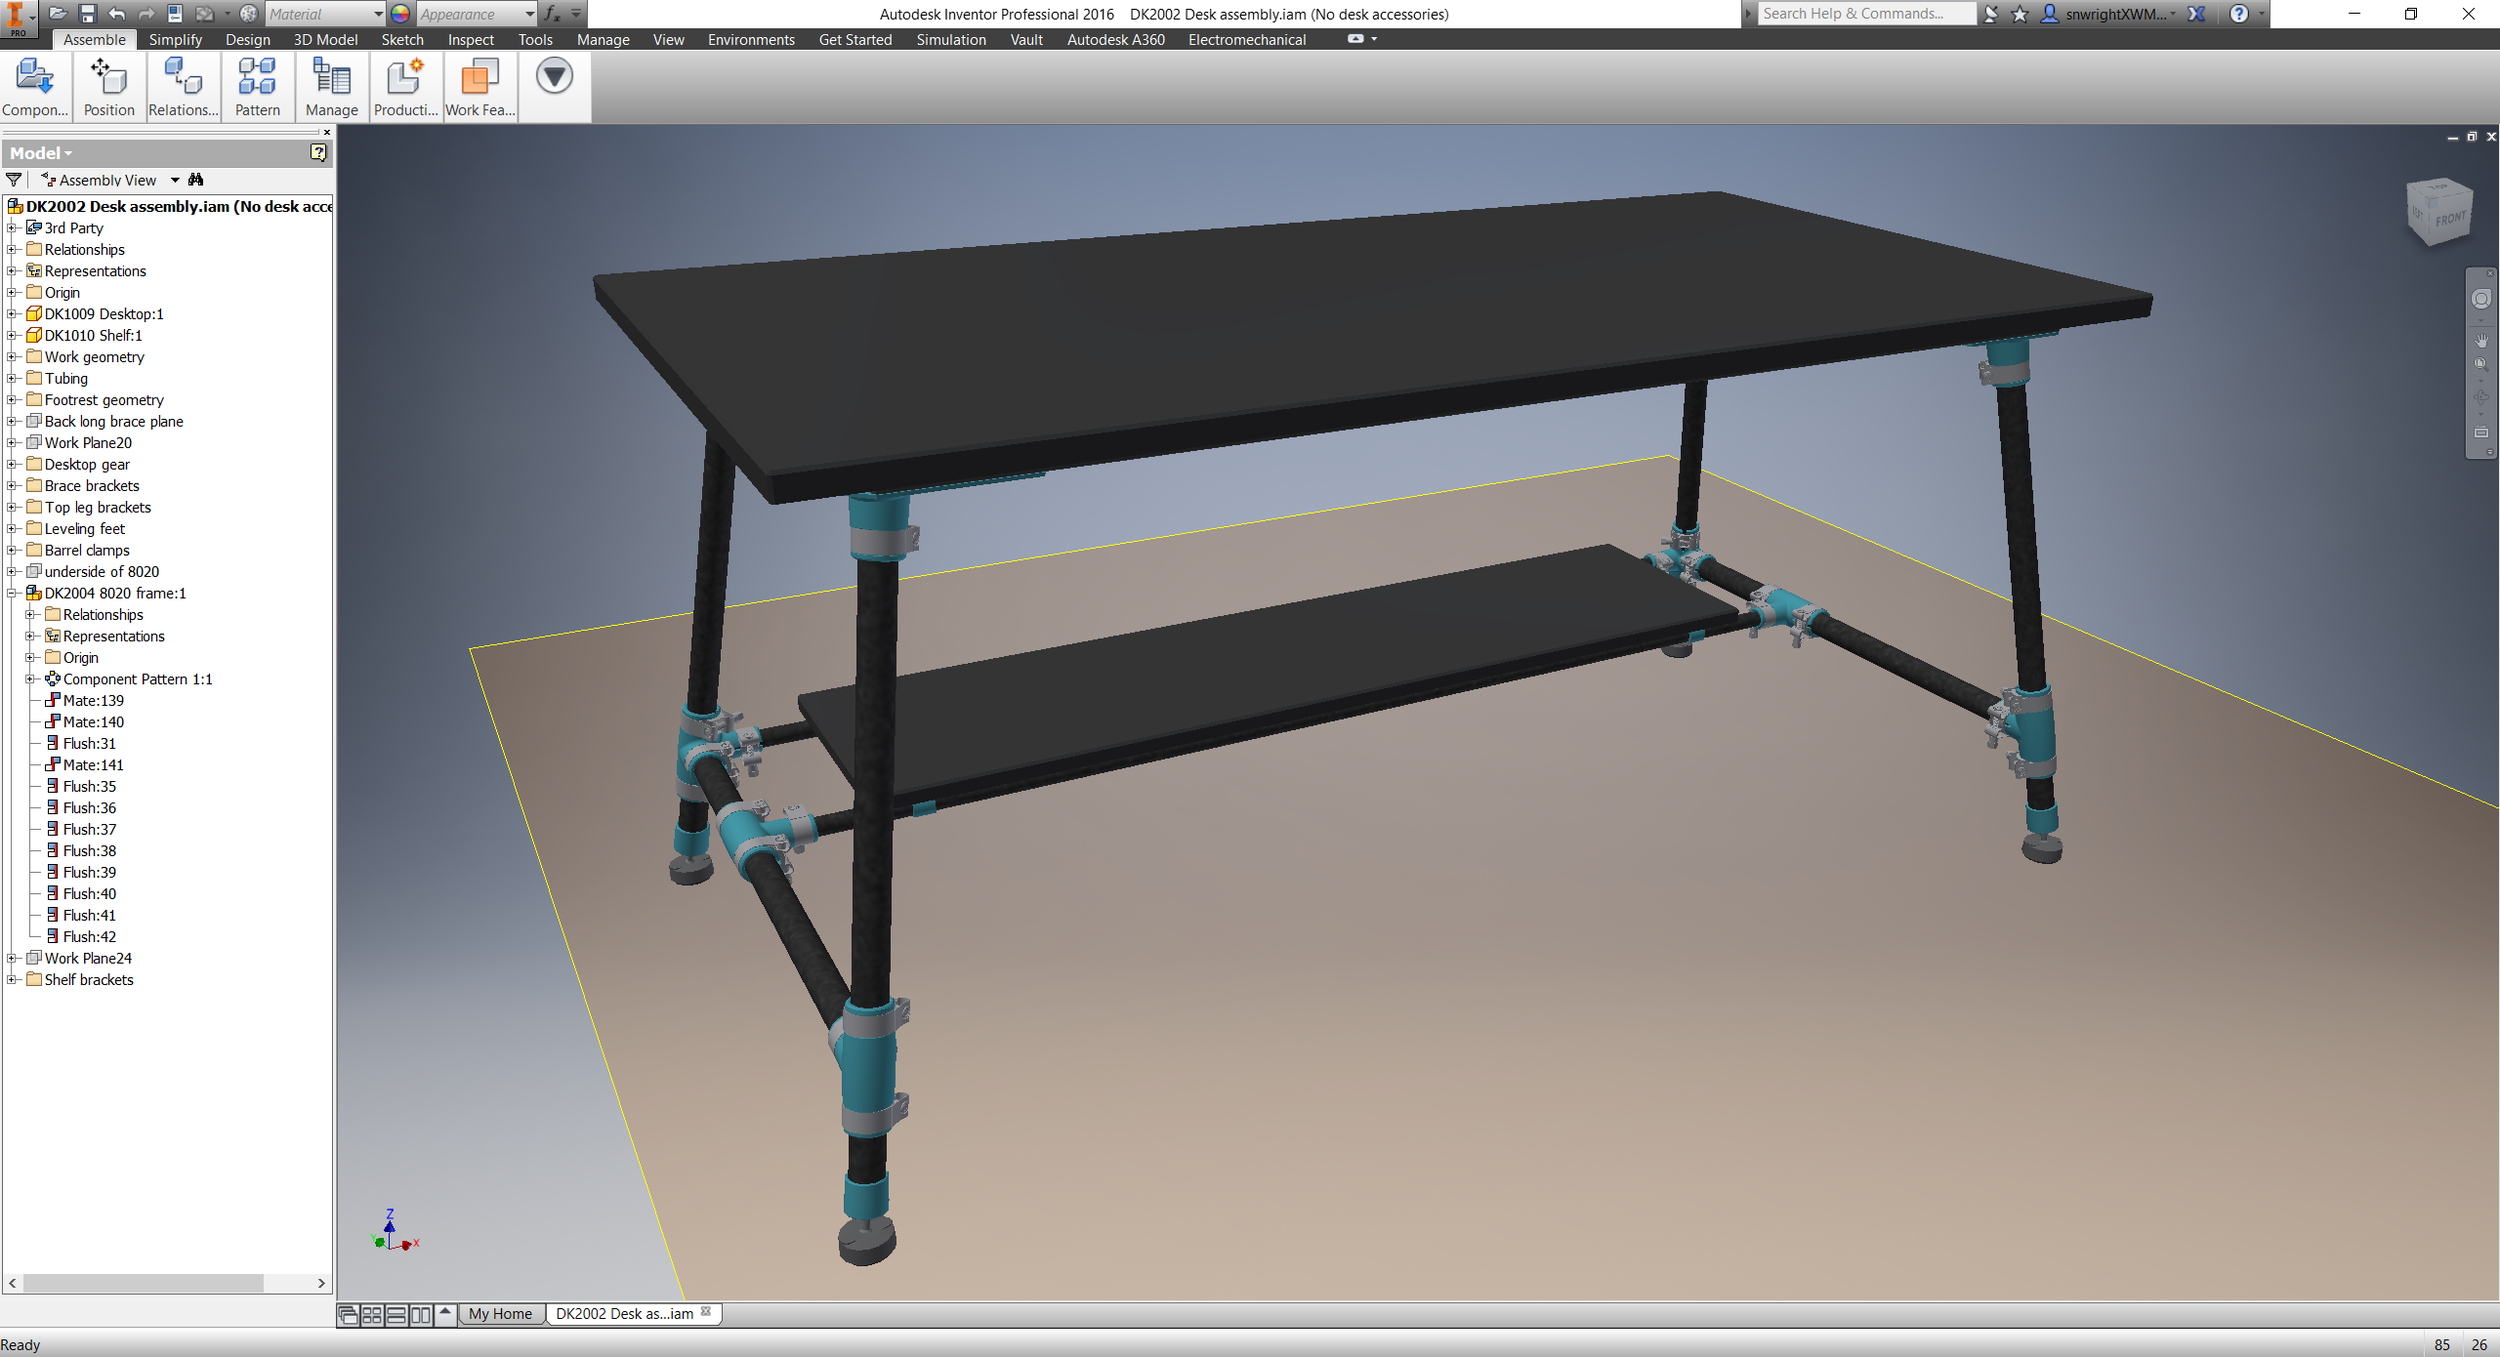
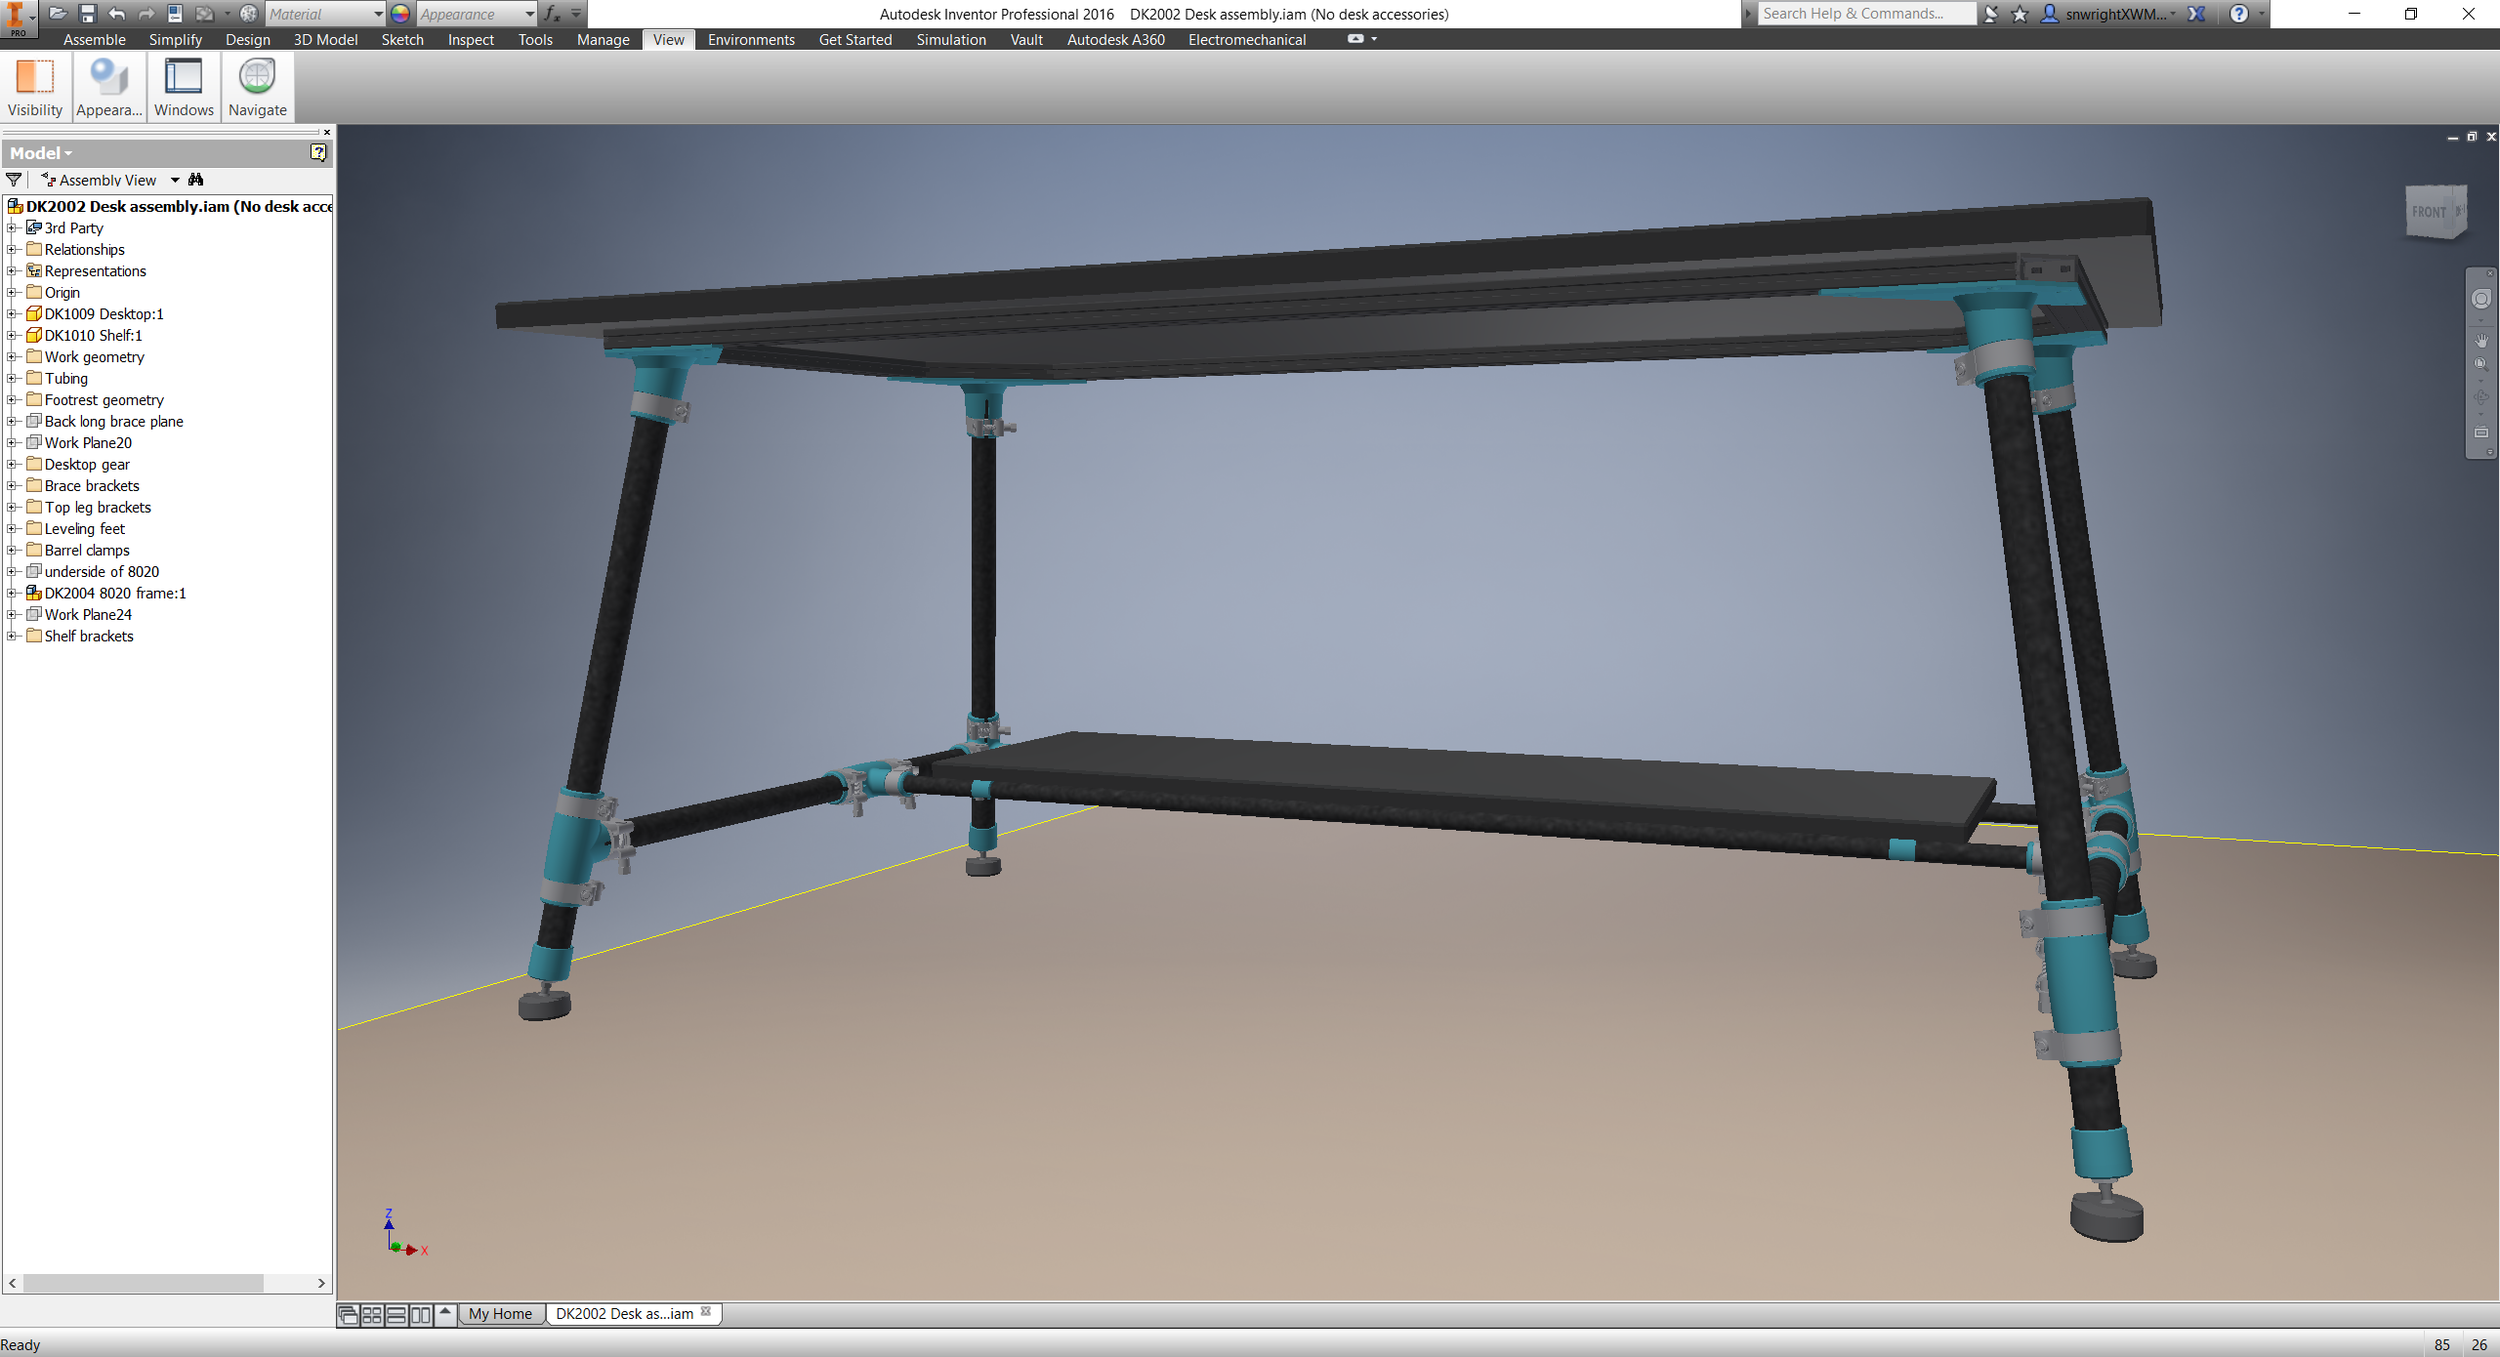
Some changes to my desk design:

In no particular order:

  • I rebuilt about 90% of the model so that it's driven off of an Excel spreadsheet. It took a little while, but makes updating tubing diameters *so* much faster.
  • The tabletop and shelf are designed to be phenolic resin; the shelf doubles as a footrest. I'm a bit worried that the long span on the tabletop will result in bounce, but that'll be relatively easy to fix if it happens.
  • The frame tubes are filament wound carbon fiber throughout.
  • The lugs/brackets are all slotted; they'll be printed. The band clamps are a little bulky for my taste, but the practicality of making the frame modular is just too appealing to me. Plus, I'm pretty sure they'll distribute the clamp force evenly and be plenty strong to hold the frame together.
  • My current plan is to drill and countersink the tabletop and then use flat head screws with washers & nuts to fasten the leg brackets. 
  • The legs are angled, and I'm planning to use swivel mount feet with rubber pads on them. I'll install nuts in the bottom of the legs (method TBD) to hold the feet in place.
  • Having dummy models to serve as Utah teapots is *really* nice. I'm still missing my Wilton vise, Gerstner tool chest, and monitor/laptop stand, but none of those is worth the time it'll take to model them.

I'm pretty happy with this so far - hoping to have it together soon :)

New desk

Added on by Spencer Wright.

About a year ago, when I refurbished an old Wilton vise for my home office, I noted that I intended to build myself a new desk as well. Like many projects, I ended up moving a bit more slowly on that than I expected - which in this case was convenient, as it allowed me to settle into a new house and think about what my work will look like over the next few years. And so last weekend I opened up Inventor and started putzing with my desk design again:

Like so many of the things I've designed in the past few years, the idea here is to use modern materials & assembly methods, and make something that is highly functional and also aesthetically pleasing. The tabletop will be lab-grade phenolic resin - a material that is strong, seamless, and durable to impact, scratching, and liquids. The legs will be monofilament wound carbon fiber tubing, which I'll probably apply a clear sealer to. And the whole structure will be held together with - you guessed it - 3D printed node connectors.

The exact dimensions and assembly methods are still TBD; I'm also considering a few details for attaching/mounting things (my vise, my monitor stand, lighting, the power strip that I like). I'm also still considering integrating the desk with the 7-drawer tool cabinet that I have, although at this point it's more likely that they just sit side-by-side.

Timeline on this moving forward is... medium? But hoping to show some progress soon :)

My new (old) Wilton Bullet vise

Added on by Spencer Wright.

As some of you may know, I like doing workshop-ish projects from time to time. This used to be more of a thing for me (my career went from construction to bicycle frame fabrication to running a prototyping shop), but today it's limited by practical constraints - primarily the fact that I live in Brooklyn and don't have a shop of my own.

But my desk retains a lot of its workshop origins, and I keep both tools and pieces of hardware that I'm developing nearby at all times. It's a bit ad hoc, but recently I've put a bit more thought into what I want in my home office - and some basic tools are definitely a part of that.

So a few months ago, I bought a granite surface plate to use for inspection (and, as you'll note from some of my blog posts, photography). I also cleared a bit of space on my desk for a few small tool chests (these need to be replaced with something more substantial), and recently I bought myself a special treat: A 3" Wilton Bullet vise.

I've coveted Wilton vises for years. They're known for being sturdy and well built, and they have the benefit (especially in my current situation, where space is a premium) of being small and having gentle edges. I must have learned about Bullet vises after I purchased my first real vise - a 6.5" Yost model that, according to my email history, I bought in 2006 - and for a long time I regarded them enviously. 

Now that I'm setting up my own (tiny) work space, I'll be putting this guy on a yet-to-be-built (and yet-to-be-designed) desk in my apartment. I got it on ebay for $188, and spent some time this weekend (in my old shop in Southampton, which now lacks machine tools but is still mostly functional) taking it apart, cleaning it with Simple Green and a scrub brush, giving it a light coat of oil, and reassembling it.

The vise does have one defect: The cast iron swivel base is cracked, and needs to be repaired. I may end up doing this myself (my brazing setup is in pieces, but won't take *too* long to put back together), but given the other things on my plate right now I'd just as well get someone in NYC to help me out. If you or someone you know has experience brazing cast iron, drop me a line and I'll bring over beer and trade stories.

I'm excited for this. These vises are so cute and so functional - and it'll be great to be able to do a little more (light) work at home.