Last week I led a bunch of NYC hardware folks through a design for manufacturing exercise in which we tore down inexpensive consumer hardware and tried to understand how they had been engineered for manufacturability. It was fun seeing a range of things be taken apart, and I wanted to do the exercise myself here.
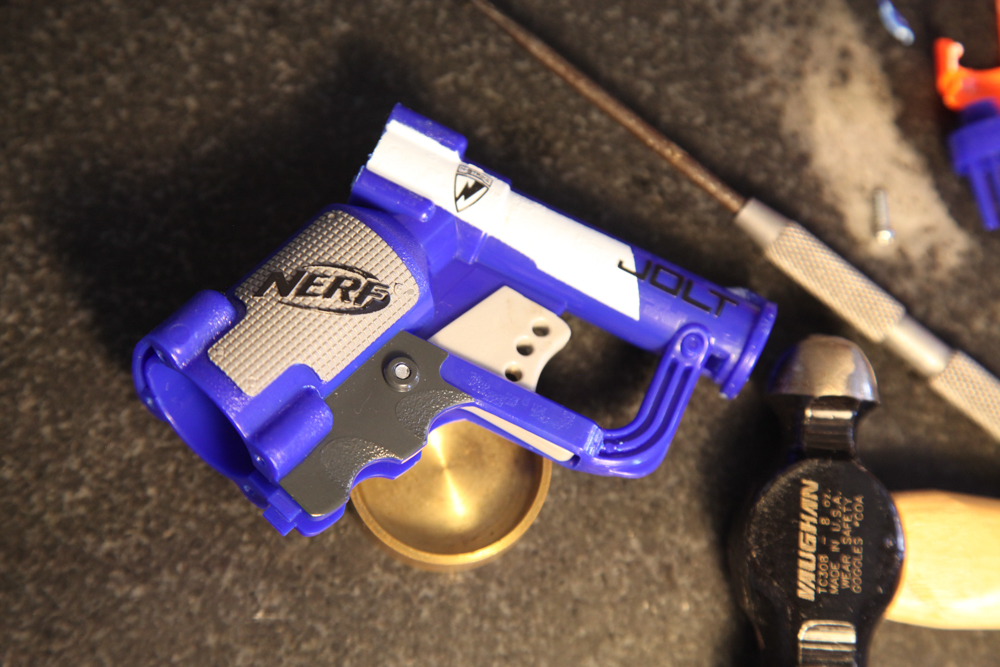
I chose my favorite product of the night: A Nerf N-Strike Jolt Blaster, sold on Amazon for a whopping $5.99.
Note that I discarded the packaging before taking my camera out. It was very simple - a piece of printed cardboard, a thermoformed plastic sheet, and two pieces of clear tape.
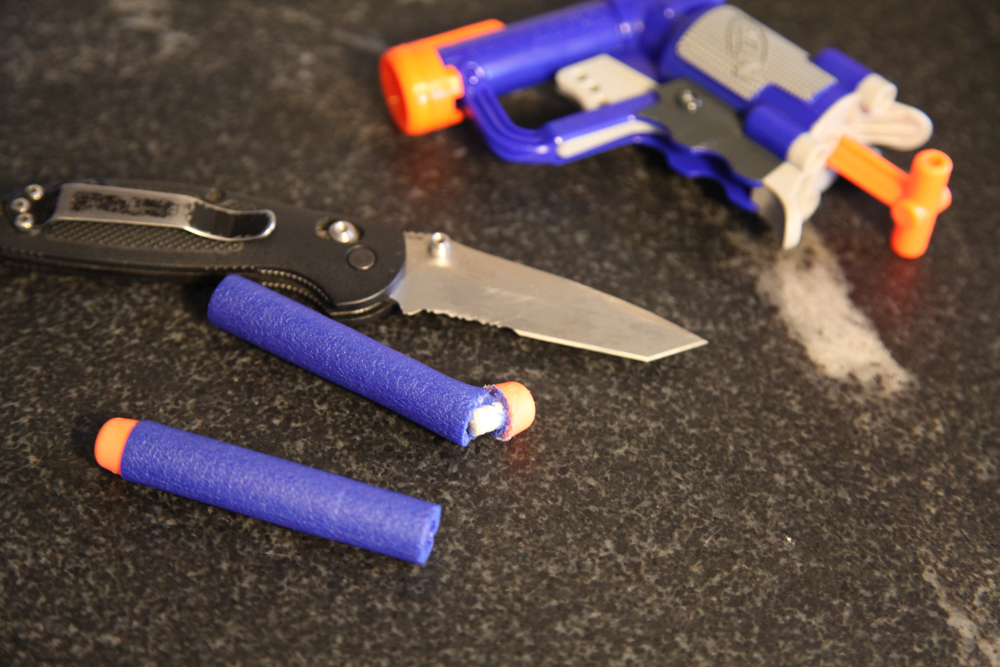
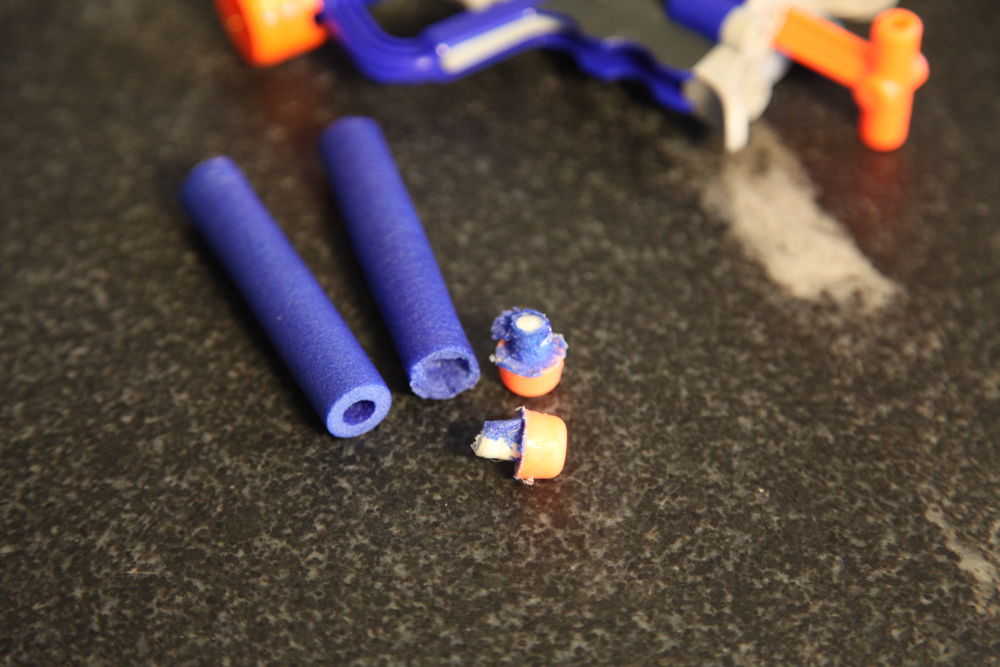
The blaster (I guess I'll use "blaster" here instead of "gun," though it seems a bit silly) comes with two darts. I took those apart first. They're made of two parts: a piece of cut-to-length blue foam tubing and a piece of molded orange and white rubber. They're glued together, probably with cyanoacrylate aka crazy glue - everything in the blaster seemed to be glued together with CA.
Next I removed the four screws at the base of the handle. These were the only screws in the entire product, and they're installed directly into the molded plastic body so no nuts are needed.
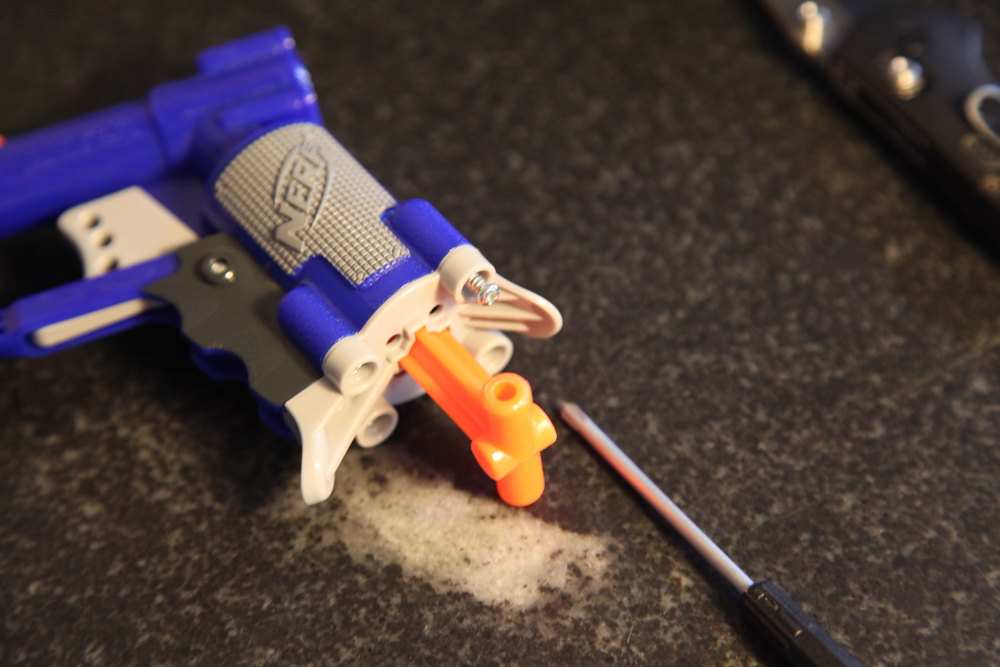
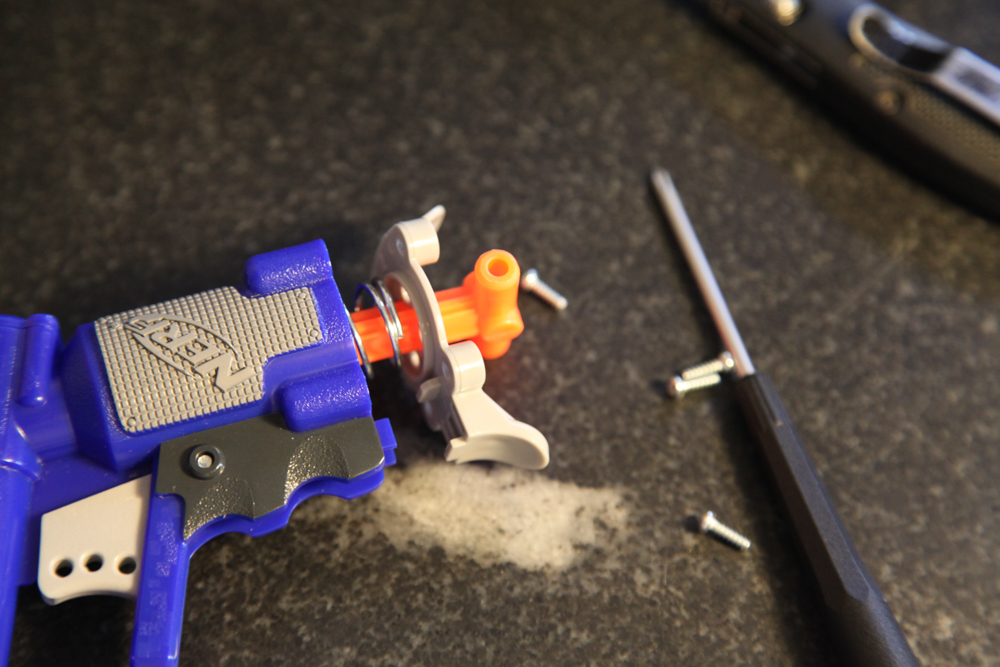

Next I removed the two rubber parts on the plunger, which had a light coating of lubricant on it. First there was an o-ring, and then there was a molded button-shaped part which was installed underneath a rivet.
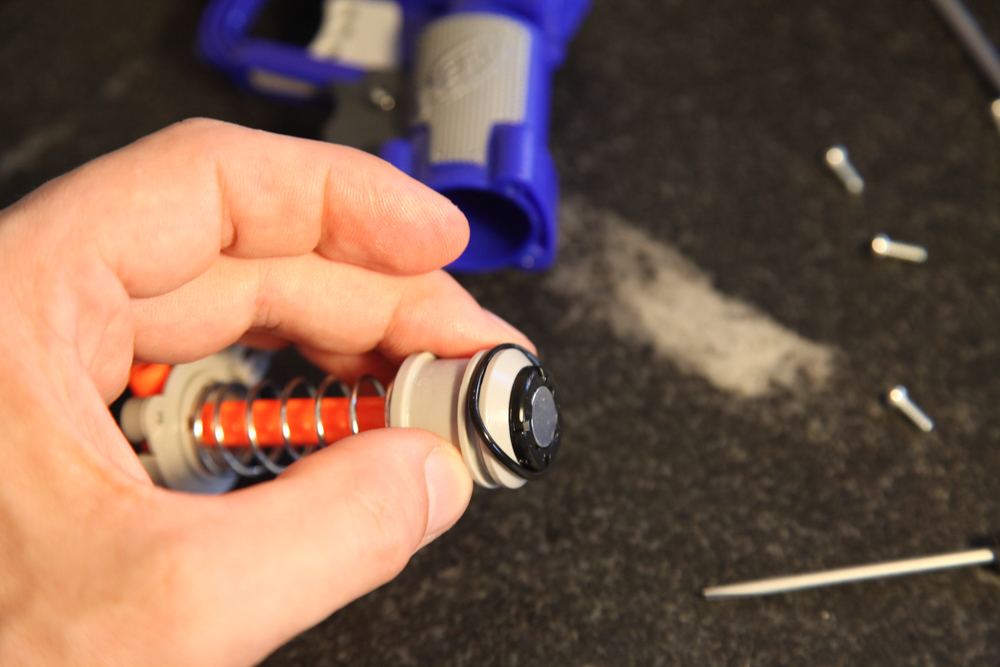
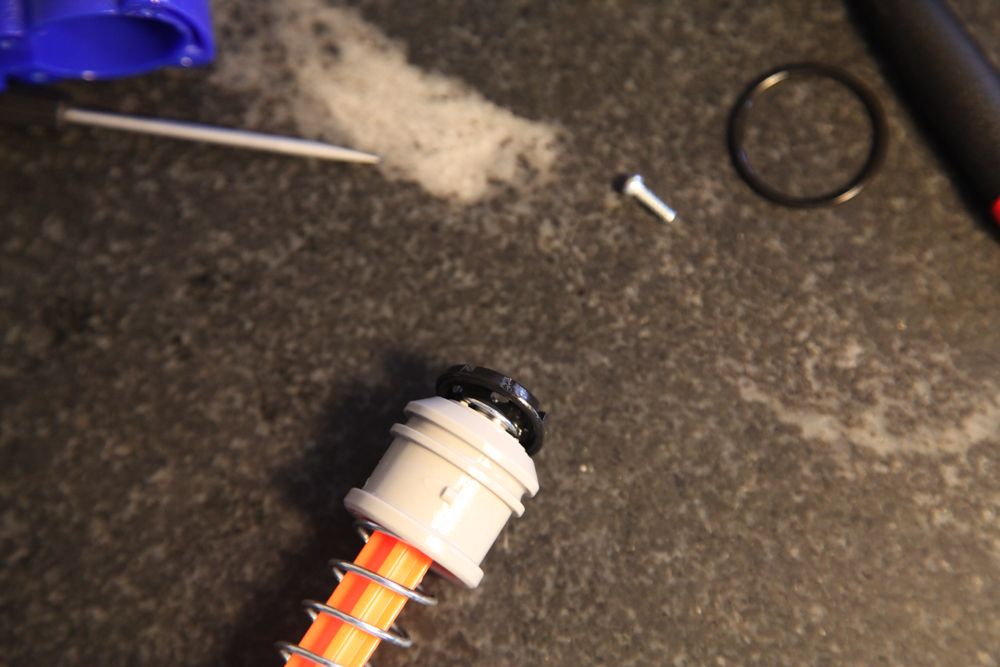
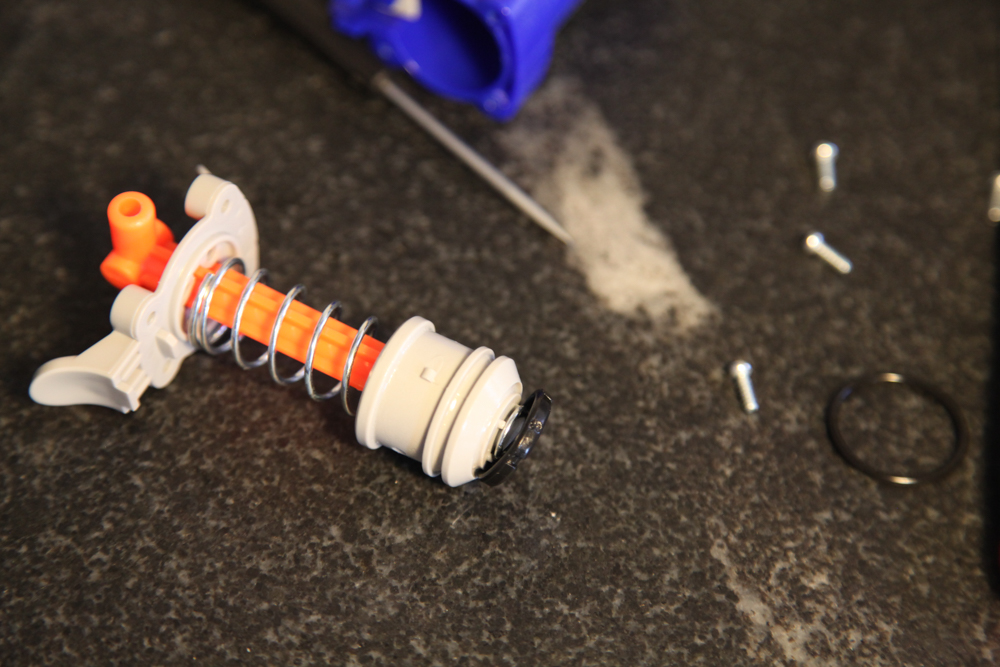
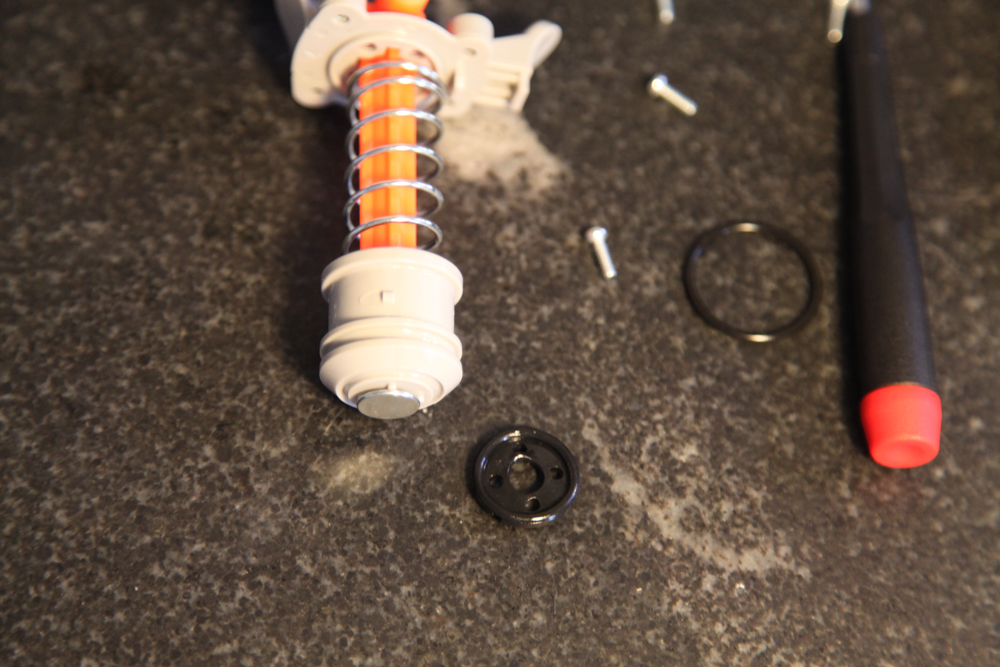
With the rubber parts off, I pried the rivet (which had a barbed shaft and was pressed into the end of the orange plunger handle) out of the assembly.
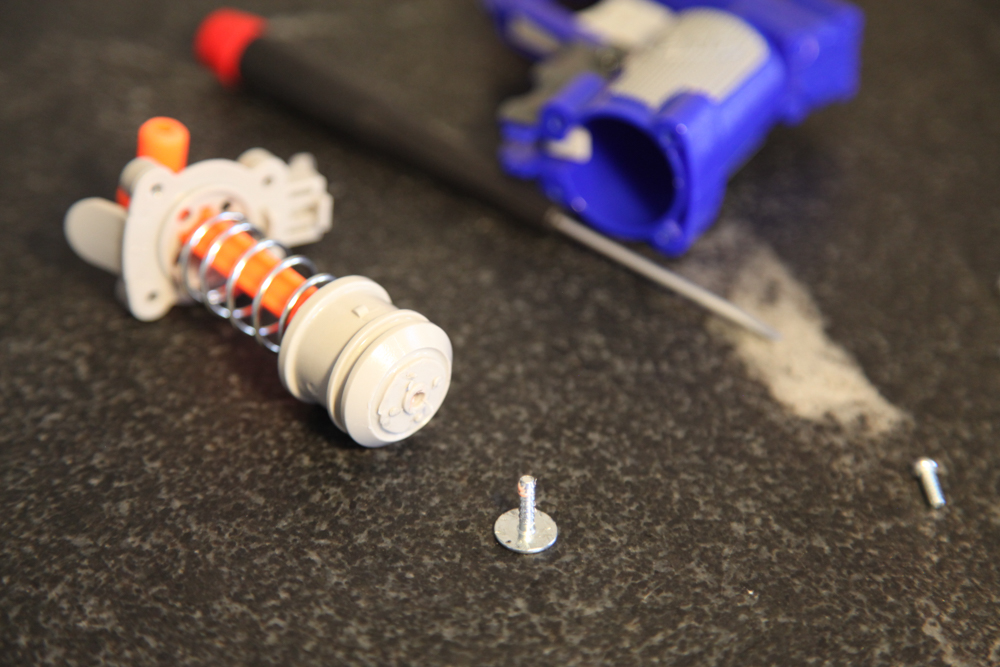
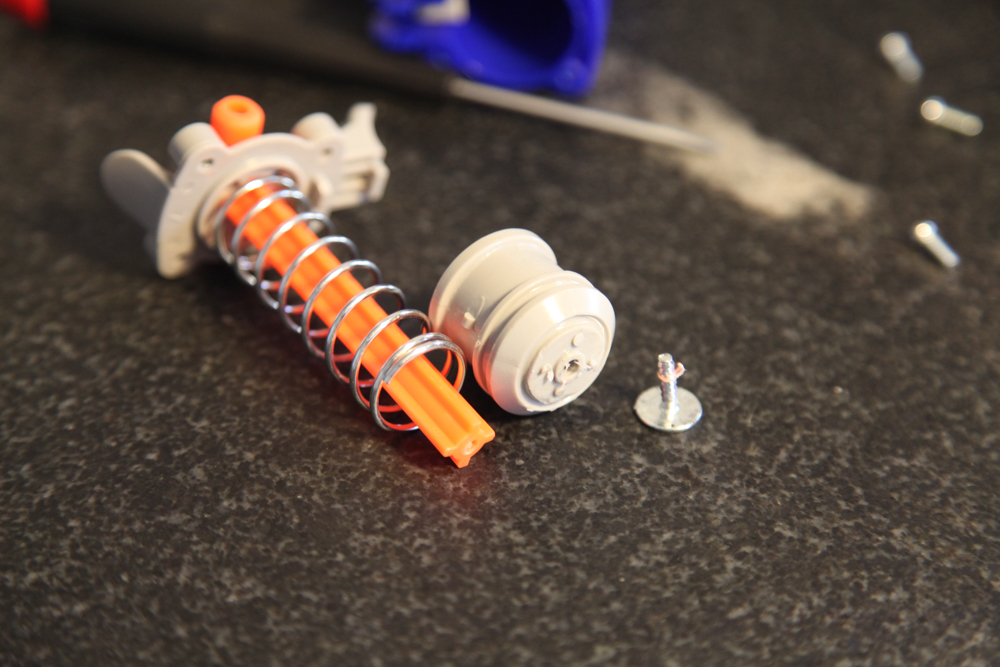
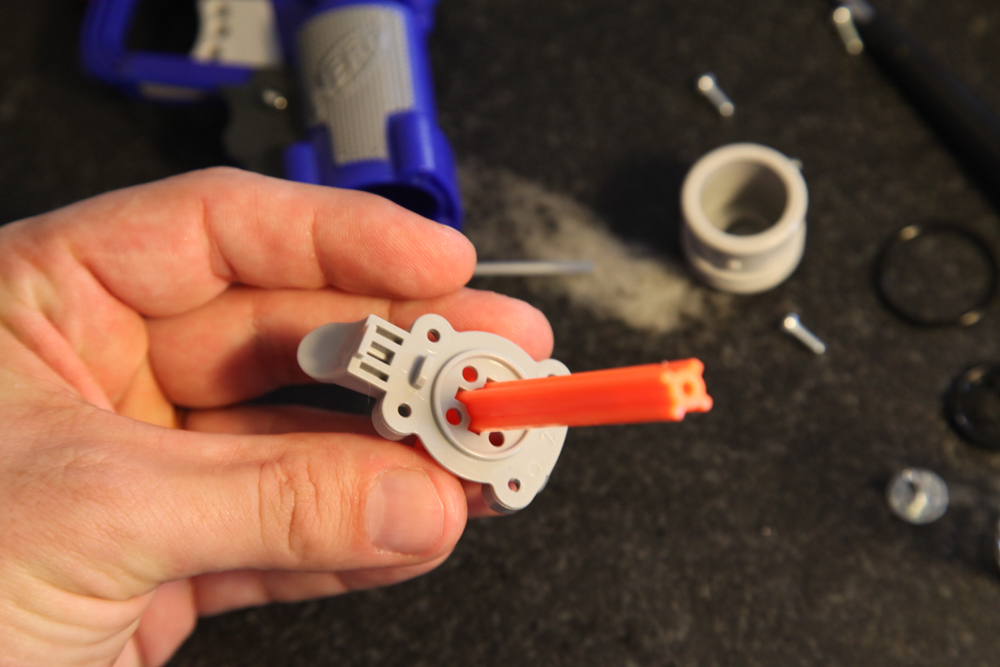
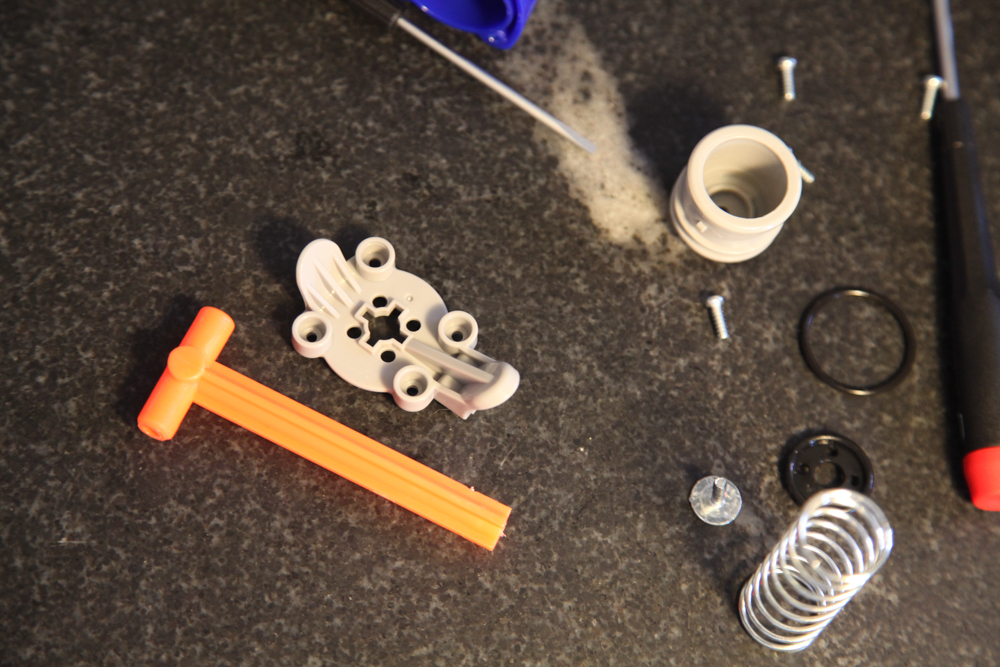
Next I removed three orange parts off of the barrel of the blaster. These appeared to be completely cosmetic.
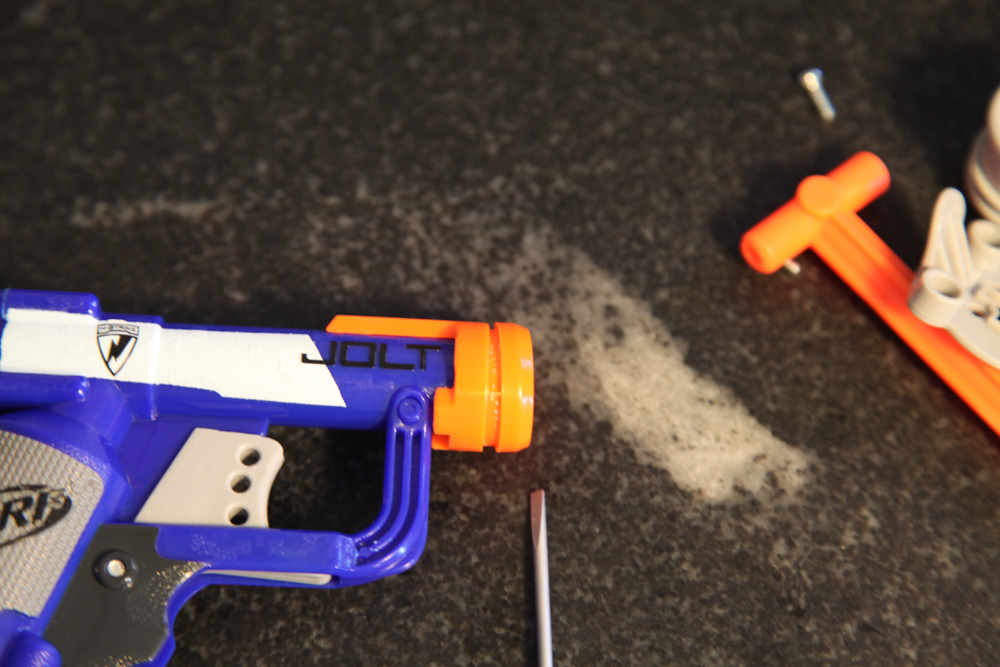
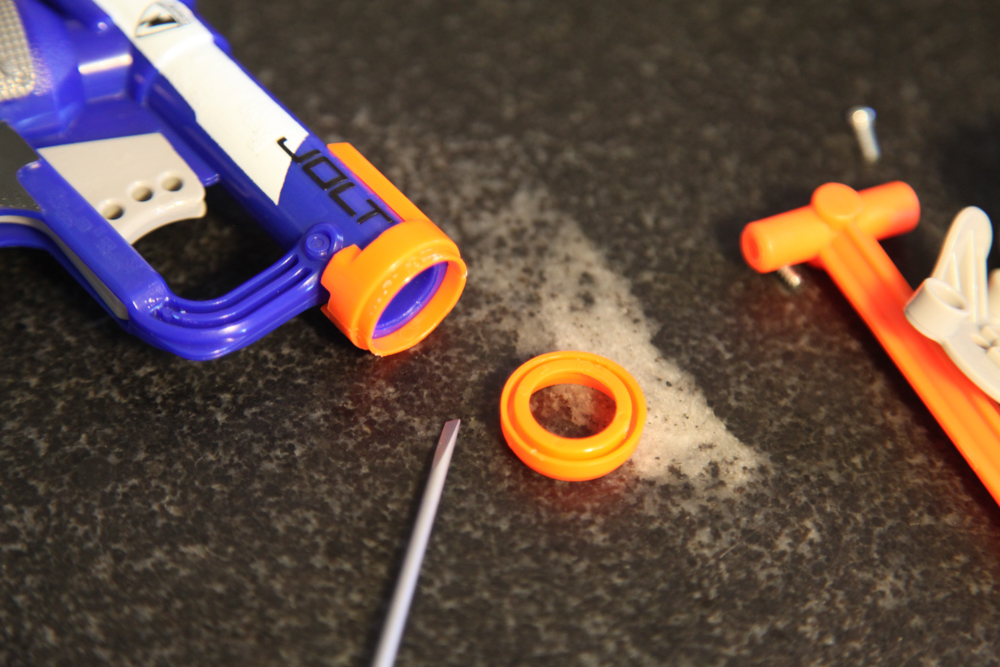
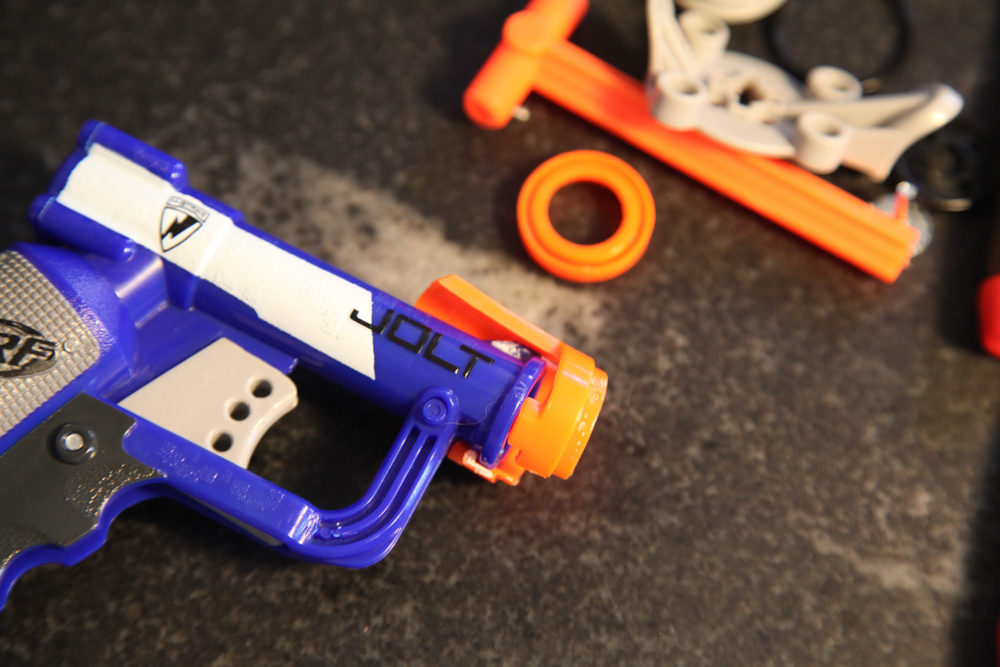
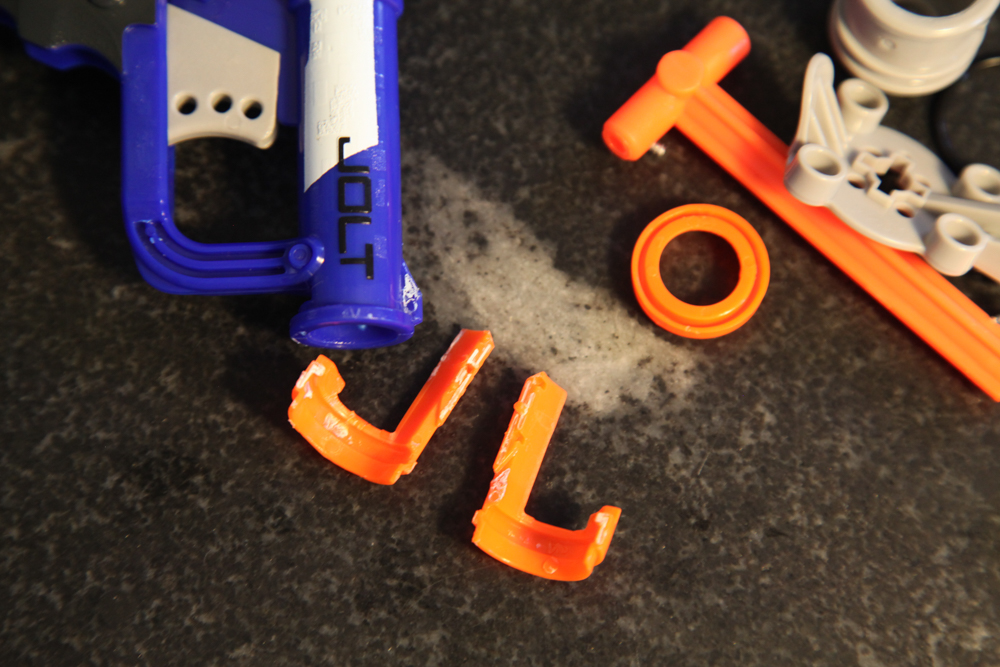
Next I removed the blue plastic cap off of the back of the blaster. This has little false screws (colored blue as well), and was glued into the blaster body pretty securely. Behind it was a light gauge spring and the dart drive mechanism itself.
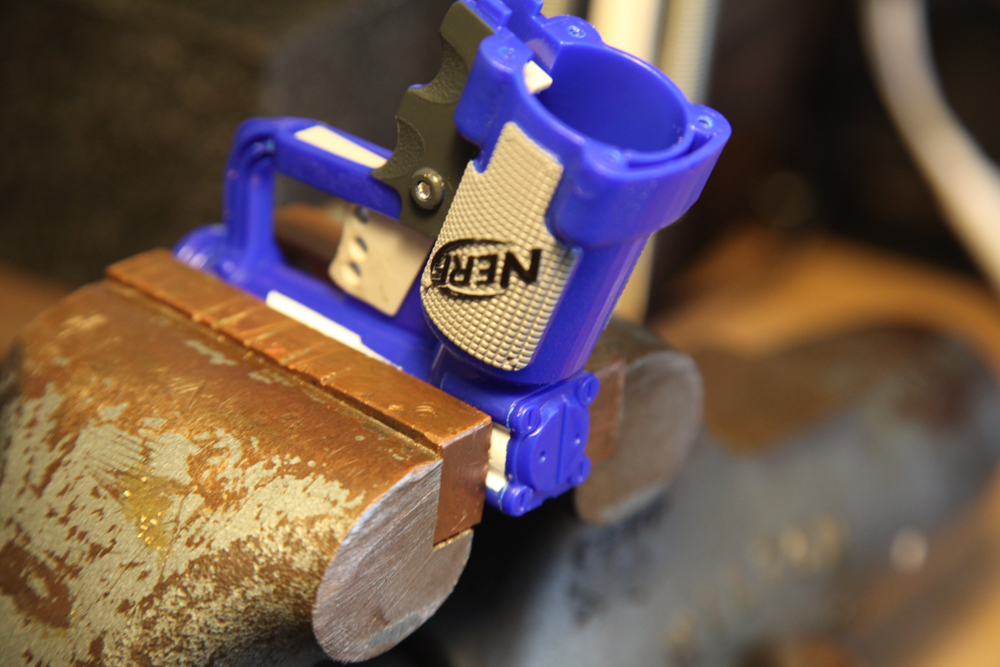
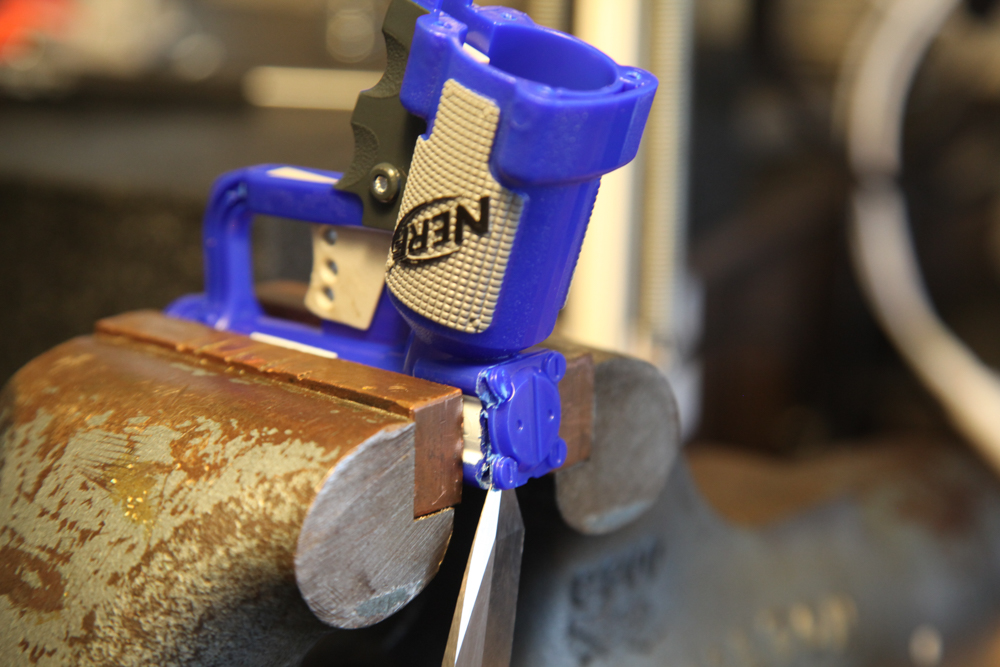
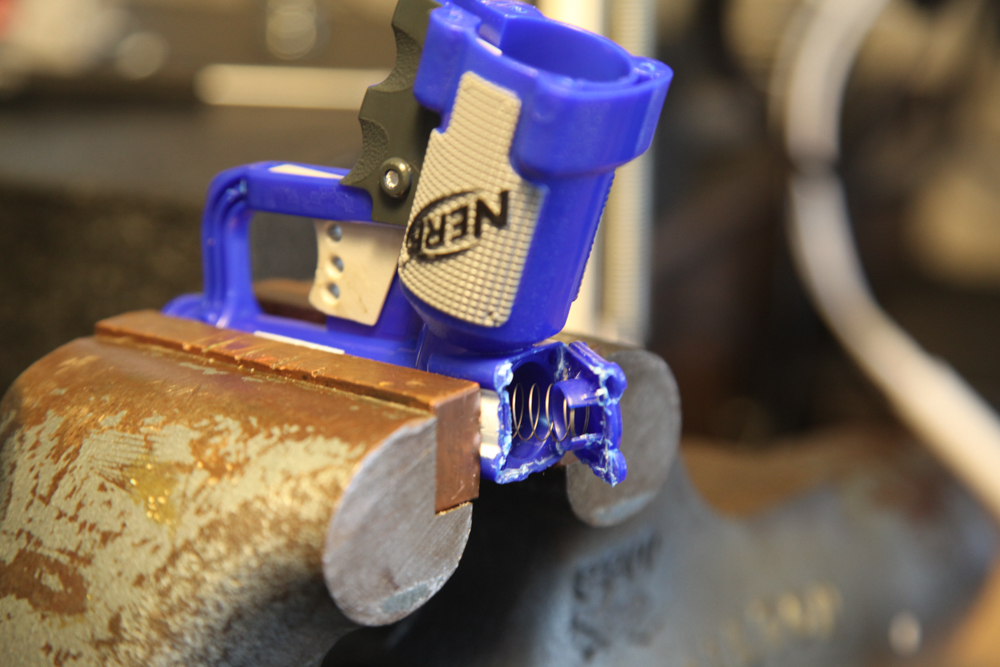
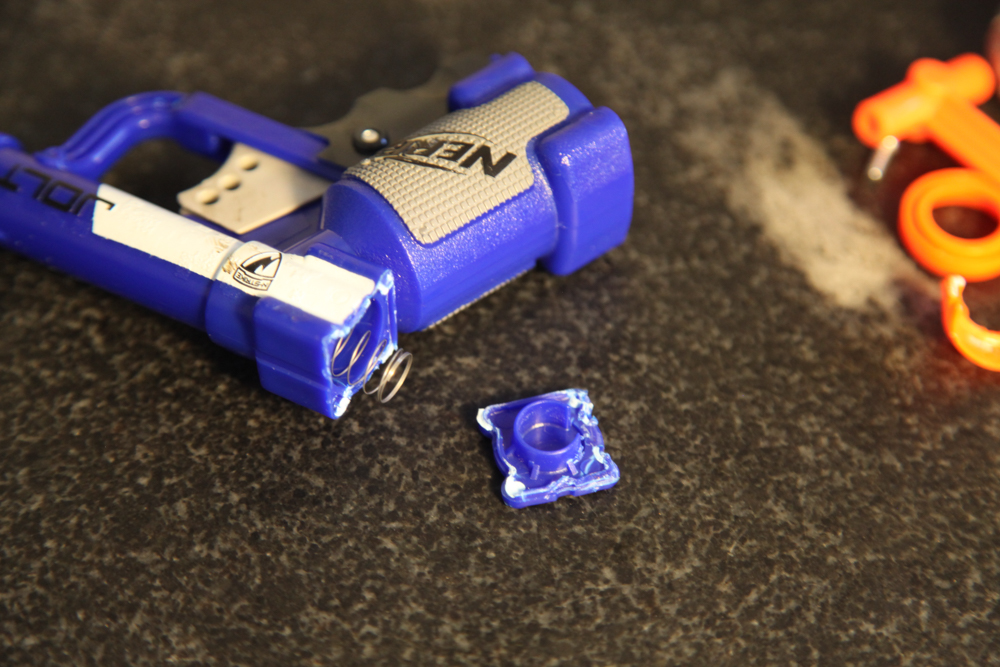

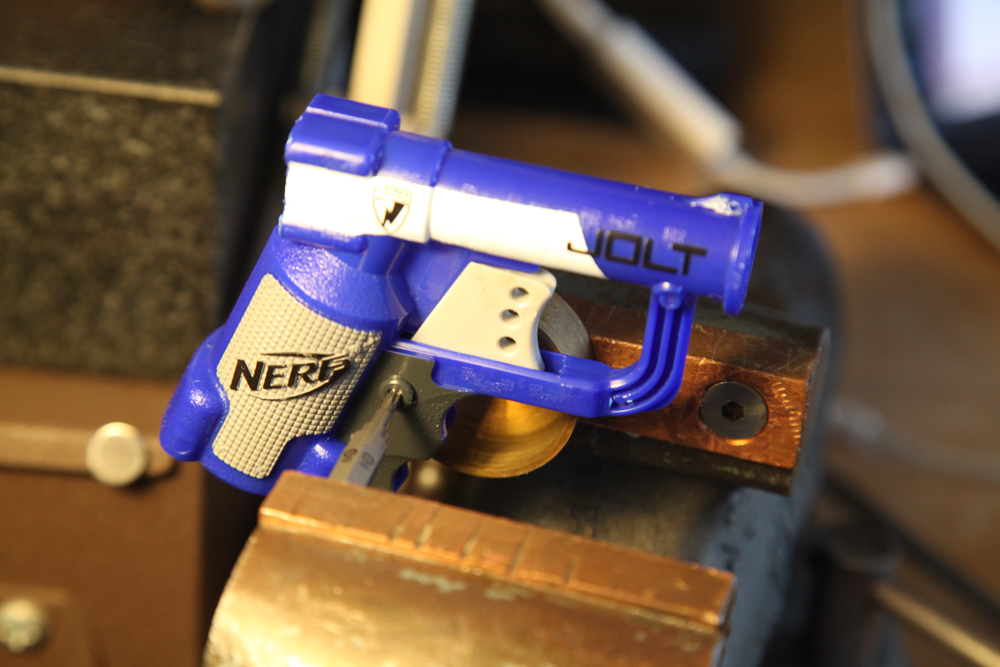
Lastly, I pressed the trigger pivot pin out of the blaster's body. I used the cap from a small brass container I made a few years ago to hold the blaster off of the vise jaw, and a torx driver bit to push the pin through the blaster body.

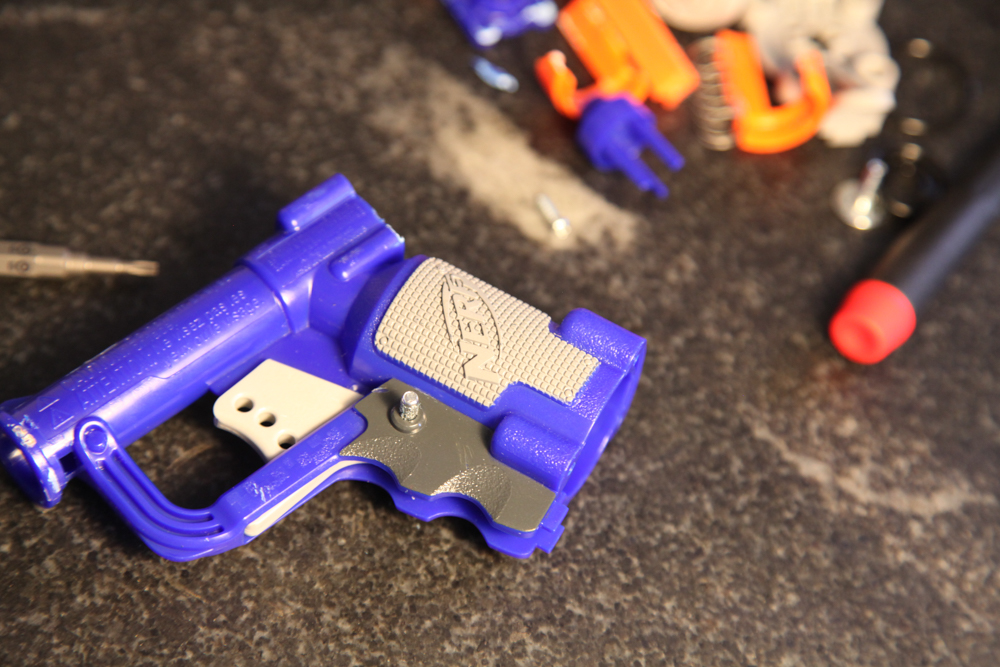
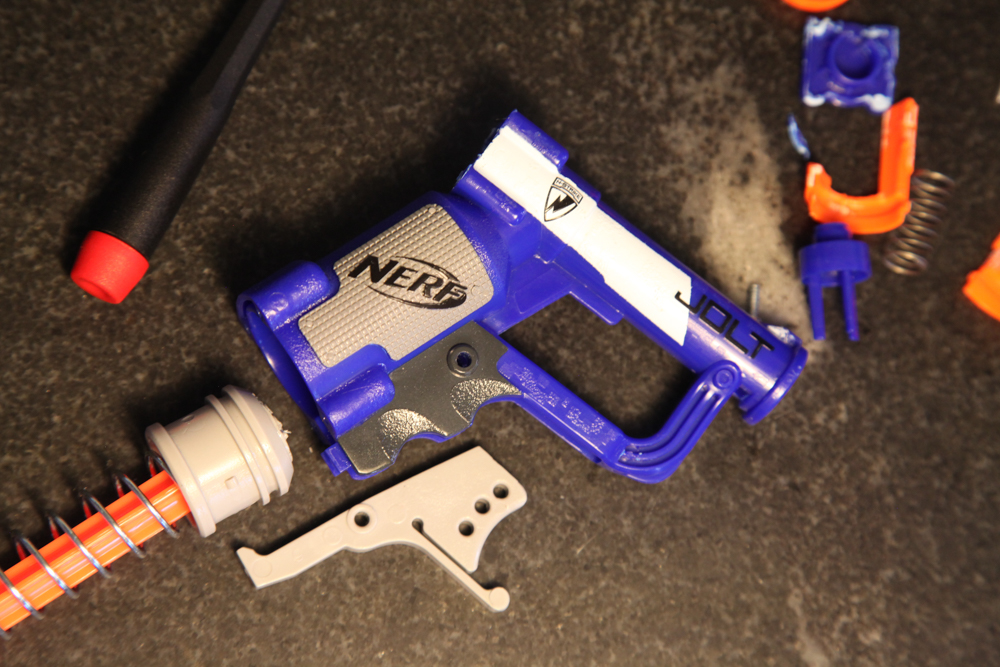
Here's the entire product disassembled:
The whole blaster has 24 individual parts, plus packaging. The full BOM would have 21 parts on it, plus cyanoacrylate glue and two pieces of tape. It's possible that the screws and trigger pin come off the shelf (and conceivable that the o-ring and possibly the springs do too, though I suspect they're custom), but everything else would require a significant amount of custom tooling. I count about 25 individual assembly steps required to put the whole product together. Oh - and a few of the parts are painted, too.
All of this costs $5.99.
I think this is pretty incredible.
