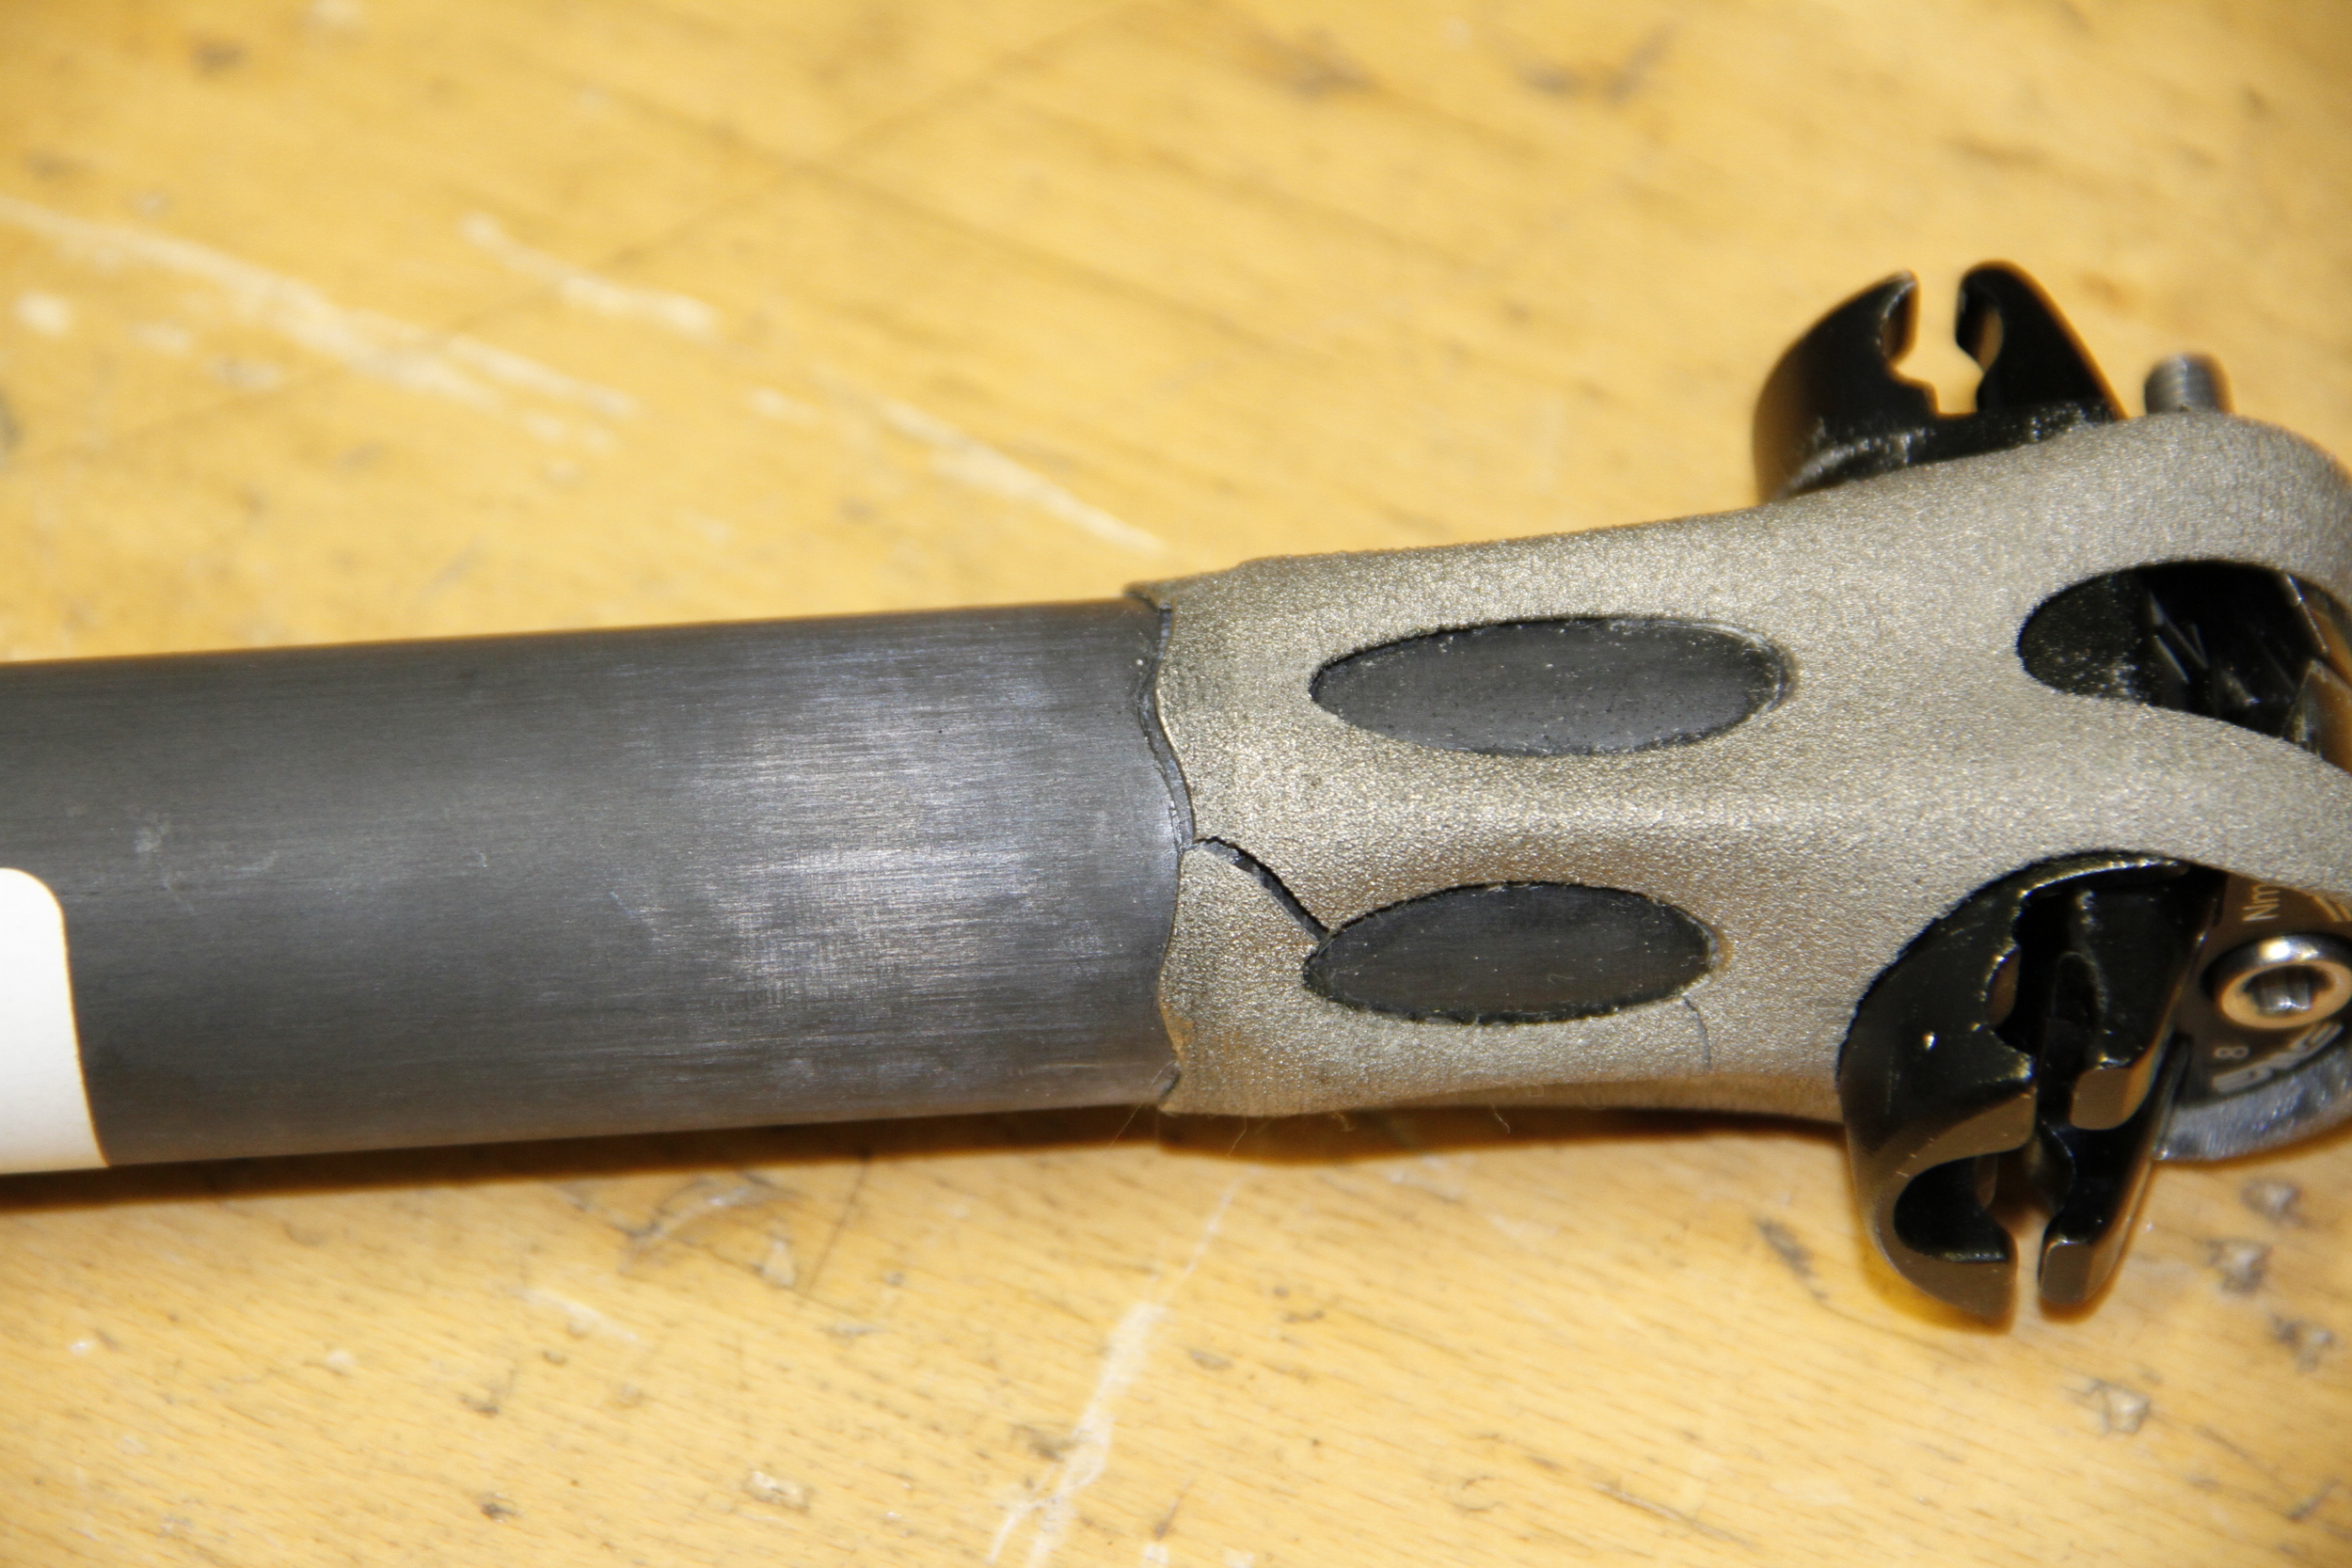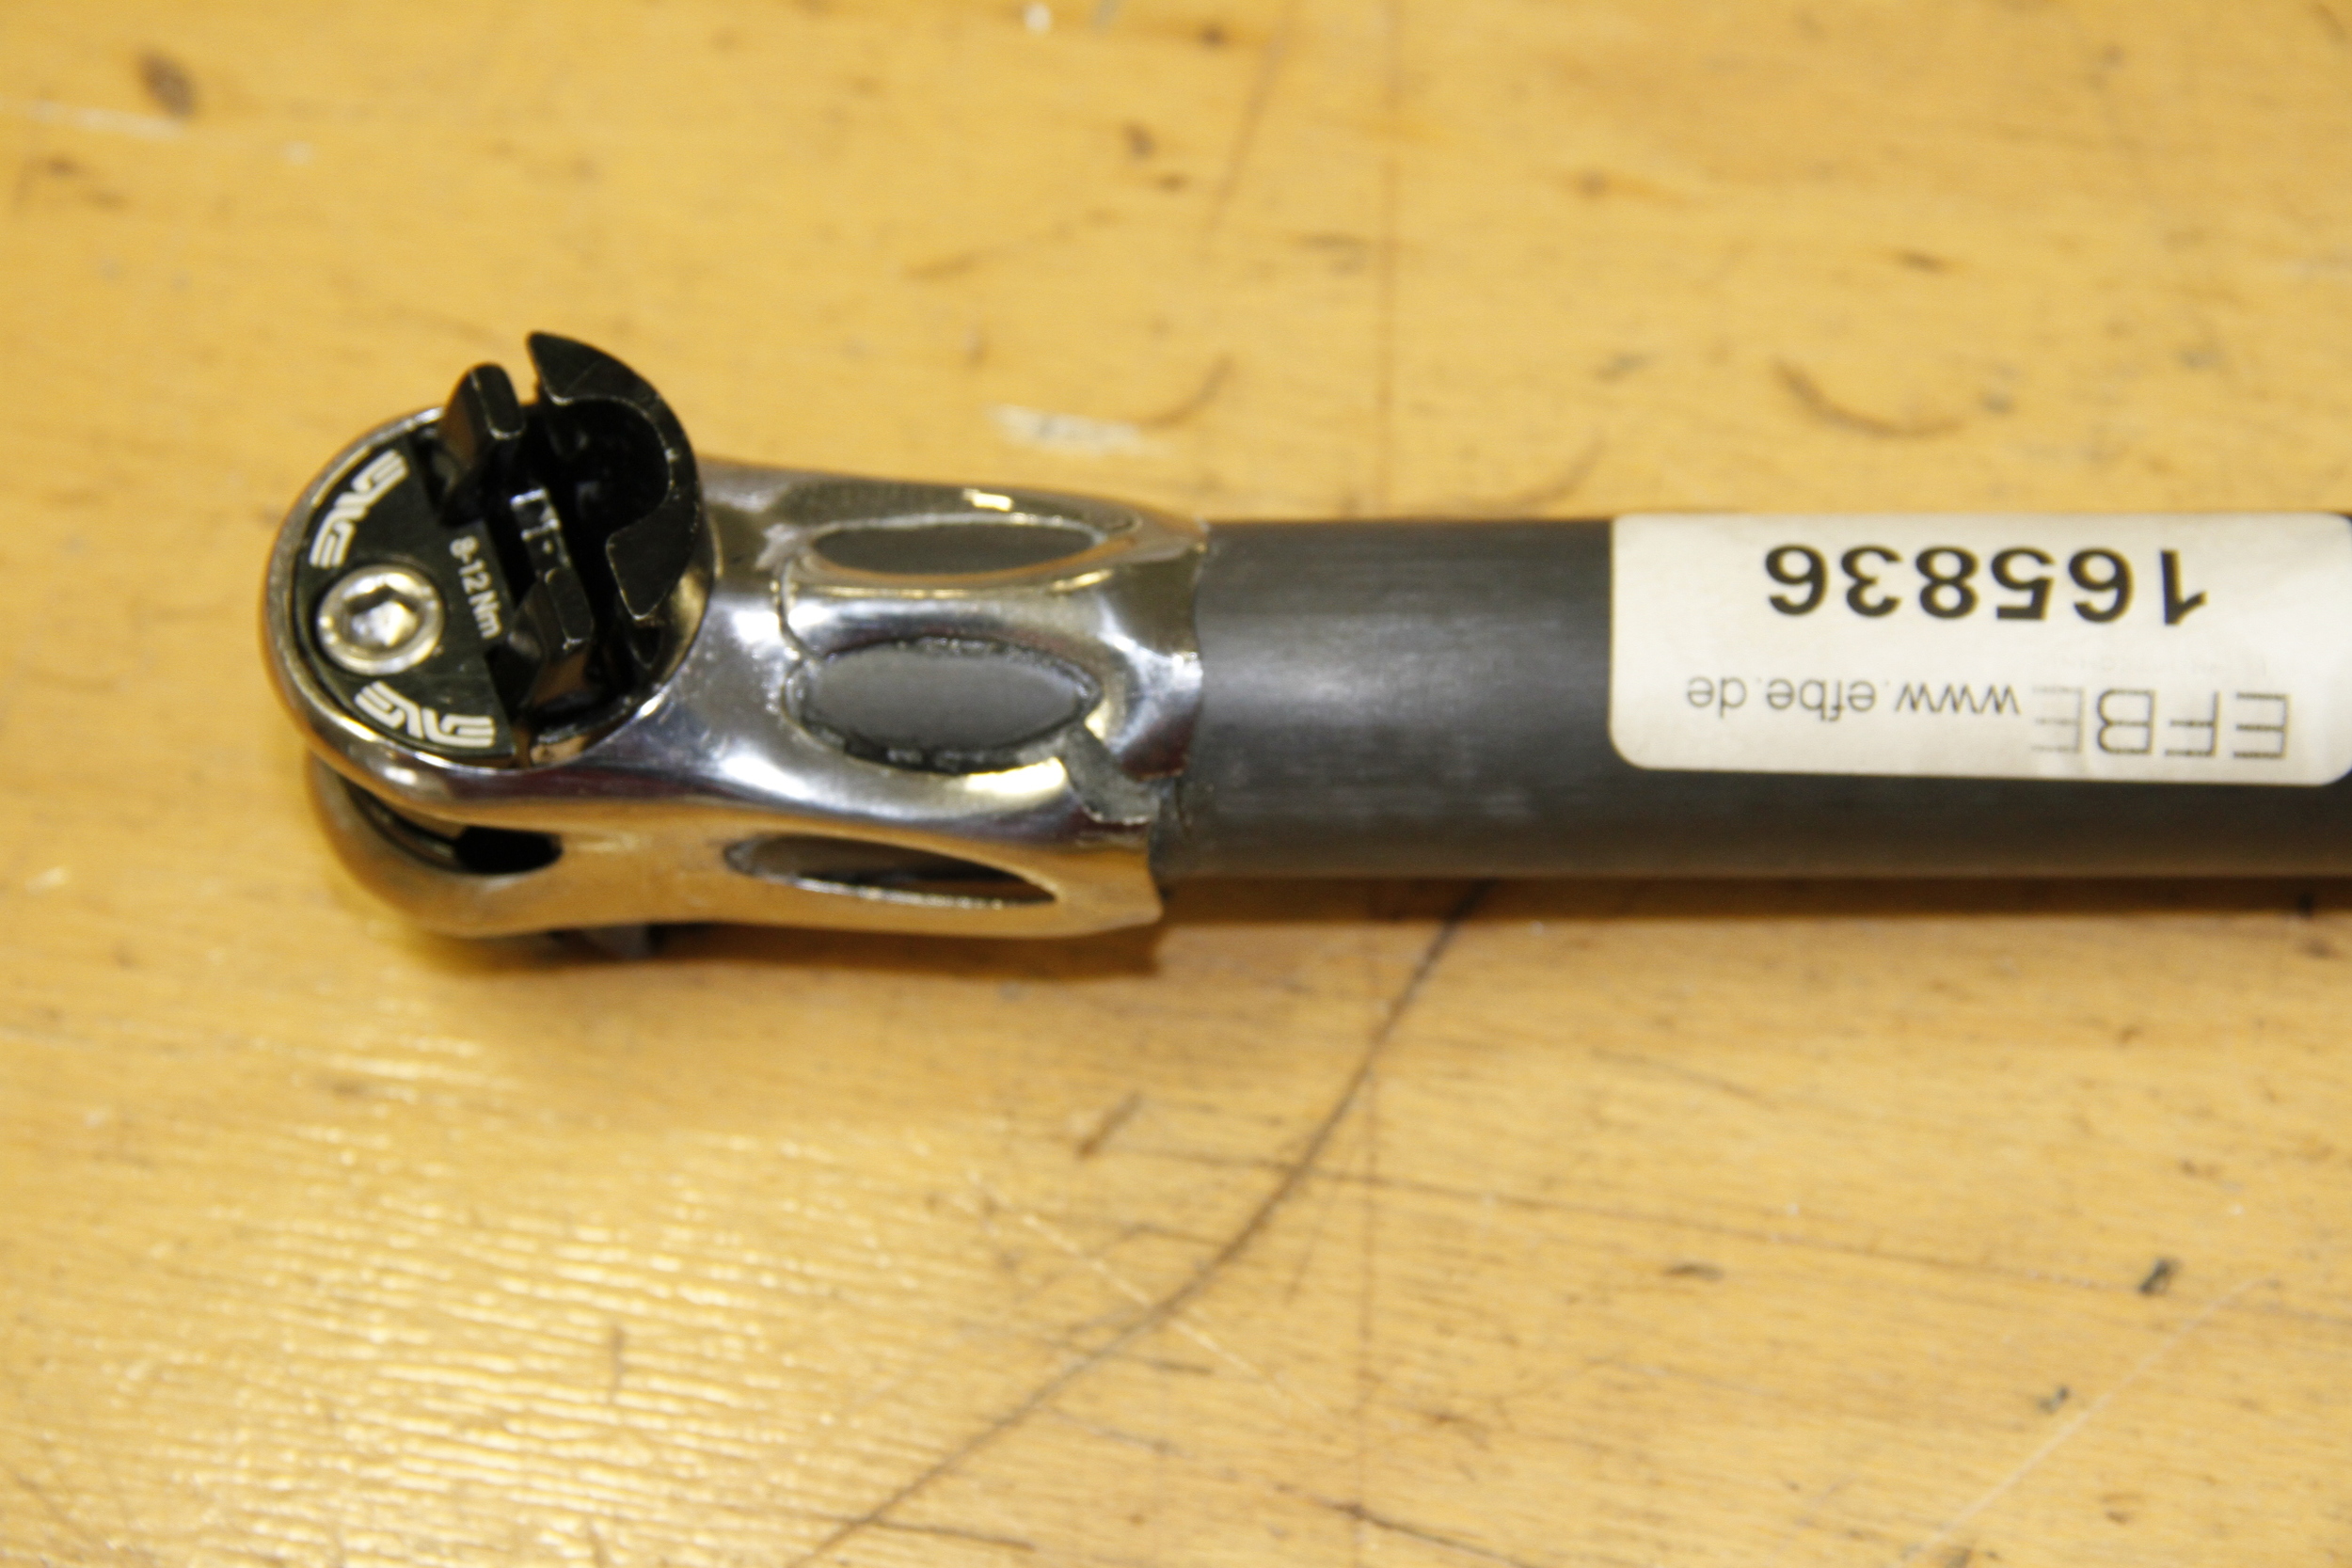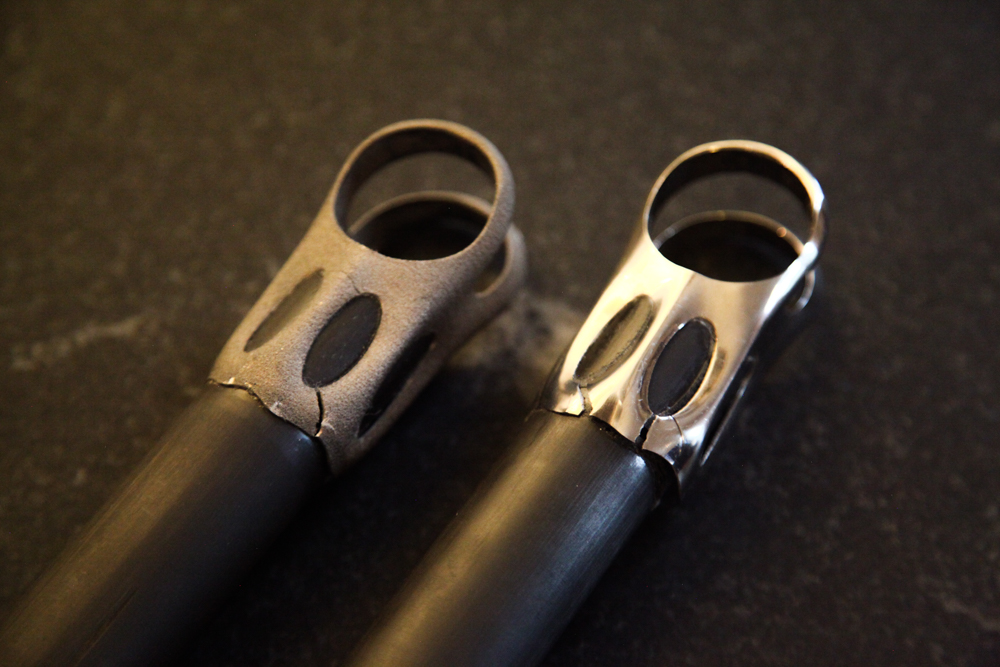
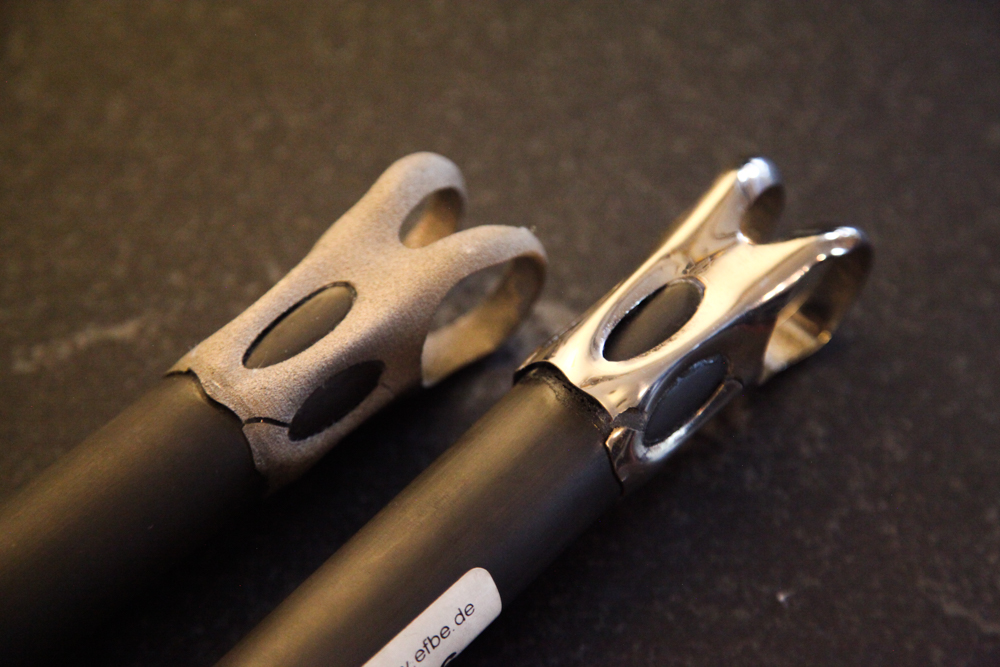

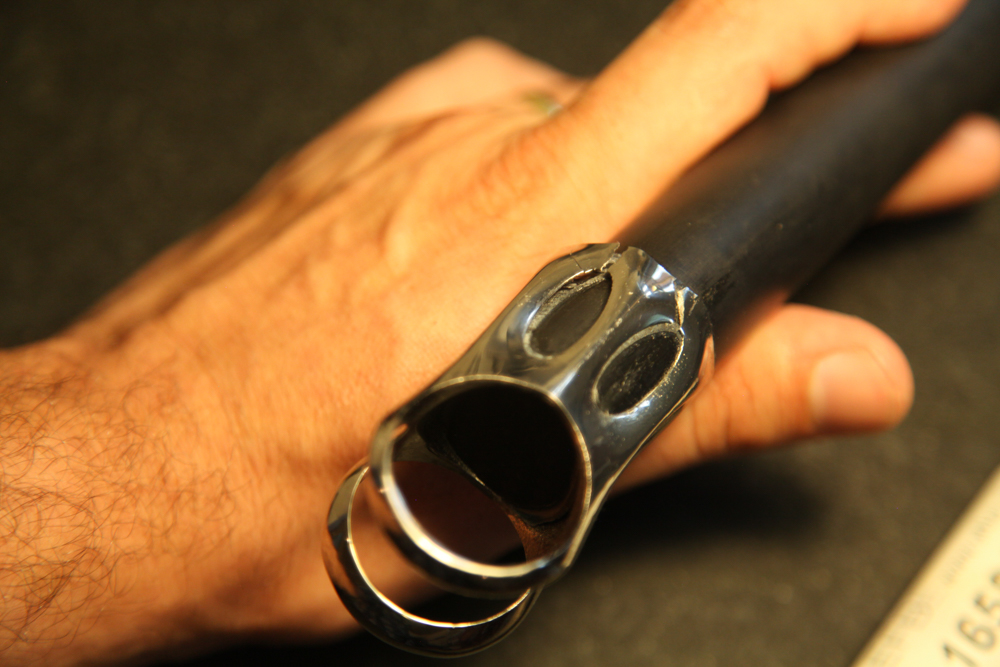
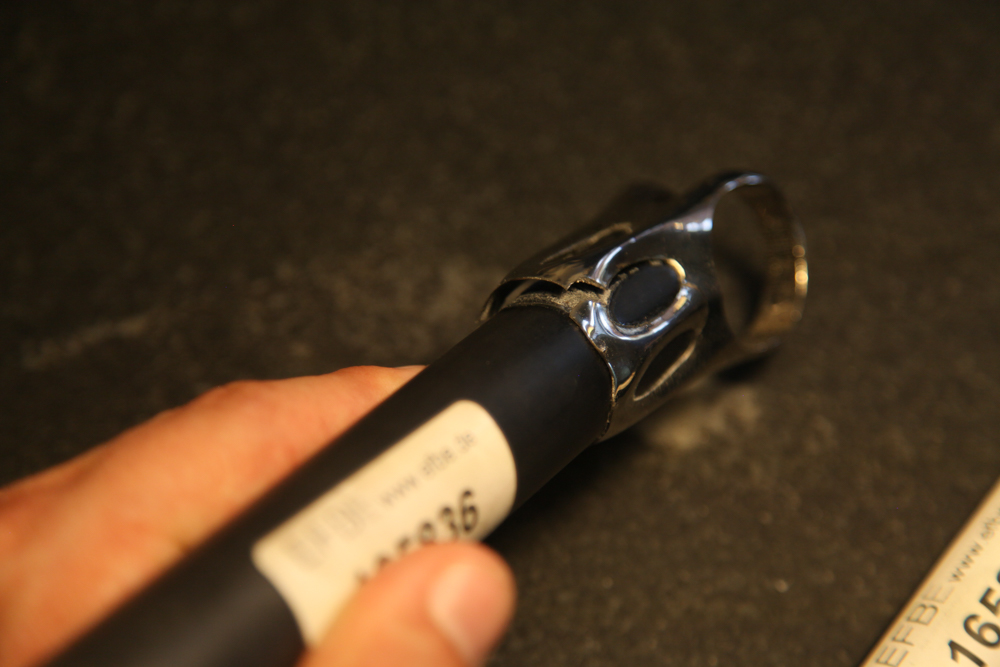
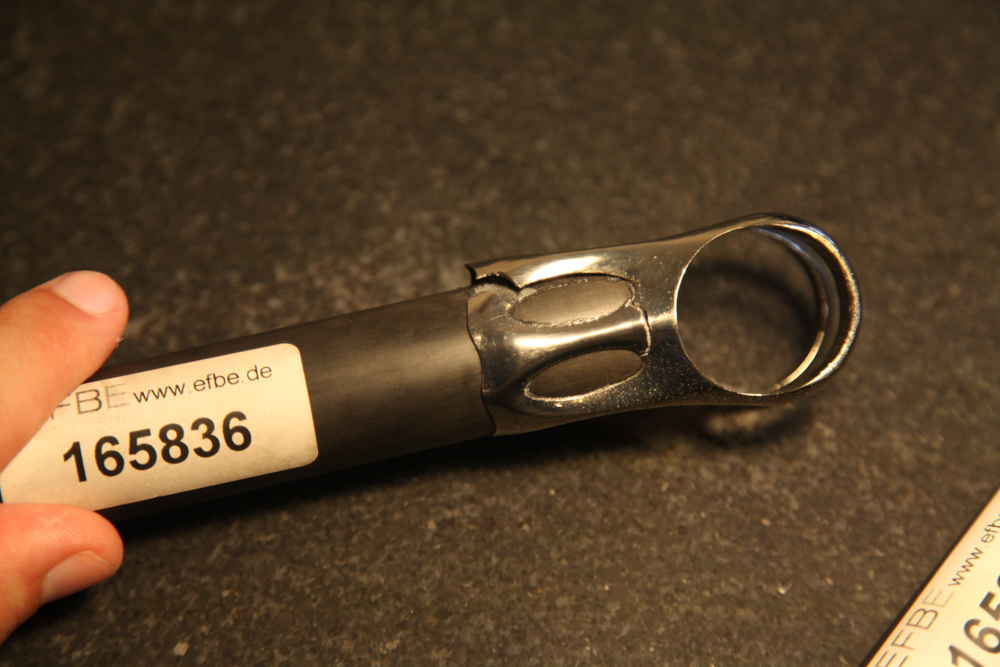
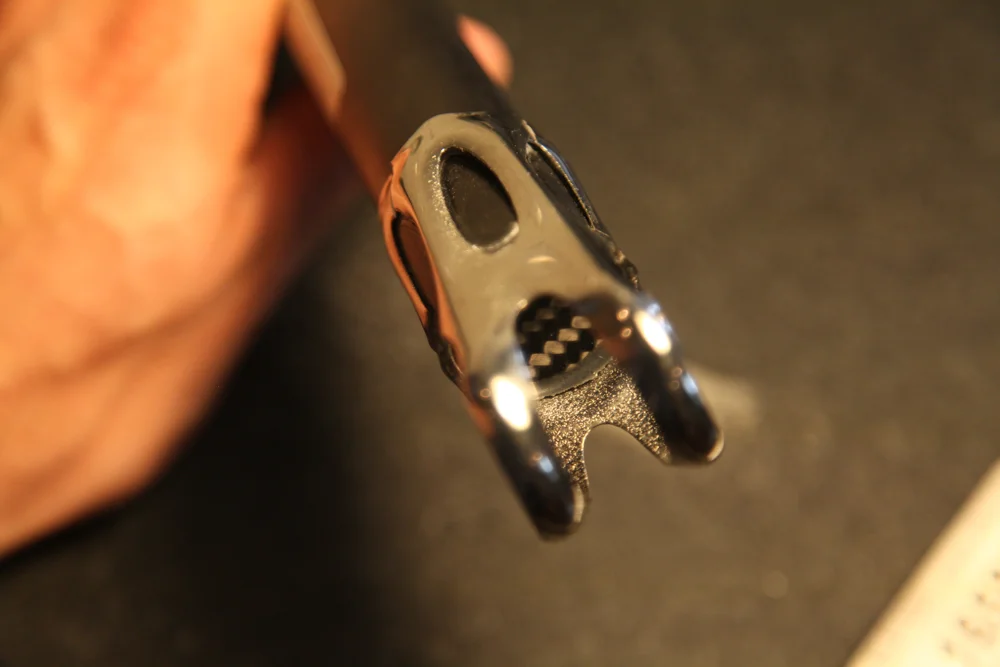
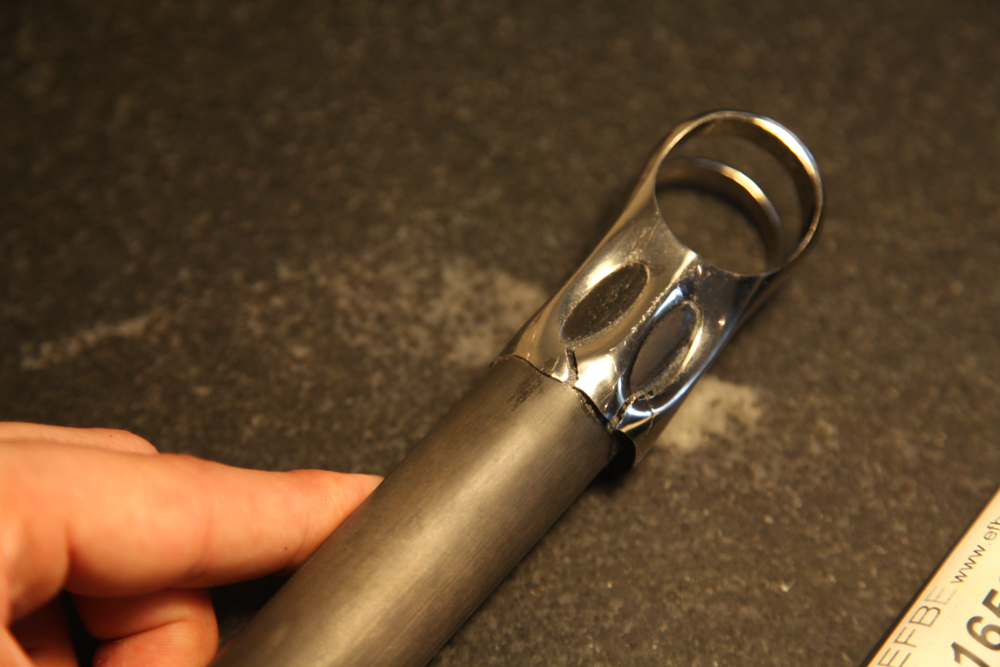
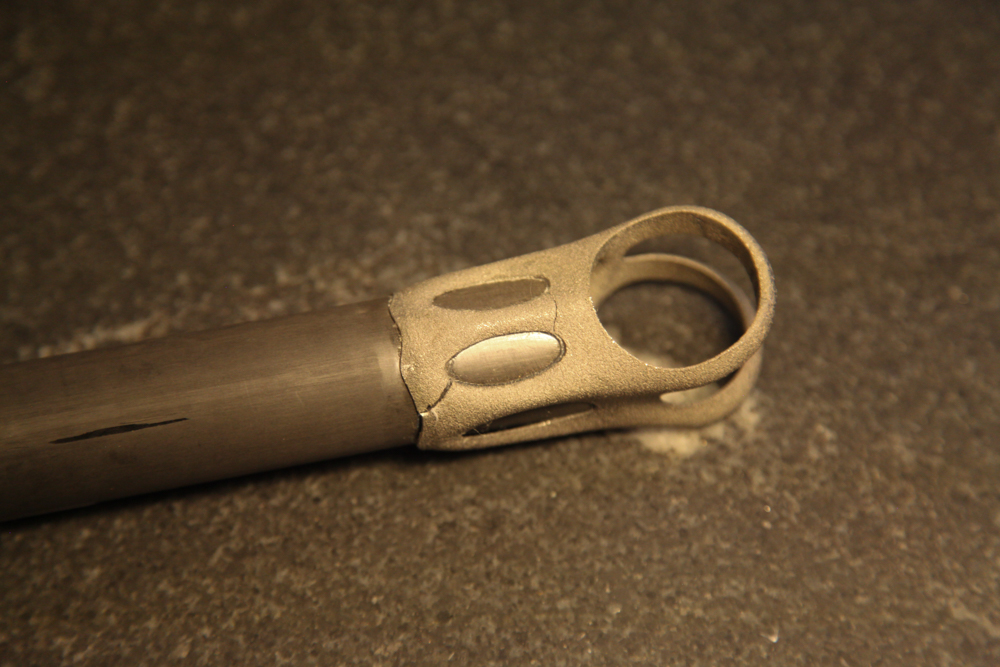
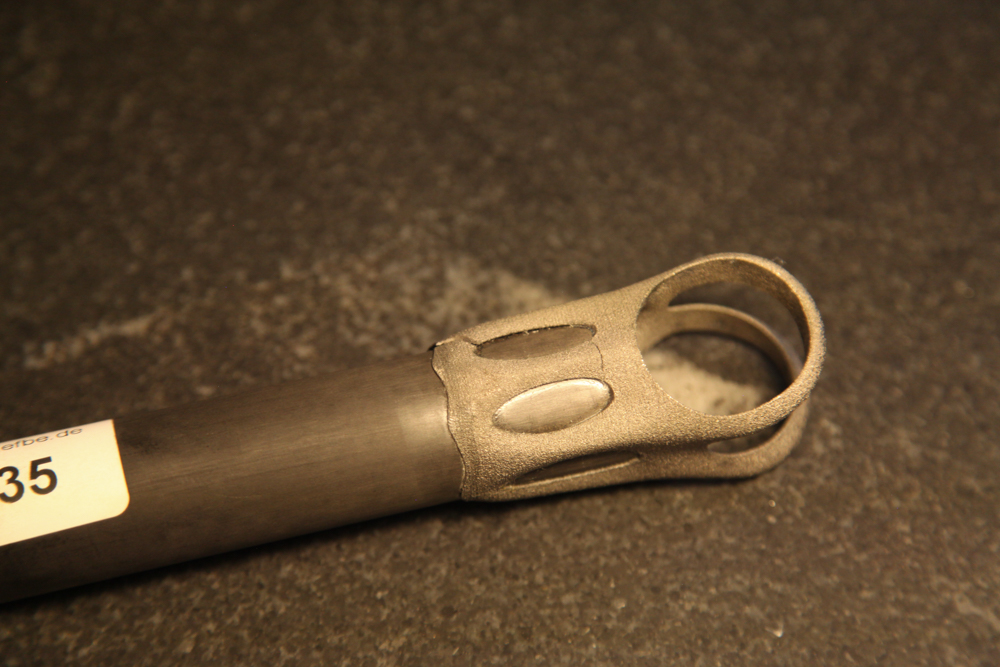
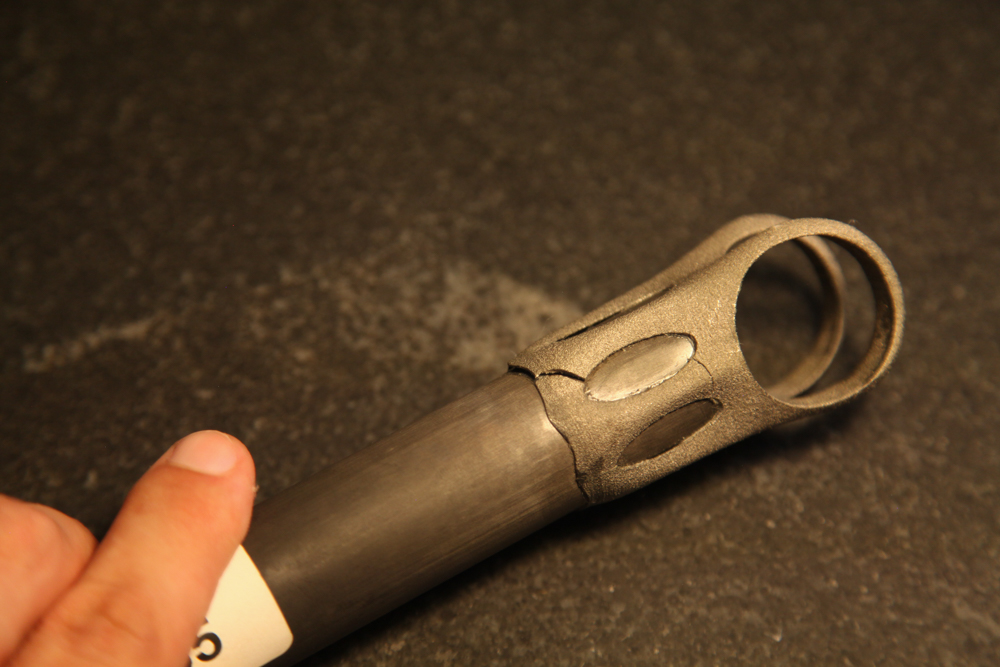
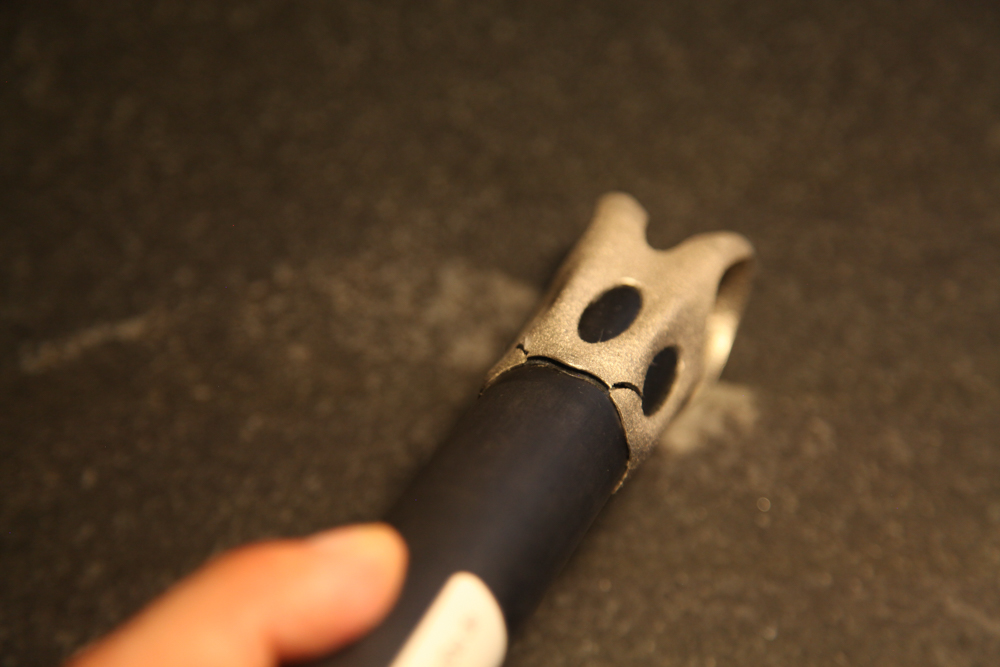
Both seatposts failed in essentially the same way: The shoulder straps rotated backwards, breaking the skirt in two locations and cracking both of the side legs as well. The front of the skirt separated completely from the carbon fiber post at the bottom, and the top/front of the seatpost cylinder appears to have slipped upwards (sheared) as well.
The "BLING" part (see this post for details on the difference between the two samples) failed slightly before the as-printed version, at 70,770 cycles. It's a bit hard to tell in the photos, but there are definitely some areas where I didn't have enough glue to form a complete bond. Part of this is operator error (i.e. my fault for not assembling the seatpost well), and part of it is engineer error (i.e. my fault for not designing the seatpost so that it could be assembled by any grease monkey).
The as-printed part failed a bit later, at 80,904 cycles. Again, close inspection shows that the glueline had many defects.
I take a few lessons from this:
First, it's clear that my assembly design needs to be improved. It's possible that the part still would have failed with a better glue joint, but at this point in my process it's important that I'm able to isolate possible issues - and variations in bond quality makes that *really* hard. I suspect the best approach here is to make the glue cavity captive, such that during assembly the uncured adhesive is forced to fill the full volume between the seatpost head and the carbon fiber post.
This likely means eliminating the windows from the seatpost cylinder. It also means either creating a double lap shear joint (like Robot Bike uses) or making the joint blind on both sides (by capping the end of the carbon post, which I did on this assembly, *and* closing the top of the seatpost cylinder, which I didn't do).
Second, I should probably be HIPing these parts - at least until I've isolated everything else and determined whether, and how, HIP affects performance.
Third, I'd like to dial in the inner diameters of both the seatpost cylinder and the saddle clamp cylinder. The latter can probably tolerate a bit of play, but the former directly affects the glueline and should probably be controlled more tightly.
On the upside: The failure mode on these parts wouldn't have hurt the rider, whereas failure in the shoulder straps could have been dangerous. In addition, I've got a chance to try this again - with the parts that REM treated for me recently. I won't be able to change the original design at all, but I can at least try to see whether a change in technique can improve the glue joint.
Regardless, it's good to get tested parts back. More soon!
Note: Thanks to Addaero Manufacturing for printing these parts, and to MicroTek Finishing for finishing them!
