Note: I'm considering making a small run of these desks available for sale. If you're interested, let me know!
Last week I finished assembling the new desk I've been working. It's been a big upgrade to my home office, and I'm really happy with how it turned out.
To recap:
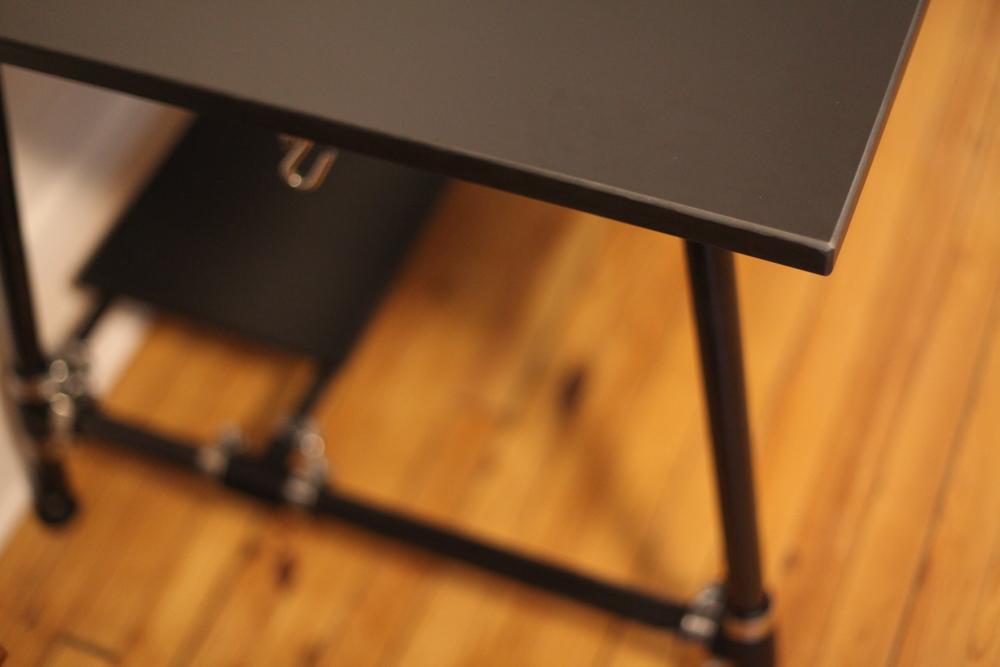
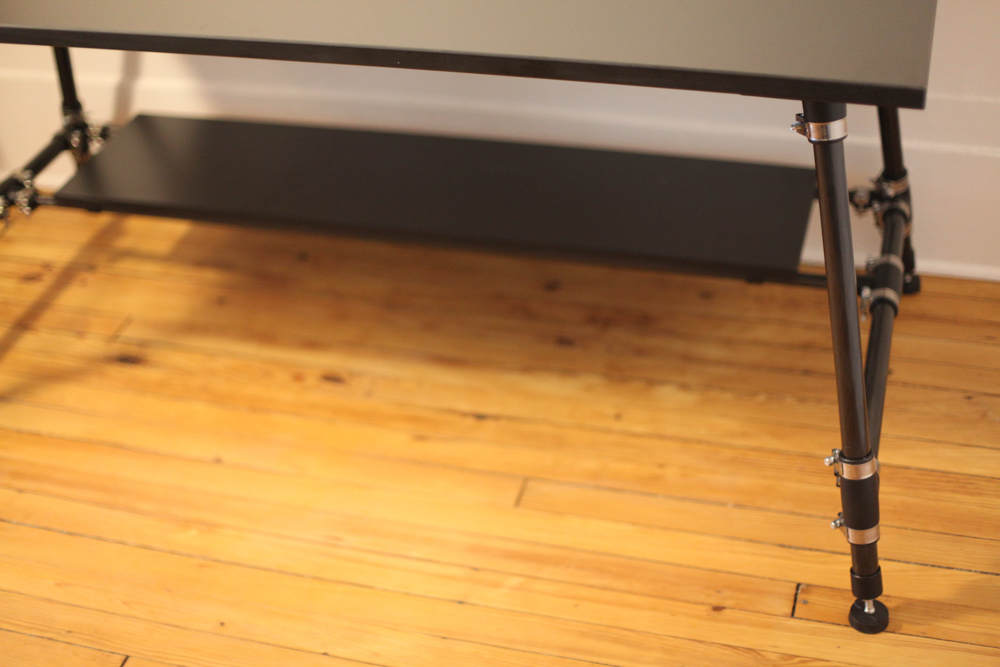
The goal was to create a functional workstation that could be assembled (and disassembled) easily. It should have a distinctive aesthetic, use durable materials, and be sturdy as all get out. Its primary use will be as a computer terminal; but as it's designed for engineering work it'll also serve as a de facto hub for parts inspection, reverse engineering, and the occasional wrenching.
Initially, I had wanted to get a slab of live edge walnut and make something classic. But after some consideration I realized that wasn't really appropriate. Wood's fantastic, but it offers zero modularity (making the desk difficult to move - bad for expanding workshops) and is rather messy to work with (bad for making changes down the line). In addition, the aesthetic of live edge desks tends towards cast iron and welded steel: beautiful materials in their own right, but not ones that are convenient for me to work on.
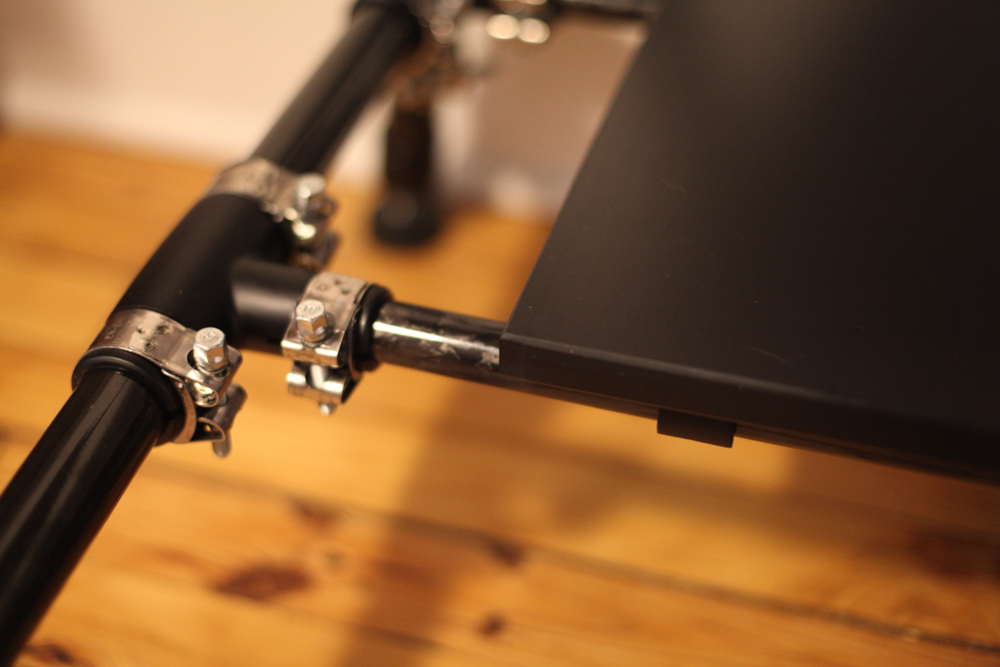
So: Carbon fiber legs. I've worked with composites since my bike days, and found that it offers some nice benefits over metalwork. Carbon tubing is light (not critical when you're using the desk, but sure is nice for shipping/moving), stiff, aesthetically distinctive, and easy to cut to length.
To finish the legs' structure, I used 3D printed resin nodes. I wanted something that had good surface finish and high tensile strength, and I wanted good elongation so that nothing would break if I *really* hammered on something on the desk. Formlabs came through on all counts; their Tough resin performed fantastically.
Next, I needed a suitable surface to work on. After researching a variety of composite surfaces, I settled on phenolic resin. It's impervious to all sorts of harsh chemicals (including coffee cup rings), is cost effective, and has a nice monolithic feel that laminates just don't. It's also easy to machine and adhere to, which came in handy when attaching the subframe.
In order to reduce deflection in the work surface - and to allow for continuous attachment points under and on the sides of the desk - I designed an 80/20 aluminum extrusion subframe. Aluminum extrusions are fantastic for this kind of thing; they're light, strong, and easy to fasten to. And 80/20's selection of brackets and attachment options allow me to add accessories and even reconfigure the desk down the road. I attached the subframe with two machine screws and two strips of VHB tape.


Right off the bat, I knew I wanted three accessories attached to my desk:
- A two-arm monitor stand outfitted with a laptop tray. I swap back and forth between a MacBook and a CAD laptop, and this setup has proven *really* convenient.
- A serious, 12 outlet power strip. This mounts directly to the 80/20 subframe, and offers plenty of fixed and flex space for whatever I need to plug in.
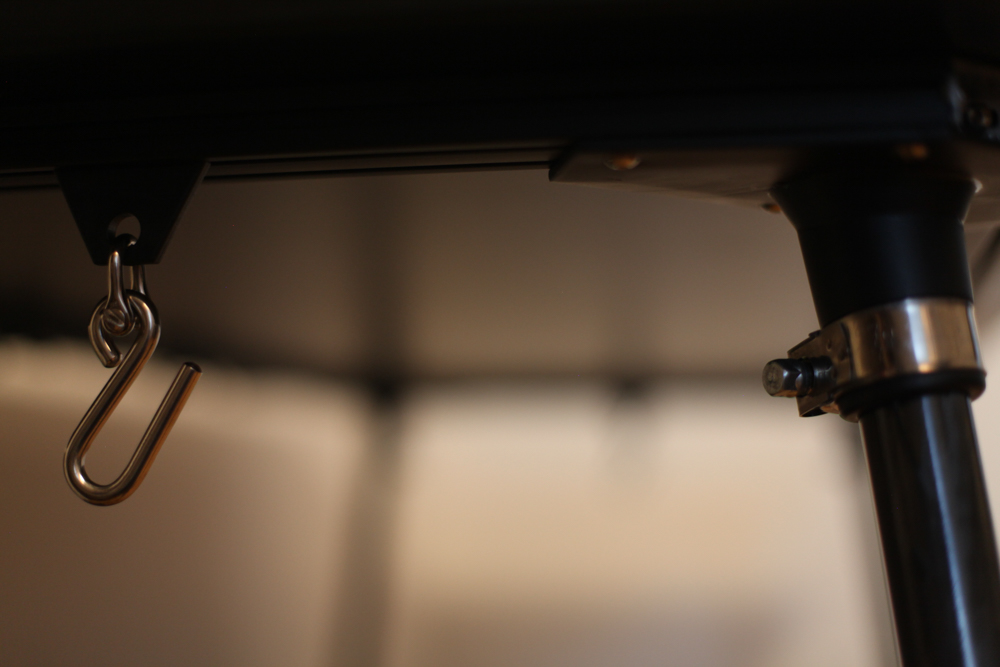
- Hooks for hanging my briefcase & camera bag. I mounted these to 80/20's sliding hangers using stainless steel twist shackles - an excellent setup.
Since finishing the desk, I've settled into it nicely. I love the feel of the phenolic, and *really* appreciate how stable the whole setup is. I'm continuing to play with my exact layout - my home office is a bit in flux - but having this as a new centerpiece makes me feel much more grounded.